Fallout 4 crafting guide
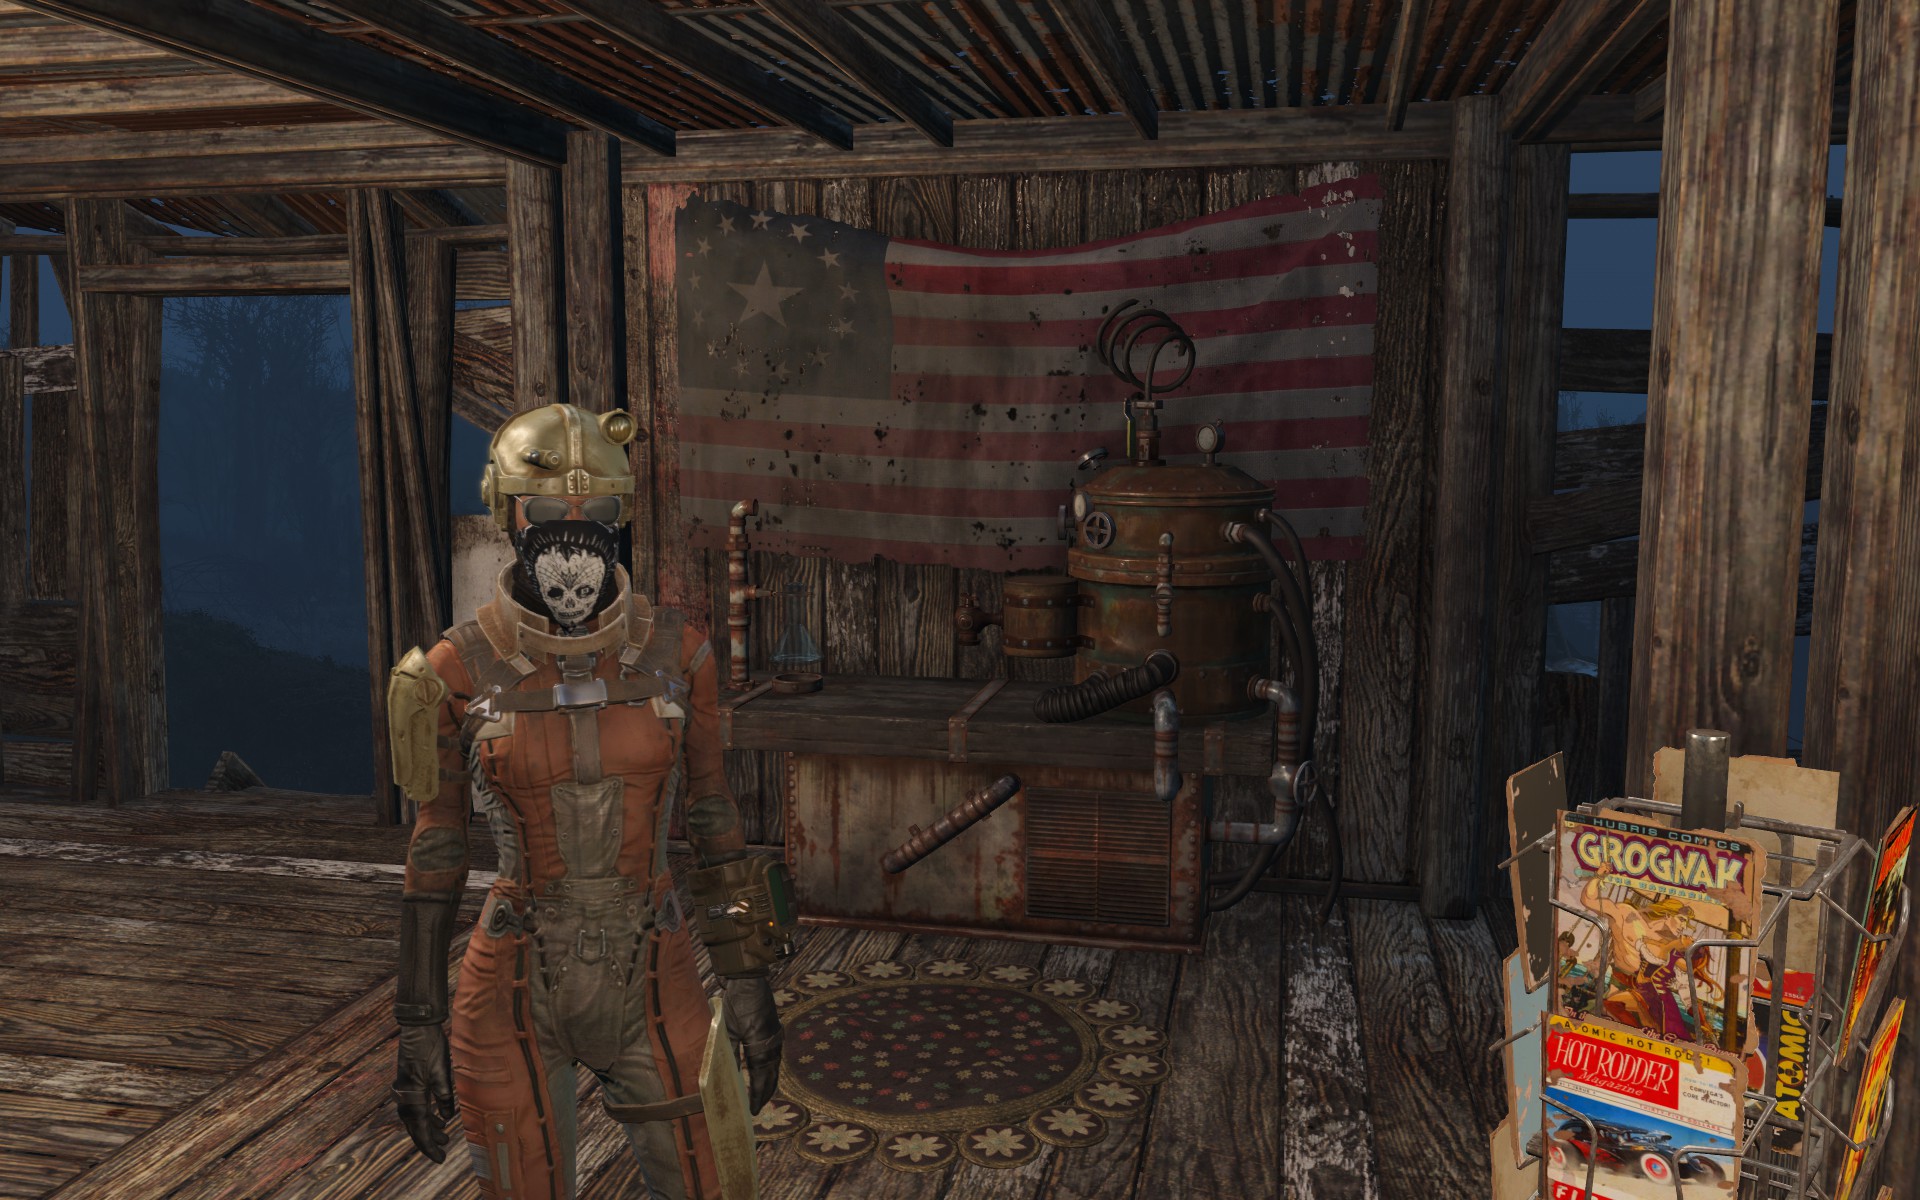
Bethesda’s open-world RPGs have been heavily invested in crafting systems for several years now, but Fallout 4 takes the idea to a new level. Every broom, bucket, and battery in the Commonwealth can be broken down into component parts. Scavenging this junk gives you the screws, metal, aluminum, acid, oil, and glue you need to make guns, strengthen armor, and rebuild the post-apocalyptic world.
The trouble is, Fallout 4 isn’t terribly interested in showing you how all this works. Need a hand? We’ve got you covered. This guide is spoiler free, so check it if you need help with any crafting job. In this guide we cover weapons, armor, looting, settlements, and power armor.
For more, check out the best Fallout 4 mods and our list of Fallout 4 console commands.
Weapons
Perks to invest in: Science level 1, Gun Nut level 2
Even if you avoid the settlement-building, just about every Wastelander is going to want to modify their weapons. And why not? With weapon mods, even the lowly 10mm pistol can explode a super mutant skull at 50 paces.
Storing junk in the workbench stocks your ingredients, but you don’t need to break them down by hand. Just stick that old basketball into the workbench, and when a recipe calls for rubber, the bench will strip down the ball automatically. It works the same way for any ingredient: just press R on the workbench to Transfer, then press T to Store All Junk.
At the lowest levels, guns like the double-barrel shotgun, hunting rifle, and 10mm pistol can be modified by almost anyone. To reach the highest levels of these basic weapons, though, you’ll need to invest a couple of points in Gun Nut. The most advanced weapons, like the Fat Man launcher, Minigun, and Flamer, will require three or four levels in Gun Nut. Tinkering around with energy weapons like the plasma rifle or laser pistol is a little more specialized, and you’ll need both Gun Nut and Science to make it work.
Keep up to date with the most important stories and the best deals, as picked by the PC Gamer team.
Armor
Perks to invest in: Armorer level 3, Blacksmith level 2, Science level 1
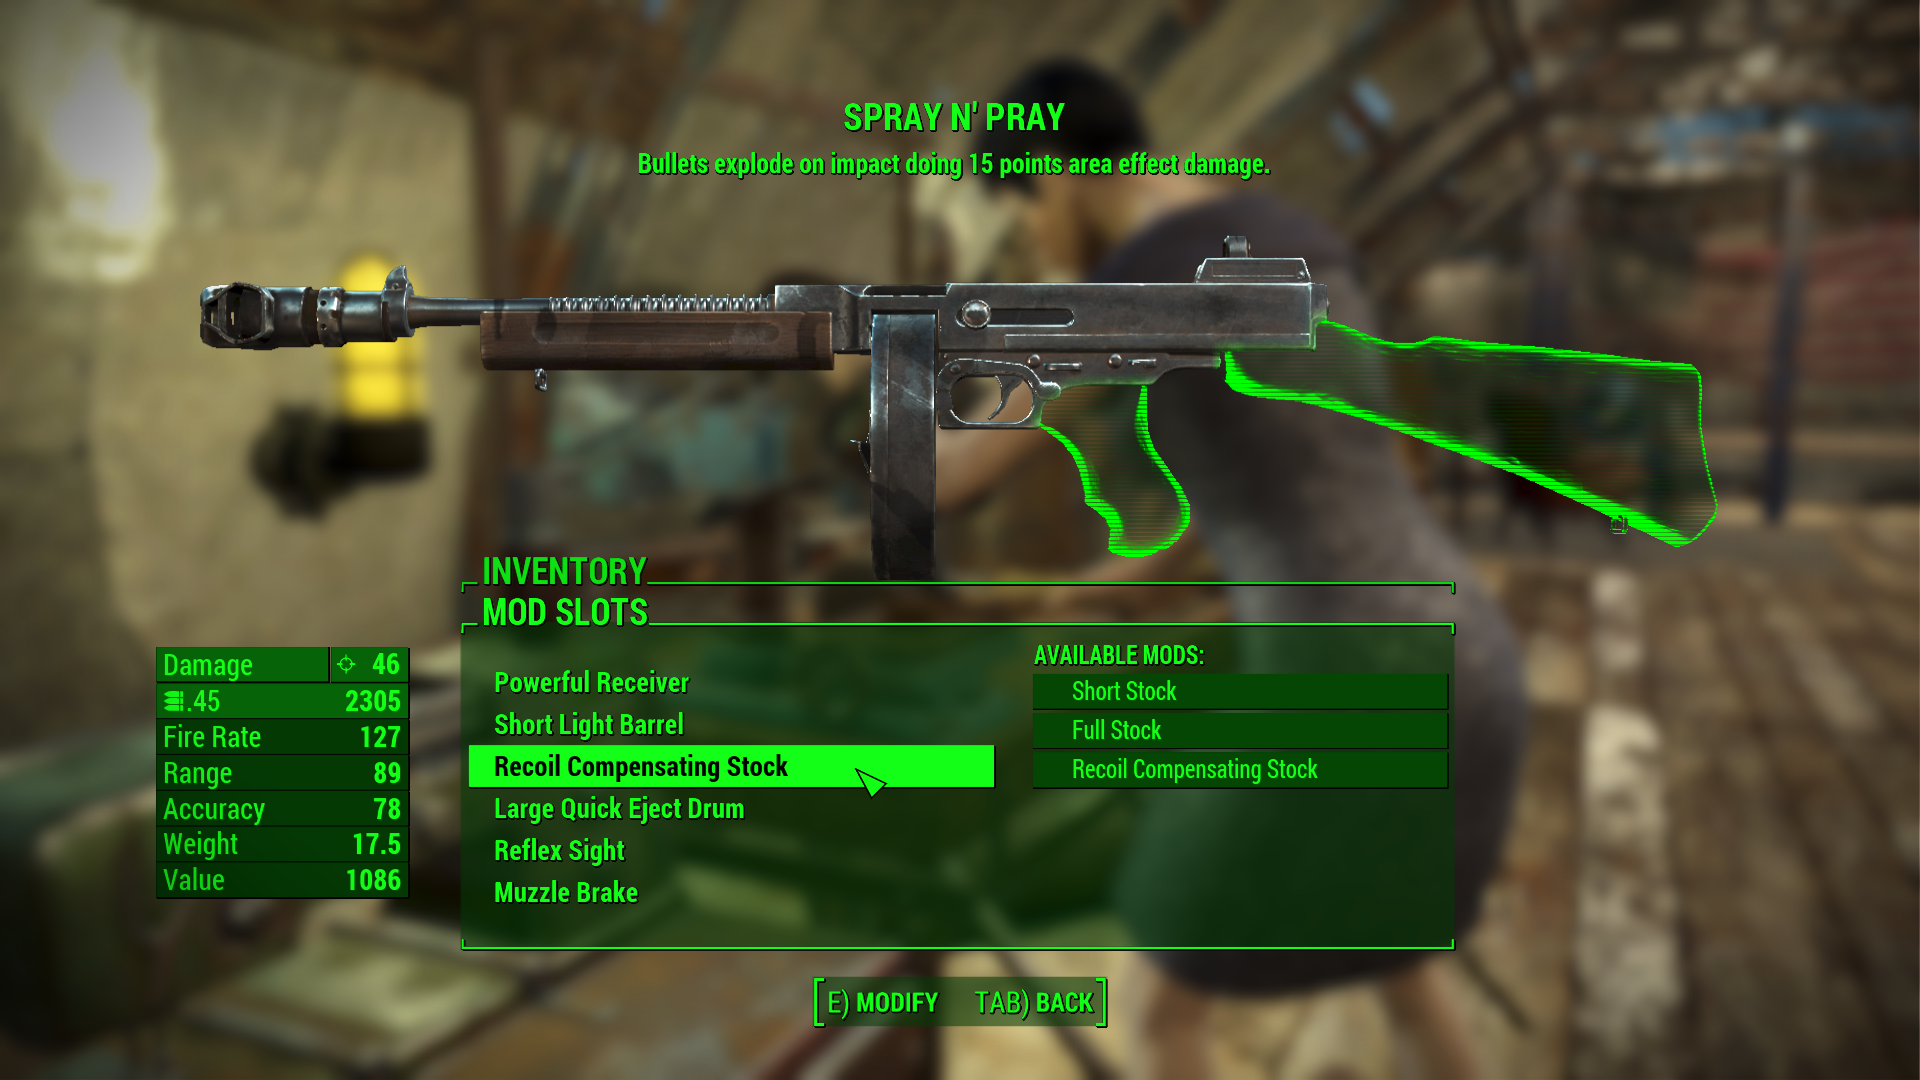
Your power armor does a lot of the heavy lifting when it comes to keeping your hide water tight. That walking tank is good for almost any situation, but most people like to wear armor underneath. Not only does the protection stack up with more layers, but most armor looks cool. If you ever need to go without your power armor, it would be good to have some protection on hand.
Armor crafting options are much more limited than weaponsmithing or modifying power armor. Still, you can take any vanilla piece of armor in your kit and make it stronger, lighter, and better for your type of character. Each type or armor has a specific strengths:
- Raider armor: weak against everything. Feed to nearest molerat.
- Leather armor: strong against energy damage, weak against ballistic damage
- Metal armor: strong against ballistic damage, weak against energy damage
- Combat armor: stronger against both ballistic and energy damage
- Synth armor: superior protection against all types of damage
Armor sets are formed as pieces, so feel free to mix and match. Armor pieces also stack on top of most types of clothing. Military uniforms provide a good base for armor and some bonus damage resistance, including: the Brotherhood of Steel uniform, Road Leathers (for the Mad Max look), and the Drifter outfit.
Further, limb armor segments can be modified to provide better stability for long-range shooters or bonus damage for hand-to-hand combat. Depending on your character, you’ll want different modifications for different bonuses. Keep in mind that most melee characters will need the Blacksmith perk to add melee bonuses to their armor. Modifying high-tech armors like advanced ballistic combat armor or nanofiber synth armor will require one or two levels in Science.
Looting
Perks to invest in: Scrounger, Strength (to increase carry weight)
Sorting through piles and piles of junk in Fallout 4 can be a bit exhausting, not least because Bethesda’s in-game menus continue to be absolute bum. As you comb over ruins, should you pick up that toy rocketship? What about the desk fan? Do you need an empty bottle of antifreeze?
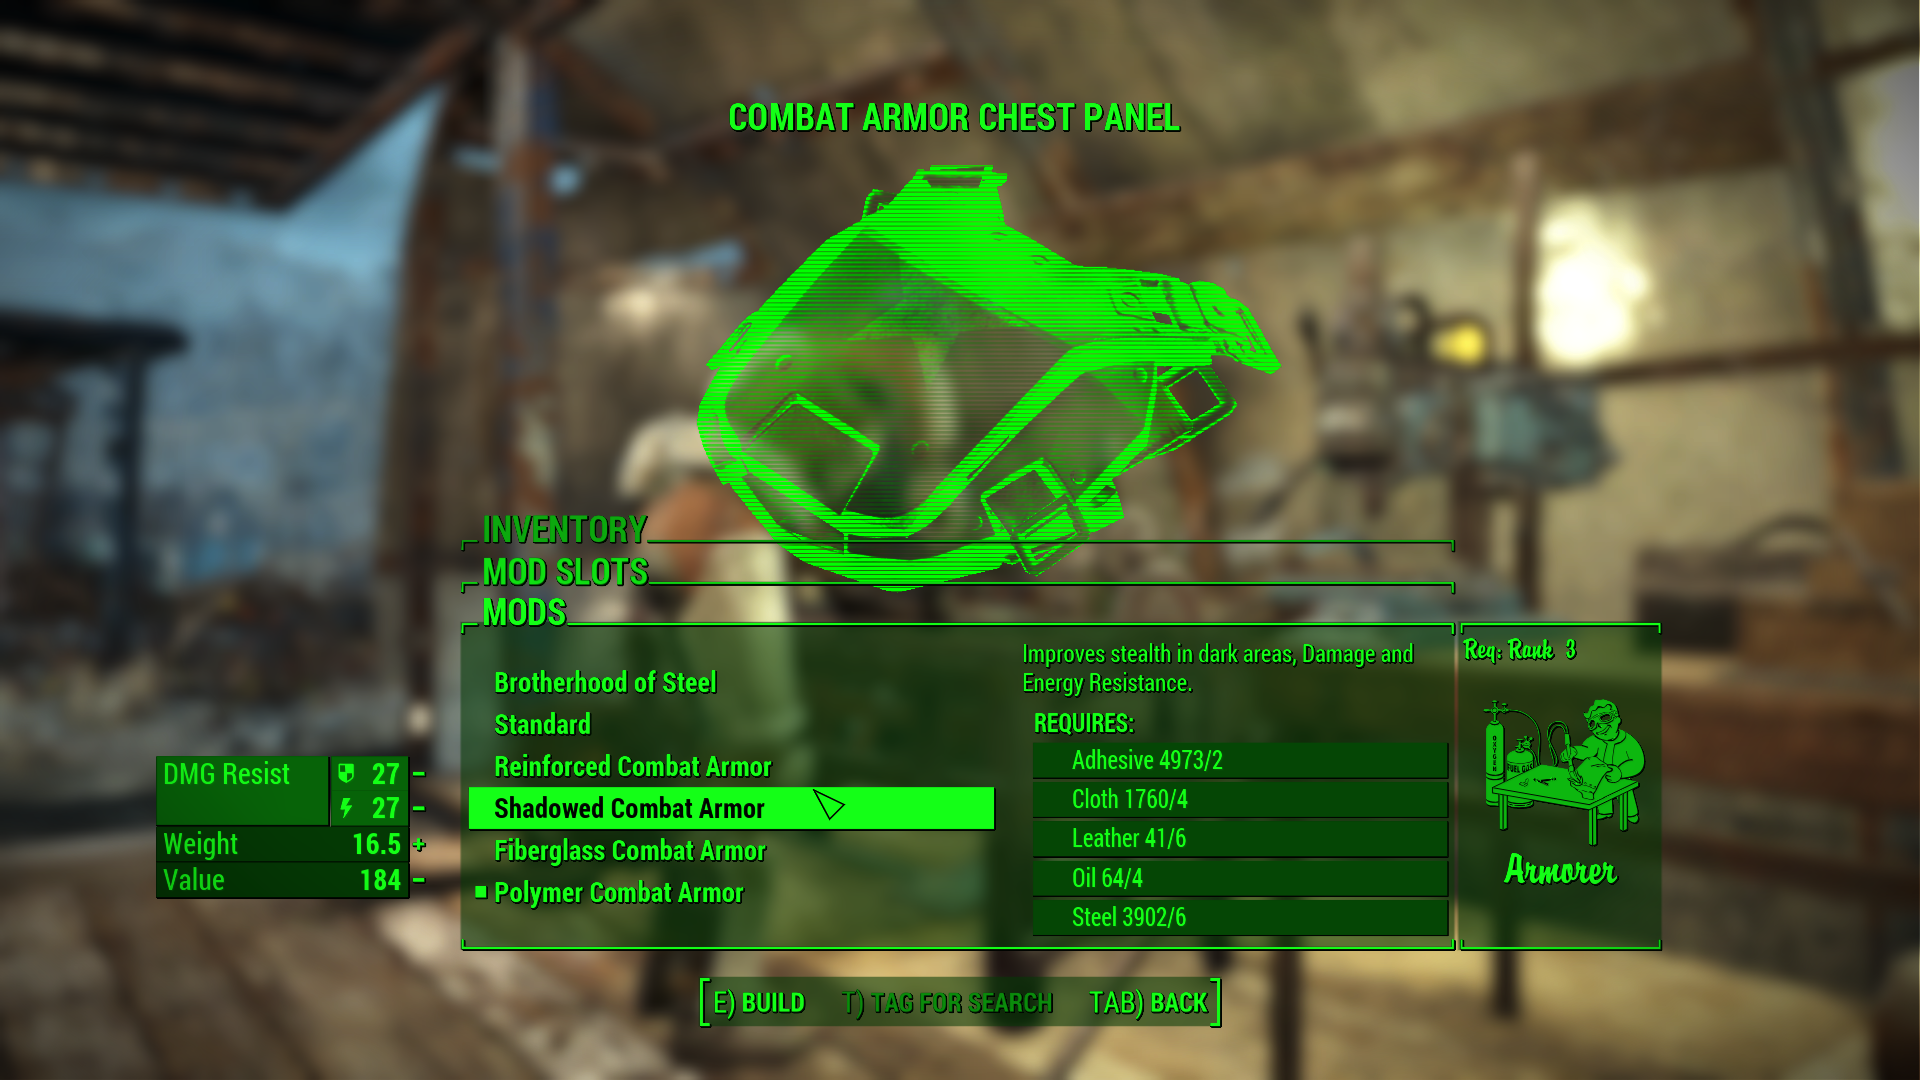
The only real solution to this problem is to tag ingredients for a search. There are two ways of doing this.
If you have an ingredient and want more of it:
- Go to Pip-Boy
- Go to Junk
- Press C for Component View
- Find the ingredient (“acid,” “rubber,” “lead,” etc.) and tag is for search.
If you don’t have an ingredient and want to find some:
- Go to a crafting station
- Go to the modification you want to build, but can’t
- Press T, and all missing ingredients will be tagged.
After tagging an ingredient, a magnifying glass will show up next to the item’s name in the wild. With the magnifying glass, you can see that you don’t need that toy rocketship, but the toy car will get you something useful. With Scrounger level 2, objects and containers you’ve tagged will actually glow in your HUD.
Finding rare ingredients
The two rarest substances in Fallout 4 are oil and adhesive. All the duct tape and wonderglue in the Commonwealth isn’t enough for dedicated crafters, and making any machinery won’t work without lubricating oil. Luckily, there’s a way to make these two substances on your own.
Adhesive
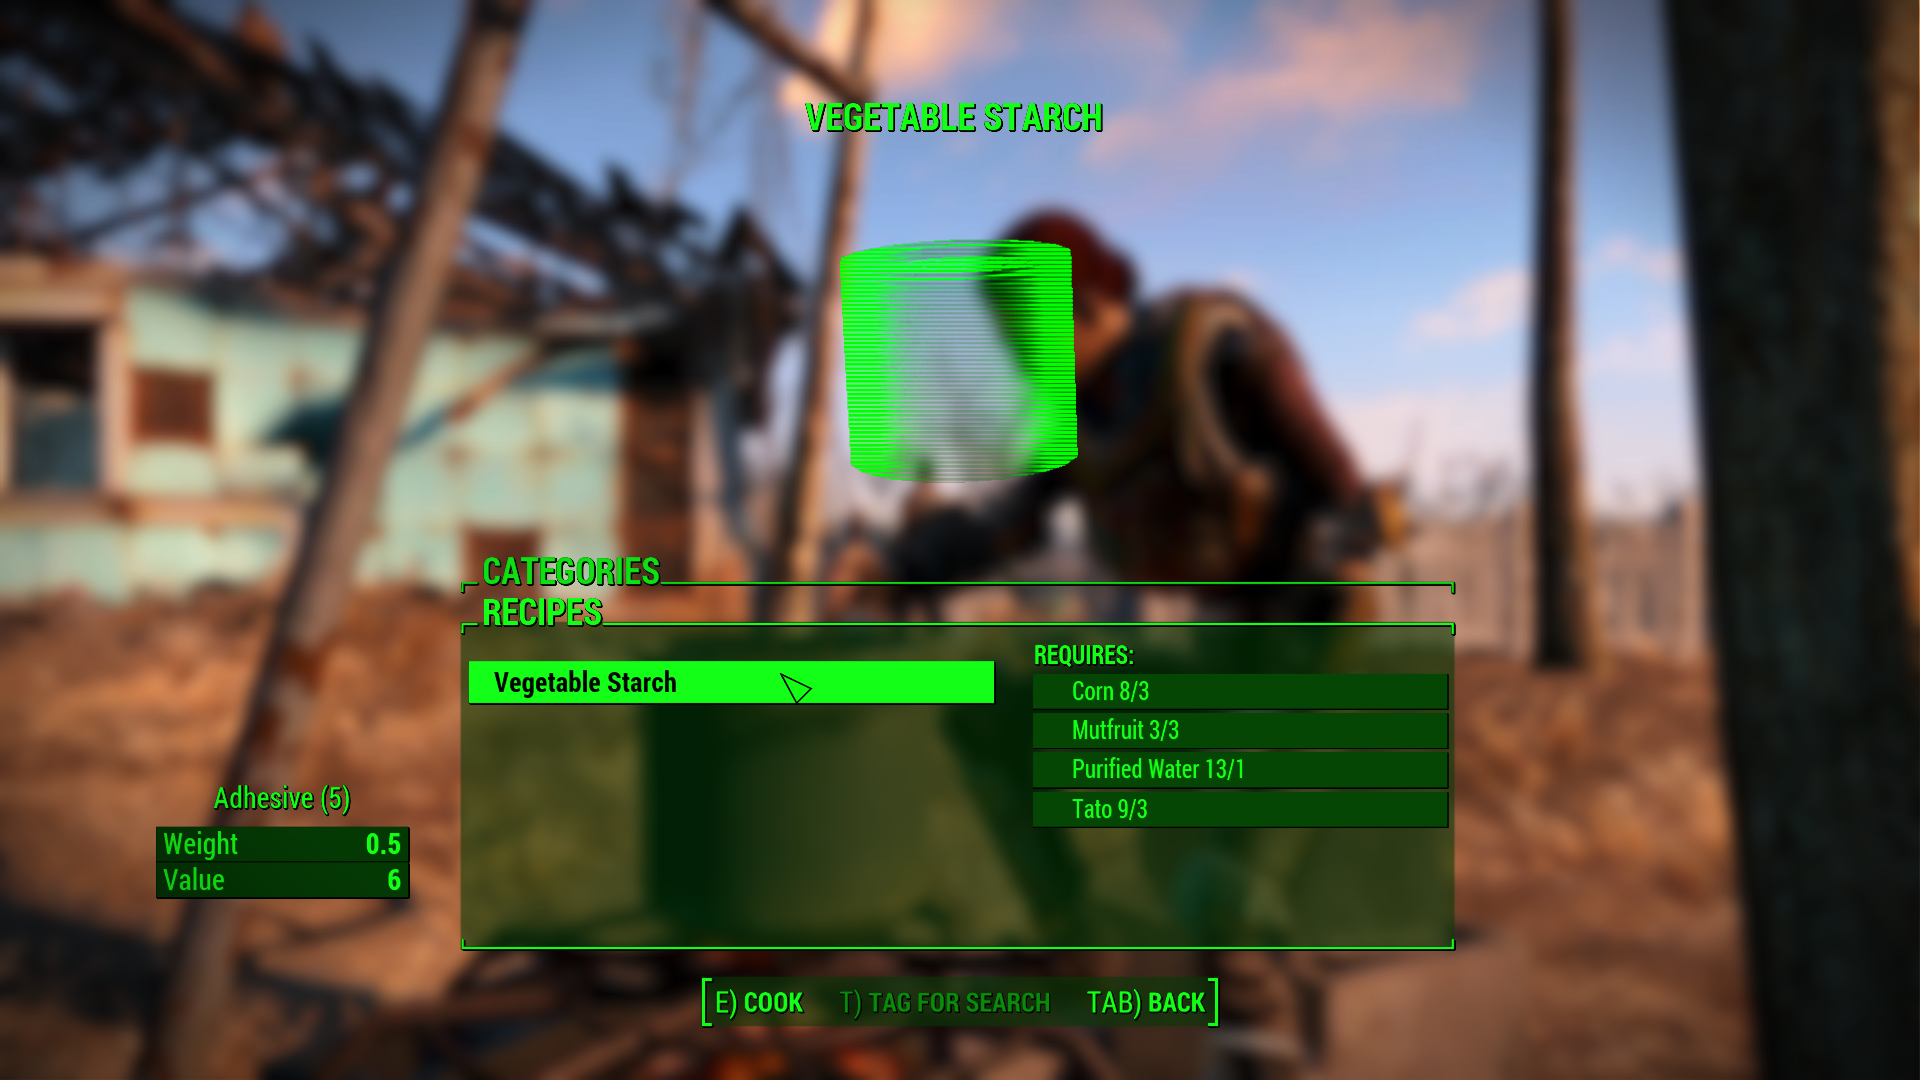
Get a healthy farm going in your settlement, consisting of a water purifier, and a garden with Tato, Mutfruit, and corn. Use nearby settlements to plant more of these three cash crops, then head to the cooking station. Look for the Utility category, select Vegetable Starch, and combine 3 corn, 3 Mutfruit, 1 purified water, and 3 Tato. Each batch produces one unit of vegetable starch, which breaks down into 5 units of adhesive.
Oil
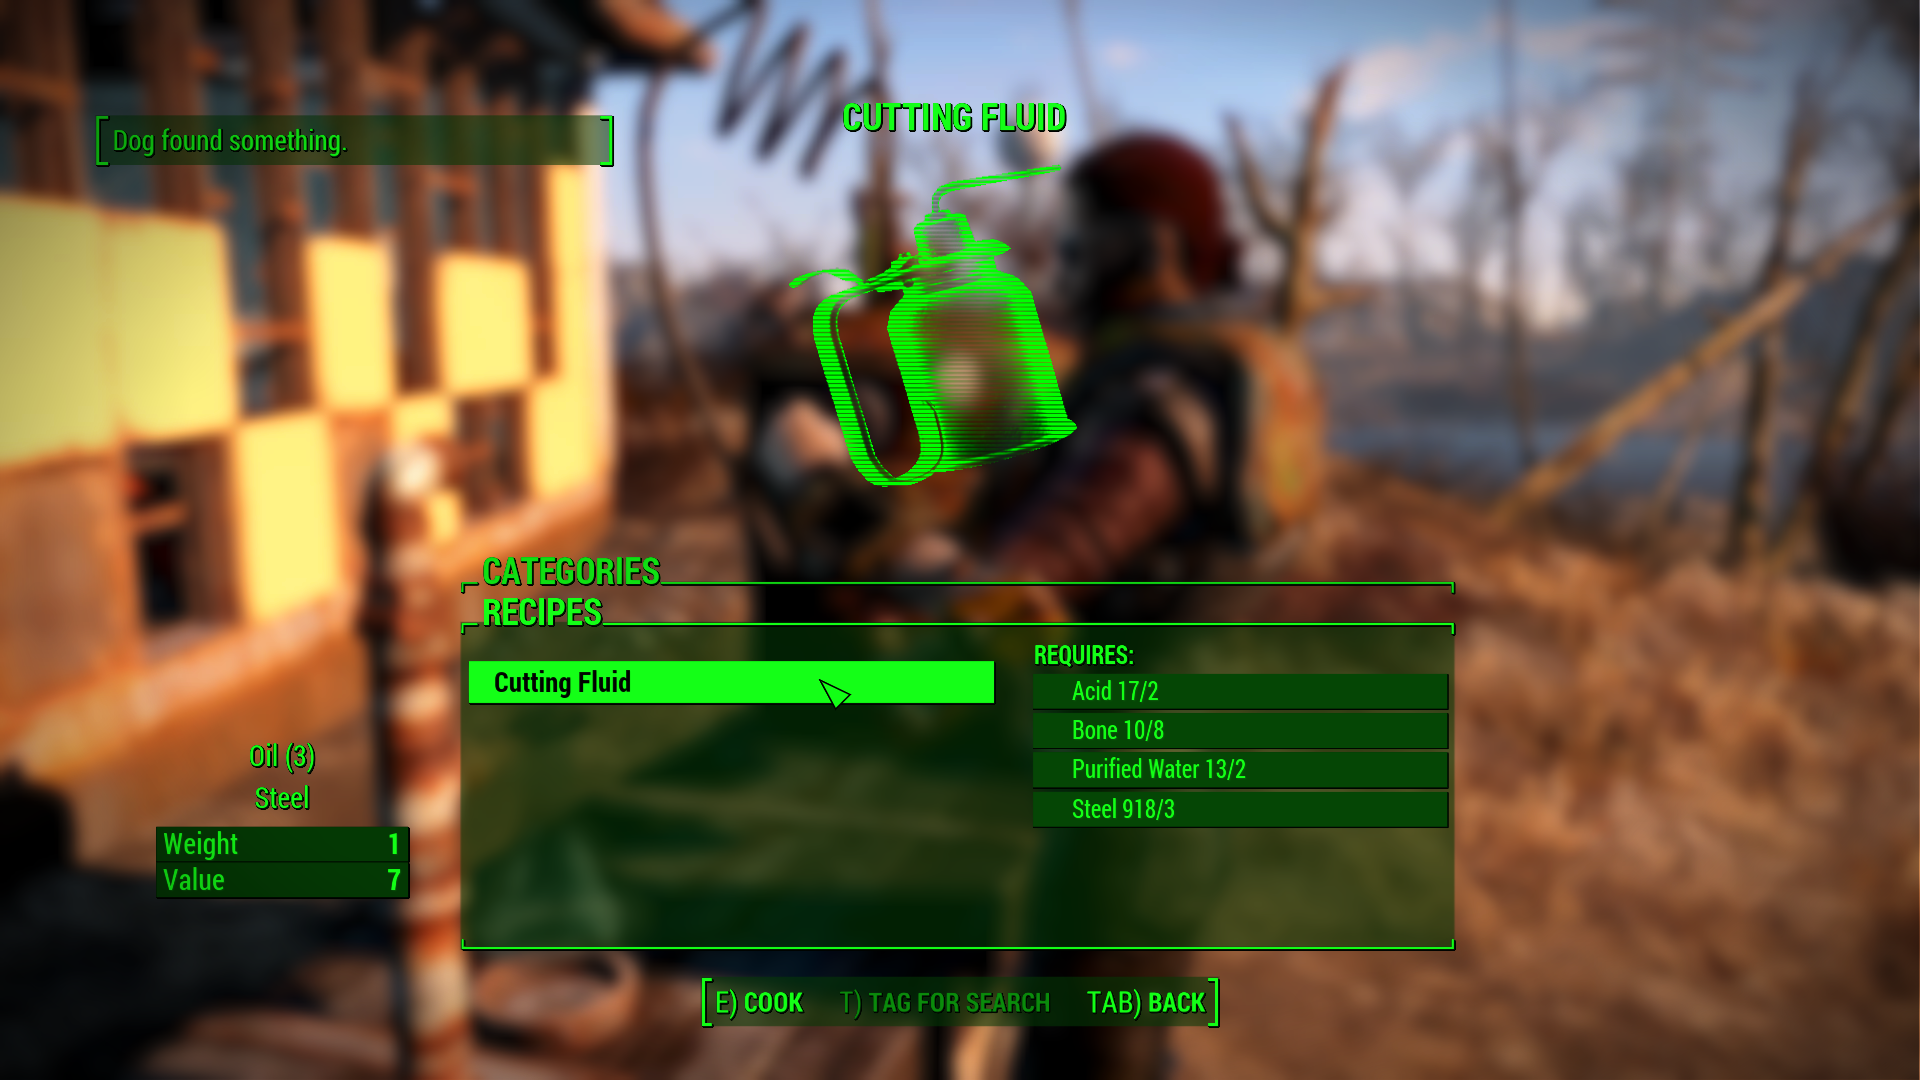
Finding the chemistry station in Sanctuary is a bit of a challenge; some people don’t even know it exists. From the bridge into town, turn an immediate left toward the first house on the street. Hidden behind this house is a rusty chemistry station, the leftover from a pre-War meth operation in the Boston suburbia.
The oil recipe is more dependant on scrounging than farming. In particular look out for Abraxo cleaner, batteries, teeth, and skulls. Go to the chemistry station, look again for Utility, and select Cutting Fluid. Combine 2 acid, 8 bone, 2 water, and 3 steel to make a small can of cutting fluid, which breaks down into 3 units of oil.
On the next page: settlements...
