Fallout 4 crafting guide
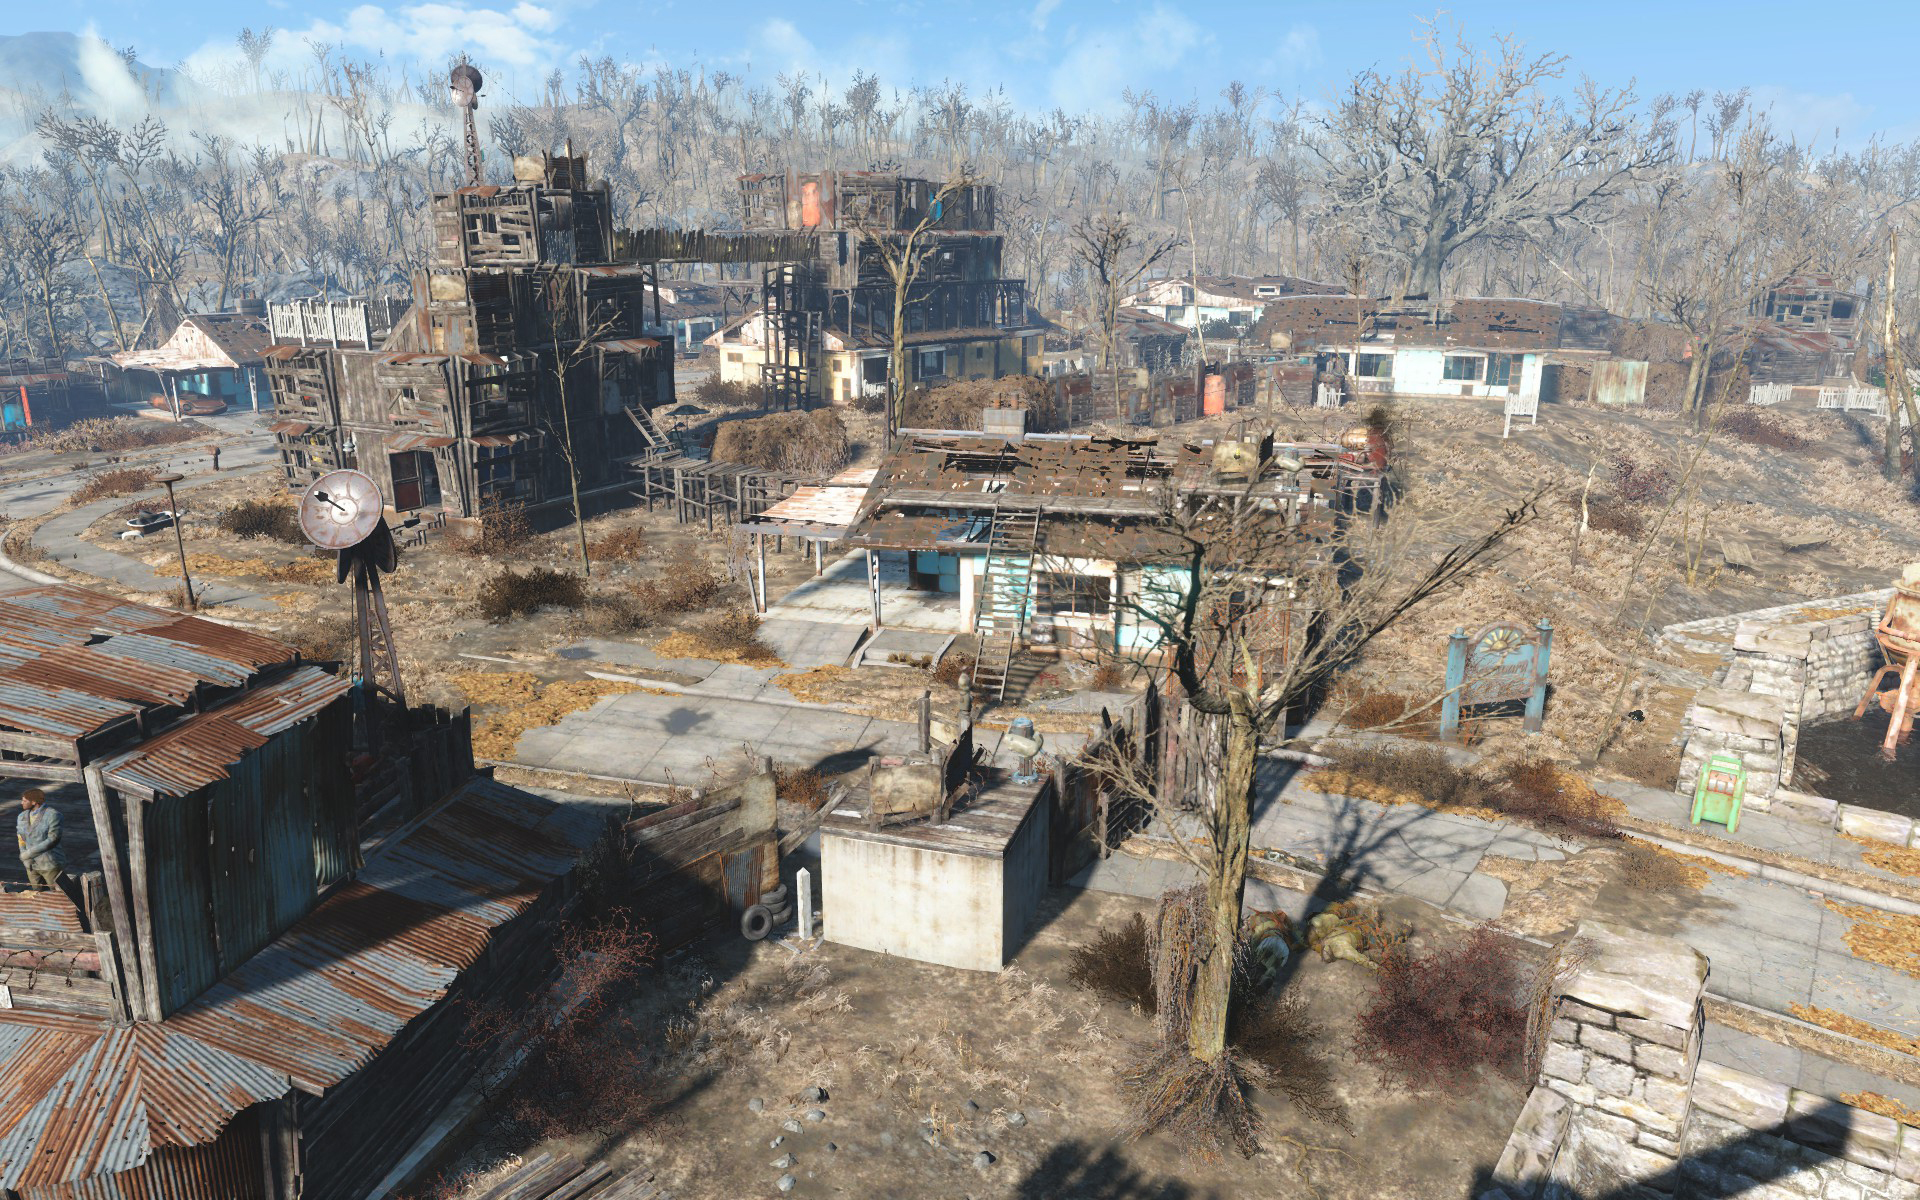
Settlements
Perks to invest in: Scrounger, Local Leader level 2, Cap Collector
Settlements are easily skipped if they’re not your gig, but I’d encourage you to spend some time with them. For all its charm, the Commonwealth is a big and sterile place. Advancing the Minutemen plot and building my settlements made the world feel more real to me, and having a network of safe houses and towns to resupply in is convenient.
So how do you make it work?
Step 1: Scrap
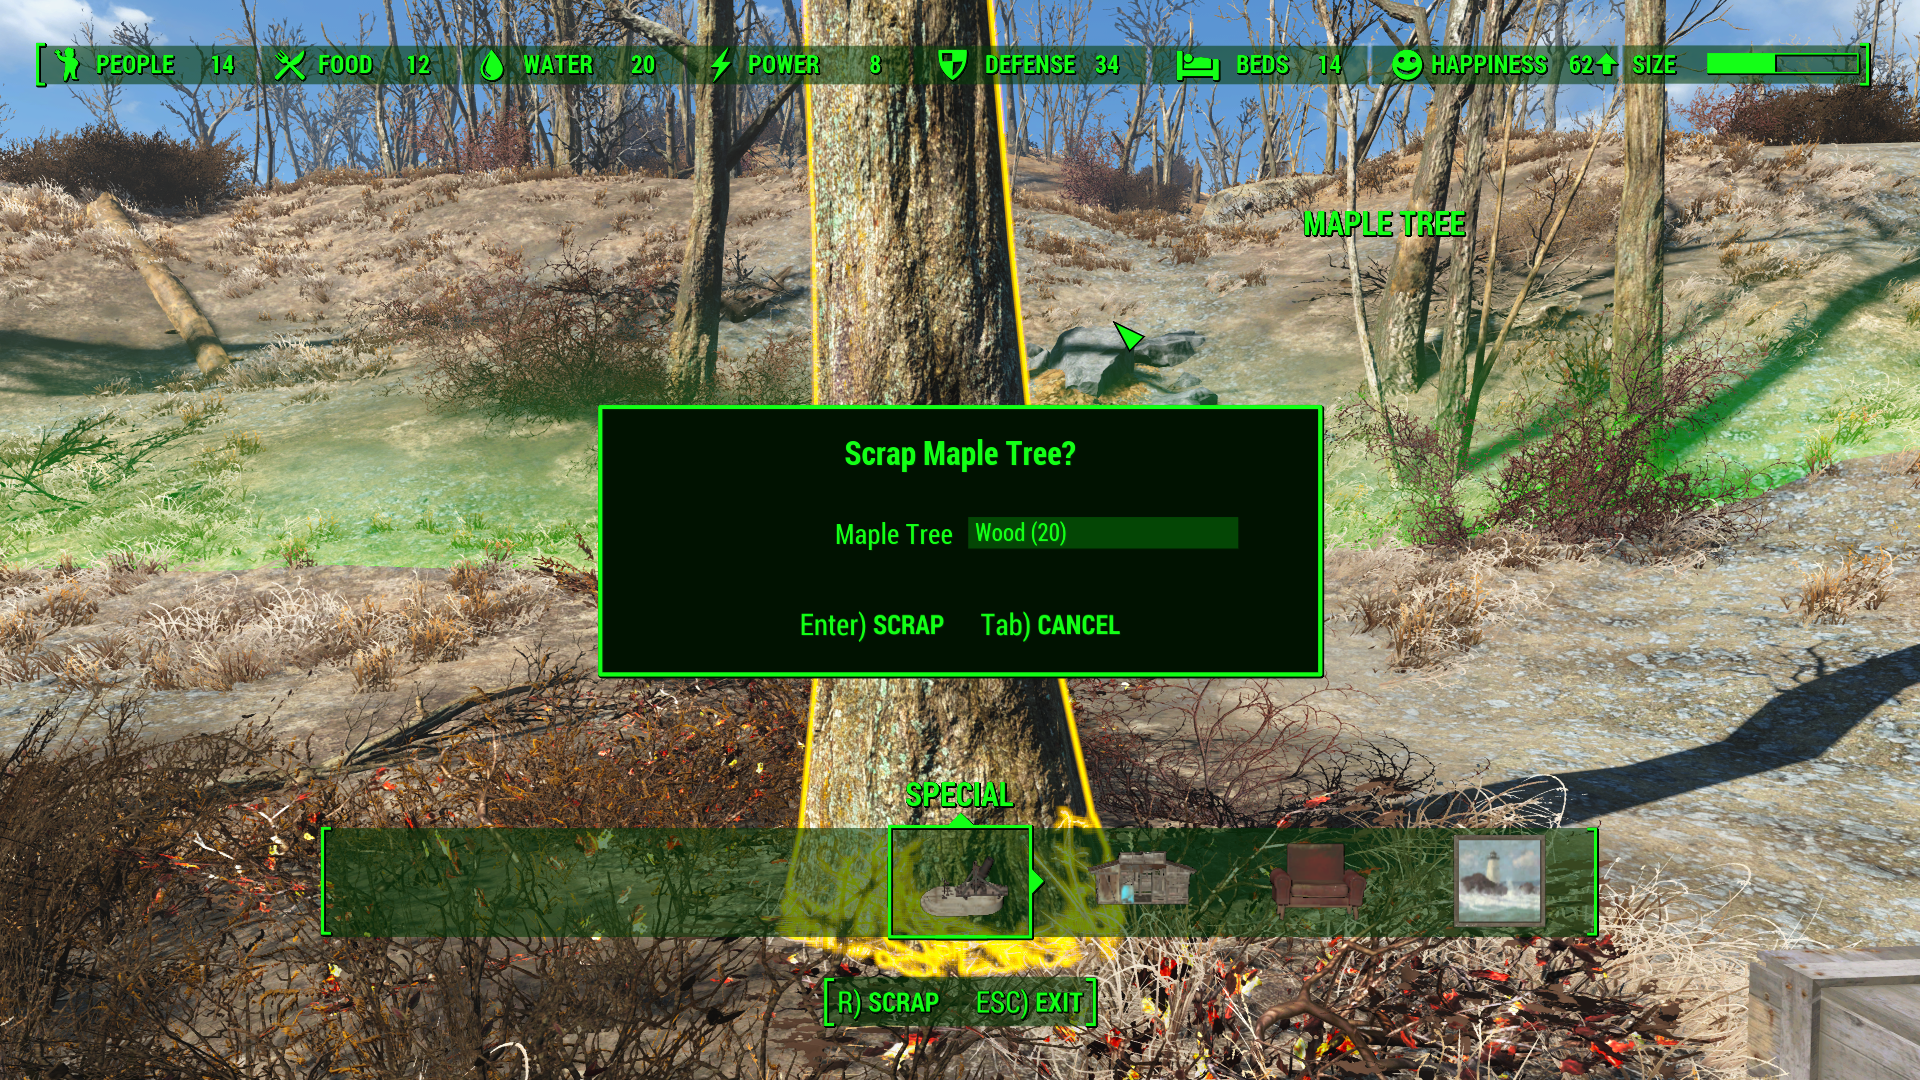
Enter settlement mode by holding down the middle mouse button, V, or by activating the large red settlement workstation. You’ll see lots of outlines over everything. Wander around point at almost any object, and hit R to scrap it. Bust up trees for wood, old cars for steel, and bathtubs for ceramic. No only is it nice to clean up the world a little bit, building houses takes a monstrous amount of materials.
Step 2: Buildings
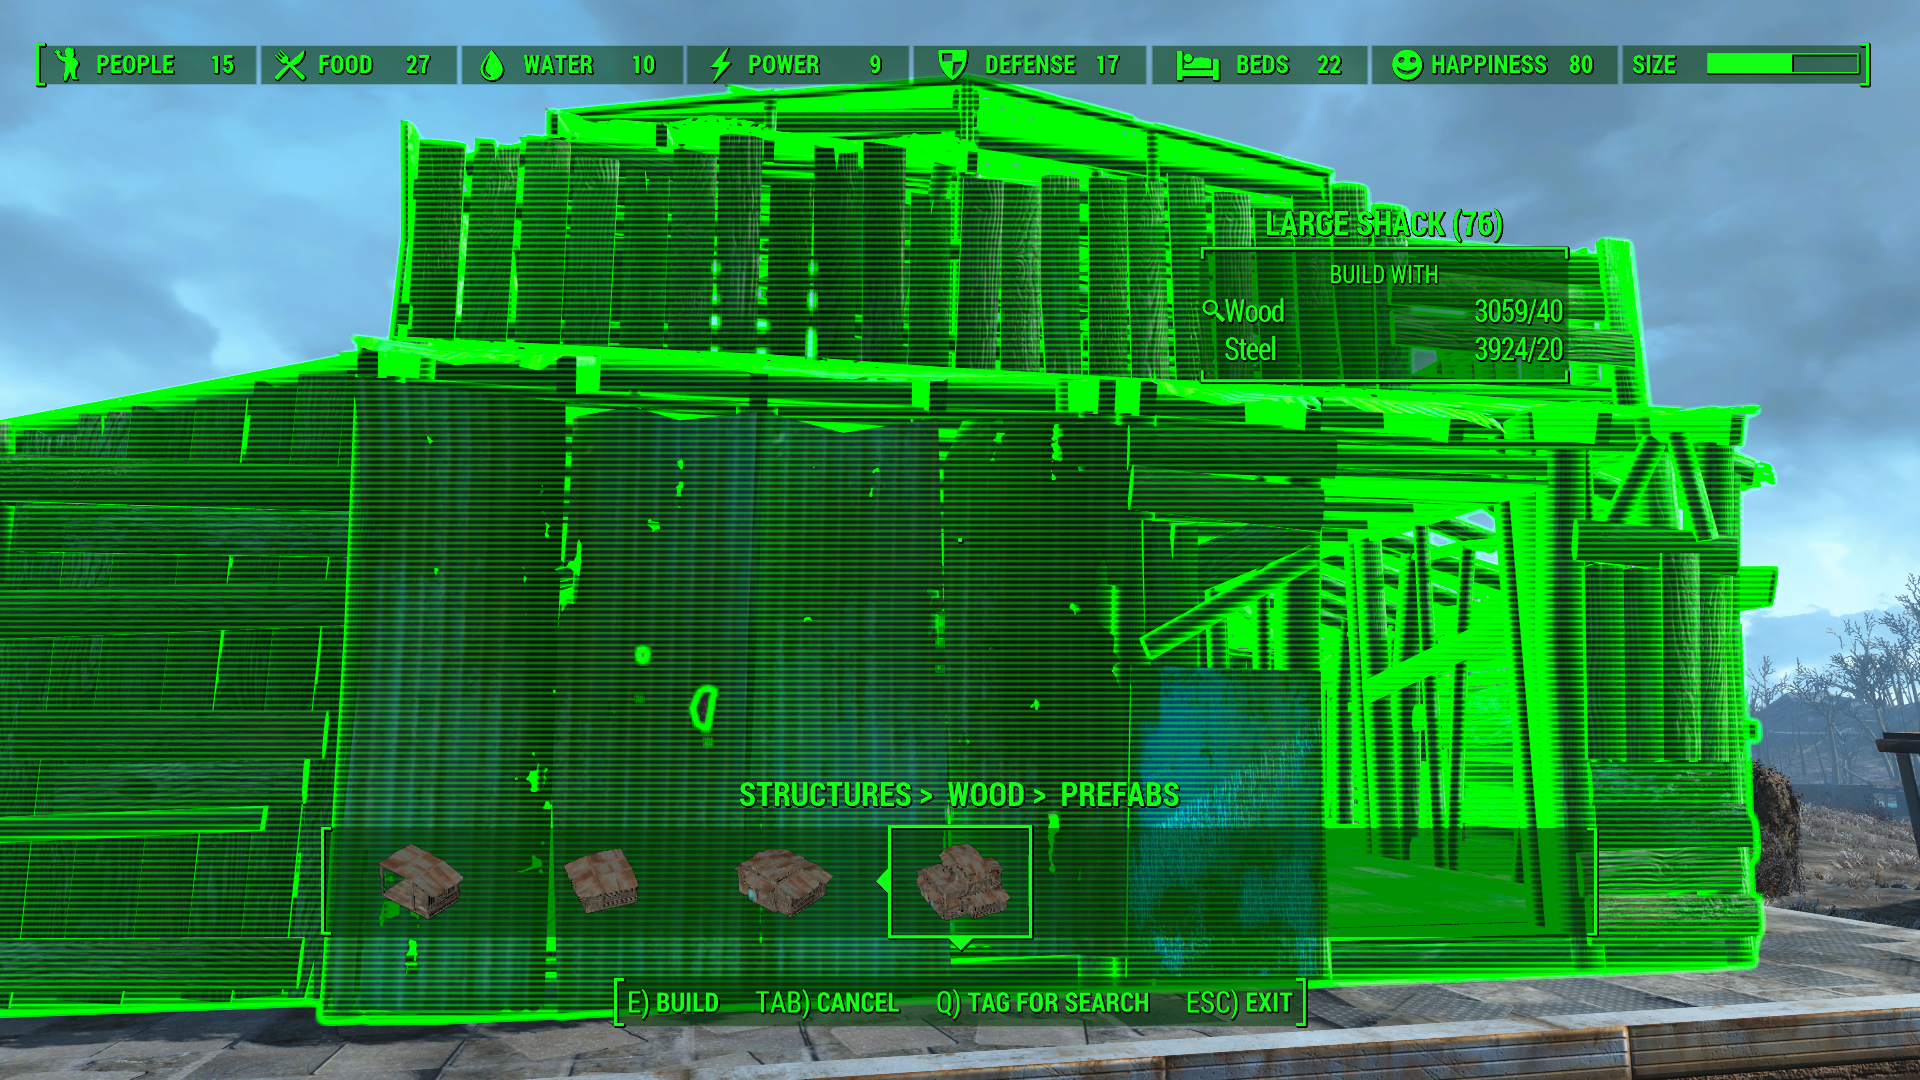
Clear off foundations in Sanctuary by approaching a ruined building, a house that has completely collapsed. You can scrap the entire thing in one go for a nice, level surface to build on. In its place, you can plop down a pre-fabricated shack made out of metal or wood. You can also build structures one floor panel and wall at a time. When you’ve got compatible pieces, they’ll snap together like Lego. Press E to pick up a placed object; hold E to pick up the object and any objects near or around it. Be careful with this one—you can hold E and pick up and entire building to move it.
If you’re having trouble with the placement of objects, try the welcome mat trick. Place a welcome mat, then place your building parts on top of it. Target the welcome mat and hold E. The entire section will move around, but only the small welcome mat will be a solid object. This is great for placing doorways or tricky wall sections that are colliding with objects around them. For more, see this excellent tutorial video describing the process.
Add beds, chairs and decorations to buildings when you’re finished. Settlers need a place to sleep.
Keep up to date with the most important stories and the best deals, as picked by the PC Gamer team.
Step 3: Power
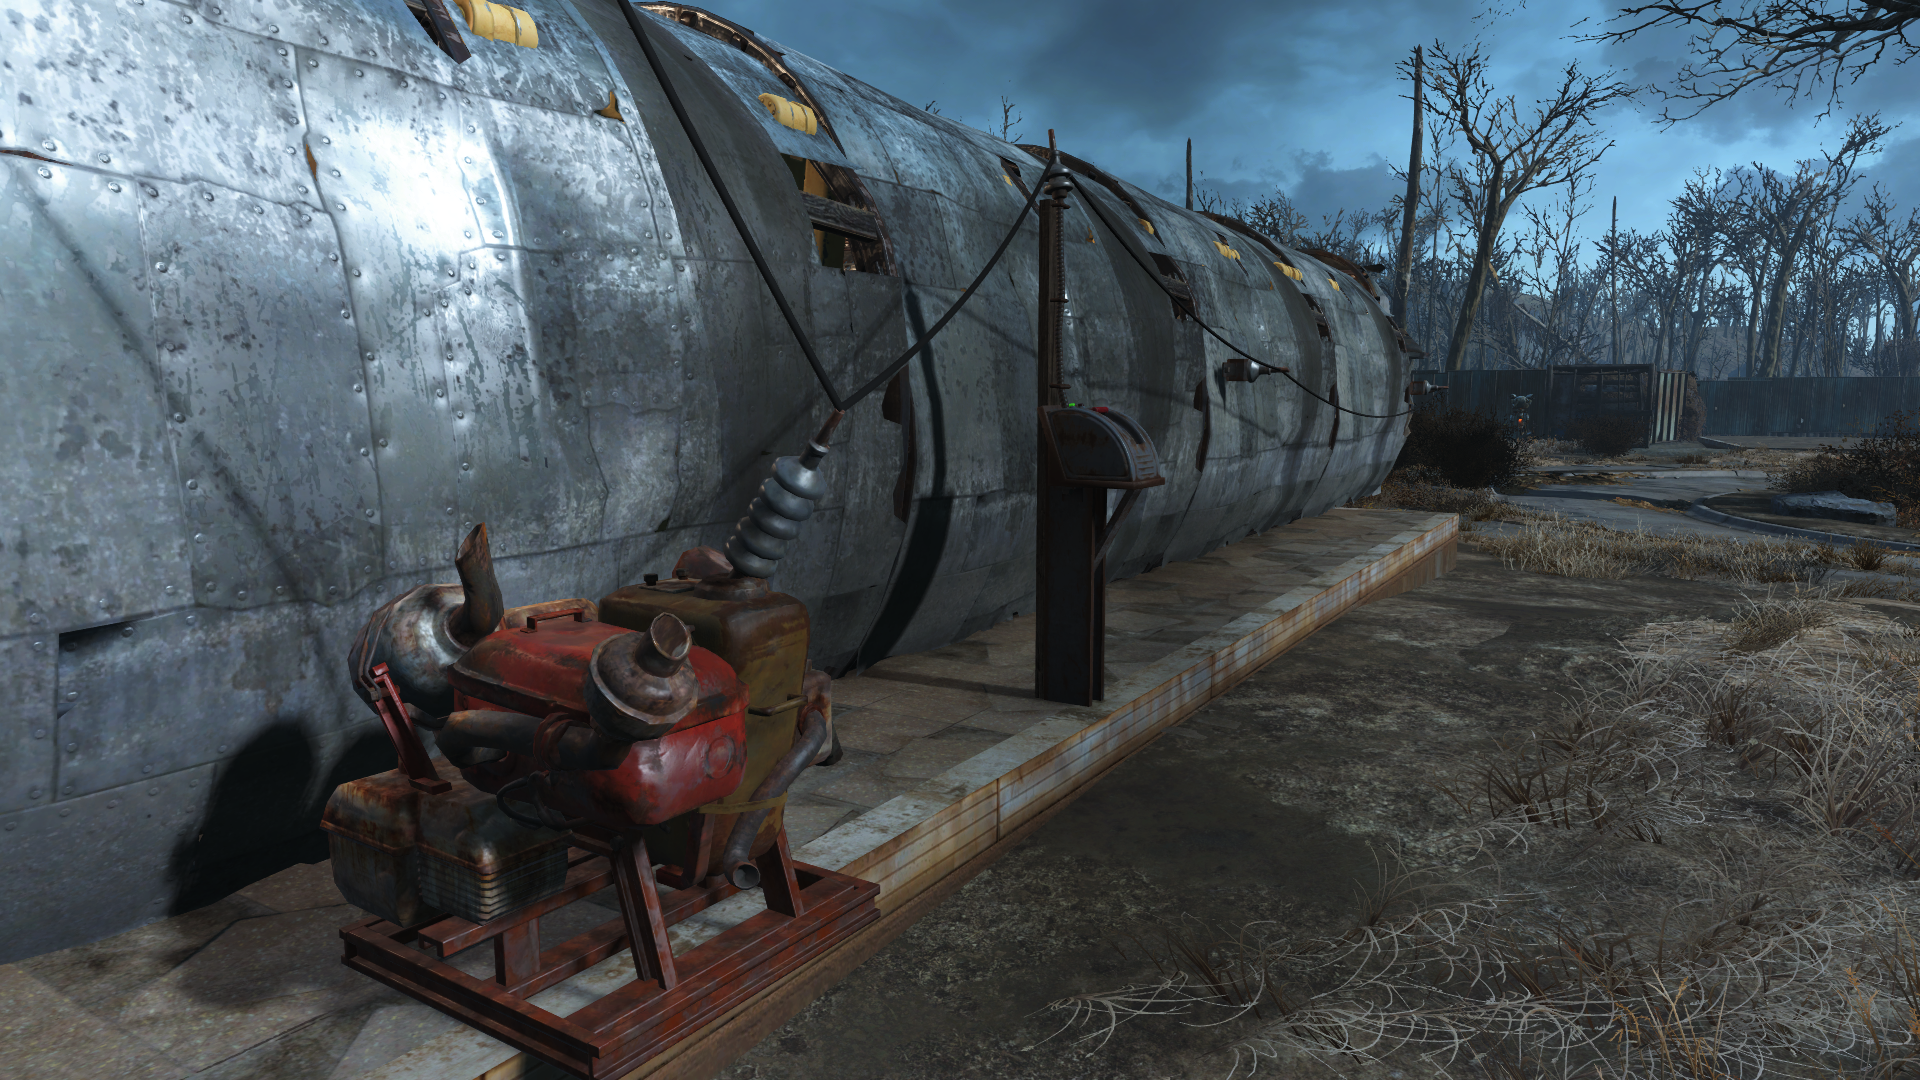
Electricity comes in two forms: direct lines and ambient. Ambient power is just how it sounds: if you have a wire going from a generator to a conduit, all small by electronics work. Rather than have a whole mess of wires running all over the inside of the house, a better bet is to place a generator and string wire along the outside of the building. Any lightbulbs, fans, and radios within ten feet of the wires will light up.
Direct lines are for heavier energy users. Radio beacons, shop lights, and computers have a number next to their electricity symbol, noting the number of power units they require. Really big equipment will need larger generators because they run on more power than the smallest generators produce. To power something that needs a direct line, place the object, place the generator, and press space on each object to connect them.
Step 4: Water
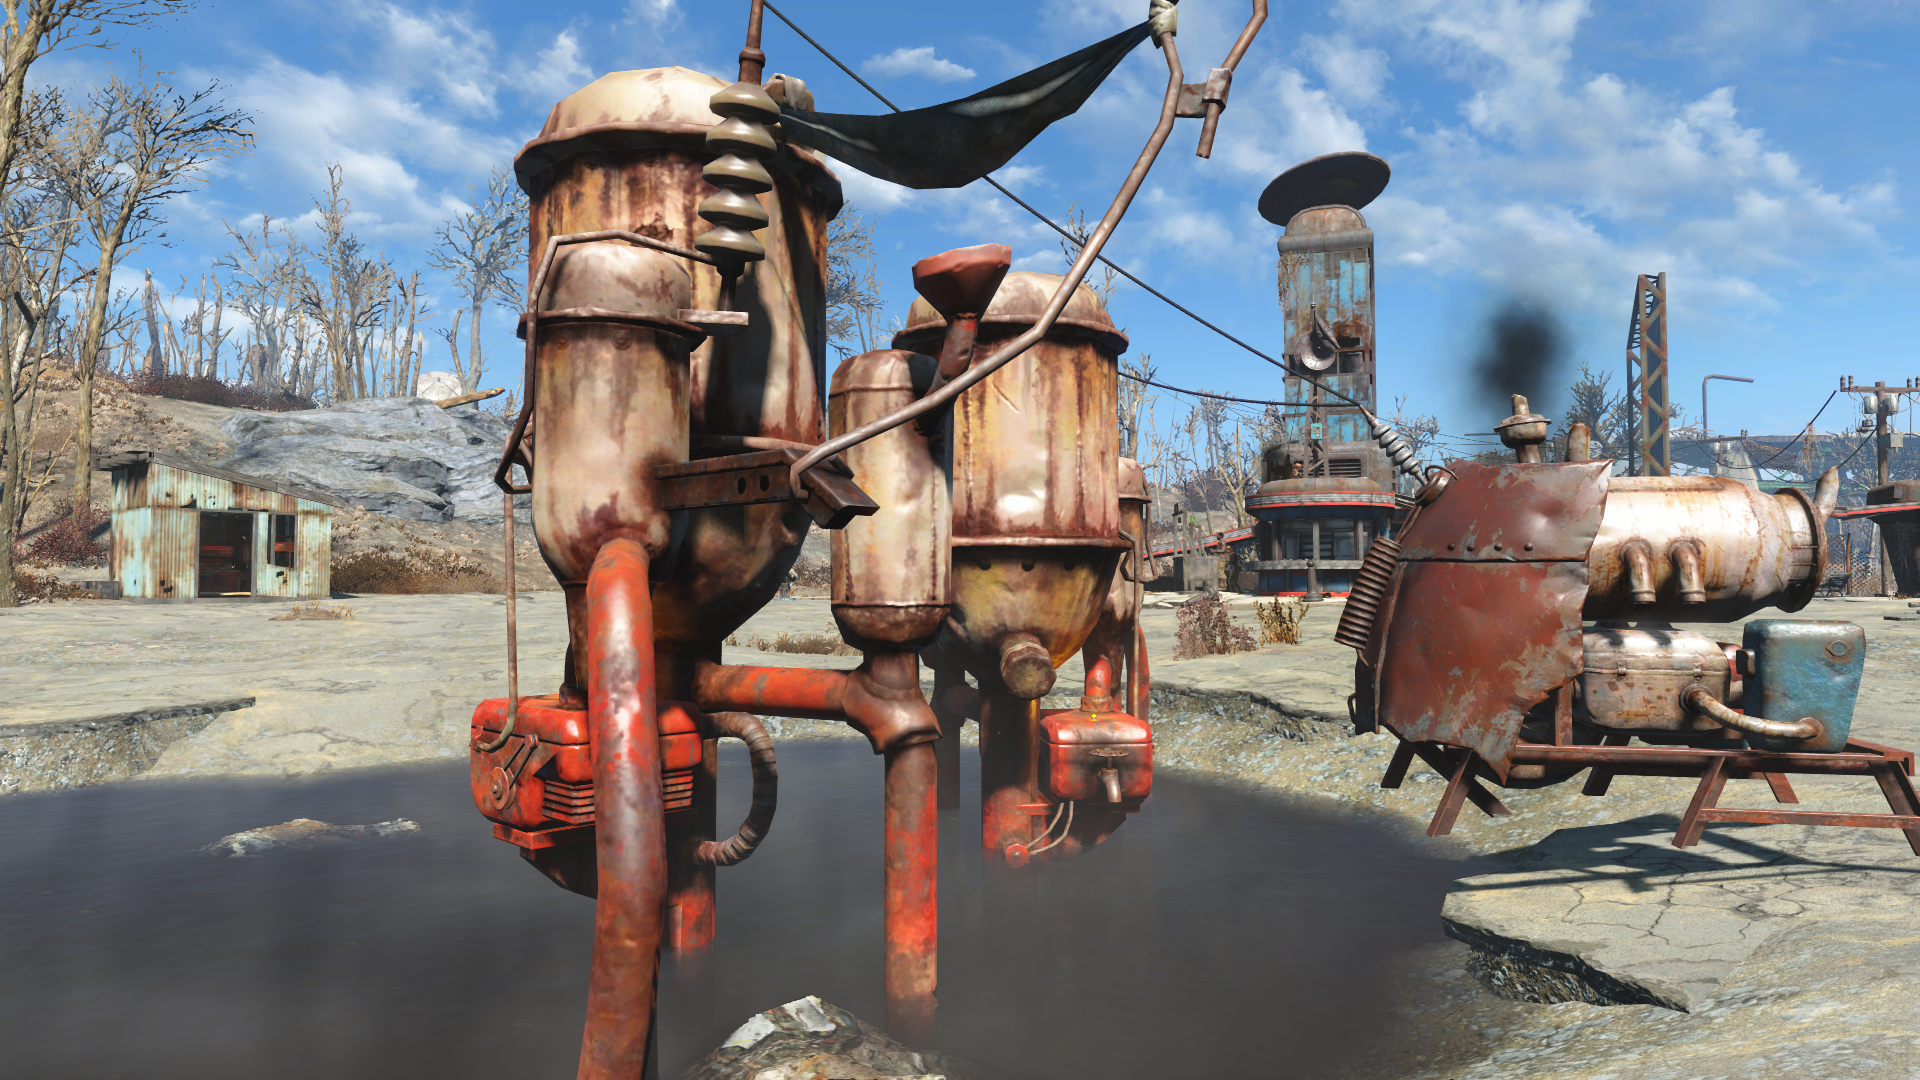
Adding a water pump to any patch of dirt is easy, but it’s not the best solution. Pump water is dirty, and each pump only adds a little to the supply. If you have standing or flowing water nearby, build a water purifier. Purifiers need a dedicated power line from a nearby generator, but after all that work they’ll deposit clean water into the workshop inventory regularly.
Step 5: Food
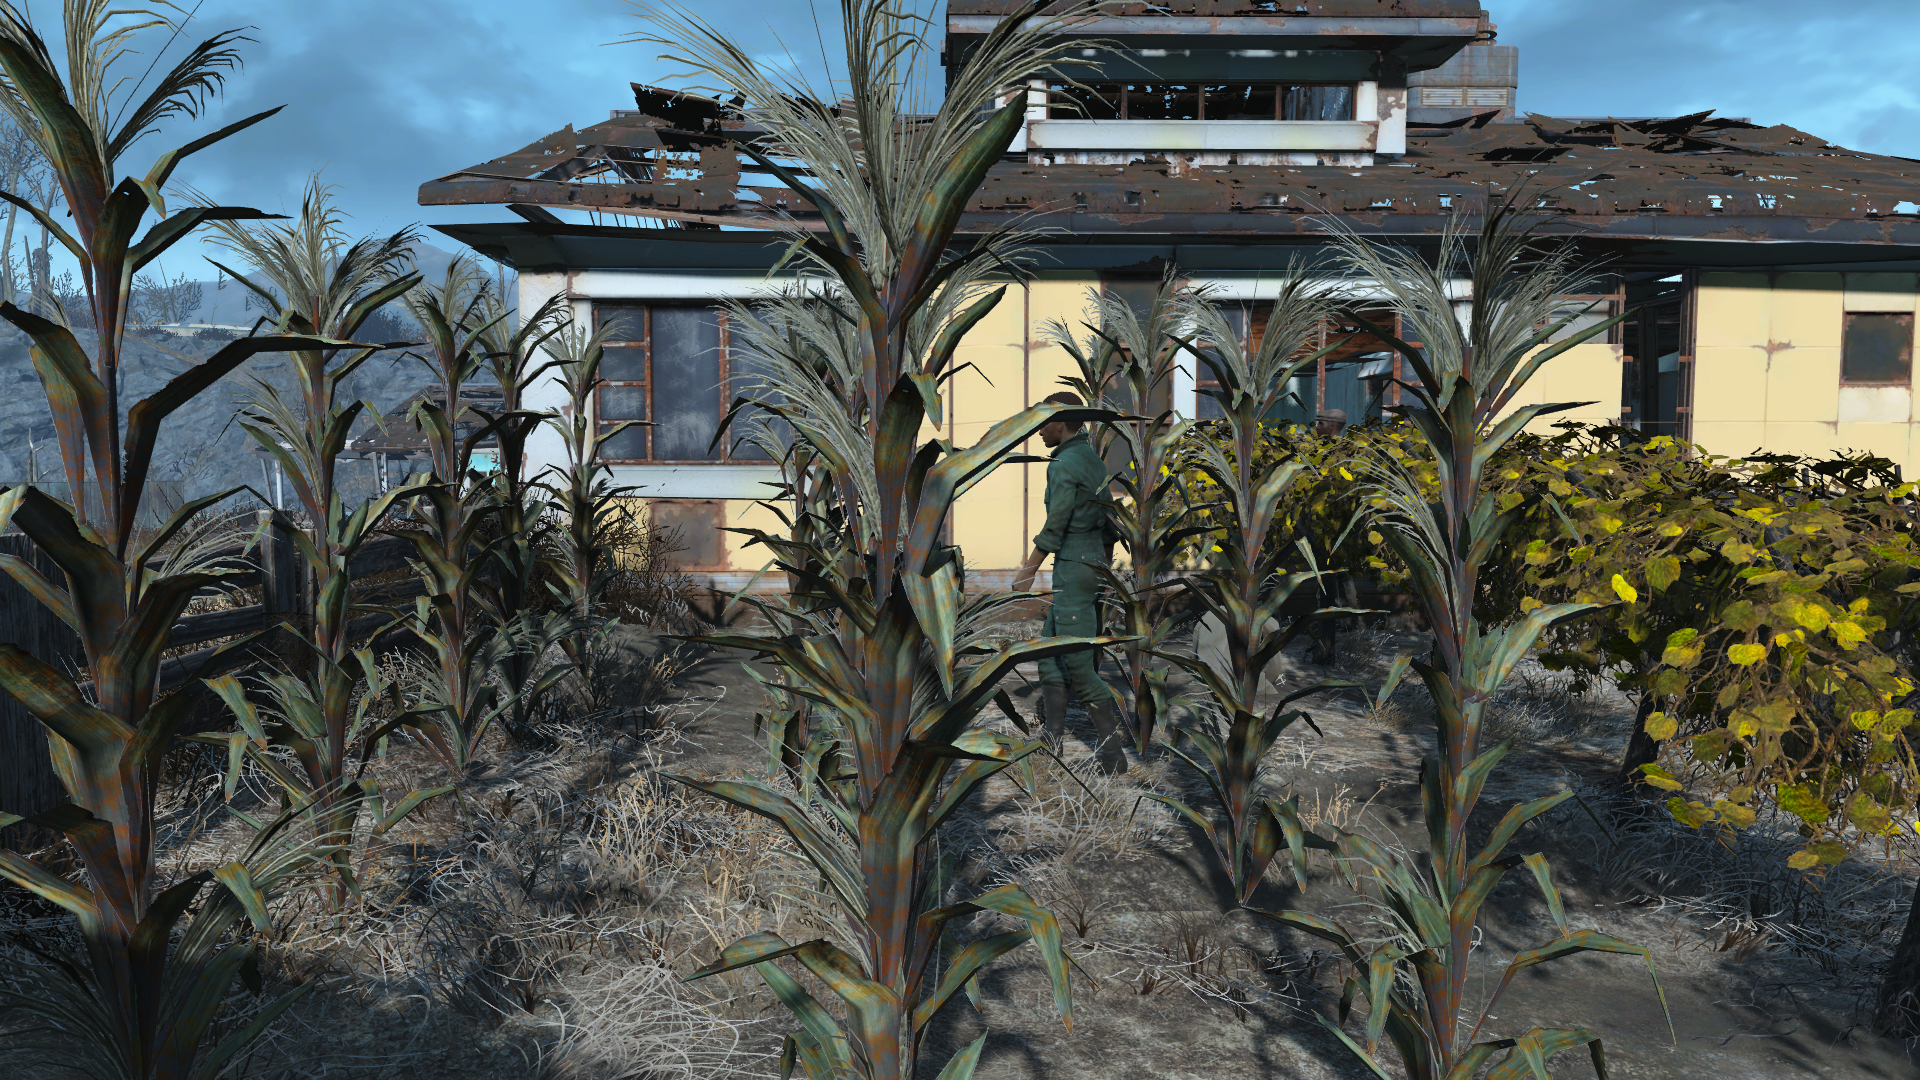
Crops can be placed on any dirt floor. For some settlements, this is basically anywhere. For others, like the Starlight Drive-in, pavement is almost everywhere. For crafting purposes, I prefer to plant corn, Mutfruit, and Tato plants. To plant and harvest food, enter settlement mode. Select the plant (under Resources>Food), find a suitable spot and press E. While still in settlement mode, press E to select a nearby settler, then E again on the plant. This assigns the settler to farm that plant.
Settlers can look after six units of food: that can mean six Mutfruit plants (one unit each) or 12 stalks of corn (half a unit each), or any combination in between. If you see a plant that never has crops when you try to pick it, it’s because no one is tending it.
Step 6: Commerce and Security
Eventually, you’ll need supply lines. After you’ve unlocked Local Leader (which requires six points in Charisma, by the way), you’ll be able to connect your settlements in a network. Settlements in the network share goods. At a settlement, enter settlement mode and select a settler. Tell them to connect a supply line, then choose which settlement you want them to trade with.
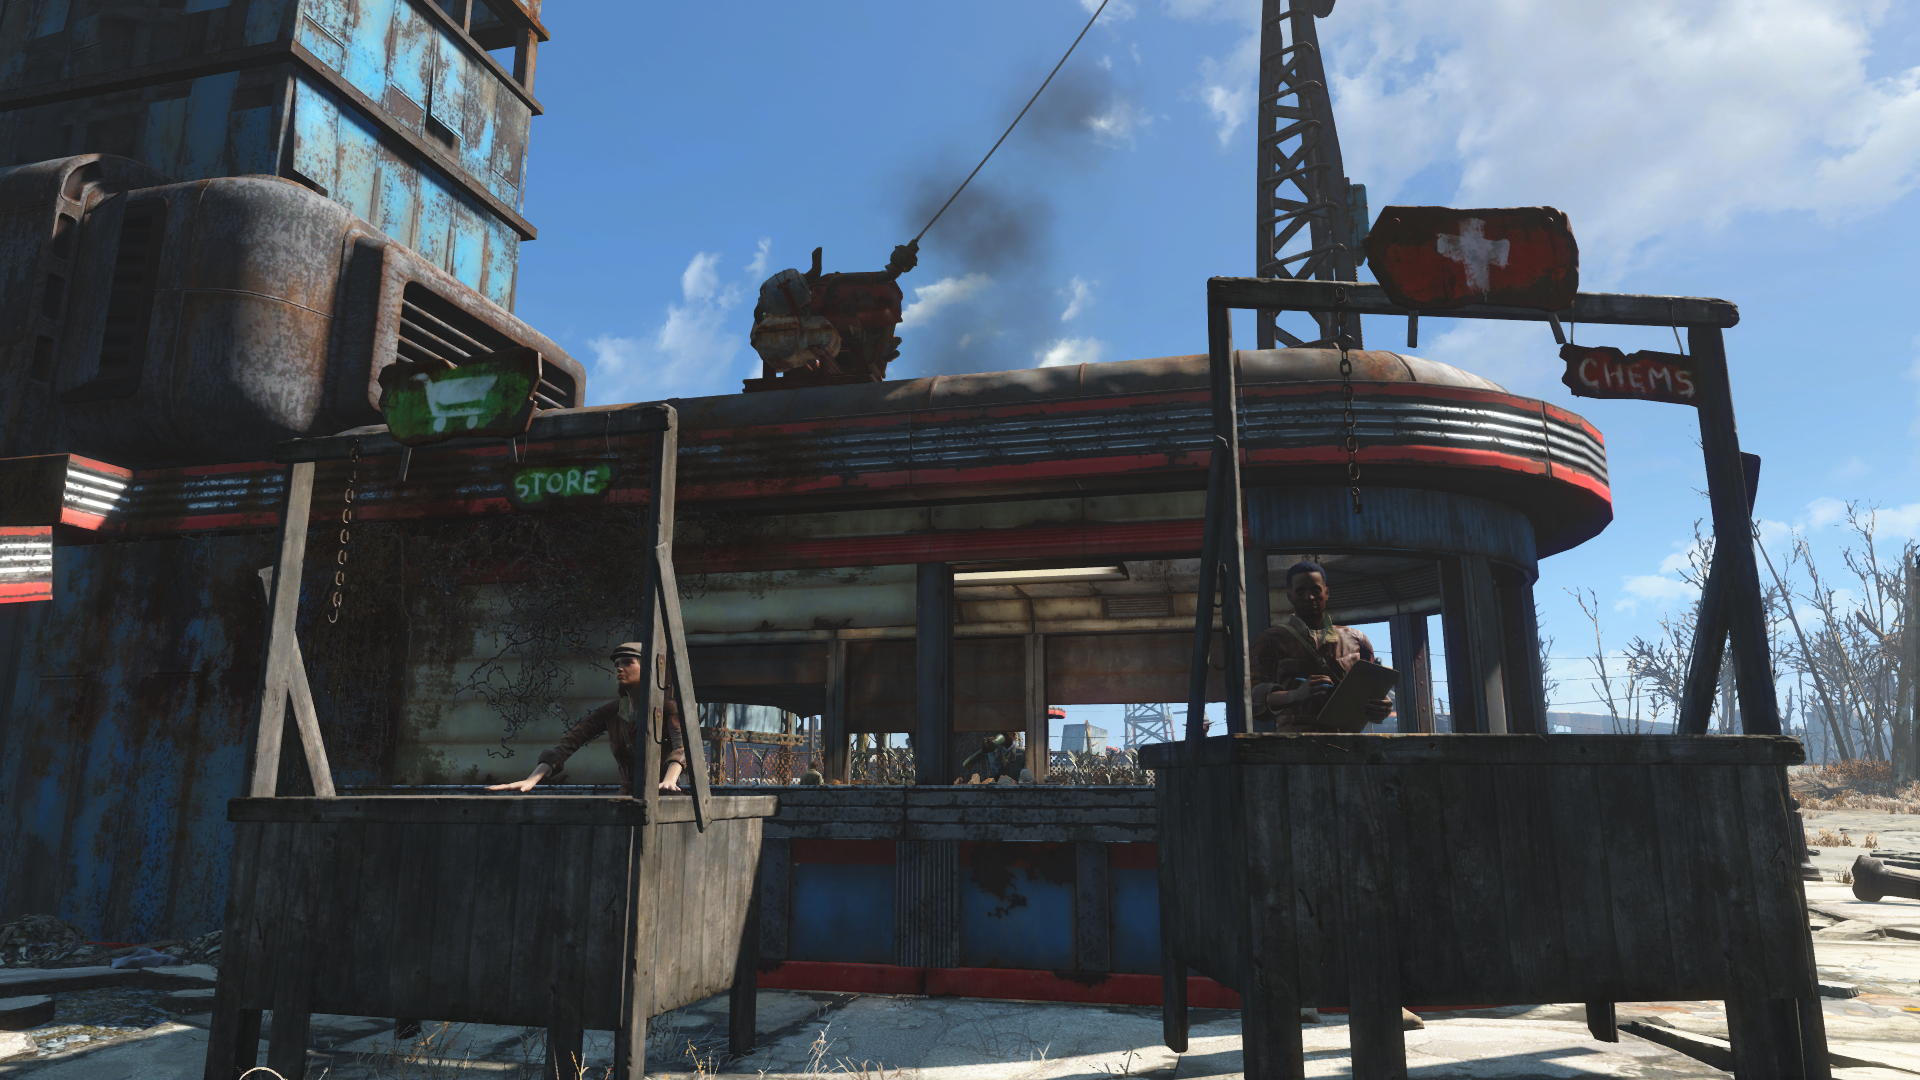
With Local Leader level 2, you can establish shops (which pay you a cut of their earnings) and make new workbenches. You’ll also need to establish guard posts and turrets to provide security, or raiders will come and take everything you’ve built. Walls are good, too, but walls themselves don’t count toward your security score. Use walls to funnel attackers toward one avenue of approach, then line that road with rows of turrets and angry guards.
Don’t forget that you can trade with any settler, which means you can force them to equip certain clothes and weapons. Give your gate guards a decent rifle and a suit of armor. Give your shopkeepers a sharp-looking suit. Do whatever you can to pull this craphole out of the radioactive stone age.
On the next page: power armor...
