How to unseal the well in Assassin's Creed Valhalla
Having trouble trying to unseal the well in AC Valhalla? Then read on.

Looking for a way to unseal the well in AC Valhalla? If you've built the Seer's Hut for Valka in your AC Valhalla settlement, you'll have access to the Asgard story arc that takes you away from 9th century England and drops you into the mythical realm of the Norse gods.
Shortly after arriving in Asgard and closing the gate to Jotunheim, you'll be given the AC Valhalla Well Traveled quest. In it you'll be tasked with reaching the Well of Urdr. It's quite a trek, but luckily you can mount up in Asgard, on your majestic moose.
Once you reach the destination marked on your map, head into the cave and navigate the linear path towards the location of the well. Tyr will meet you here and you'll see a small cutscene before being presented with this tricky puzzle. Read on to learn how to unseal the well in AC Valhalla.
How to unseal the well AC Valhalla
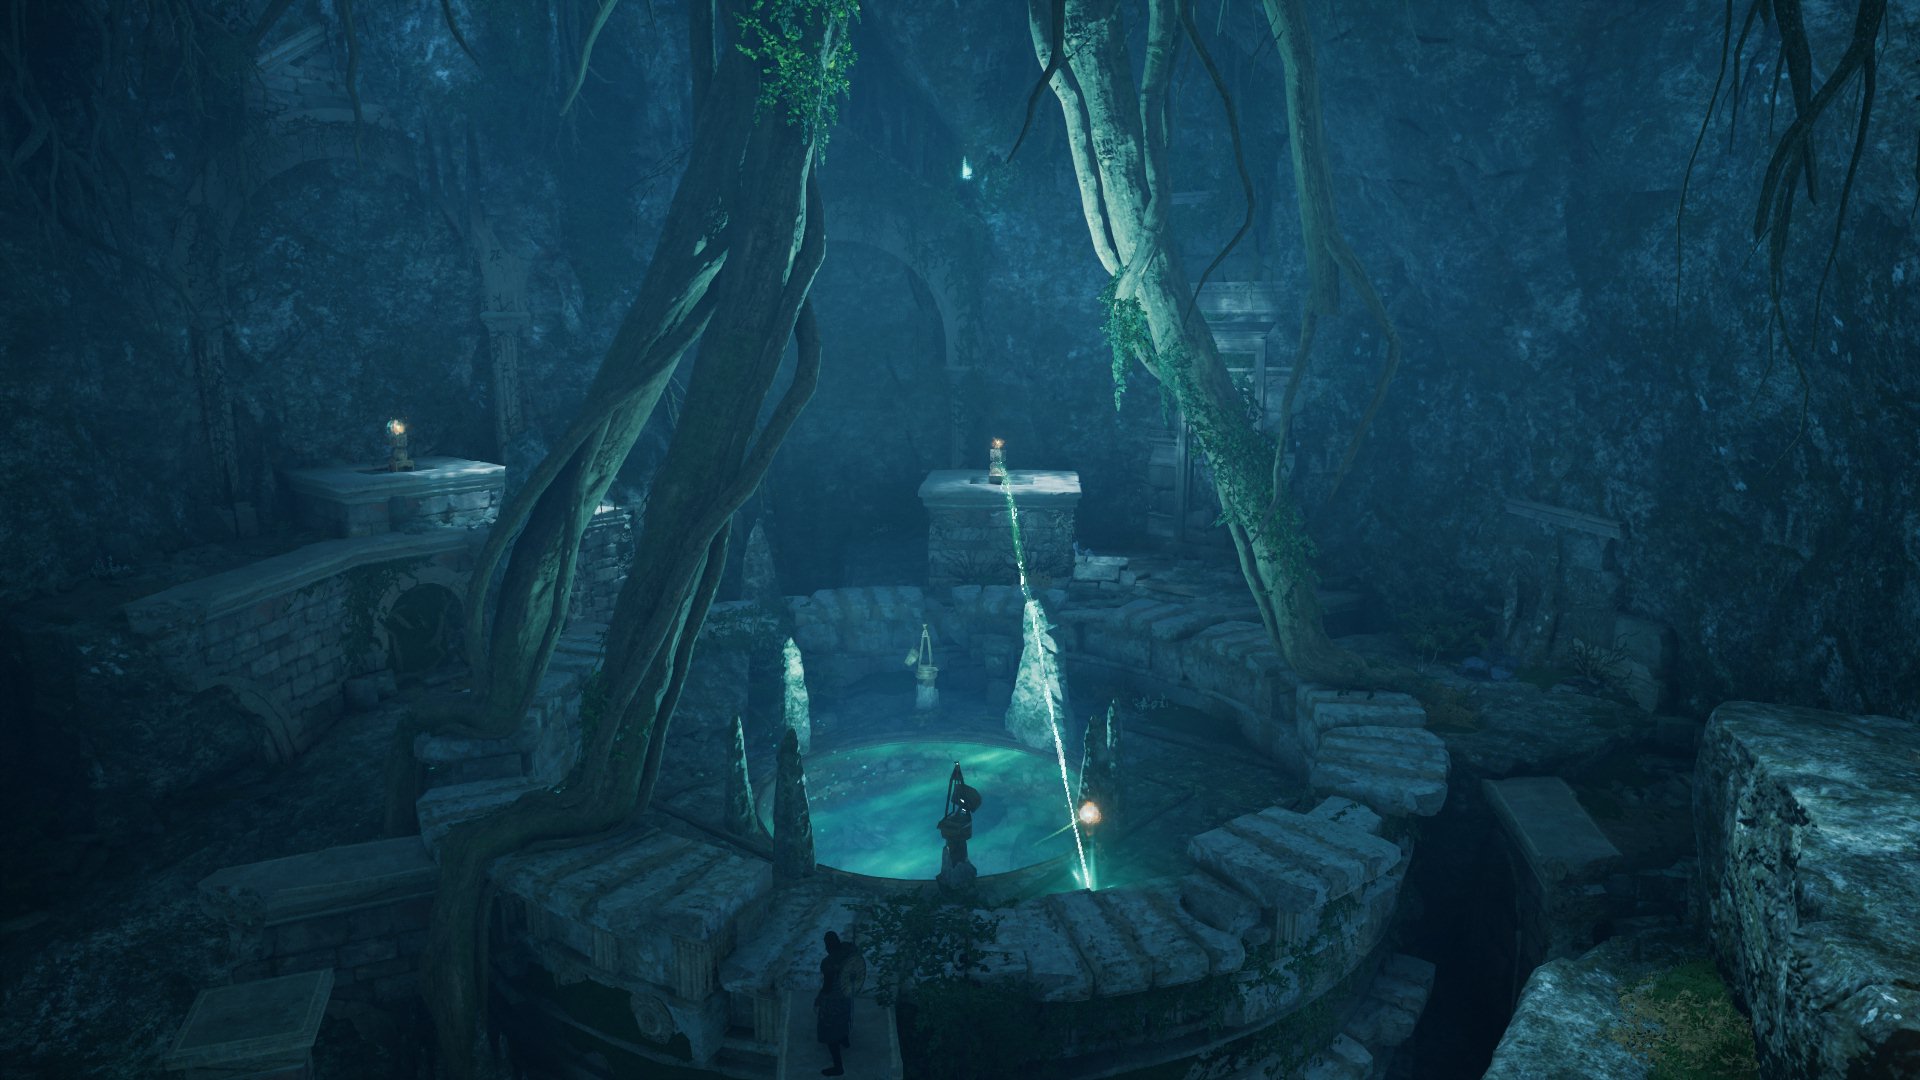
If you've had a good look around the cave with the well, you'll notice that there is only one beam of light but you need to hit two targets. Eivor—or Havi, as she's known in Asgard—will comment that she needs the split the stream of light. But how?
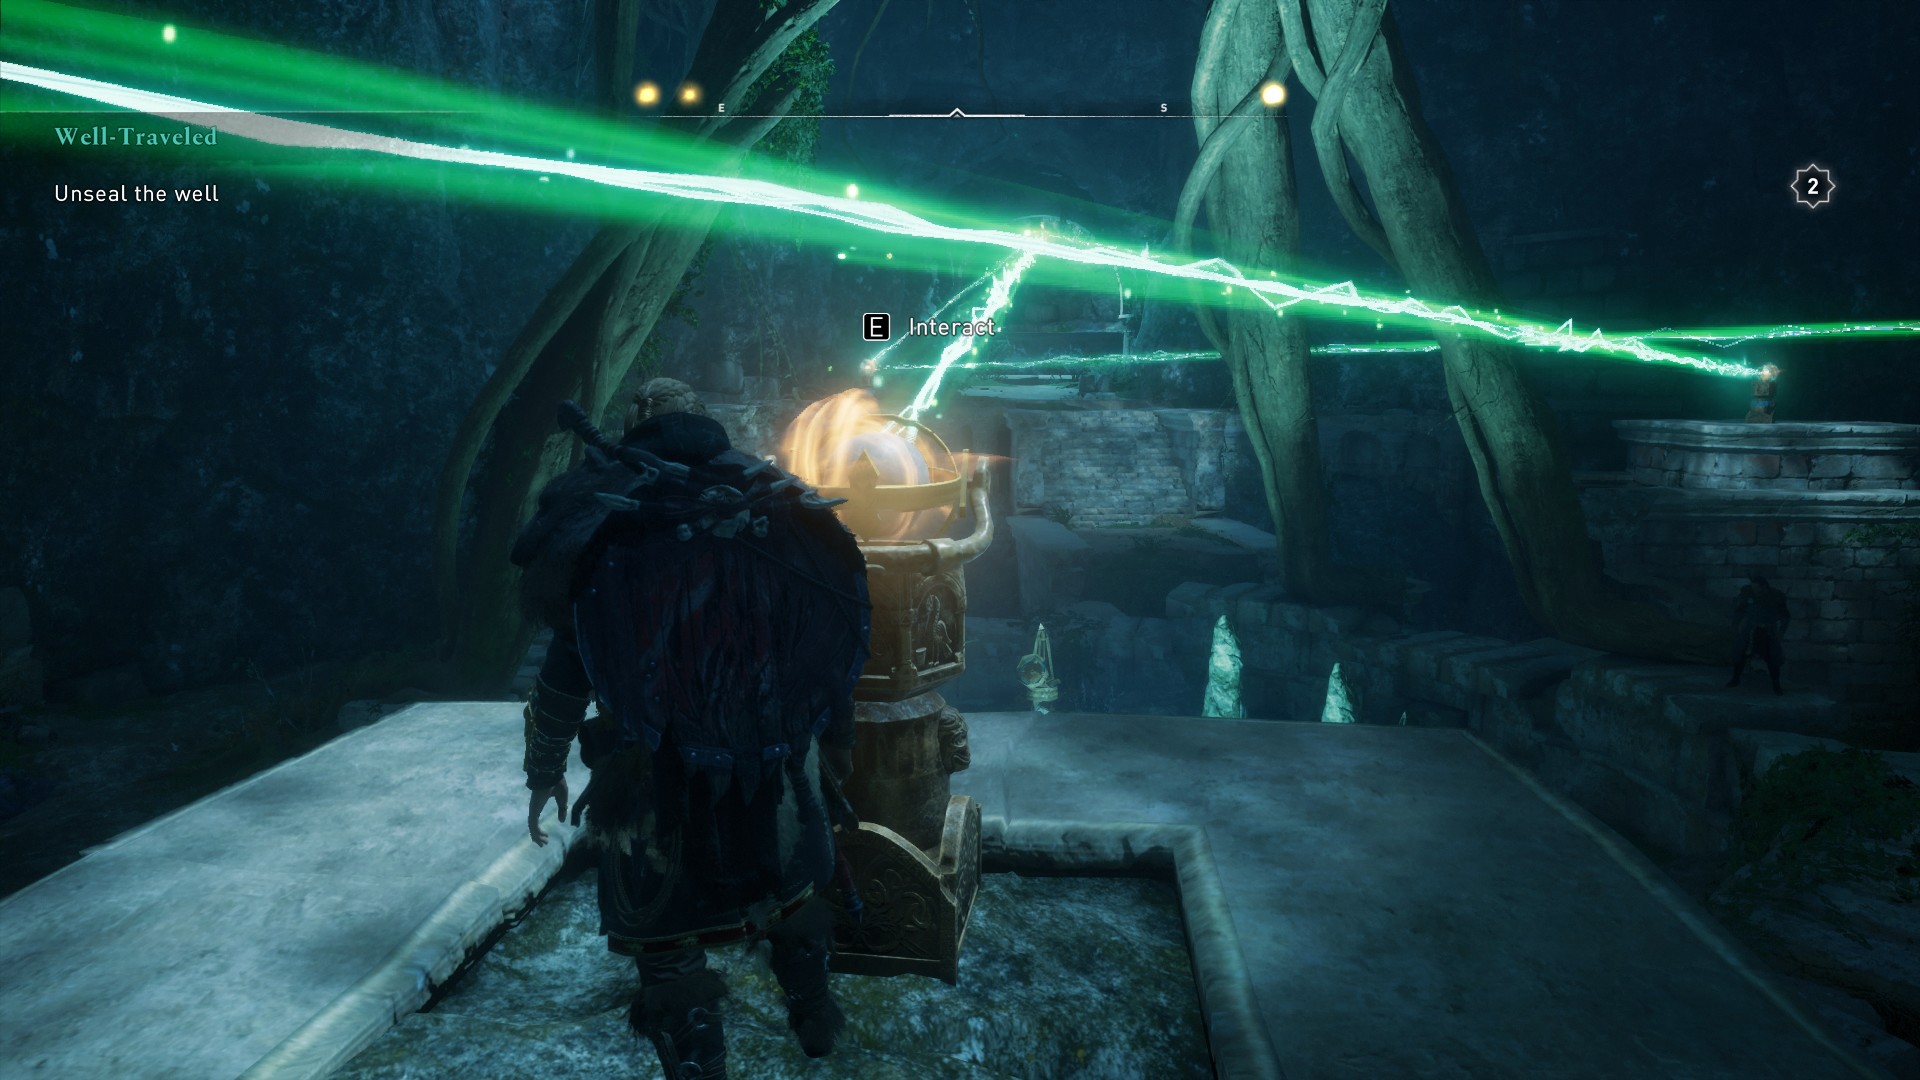
Head to the pedestal with the light beam and look back towards the entrance of the cave. You should see a faintly glowing prism on the ceiling in the distance. Interact with the pedestal here and line up the beam with the prism to send beams of light back into the room with the well.
From here, head to the right side of the room to the pedestal nearest the entrance and position the beam towards the pedestal at the back of the room, also on the right-hand side. Now jump over to the newly-activated pedestal and interact to move the beam to the target next to the edge of the well and closest to you. Eivor should make a comment at this point.

Next, drop down to the side of the well and move the small pillar (with the glowing orb above it) towards the back of the room and around the corner so there are no obstructions between it and the target it was originally next to. Now jump across to the pedestal to the left of the entrance and position the beam towards the pillar you just moved. The beam should bounce from that pillar to the second target. If nothing happens, drop back down and adjust the position of the pillar slightly, until the beam connects.
Keep up to date with the most important stories and the best deals, as picked by the PC Gamer team.
The well should now be clear and you're free to collect the water and continue on.
- AC Valhalla guide: 6 top tips
- AC Valhalla map: All the key destinations
- AC Valhalla armor: The best you can find
- Seahenge standing stones: Answer the emblem

Sarah started as a freelance writer in 2018, writing for PCGamesN, TechRadar, GamingBible, Red Bull Gaming and more. In 2021, she was offered a full-time position on the PC Gamer team where she takes every possible opportunity to talk about World of Warcraft and Elden Ring. When not writing guides, most of her spare time is spent in Azeroth—though she's quite partial to JRPGs too. One of her fondest hopes is to one day play through the ending of Final Fantasy X without breaking down into a sobbing heap. She probably has more wolves in Valheim than you.

