Destiny 2 Garden of Salvation raid guide
Welcome back to the Black Garden.
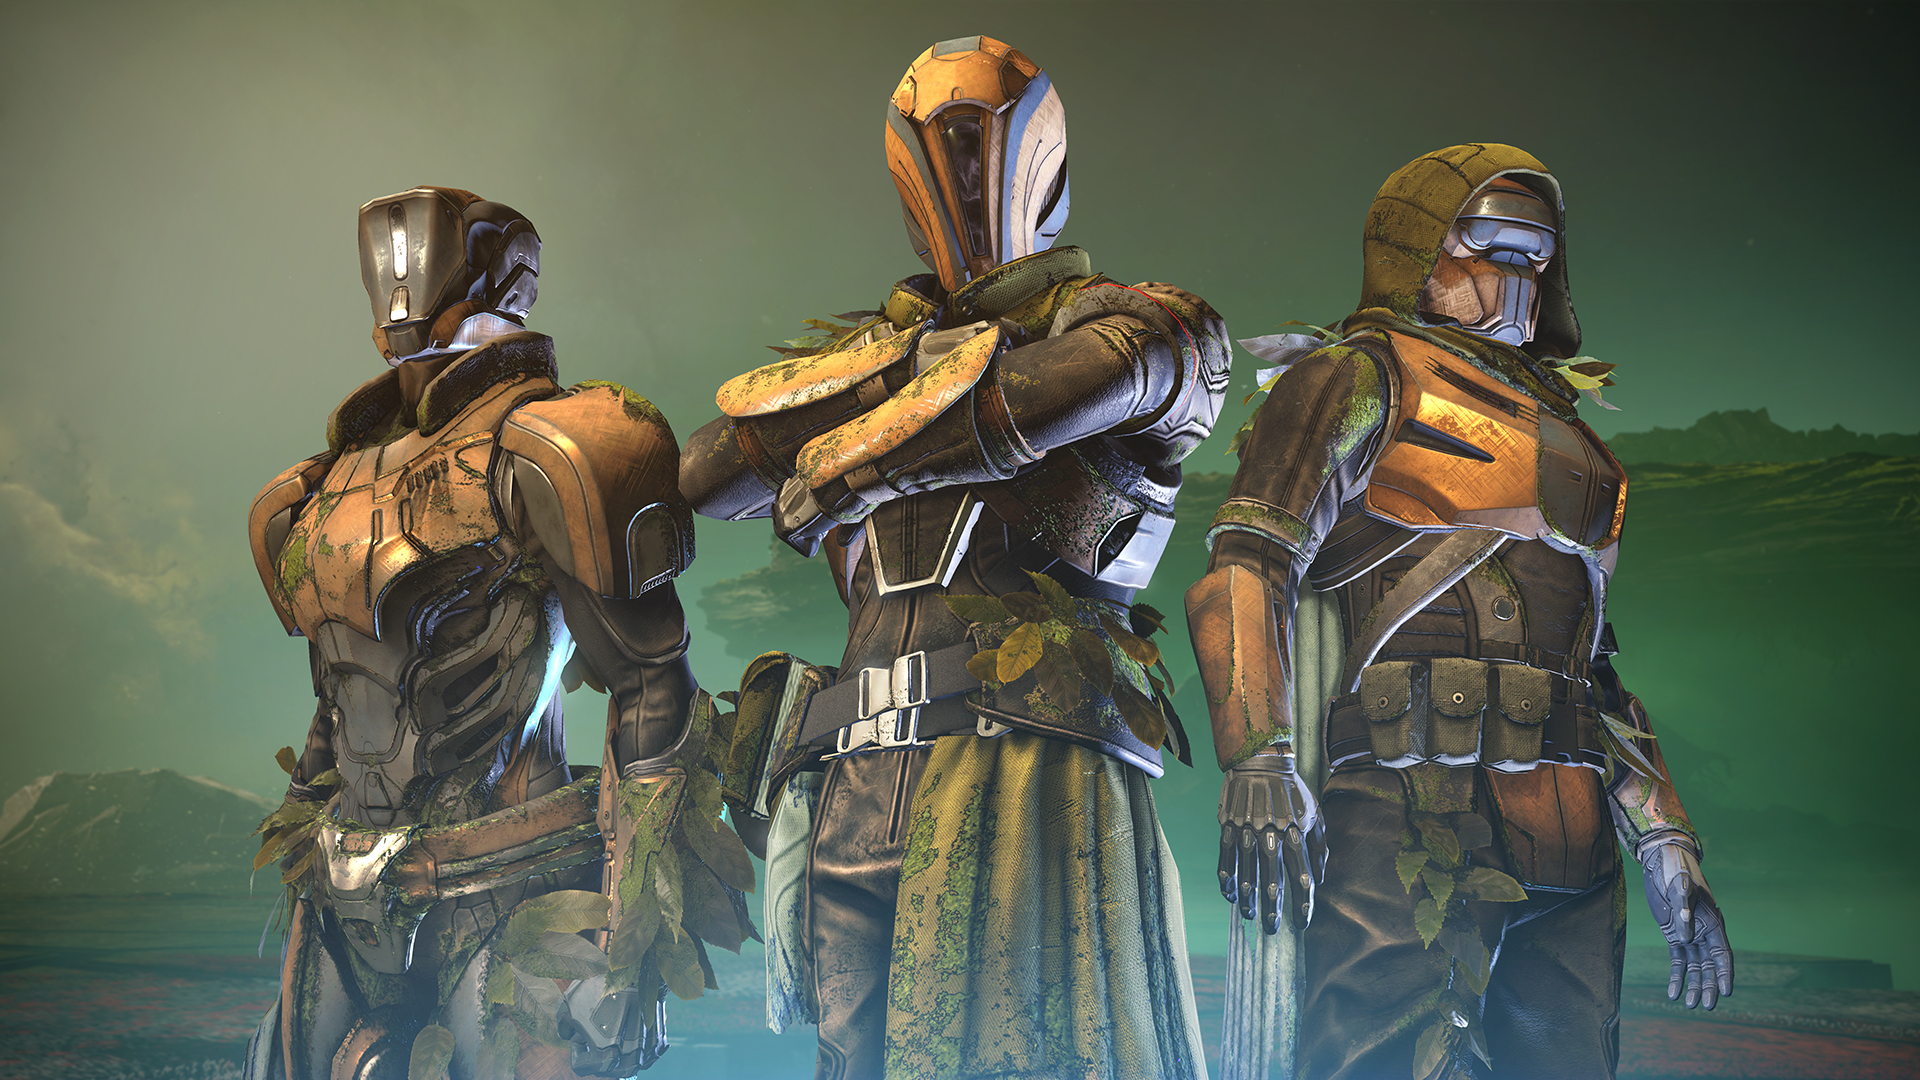
On October 5th Bungie released the Destiny 2 Shadowkeep raid, the Garden of Salvation. Like the raids that came before it, the Garden of Salvation is one of the hardest activities to beat in Destiny. In order to emerge from the Black Garden triumphant, you're going to want a high Power Level, the right gear, and a capable crew. And even then, you might need some help.
Here are my tips—along with a full walkthrough—to help you survive the Garden of Salvation.
Preparation
All good Boy Scouts know that they should always be prepared, but what does that mean for Destiny 2’s latest raid? Well, it means being the right Power Level and having the right equipment.
You're not going to get far in Shadowkeep's raid with a low Power Level. Based on what we've seen from players challenging the raid its first weekend, the Garden of Salvation is best suited to players above 940, but players can definitely tackle the initial encounters at lower levels. If you are at a lower Power Level, it’s worth noting that you will take more damage and deal less.
Next up is to understand your enemy. The enemies in the Garden of Salvation are the Vex. What that means is that Void damage is heavily favoured to deal with minotaurs. For resistance mods on your armour, a healthy mix of different elemental resistance can go a long way.
It’s also important that your fireteam is able to use both Anti-Barrier and Overload mods for their chosen weapons. Depending on what phase of the raid you are taking part in, you can be flexible and switch these mods out for different mods.
Suggested weapons
Destiny 2 has a massive arsenal, but not all weapons work efficiently in this raid. So if you’re able to use any of the weapons below, you’ll find that felling the mechanical menaces of the Garden of Salvation is that bit easier.
Keep up to date with the most important stories and the best deals, as picked by the PC Gamer team.

This article was funded as part of a paid partnership with Bungie to promote the PC Gamer clan. Find out more, including how to join, here. All Destiny 2 content on this site—including this article—was created independent of Bungie, and solely reflects the editorial opinion of PC Gamer.
The Recluse - A great weapon that can be modded with Seasonal Artifact Anti-Barrier Rounds or Overload Rounds to deal with numerous different enemies throughout every phase of the raid.
Riskrunner - One of the OG Destiny 2 SMGs, it’s good to see this arc monster finally get a chance to shine in a raid. While Riskrunner works a treat for most phases, it really shines in the final phase because its signature perk is easy to proc using the vex goop on the ground.
Izanagi’s Burden - In both Phase 2 and in Phase 4 there are particular points in which precision damage is favoured, and the ability to create a single Honed Edge x4 shot for one high damage blow means that this sniper is a great pick.
Wendigo/150 RPM Grenade Launchers with Spike Greandes - Still kings of the Power Weapon meta thanks to the sheer amount of burst damage that they can deal.
Even if you don’t have these weapons, fret not. A lot of these weapons have counterparts that can be easily substituted in. In fact if you’re at the 940 level, most weapons can do the job in the right hands. These are just a few of my picks for that added oomph.
Best loadouts
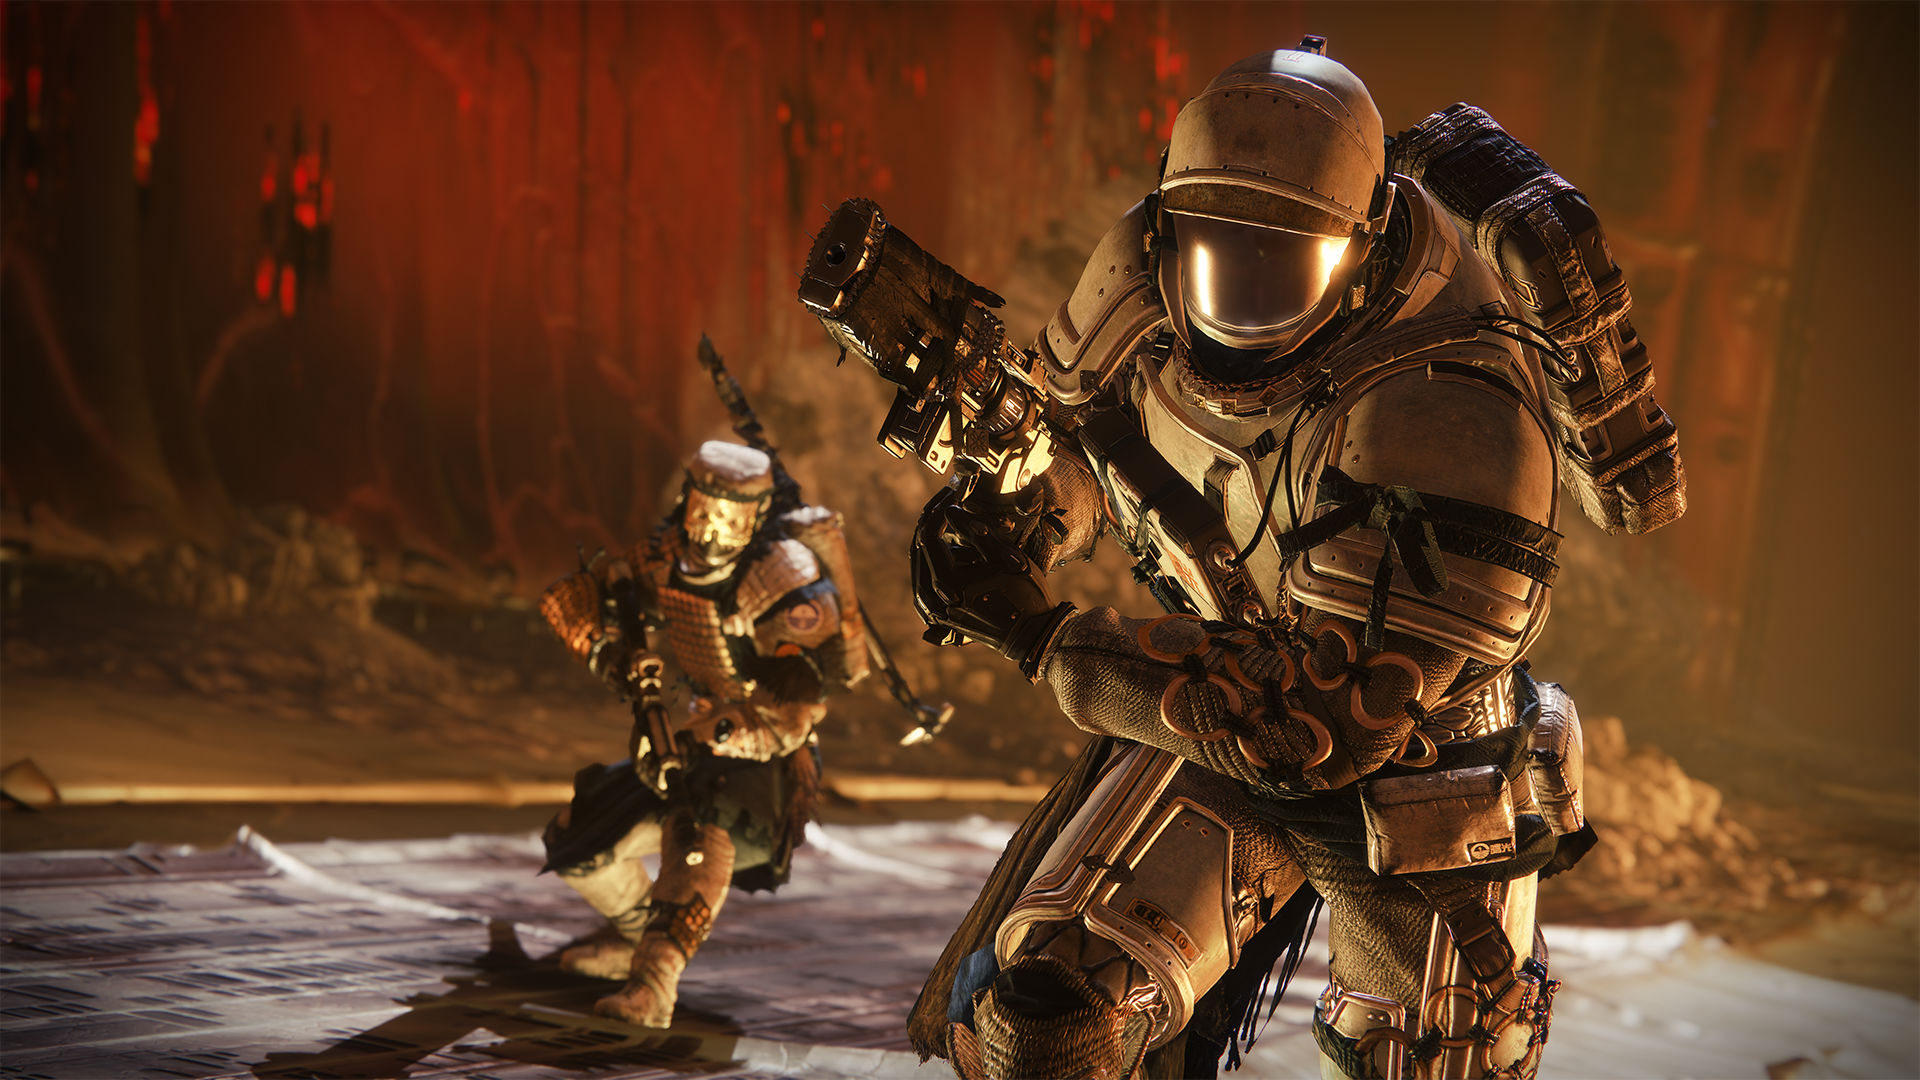
Hunters - If you a Hunter player, you’ll know what’s coming. It’s time to break out your Orpheus Rigs and make the most of your Shadowshot. Thanks to the Seasonal Artifact mod, Overload Grenade, you’ll find that the Shadowshot class can be very flexible in dealing with the variety of Champion enemies in the raid. A large portion of the Garden of Salvation relies on clearing waves upon waves of enemies, so the ability to generate large numbers of orbs for your team and constantly refill your super thanks to Orpheus Rigs means that it’s hard not to pick this class.
Destiny 2 Shadowkeep raid - conquer the Black Garden
Destiny 2 armor 2.0 - the new system explained
Destiny 2 Shadowkeep roadmap - what to expect
Destiny 2 Shadowkeep exotics - all we know so far
Destiny 2 Season Pass - price, rewards, and more
Destiny 2 Deathbringer - get the exotic rocket launcher
Destiny 2 leveling - zoom your way to soft cap
Warlocks - Even with some of the previous nerfs to the subclass, Well of Radiance with Lunafaction Boots is still strong throughout the raid and will help sustain your team in Phases 2,3 and 4 when fighting from stationary points. If you’re feeling spicy and already have a player using Well of Radiance, you can also add an extra Dawnblade user on top to help clear a lot of the waves of enemies from a safe height.
Titans - It’s time to bubble up, Titans. Thanks to the return of the Weapons of Light perk from the Titan’s super, Titans are now key in dealing damage in boss phases. Their ability to protect and buff an entire party with their super means that they are integral to team fights and can come in clutch in tight spots when the Well of Radiance has failed you. You can even place both at the same time for increased weapon reload speeds and the additional Weapons of Light damage buff to power through the harder damage phases of a boss.
These loadouts aren't musts to conquer the Garden of Salvation, but they will help. If you don't have what you need for these builds, any roaming supers with high resistance, like the Warlock’s Stormtrance and Titan’s Hammer super, can do the job. On top of that, nobody ever really turns a blind eye to a Hunter willing to bust out the Celestial Nighthawk when a little extra damage is needed in boss phases.
Garden of Salvation guide: Phase 1
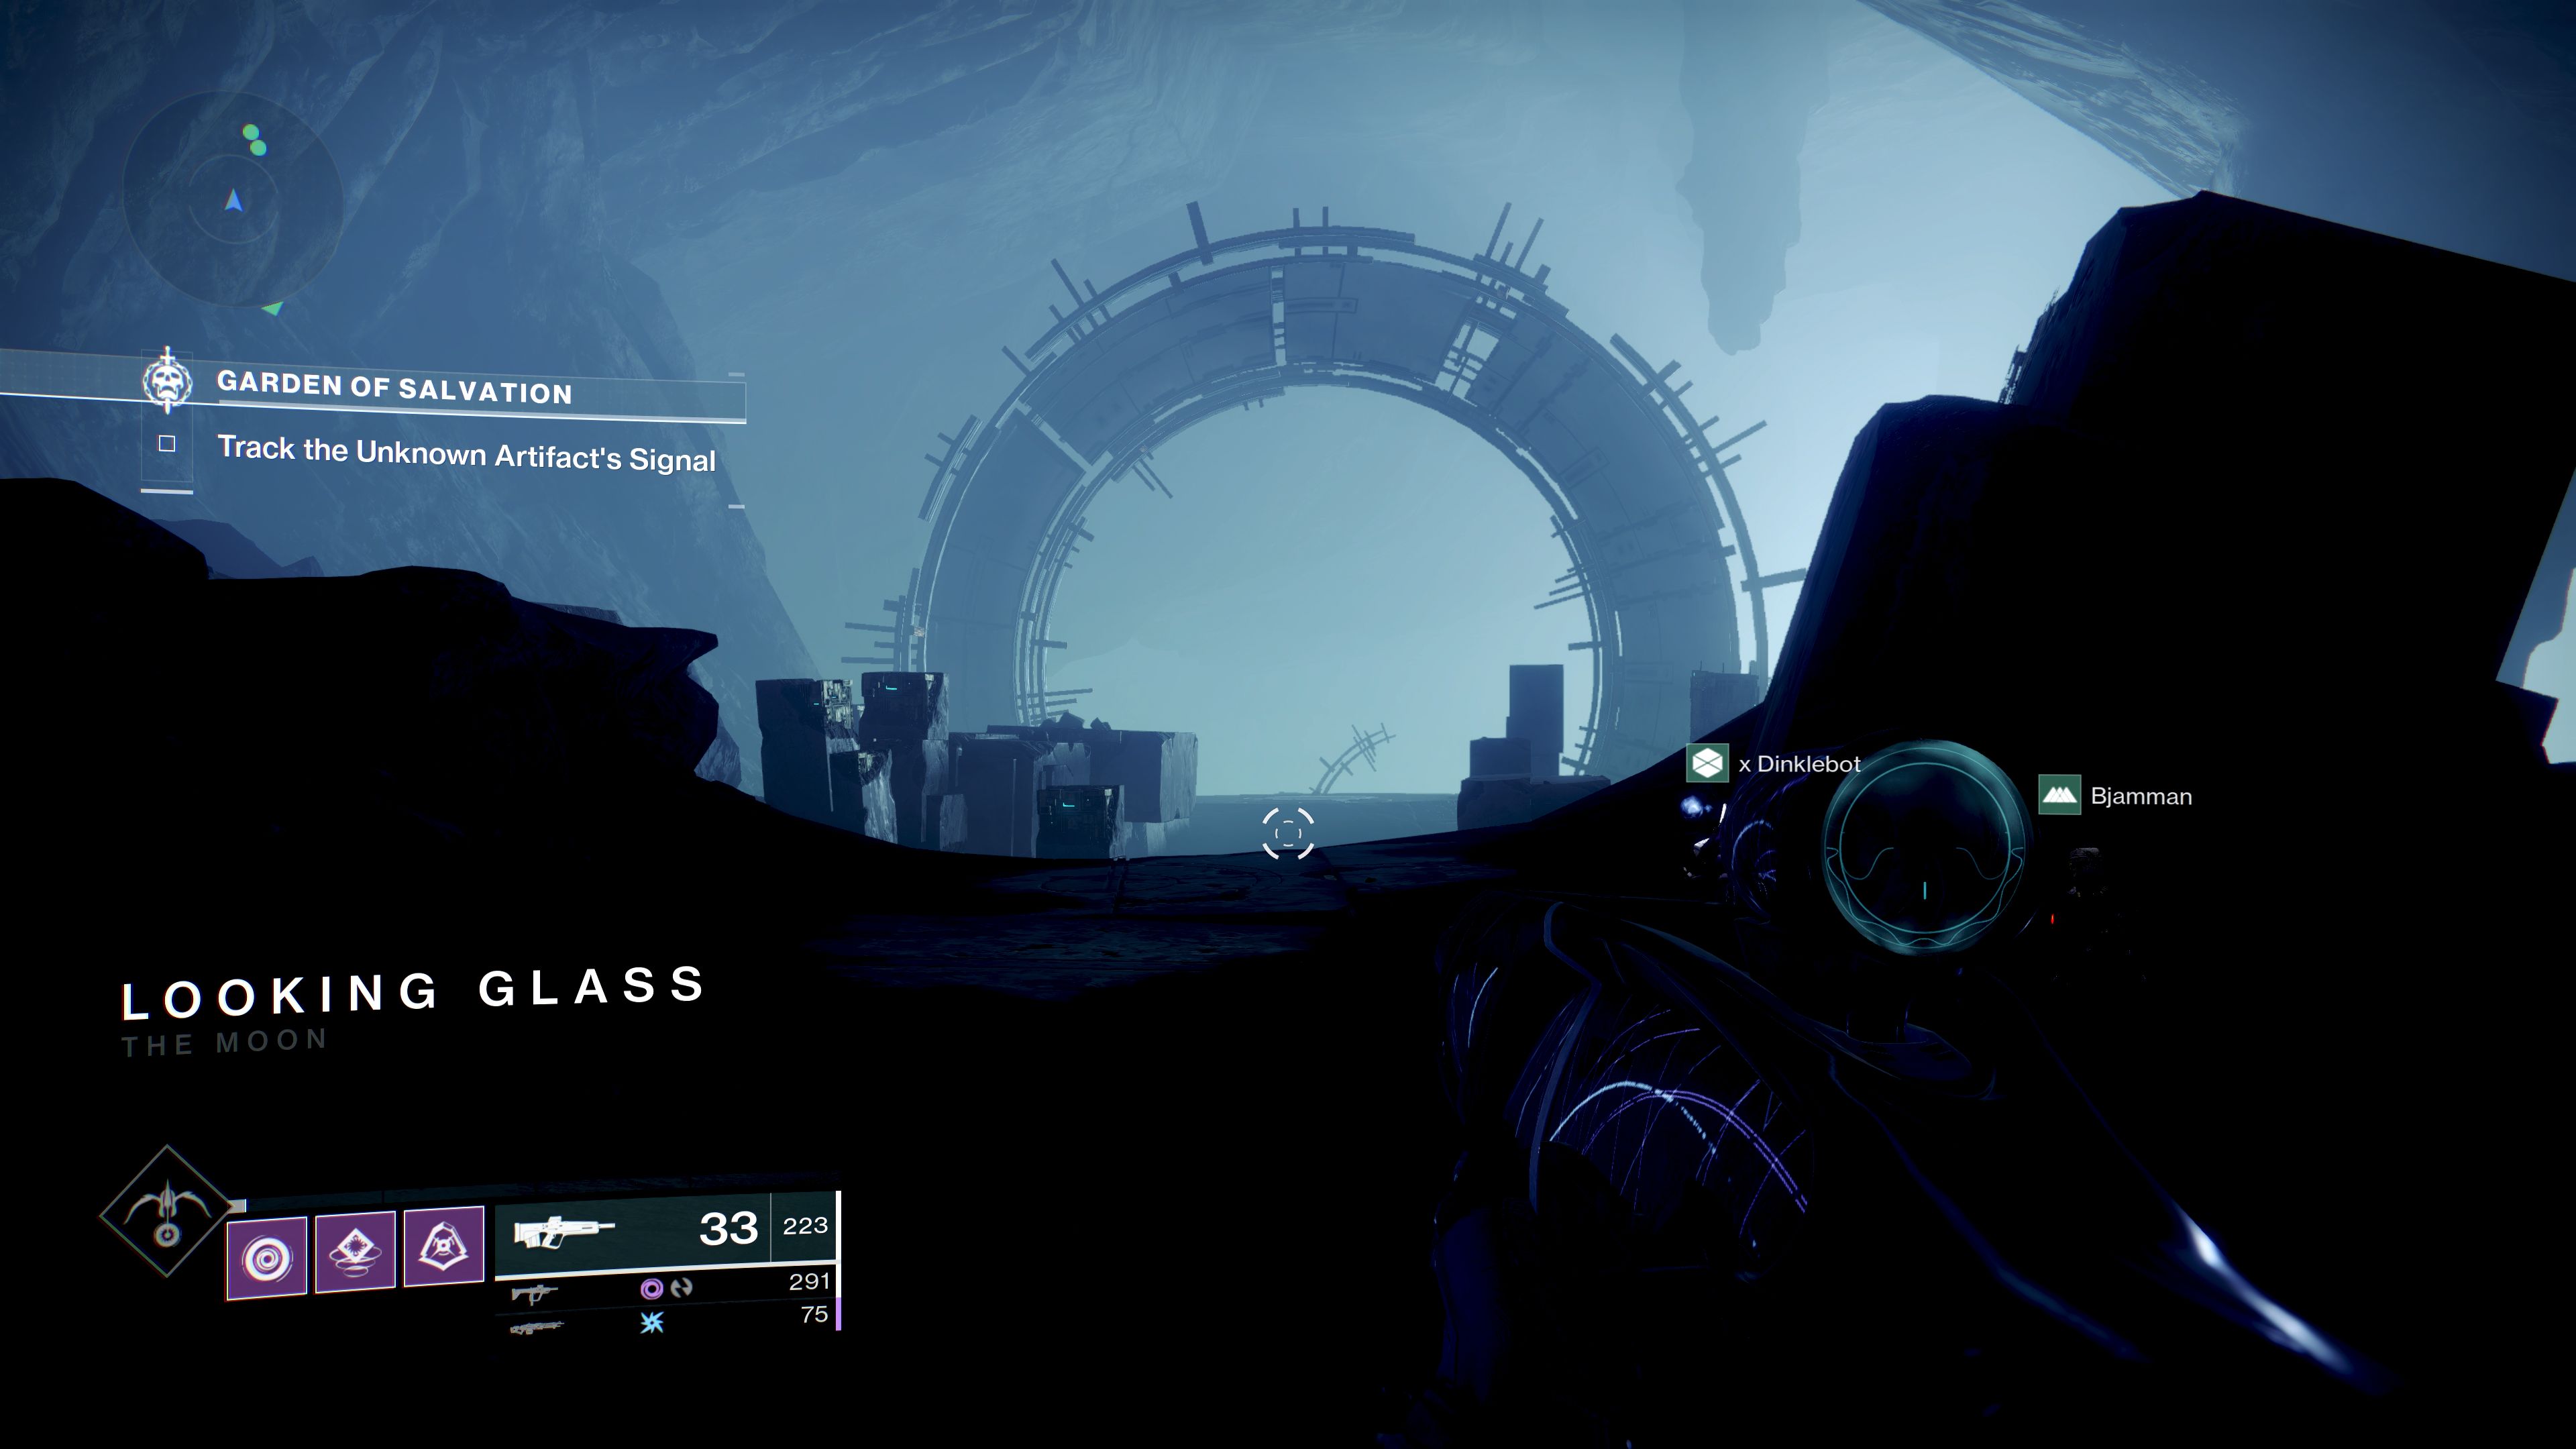
After you fight some enemies outside of a big Vex gate, you officially enter the Garden of Salvation. While in the first room, you’ll notice a unique enemy grappling onto a minotaur. This whole section is about that enemy.
Before you start this phase, it’s best to split into two teams. The first team will wait in the room you are currently in while the second team will have to prepare to enter the next room. This will be a theme for this entire encounter, as it involves slowly progressing to the next area in a staggered fashion as two teams. If possible, it’s also a good time to equip your Overload mods to your weapons, as they are required in this encounter for Champion Minotaurs.
Both teams perform the exact same tasks, but not in tandem. Those tasks are either to:
- Defeat enemies and collect buffs dropped by the Vex boss
- Clear waves of enemies until a cube unlocks to create a path of light to open a shielded door
With both, you'll always be clearing enemies. Connecting a box is a fairly simple task, and doing so in the first area will start this encounter. One player should stand directly under the box and shoot the box once, activating the tether. You will now see a beam of light connecting you to the box. A second player should now stand a short distance away to become tethered to the previous guardian. The aim is to connect this tether to large door by effectively creating a conga line of players. This will happen on three occasions throughout this phase.
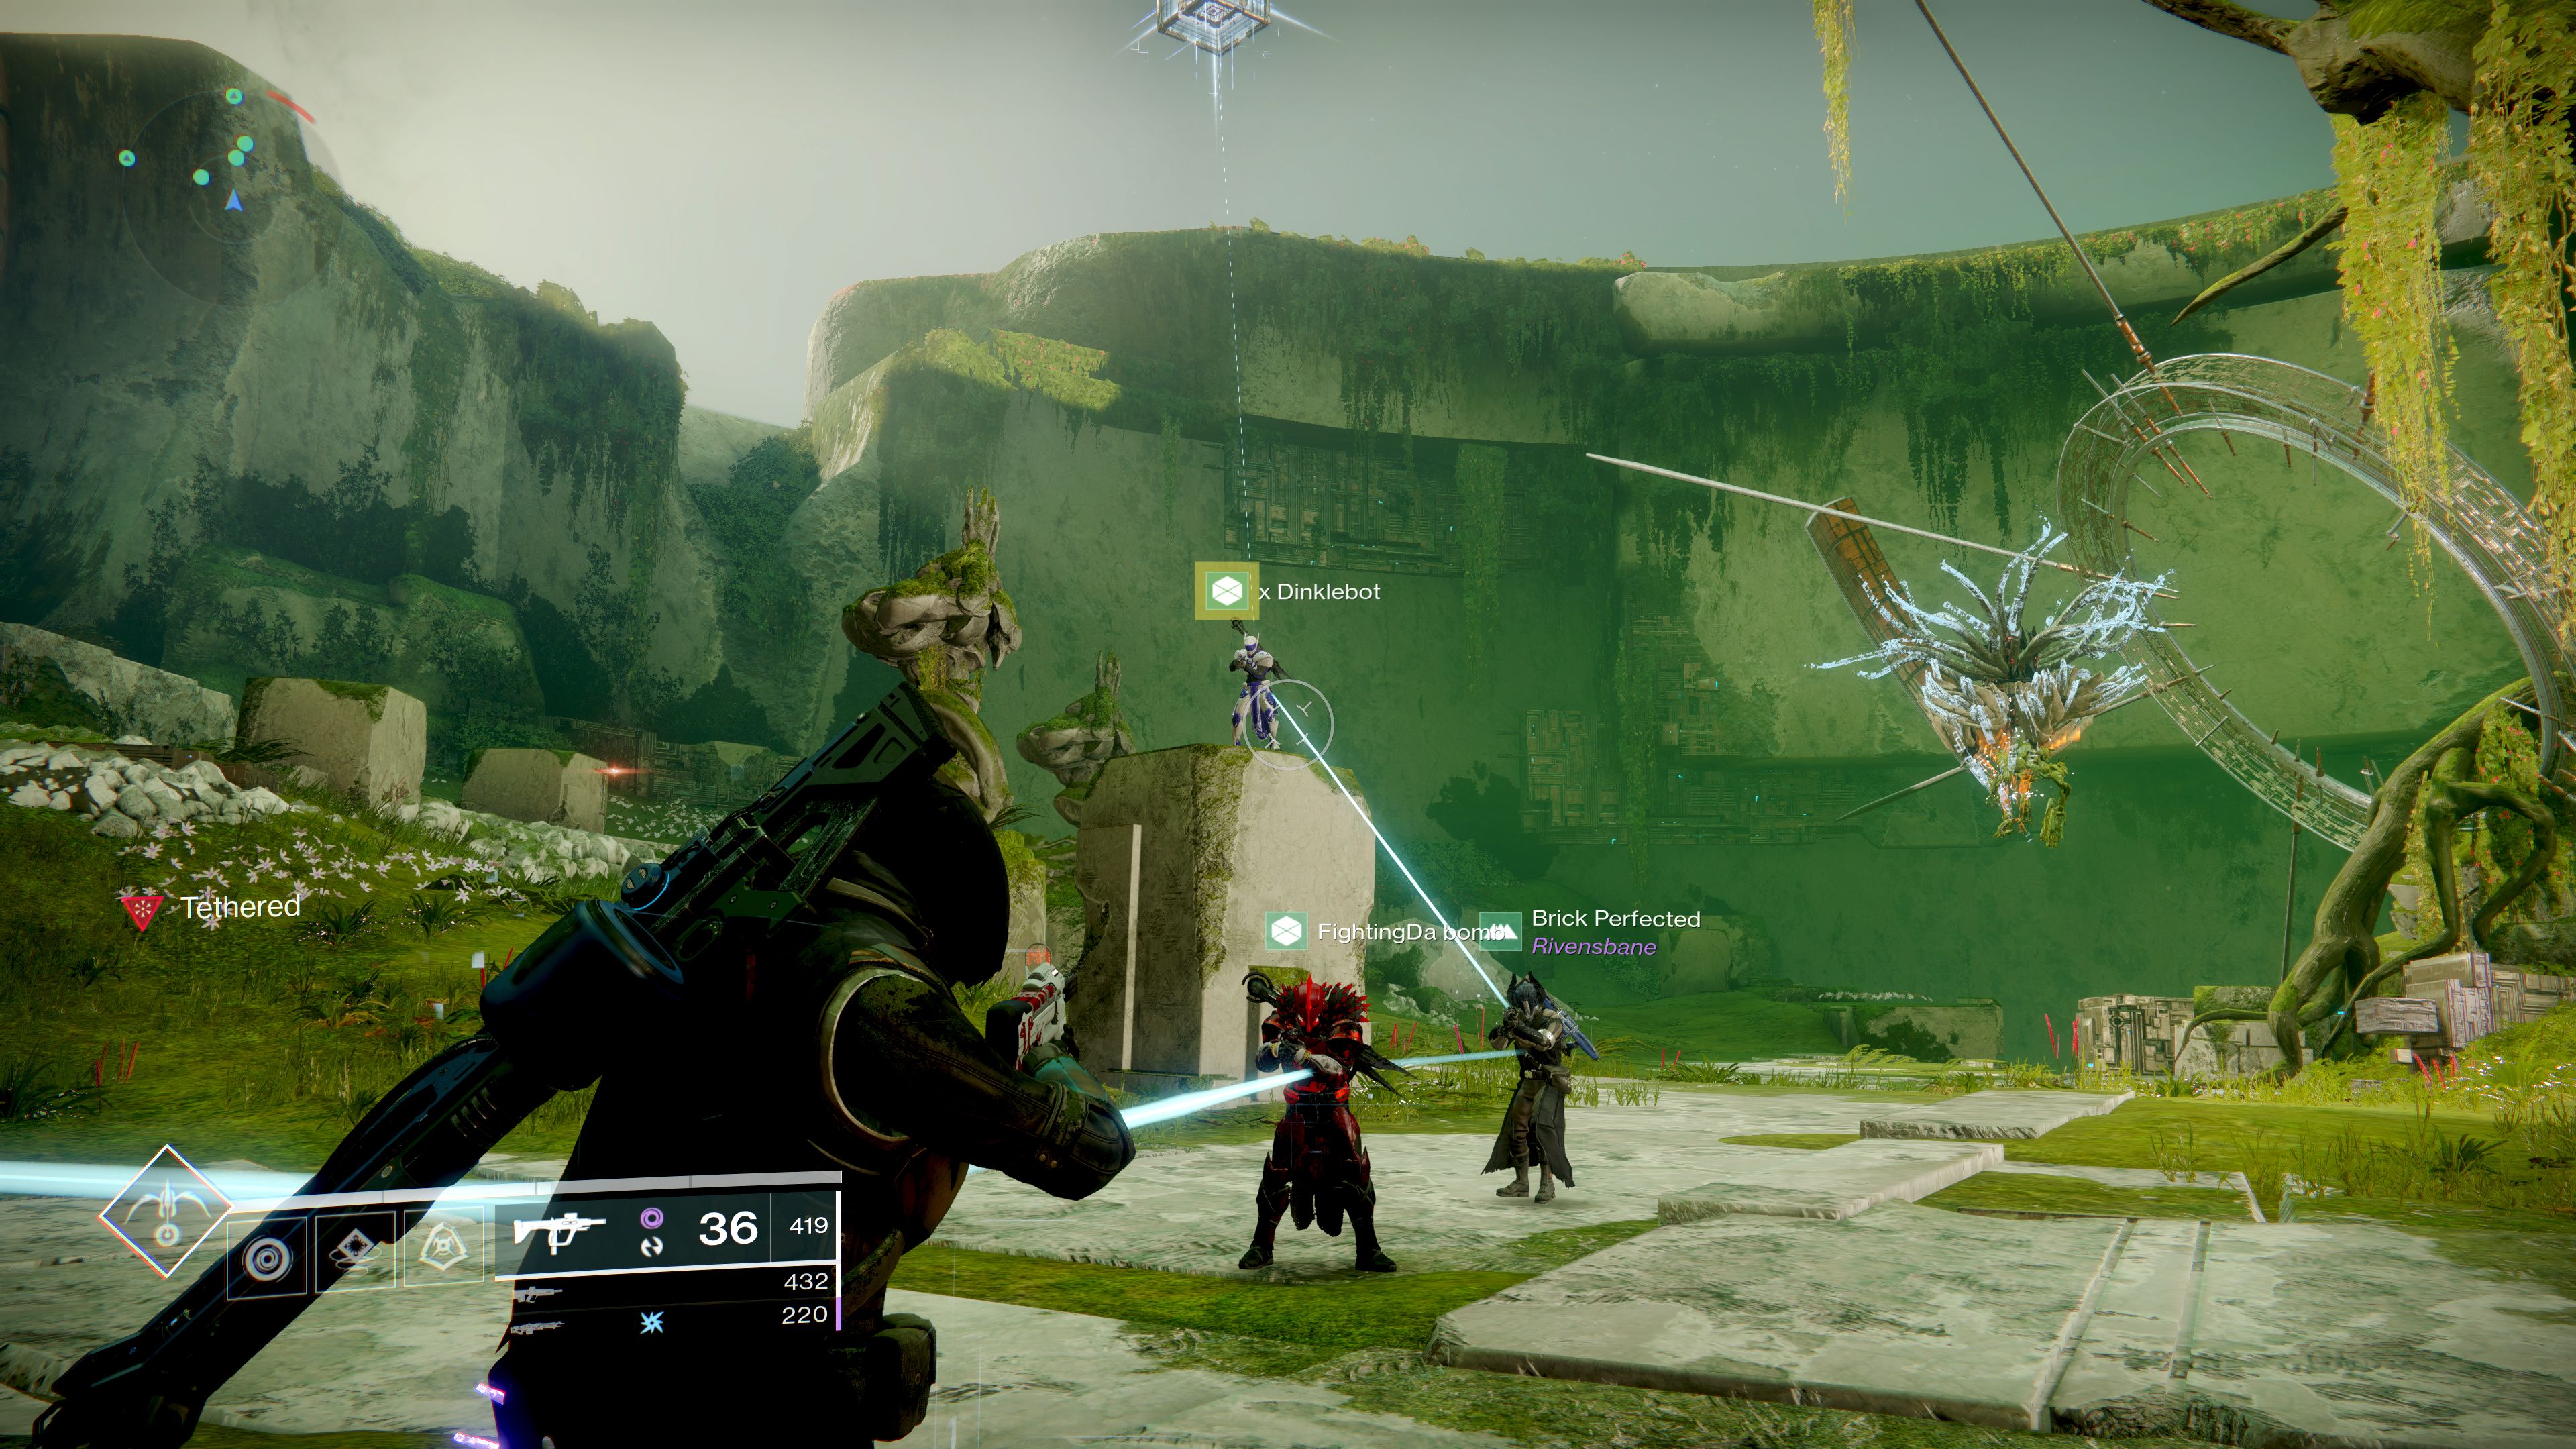
Team 1
After the door has opened, one of the teams of three players should enter the next room. While in the next room the players will need to clear waves of enemies, including a Champion Minotaur that will die much more easily if you have an Overload mod equipped, until a special Vex Hydra spawns. Upon killing this Hydra, another box will appear in the arena that needs to be connected to the closed door at the back. At this point the three players in this area should again shoot the box once and form a conga line to connect the light to the door.
Team 2
While the above is happening, the other team will remain in the first room killing an onslaught of Vex. This team will need to keep an eye out for the boss dropping a cube that provides a buff called Voltaic Overload, with a two minute cooldown. Survive, kill all the enemies, and pick up these buffs as they appear.
Important: Each player can carry no more than one of these buffs. Picking up a second while in receipt of the Voltaic Overload buff will cause that player to die instantly. In clutch situations that means you can opt to sacrifice yourself and collect the buff knowing it will kill you, as that's preferable to the whole team wiping.
Team 1
As the players in the second area connect their path to the door, the boss should then teleport to the second room. You'll now have to fight the waves of enemies, pick up buffs, and survive within this same room, while team 2 leave the first room, run through the second room and into the third room.
Team 2
Run from the first room to the third room. You'll now have to kill waves of enemies in quick succession, including a champion Vex Champion Minotaur followed by a Hydra before connecting a cube to the door. After they unlock this door, there will be a fourth room. These players should remain where they are and continue to pick up Voltaic Overload buffs while the other team unlocks the fourth and final door.
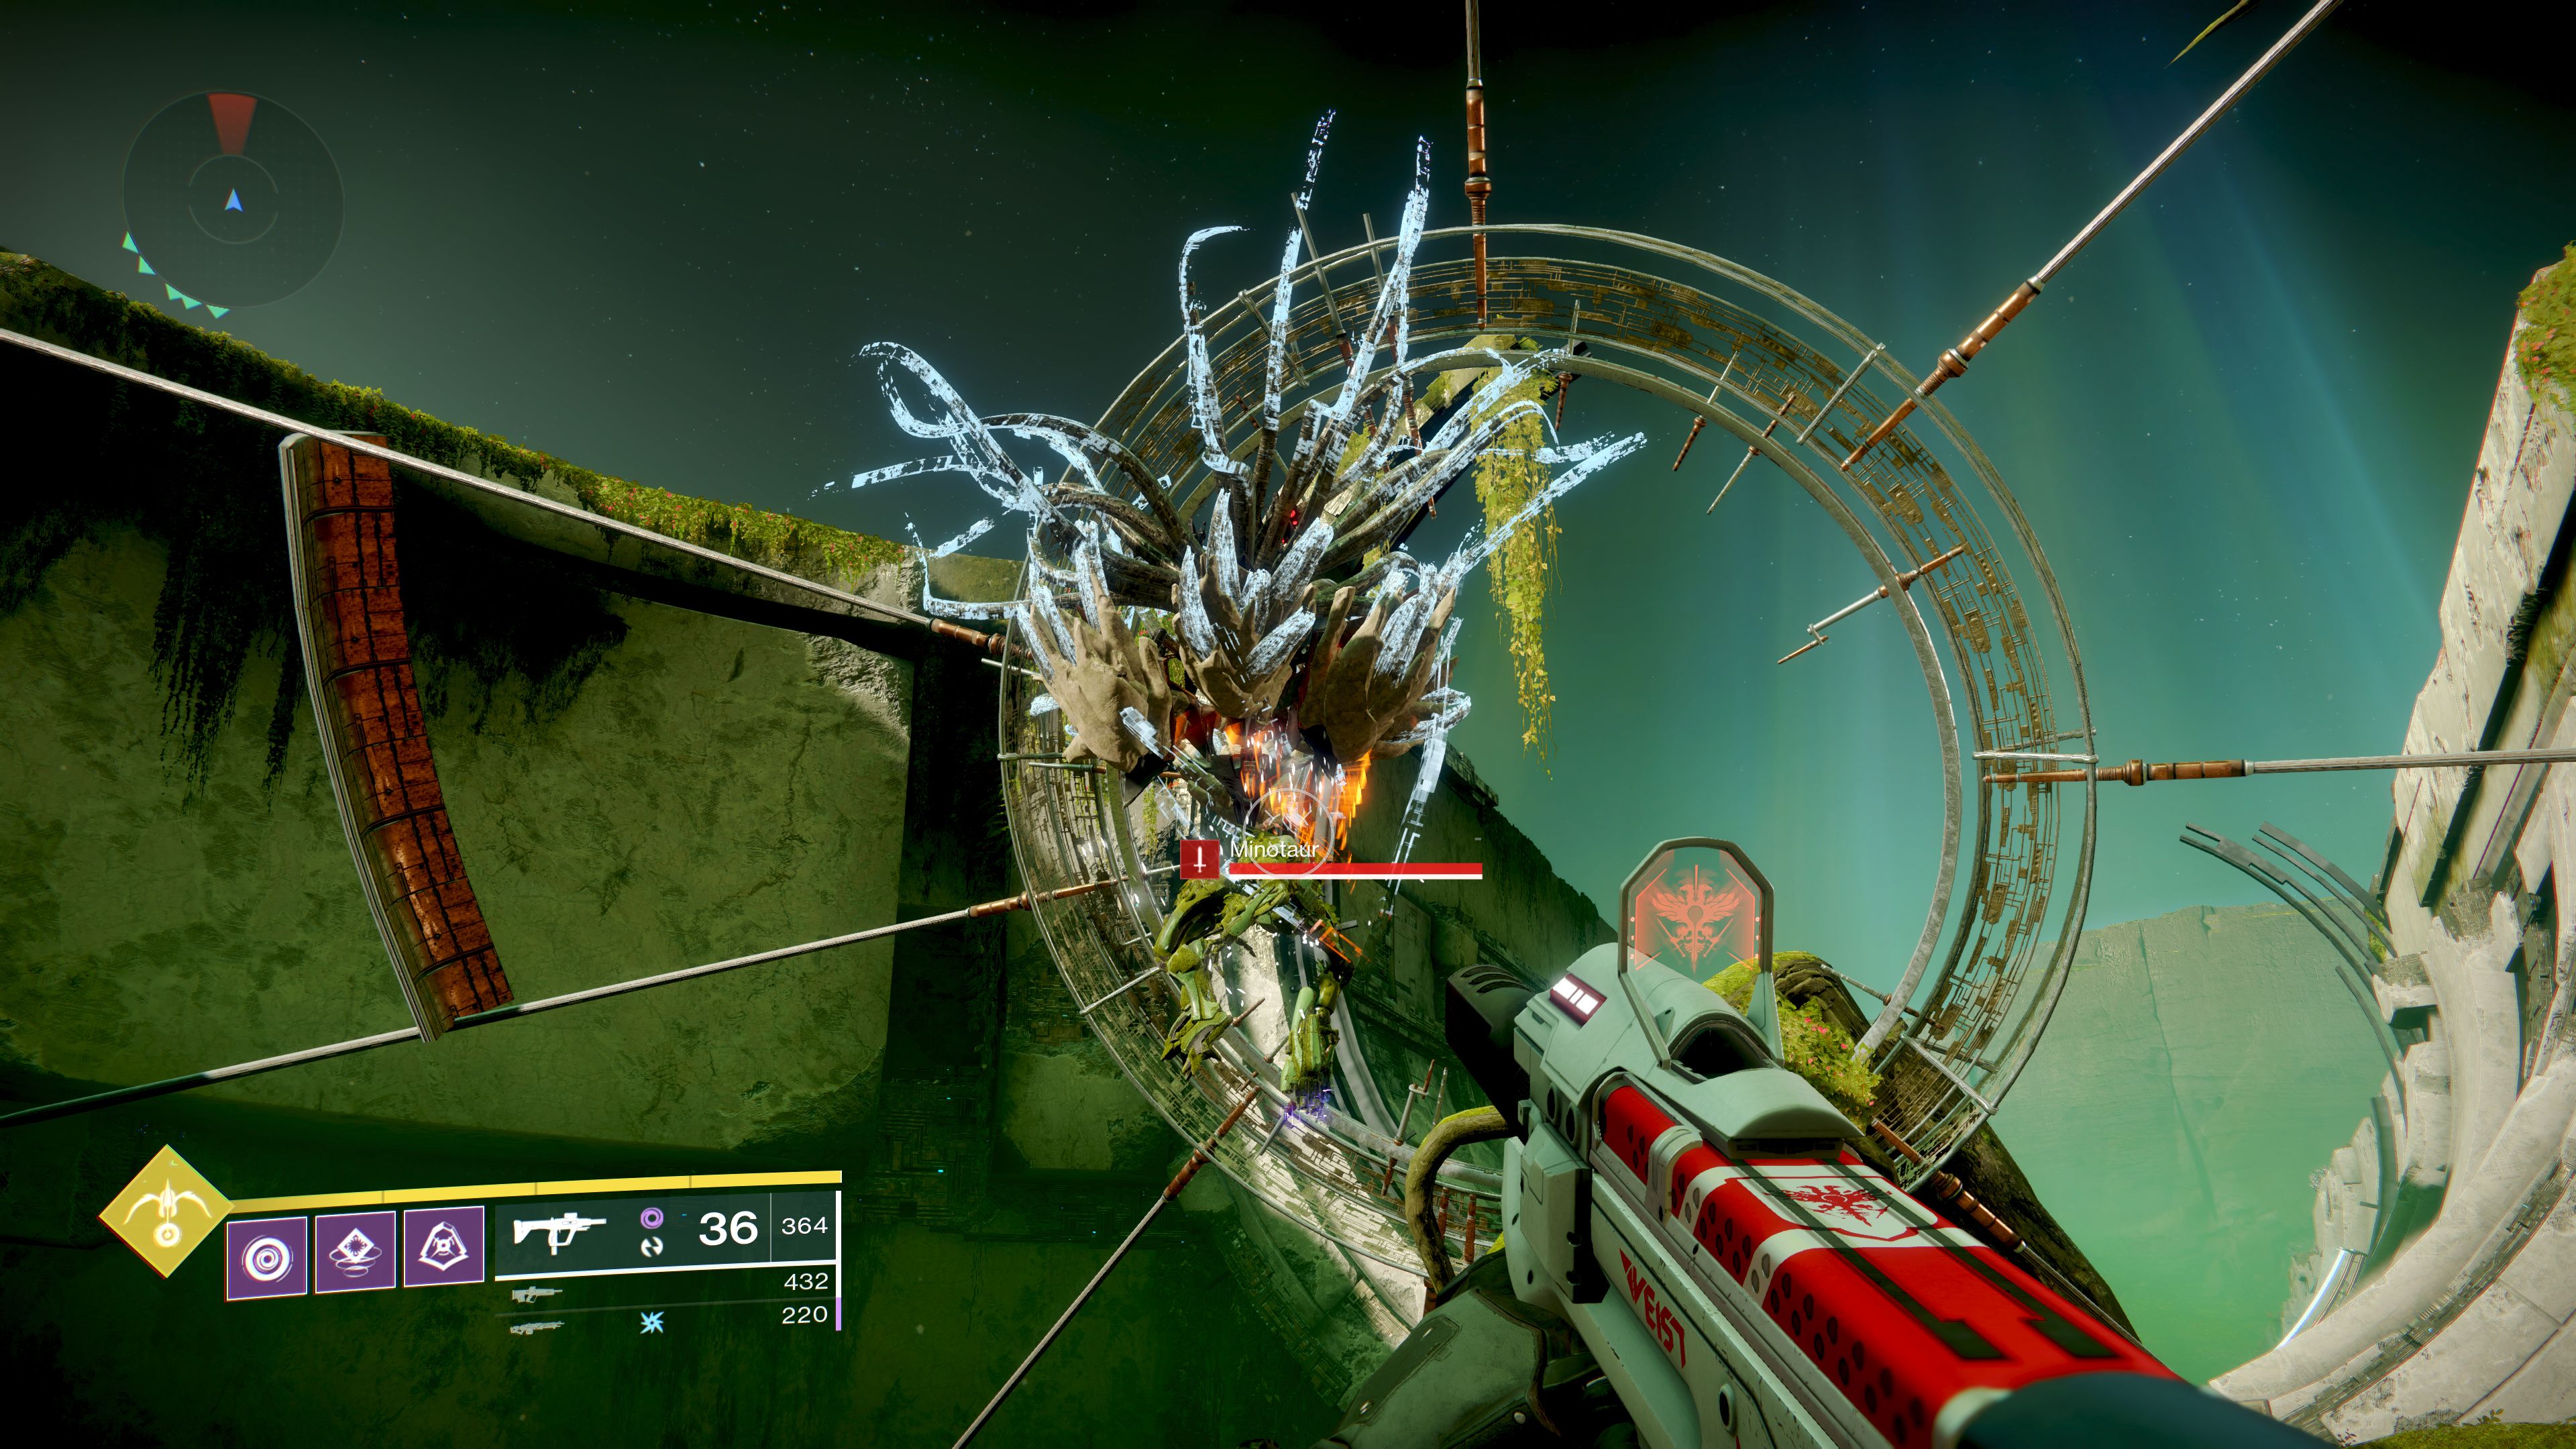
Team 1
When the fourth room opens, the team in the second room will have to hastily make their way to this room and defeat all the enemies inside. Within this room there will be three cubes, all of which need connected to the door. This room is the exact same as the previous rooms when it comes to defeating the enemies and then unlocking the cube to connect to the gate. The only difference is that you need to connect all three cubes in the area.
Should your team open the fourth door, it’s now time to pop roaming supers and utilise all your heavy ammo. This last section, the fifth room you open, is a dash through a heavily populated stretch of land. The boss of the area will drop more Voltaic Overload buffs that require collection. Team 1 will mostly pick these up after unlocking the final door.
Having a couple of players hang back to sniper out the Cyclops turrets with Izanagi's Burden can help calm the situation down slightly.
Upon reaching the end of the room, all players will receive their loot and progress towards a large open area and a checkpoint.
Recap:
- Split into two teams and decide who which team will go in Room One and Two
- Team 1 gathers Voltaic Overload buffs in Room One while Team 2 clears out Room Two and activates the door
- Team 2 now collects Voltaic Overload buffs in Room Two and Team 1 will move in to Room Three to kill enemies and activate the door
- Team 1 gathers Voltaic Overload buffs in Room Three and Team 2 run to Room Four to kill enemies and connect three cubes to activate the door
- All teams the run to door four and continue across the path, picking up Voltaic Overload buffs that the boss drops until the end of this section
Jumping Puzzle
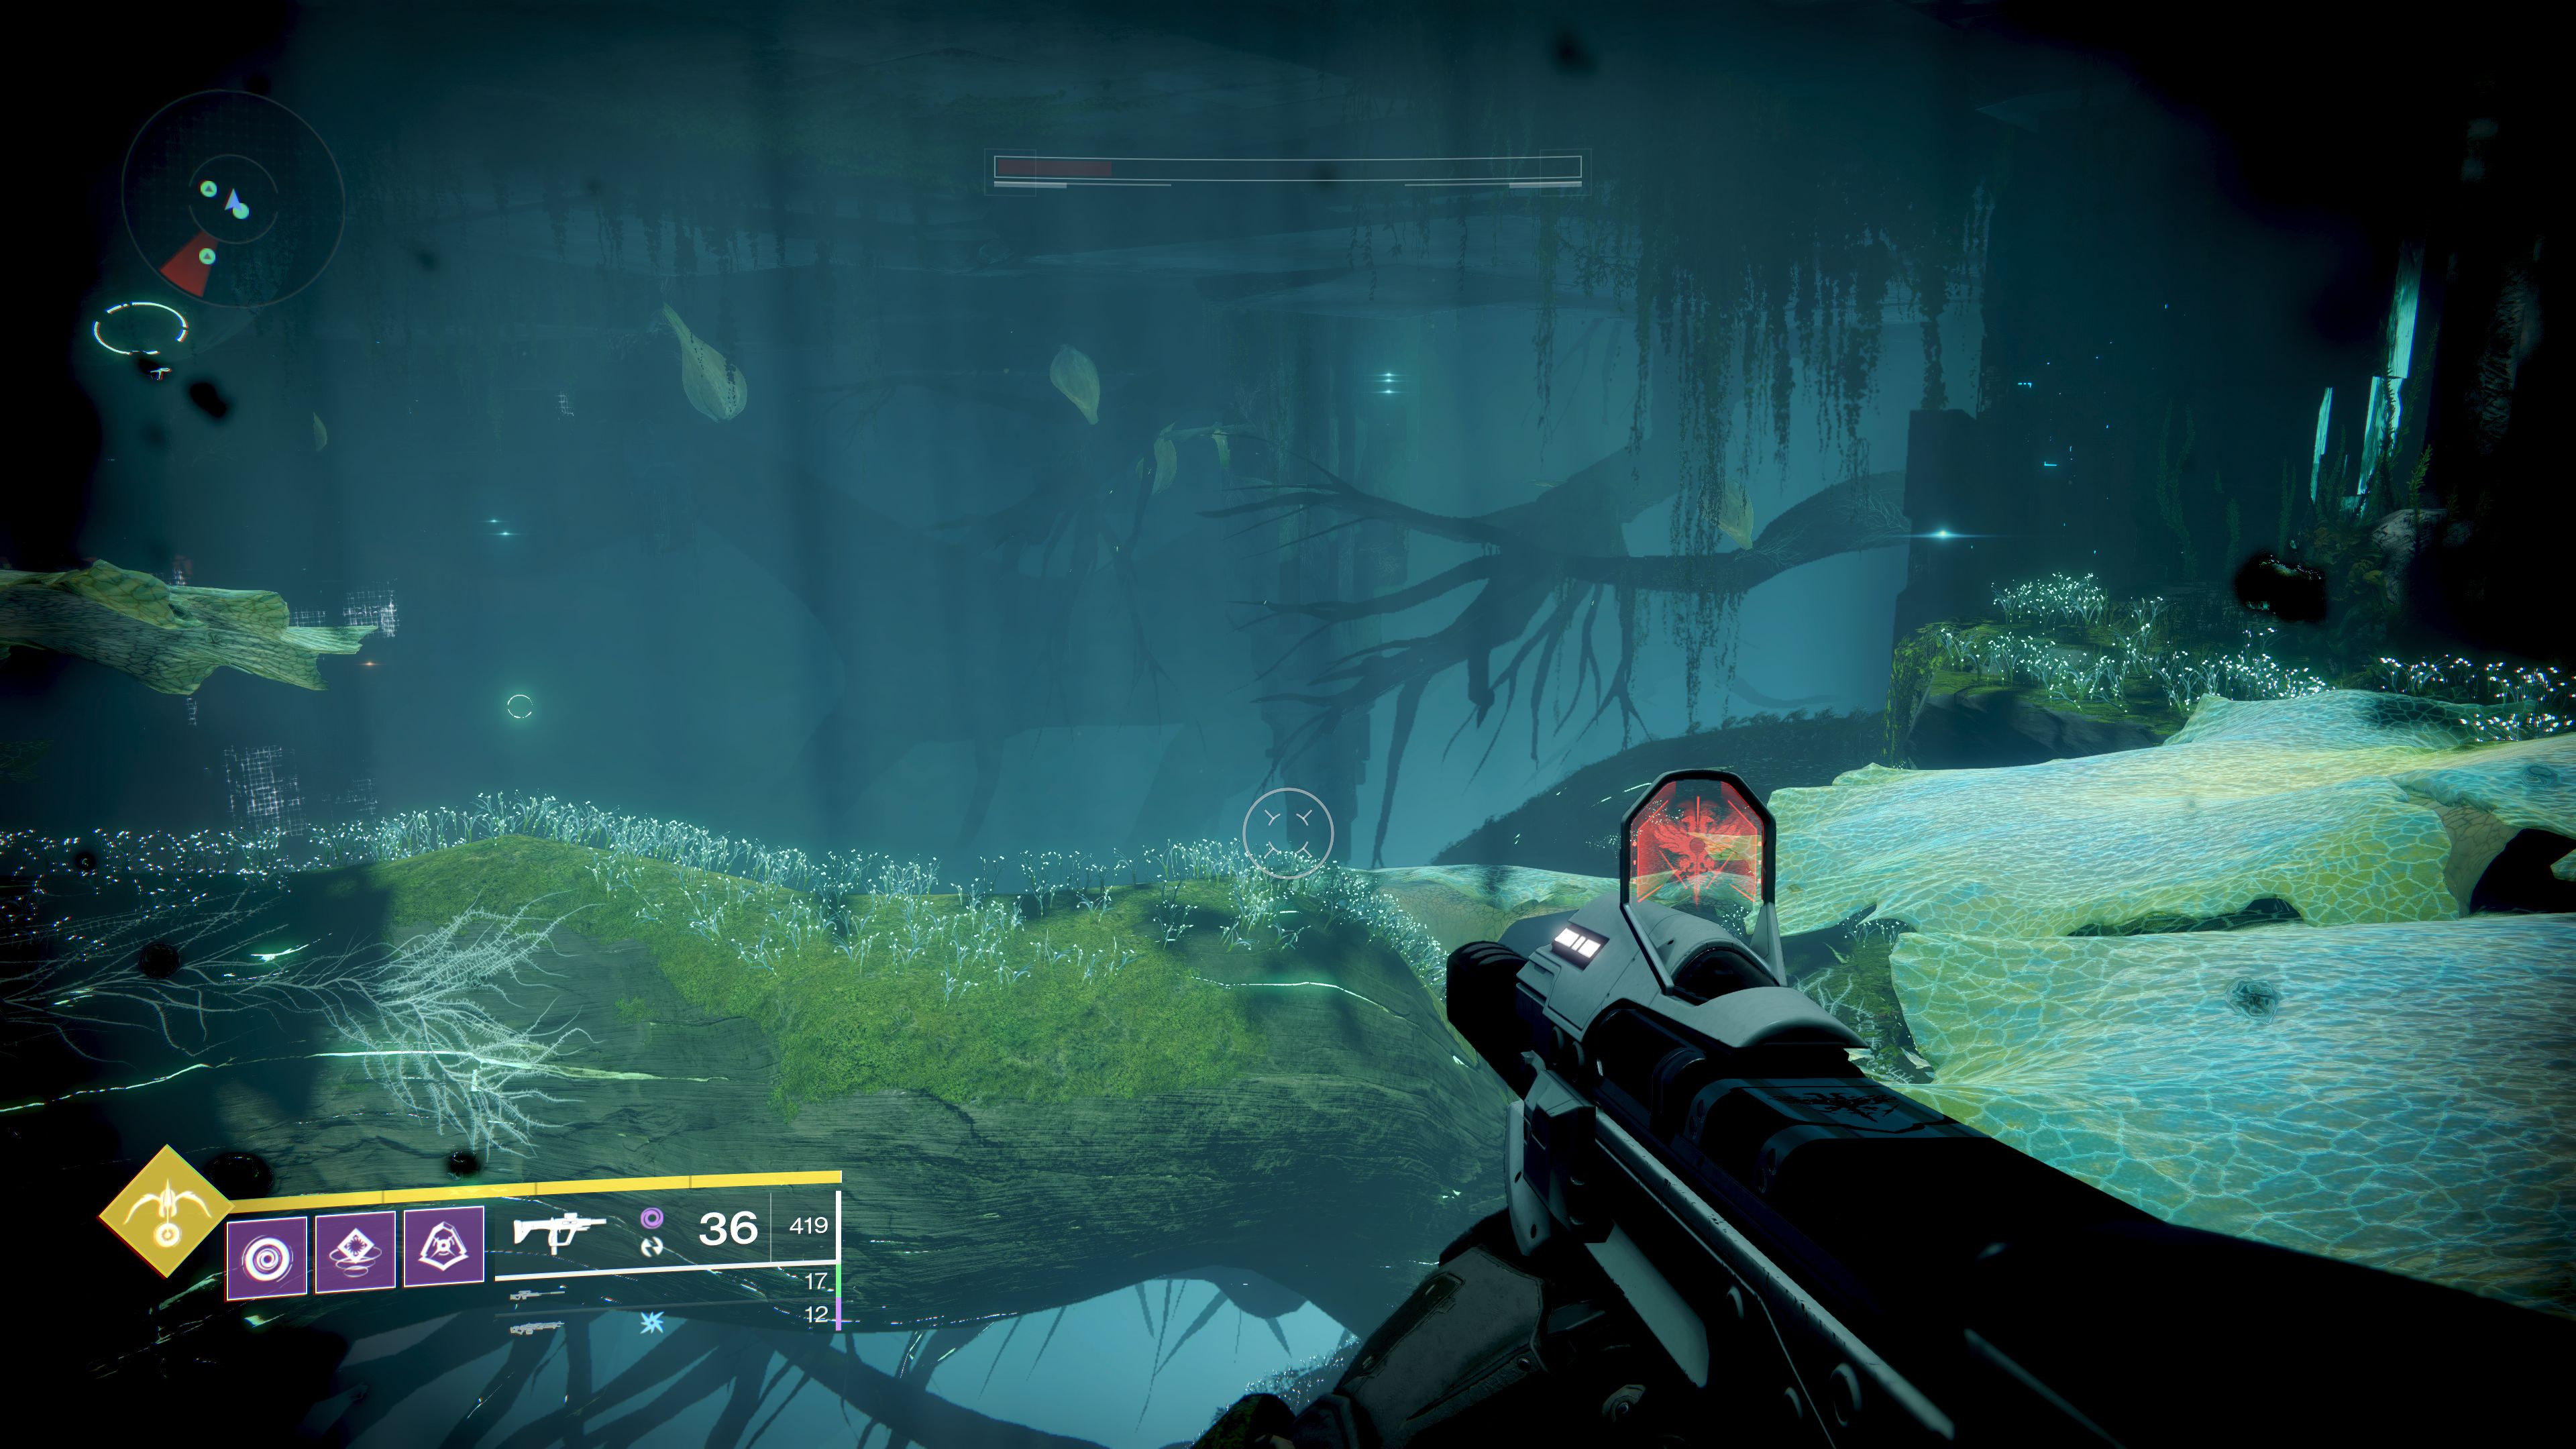
After completing the first phase in the Garden of Salvation, you’ll find yourself at a cliff ledge and a room full of plants. The route through the path involves sticking to the left and following the wall to the back left corner. From there you head upwards by shooting the unbloomed flowers to open them, creating a platform to jump on.
The path in this area feels very natural and you will know you’re heading in the right direction when you are faced with a vertically moving platform. To find the chest hidden within this area, take the platform to its lowest point and fall off. As you are falling, you will want to use your jump mobility to float/hop to a cave in the wall. Inside this cave you’ll find a chest and some extra loot for the raid.
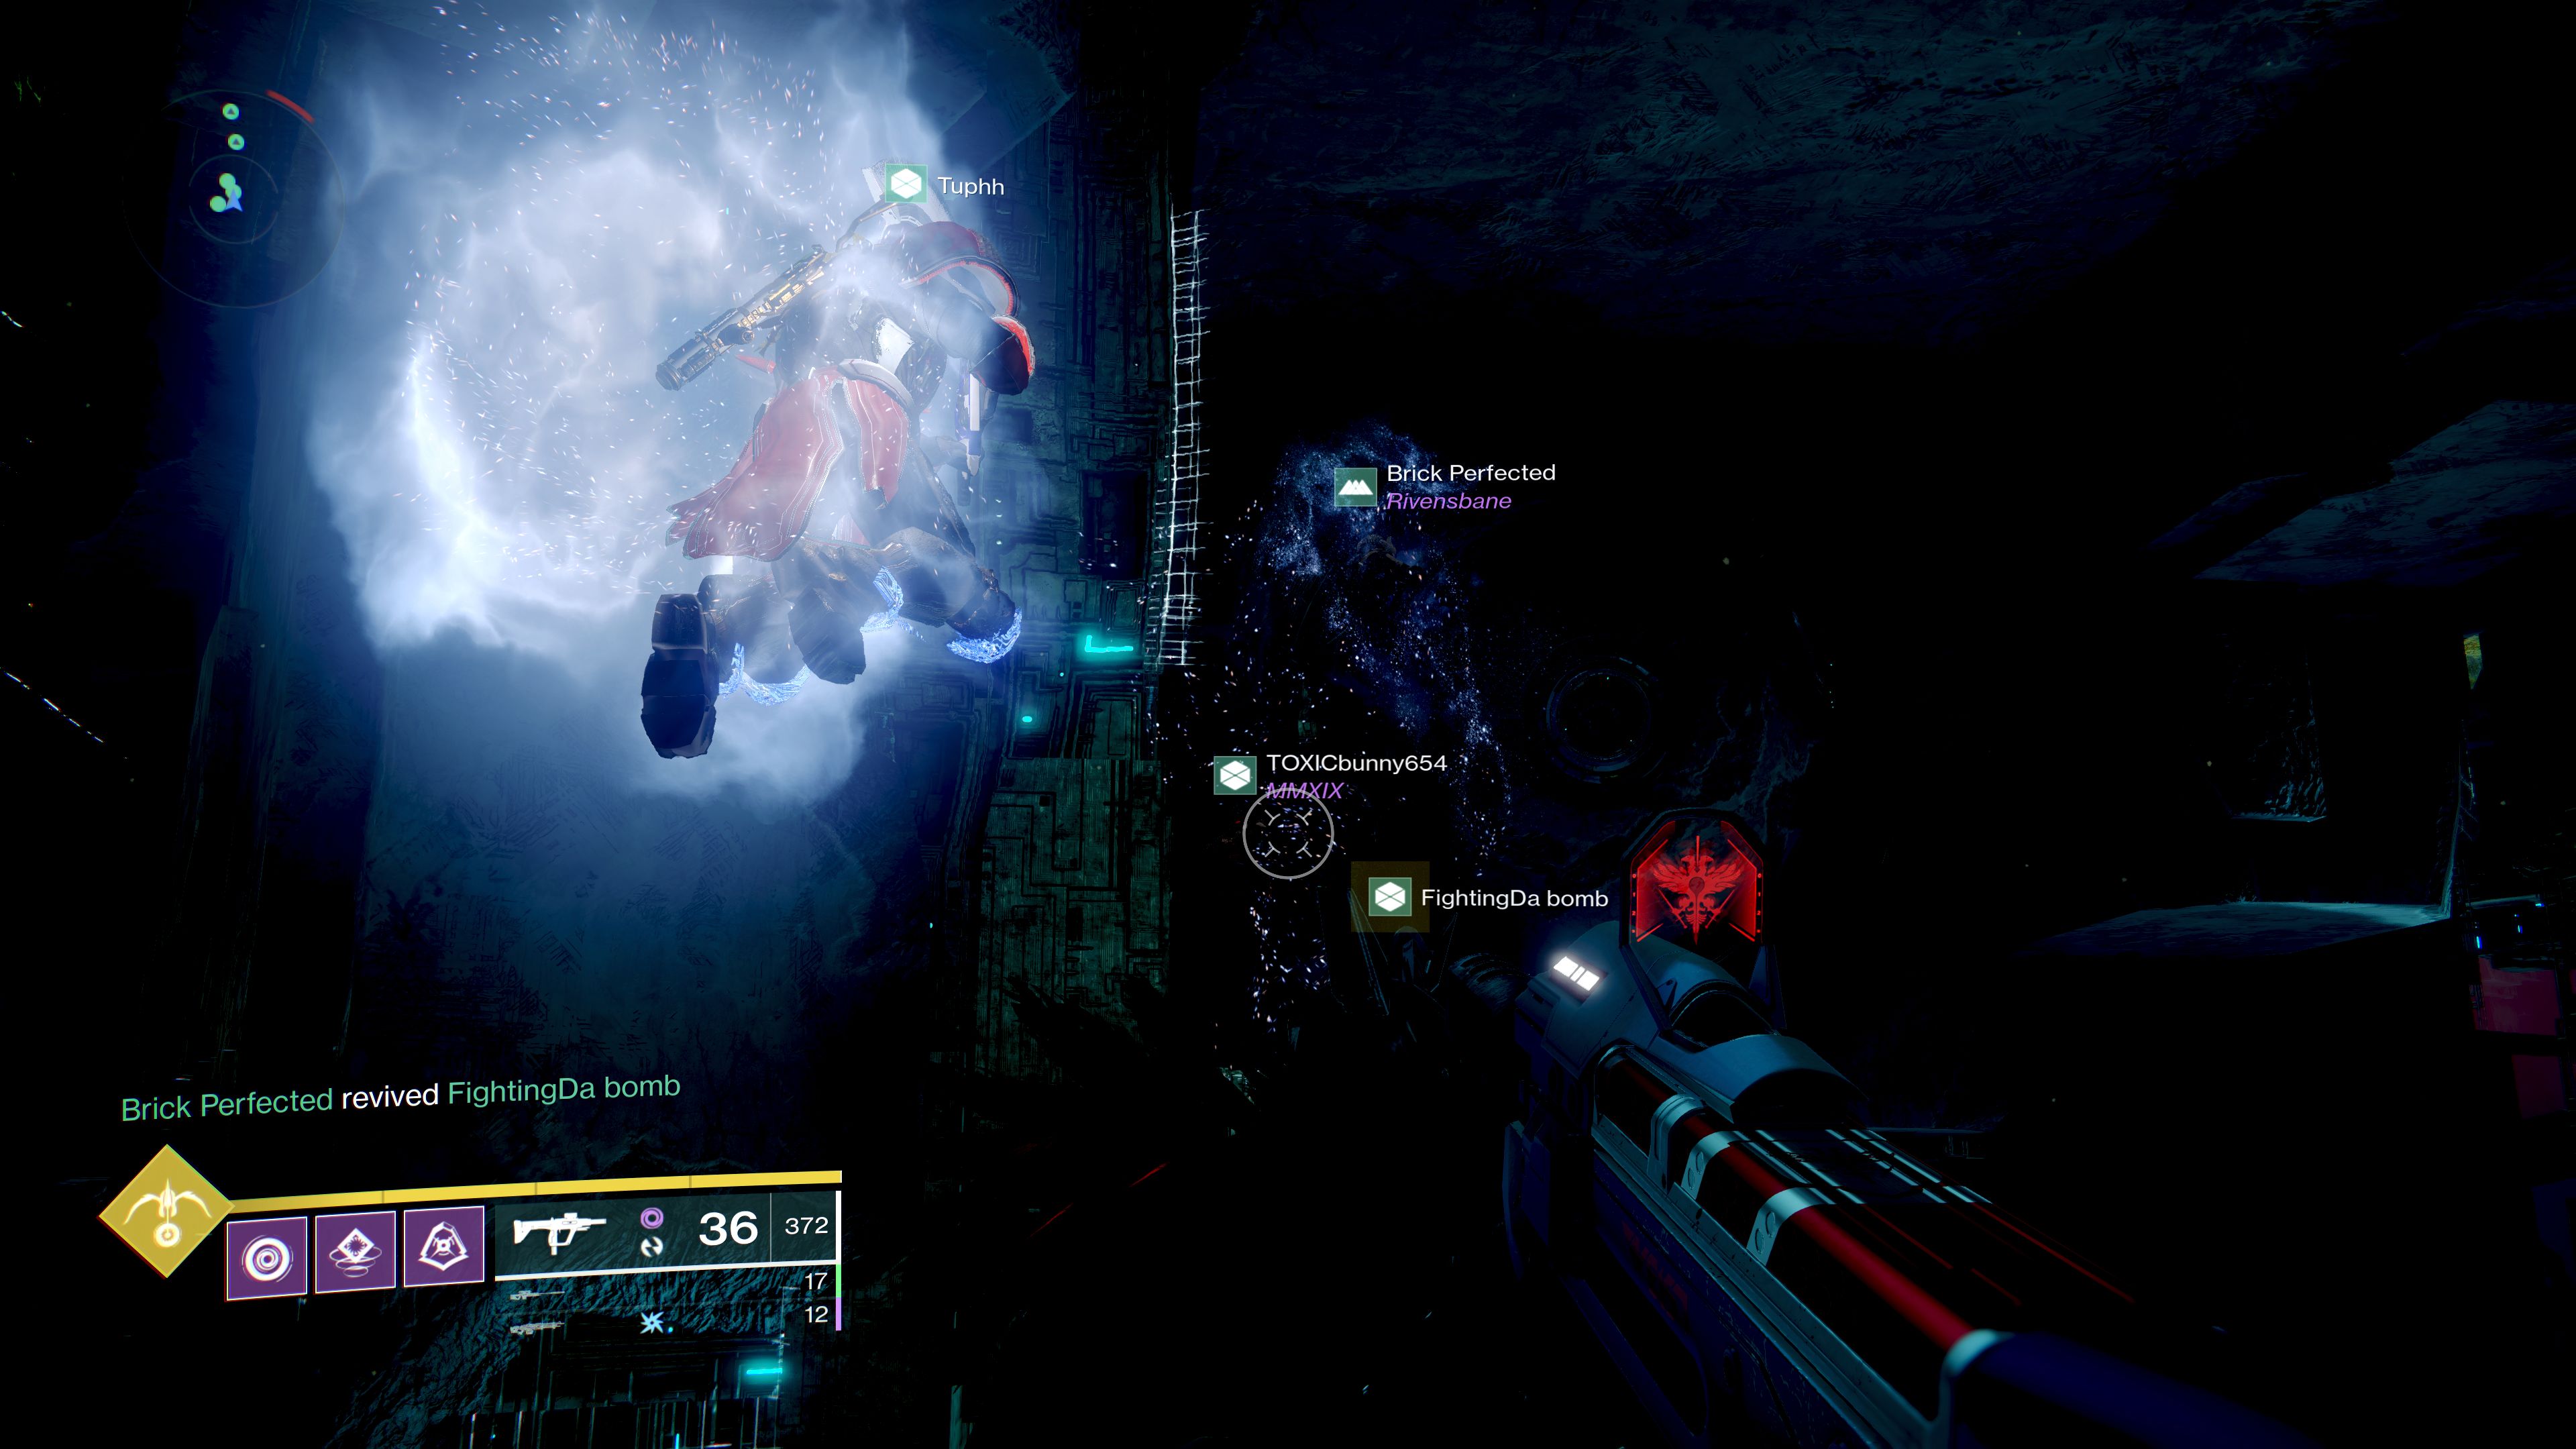
Garden of Salvation guide: Phase 2
The next step of the Garden of Salvation lies at the end of the flower-ridden path and comes in the form of a Vex sacrificial ceremony. Throughout the next area there are five confluxes in which Vex will try to sacrifice themselves, and it’s your responsibility to stop that from happening. It sounds simple enough, right?
Well, there’s a spanner in the works. A large number of Vex in the area are protected with a white shield that requires players to have the Enlightened buff. Similar to the previous encounter, teams will once again have to tether themselves to a cube, but this time the target of the beam of light is the conflux where the Vex are sacrificing themselves. Any player within the circuit will receive the buff when linked long enough, allowing them to destroy the shielded Vex.
To complete this section of the raid players will need to coordinate buffs across all five confluxes when the Vex offensive dies down, which is thankfully highlighted on the bottom left of your screen.
The simplest method is to split into the following teams; 4our stationary guardians and two floating guardians. The stationary guardians will be exactly that. Their main role will be to work with a team to push their designated conflux and defend it.
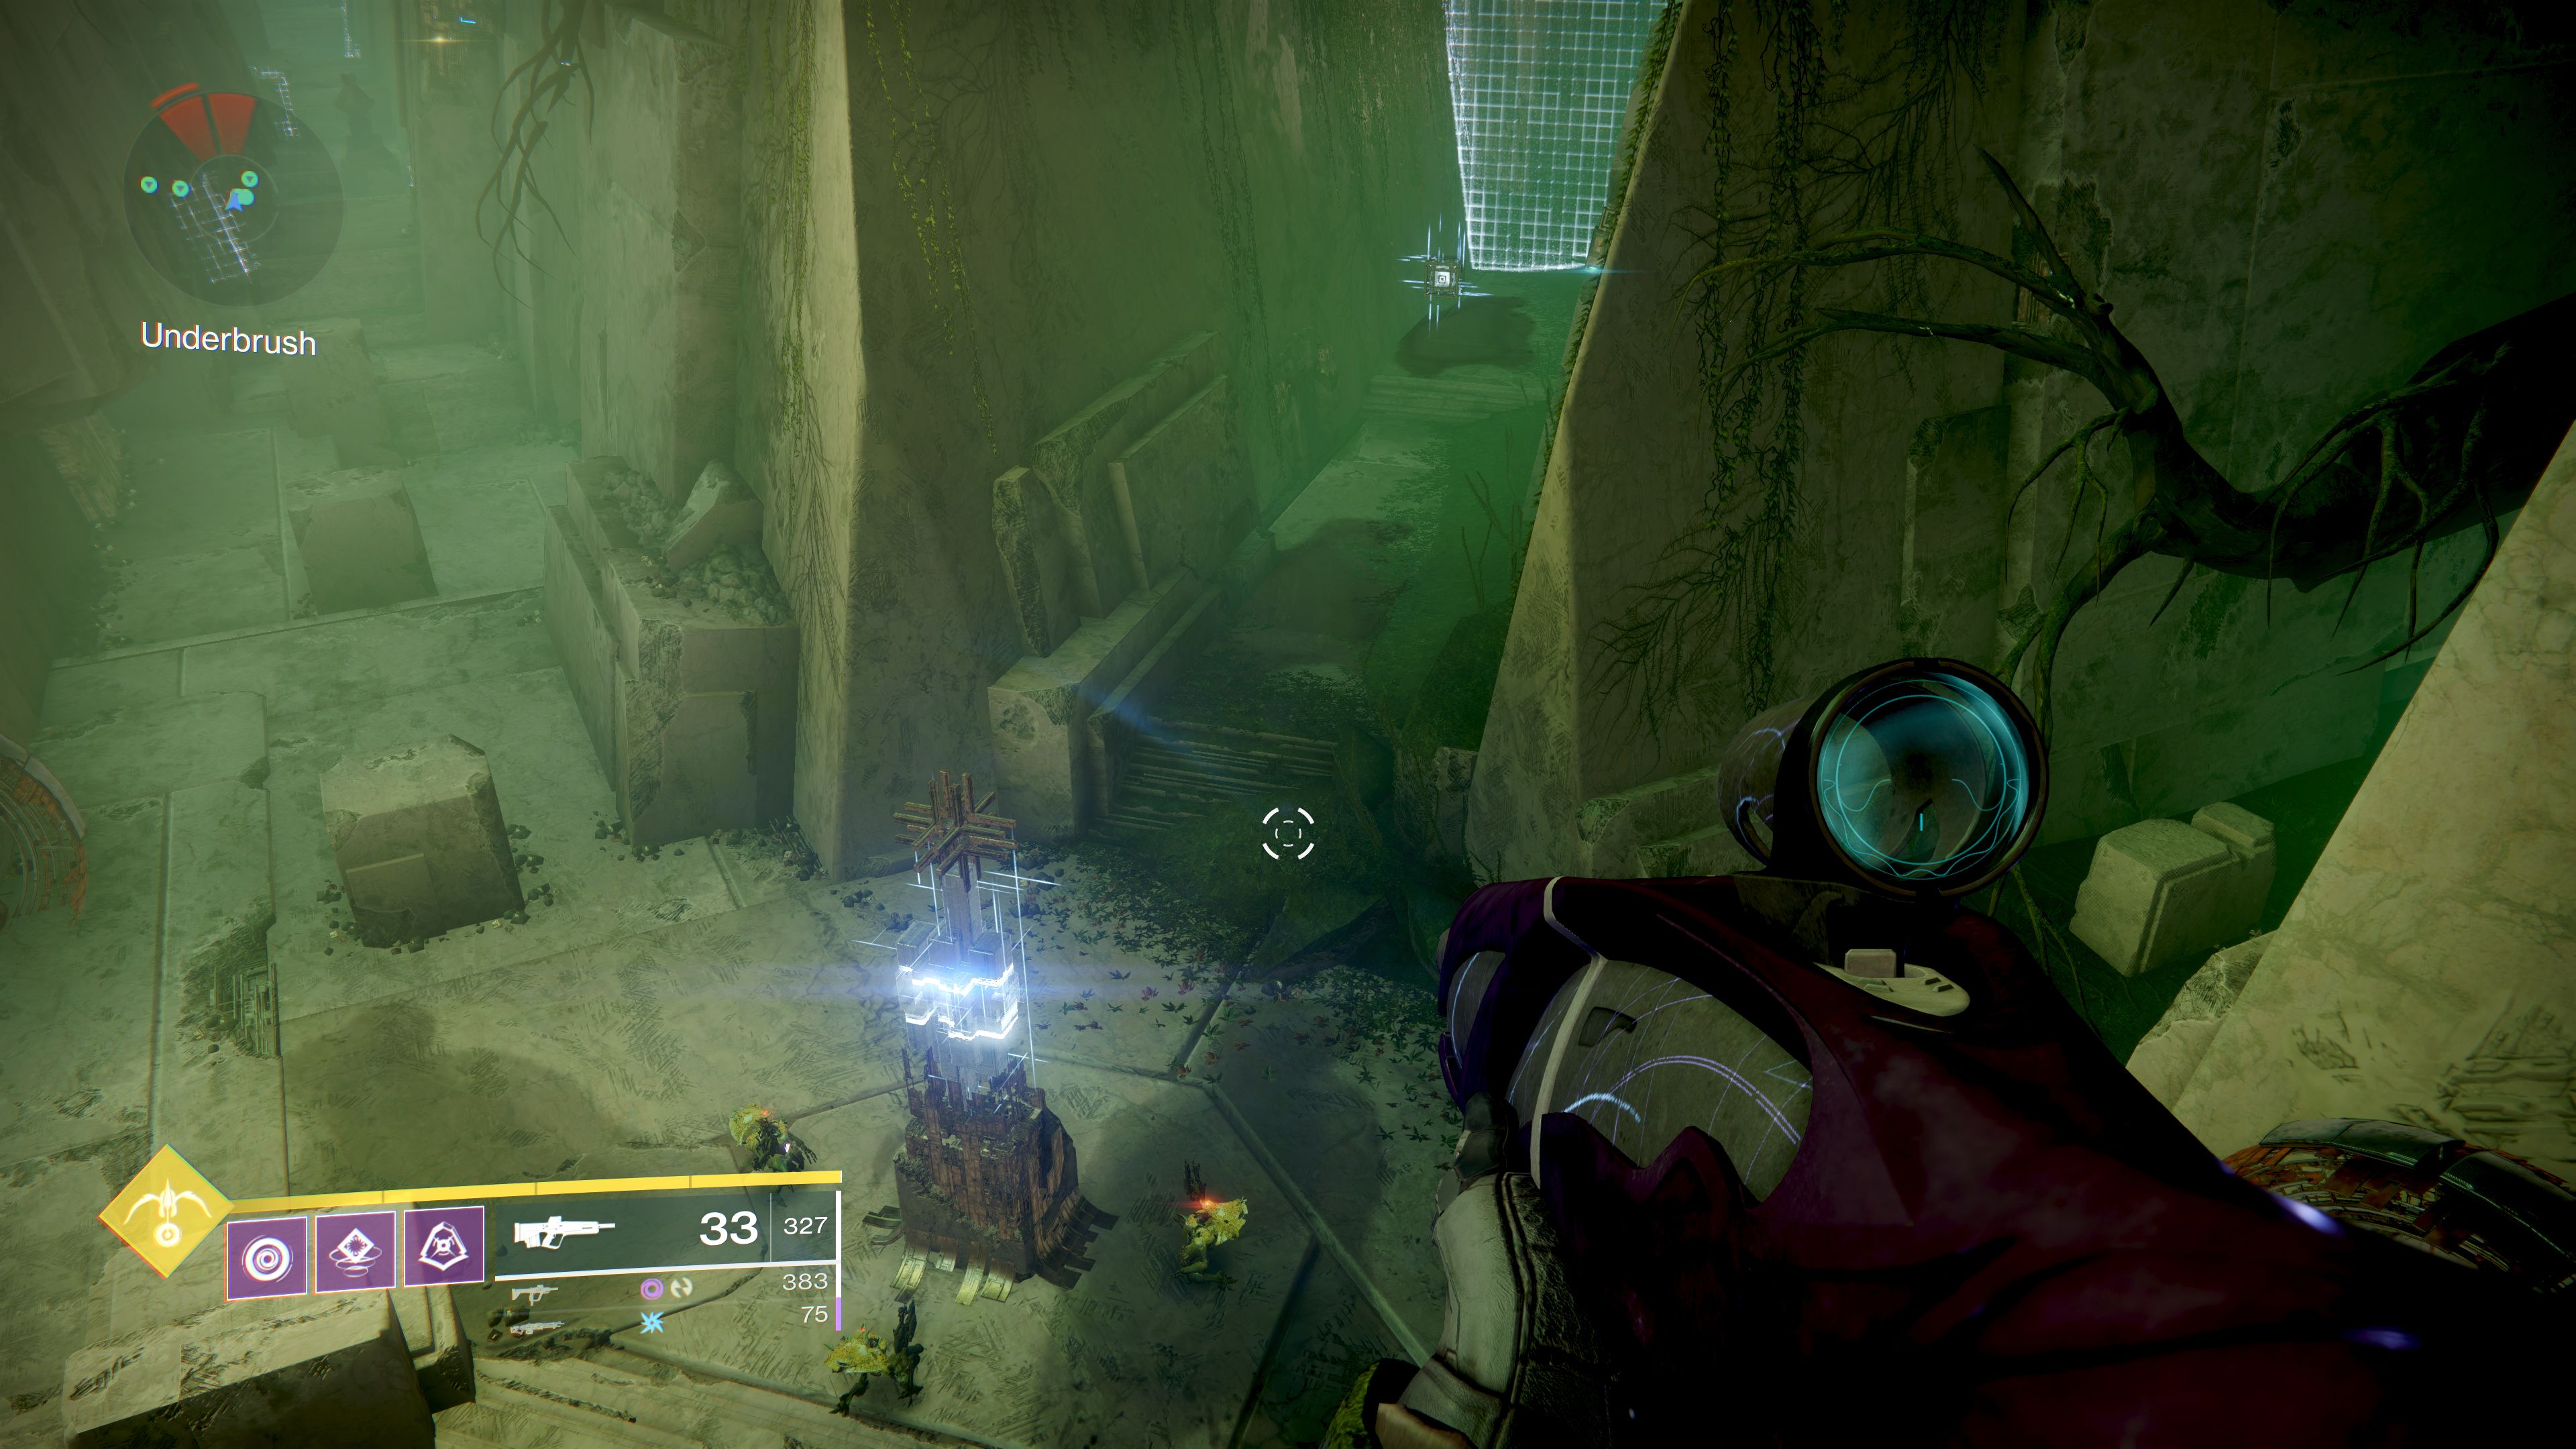
The floating guardians predominantly jump between all the remaining confluxes, through the teleporters that activate on each side, to complete circuits. Do this to receive the Enlightened buff at each conflux and help kill difficult Vex enemies.
As there are a lot of strong enemies, the best format is to leave two players at the first conflux: One floating guardian and one Stationary guardian. Three more stationary guardians should each take a conflux, leaving one floating guardian for support. It’s important that this team equips weapons with Anti-Barrier mods as they will encounter enemy Hobgoblin Champions with barriers along the way.
Consider the conflux you start with position 1; the next conflux in the direction you run (either clockwise or counterclockwise) is 2, then 3, and finally 4. As you reach each new conflux, the player in the stationary role with that assigned number should remain there to defend it. Before continuing to each successive conflux, the team must help the stationary player for that conflux obtain the Enlightened buff by tethering the corresponding cube to the conflux. The team should continue to travel their designated route and drop a stationary guardian off until the one floating guardian and the stationary guardian arrives at the last point.
While the team of four are continuing to progress around, it is important for players to keep an eye on their enlightened buff. This buff only lasts a short period and is critical to preventing Vex sacrifices. To combat this, the original floating guardian that stayed at the first point with the initial stationary guardian should be sure to communicate and make their way to the other confluxes on the map to create tethers to gain the Enlightened buffs when the Stationary guardians lose them. There’s no exact timing to this, as it is all based on how fast your teammates travel.
After all four stationary guardians are in place, the floating guardians should work towards topping up Enlightened buffs when requested, utilising all of the teleporters that should be active, and converging on wherever the Vex Hydras known as Angelics spawn.
When these points have all been successfully defended, a barrier that protects the centre of the map will drop. At this point all players should converge on the fifth and final conflux to prevent Vex sacrifices. Again, this will require Enlightened buffs that can be tethered through all six players and utilised to kill all the spawning enemies.
Time will progress and the onslaught will continue until you have to defeat multiple Vex Hydras at one time. If possible, you should hang on to supers and heavy weapon ammo until this point to ensure that you kill them as quickly as possible.
Recap:
- Designate your fire team roles: Stationary guardians (numbered 1-4) and two Floating guardians
- Start the activity by killing the dormant Vex in front of first conflux, with the team of four going clockwise/counterclockwise
- Team of four drops off stationary guardians at their designated conflux and gain the Enlightened buff with the stationary guardian until all four confluxes complete
- Floating guardians help share Enlightened buffs and support stationary guardians killing Vex Hydra until central area opens
- Players converge on the central area and obtain the enlightened buff while killing enemies until the phase is complete
Garden of Salvation guide: Phase 3
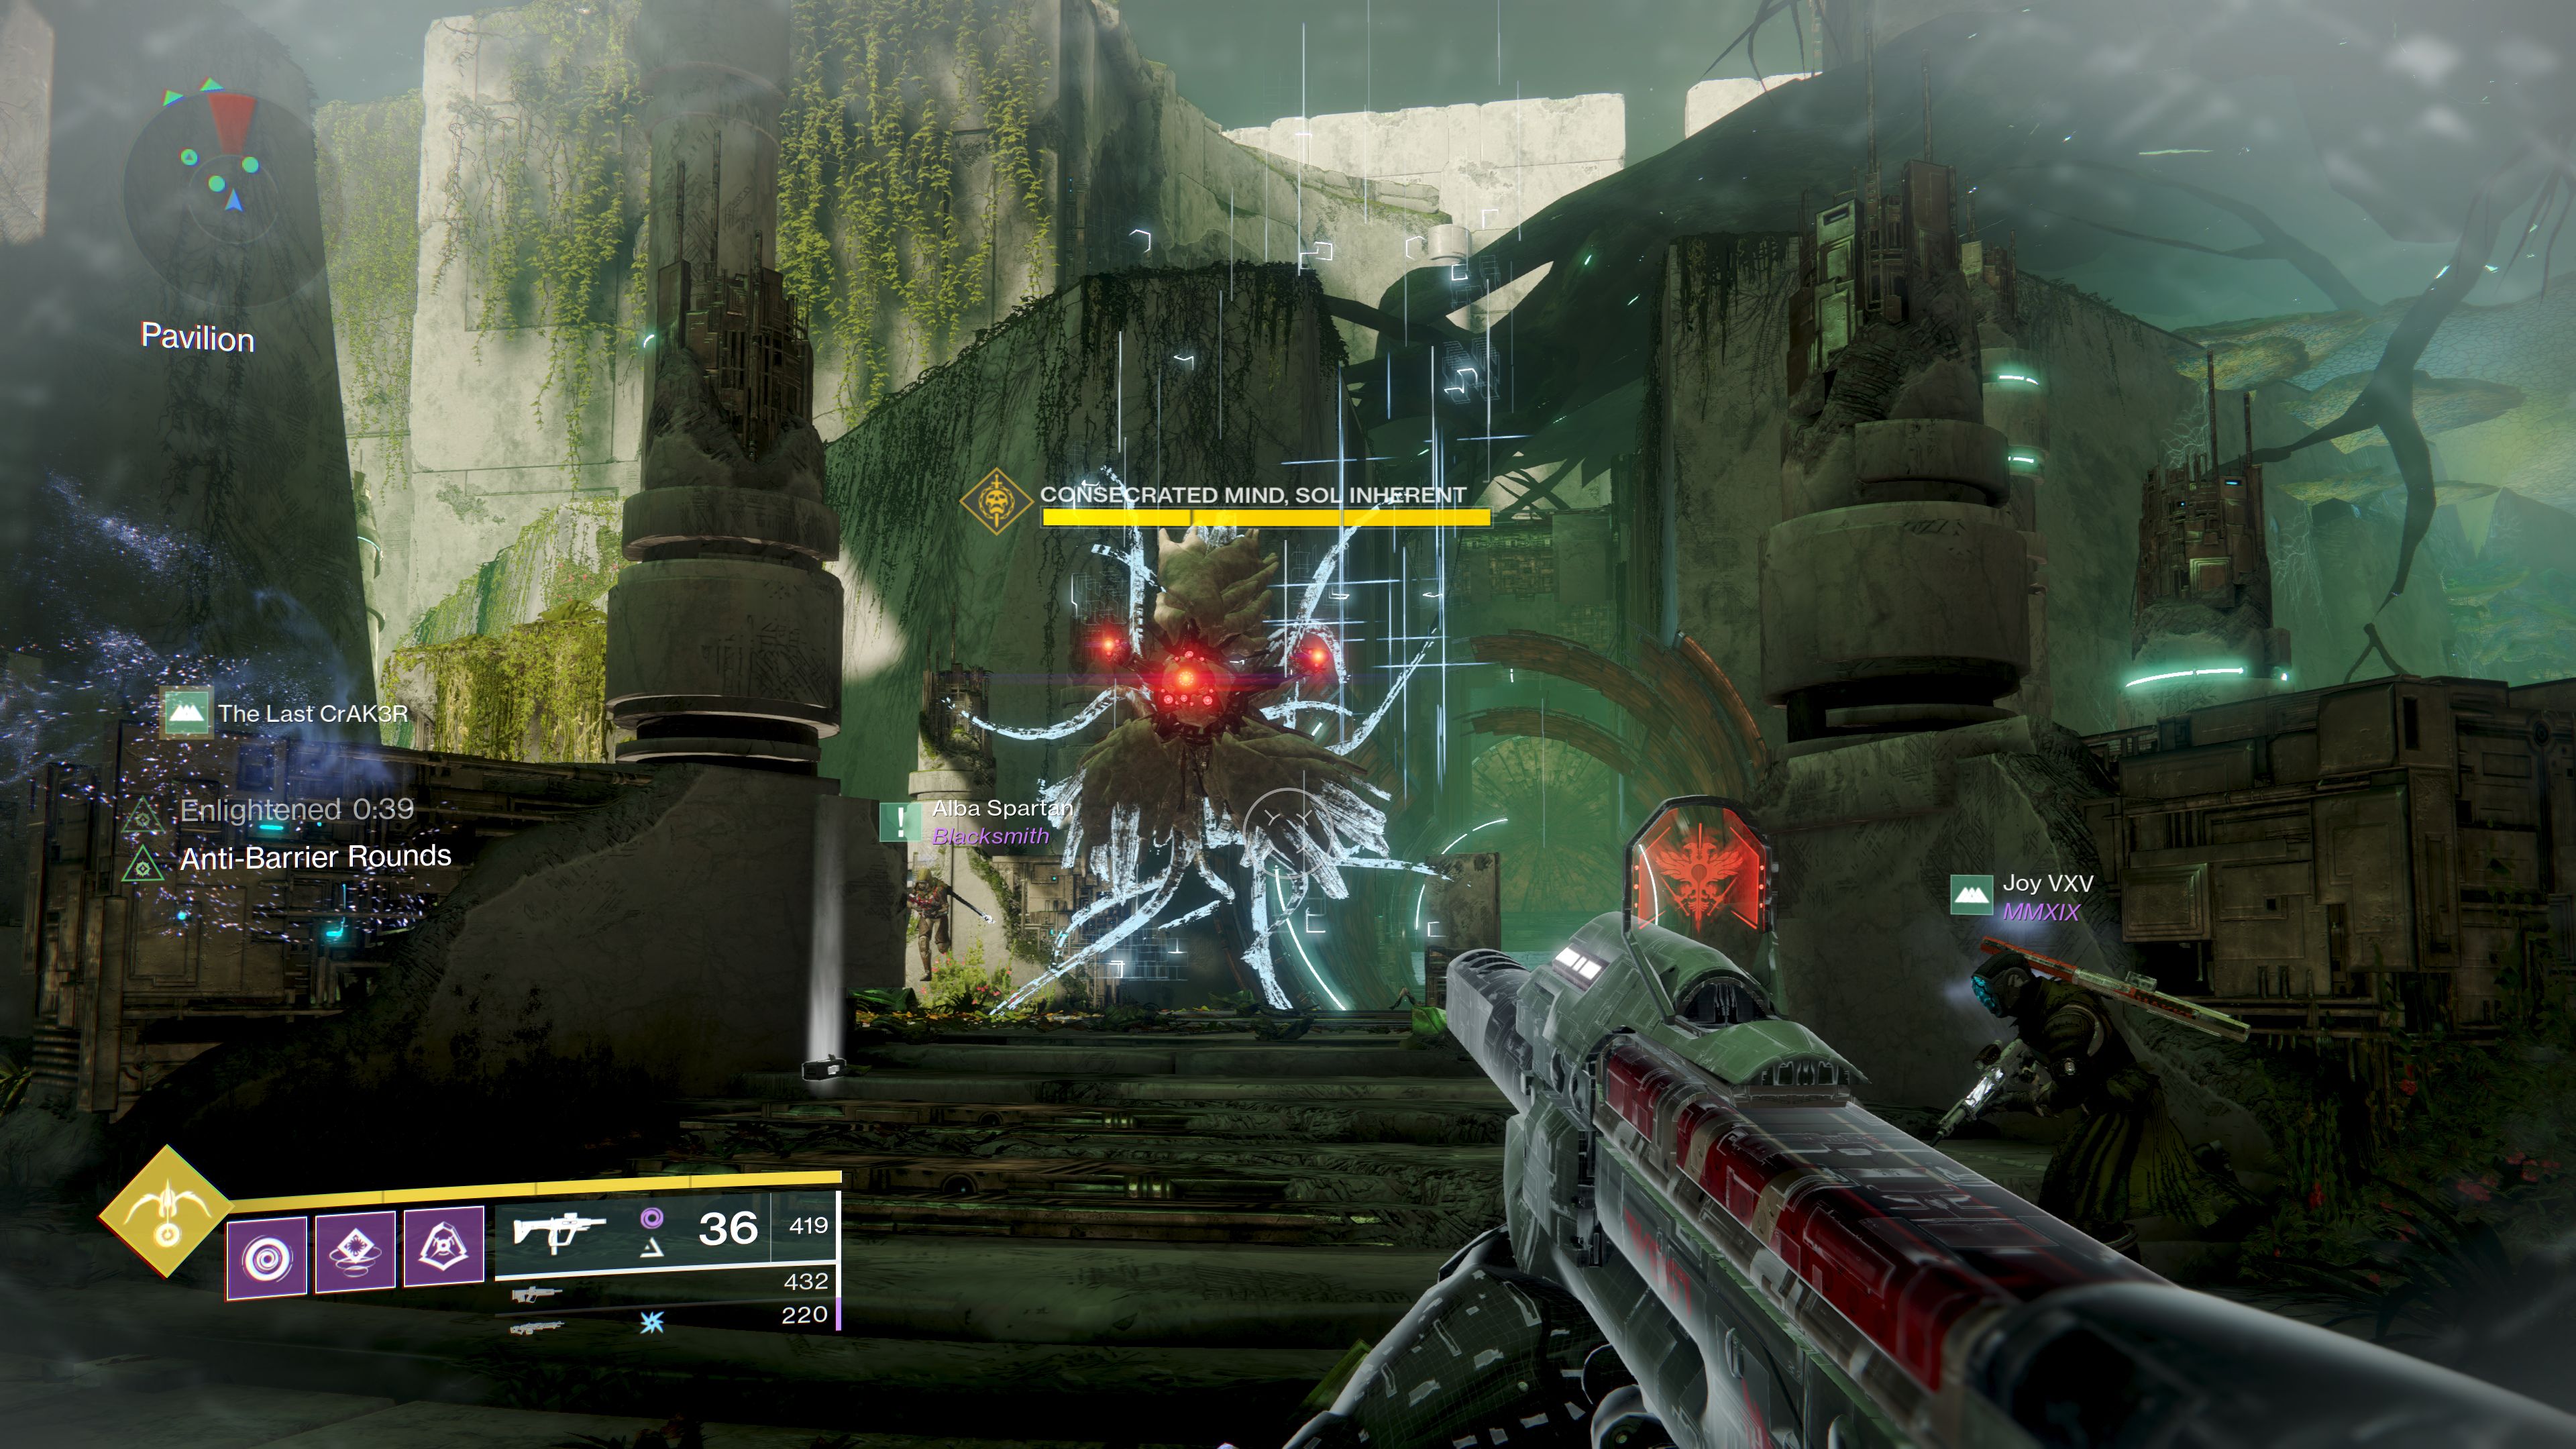
After you complete the previous phase, a raid banner circle will appear in the middle and indicate that it’s possible to start the third encounter. This is the first boss encounter for the Garden of Salvation: Consecrated Mind, Sol Inherent.
The preferred weapons for this encounter are the Recluse and Izanagi’s Burden. The Recluse can destroy a Vex Minotaur shield and Izanagi’s Burden is great for burst damage on the boss when you enter the damage phase. On top of that, it helps to have damage buff supers and roaming supers to clear waves of adds. Titans with bubble shield, Warlocks with well, and Hunters with tether (again) are all key to adding damage and survivability.
To start this encounter, you’ll need to tether the cube to the central conflux, which will summon the boss where the conflux was. Don’t stand there or you will die. Before you trigger the fight, split into two teams of three. One team will need to follow Consecrated Mind, Sol Inherent, while the other kills Vex Minotaurs, banks motes, and defends the conflux.
Team 1
The team following the boss will need to watch for the boss leaving the central area and stopping in one of the various corridors shooting off from the centre. It’s important to know that this boss has three sets of eyes, two on top and two on the left/right. These eyes can be described as inner or outer eyes. Team 1 should take time to learn these placements as they are crucial for their role.
When Consecrated Mind stops, it will drop another Voltaic Overload buff. One player should pick this up and become captured. When captured, the player will be able to see one set of eyes. It’s the captured player’s responsibility to call out these eyes and for all three members of team 1 to shoot the correct eyes. Shooting the wrong eyes will kill the captured player. Team 1 should continue to do this until the damage phase.
There may come a point where one player in team 1 may need to swap out, because there is a 2 minute lock-out for picking up the buff to see the eyes, but this is based on how quickly team 2 do their thing.
Team 2
Team 2's responsibility is to clear enemies in the centre of the arena, specifically Vex Minotaurs, and collect the motes that drop. One player should collect the first set of five motes and take them to the conflux that is emitting a beam of light. When you deposit motes, you will receive an Wnlightened buff. Just like previous encounter, you’ll need to use this enlightened buff to defend the conflux from Vex that will try to sacrifice themselves there. If too many Vex die at the conflux, the whole team will wipe.
The Enlightened buff will only last a set amount of time, so it’s important that the remaining two players kill as many minotaurs before your buff runs out and then switch out with the defending player.
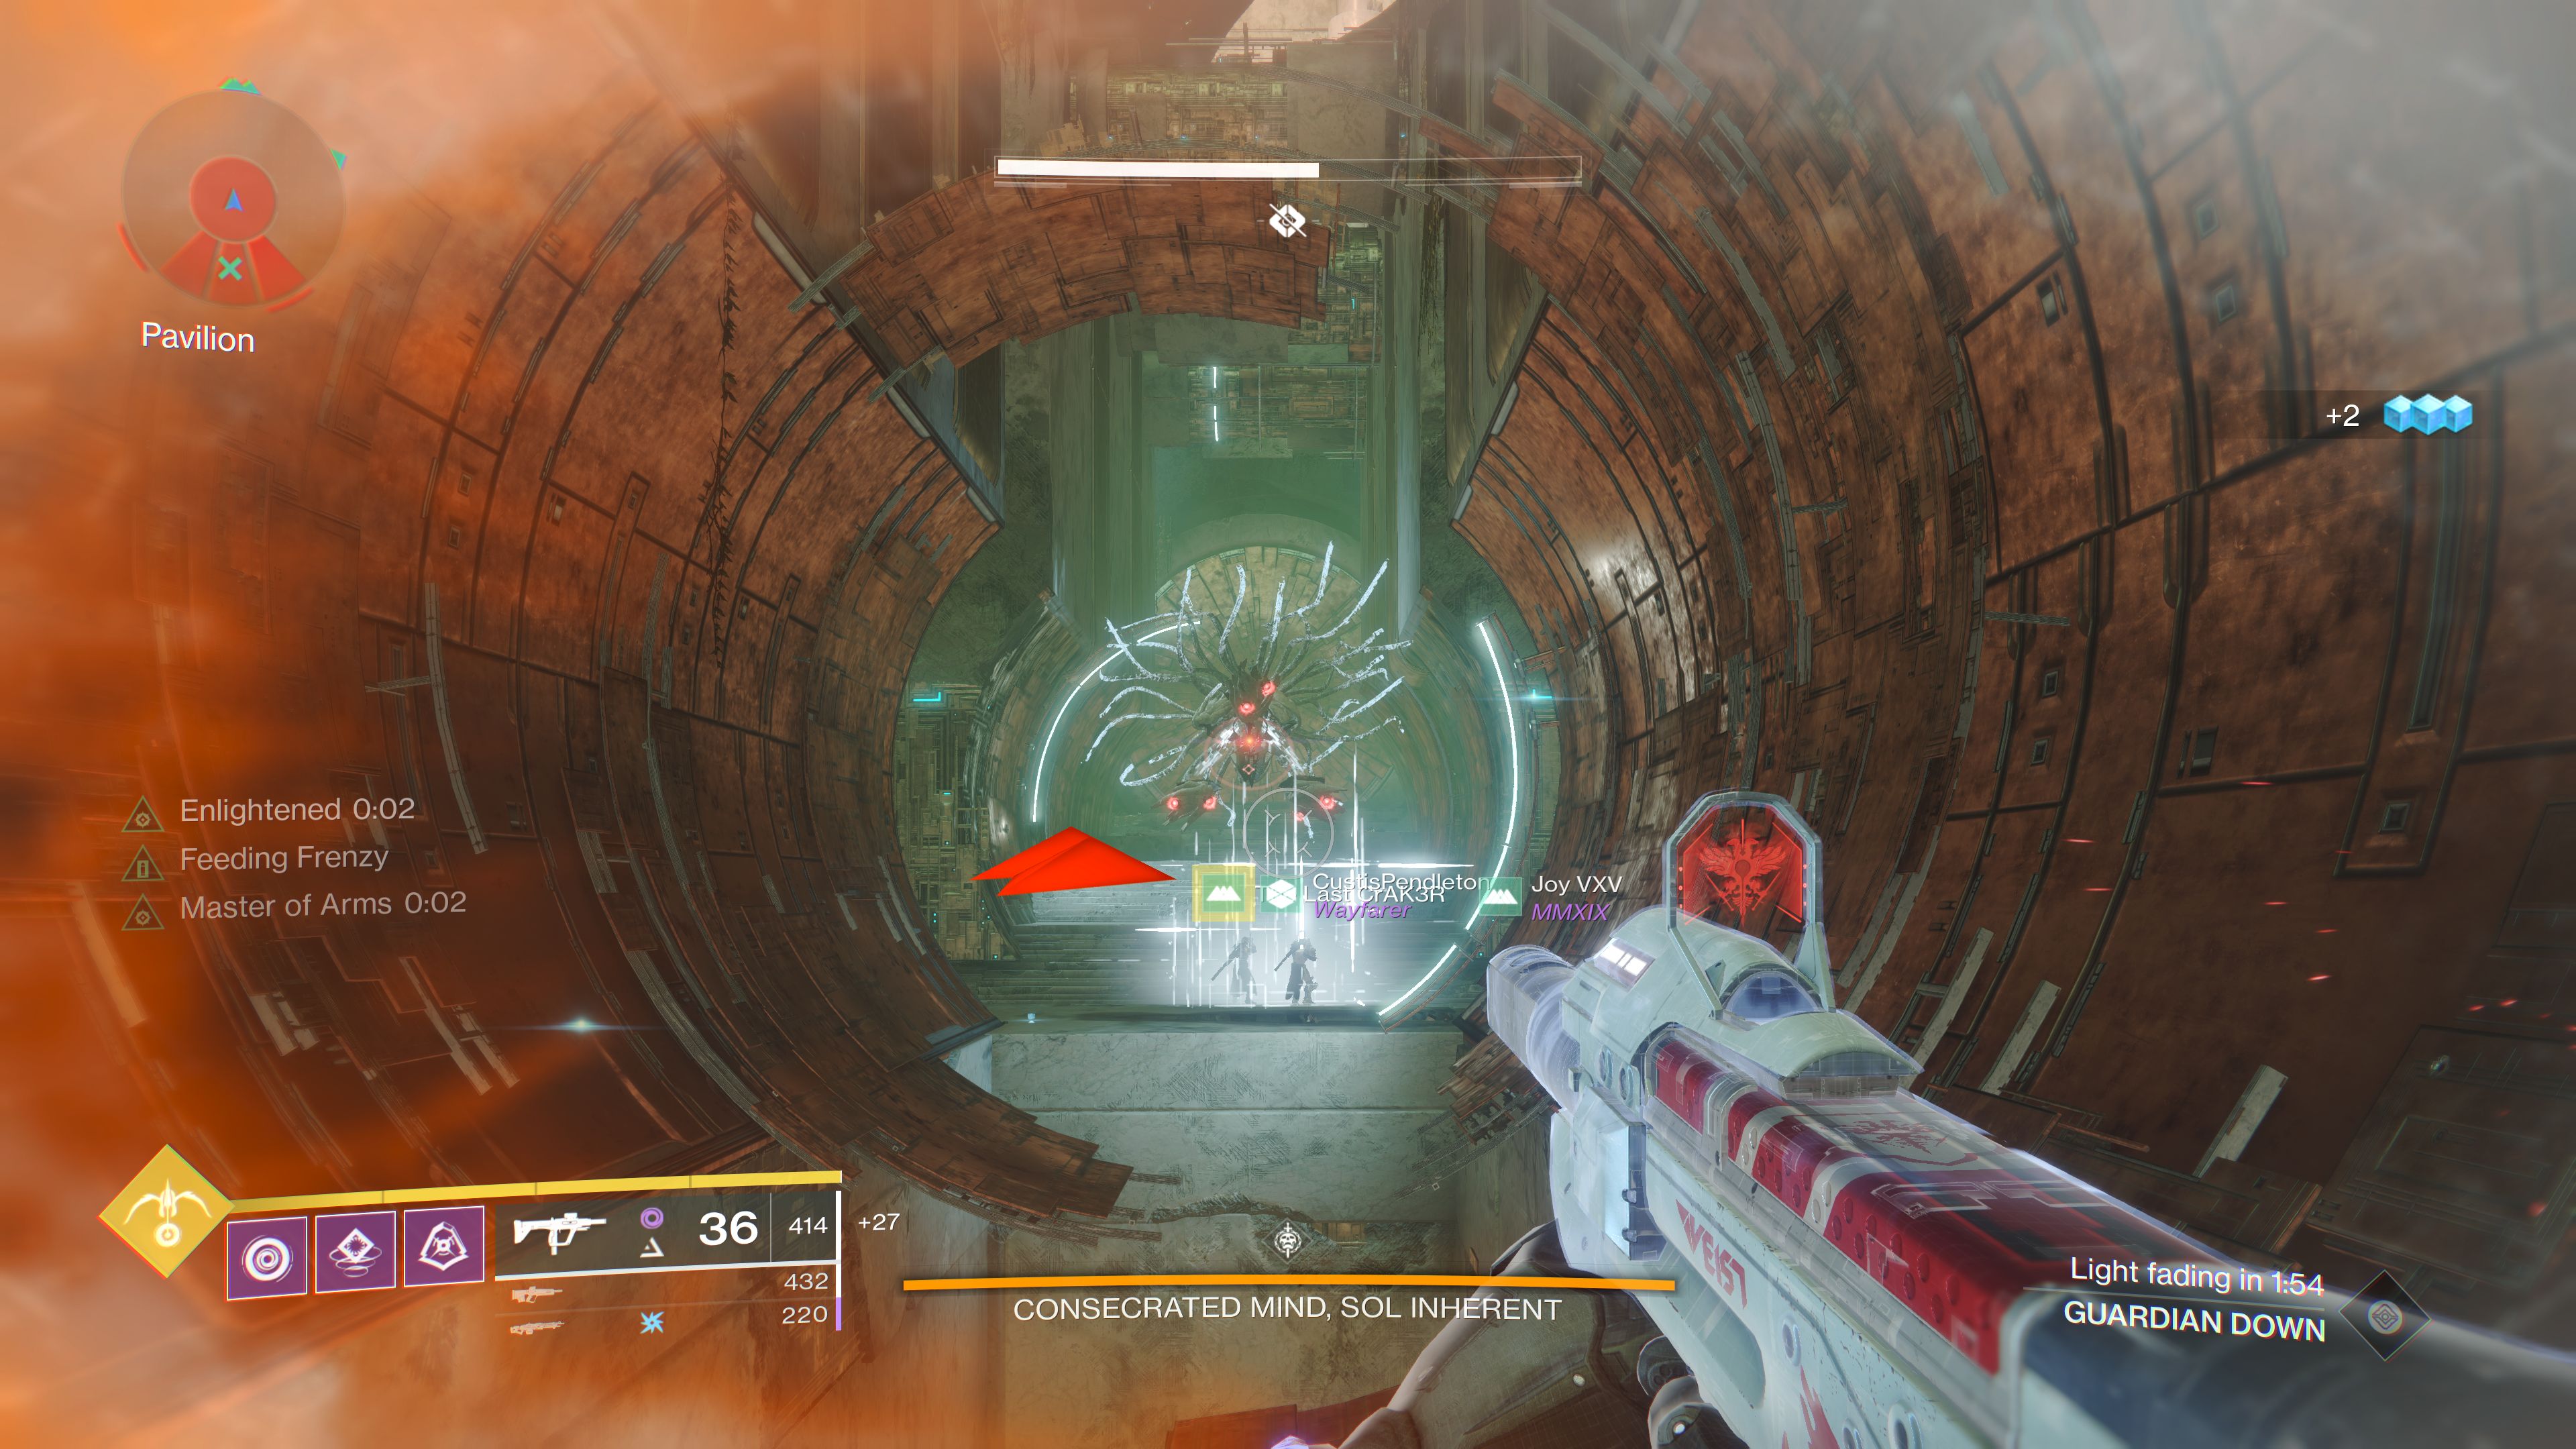
Both teams: Every time a set of motes are deposited, explosive harpies will spawn and head for the centre of the map. If these enemies are not kept in check, they will annihilate your team extremely quickly.
After team 2 has deposited a total of 30 motes, which is the equivalent of six Vex minotaur kills, the damage phase will start. When the damage phase starts, Consecrated Mind will head towards the conflux that team 2 is defending. When there, all of the Consecrated Mind’s eyes will light up. Players should focus these eyes and destroy them, which will expose the central eye. At this point you can finally damage the boss as it starts to retreat.
If you are unable to kill the boss in this time, both teams will have to return to their original roles. In total, you can follow this process four times before the boss will enrage and end the encounter.
When you kill the boss, a door will open at the back of the rotating tunnel. Follow this tunnel to progress towards the next jumping puzzle.
Recap:
- Split into two teams, one that follows the boss and one to collect motes
- Team 1 follow the boss and pick up its buff, destroying the identified eyes (Inner or Outer)
- Team 2 gather 30 motes and deposit them while and use the Enlightened buff to defeat shielded Vex
- Entire fireteam converges on the conflux where motes are deposited after 30 inserted
- Kill all of the boss’s red eyes and deal damage
- Repeat collection of motes and destruction of eyes for further damage phases until boss is dead
Jumping Puzzle 2
As the door opens as previously discussed, you’ll see an empty chest and a portal behind it. Don’t jump in the portal as it will lead to your death. Instead, face the portal and go left. There will be a series of ledges that take you upwards that you need to climb.
The next area is another series of ledges with large spinning, almost windmill-like features that you need to traverse. At first you’ll follow the ledges until you reach a point where there’s a large dip in the wall. Instead of trying to jump for what seems like another ledge, turn around and start heading upwards. Continue to climb upwards until you see a Vex Milk waterfall.
When you reach the waterfall, a load of enemies will spawn. Take care of them and head towards what looks like a crack in a tree stump. Head inside and use the pad at the back to boost you to a small ledge, and then upwards once more for an extra raid chest.
Once you get the chest, exit the crack you entered and turn left. This area will be illuminated by loads of glowing plants. In this crevice there will be loads of platforms that you can use to traverse upwards. Just like the jumping section between Phase 1 and Phase 2, you’ll need to shoot closed pods to open them and create a new path towards the next area.
Eventually you will continue upwards to the next phase of the raid, which is also the final phase. The only real challenge for this puzzle will be your jumping abilities and the mobility of your character, so players that favour short hops might want to change their jumping abilities to make things easier.
Garden of Salvation guide: Phase 4
Here comes the easy part.
Just kidding! As the last phase, this is definitely the hardest of all four parts. The ideal weapons are Riskrunner, due to the ability to receive Arc damage at anytime with Vex Milk, and the Revoker, because you're going to need to deal some precision damage.
In terms of the supers and subclasses you should use:
- Tether is the super of choice for Hunters, but in a team with multiple Hunters you can also use a Celestial Nighthawk for additional boss damage
- Warlocks are best suited to use the Well of Radiance which will allow them to stand in the Vex Milk for longer
- Titans should use their bubble super to buff the amount of damage the team can deal
Once again we're going to split into two teams. These teams should choose left or right. Within these teams, you’ll then designate roles; Mote Collector 1, Mote Collector 2, and Defense/Builder.
Before you shoot the boss to start the encounter, it’s important to understand the layout of the map and the mechanics at play. The initial area you start in is divided in two. A team will take each side. On these sides there will be another conflux, similar to previous encounters, that will be a specific colour (red or blue). In this area there will also be a lot of Vex Milk and various platforms to stand on to avoid the Vex Milk. These platforms will be destroyed throughout the phase, but more on that later.
There are two more areas you need to know: The destinations connected by portals that spawn during the battle. The portals that spawn are also colour coded, and it’s important to remember this. The destinations you arrive at when traversing either portal are almost identical. Both are populated by a lot of Vex and killing them will drop the motes you need to deposit at the starting area, based on the colour of the portal you entered.
Sanctified Mind, Sol Inherent mechanics
It’s not possible to damage Sol from the start, so you’ll need to destroy the large orange orbs on its left and right sides to open the coloured portals. These orbs, alongside some massive Vex Cyclops, will only appear when you kill the Vex Hydra known as Angellics.
After you destroy the orbs, the Mote Collectors should take turns entering these portals with their teammate. Within the portal, killing enemies will drop motes. These dropped motes need to be deposited in to the corresponding conflux which matches the coloured portal.
While this is happening, enemies will be spawning within the Vex Milk while the boss destroys the platforms you are standing on. The Mote Collector that remained with the defender should help them clear the enemies and create links from the conflux in the arena to a small cube to restore the platforms that were destroyed.
After the first set of motes are deposited at their respective confluxes, Vex Goblins will spawn with white shields. The player who just deposited the motes will have to destroy these enemies on top of supporting the defender to kill the remaining enemies and to rebuild the platforms by tethering to the cube on their side. If you do not destroy these enemies, they will deplete the motes you have deposited, and if enough of them sacrifice at this position, it will kill your whole team.
When both teams have deposited 30 motes in each conflux, the boss will spawn one final wave of enemies as well as a coloured cross in the centre. The cross will either be orange/red or blue/white. If it’s orange/red you will need to tether the conflux of the same colour, and if it’s blue/white you will need to tether the blue side’s conflux to the cross.
Finally you'll get to the damage phase. At this point you should unload everything you have on the boss and blow all your damage supers. If you fail to kill the boss, you will need to return to your previous positions and repeat the mote collection and defense actions again. You will be able to attempt four damage phases before your whole team dies.
Recap:
- Divide into two teams
- Assign three roles within the teams; Mote Collect 1, Mote Collector 2, and Defender/Builder
- Kill the Angelic enemy to expose the boss's weak spots
- Destroy the weak spots and spawn the portals
- Collect motes within the portal, while the other two players focus on defeating enemies and building platforms through tethering
- Mote collector returns from the portal side to deposit motes and support the defender, while the next mote collector enters the portal
- Second mote collector returns and deposits motes, starting the initial stages of the damage phase
- The entire fireteam matches the correct pillar to the large cross in the middle
- Team starts to damage boss
- Repeat the mote collection and defense phases until you’ve completed enough damage phases to kill the boss
And there you have it: The first of what’s sure to be many Garden of Salvation completions.
