Postcards from Stratis: how to take fancy screenshots in Arma 3
Here's how to get yourself access to a floating camera.
Press F3 in the editor. It'll bring up a Trigger menu. You're going to use the in-game radio to trigger an effect. Select 'Radio Alpha' from the 'Activation' drop-down menu. That'll bind the effect to the in-game radio. In the 'On Act' box cut and paste the text below:
player exec "camera.sqs"
Make sure you make it a repeatable action in the same menu. Now drop a character into the editor and start the game. As normal you'll be in the character's body. Press 'backspace' and then type: 0 0 1. What that does is spawn a floating camera wherever you placed the player or object. It'll spawn the character (or object), but you're not in control of them. If you don't want them in shot, just hide them behind something in the editor. In fact, it doesn't matter where you place them in the world, as the camera can go anywhere. If you press 'right-mouse' and end up back in the character, just type the commands again.
Now you're in the Machinima camera! Woo! It has a lot of functionality, but you won't need most of it you're just taking screenshots of pretty places. Right away the controls are odd: the camera swooshes on the horizontal plane using either the mouse or WASD. There's a crosshair in the middle of the screen, so press 'L' to get rid of it.
The plus and minus keys on the keypad work the same here, so from the same position, these are the zooms.
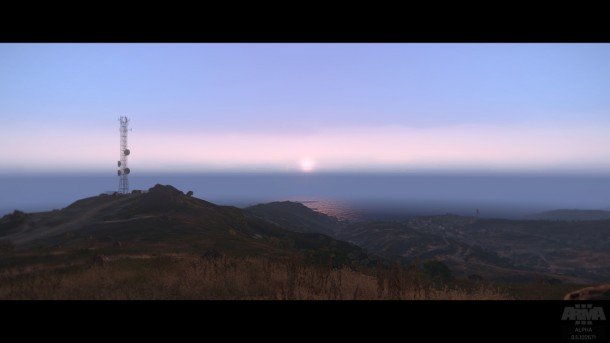
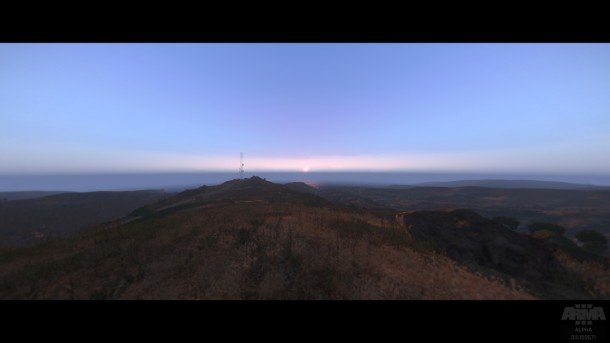
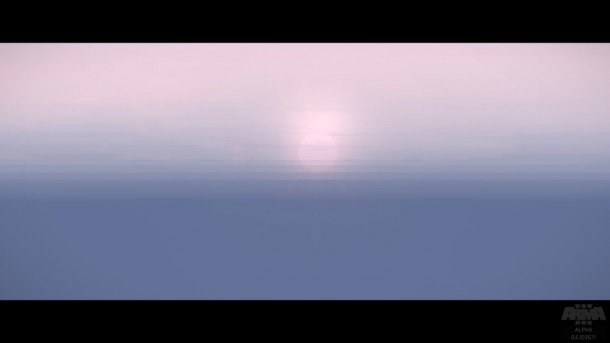
Frankly, I stopped zooming in to give the shot some perspective, otherwise it would have kept going until it was a mess. The zoom is incredible. Additional keys to worry about: 'Q' and 'Z' move the camera vertically, and the arrow keys on the numpad change the camera's inclination. Here's what you can achieve messing about.
Keep up to date with the most important stories and the best deals, as picked by the PC Gamer team.
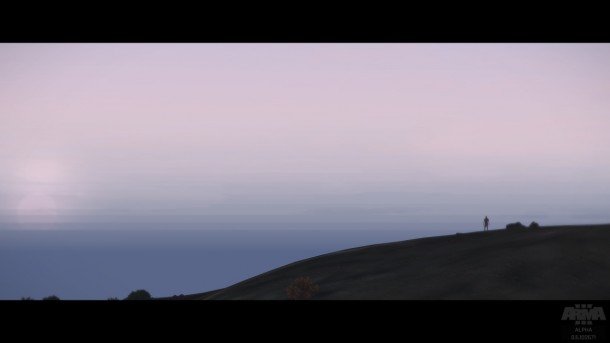
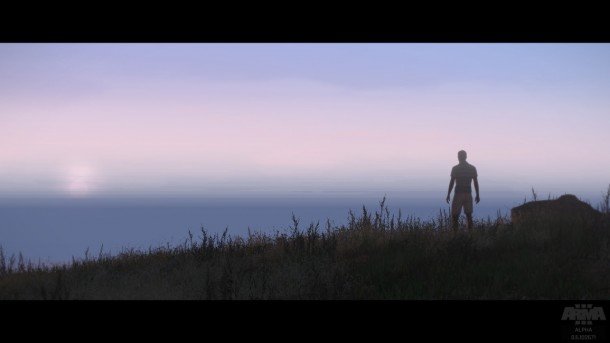
The scroll wheel will select the focus depth, and there are a few filters bound to the number keys. If you're only taking screenshots you don't need to worry about performance. I tilted the camera forwards and zoomed up to take the next shot. The visibility setting in the Options > Video was set to 20km, and all the settings are at 'Ultra'. Though make sure you disable 'post-process' effects in the video settings.
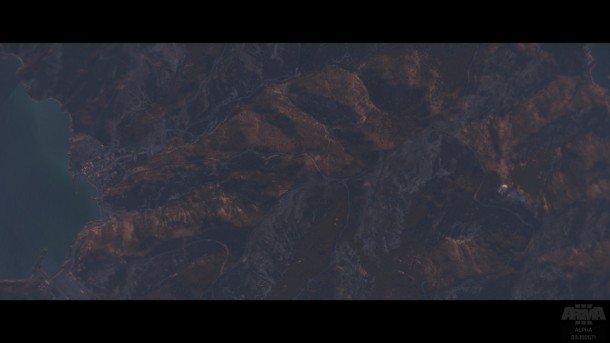
Again, these photos above are illustrative of the process - not the artistic potential. Over on the next page, I'll suggest a few things that you might want to point your lens towards - with handy grid references too.
