Destiny 2: How to get the Parasite exotic grenade launcher
It's a bit of a grind to get your hands on it, but it's worth it to yeet worms at your enemies.
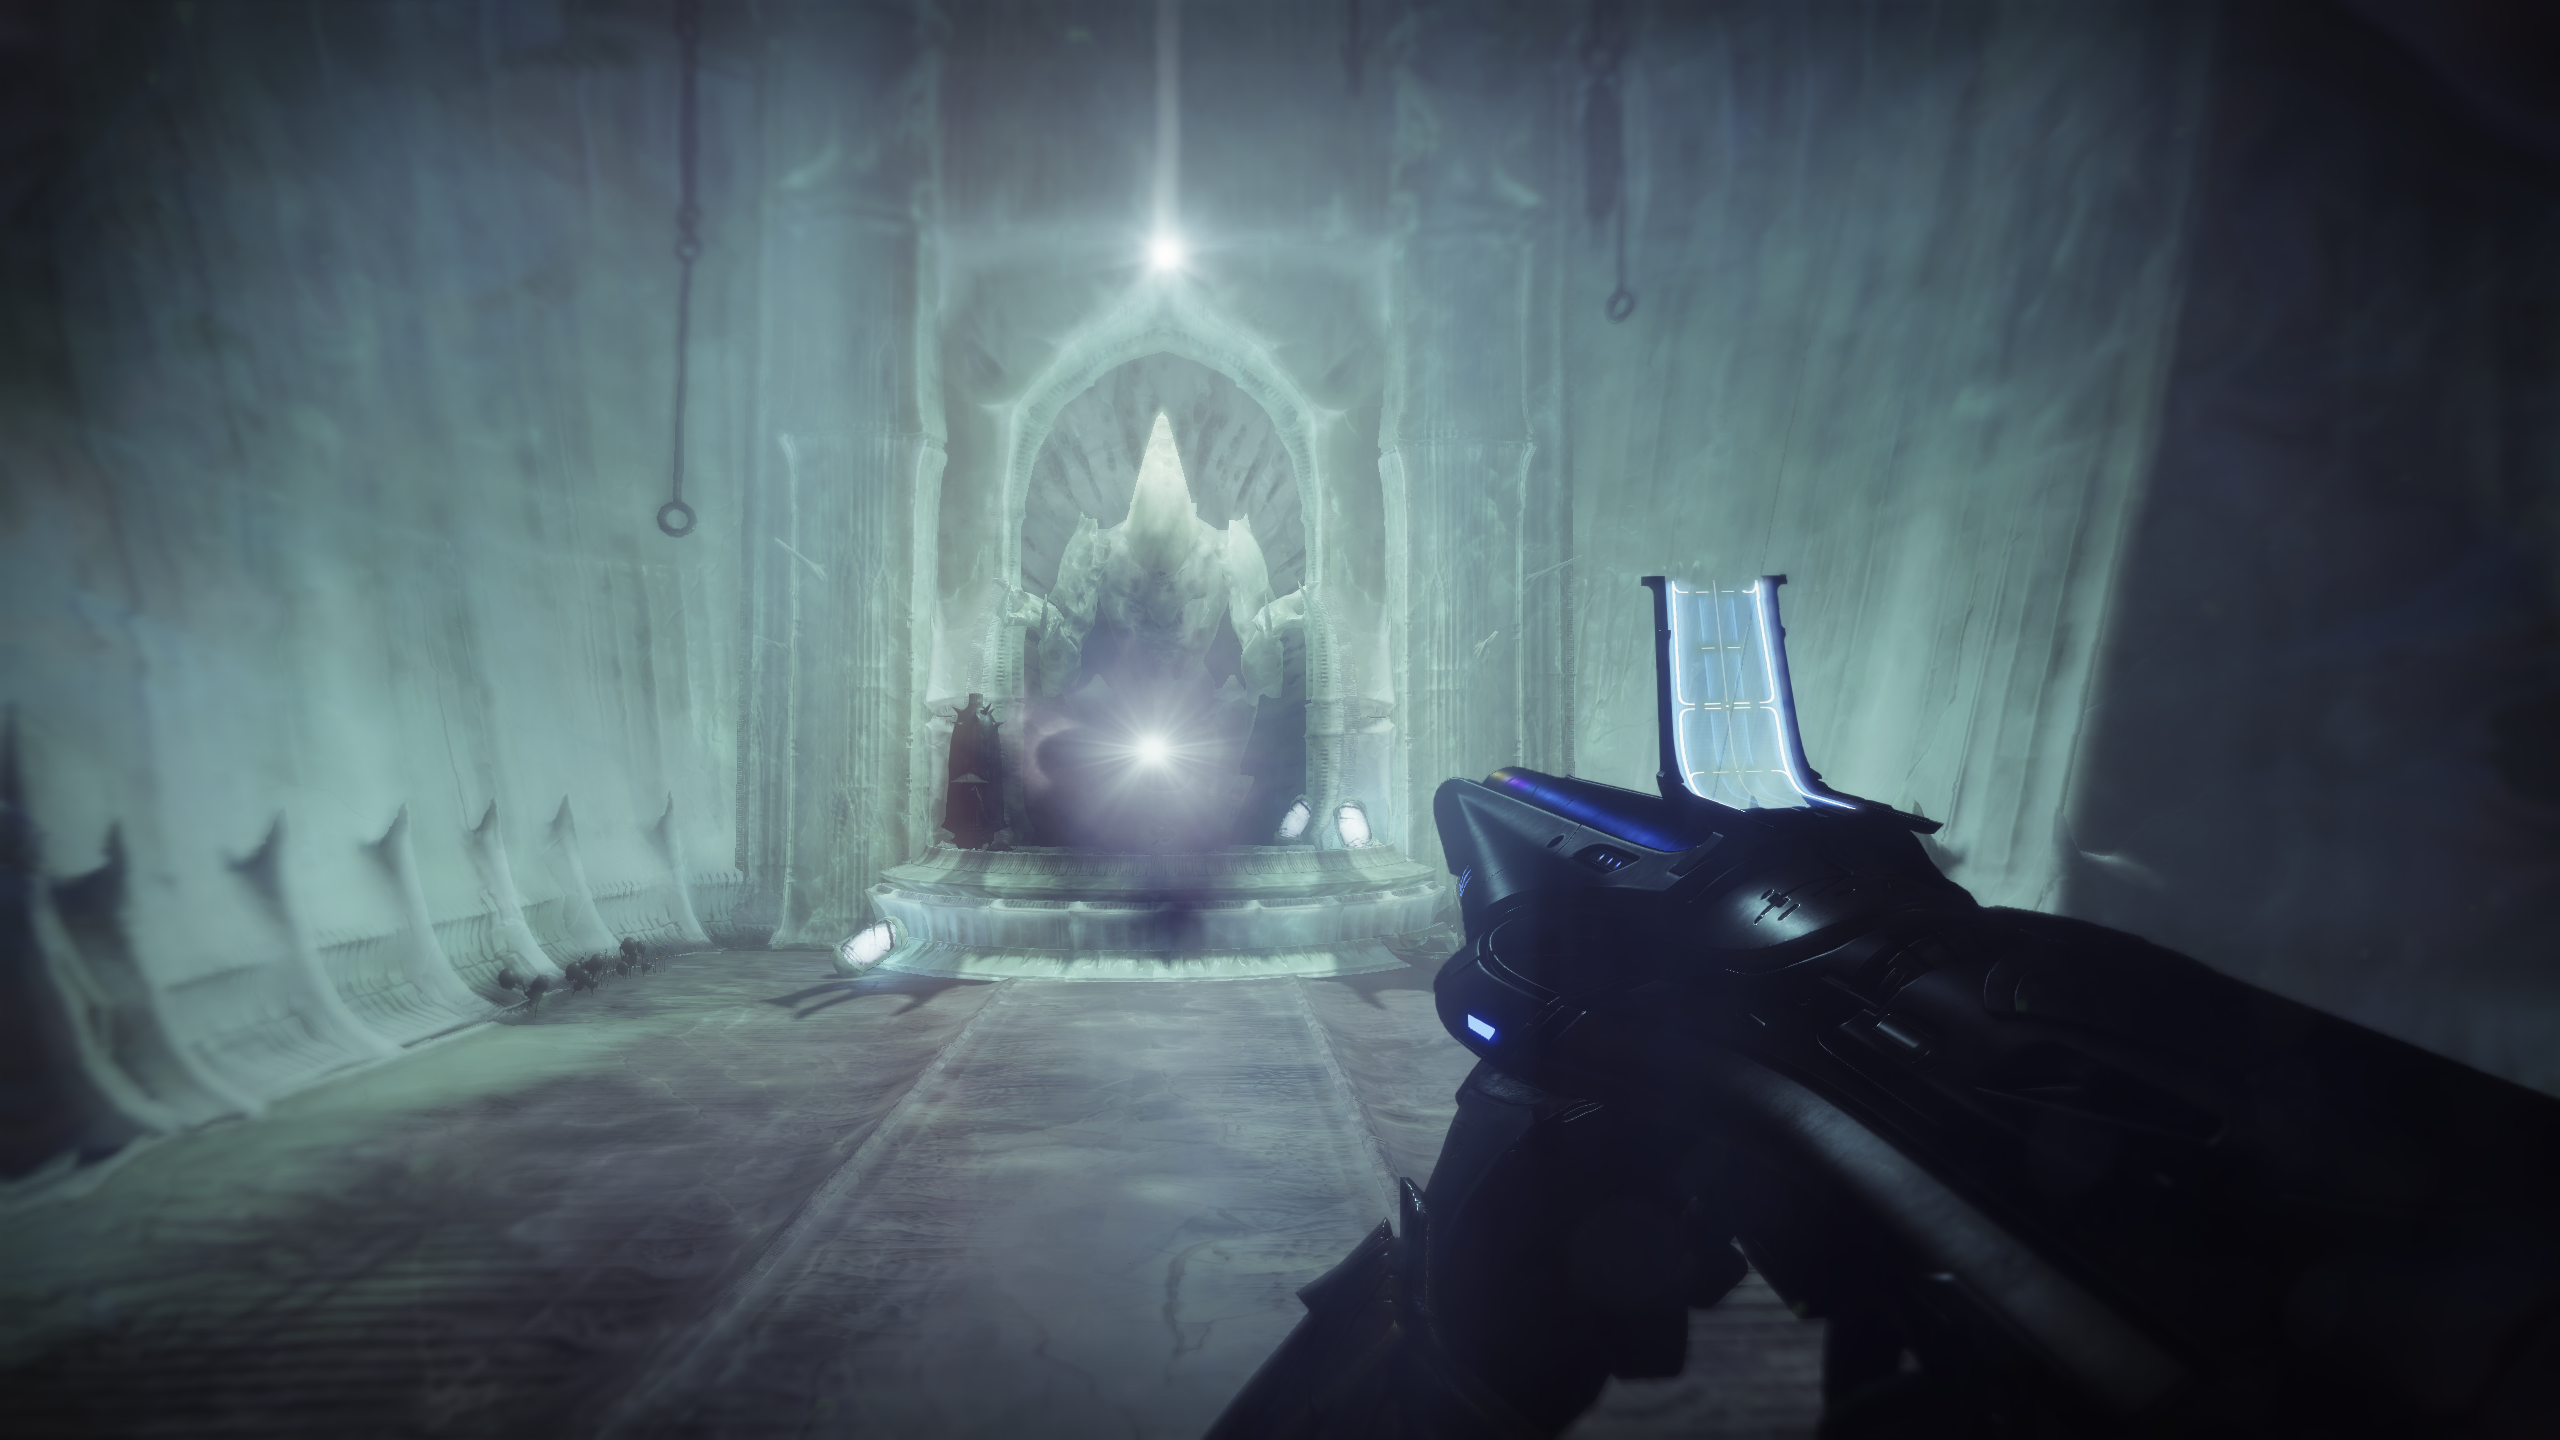
The Parasite exotic grenade launcher is one of the new exotics available in Destiny 2: The Witch Queen and it's well worth getting. It lets you yeet worms at your enemies, so what's not to like? The quest to get it isn't particularly difficult, but it is long, so let's get started.
How to get Parasite in Destiny 2
First, you have to finish the entire Witch Queen campaign.. You can complete it on normal or legendary difficulty, although I do recommend legendary because it rewards you with a gear drop that boosts you to 1520 power, which makes the latter section of this quest much easier and you'll be able to avoid some grinding. This means there are immediate spoilers in this guide for the main campaign, so continue at your own risk.
When you finish the campaign you’ll be told Mara Sov wants to speak with you. You can find her in the Enclave, down behind the Relic you use for crafting weapons. When you get here you’ll find Savathun’s worm. You'll get to enjoy a short cutscene before progressing.
Throne of the Vile
Now complete the second of the two new strikes added in Witch Queen.. It launches straight from the Throne World and the recommended power level is 1510. If you completed the legendary campaign you should be well ahead of that at 1520, but if you didn’t I’d try and hit the soft cap of 1500 power before tackling it. At the very end of the strike, just place the worm on the little altar to complete this step.
Collect a Cryptoglyph Rune
After completing the strike, you’ll be sent back to the Throne World and seek out the vendor, Fynch, who send you to find a Cryptoglyph Rune. Follow the quest marker down a long, long way to the Temple of Cunning—you'll recognise it from fighting a Scorn boss during the campaign. When you arrive, defeat several waves of Scorn to complete this step.
Charge the Rune
With Scorn all over the Throne World, including the Temple of Cunning, this is pretty easy. You can find plenty by re-running Birthplace of the Vile, but personally, I recommend trying the new Wellspring activity, which will chuck comical numbers of Scorn at you.
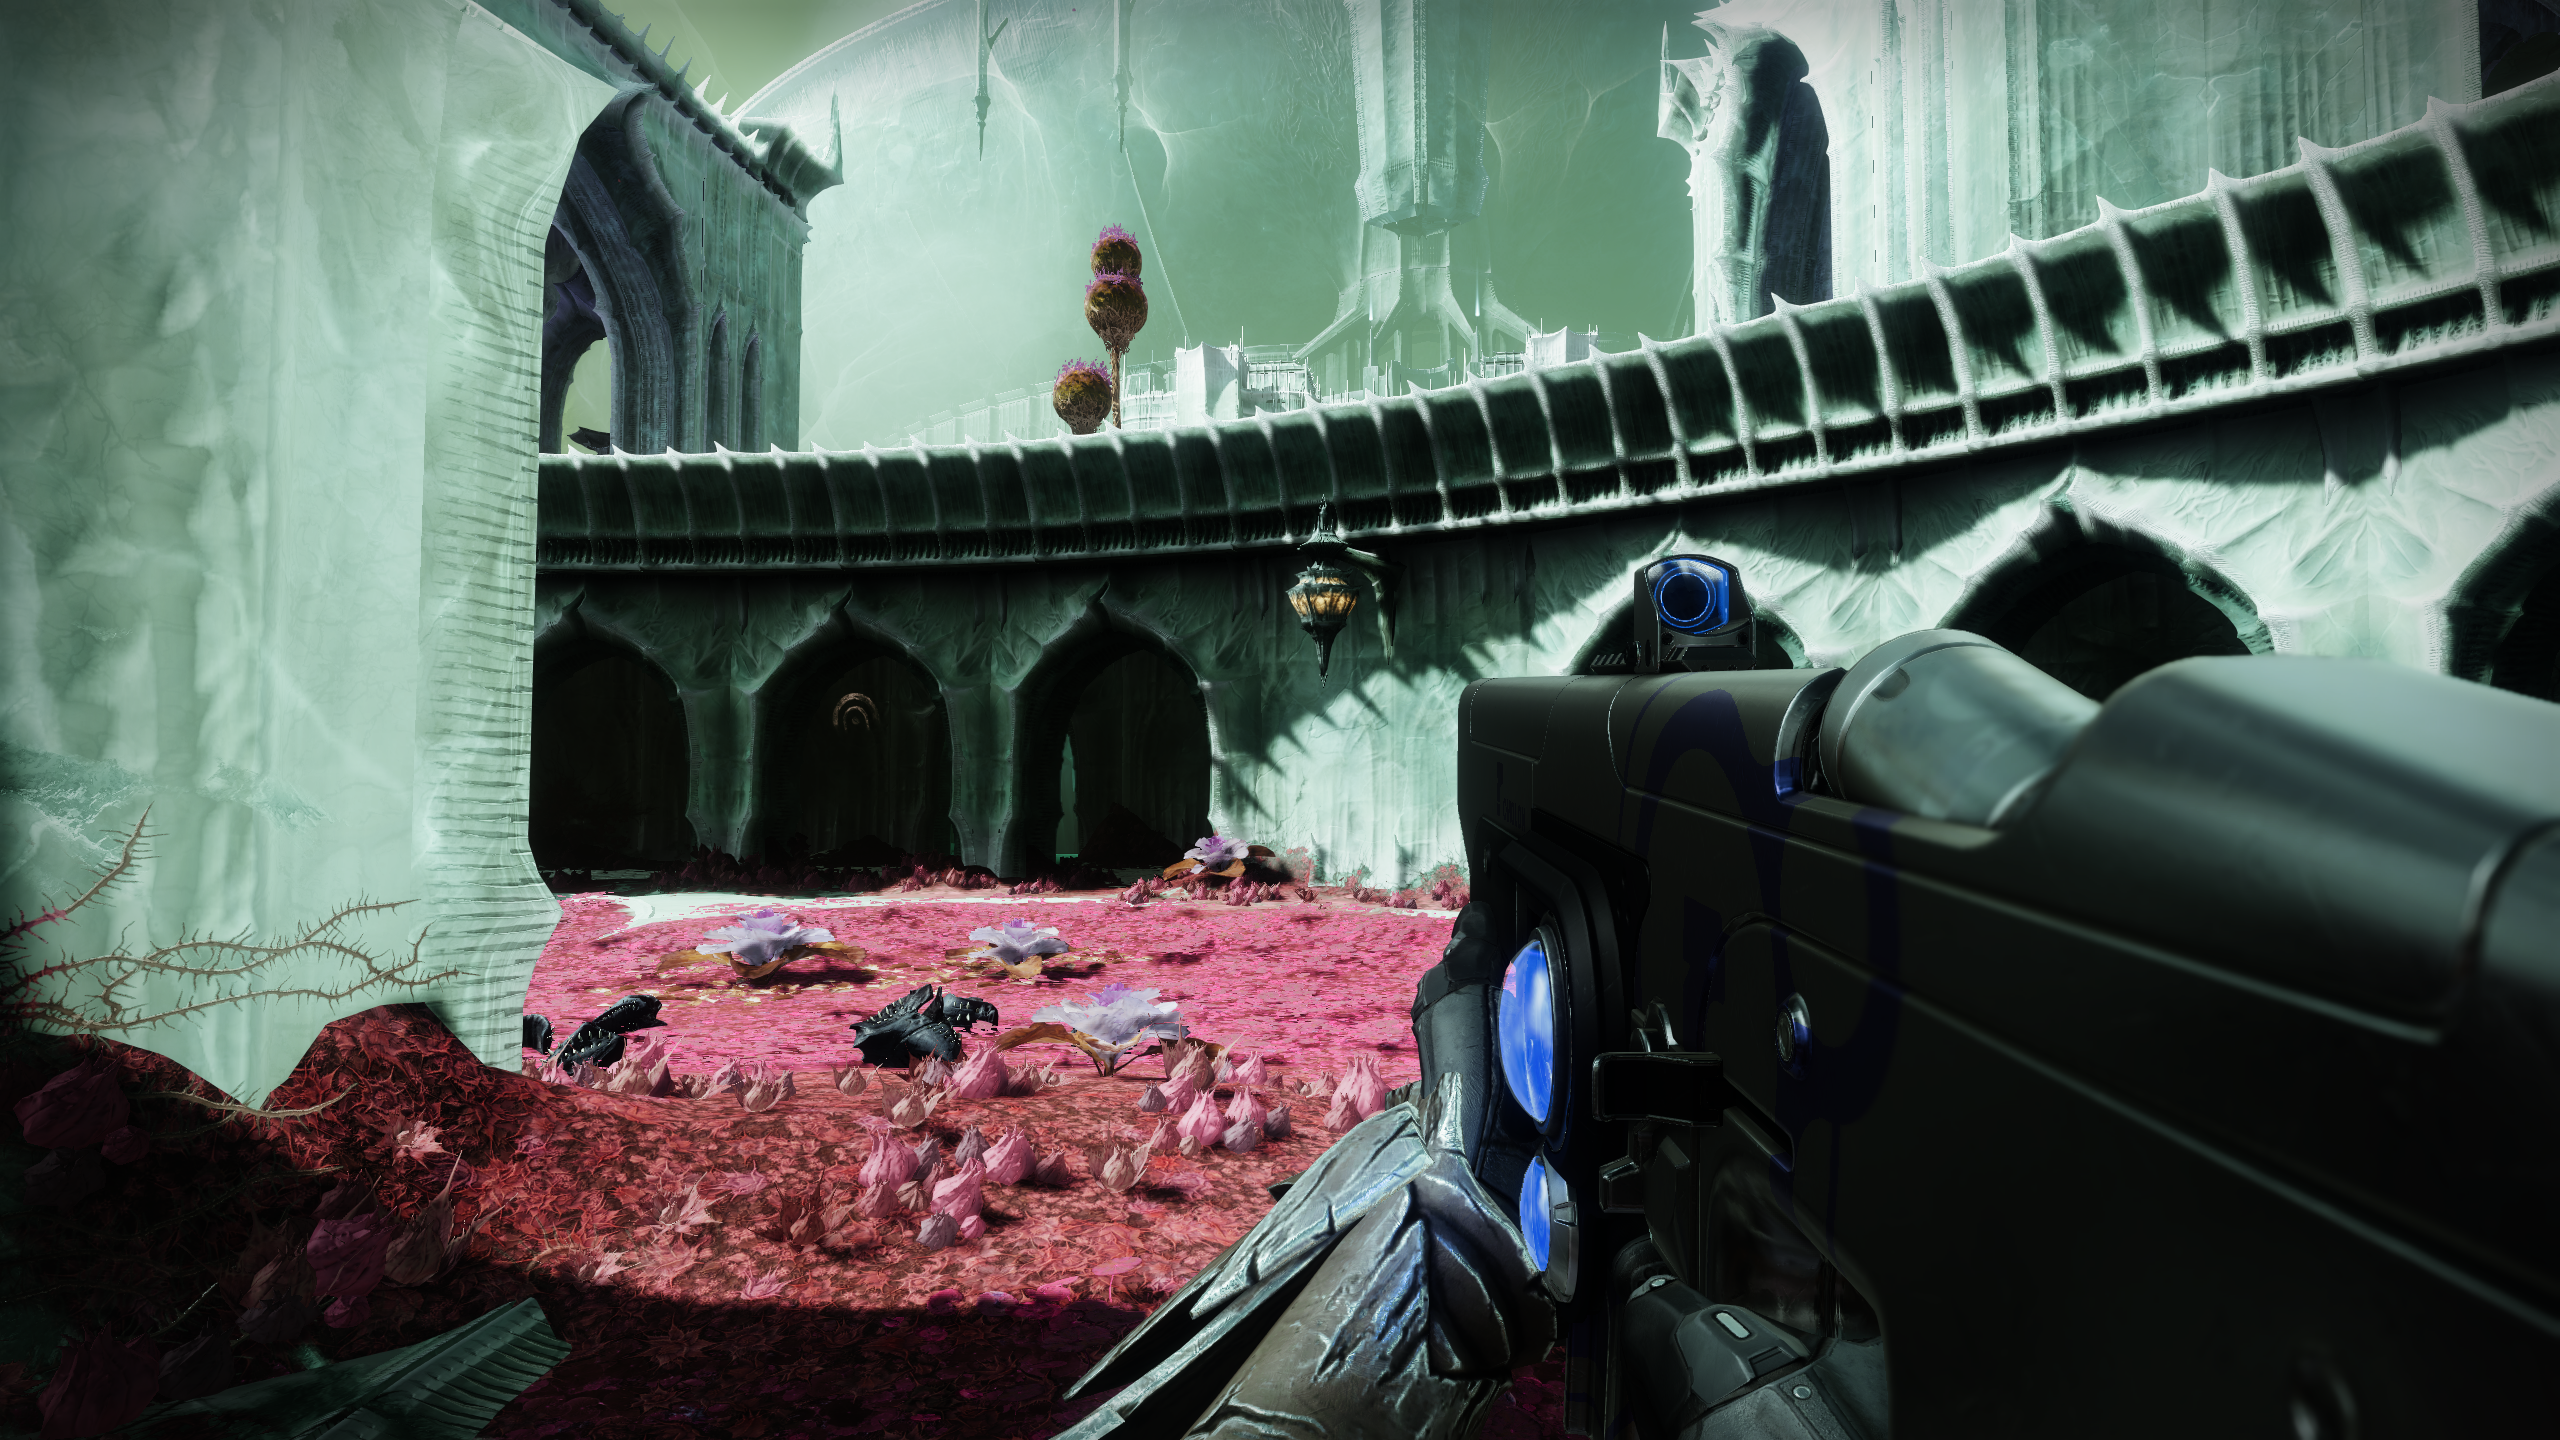
Sepulcher Lost Sector
In case you're new to Destiny 2, Lost Sectors are a kind of hidden nook in an open-world zone, usually consisting of a couple of rooms and a boss fight. Look for a painted symbol that looks a little like a semi-circular doorway or tunnel—this indicates a Lost Sector entrance. They’re not especially difficult but can feel pretty lengthy.
Keep up to date with the most important stories and the best deals, as picked by the PC Gamer team.
In this case, the quest marker will take you to the general area of the Lost Sector, but won’t show you directly to the entrance. The marker will be hovering above a raised platform area, and you’ll need to jump down on the curved side of the platform, then look back towards where you came from. The curved wall contains a series of arches (see screenshot) and the entrance is under one of those arches.
Once you’ve completed the Lost Sector you’ll find a Deepsight marker you can activate, just like in the campaign. Activating it will reveal a hidden platform just behind the final chest, from which you can jump into a secret room with an altar. Place the worm on the altar and have a nice chat with it to complete the quest.
Complete three patrols
Patrols are mini-objectives that ask you to do things like kill a certain number of a specific type of enemy in an area. You can find one easily by pulling out your Ghost and looking for little grey diamonds with white symbols in them. I recommend sticking to the kill enemies patrols (diamond surrounded by four small triangles pointing at it) or scavenge patrols (pyramid shape) as they are the easiest to complete.
Find a Cryptoglyph Rune
At this point, we’re going to start repeating the same loop we just did. This time we’re going to the Queen’s Bailey, which is easy to reach from where we just were in Florescent Canal. Once again follow your quest marker until you reach the right spot, at which point you’ll have to defeat several waves of Hive before getting the rune.
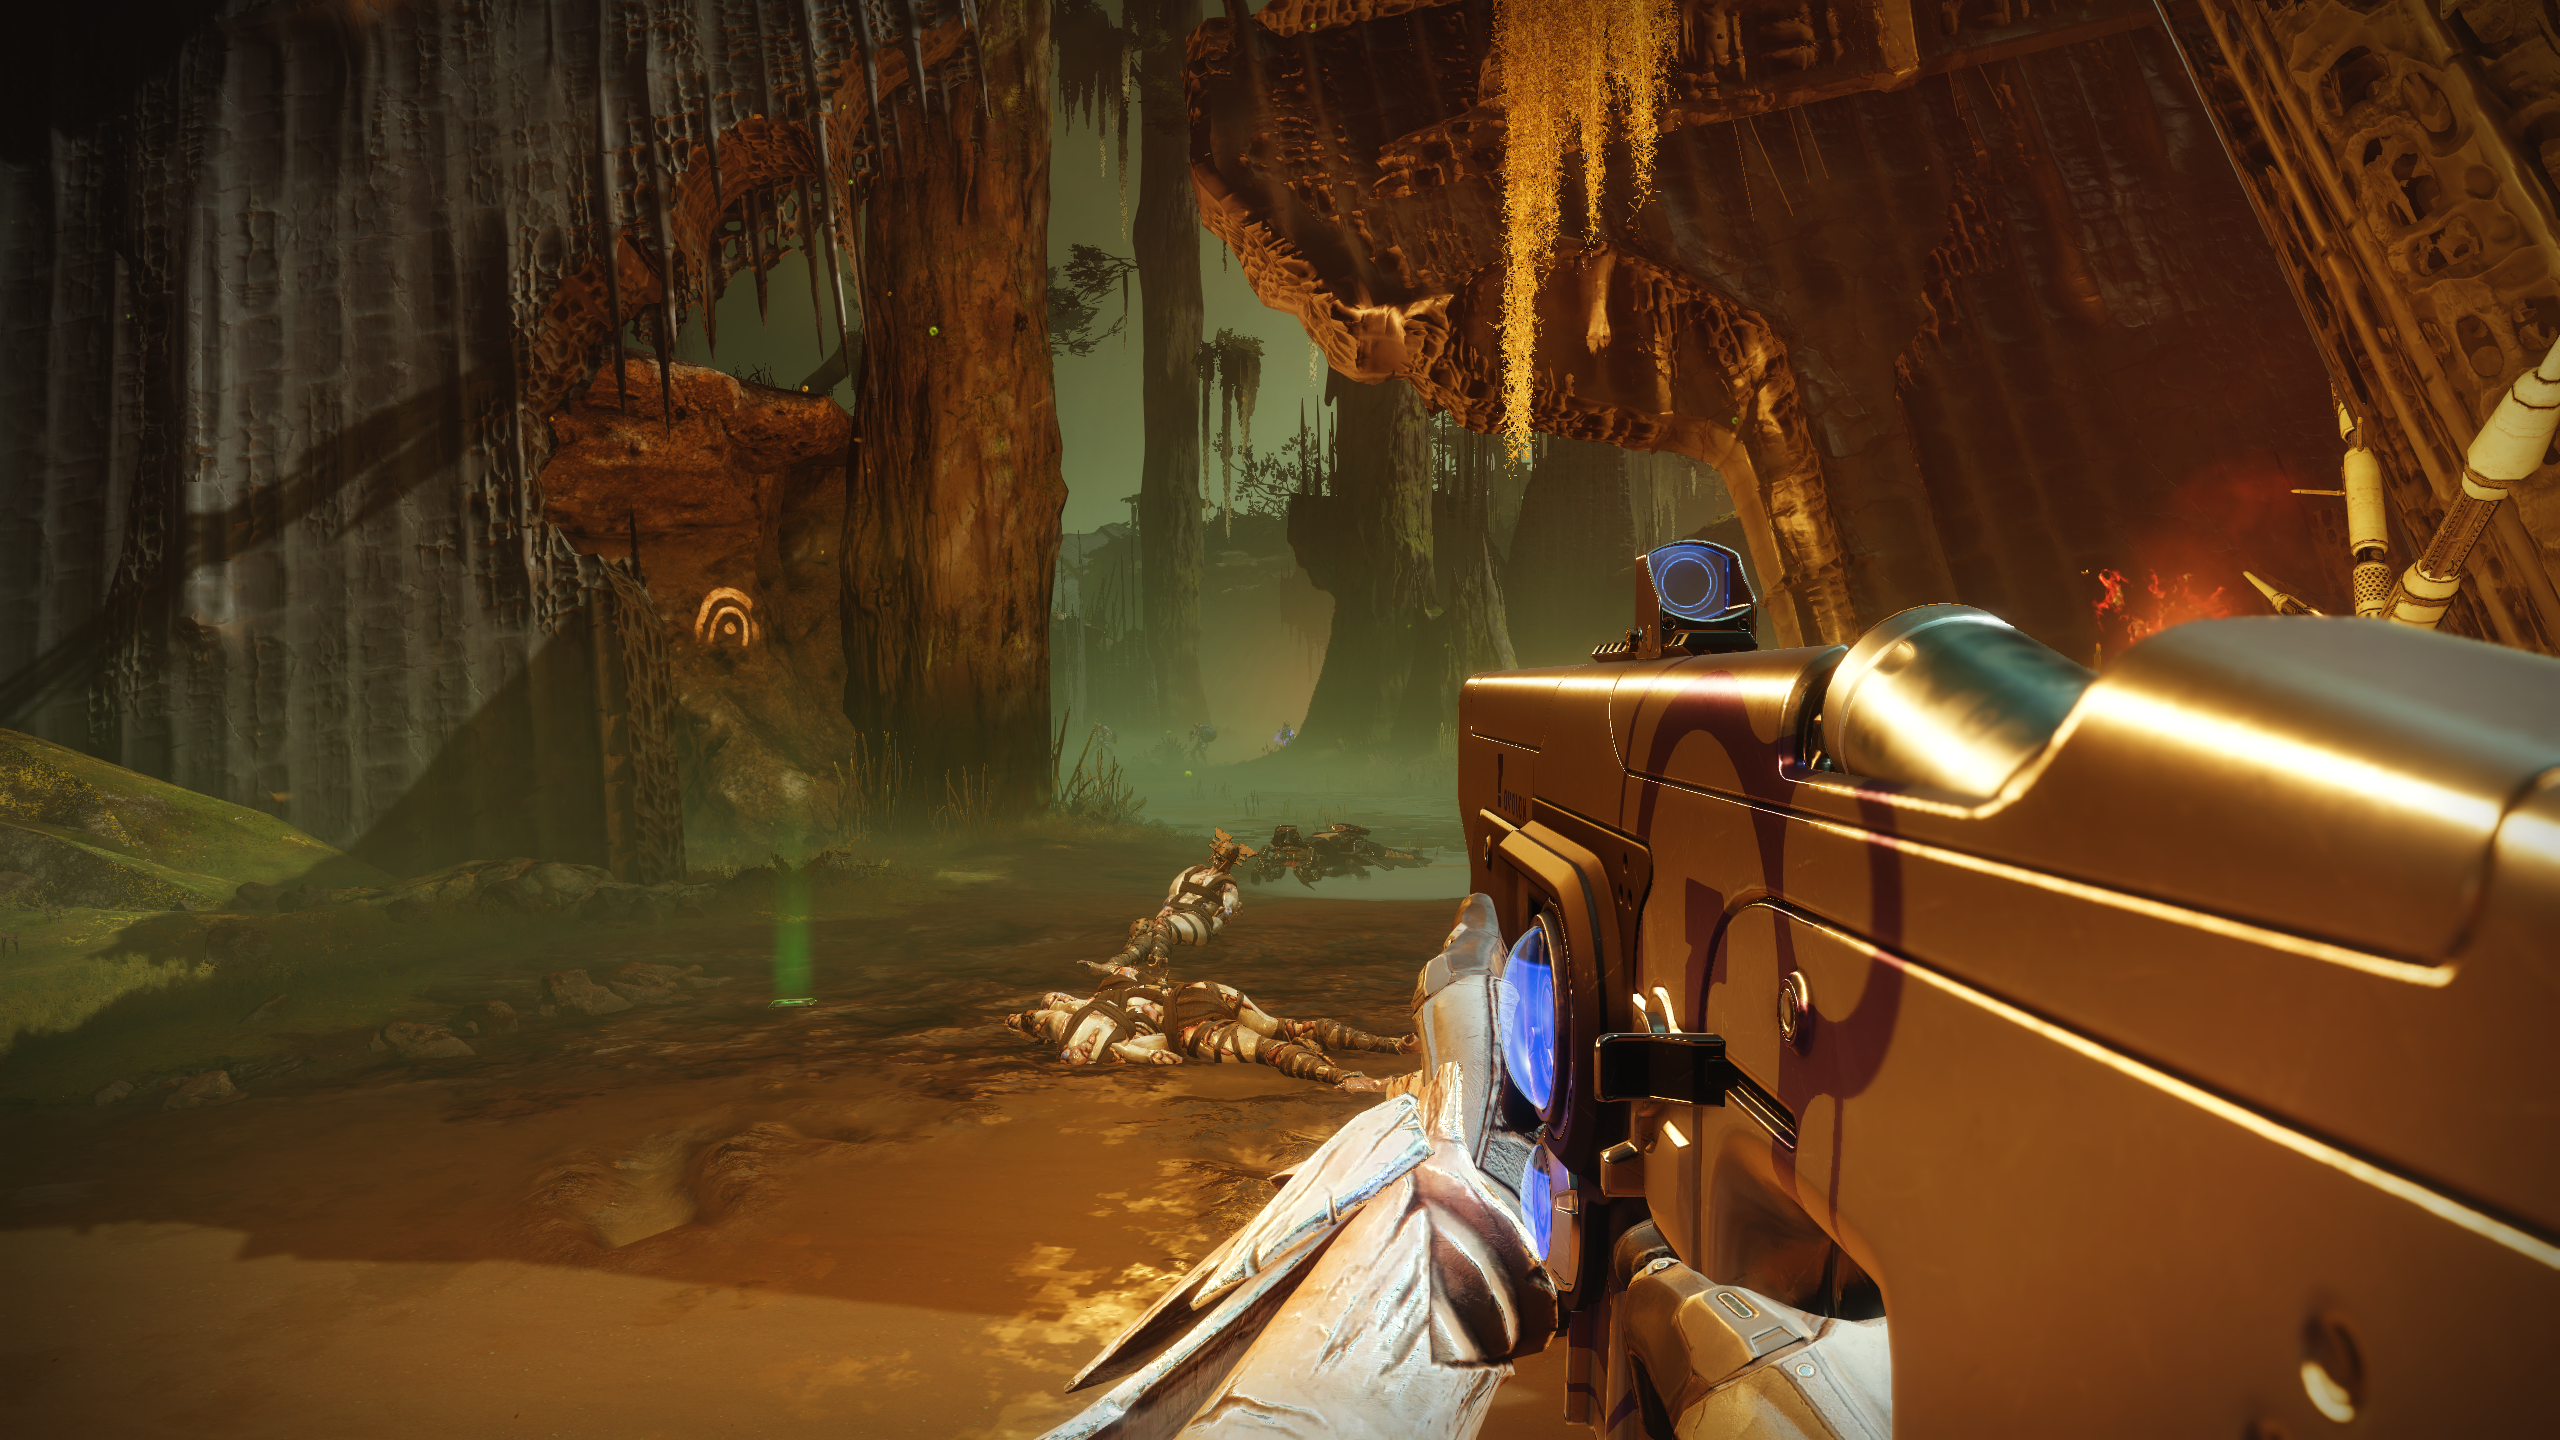
Metamorphosis Lost Sector
This works exactly like before, except this time you’re completing the Metamorphosis Lost Sector in Miasma. Once again the quest marker will take you to the general area, but you have to find the opening yourself. If you’re coming from Quagmire simply drive through and past the area marked by the quest marker, towards a very big tree, then turn around and look back the way you came to see a cave with the Lost Sector symbol on it.
After you’ve beaten the Lost Sector you can activate Deepsight and the big rock in front of you should disappear and reveal a hidden passage, where you can once engage in some more fun banter with the worm.
Locate a Cryptoglyph Rune
The final rune is in Alluring Curtain, which is just near Quagmire, but you’re best teleporting back to Fynch to find it. This one is slightly more complicated than the last rune. First of all, follow your quest marker to the Alluring Curtain and take out any Hive in the area, just like before, but you won’t get the rune immediately. Instead, Fynch will prompt you to head to the nearby Deepsight marker. Activate your Deepsight and you’ll notice a bunch of floating platforms. Three will have unlit torches on them. Shoot all of these torches to light them and a chest will appear, containing the rune.
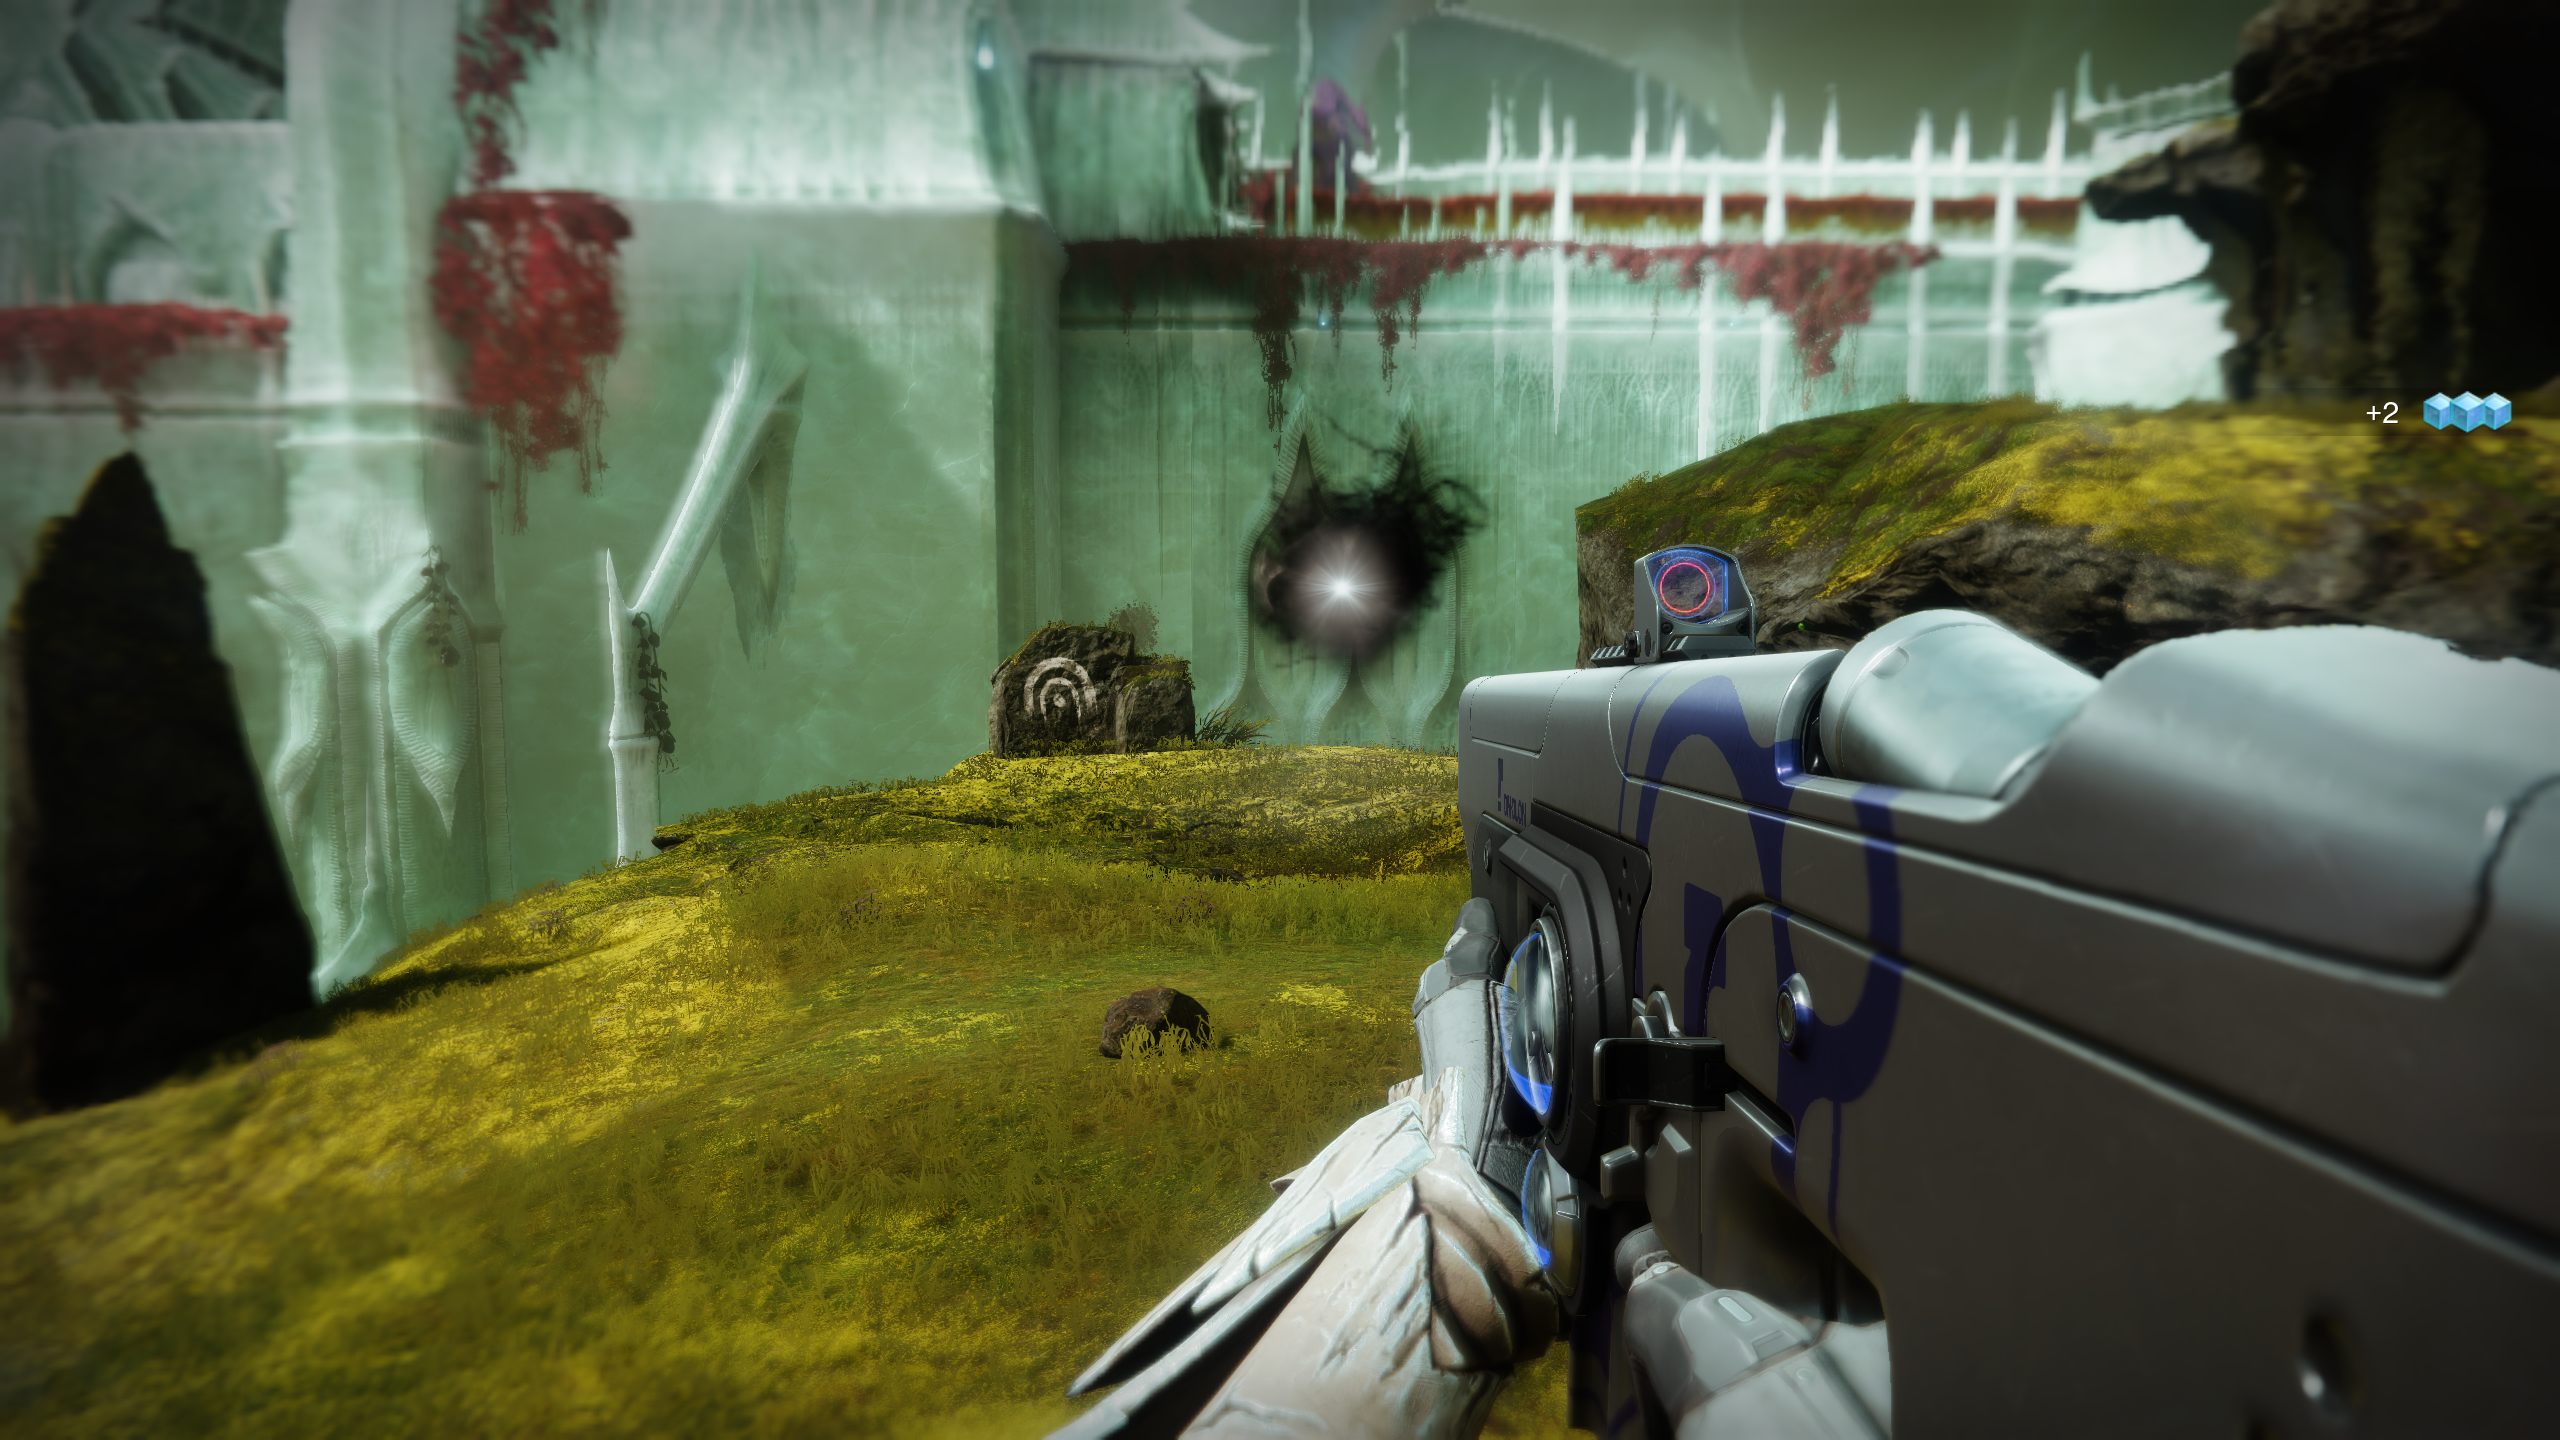
Extraction Lost Sector
For this step, you’re heading to the Lost Sector in Quagmire, the section of the Throne World where Fynch hangs out. Once again your quest marker will take you to the general area, but you’re looking for a cliff face with a little rock with the Lost Sector symbol on it. Thankfully, this one is rather hard to miss because there’s a Deepsight marker right next to it. Activate the Deepsight and jump down to the newly-revealed ledge, then head to your right, facing the edge, to find the Lost Sector.
At the end of the Lost Sector, activate Deepsight and a statue will disappear to reveal a hidden room, with one last altar on which you can once again be sassed by the worm.
Get the Hive Casing from Fynch
After yet another worm chat, head over to see Fynch and pick up the object he gives you. It’s considered a power weapon, so make sure you have a free space in your power weapon slot or you won’t be able to pick it up.
Parasitic Pilgrimage
We're almost at the finish line, Guardians. This section of the quest has a power recommendation of, 1520, which you should hopefully be nearby now. During the first stage of this mission, you have to carry the worm through various patches of hive energy along the floor. This is much easier if you bring a friend who can shoot the enemies while you’re busy caring for your worm buddy, so try and recruit a pal or two to join your fireteam.
After that you’ll have to defend the worm from waves of Scorn, then race up a jumping section with the worm in a time limit. Finally, you’ll be rewarded with the Parasite launcher and asked to defend Mara from waves of Scorn. During this final fight there are little pools of Hive magic around the room, and standing in them will give you free heavy ammo, so feel free to launch as many worms as you can.
That’s it! With the mission complete, Parasite is yours to keep.
- Where is Xur: Find Destiny 2's exotics dealer is this week.
- Destiny 2: The Witch Queen review: The best expansion yet.
