How to find the perfect CS:GO crosshair for you
Don't be caught using CS:GO's default crosshair—use these utilities to find the right reticle.

Most players like theirs small, while others prefer a bulky frame. Some choose to rely only a single dot. Whatever your preference, your crosshair is an important tool, and it's worth investing time to find the right one. The key is to experiment and see what works for you. Collected below are the simplest steps to customising your own sights for CS:GO.
Ditch the default
If you’re still using the default crosshair, change it. Introduced to the series in CS:GO, the default dynamic crosshair changes size based on movement, stance and shooting. While the idea is nice in principle—teaching new players that movement hampers accuracy—the result is a cluttered, confusing mess. Taking up a hefty portion of the screen, the default dynamic is overly animated. Wildly expanding and shrinking as you play, it serves more as a distraction than a representation of where your bullets will go. The expansion of the crosshair can even mislead you into believing your shots will land within that area.
The best way to customize your crosshair
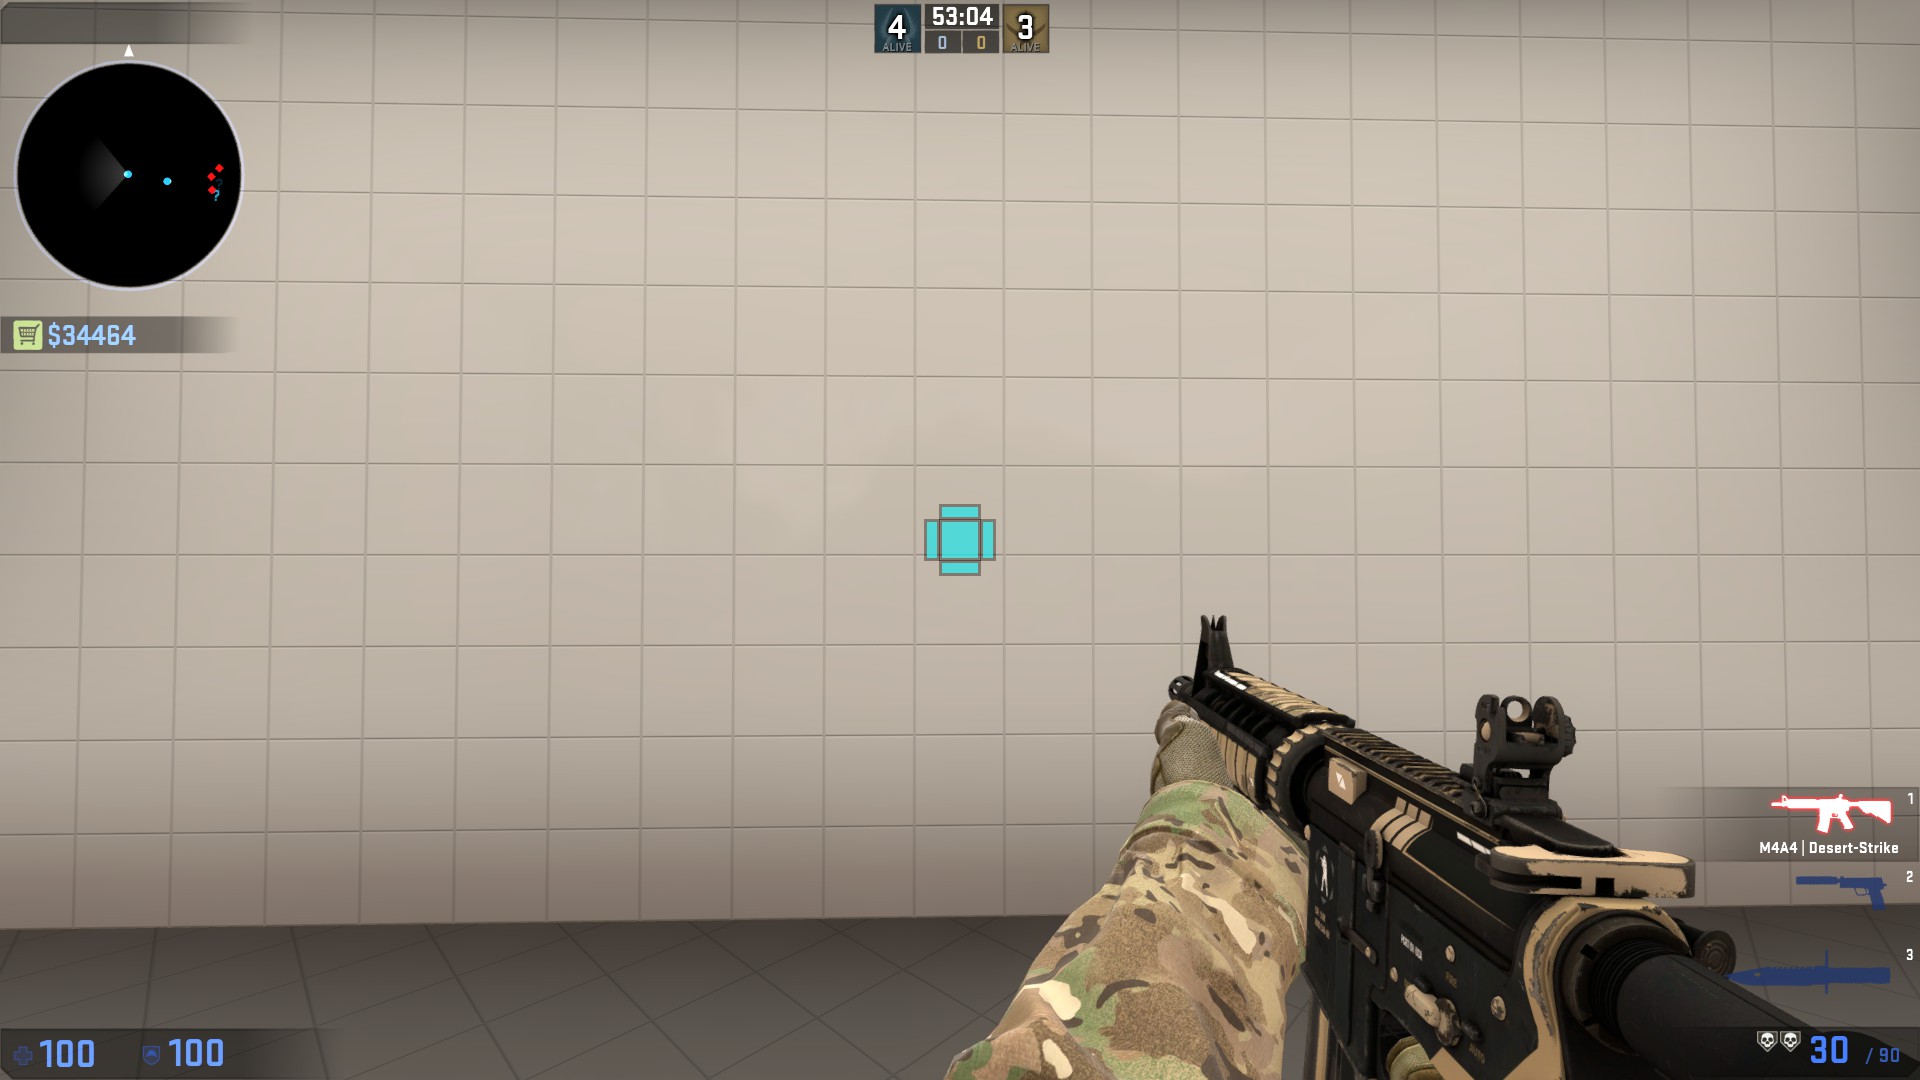
Beyond the default, CS:GO crosshairs come in four main styles: Default Static, Classic, Classic Dynamic and Classic Static. These are all accessible from the in-game menu, but beneath this, CS:GO hides a treasure trove of customization options. To fully customize your reticle, you’ll want to edit the game’s autoexec.cfg file. This informs CS:GO of any settings you want it to adopt on startup, and can be found in the game’s directory (Counter-Strike Global Offensive/csgo/cfg). Open this up in a notepad and you can edit to your heart’s content, provided you know the right commands. Searching for these and testing each change can prove time-consuming, but fortunately the CS:GO community has already risen to the challenge, simplifying the process.
Workshop user Crashz has produced an extremely generous map, allowing every aspect of the crosshair to be easily adjusted on the fly. From the line thickness to the alpha, it’s all managed through a simple button interface. First, try swapping between the basic styles of crosshair to find one you like the feel of before you really crack on with tweaking. The main aspects to play with are thickness, gap, color and dot. While much is left to preference, there are some general rules of thumb to follow:
- When considering the crosshair gap (the distance from line to line in the vertical or horizontal), smaller distances are usually best. The larger the void between each side, the harder it is to judge the precise center of the screen.
- The bigger it is, the more your screen will be obscured. If you tend to fight at long range and one-tap with rifles, a meaty reticle might not line up with your technique.
- When selecting a color, consider your environments. A light yellow will be hard to spot against Dust2’s sandy walls. Similarly, a blue or purple crosshair might be less prominent in darker locations. Aim for something light but clear.
- Have your heart set on a dynamic crosshair? Consider having a central dot too. As the crosshair expands it can help to have a stationary point to focus on.
If you’re not feeling creative, you can always copy the pros. Coating the walls of the level are crosshair designs matching a huge number of professional players, and even top YouTubers and streamers. Once you’re satisfied, Crashz’s map allows you to copy the exact configuration details by hitting the “share crosshair” button. Beyond letting you compare with a friend, this is a great way to backup crosshairs that you like. Simply save the text in a notepad file and you’ll be able to copy the text directly into your autoexec or console to retrieve it. This is an essential step on the off chance you have to reinstall the game.
Online alternatives
There’s no substitute to testing your crosshair in action, but if you don’t have time to load up the game, Skarbo's CS:GO crosshair generator is a good alternative. Each trait can be adjusted via sliding bars, altering the display on the left. Offering a few advantages over Crashz’s map, manually adjust the RGB color values allows fine control over color.
While it hasn’t been updated in awhile, a selection of classic map locations can be viewed, with targets at a variety of ranges to test your sights. Once again, copy the details in the config box and paste them into your autoexec.cfg to load them next time you play.
Keep up to date with the most important stories and the best deals, as picked by the PC Gamer team.

Try before you buy
Before you jump straight into to matchmaking, a few rounds of deathmatch will give ample time to acclimate to your new sights. More importantly, this should highlight any remaining niggles. Try playing with a thinner frame than you’re used to, complete a round using just a central dot. If you’re missing the shots you used to, don’t sweat it. A change in sights is expected to throw you off a bit, but with a little practice, you’ll be landing cleaner headshots in no time at all.

