How to find Hildir in Valheim and complete her request
You'll have to work to unlock her extra outfits.
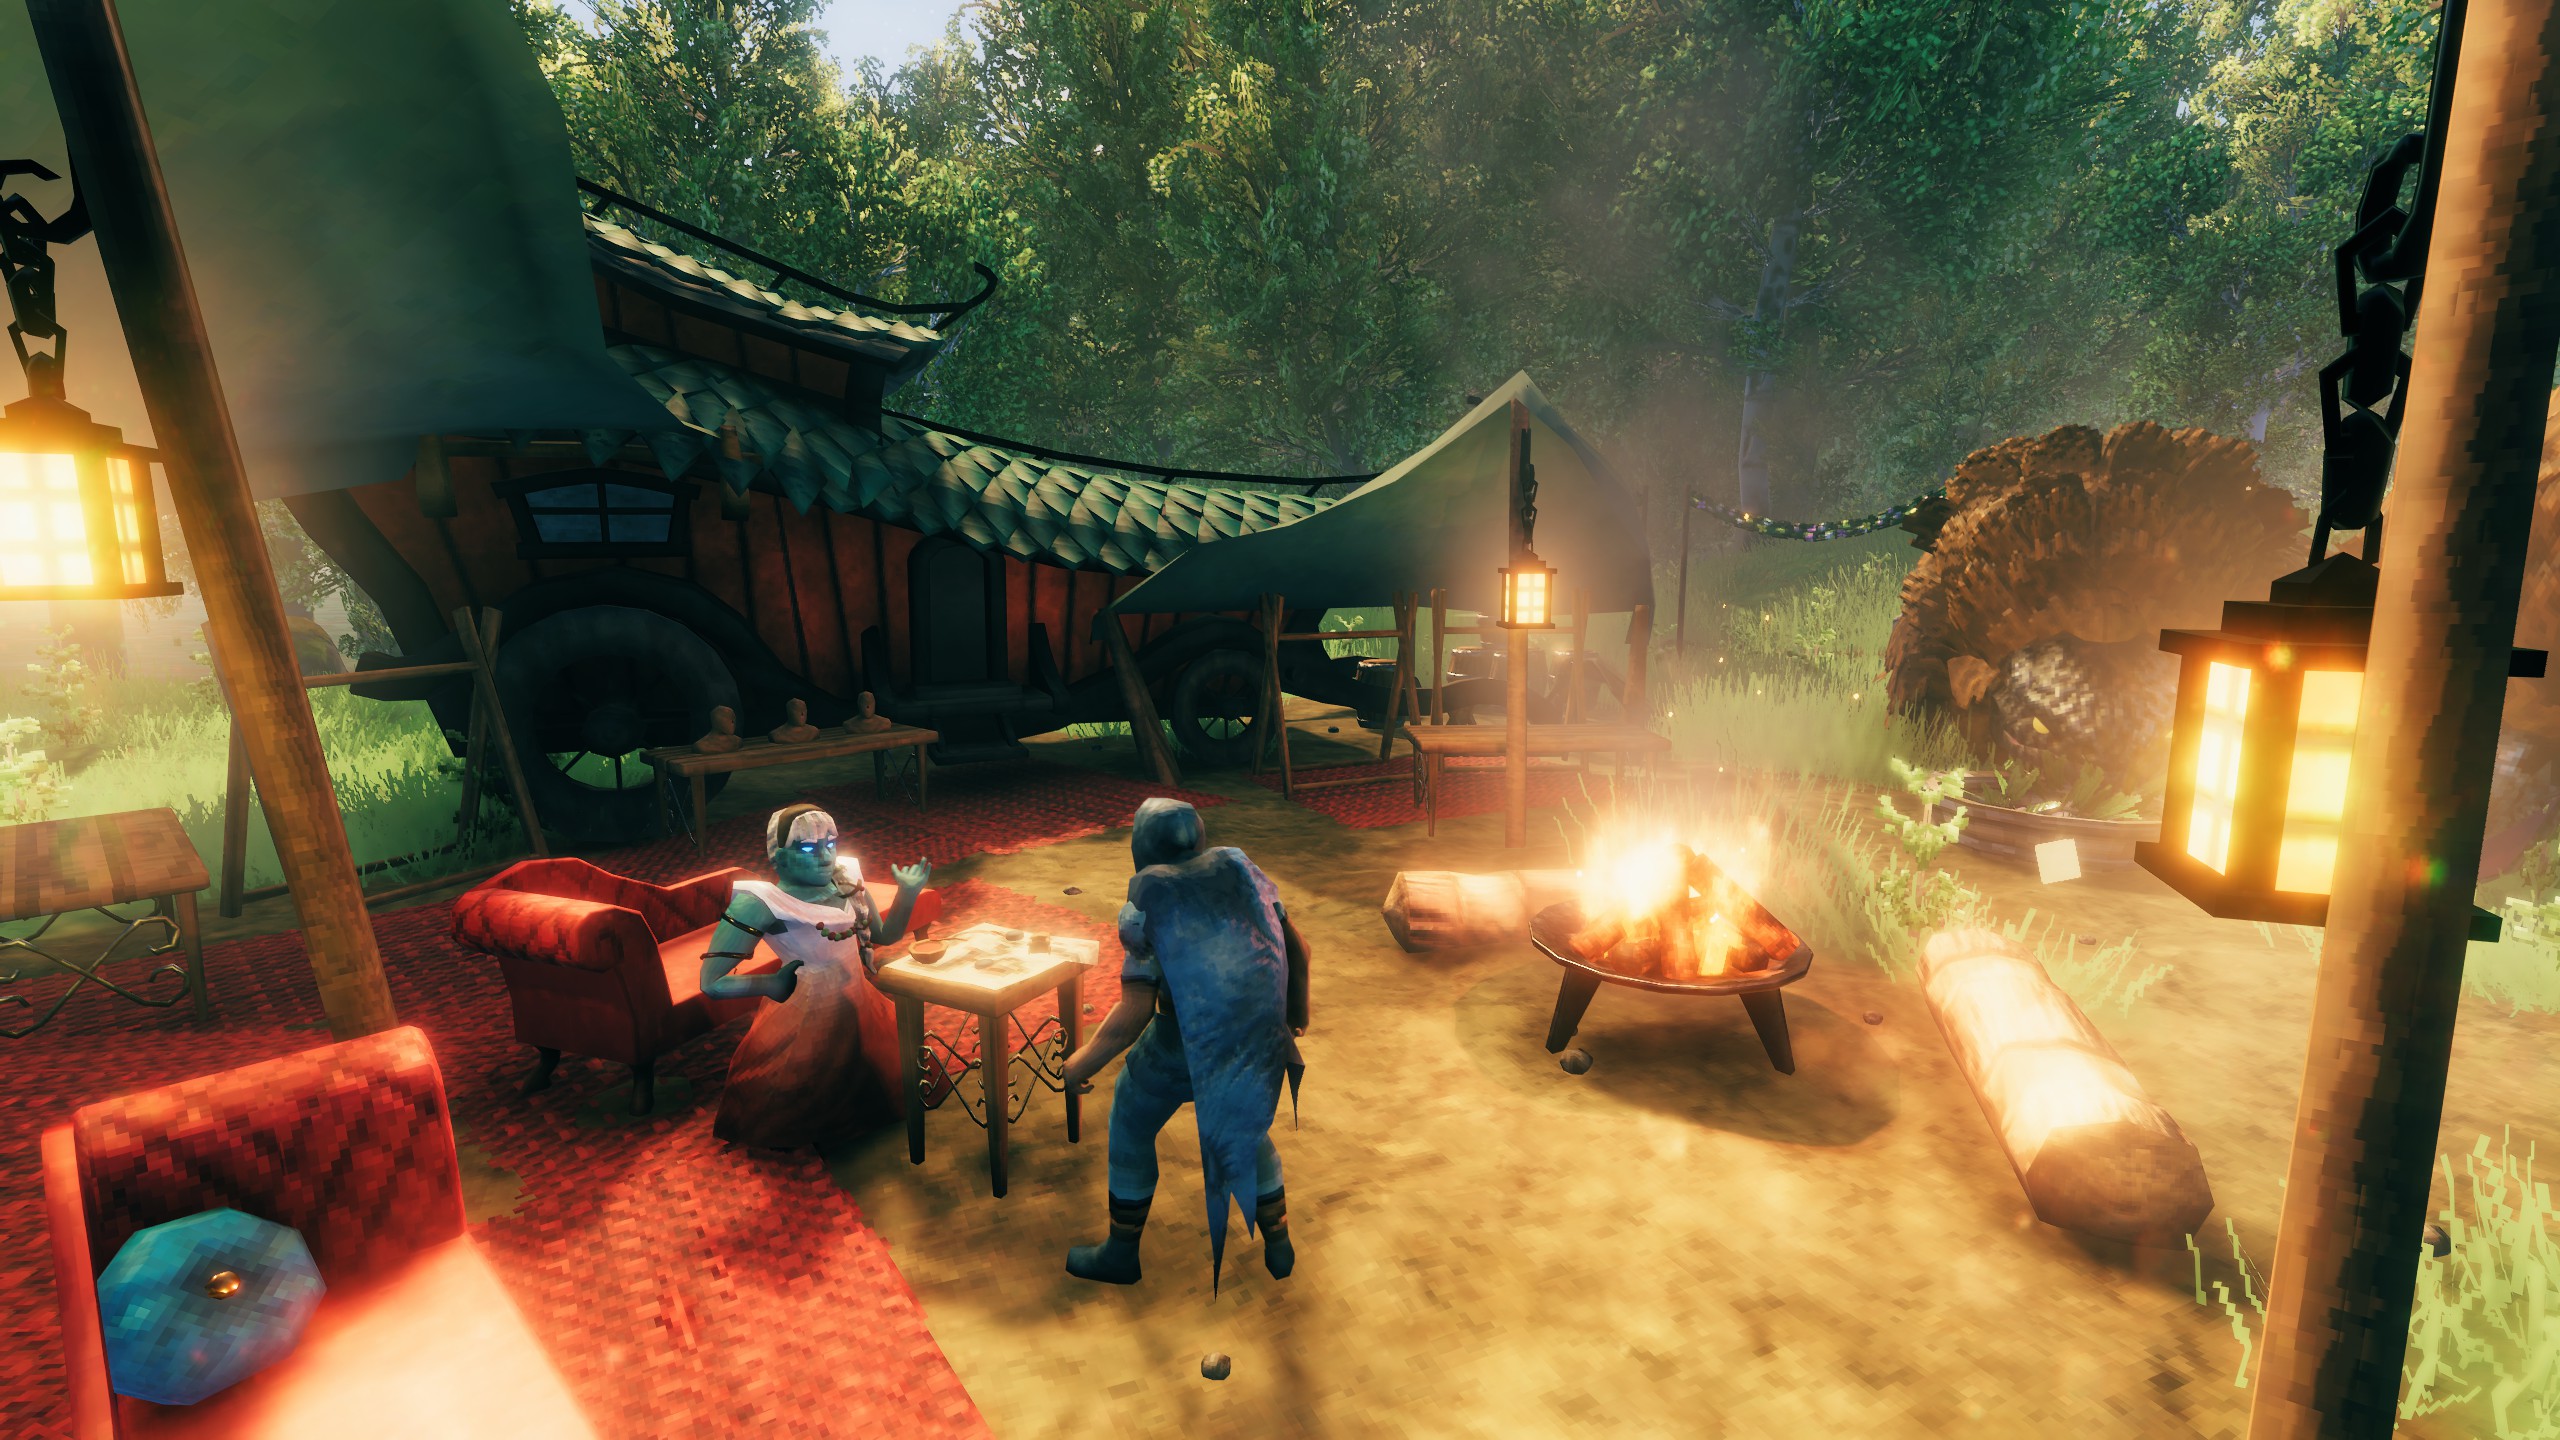
Hildir is the second trader to be added to Valheim and, as you might expect, she has completely different stock to Haldor. Not only that, she sends you off on a quest, looking for some belongings that were stolen in a raid on her camp. If you return these goods, she'll sell additional items, though these are mostly cosmetic and are likely to be much weaker than anything you currently have equipped.
Hildir spawns randomly but there are a couple of things you can do if you want to speed up the process of finding her, though you'll need to have progressed pretty far into the game to complete her request. If you're ready to get started, here's how to find Hildir in Valheim.
How to find Hildir
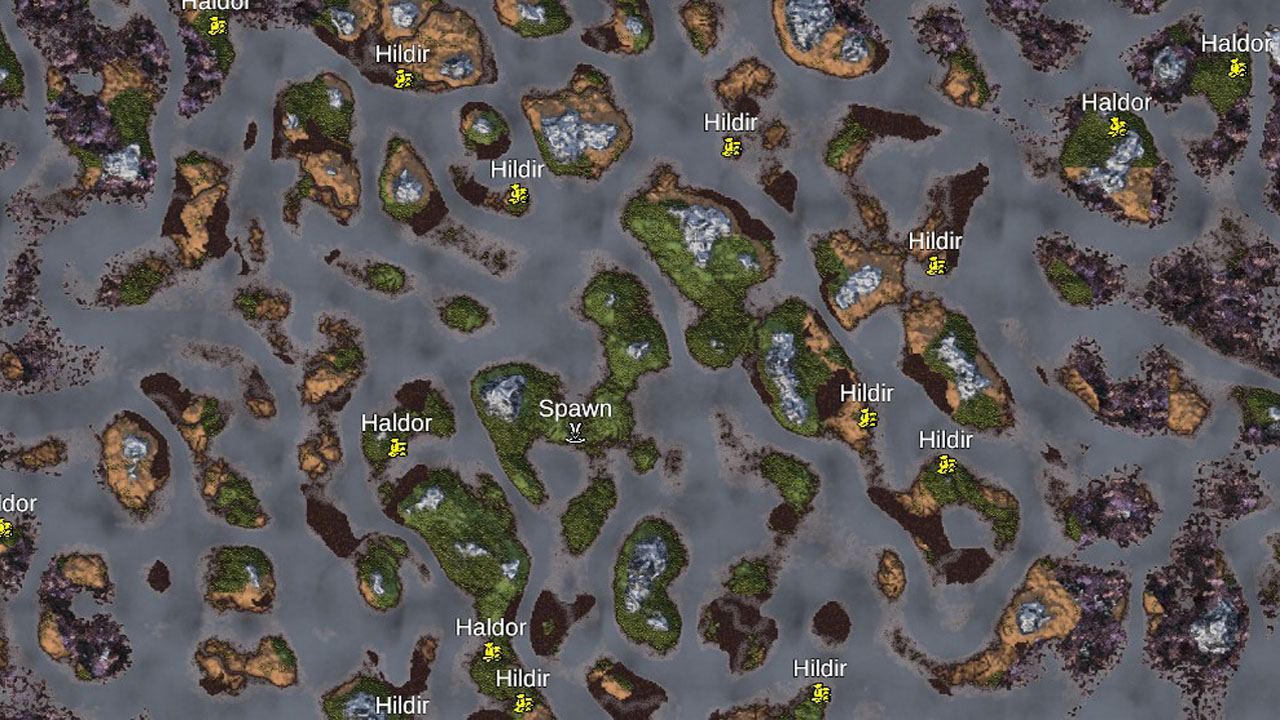
Much like Haldor, Hildir has multiple spawn points in each world but the others will disappear as soon as you discover one of her locations. She can be found in the Meadows biome, and her camp is surrounded by a protective bubble that prevents any creatures from getting inside, making it a safe zone. The camp is fairly large, so it's easy to spot, and once you get close, a white t-shirt symbol will appear on the map.
As Hildir's location is random for each seed, I can't send you directly to her but I can point you towards a couple of ways of finding her. Just be aware that both of these options have the potential to spoil the "discovery" aspect of exploring your world.
The first and fastest method is to use the map generator to find her by inputting your world seed. Once the map has loaded, you can use the column on the left to choose what you want to be displayed—the third option down is Traders. You can find the seed of your current world on the select screen before you load into the game: it's a jumble of numbers and letters and you'll find it to the right of the world name.
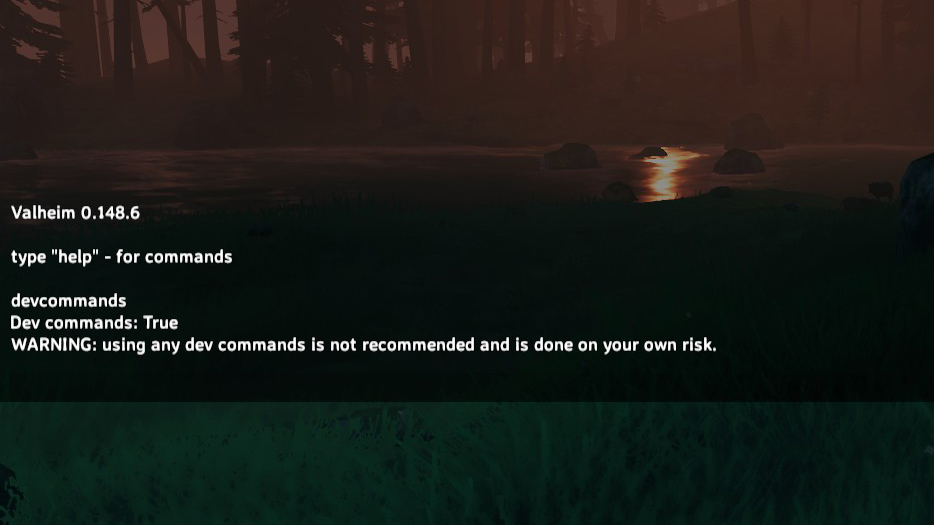
The second method is to use Valheim's console commands to enable flying, and zip around the map until you find her. It's always a good idea to back up your saves before you attempt anything like this.
The guide linked above gives you all the details you need—but here's a quick overview of how to do it:
Keep up to date with the most important stories and the best deals, as picked by the PC Gamer team.
- Add "-console" to the Launch Options field of Valheim in the Properties tab on Steam.
- Load into the game and press F5 to bring up the console.
- Type "devcommands" and hit enter.
- Type "debugmode" and hit enter.
- Hit F5 again to close the console.
- Press Z to fly and Ctrl to descend.
This option is obviously a little more time-consuming as you'll still have to search for her but you can travel much quicker when flying so you should cover a lot of ground.
Valheim Hildir items
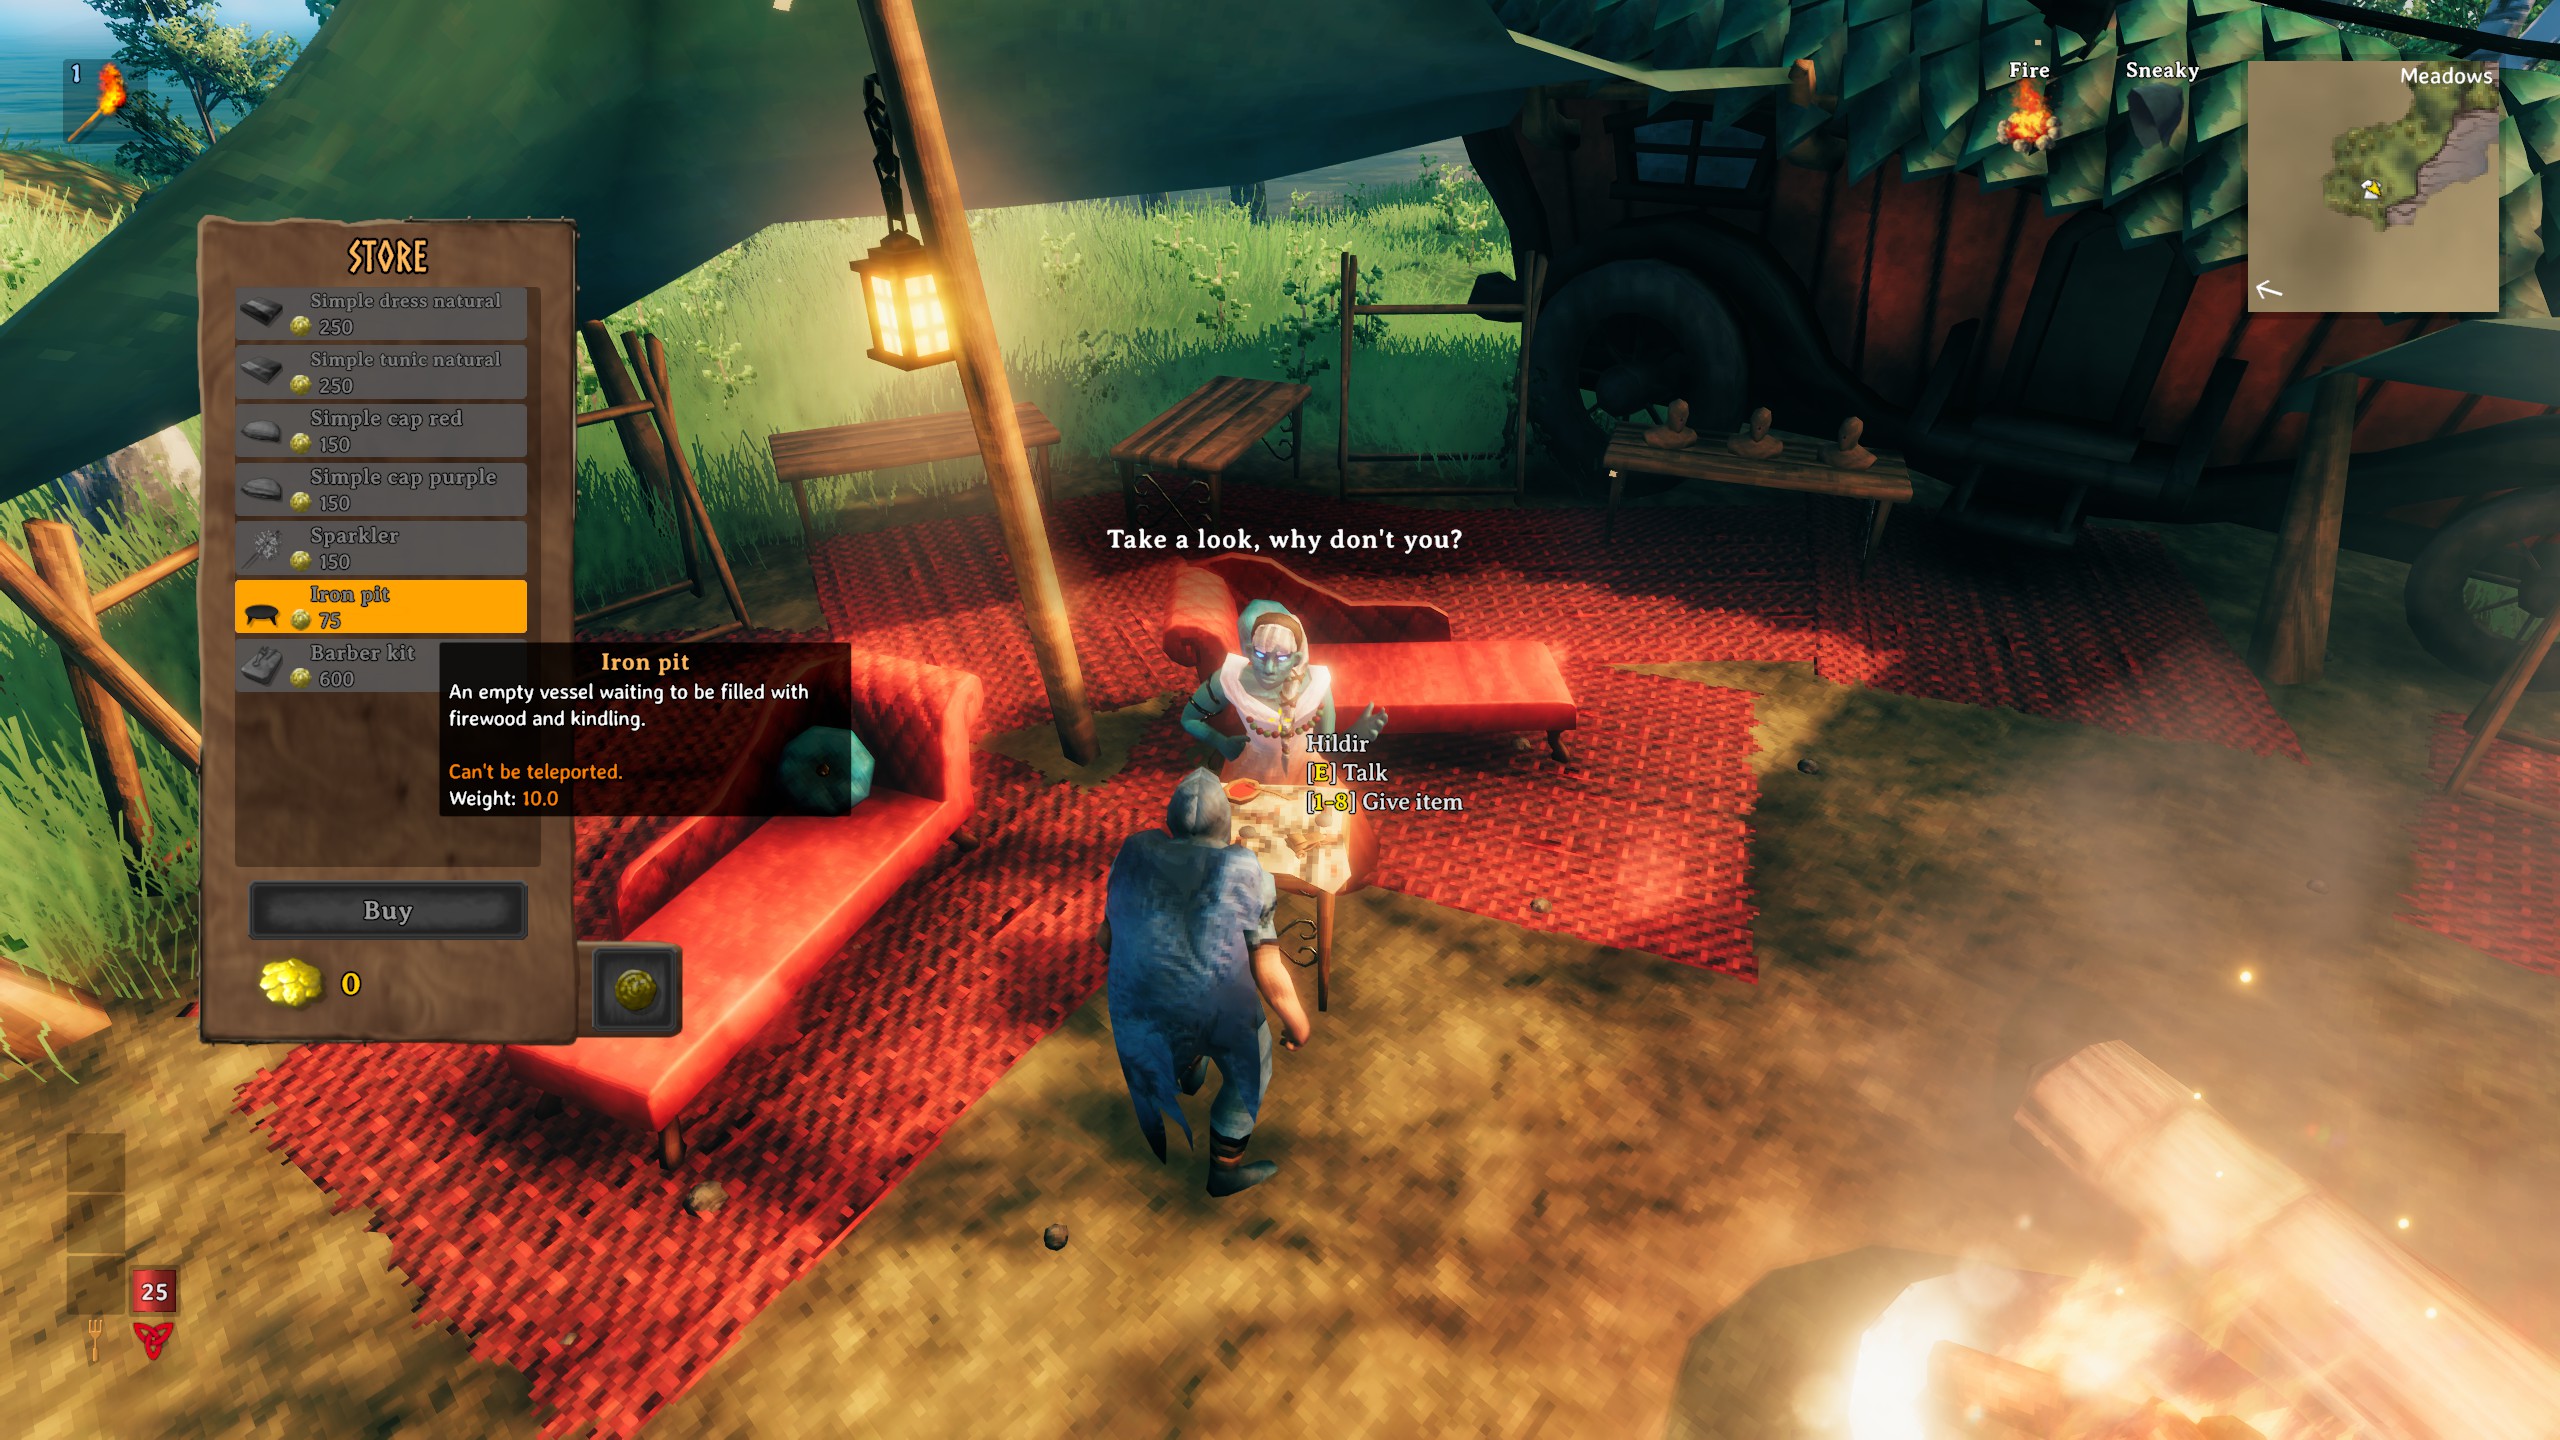
You can talk to Hildir to see what she's selling but the list is relatively short and mostly cosmetic, with each of these clothing items only boasting one point in armor. She will also exchange valuable items for gold coins, so if you've got any amber, pearls, rubies, or silver necklaces lying around, bring them to her to get some extra coin.
Here's Hildir's default inventory:
- Simple dress natural: 250 gold coins
- Simple tunic natural: 250 gold coins
- Simple cap red: 150 gold coins
- Simple cap purple: 150 gold coins
- Sparkler: 150 gold coins
- Iron Pit: 75 gold coins
- Barber kit: 600 gold coins
You can see the iron pit in action in Hildir's camp, just to the right of her, near the log bench.
Hildir's request
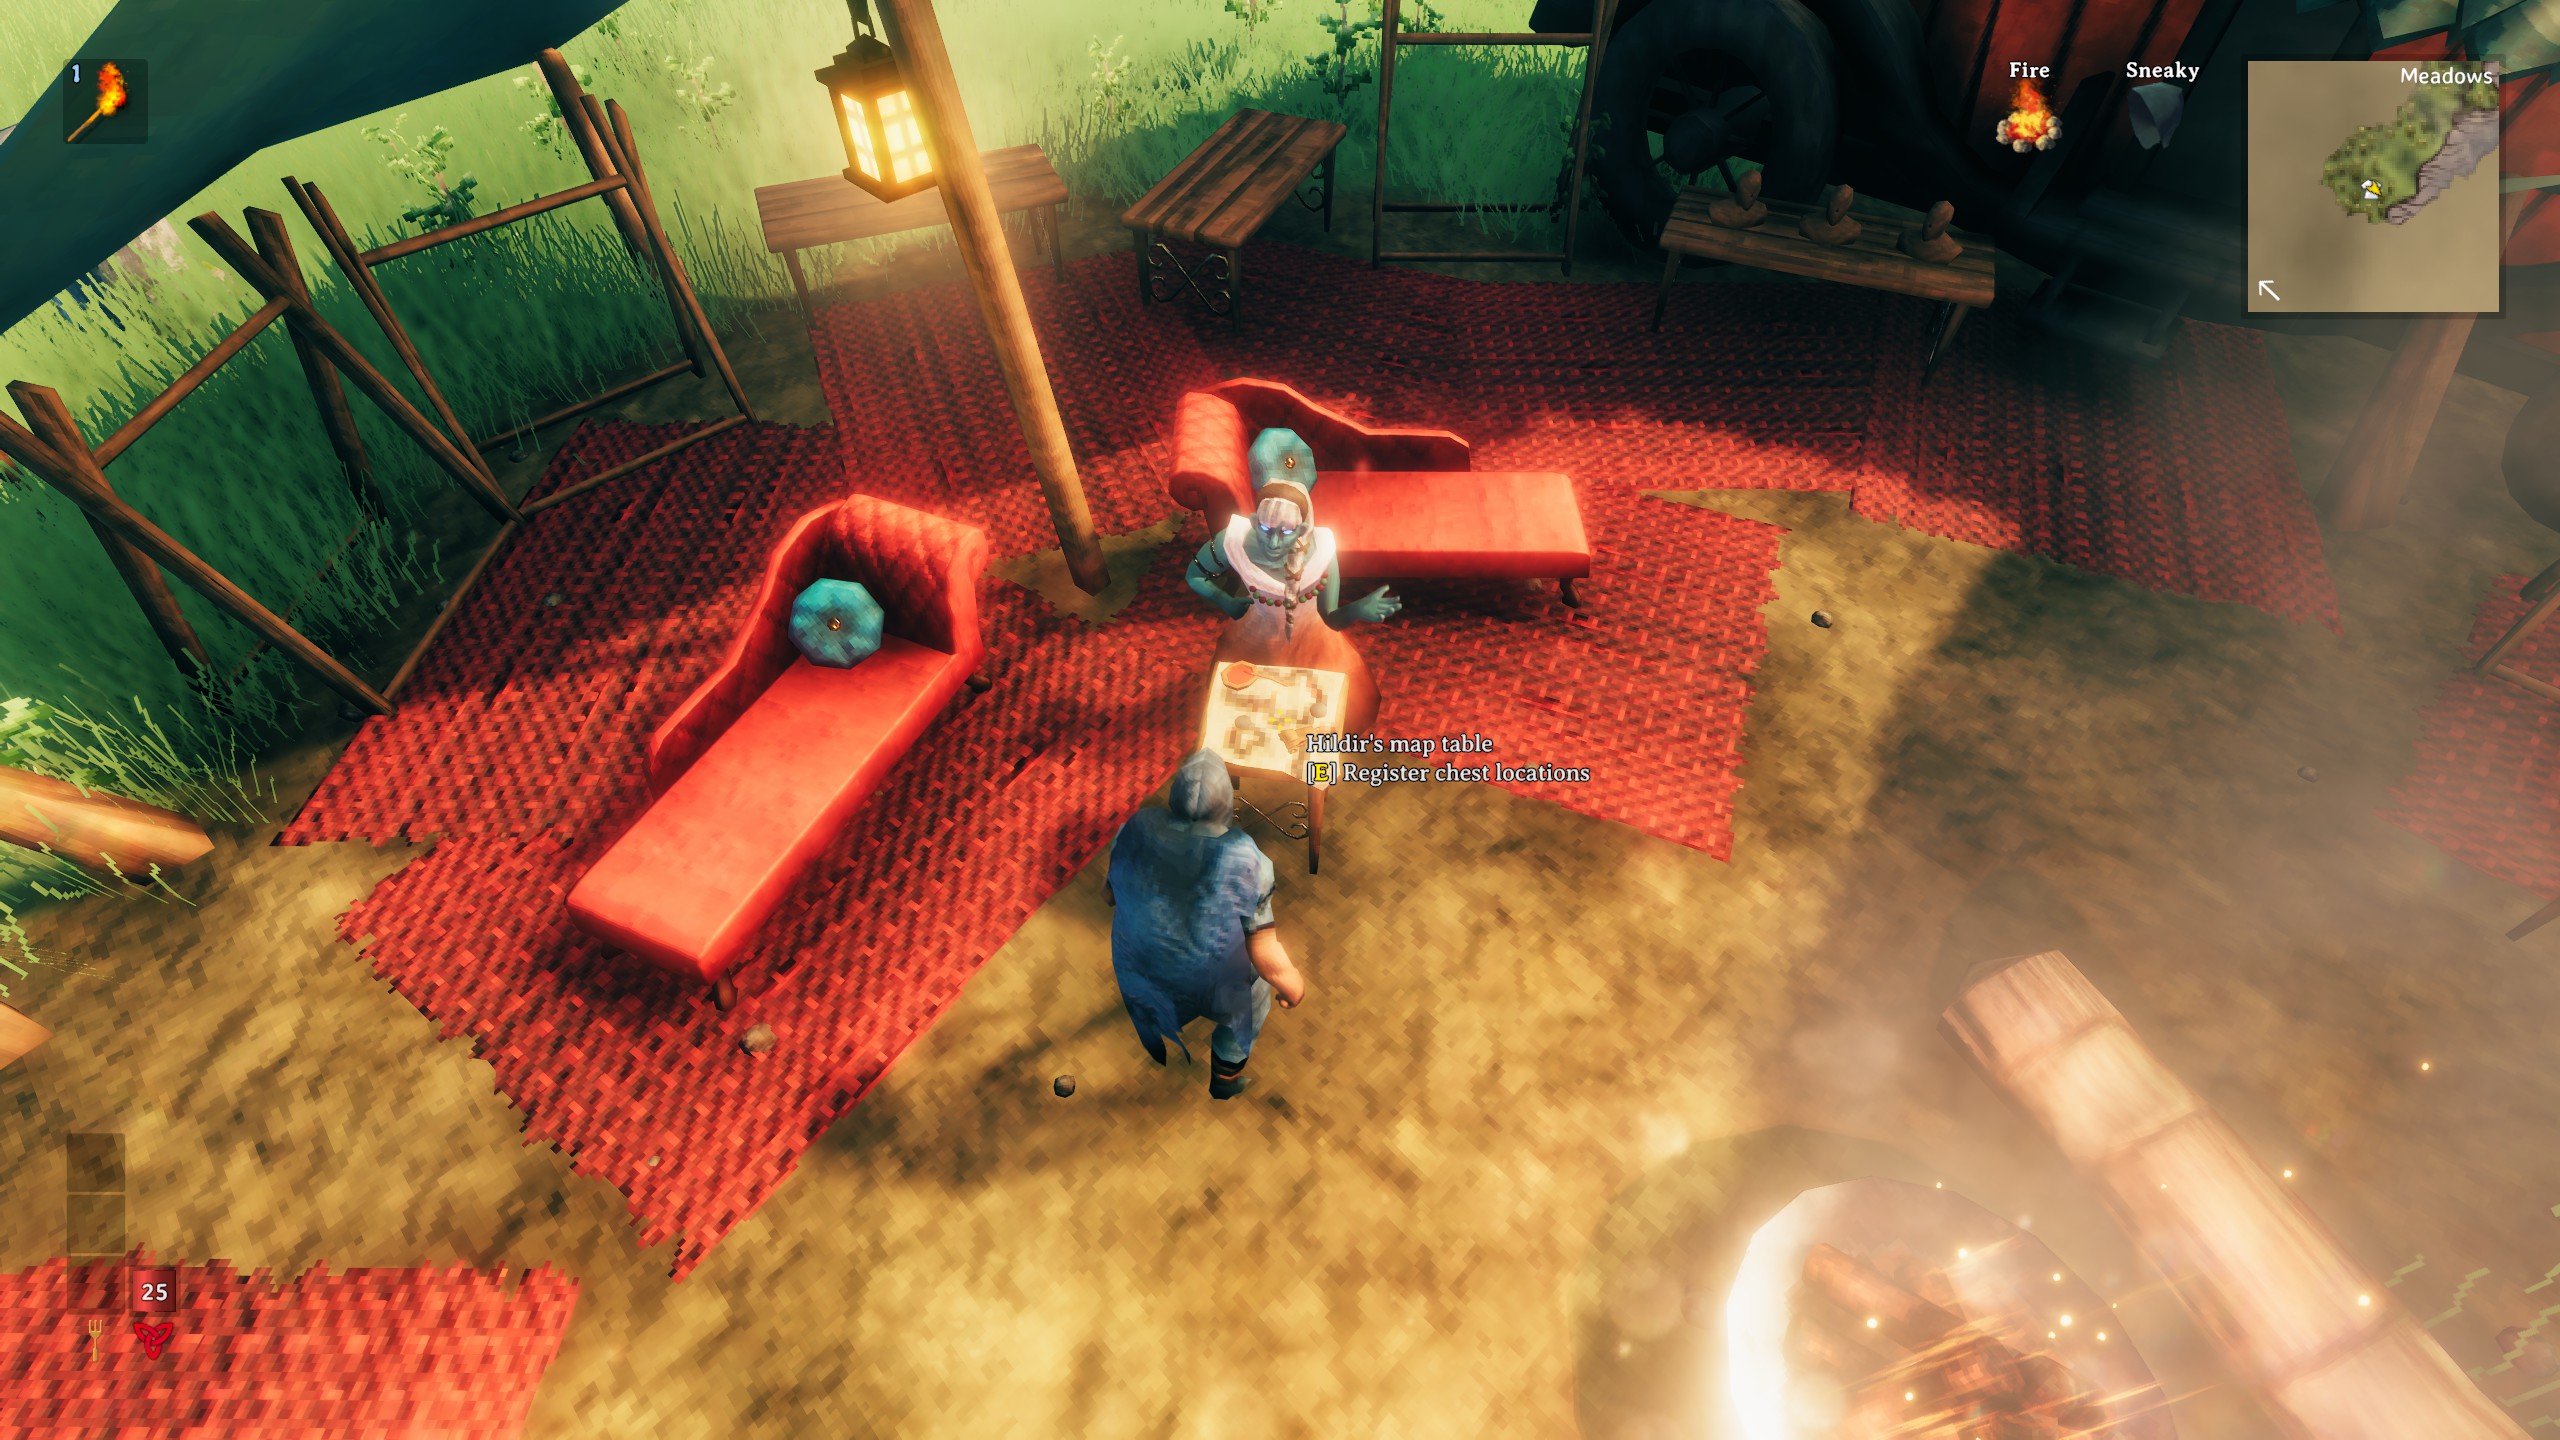
If you want to expand Hildir's inventory—though this will only add different colour clothing items—you'll need to fetch back her stolen goods. To get started, examine the table in front of her and she'll mark your map with three different dungeon types:
- Smouldering Tombs (Black Forest)
- Howling Caverns (Mountains)
- Sealed Tower (Plains)
There are multiple instances of each but you don't need to visit all of them—just one of each type—so choose whichever three are the easiest for you to get to.
Before you venture out, be aware that the enemies you encounter will be tough. They'll mostly be one or two-star enemies, and there will be a lot of them. You'll also need to kill the miniboss to get the chest for Hildir so you can return it to her. On the plus side, you'll find plenty of loot in these locations, too.
Another thing to be aware of is that, while returning these chests does expand Hildir's inventory, it also enables raids on your base from the enemies you defeated to get it—nothing's free I guess?

Sarah started as a freelance writer in 2018, writing for PCGamesN, TechRadar, GamingBible, Red Bull Gaming and more. In 2021, she was offered a full-time position on the PC Gamer team where she takes every possible opportunity to talk about World of Warcraft and Elden Ring. When not writing guides, most of her spare time is spent in Azeroth—though she's quite partial to JRPGs too. One of her fondest hopes is to one day play through the ending of Final Fantasy X without breaking down into a sobbing heap. She probably has more wolves in Valheim than you.
