The Great War: Western Front is an RTS you'll win by inches, not miles
Petroglyph's World War 1 strategy is all about the long game.
Keep up to date with the most important stories and the best deals, as picked by the PC Gamer team.
You are now subscribed
Your newsletter sign-up was successful
Want to add more newsletters?
You know the bit before a big battle in Total War? Where you prep for the fight ahead by repositioning your units; setting formations, positioning your lines and just generally making everything nice and organised. The Great War: Western Front has this too. Only, here, the pre-battle phase represents the entire month leading up to the battle. And it's not neat, but rather the brutal reflection of years of ongoing conflict.
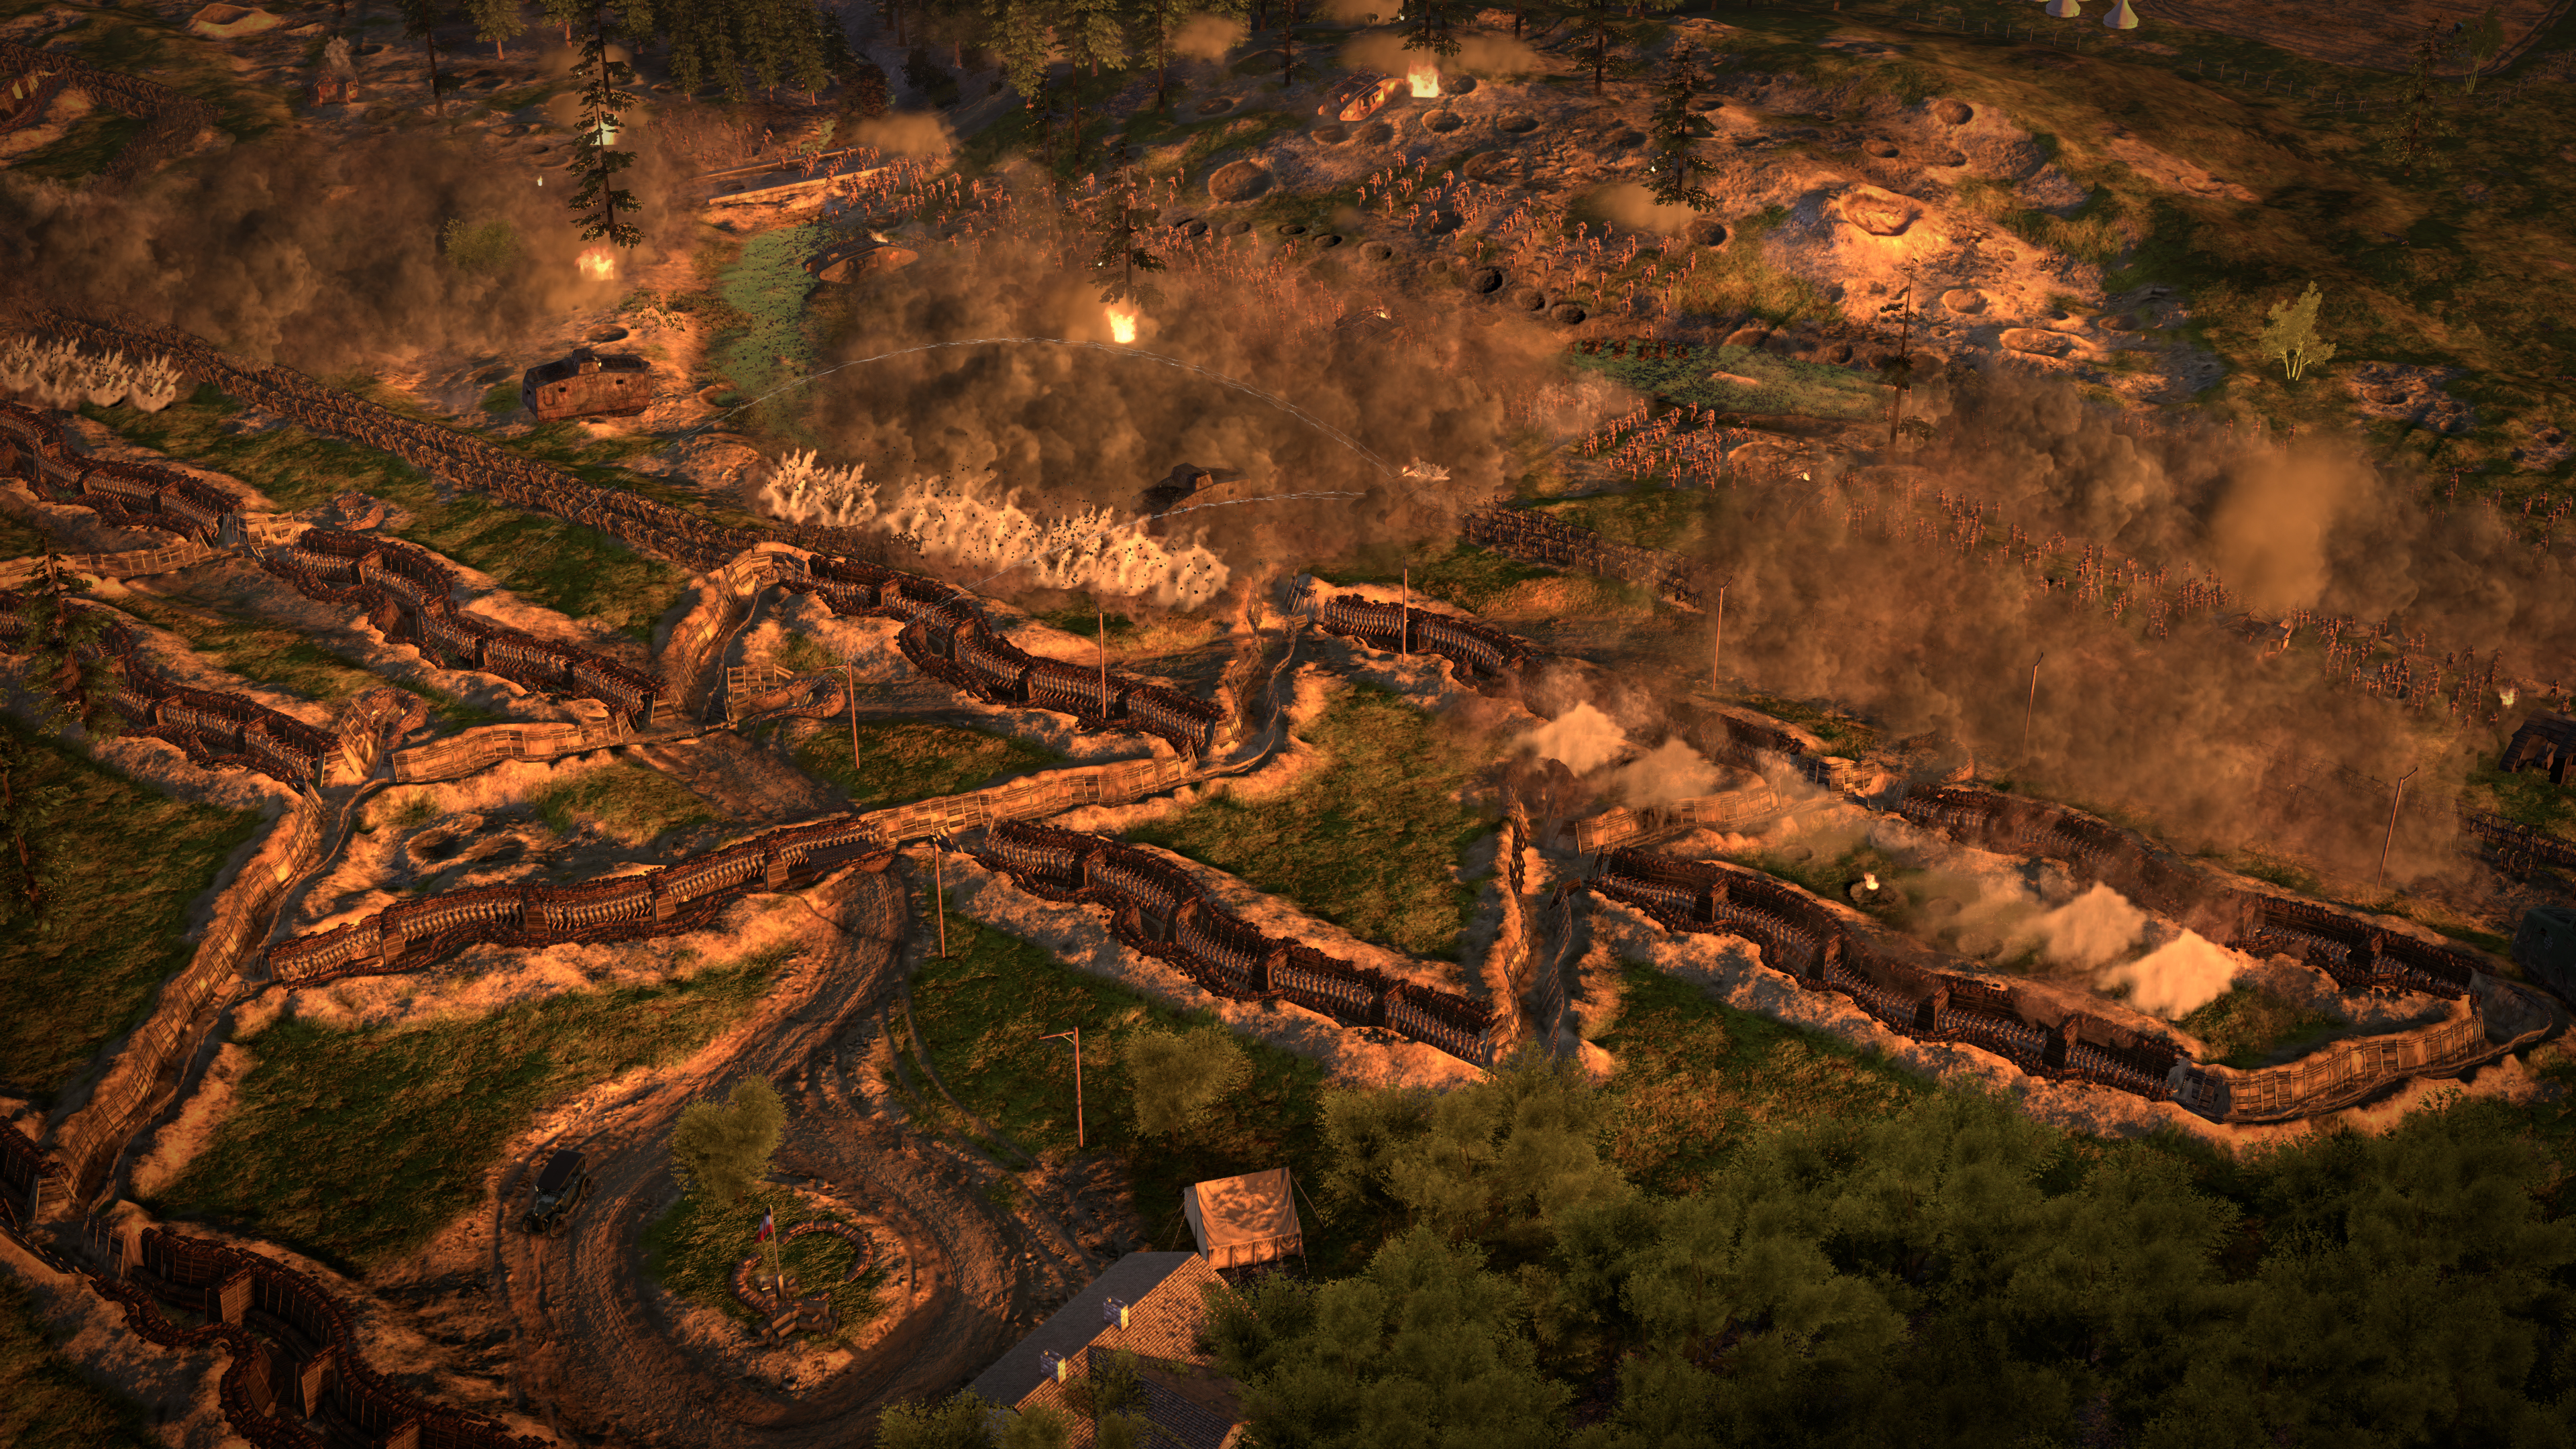
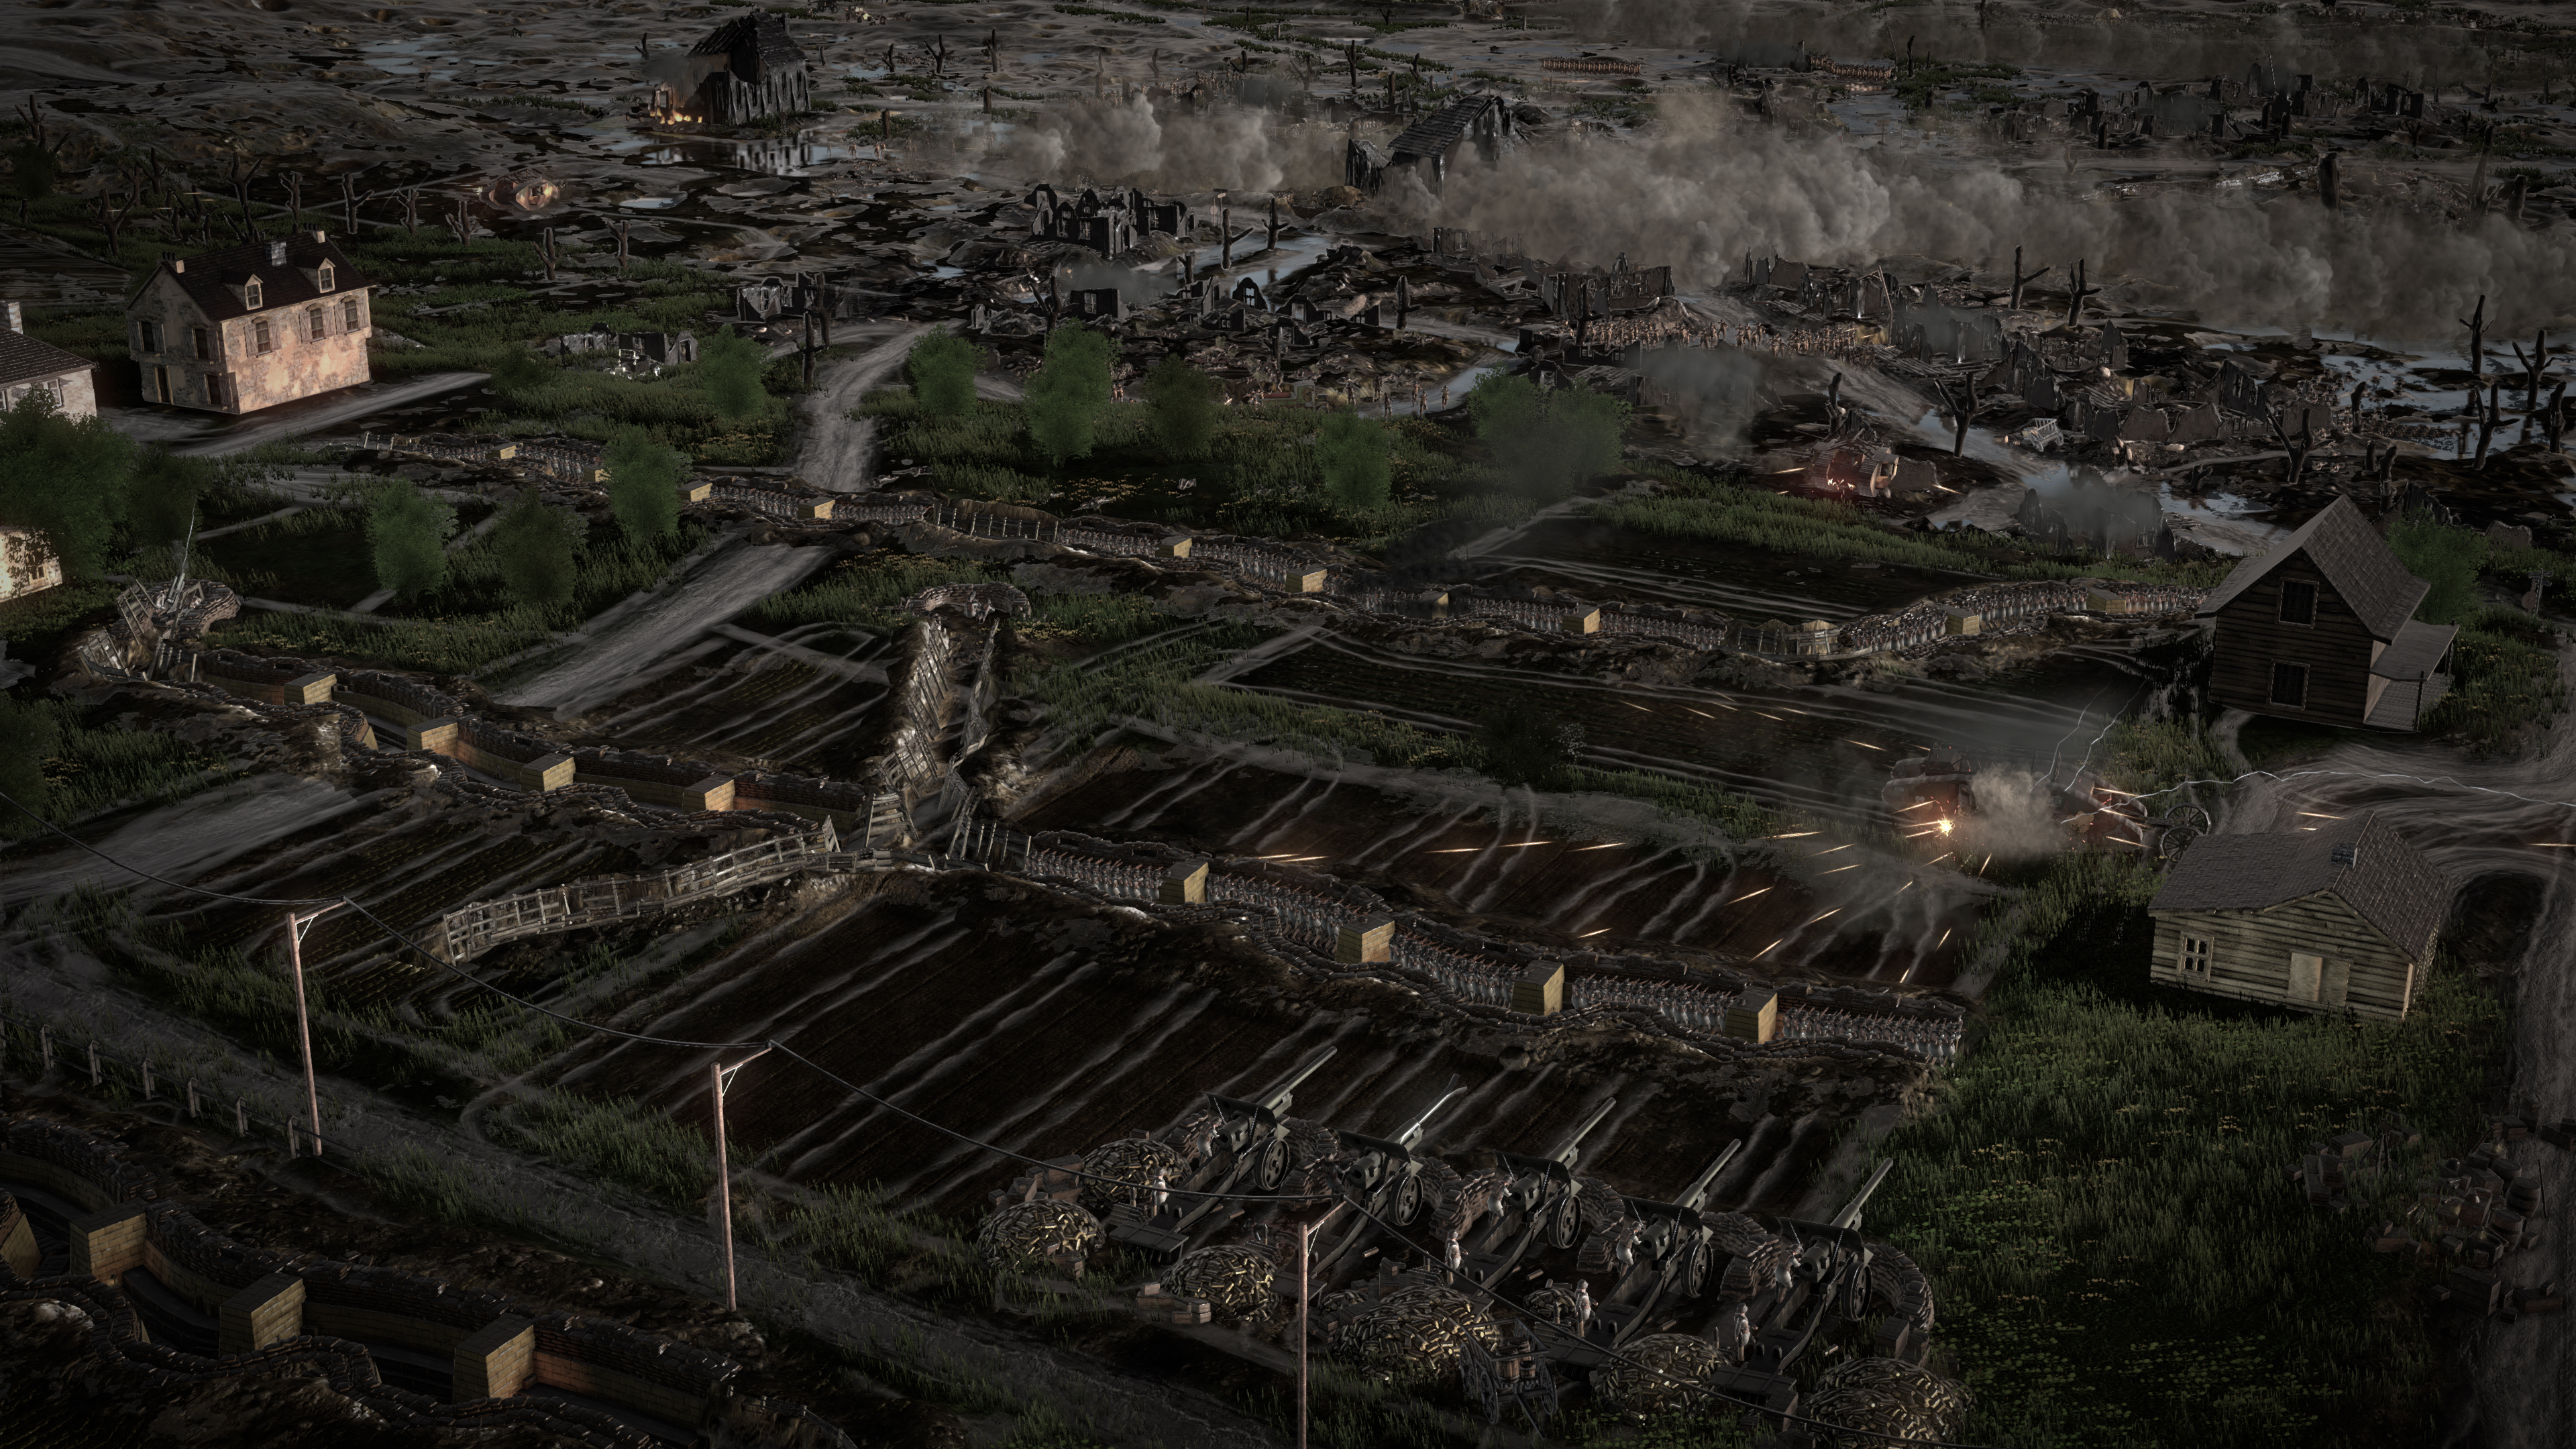
You're not just shifting units around. You're preparing the battlefield for the conflict ahead. You'll dig out trenches and protect them with barbed wire. You'll fill those trenches with infantry, and further protect your territory with machine gun nests—creating a killzone to punish any push over no man's land. You're changing the landscape for years to come, in pursuit of a marginal victory that could slowly push the war in your favour.
This is a World War 1 RTS, which means victory won't be quick and easy. The mantra for The Great War: Western Front is that this will be a 'battle of inches'—marginal gains that slowly tip the war in your favour. Whether you choose to play as the Allies or the Central Powers, you won't be painting the strategic map in your colour. Instead, you win by grinding down your opponent—taking actions that will deplete their 'National Will'. This is the main resource of the campaign, and if either side lets it drop to zero, they lose the war.
Article continues belowIn a hands-off demo, Petroglyph gives me an overview of Theatre Command mode—the grand strategy layer of the campaign. Here, each turn represents a month of the war, and players are presented with events to respond to and missions to undertake. The events are a classic grand strategy affair—a problem with multiple options that have an effect on your various resources. In the demo, we see one about troops suffering from shellshock, and have the option to ignore it—losing National Will but saving money—or to address the issue by spending some cash.
A mission from command requests an assault on Drocourt. If it's completed within three turns, it will mean a big boost to the Allies' National Will. But 'assault' does not mean 'capture'. Rather, the objective is to take hold of a specific control point on the battlefield. If successful, it will reduce the Central Powers' grip on the region—represented by stars on the tile.
"We don't want to overwhelm the player with 30 battles per turn," says lead designer Chris Becker. "So what the player can focus on is setting the key battles they want—this might be representative of key battles from history, but the player is defining what those are. We figure the player will have four or five battles every three or four turns, but they're all going to come at once." The idea here is that, if multiple battles happen on the same territory in the same turn, its defenders will suffer a morale penalty—they'll break easier and surrender faster. By attacking from multiple fronts within the same turn, you can reduce its hold and potentially take the area.
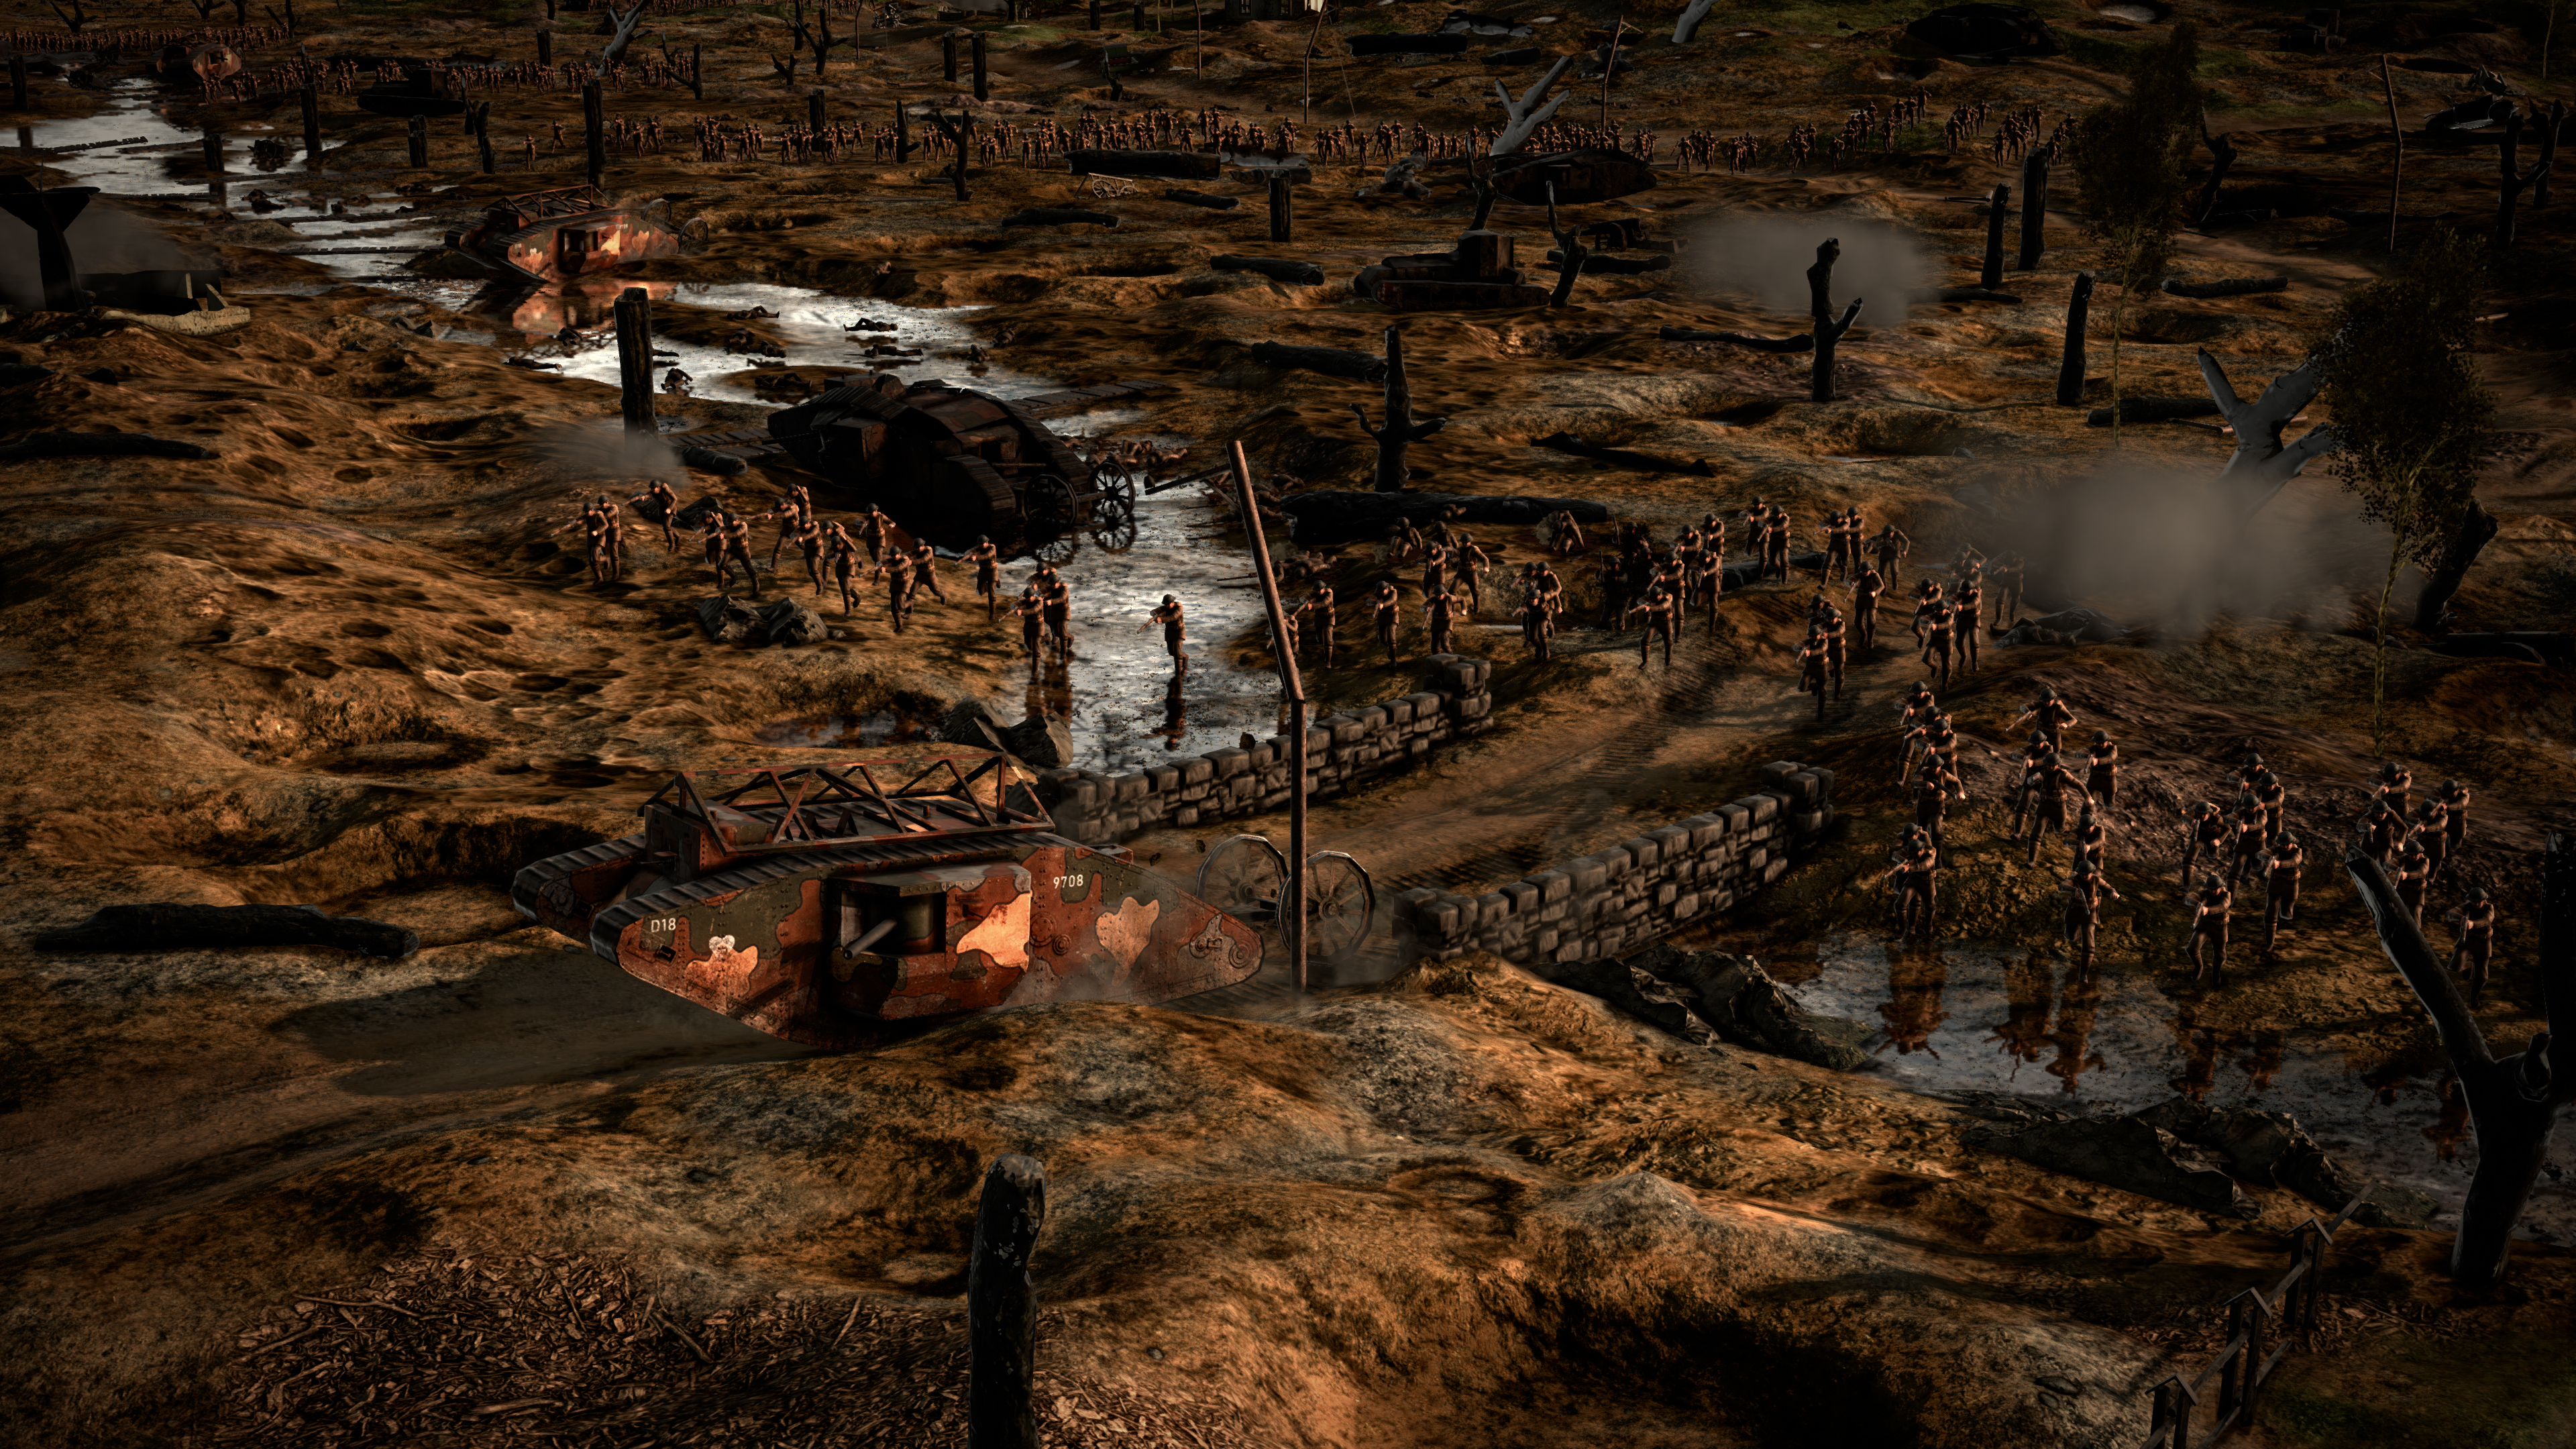
Each map is persistent throughout the war. Drocurt's battlefield is already battered and scarred—a sign of previous battles that have been fought here.
"Every turn you don't attack a territory, they'll regain one of their stars back," says Becker. "So if you're going to go for that line, you have to make sure you have a very coordinated assault." This is made easier by the fact that your units aren't limited by movement, and can be placed anywhere on the map once per turn. The era means troops can just get on a train to go where they need to be. And while this might sound strange to grand strategy fans used to worrying about supply lines and logistics, it allows the game to focus on being first-and-foremost an RTS.
Keep up to date with the most important stories and the best deals, as picked by the PC Gamer team.
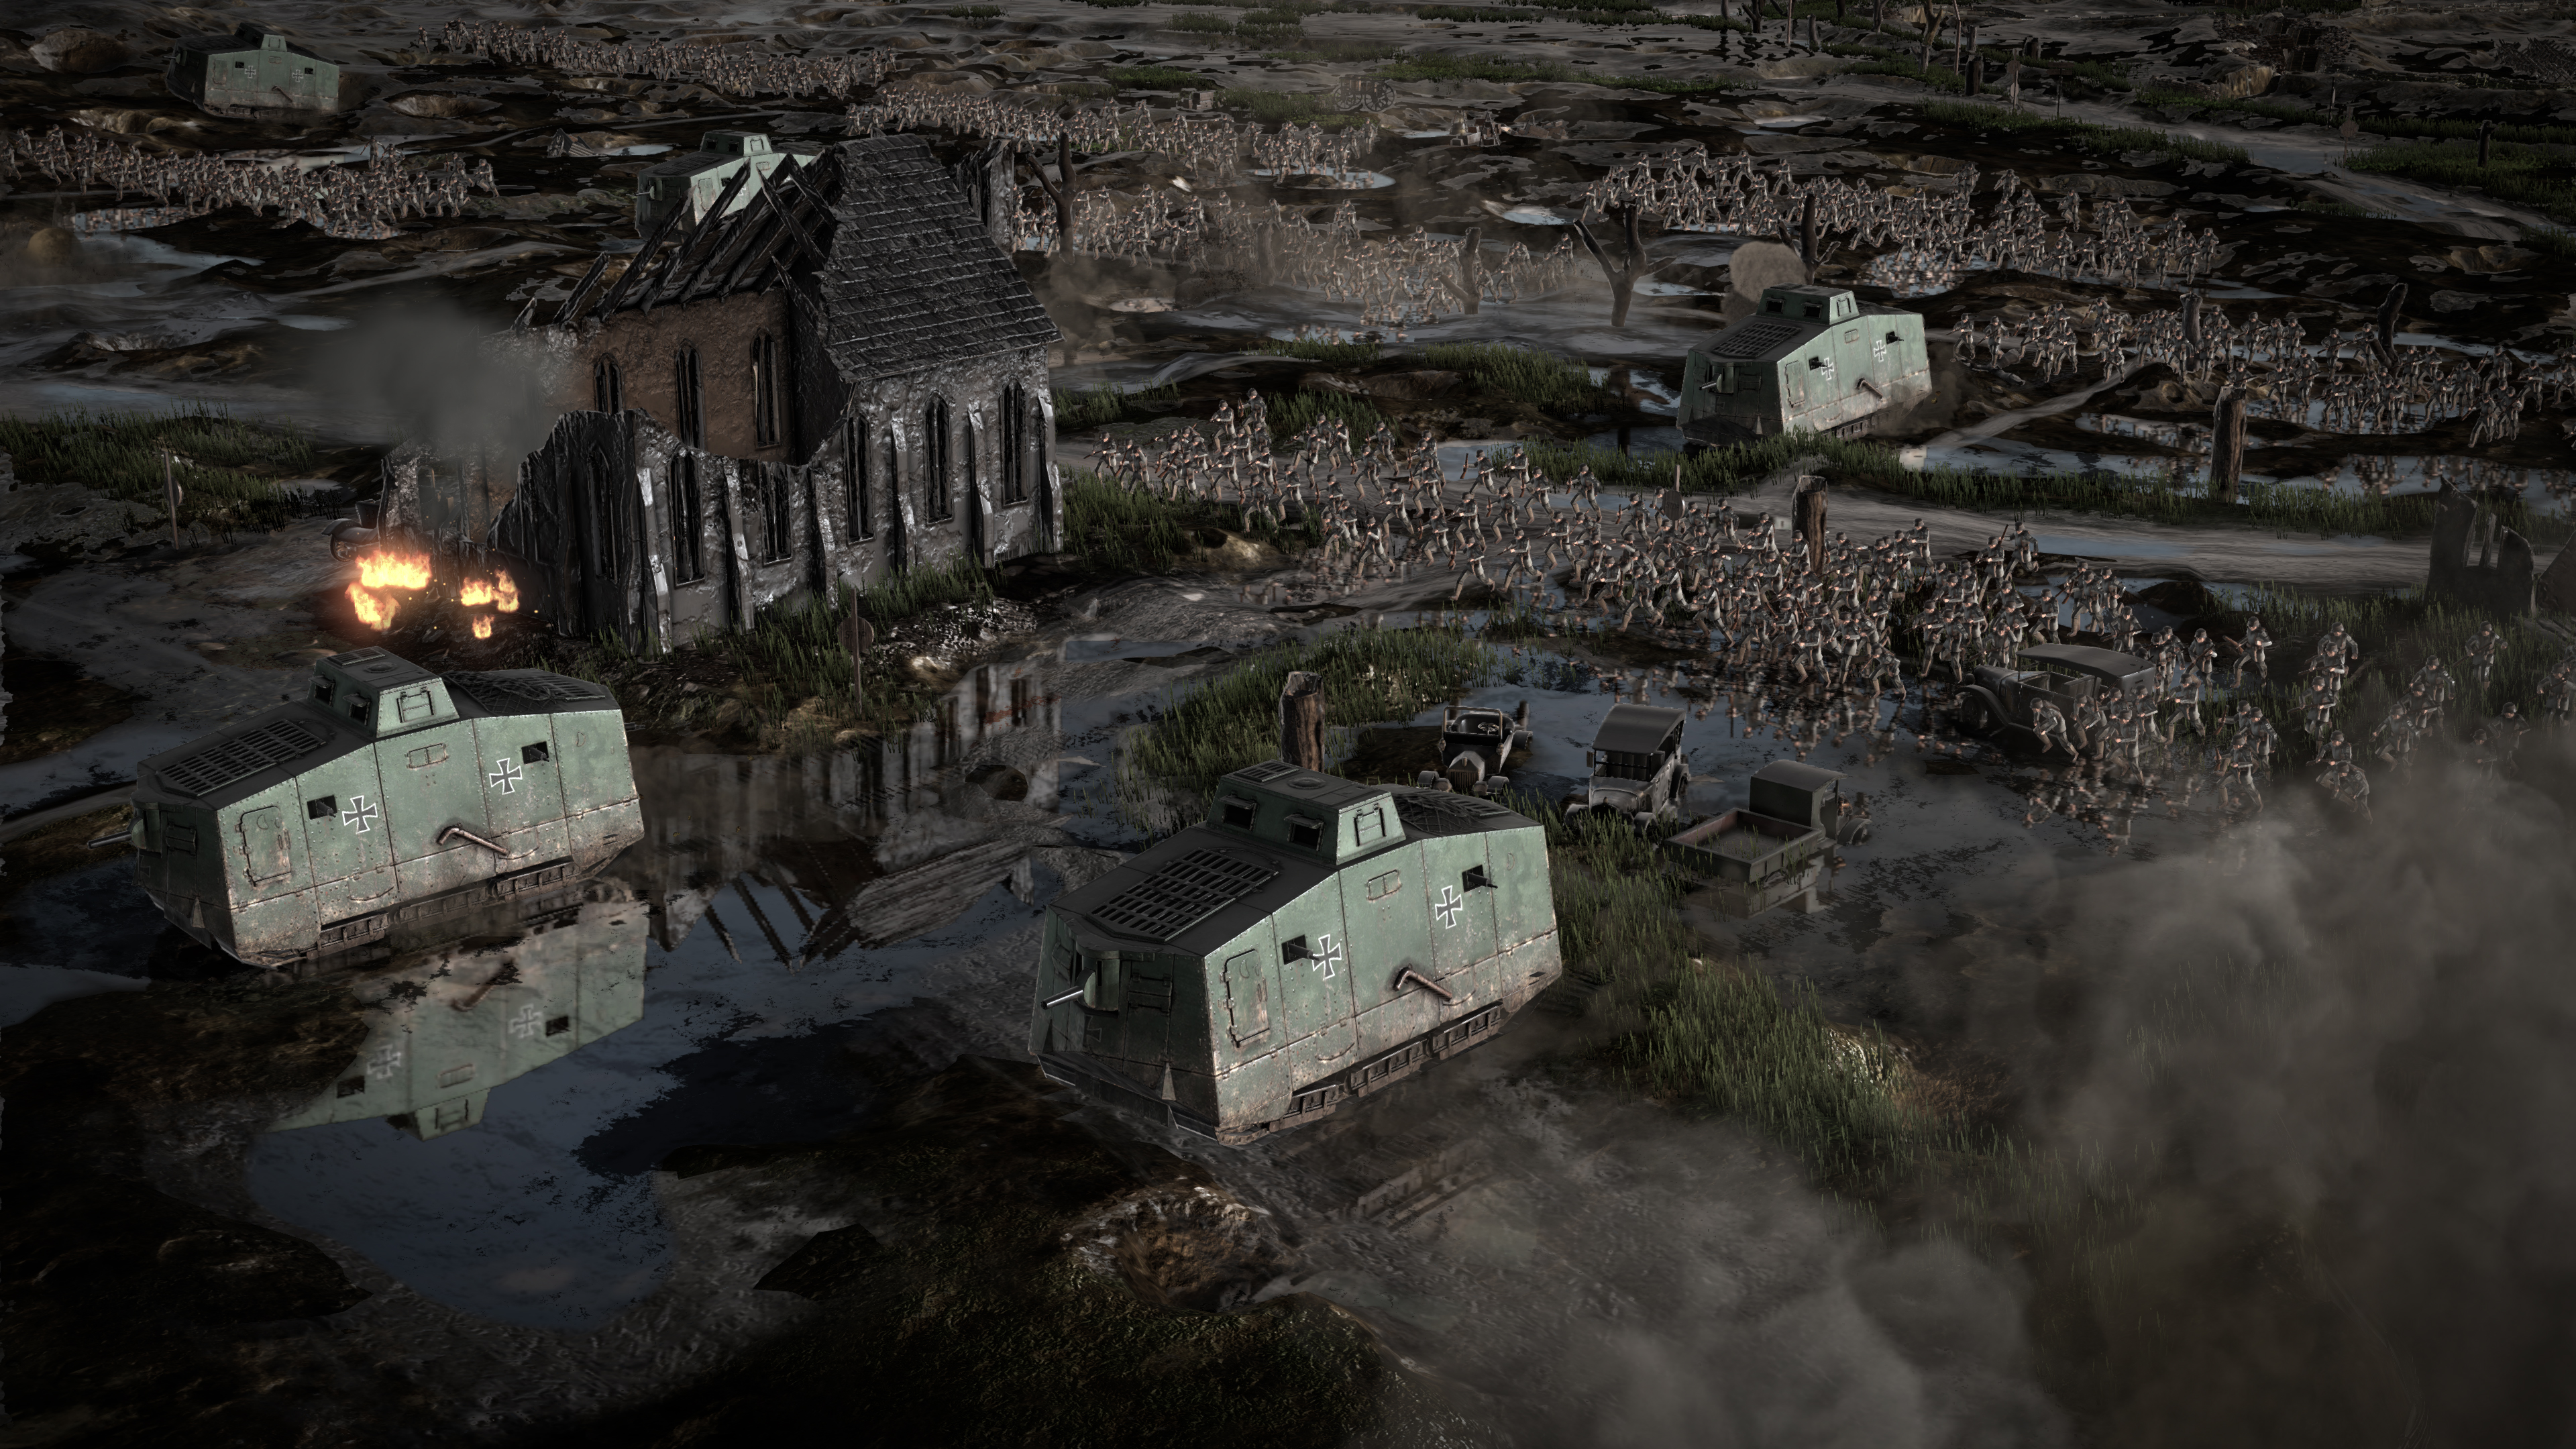
Loading into the Drocourt assault, we enter Field Commander mode—where the RTS battles take place. Each map is persistent throughout the war. Drocurt's battlefield is already battered and scarred—a sign of previous battles that have been fought here. Old trenches remain, and are a potential point of vulnerability, meaning the pre-planning phase also needs to take into account what already exists. A sprawling network of trenches only works if you have the manpower to defend it, and so what was strategically valuable in one battle could become a point of weakness in the next.
"Each battlefield is represented from one territory to the next," says Becker. "So the territory itself doesn't have a battlefield, but rather has a battlefield it shares with a neighbour. The more you fight on those lines, the more scarring you're going to see. The other one that happens a lot is the trench layouts get more complicated through each battle. That's not just your own, but also the enemy's. You can see the enemy is getting more detailed as you're fighting these battles. But you do have to be careful. If you have too many trenches and you can't fill them all, then your enemy is going to jump in and take advantage of that. So trench layout is very important."
Eye in the sky
In addition to building new trenches and shoring up defences, you can use the planning phase to attack the enemy too—setting up days of advanced artillery shelling in an attempt to create a path for your eventual assault. When the battle begins, an observation balloon reveals what's become of the battlefield. An enemy trench is destroyed, and they're reinforcing their troops—clear sign that the bombardment has had an effect. We also see that the enemy has an observation balloon of their own, and so launch an aerial balloon busting mission to disrupt their intel gathering.
Aircraft are autonomous in The Great War, but will follow the orders that you assign. Here they set about finding and destroying balloons, but there are other missions too. In fact, in response to the balloon busters, the Central Powers launch an air superiority mission to bring them down. The Allies respond in kind, triggering a dogfight for control of the skies.
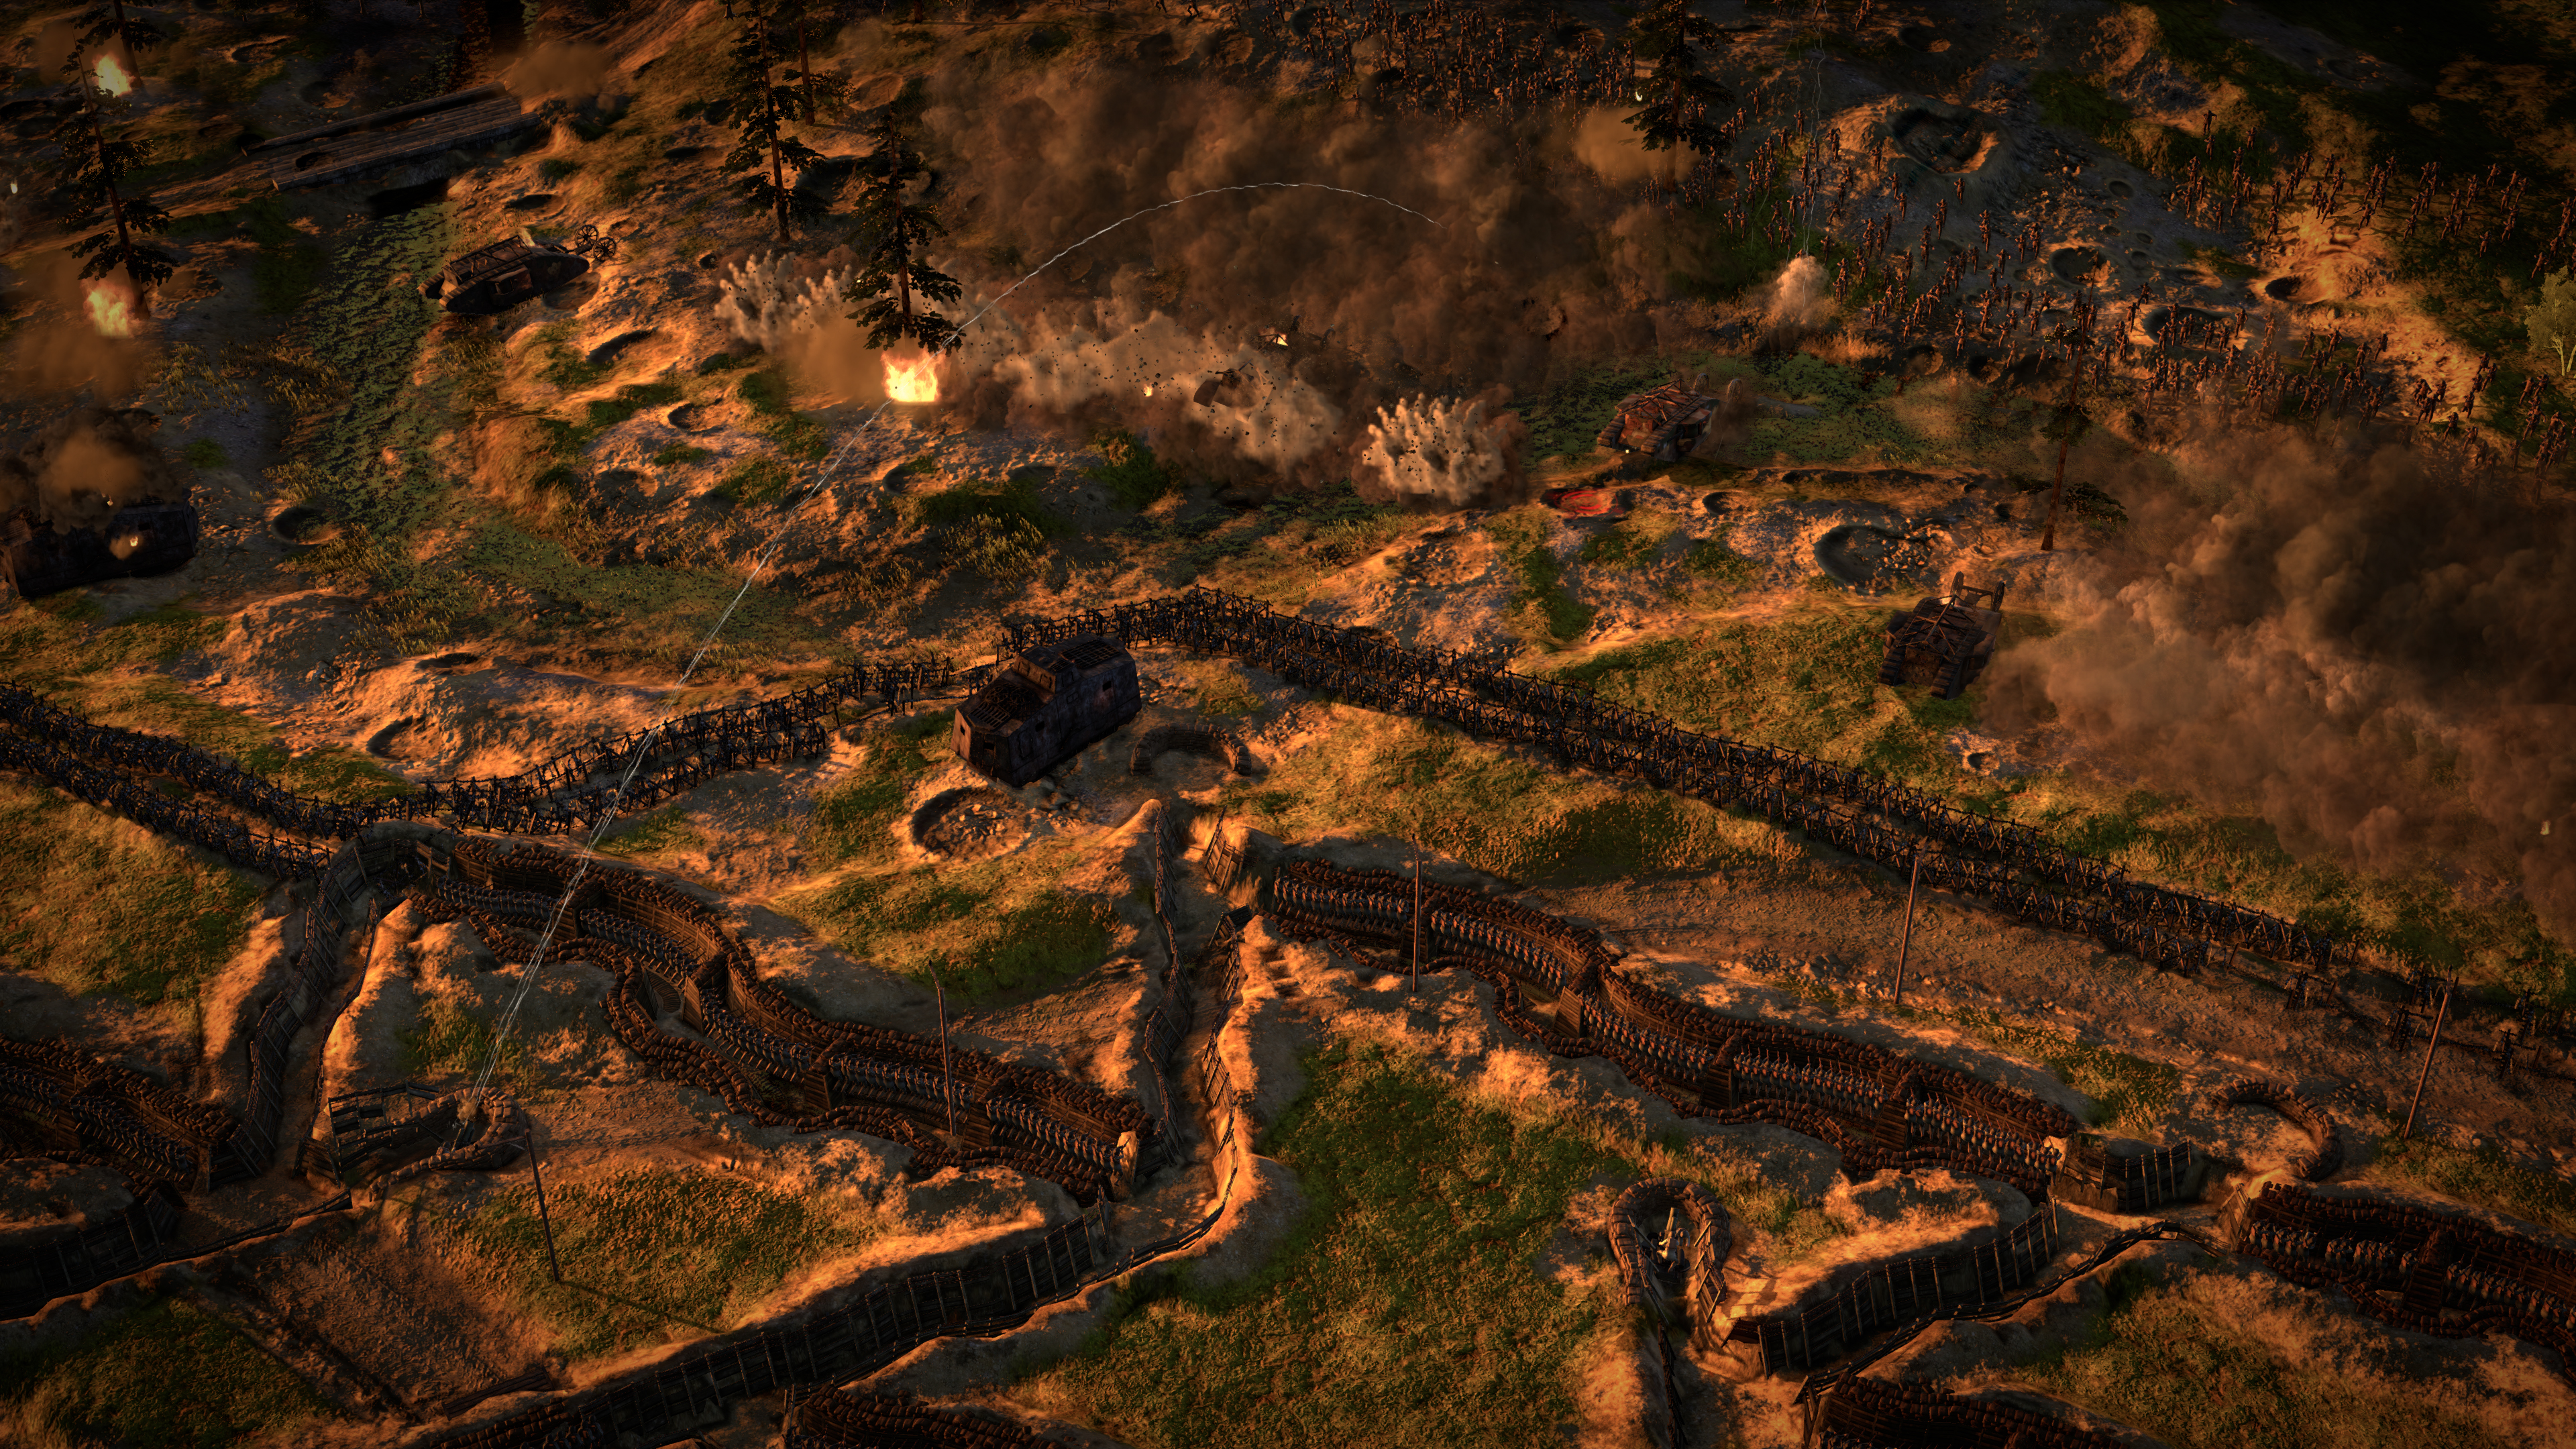
With the air war at a stalemate, the Central Powers launch an assault on our trenches, sending their troops through forests to mask their approach. We launch an artillery strike on the area, but without an exact position to target, some of their men get through. The Central Powers are also shelling our location in an attempt to suppress our forces and neuter our defence. But ultimately the barbed wire and machine guns do their job. The few troops that do survive the rush over no man's land are defeated in melee combat in the trenches.
You can use the planning phase to attack the enemy too—setting up days of advanced artillery shelling in an attempt to create a path for your eventual assault.
Time for a counter-attack. By using control groups, you can set up waves of attacks that will help your push into no man's land. The Allies first send through some tanks to draw fire, before following with the main infantry push. But even if we do make it to the trenches, the enemy will reinforce. This is where the mines come in.
The Great War's tech tree exists on the command level, meaning your options will expand slowly as the years roll on. It's an extensive list that covers everything from infantry, artillery, tanks and aircraft, but also espionage, economic upgrades and defensive options. Earlier in the demo, Becker selected the Death From Below option, which unlocks 'undermining'—a rather literal interpretation of the concept.
Placed during the pre-battle phase, these mines—literally just a bunch of explosives packed into a tunnel dug under enemy lines—will now make their presence felt. The explosion cuts off the enemy's attempt to reinforce, and also takes out some artillery, reducing the pressure on our push into no man's land. This is further helped by our own artillery, which is now firing a rolling barrage that kicks up a smoke screen to obscure our troops.
As our troops start filtering into their trench line, the battle shifts. With reinforcements cut off, we're able to start clearing out trenches segment by segment—using our specialists, who followed in behind the main push, to make the most of our advantage. The skirmish is all but over, and we capture the control point with little resistance.
At this point the fight could continue, but with the objective complete the Allies call for a ceasefire—ending the battle and, thus, the mission. The result is a great victory—a control point was captured and the Central Powers suffered heavy losses. But even a marginal victory will have an effect on the National Will. At this point in the game, it's 1916. As the years roll on, though, that effect on National Will will become more and more pronounced until eventually you're suffering huge penalties. "Because the game is based on National Will, there's a fixed end," says Becker.
With careful, tactical play, you can extend the war, but only up to 1919. "Events towards the end will start being more and more punitive on the National Will—eventually you're just going to run out. Whereas the actual war ended earlier, if a player is playing in a certain way he could theoretically extend it."
There's an inherent danger in basing your game on World War 1. Even here, it's depicted as a war of marginal gains and losses that add up over the years until one side's literal will to fight drains away. But Petroglyph is focusing on the right things—leaning into the brutal battle of attrition, the technological arms race, the years of destruction being written into the battlefields themselves. It's harrowing, but tactically fascinating: an RTS where there's no real winner, just a side that loses the most.

Phil has been writing for PC Gamer for nearly a decade, starting out as a freelance writer covering everything from free games to MMOs. He eventually joined full-time as a news writer, before moving to the magazine to review immersive sims, RPGs and Hitman games. Now he leads PC Gamer's UK team, but still sometimes finds the time to write about his ongoing obsessions with Destiny 2, GTA Online and Apex Legends. When he's not levelling up battle passes, he's checking out the latest tactics game or dipping back into Guild Wars 2. He's largely responsible for the whole Tub Geralt thing, but still isn't sorry.
