Gears Tactics Corpser boss guide
How to beat the Corpser boss at the end of Gears Tactics Act 2.
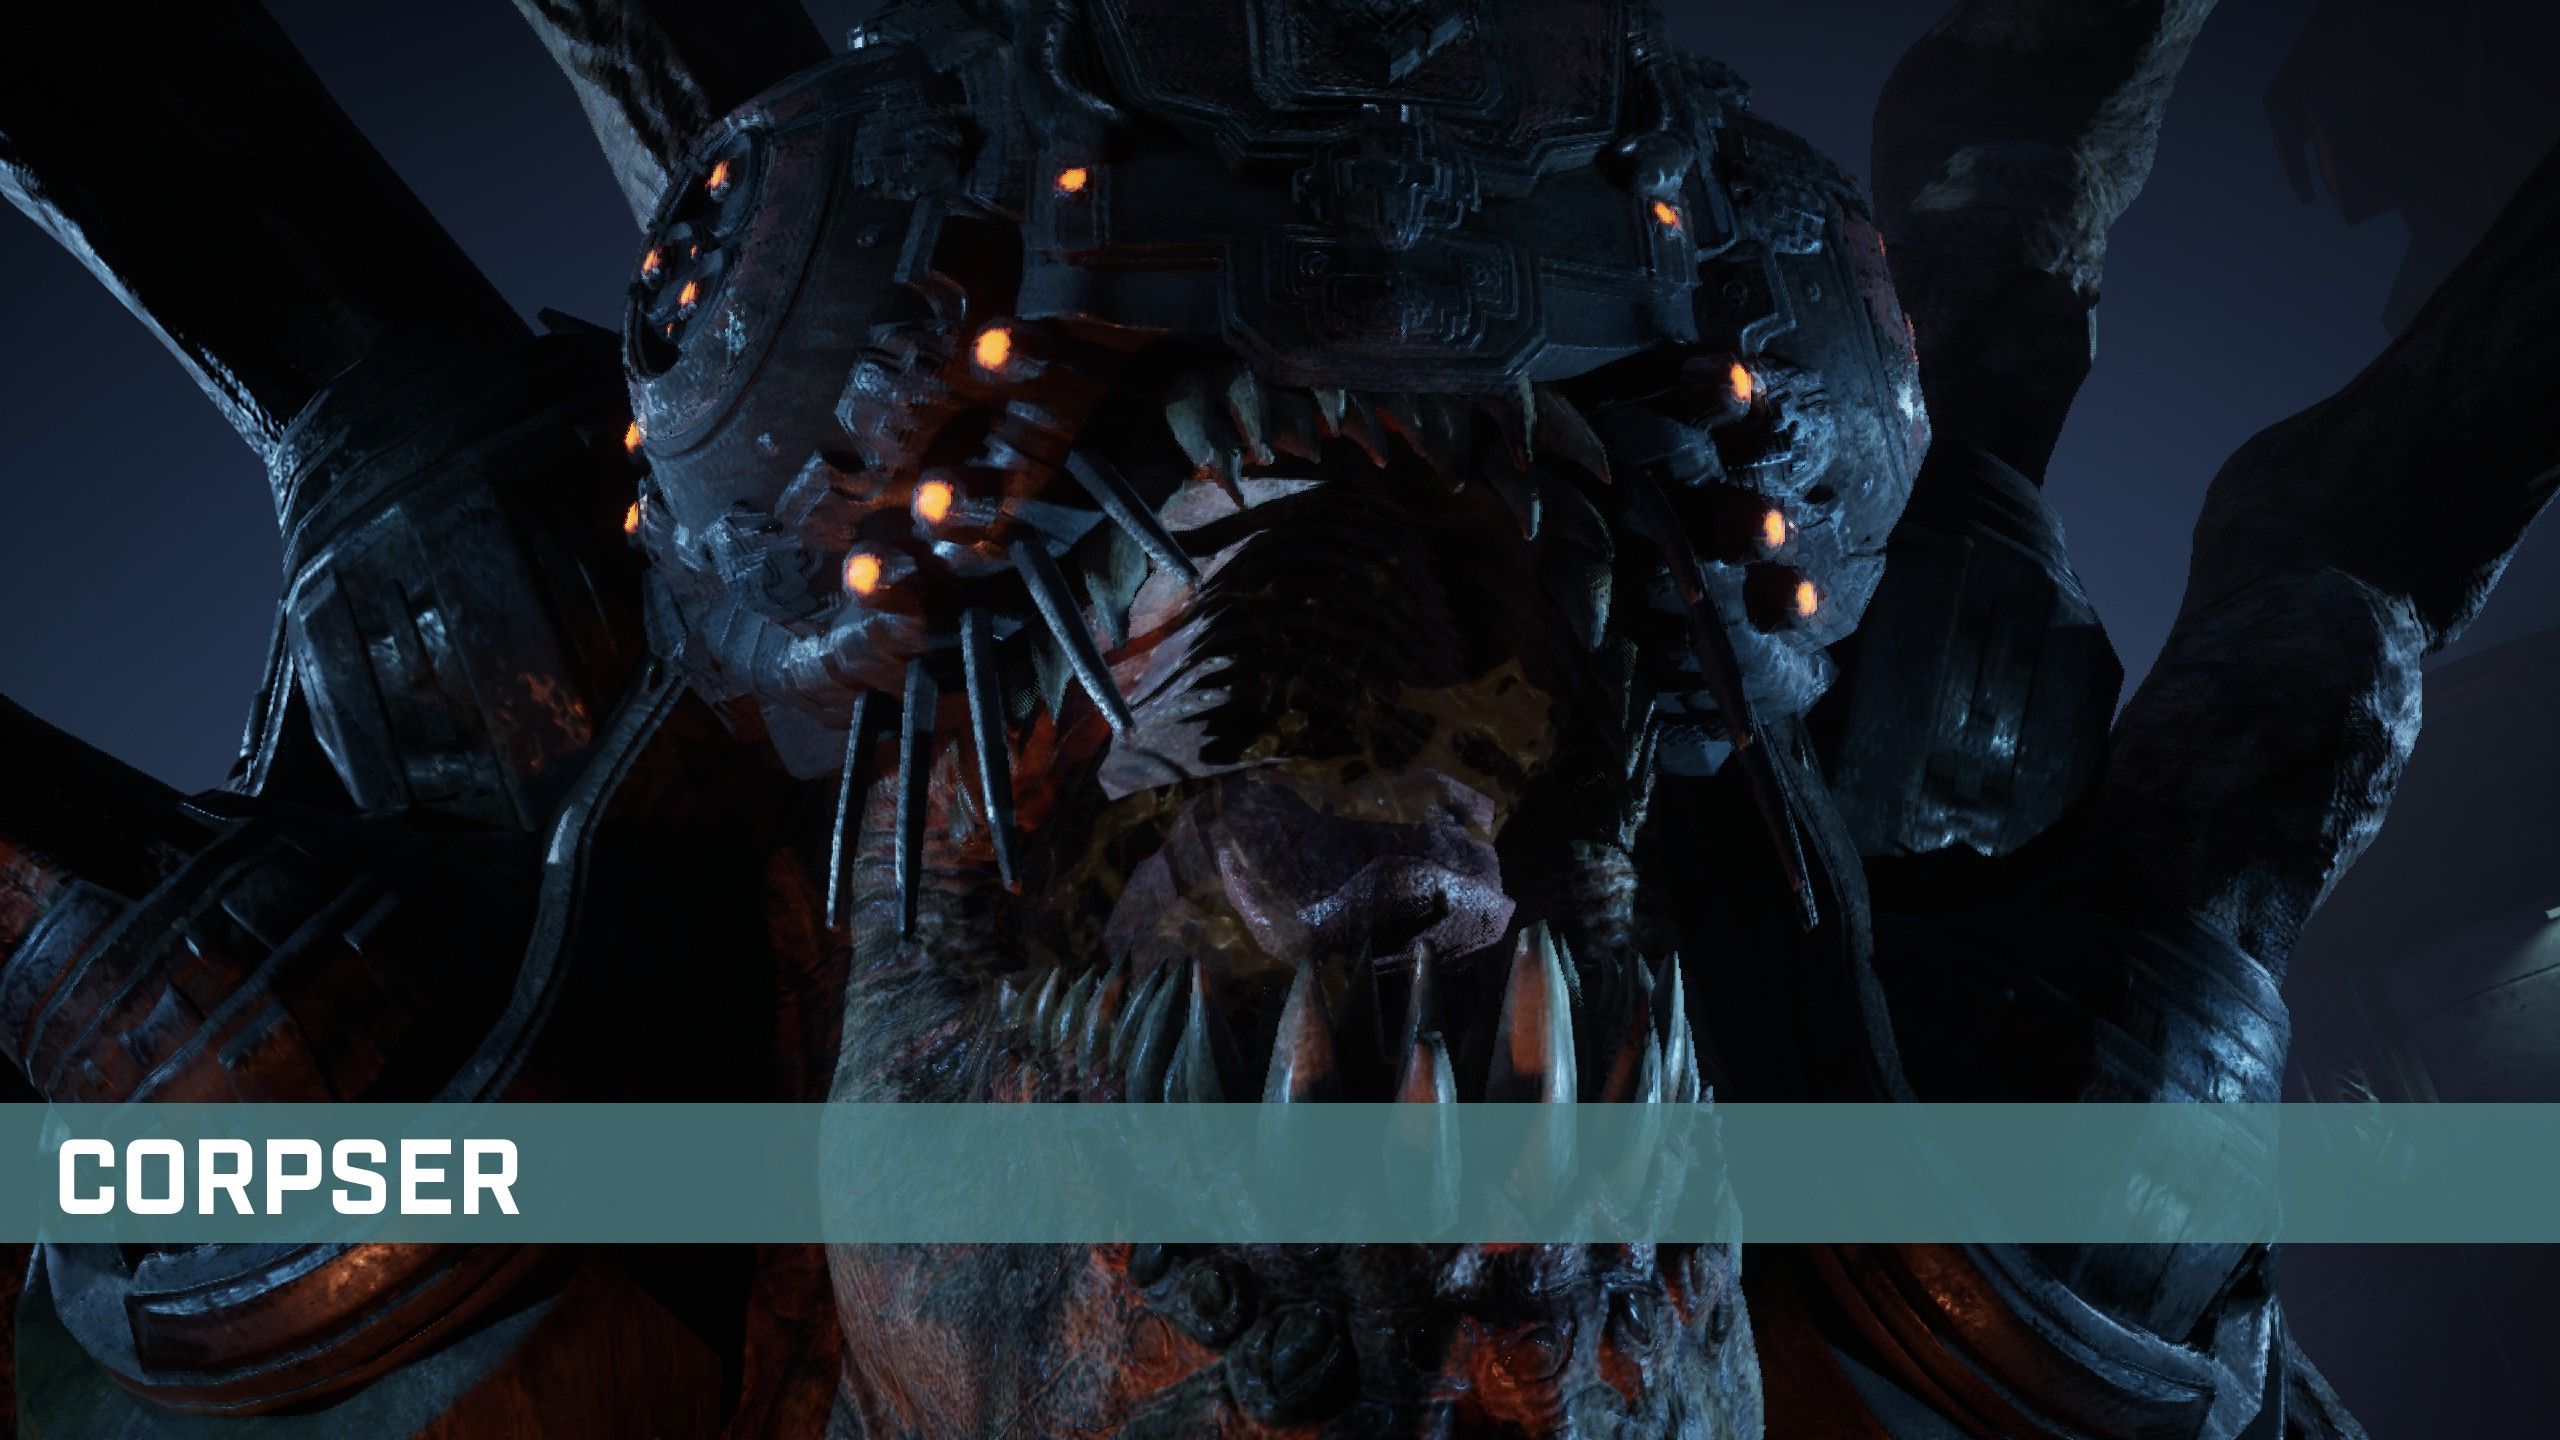
In Gears of War 4 you fight a Corpser, a giant spider (or crab?) monster by lasering it to death with the Hammer of Dawn. The Corpser dwarfs you in size, so the only way to bring it down is to roast it with a laser beam fired from space. In Gears Tactics, at the end of Act 2, you also fight a Corpser—with no space laser to help you out. It's one of the toughest battles of the campaign. If you're struggling with it, you're not alone.
There's no silver bullet for effortlessly killing the Corpser, but after fighting it several times I have some tips that will make the fight much easier, including how you equip yourself before battle and how you deal with the emergence holes that spawn tons of extra enemies. Here's how to beat the Corpser, Gears Tactics' Act 2 boss.
Consider rebuilding one or two units
This boss fight will punish under-developed squad compositions. If you're having trouble, consider spending a skill reset token to re-select abilities for one or more units. Here are some I recommend:
- Gabe: You're going to need healing (Stim Level 2 from the Surgeon tree is ideal for its range and ability to revive).
- Mikayla: You'll ideally have Chain Shot 1 or 2 from the Hunter tree.
- Sid: Your Vanguard is more flexible (and less essential), but consider building him towards the Paladin tree to help heal the rest of the squad.
For your fourth character, both the Scout and Heavy have advantages.
- The Scout's shotgun isn't great against the Corpser, but if you spec the Scout towards Commando they'll unlock the Proximity Mine, which can close emergence holes before they spawn any units. Also take the Frag Grenade Mastery skill, which lowers your grenade cooldowns. Also check your armor unlocks for a Lower (leg) armor piece with the Utility Belt passive skill, which lowers grenade cooldowns by two turns.
- The Heavy is much better at dealing damage to the Corpser, especially if you grab Heat Up and Redeploy from the left side of the skill tree, to take advantage of the Heavy's Anchor buff.
Mikayla's sniper rifle and crit damage are key
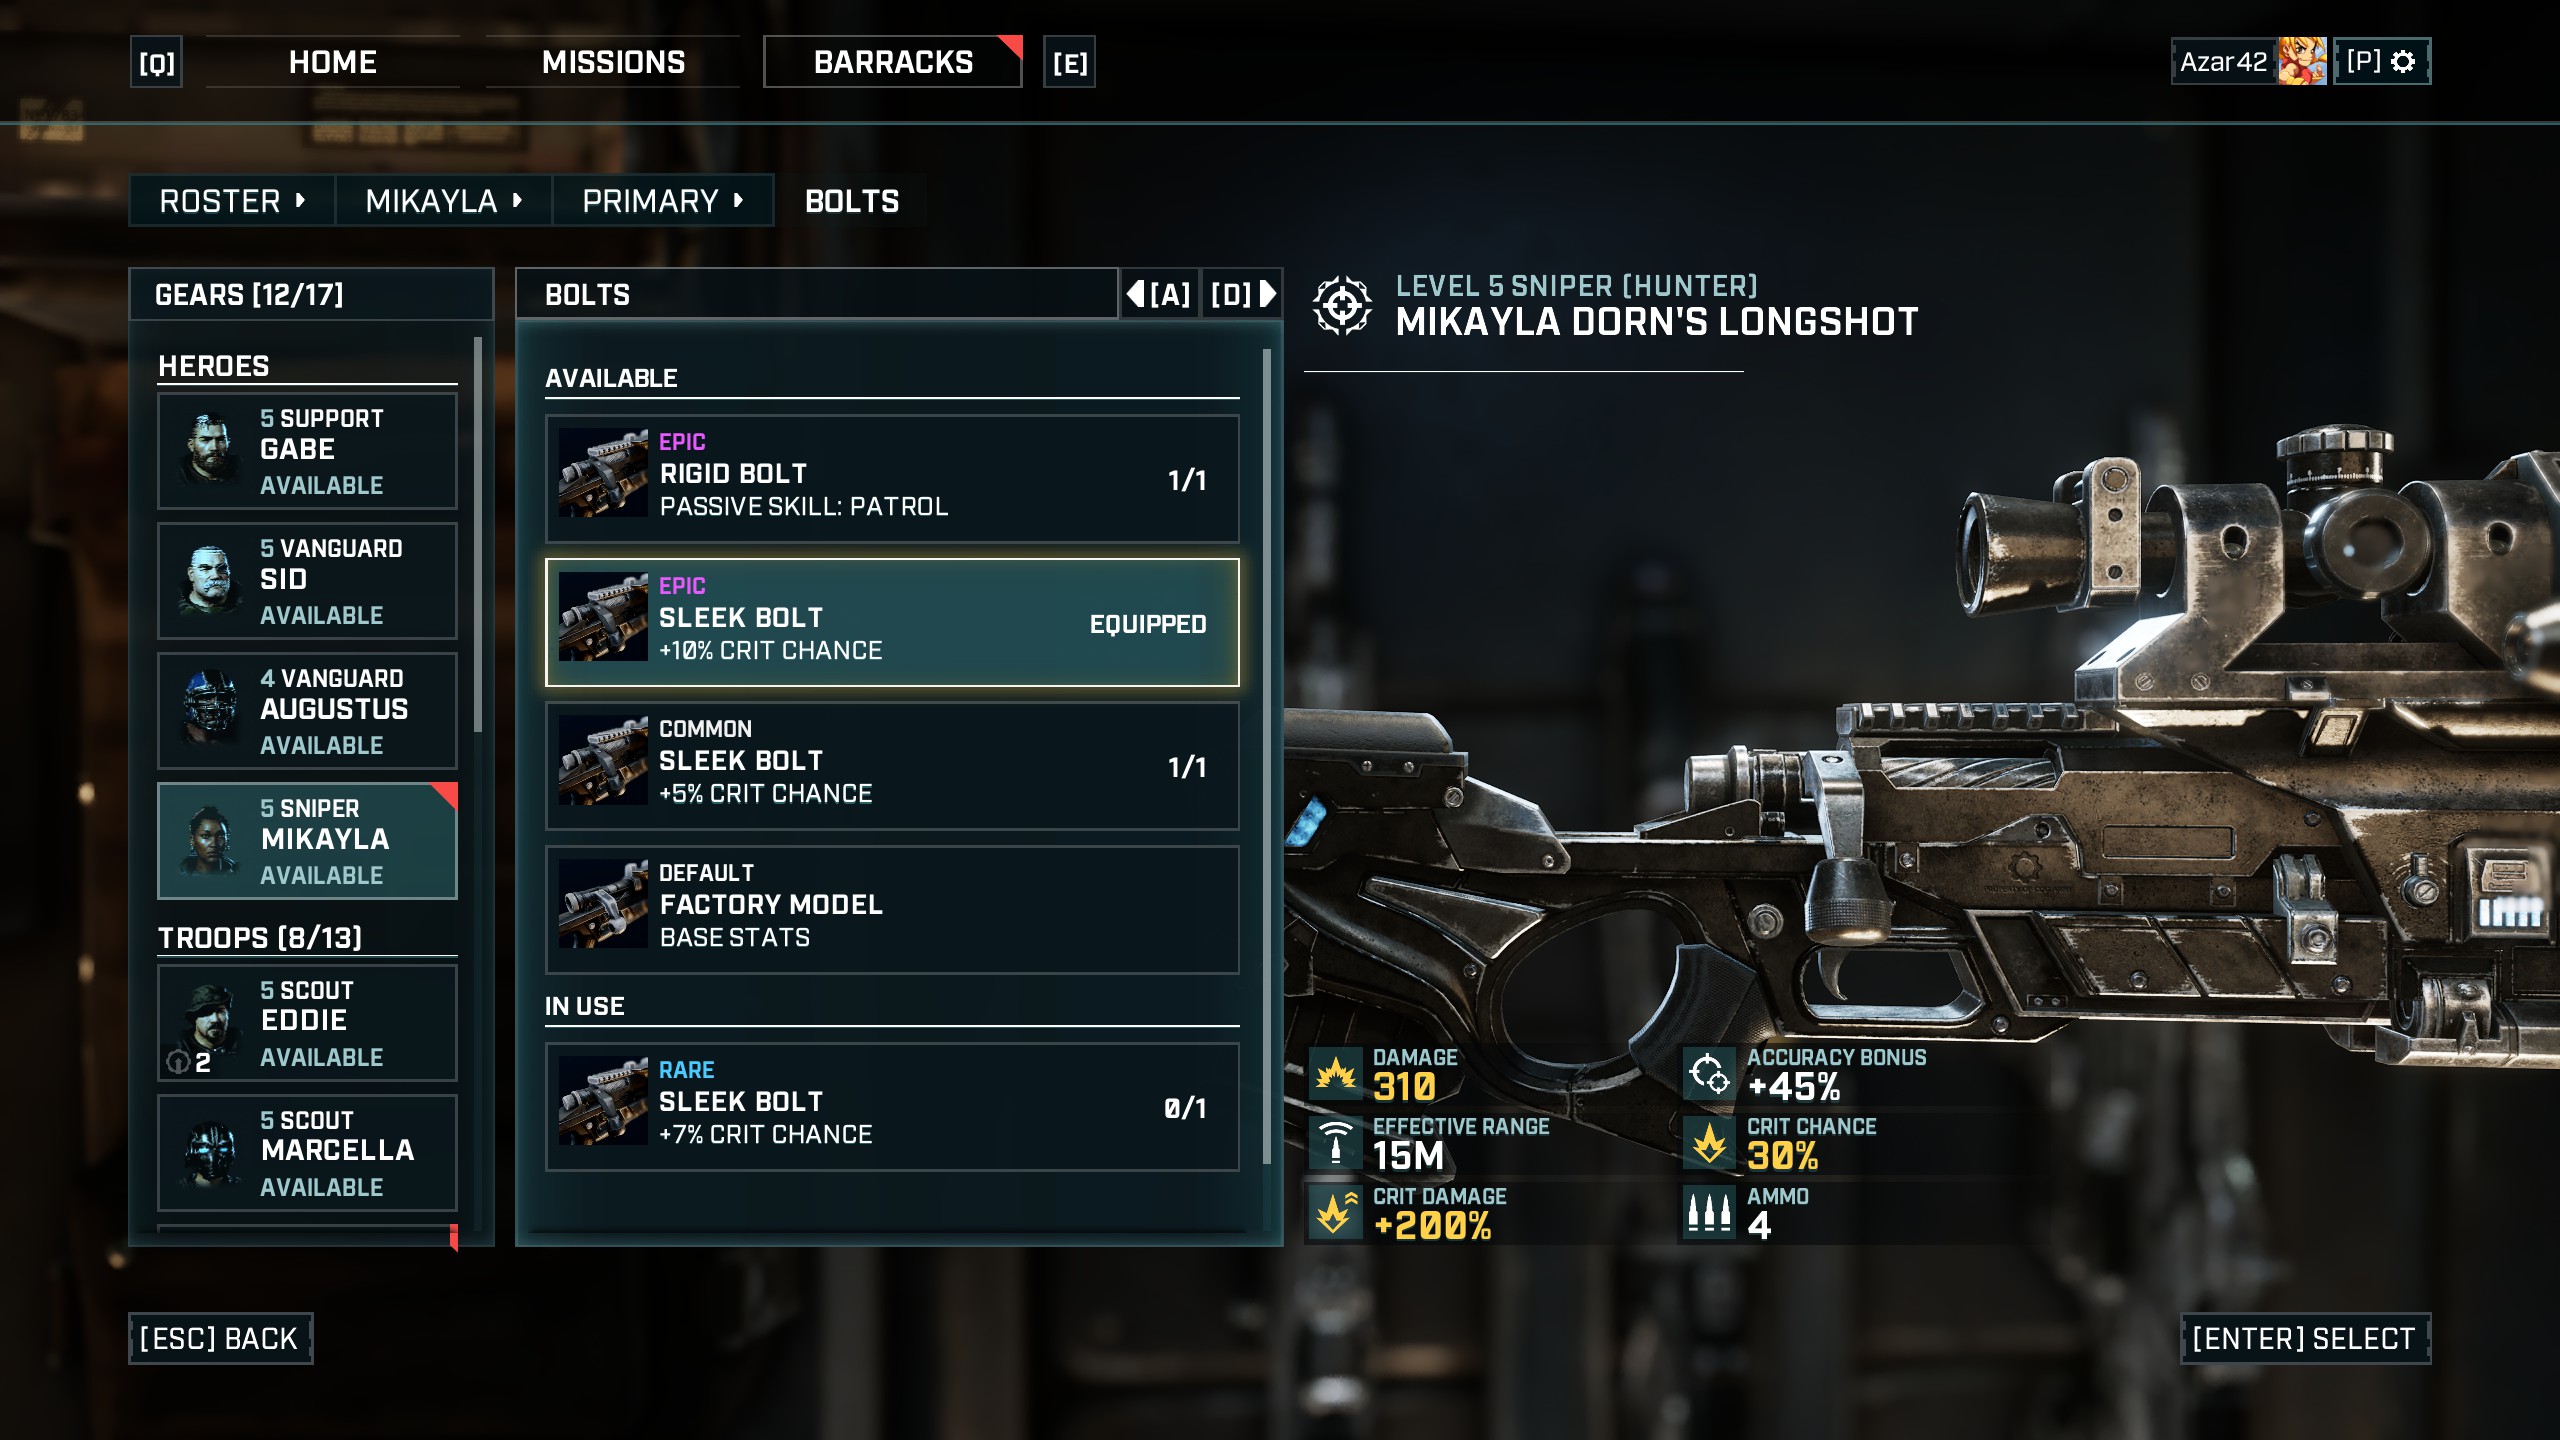
Mikayla is your heavy hitter in this fight (and in every boss fight, honestly). Before you start the mission, set up her sniper rifle with augments that improve crit chance and/or crit damage. If you have an extra magazine or chest piece with the Autoloader passive skill, those can be a big help as well—anything to maximize the number of turns Mikayla can spend shooting the corpser. If you happen to have any skill points left to use, make sure Mikayla has Chain Shot and Fast Fingers. Fast Fingers lets you reload after downing or killing an enemy, so it won't work against the Corpser, but there will be other Locust targets in the fight, too.
The Corpser is an easy target to hit, so don't worry about bringing Mikayla up close—her hit rate should be 100% from most of the arena. Keep her on the center platform when it's safe so she has an easy shot at any enemies that spawn in, but move her to safety whenever the corpser sets up an attack. When the Corpser is defending itself, take advantage of the downtime to reload and clean out smaller enemies. When it reveals its face, get Mikayla as many shots as you can, using Chain Shot, Gabe's Empower, and any executions you can safely pull off. Her regular attacks are reliably good damage, but critical hits are gold, and will rip out a big chunk of the Corpser's health pool. You can't control your luck, but you can give Mikayla as many opportunities as possible to land crits.
Save grenades or a Boomshot round to close E-holes
If you can, keep one grenade in your pocket at all times—don't have your cooldowns all on the same counter. You'll always want to be able to close an emergence hole as soon as it springs up. Unless you're desperate or have great cooldown reductions, don't use grenades to kill regular enemies. If you kill a Boomer and pick up its weapon, the Boomshot, you can also fire a round into the E-hole to close it that way. But you'll also want to use those explosive rounds against the Corpser.
Keep up to date with the most important stories and the best deals, as picked by the PC Gamer team.
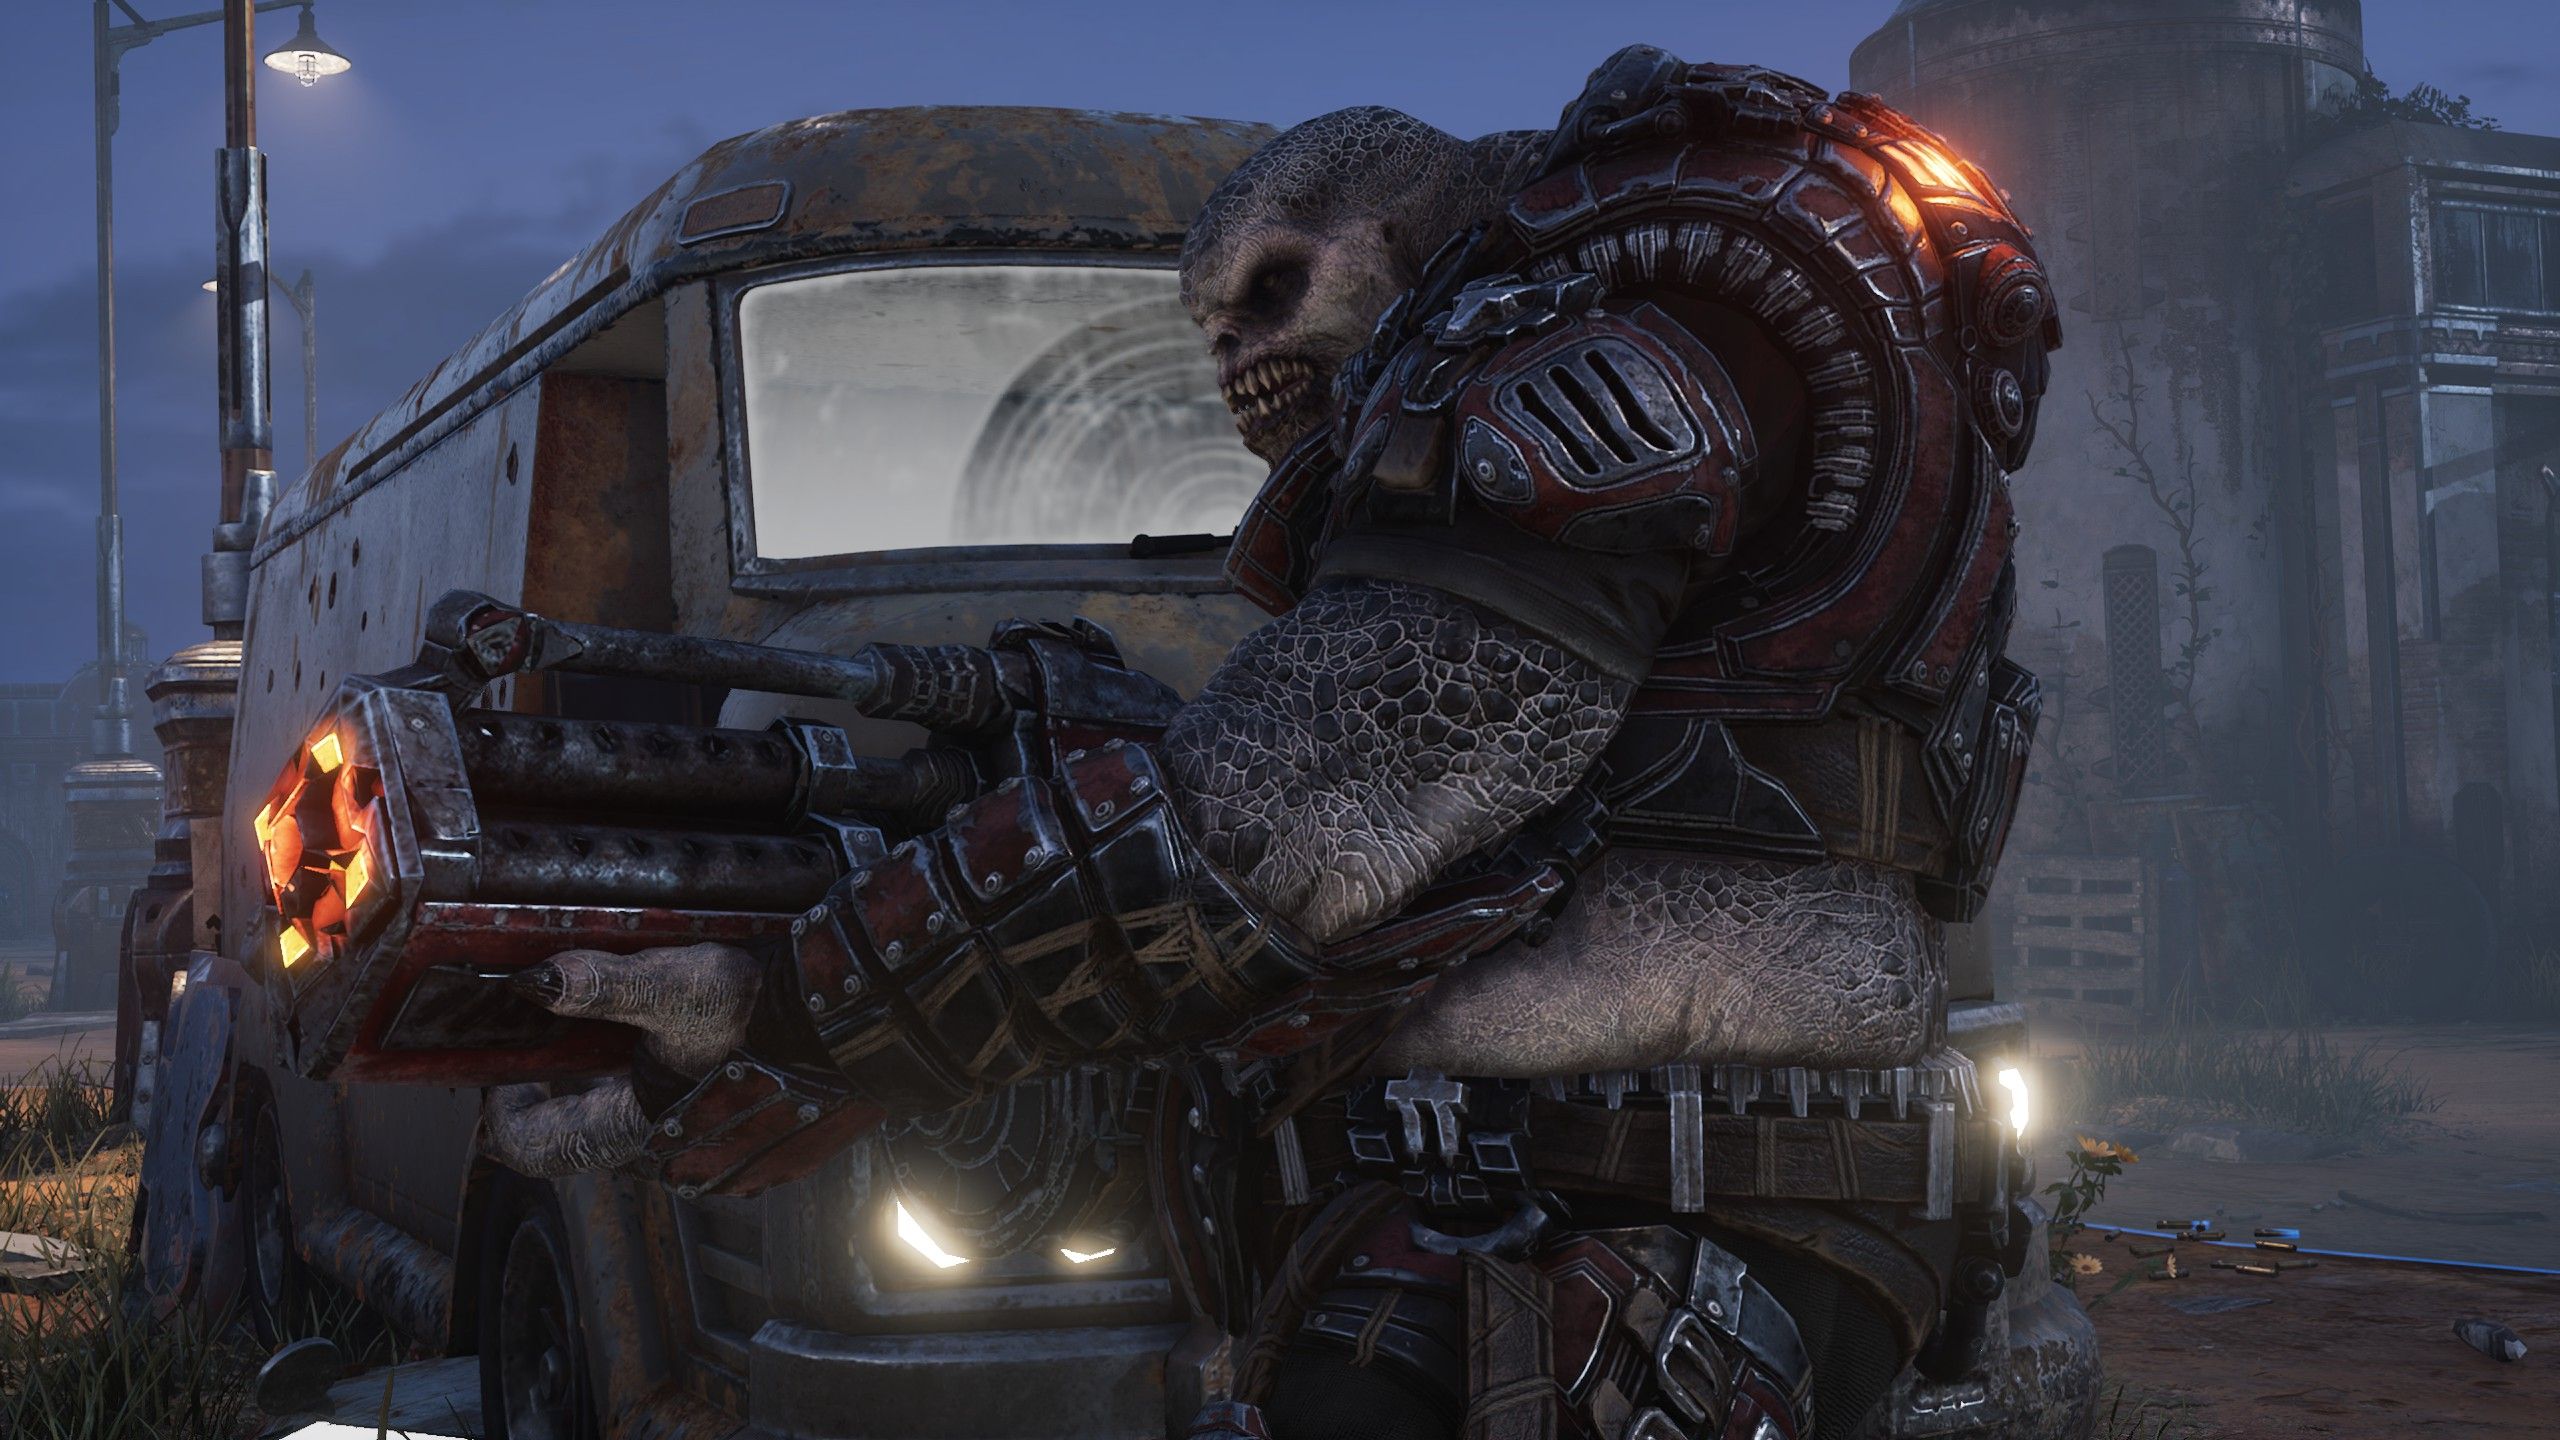
The Boomshot does big damage to the Corpser
The Corpser is vulnerable to the explosive rounds of the Boomshot, though it may not be immediately obvious. The Boomshot doesn't have a ton of range, which means you'll need to get close to the front of the map to land a hit on its face. But the damage is worth it. Prioritize taking down the Boomers and use either Gabe or Sid to pick up the Boomshot, then position them near the front of the map, wait for the Corpser to show its face, and hit it hard.
Don't waste ammo on the corpser's legs
Just wait it out. It takes thousands of damage to make the Corpser come out of its defensive huddle, and most of the time you're going to have other enemies on the map to deal with in the meantime. Use the turns where the Corpser is defending itself to clear the field, reload, heal, and put your squad in positions where they'll be able to land hits on your next turn.
To optimize your placement, watch where the Corpser likes to position its attacks—straight down the center, and at diagonals to the left and right—and position your squad so that they'll only have to spend one action on movement to safely get out of the way. That will give you more points to spend on shooting.
Gabe's Empower ability gives you valuable extra moves
True to his support class, Gabe is more important as a healer and helper in this fight than as a damage-dealer, at least until he picks up a Boomshot. Start your turns by dealing damage with Mikayla, when you can, and then consider how best to use Gabe's Empower skill, which grants a teammate an extra action point (or two, if you've managed to upgrade it). If the field is clear, give Mikayla an extra shot with Empower. Otherwise, save Gabe's actions for towards the end of your turn, so you can see who might need his help. Even one extra action point for a character trying to dodge the Corpser's attack or finish off a Boomer can be critical.
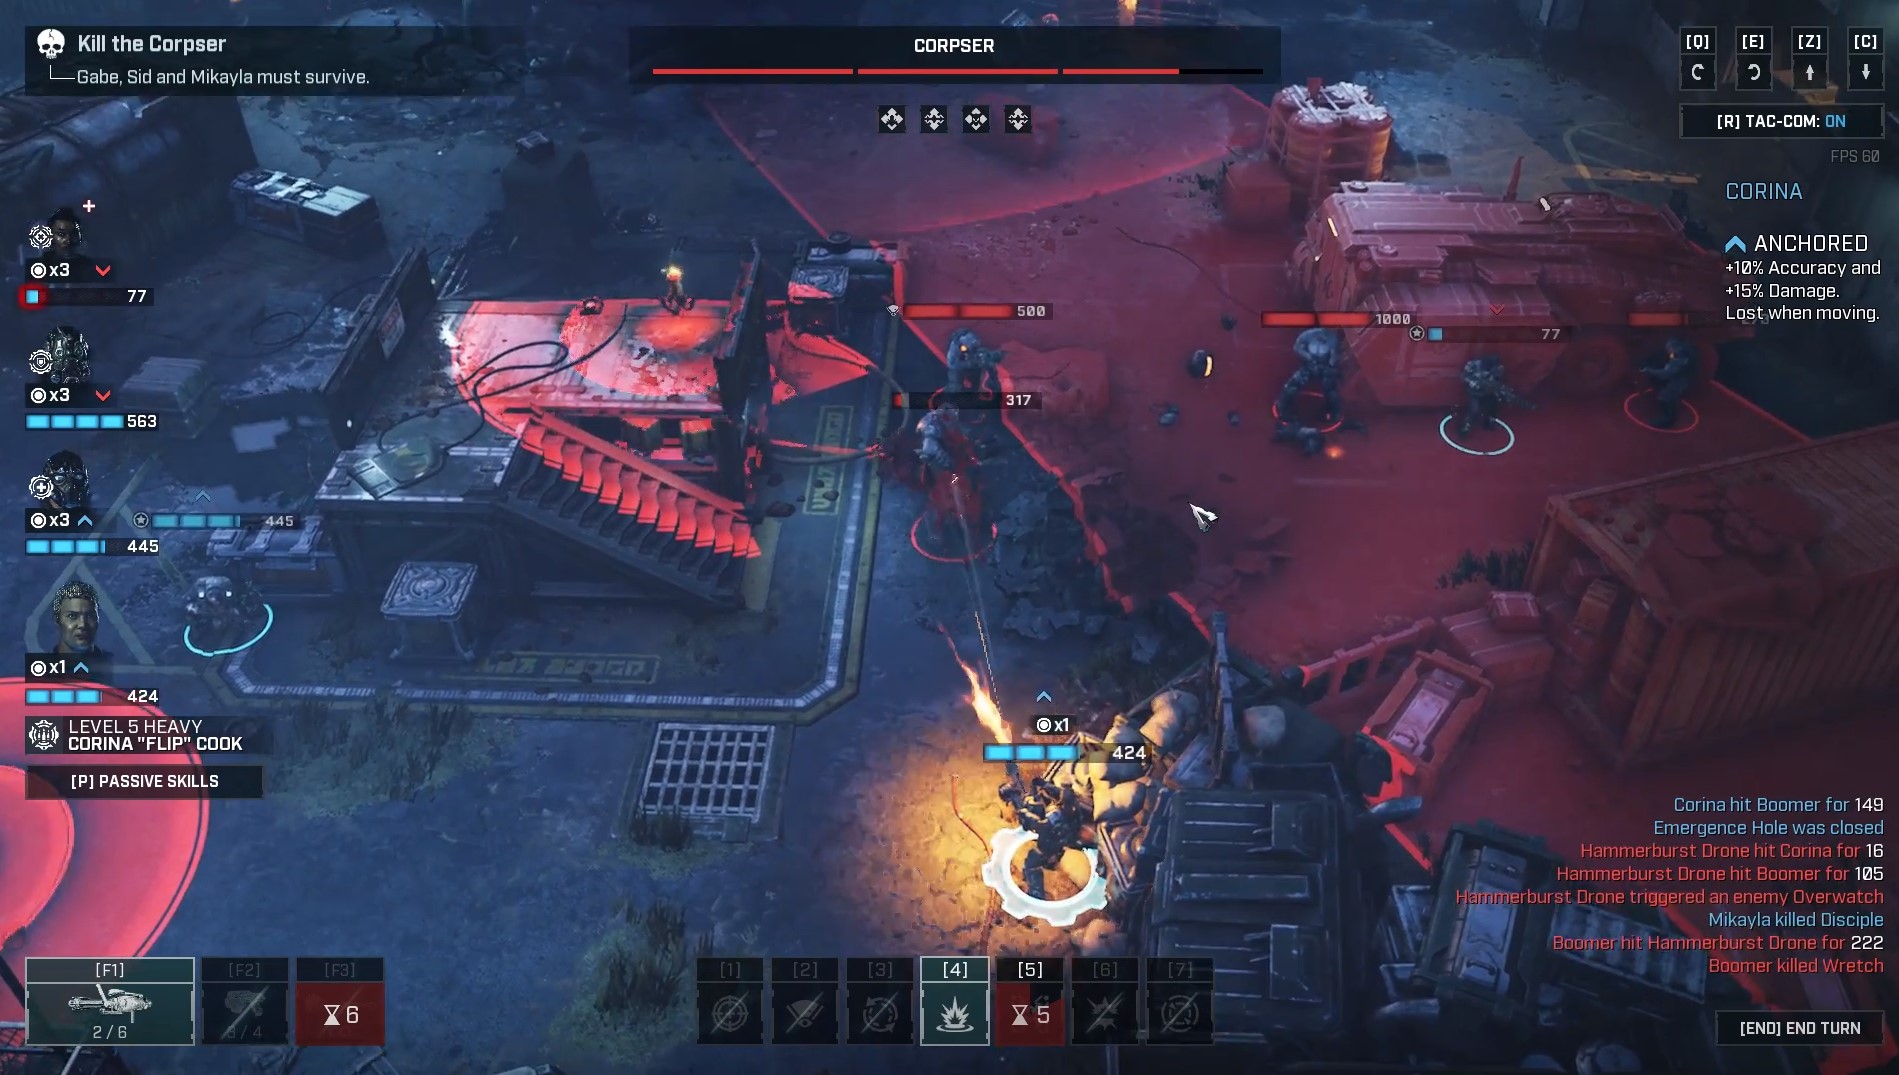
The Corpser attacks first, so don't waste actions killing weak Locust in the Corpser's blast zone
Here's the order in which actions play out in this battle:
- You end your turn
- Emergence holes trigger, spawning new enemies
- The Corpser does its blast zone attack
- The Corpser throws out mines
- The rest of the Locust move and attack
- New Locust spawn in
The Corpser's big attack will hit its fellow Locust, which can be a big help for you. Don't waste action points shooting Wretches or already-weakened drones who are standing in the blast zone. The Corpser's attack will kill them and save you the trouble. On Intermediate difficulty, it deals 300 damage.
Depleting a Corpser health bar will interrupt its attack
The Corpser's health is divided into three segments, and depleting one of those segments will trigger a short cutscene and move you on to the next phase of the fight. It will also helpfully interrupt whatever the Corpser was doing. If you're confident you can take down a health bar segment, then, don't waste action points dodging out of the Corpser's blast zone—shoot it in the face instead, and that attack will never come.

Wes has been covering games and hardware for more than 10 years, first at tech sites like The Wirecutter and Tested before joining the PC Gamer team in 2014. Wes plays a little bit of everything, but he'll always jump at the chance to cover emulation and Japanese games.
When he's not obsessively optimizing and re-optimizing a tangle of conveyor belts in Satisfactory (it's really becoming a problem), he's probably playing a 20-year-old Final Fantasy or some opaque ASCII roguelike. With a focus on writing and editing features, he seeks out personal stories and in-depth histories from the corners of PC gaming and its niche communities. 50% pizza by volume (deep dish, to be specific).
