How to complete the Zombies easter eggs in Black Ops 6
All the steps to get the BO6 Zombies easter eggs for Liberty Falls and Terminus.
Keep up to date with the most important stories and the best deals, as picked by the PC Gamer team.
You are now subscribed
Your newsletter sign-up was successful
Want to add more newsletters?
Join the club
Get full access to premium articles, exclusive features and a growing list of member rewards.
It wouldn’t be a Call of Duty: Black Ops game without Zombies, now, would it? And it wouldn’t be Zombies without an incredibly well-hidden and complex easter egg that reveals the true story of each map. Though they were solved remarkably quickly, the Black Ops 6 Zombies easter eggs are among the most long-winded and challenging.
Zombies is far different from multiplayer, though you’ll be pleased to hear that your weapon progression and other unlocks carry over into Zombies. This means you can start both Liberty Falls and Terminus armed to the teeth. It will certainly help in the early stages of the easter egg but it will still be far from easy. To save you the trouble of figuring them out for yourself, here’s how to beat the Liberty Falls and Terminus main easter eggs.
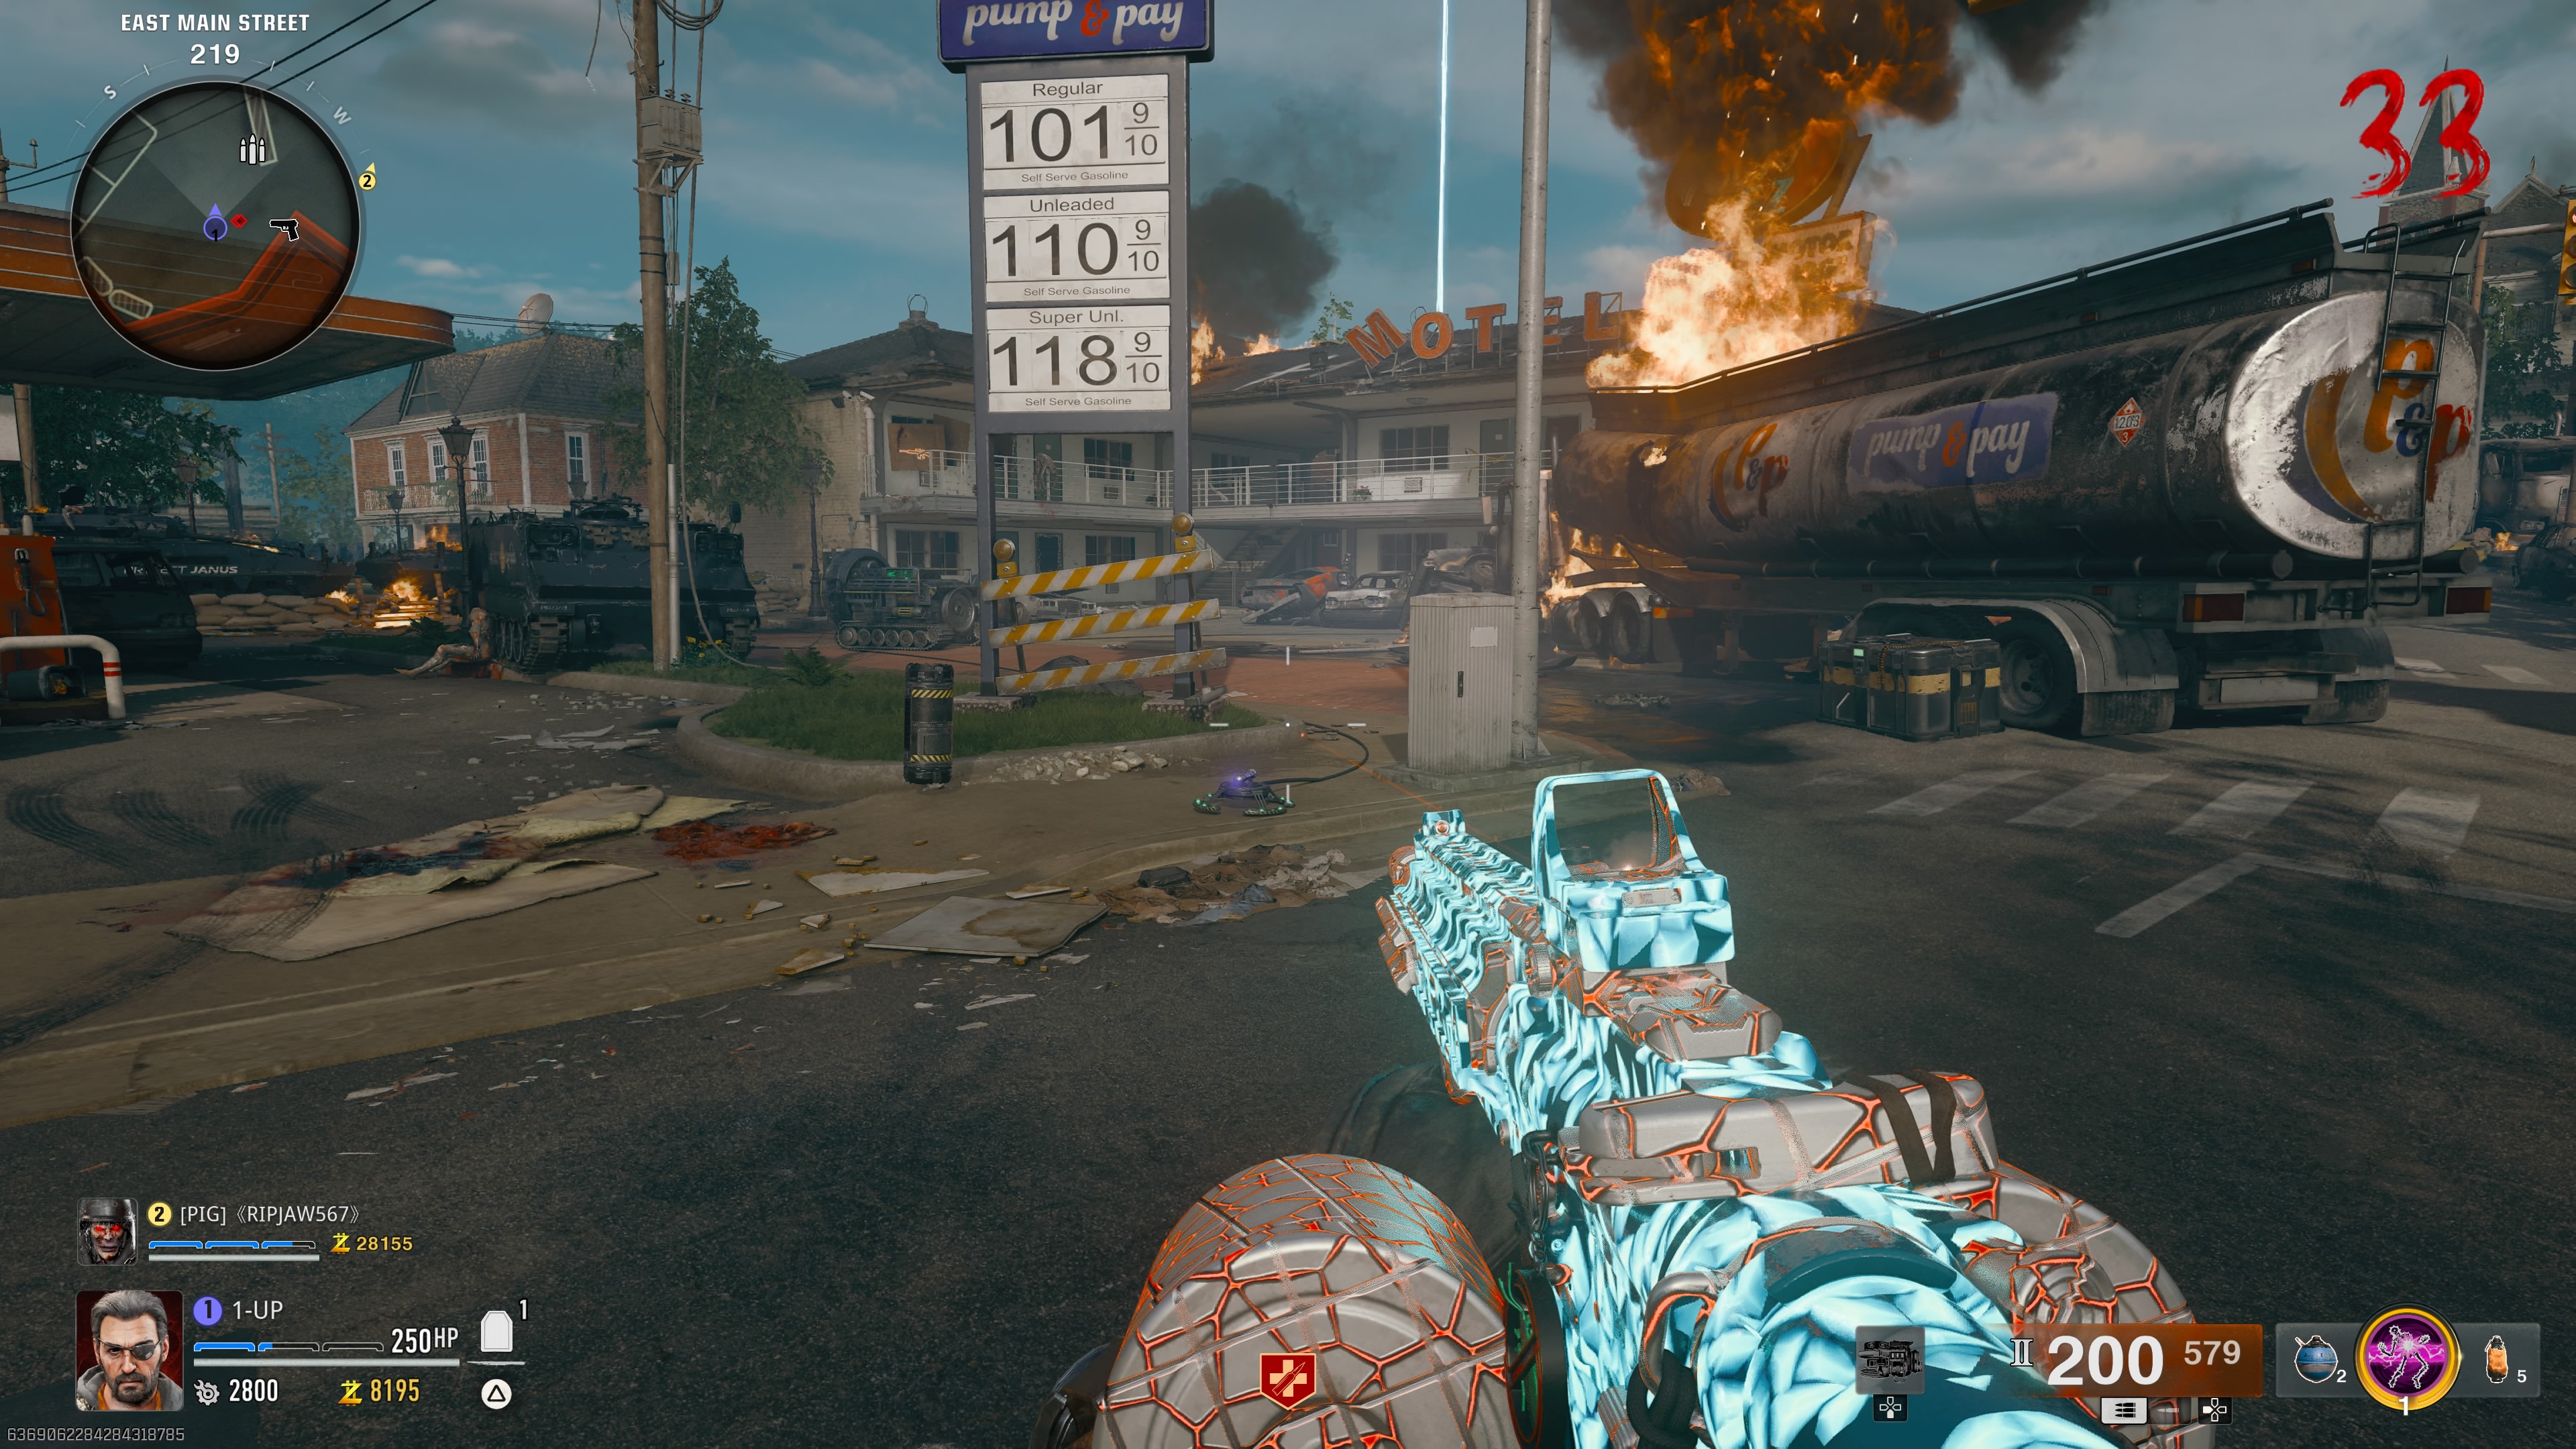
Black Ops 6 Liberty Falls easter egg guide
You will need to take out zombies and progress through the map as usual until you unlock the church/Dark Aether, which contains the Pack-a-Punch machine. Once there, interact with the strange machine to the right of the main door known as the SDG Generator. There's no prompt but when you interact with it, a character called Panos will begin to speak, letting you know you’re ready to begin the easter egg.
Article continues belowIt’s a good idea to leave one zombie alive in a round when you’re attempting to complete the following easter egg steps. This will give you some breathing room to investigate and interact with things without fear of dying and risking your progress. Likewise, Decoys are also incredibly handy.
Here is an overview of the main Liberty Fall quest steps:
- Assemble the Jet Gun
- Assemble to LTG
- Clear the first storm
- Calibrate projectors
- Clear the second storm
- Survive the final encounter
Assemble the Jet Gun
Before you can properly start the Liberty Falls easter egg, however, you need to get your hands on the map’s unique Wonder Weapon—the Jet Gun. While you can get it from the mystery box, there are no guarantees. So, your best bet is to craft it with three hidden parts:
- Water pressure gauge
- Handbrake
- Electrical wires
Water pressure gauge
Keep up to date with the most important stories and the best deals, as picked by the PC Gamer team.
The first part you will need is the water pressure gauge, though you will first need to grab a water valve. This is located at the front of Lily’s Flowerpot shop on Hill Street. Here, you will find a tap against the wall to the right of the broken door, near a flower display. Hold the interact button to pick up the water valve.
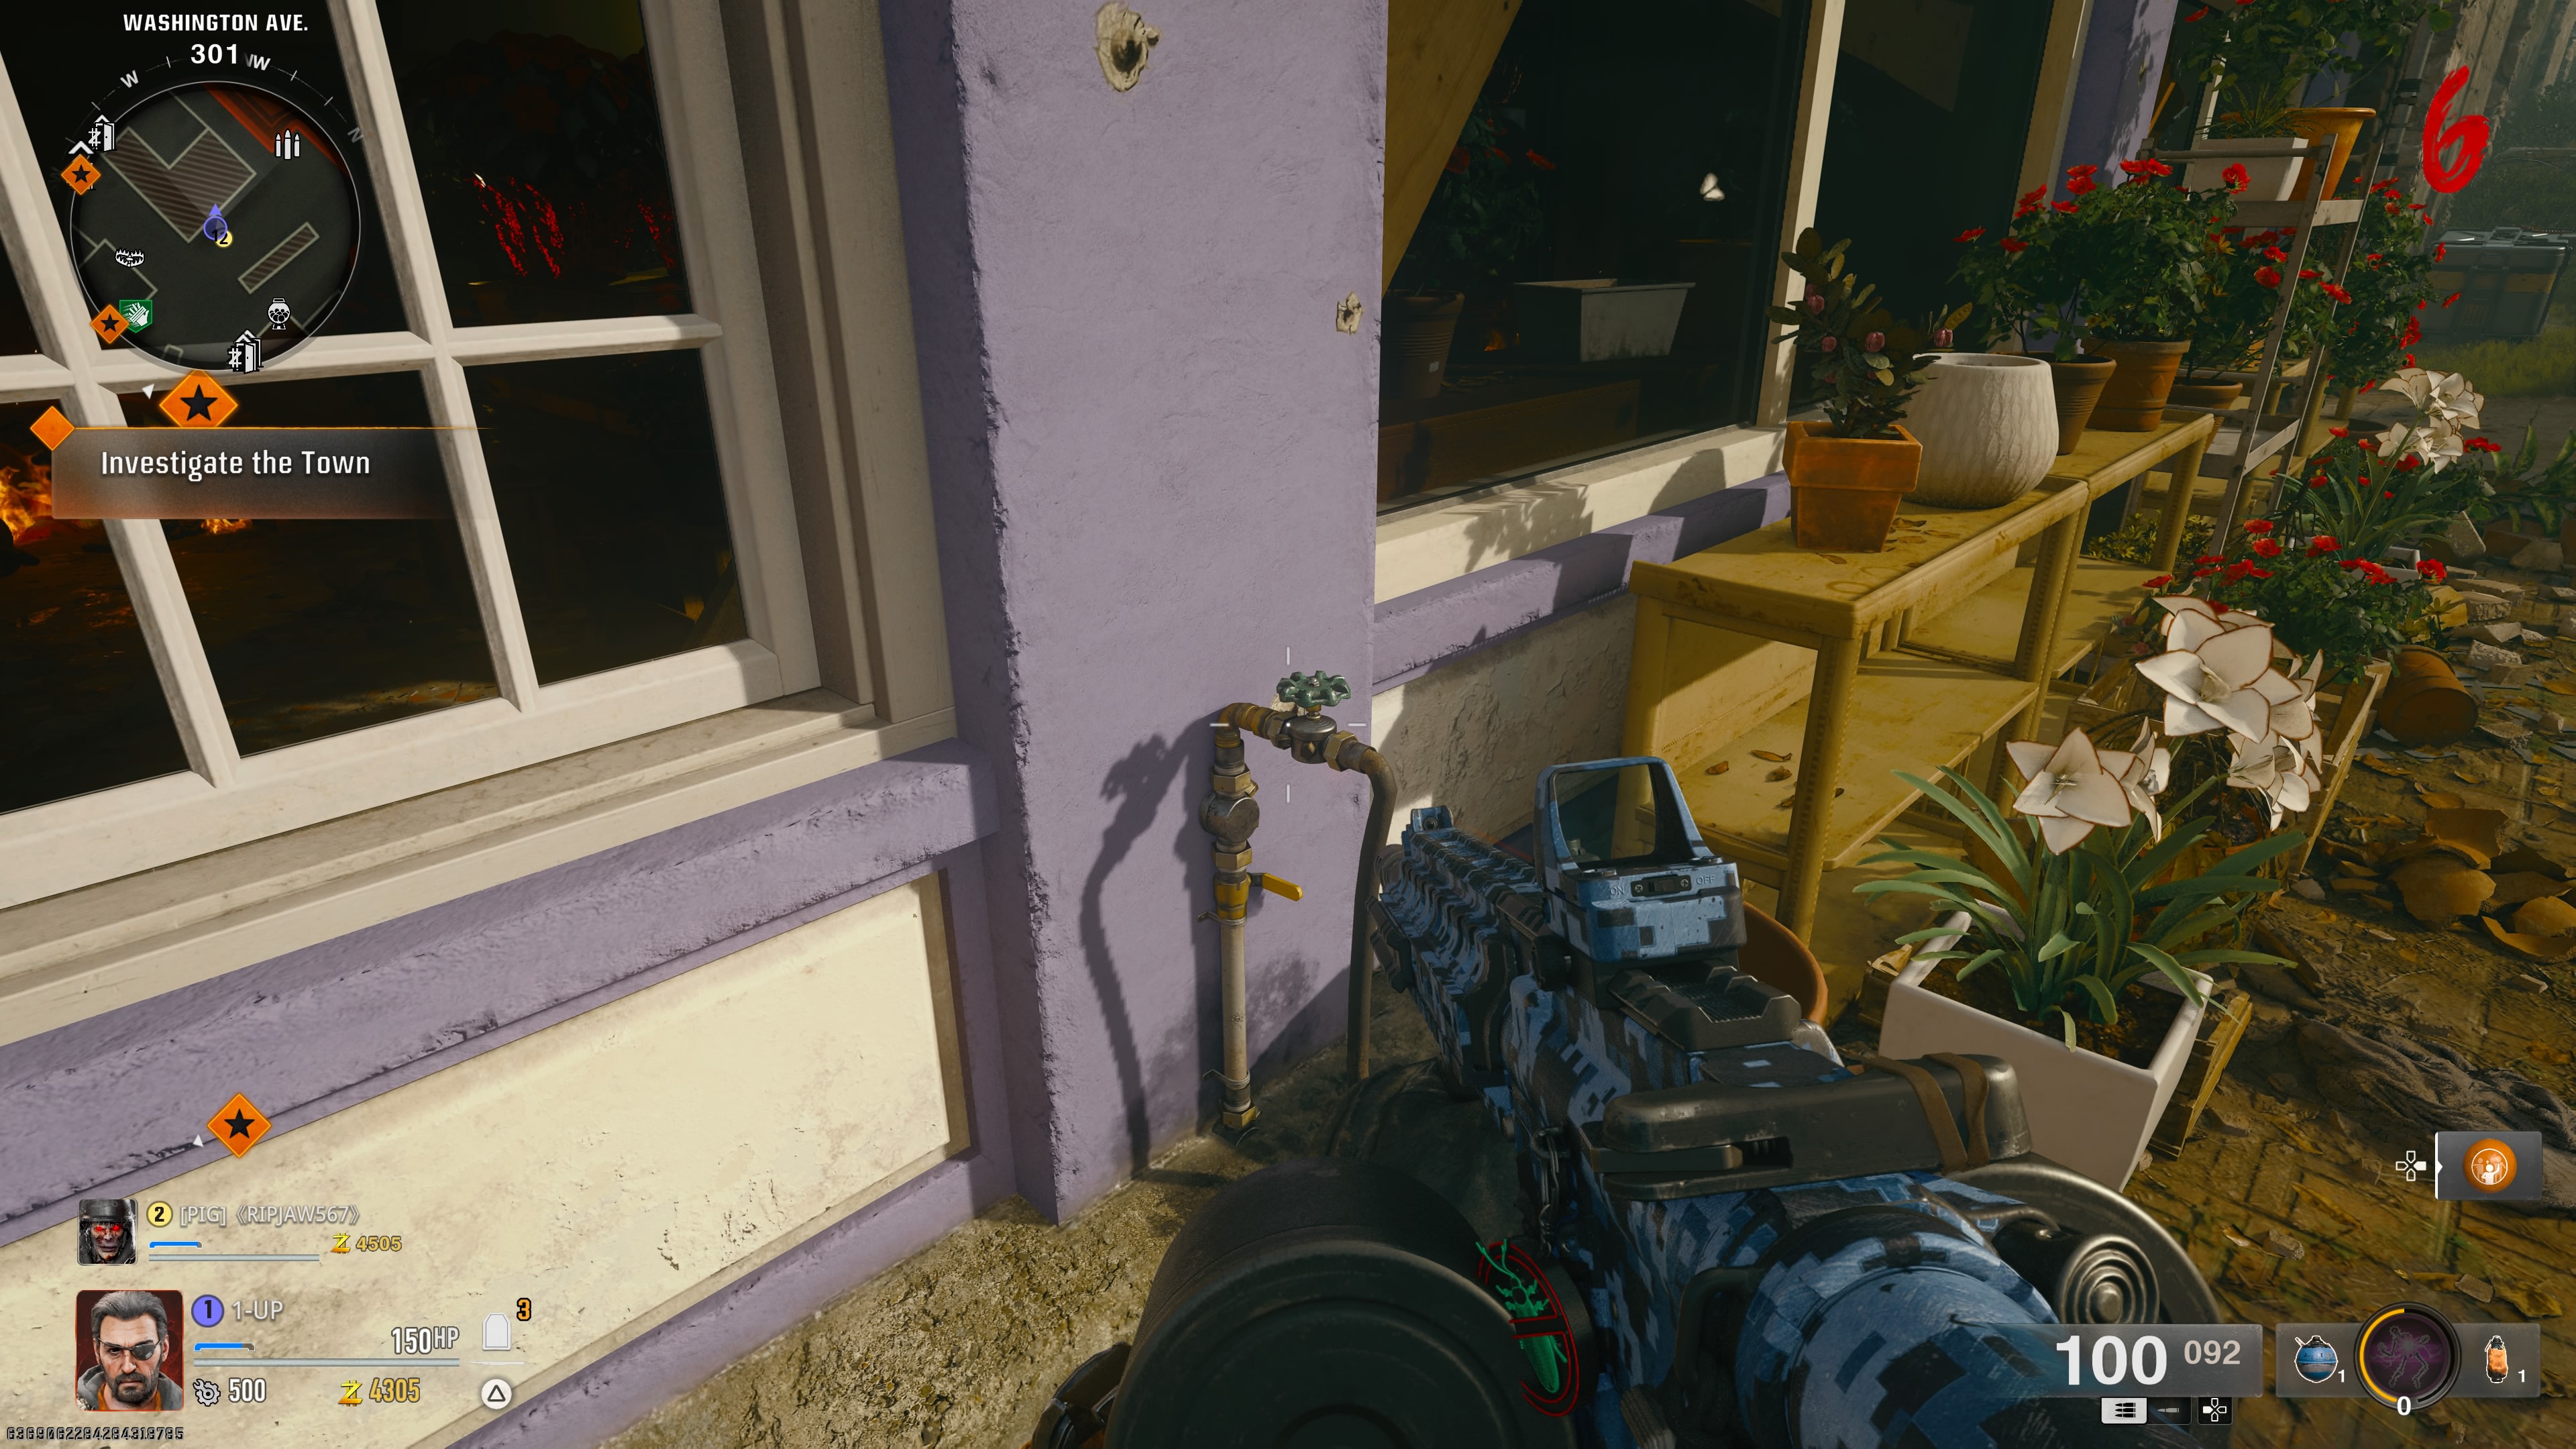
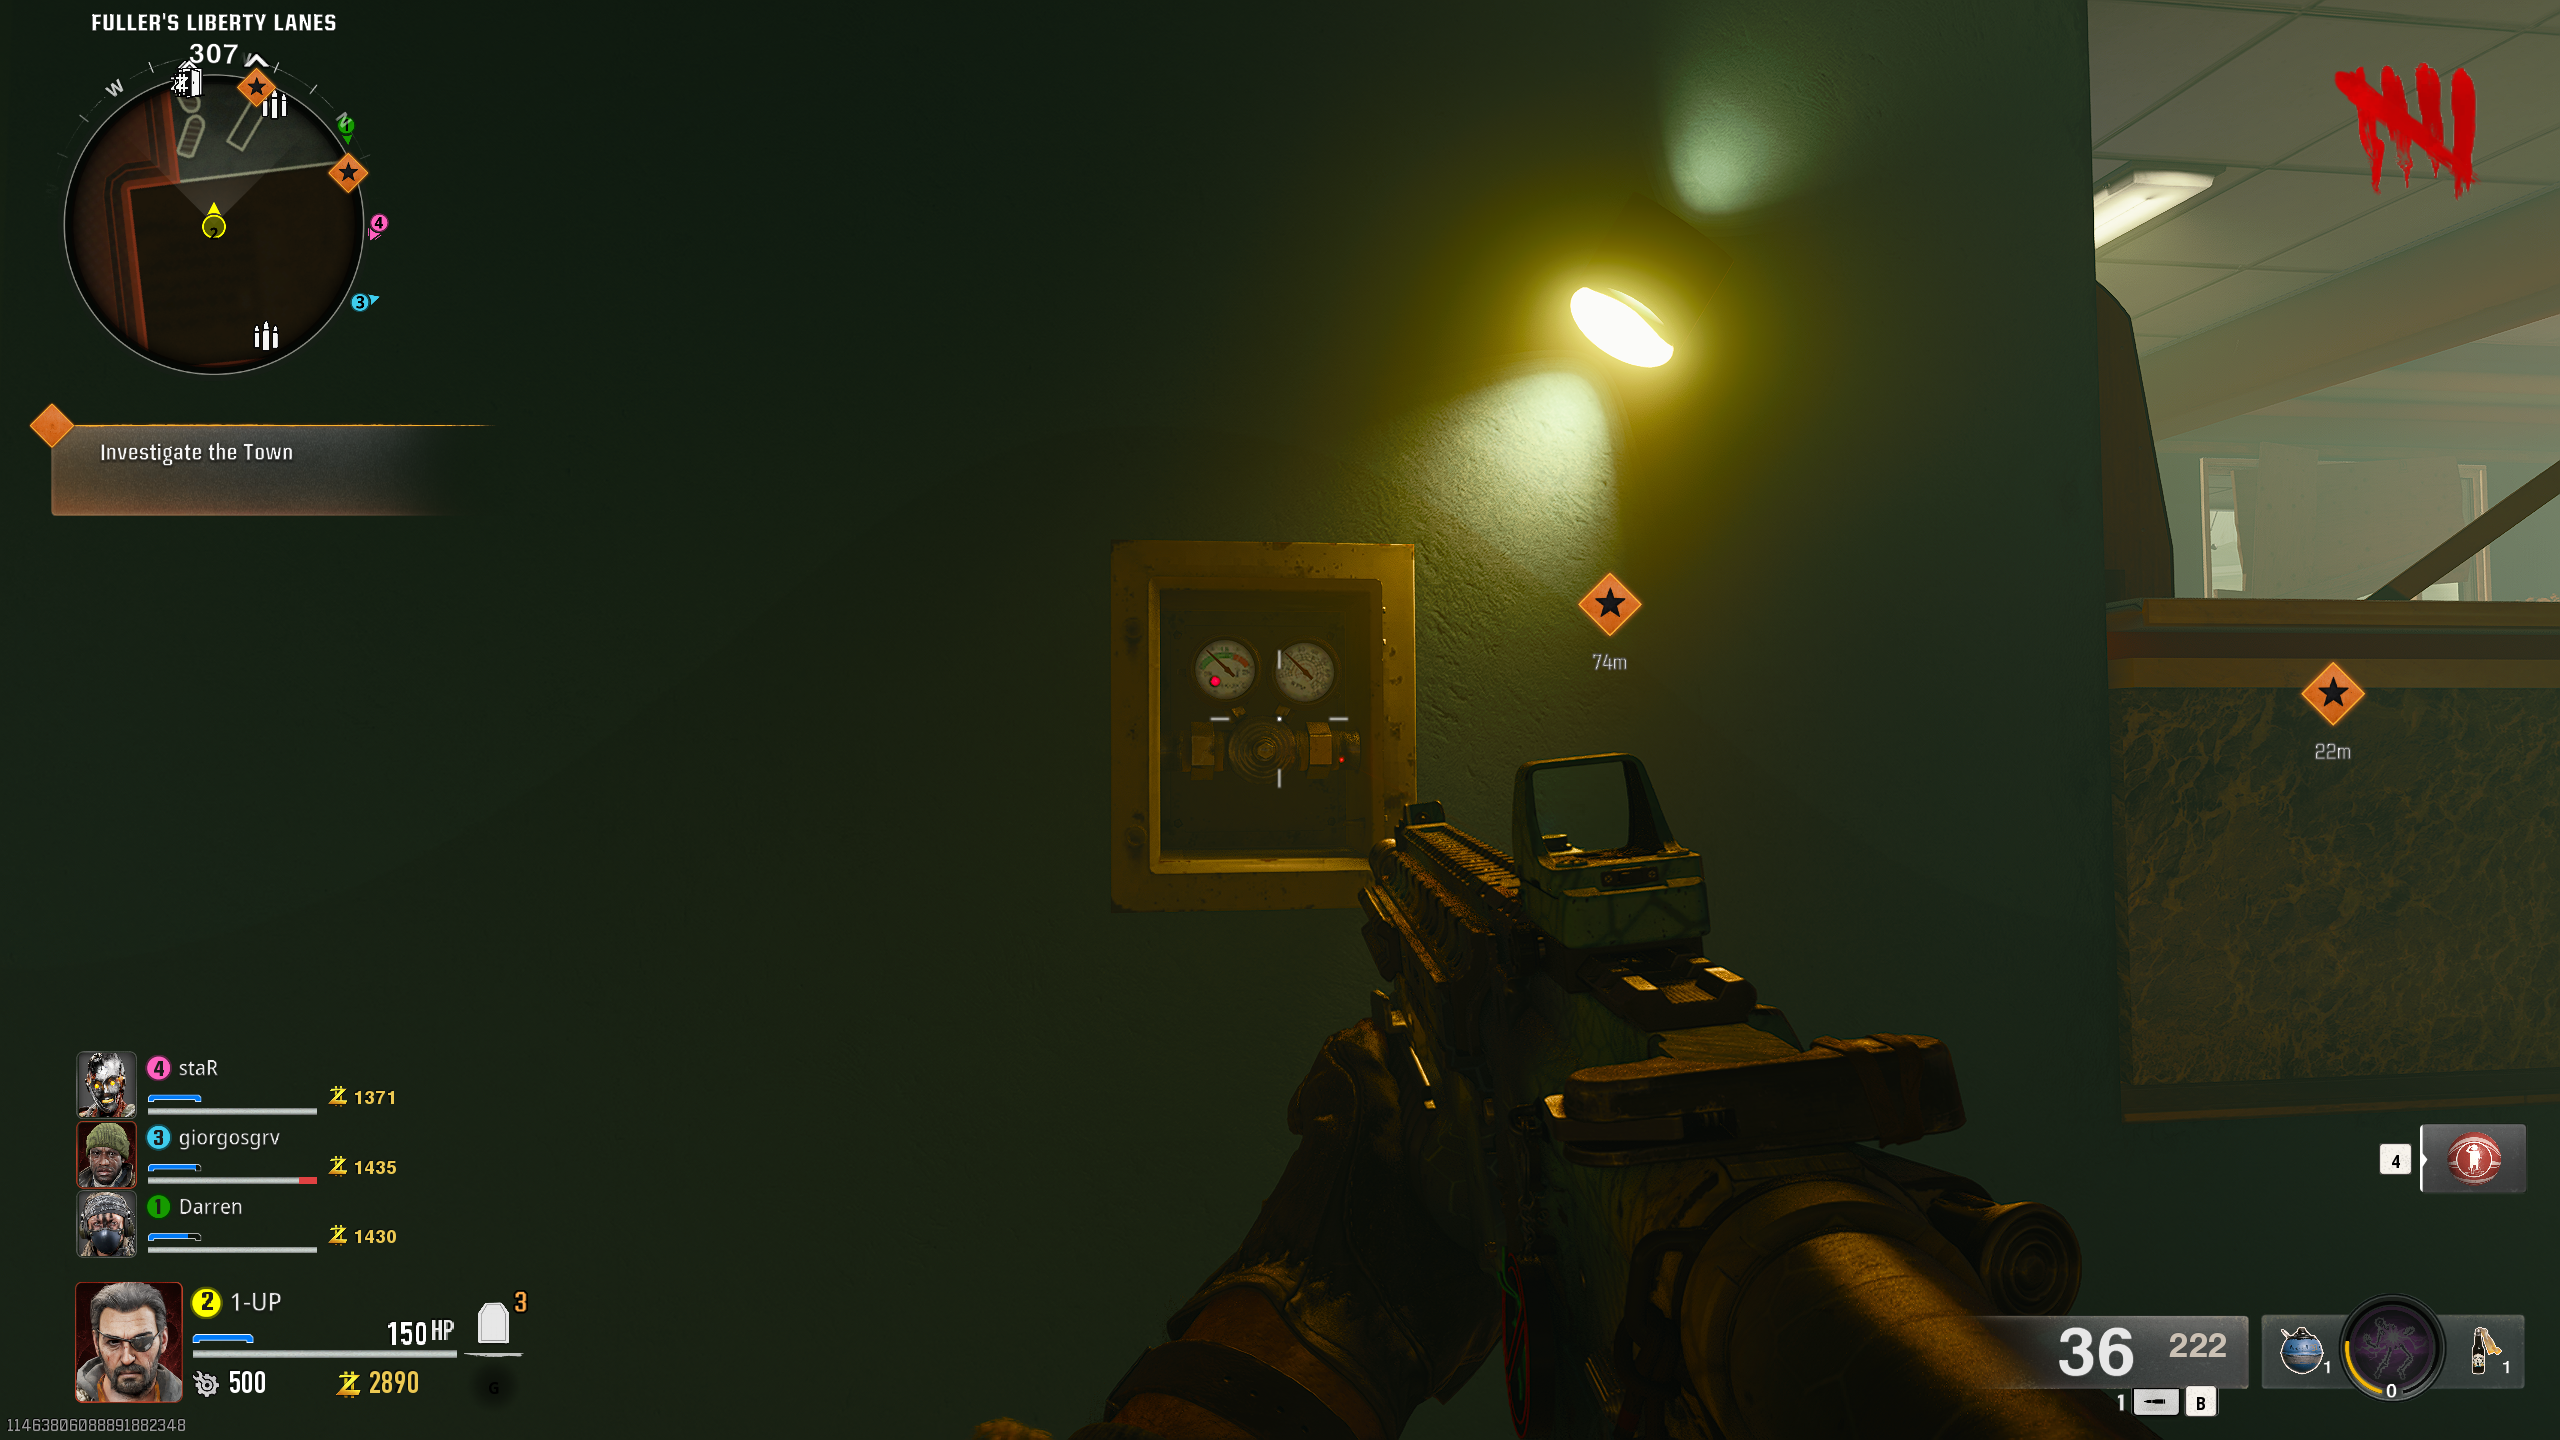
With the water valve in hand, head over to the bowling alley and break the wall panel to the right of the lanes (either with your weapon or melee) to expose the water pressure system. Interact with it to attach the valve and then hold the interact button to increase the water pressure.
Your goal is to fill the water pressure meter by holding the interact button. However, endless waves of zombies will spawn and you will be unable to fight back while increasing the water pressure.
If you’re playing with other players, then they can protect you. If you’re playing by yourself, you will have to frequently lead the horde outside the bowling alley before running back in and making as much progress as you can before they reach you again. Your progress will be saved for a short time, so make sure you repeat this process as much as you need.
Once the pressure is full, the zombies will burn and the water pressure gauge will fall onto the floor for you to collect.
Handbrake
To get the handbrake, you need to kill a special Groundskeeper zombie in the graveyard to the right of the church. Head into this area and slay out until this unique enemy spawns. Unfortunately, it is random so you’ll have to stick with it until you get lucky.
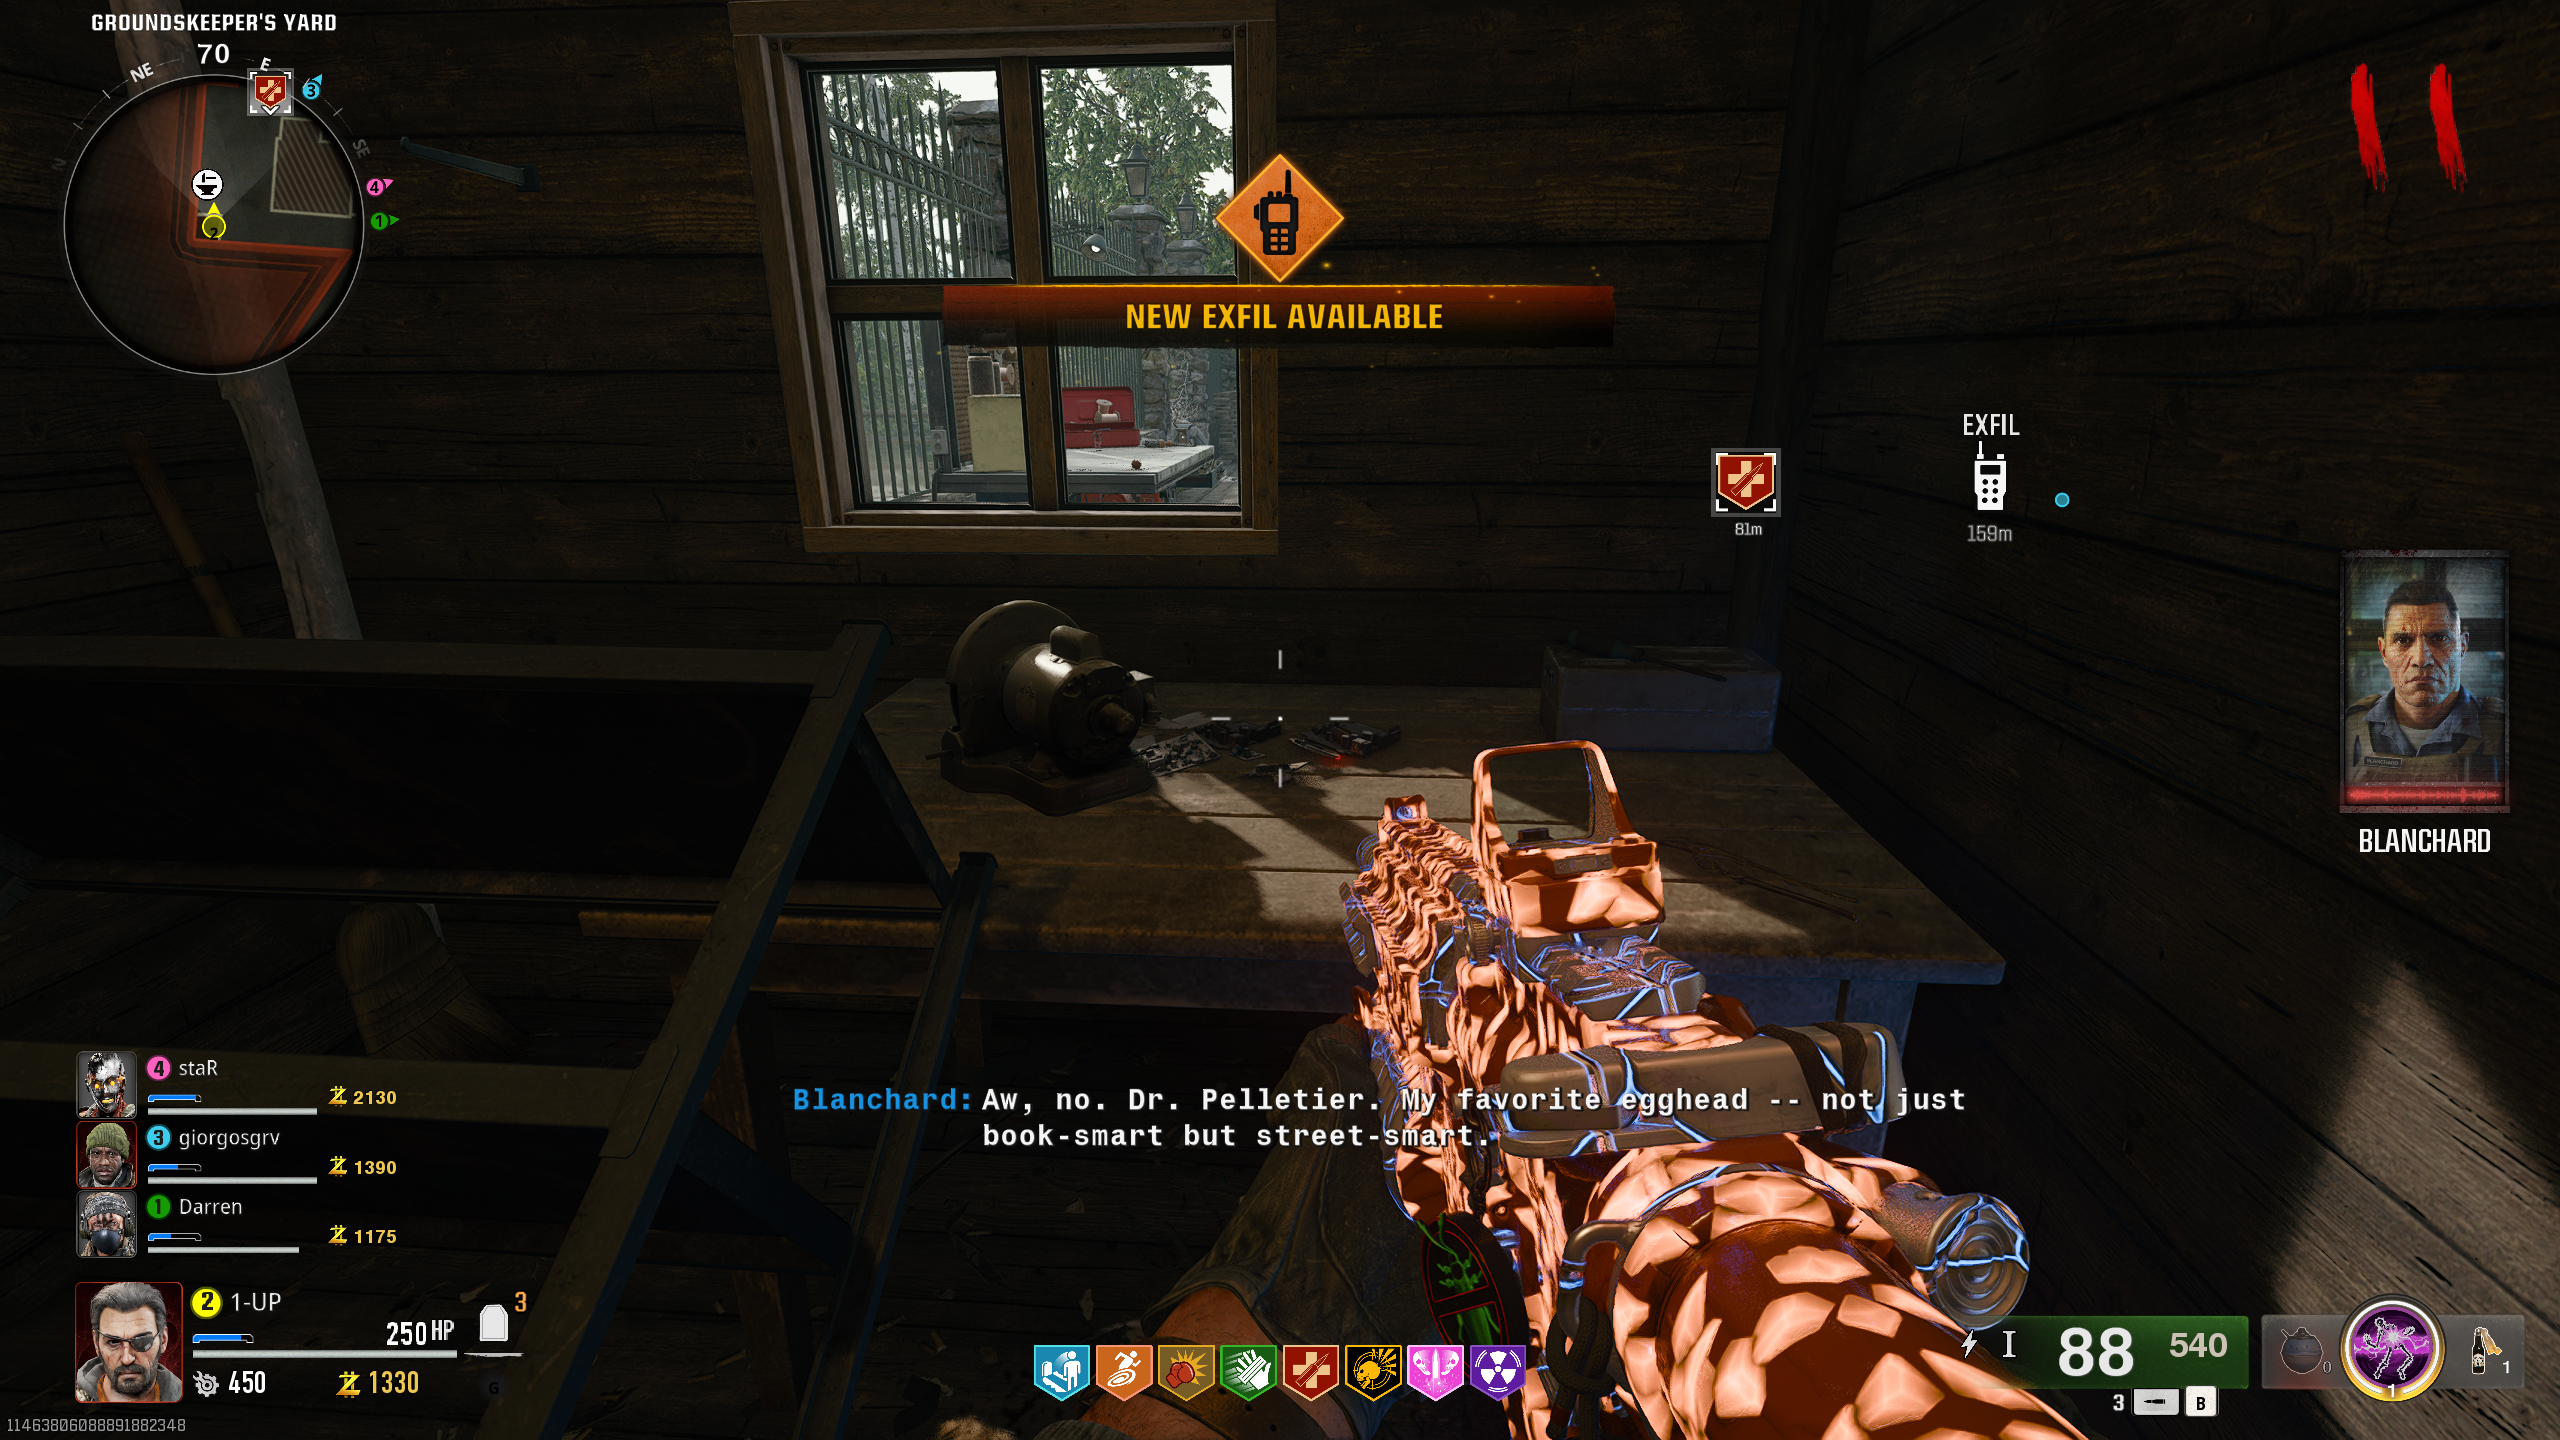
Once you’ve defeated the Groundskeeper, pick up the toolshed key and make your way out of the graveyard and to the left, down a driveway next to the white house. At the end of the drive is the Groundskeeper’s shed, which you can now open. The handbrake is located on the desk to the right of the shed.
Electrical wires
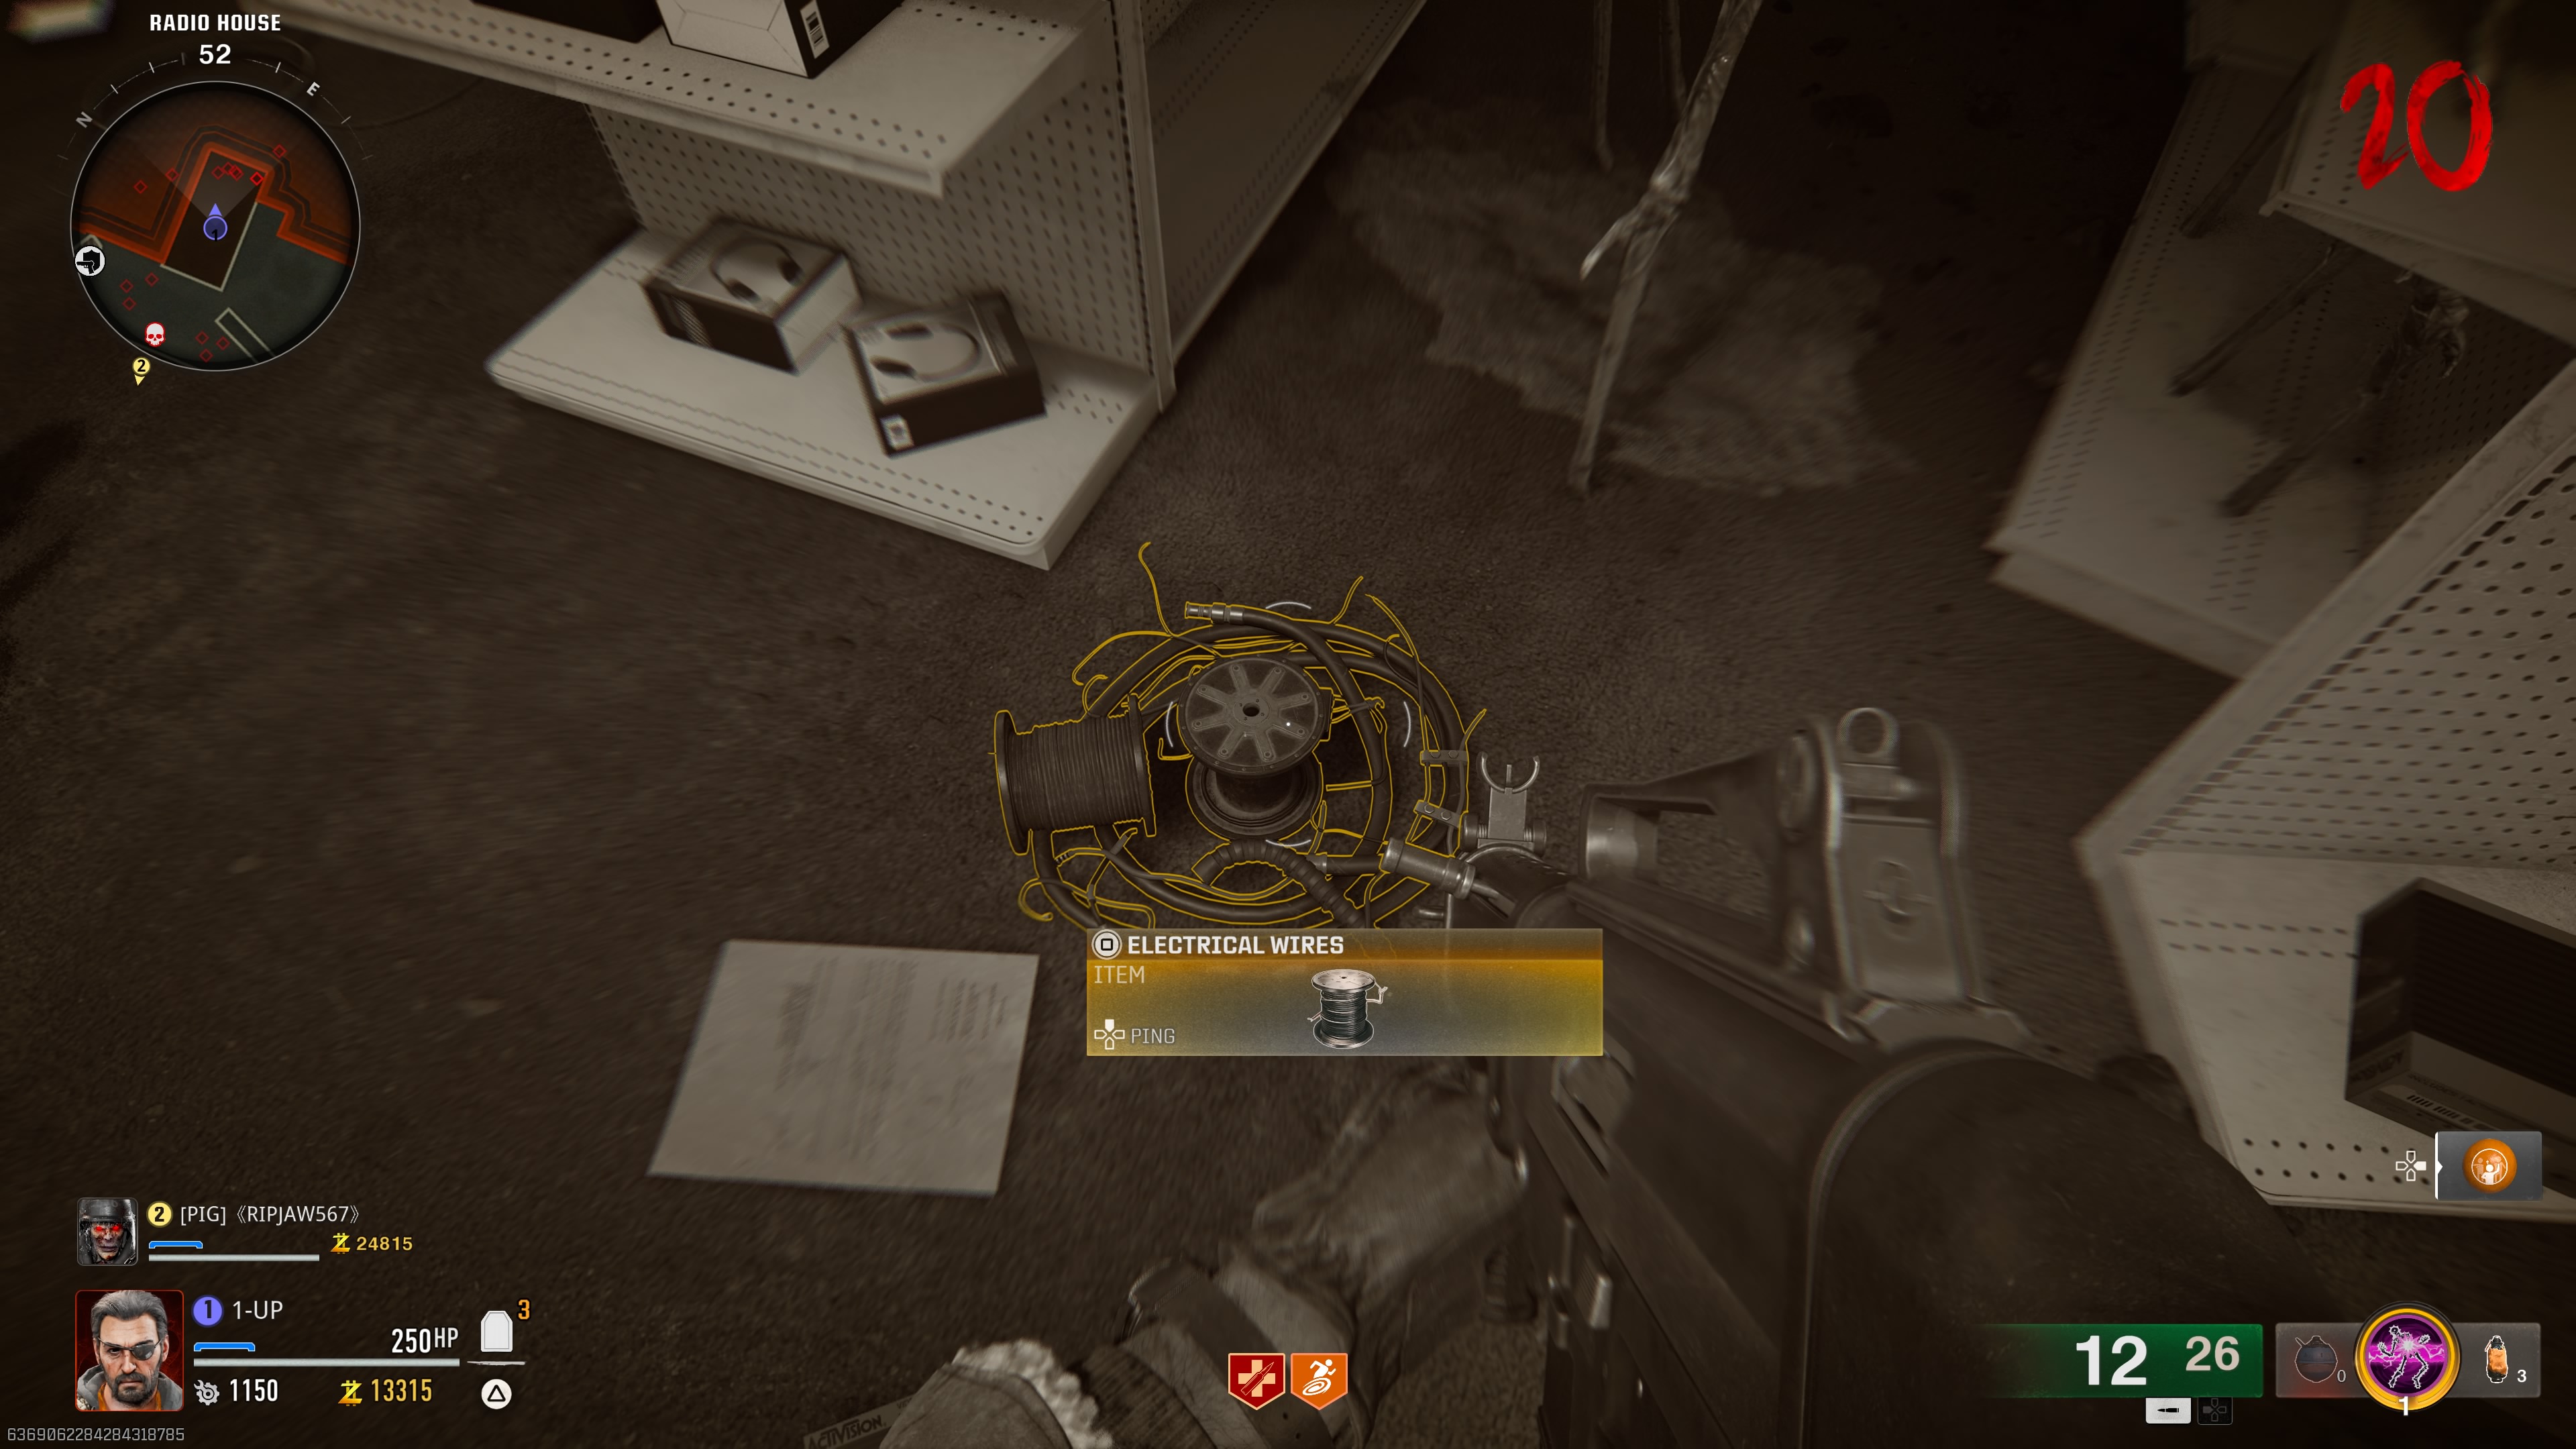
The final part you need to craft the Jet Gun is electrical wires. To do this, break the gates blocking the Radio House shop on Riverside (near the starting location, across the road from the comic book shop). However, you will need a Mangler cannon to break it open.
This can be done in one of three ways:
- Stand in front of the gate and bait a Mangler into shooting it
- Shoot a Mangler’s cannon to break it, at which point it will drop a Mutant Injector when killed. This will turn you into a Mangler temporarily, letting you shoot the gates yourself.
- Purchase the Mangler Cannon item from a workbench using scrap
Once opened, go inside and interact with the four pools of blood until one eventually gives you the electrical wires.
With all three parts in hand, go to the motel in the starting area and head up the stairs. A group of zombies will charge out of a room, revealing a crafting bench where you can assemble the Jet Gun.
Assemble the LTG Device
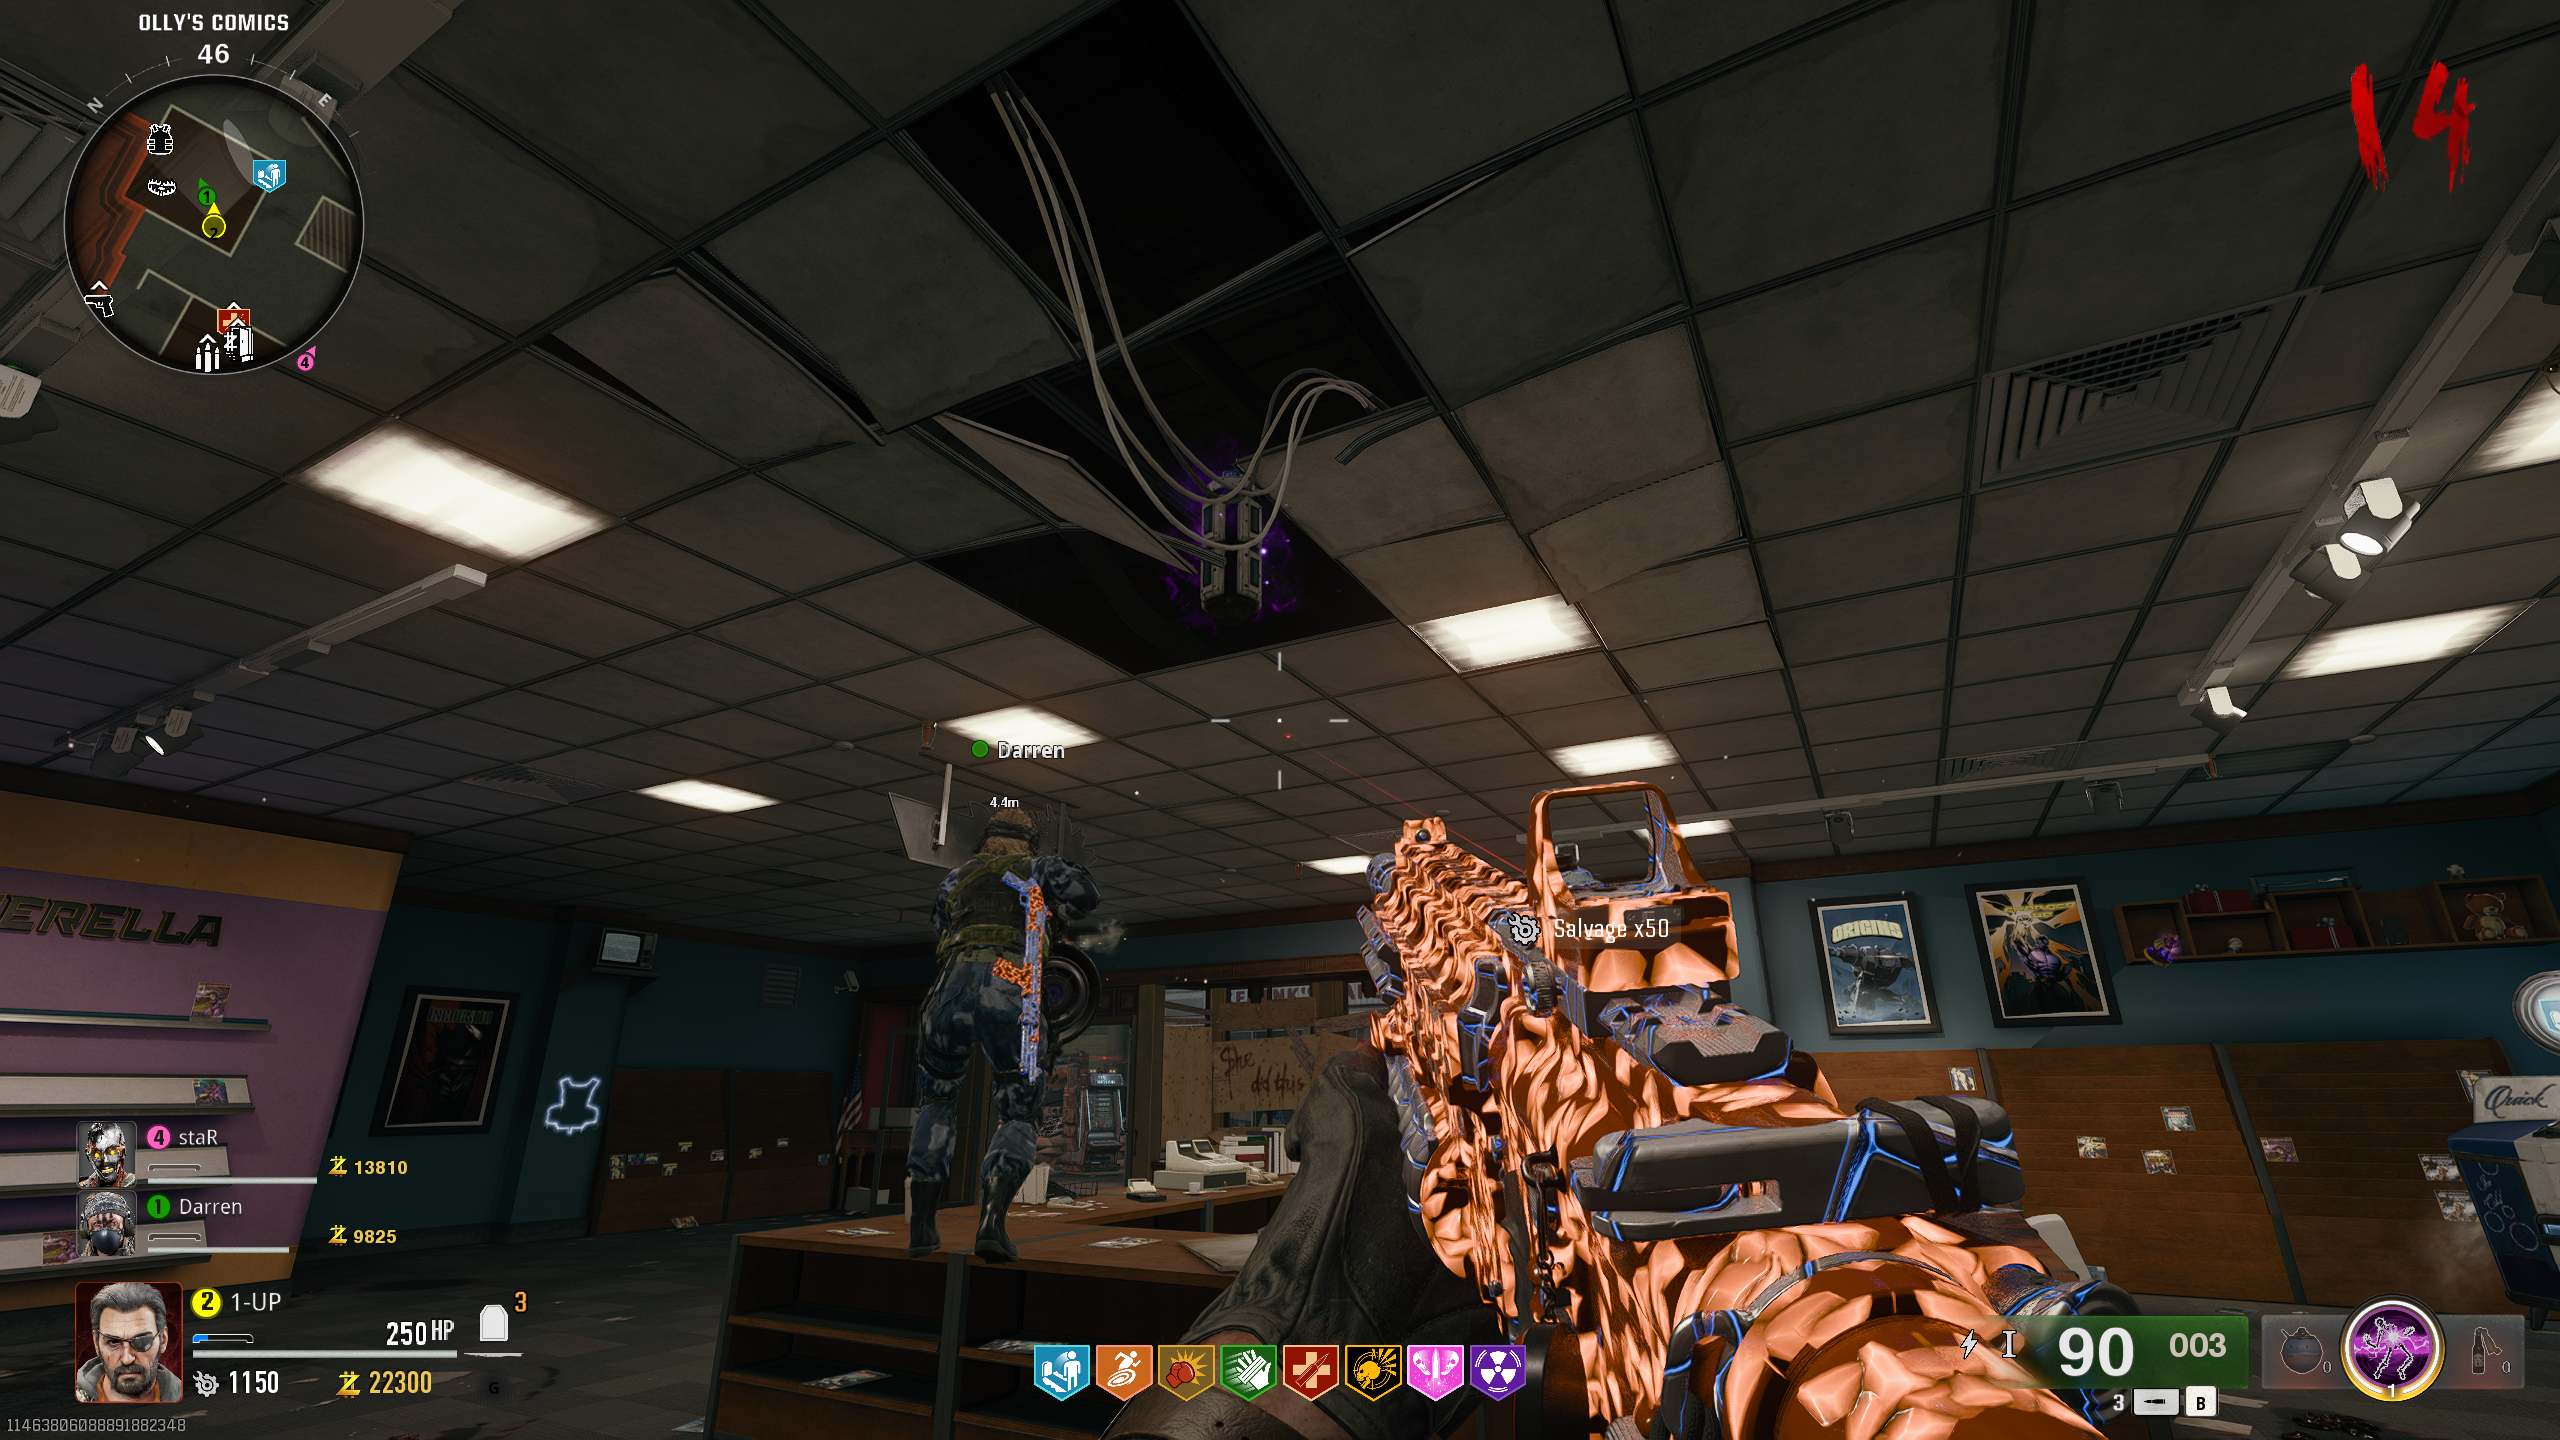
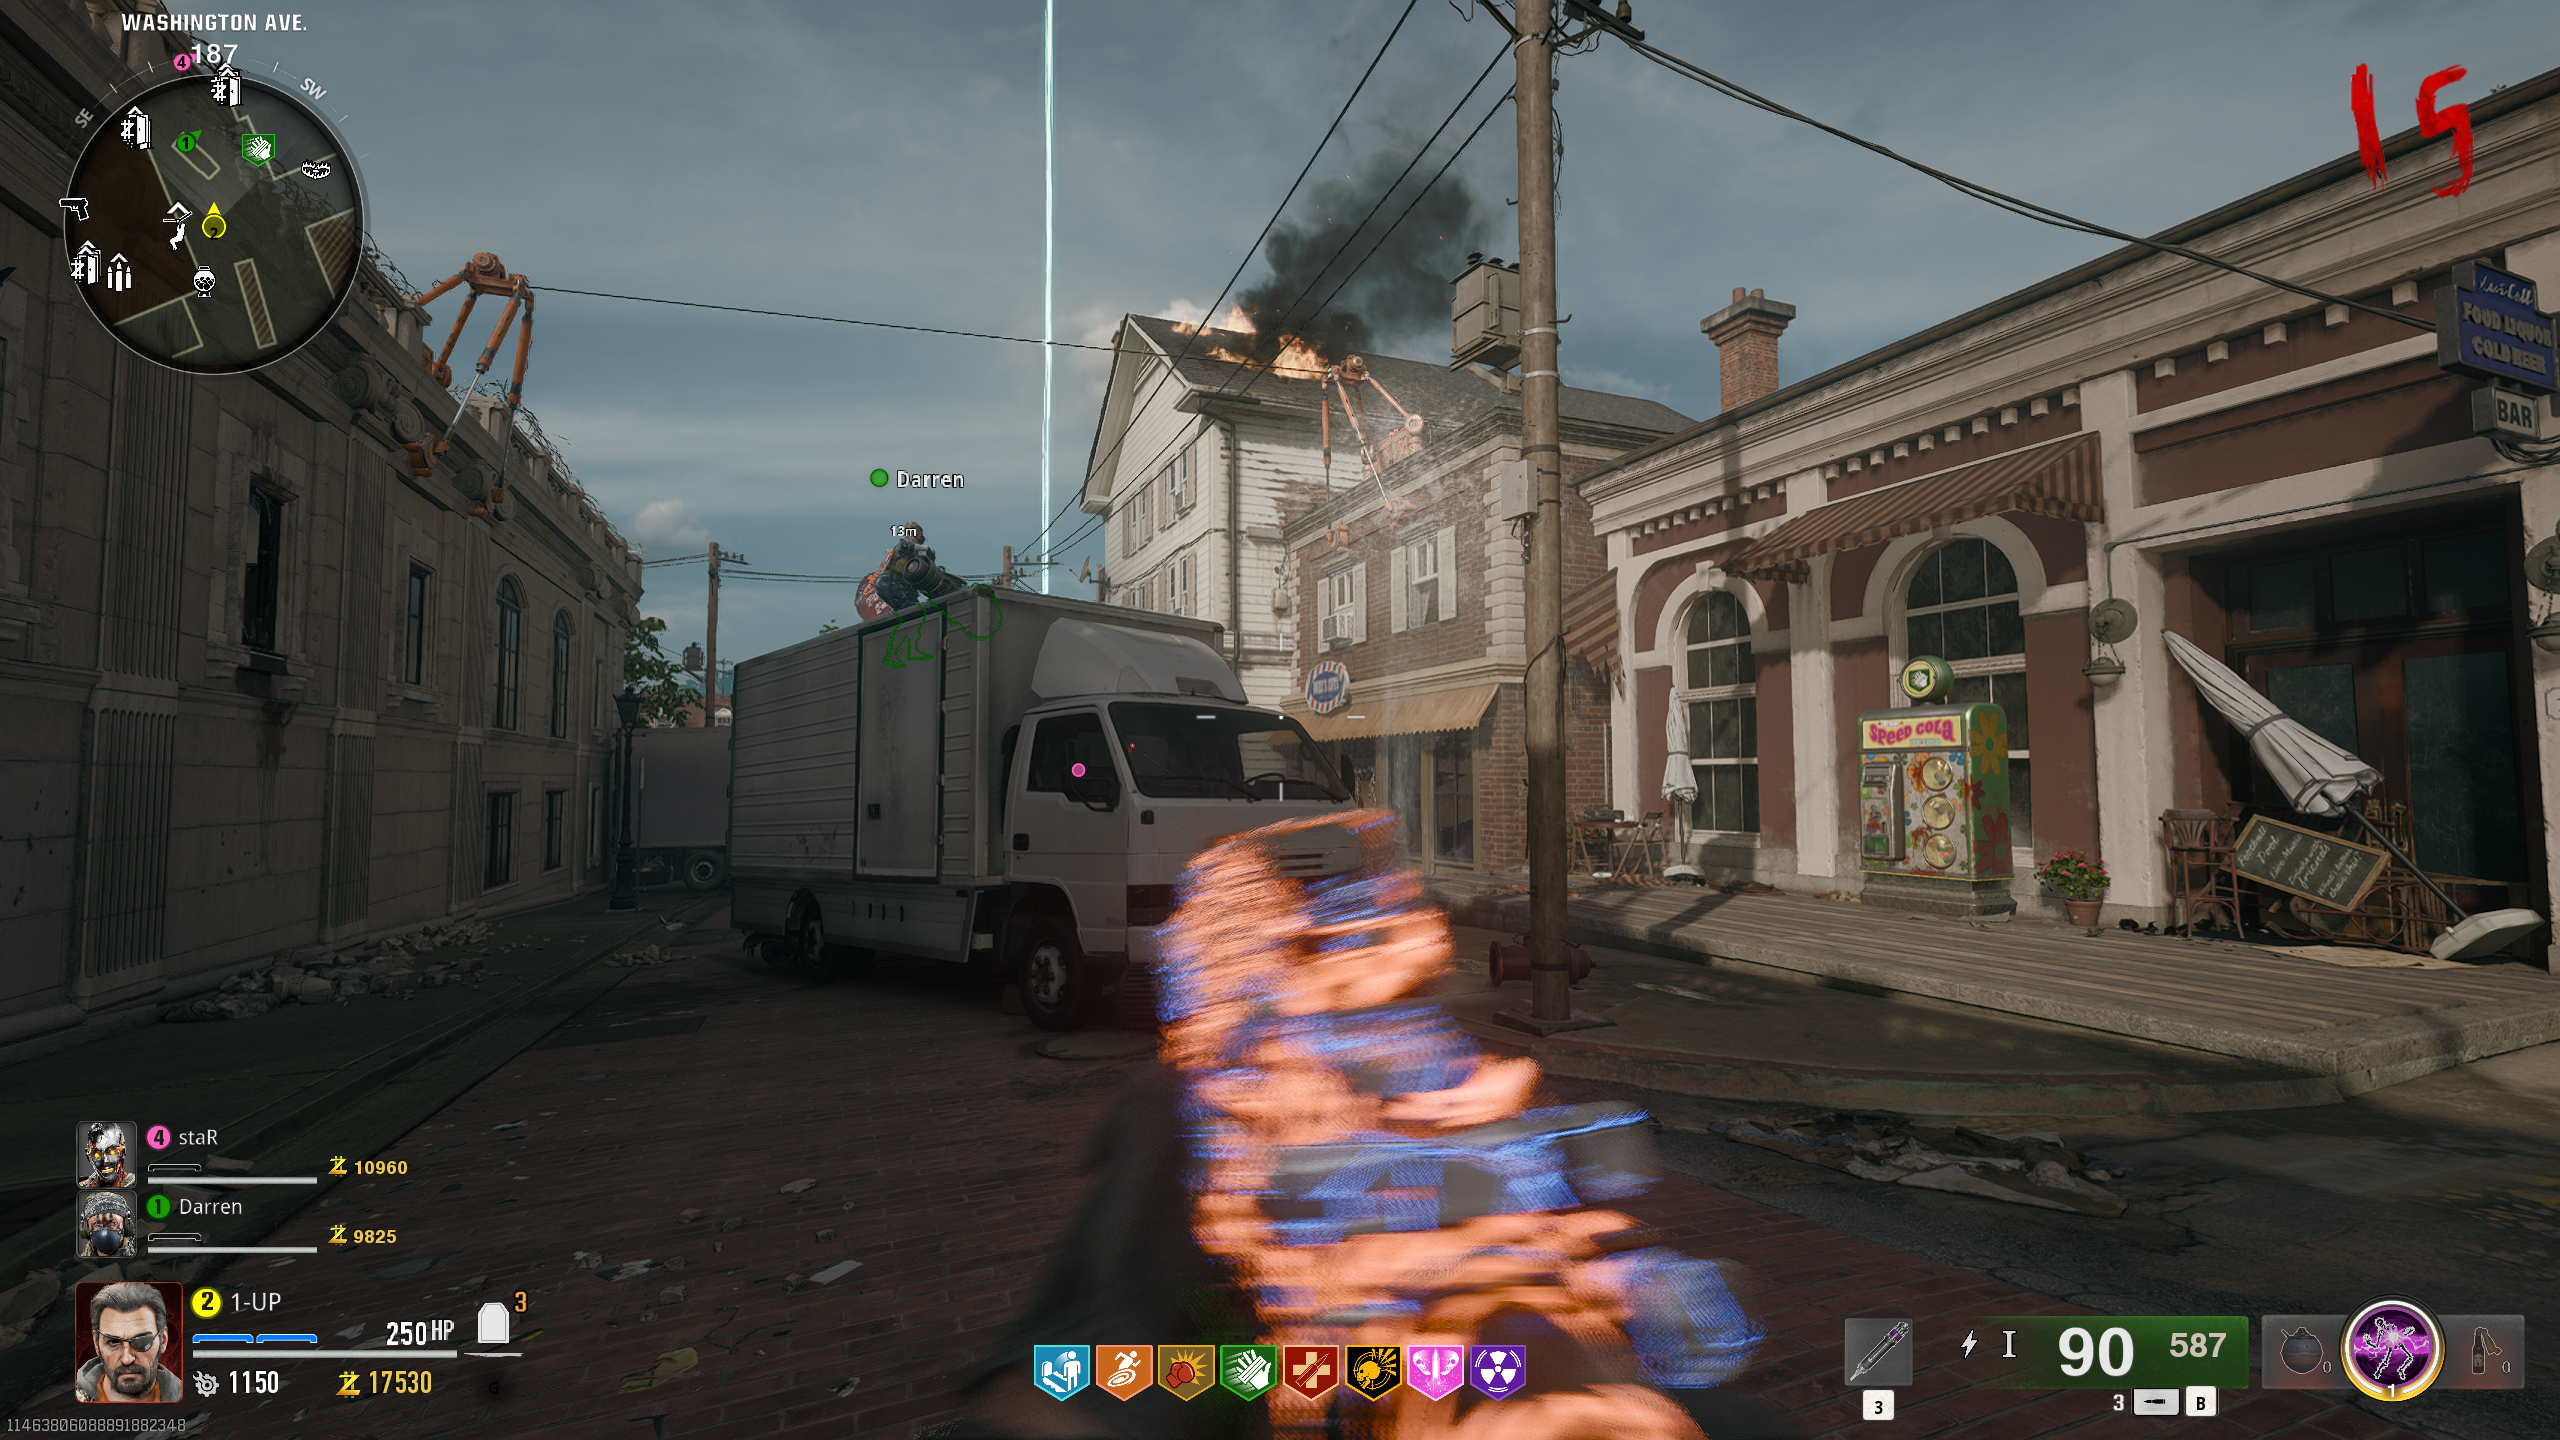
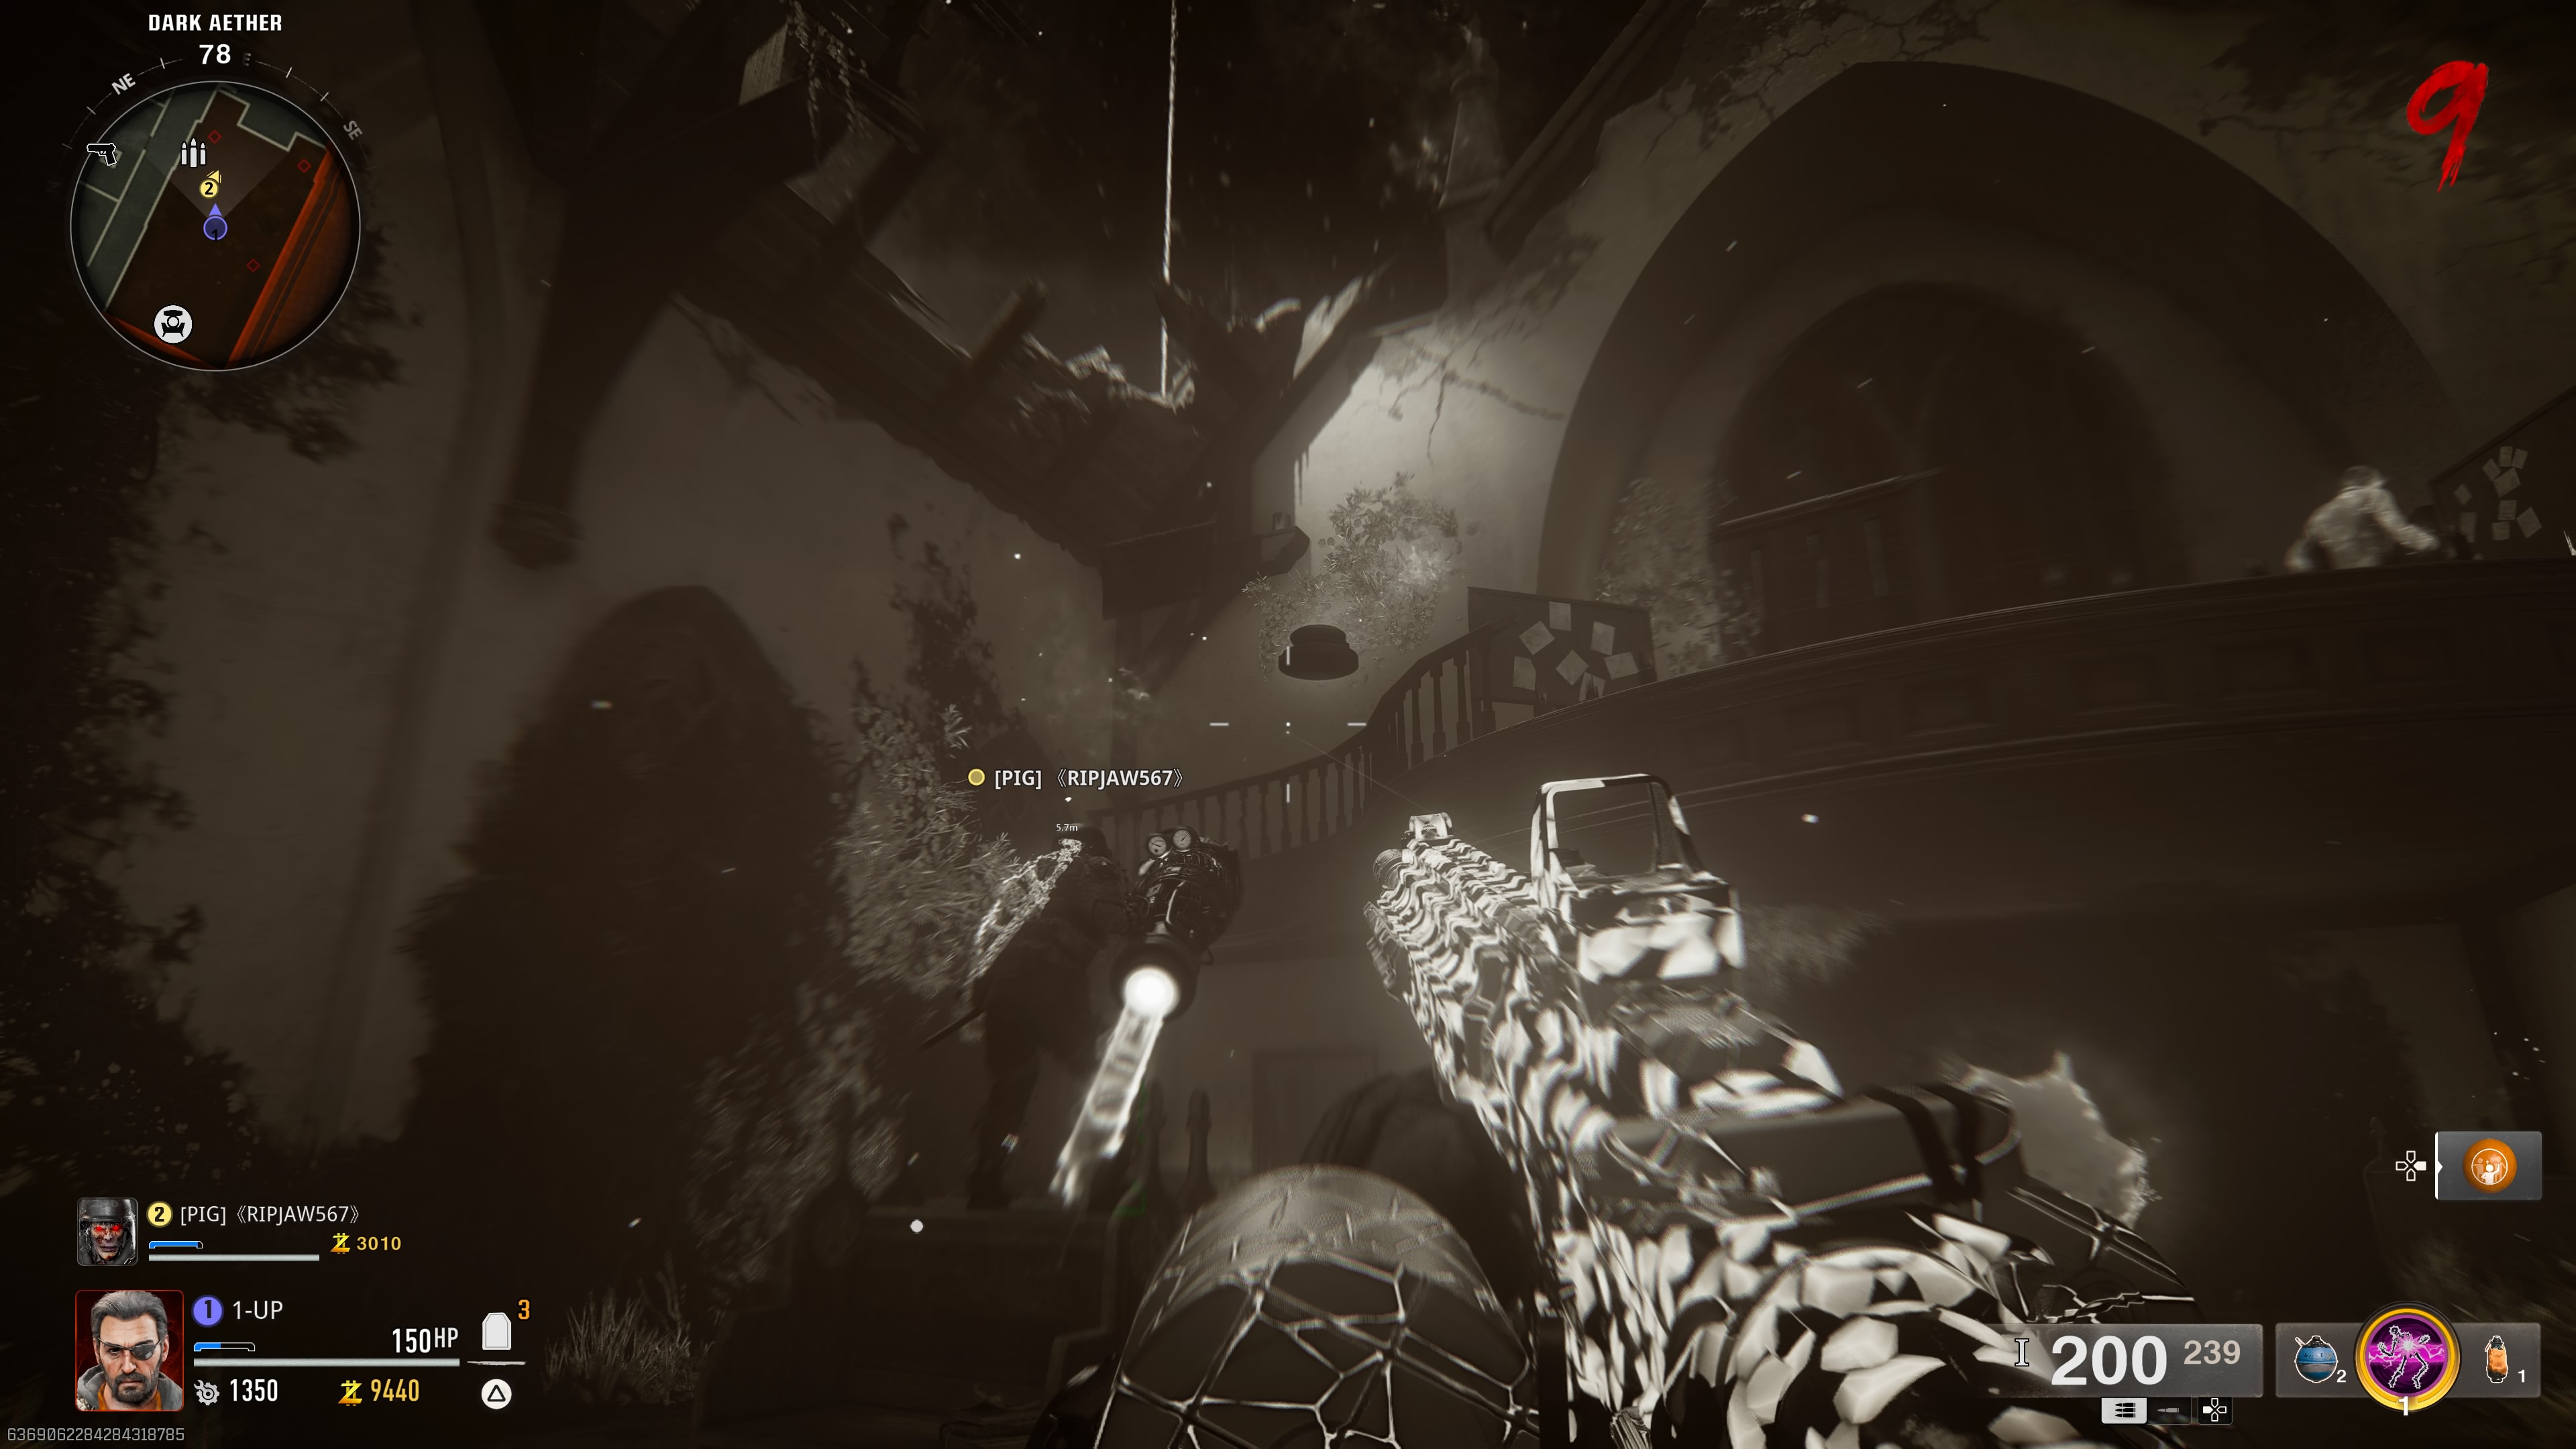
Whether you crafted it or were lucky enough to get it in the mystery box, now that you’ve got the Jet Gun, you can start the main easter egg quest. This begins with you assembling the LTG device from three parts. Here's where you can find them:
Olly’s Comics
Go to Olly’s Comics by the starting area and look up at the ceiling. There will be a broken section of the roof in the middle of the room. Stand on the desk and you will see a canister hidden in the roof. Use the Jet Gun to pull the object towards you and collect it.
Washington Avenue
Go to Washington Avenue by the Speed Cola perk machine. Then, head up Hill Street towards the mystery box spawn on the left side and climb on top of the roof. From here, jump off the roof onto the white van in the middle of Washington Avenue. Turn to face the building you jumped off (the barbers) and you will see another part in the window. Again, use the Jet Gun to collect the part.
Church
Head into the church through the main entrance and almost immediately turn around and look up. Near Panos, you can find the third and final LTG part on the balcony which you can once again collect using the Jet Gun.
With all three parts collected, use the zipline from the graveyard to reach the Washington Avenue Rooftops (near the exfil area). Here, in the northeast corner, you will find a workbench that you can use to craft the LTG Device.
Portal Storms: Cemetery
Now you have the LTG Device, you need to interact with two portals—one in the cemetery and the other near the starting area of Riverside. These can be done in either order, though there is a step that must be completed between each one. Personally, I prefer to start with the cemetery, as it’s as simple as taking the zipline back from the rooftop.
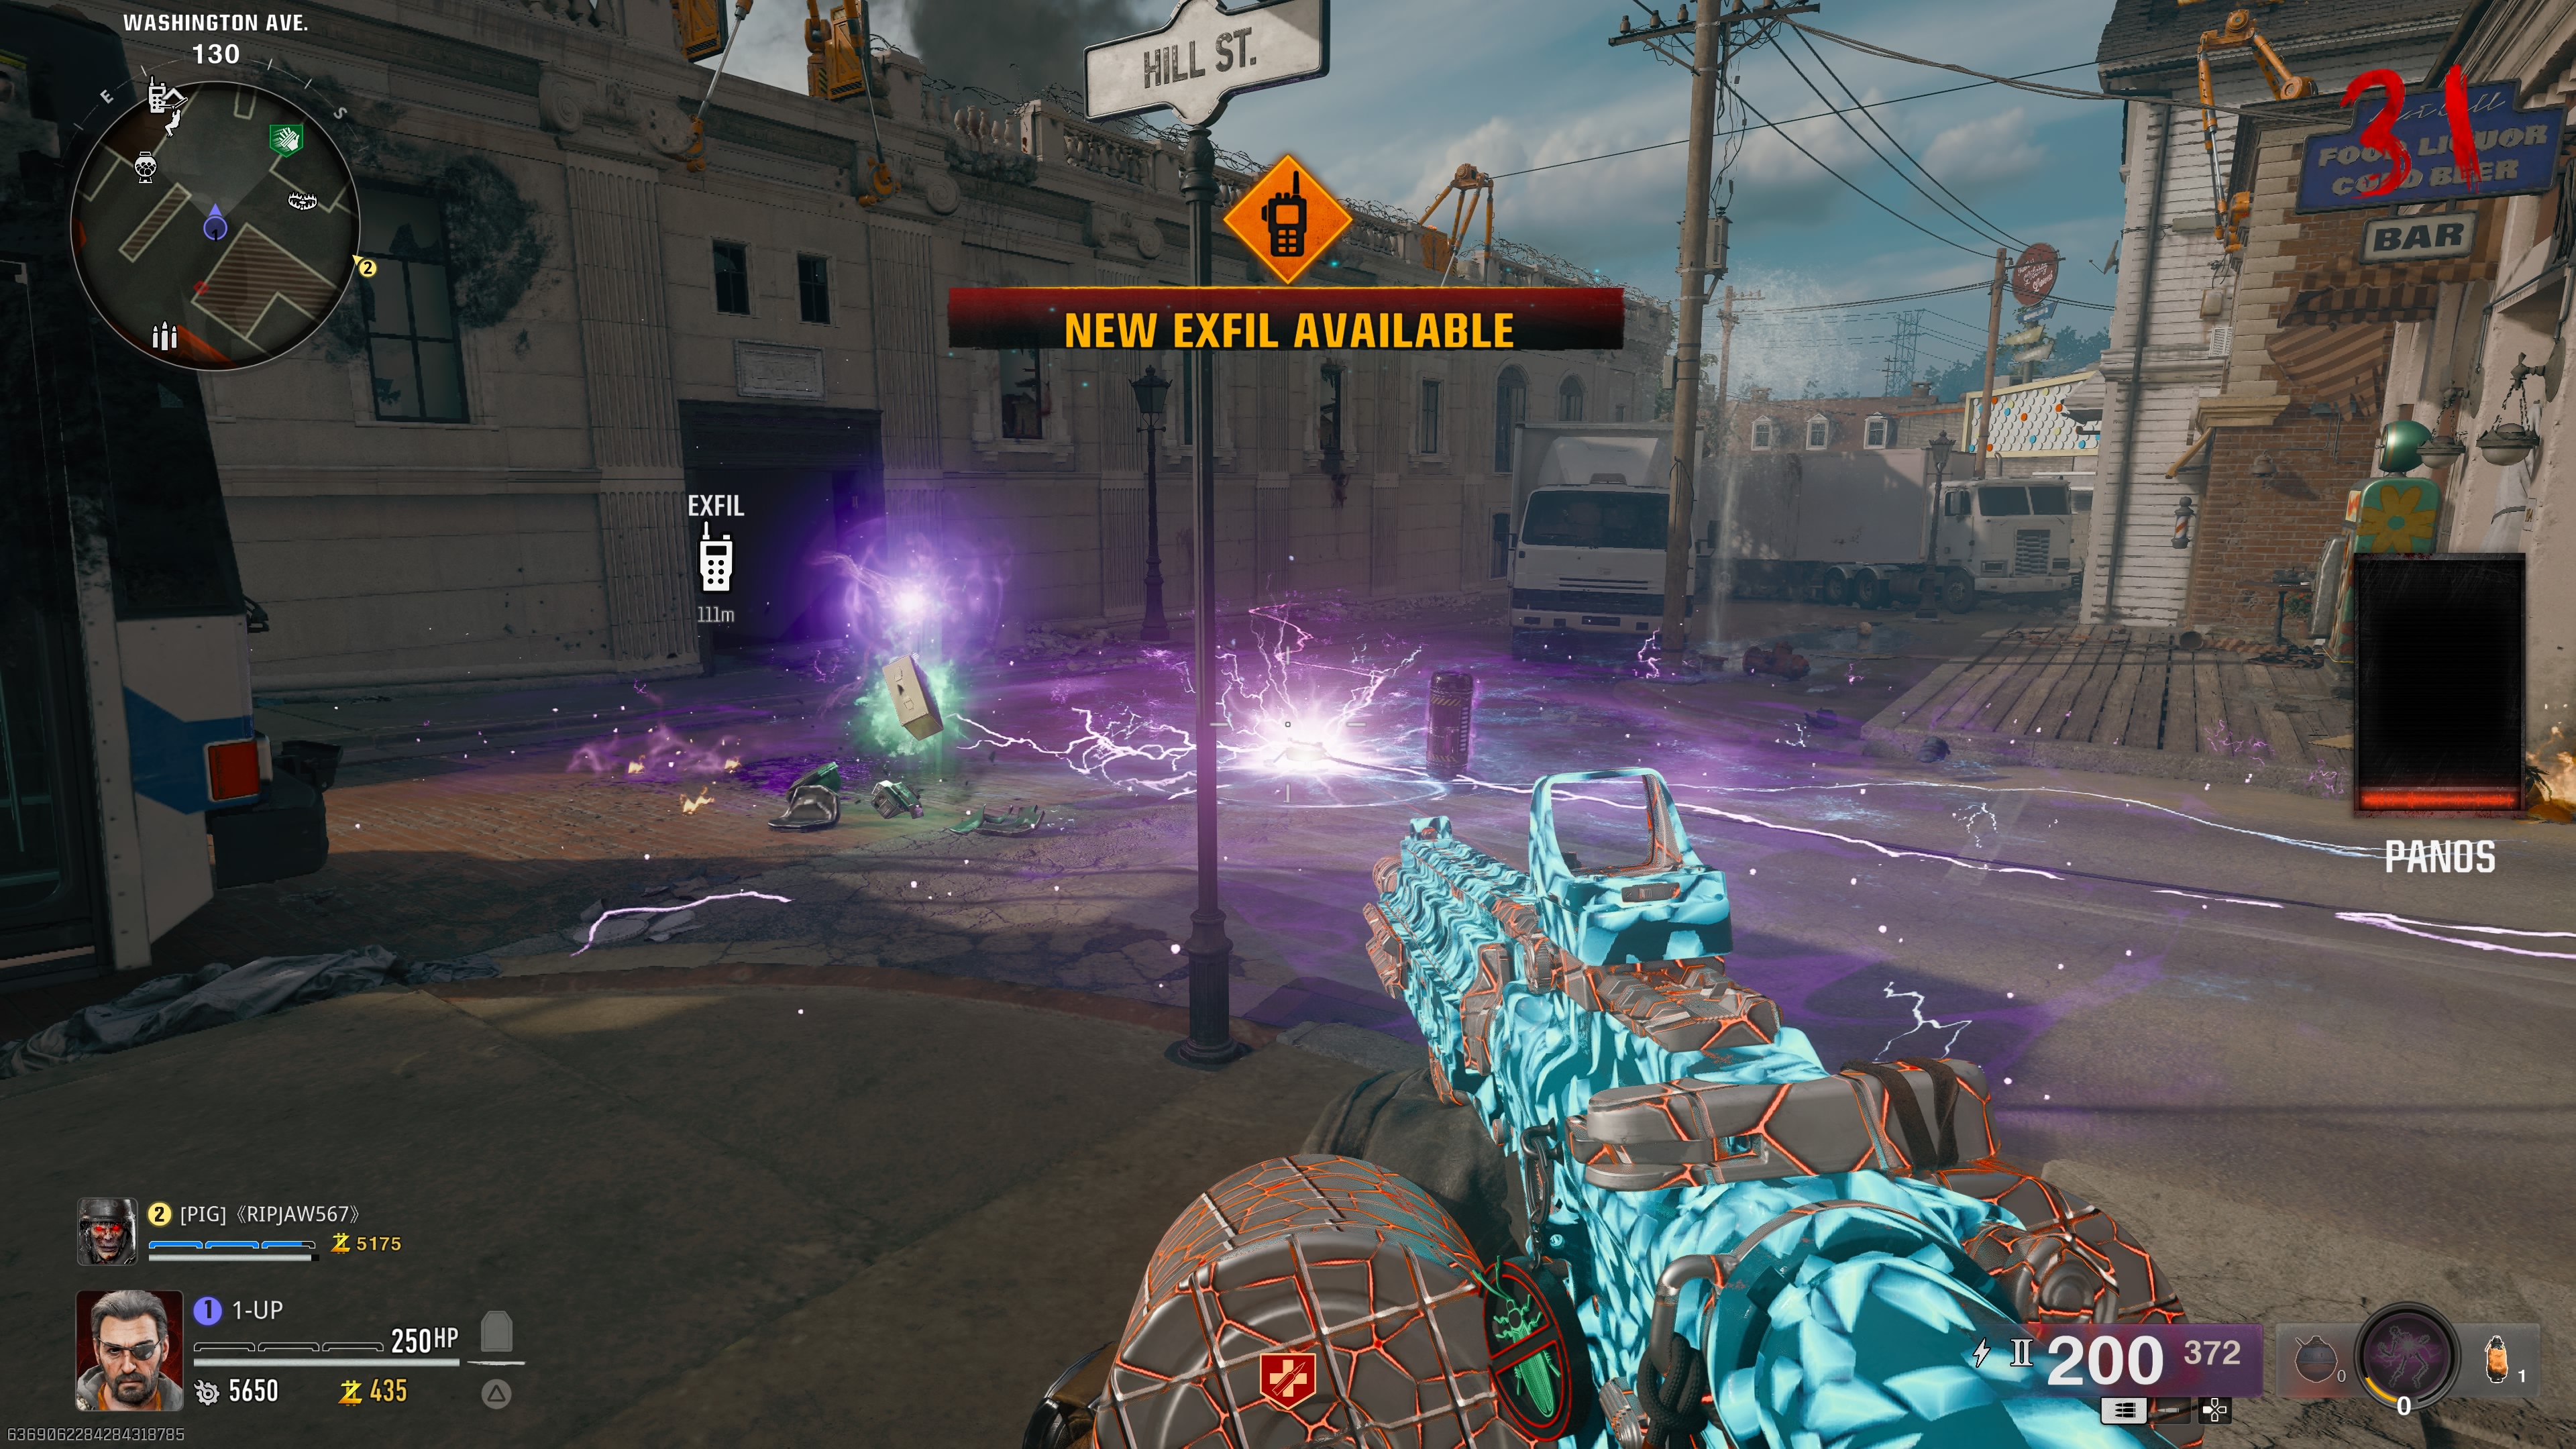
Before you start the storm, go inside the church and interact with the easter egg machine to collect an Aether Canister. You will need to carry this to the Dark Aether trap on Washington Avenue (near Speed Cola) and place it within its radius. Be careful though, as you will be unable to run while carrying the canister. With this in mind, it’s best to keep one zombie alive to delay the next round.
Cemetery Storm
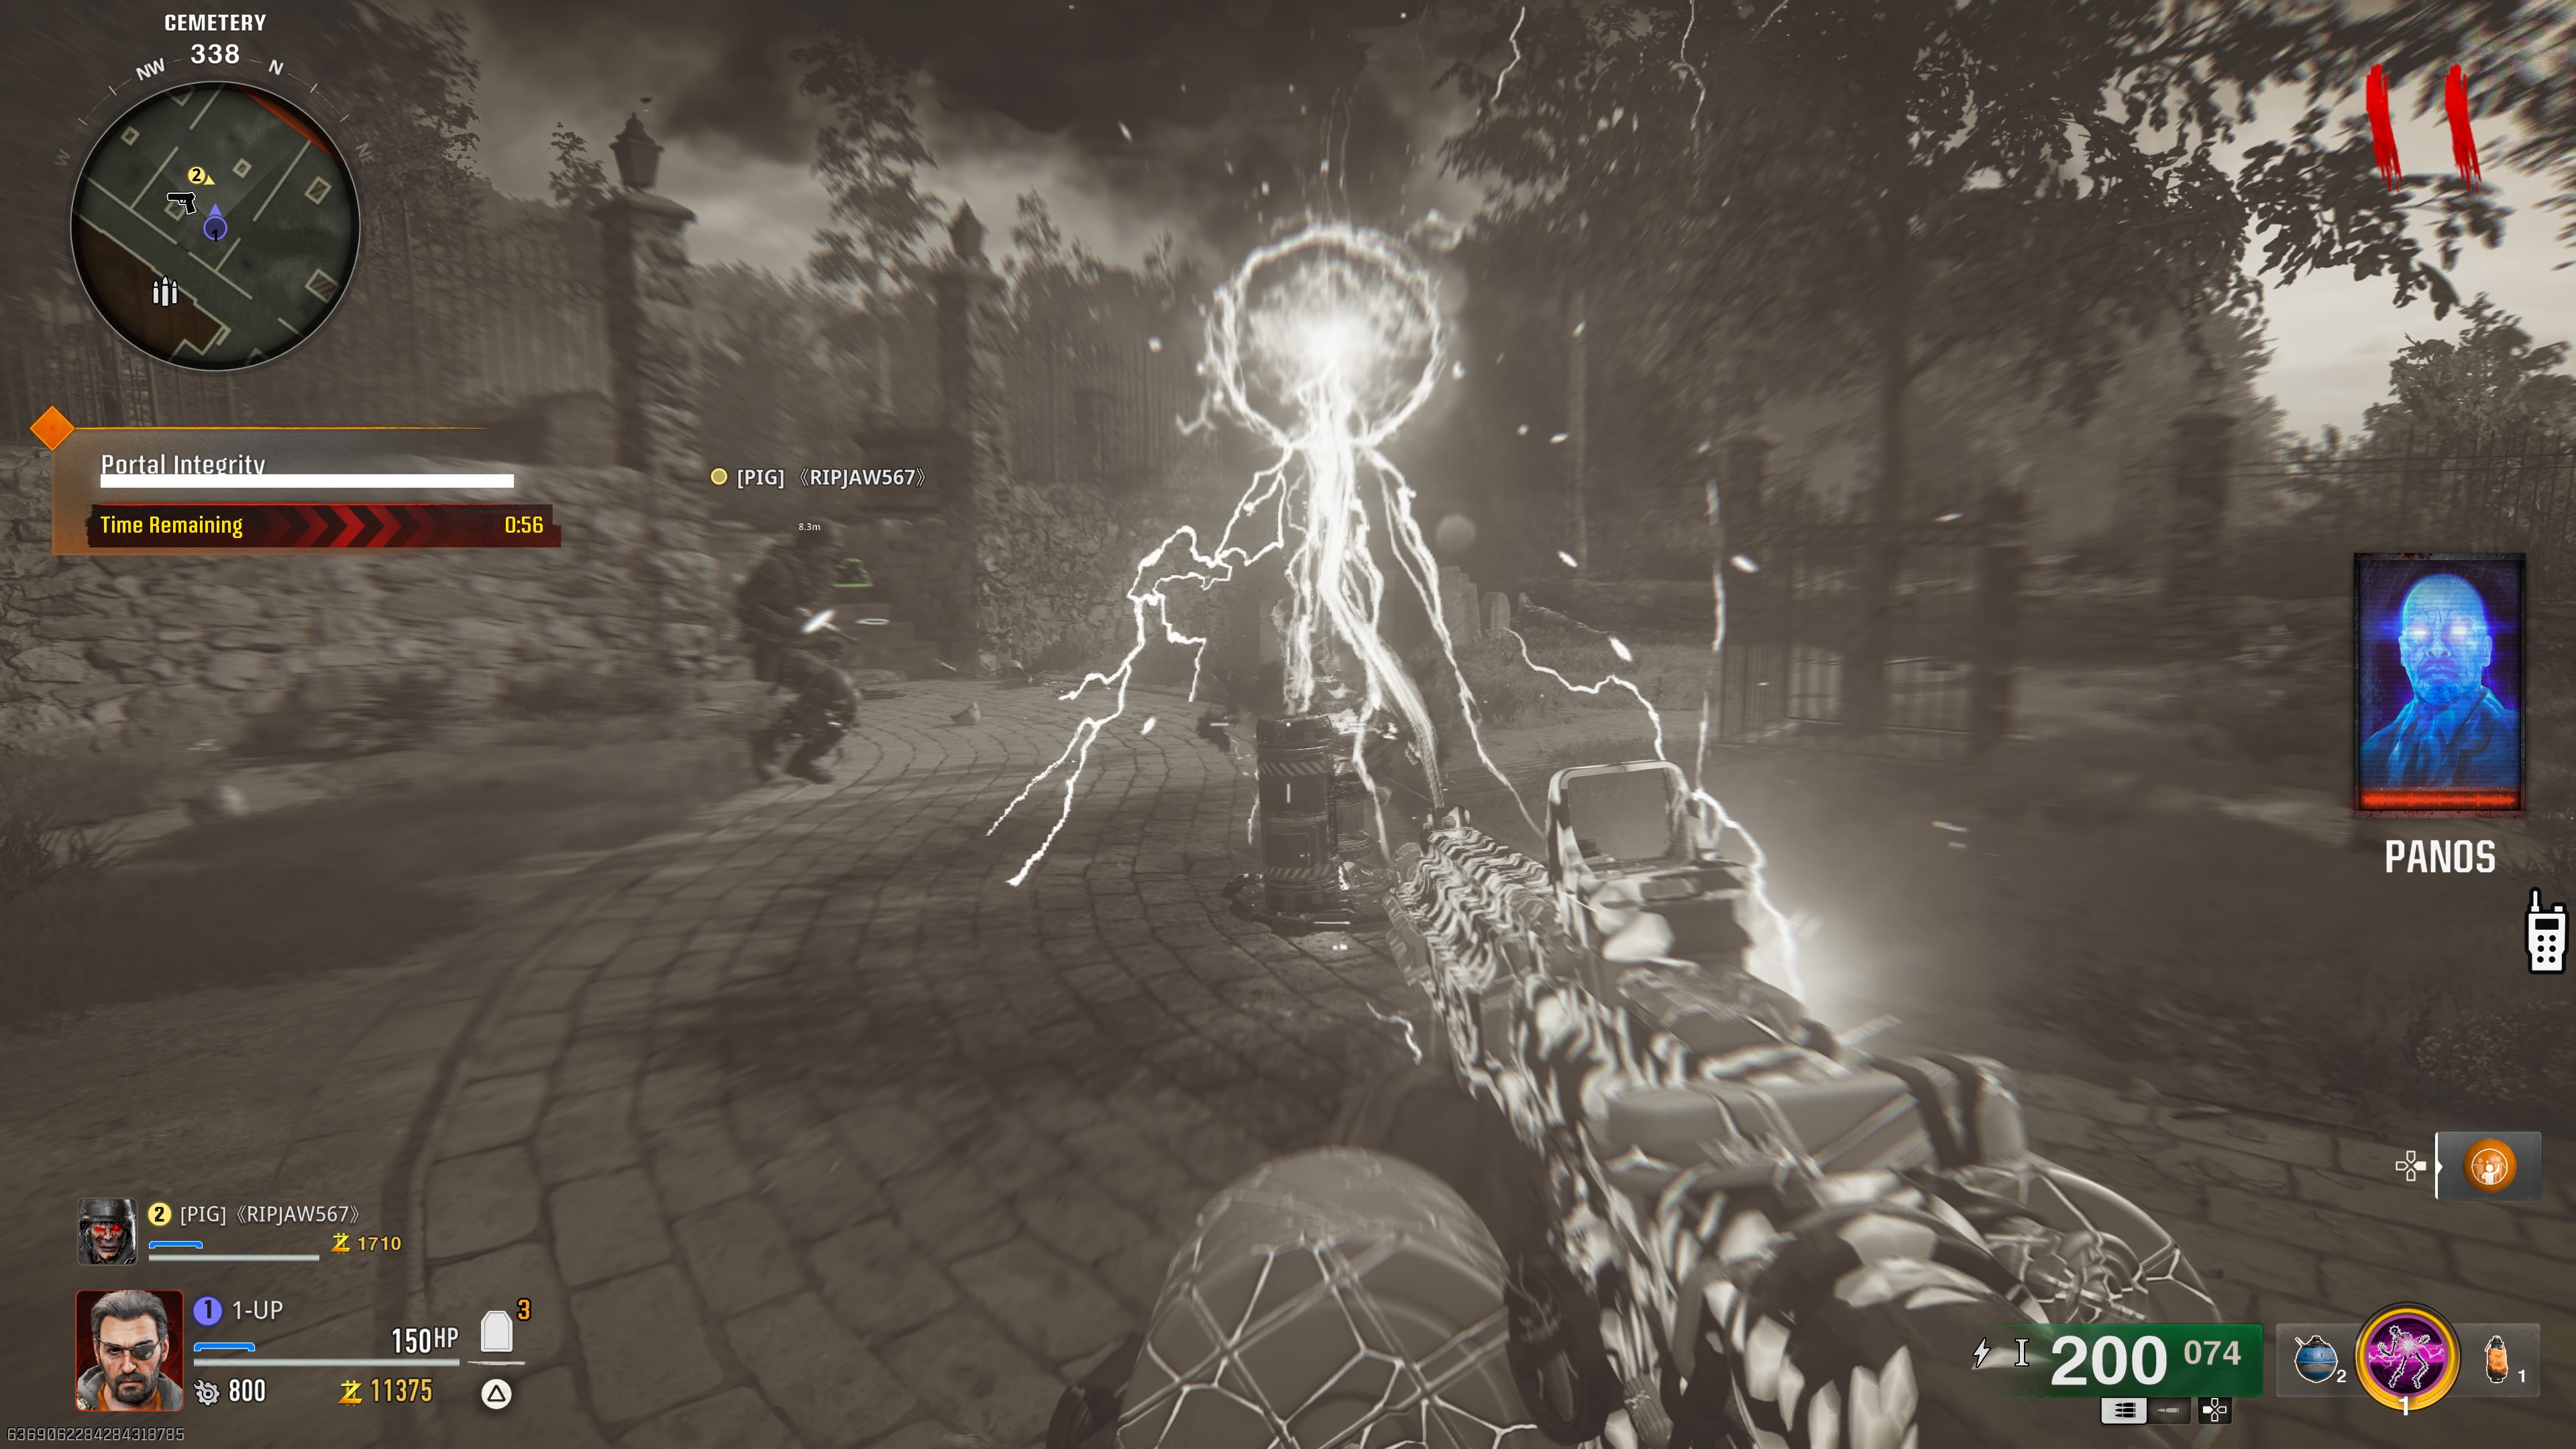
Make your way over to the storm cloud in the cemetery and interact with the plate on the ground. This will place the LTG and begin a timed encounter where you must defend the portal from waves of zombies for one minute. Any zombie that makes contact with the portal will damage it. Should you fail, you will have to wait a round before you can restart.
Once you have defended the portal for one minute, a named boss will spawn—either a Mangler or an Abomination. Weaken this boss but be careful not to kill it. When it is low on health, it will begin to emit a purple glow, at which point you must bait it into the Dark Aether trap we set up earlier. Activate the trap when the boss is within its radius and its soul will be absorbed.
You then need to take this charged canister back to the machine inside the church. However, picking up the canister will begin a one-and-a-half minute countdown so you’re against the clock.
Strauss Counter location
With the canister secured inside the machine, a new compartment will open on the left, rewarding you with the Strauss Counter. This device will replace your Tactical slot. To use the Strauss Counter, hold your Tactical button to raise the device.
Your goal now is to locate three projectors and activate the correct lights on each of them by interacting with them, based on the colour of the display on the Strauss Counter:
- Yellow Strauss Counter display: Yellow projector light
- Green Strauss Counter display: Red projector light
- Red Strauss Counter display: Green projector light
The correct sequence of lights will be random each time, so unfortunately you will have to put in the legwork.
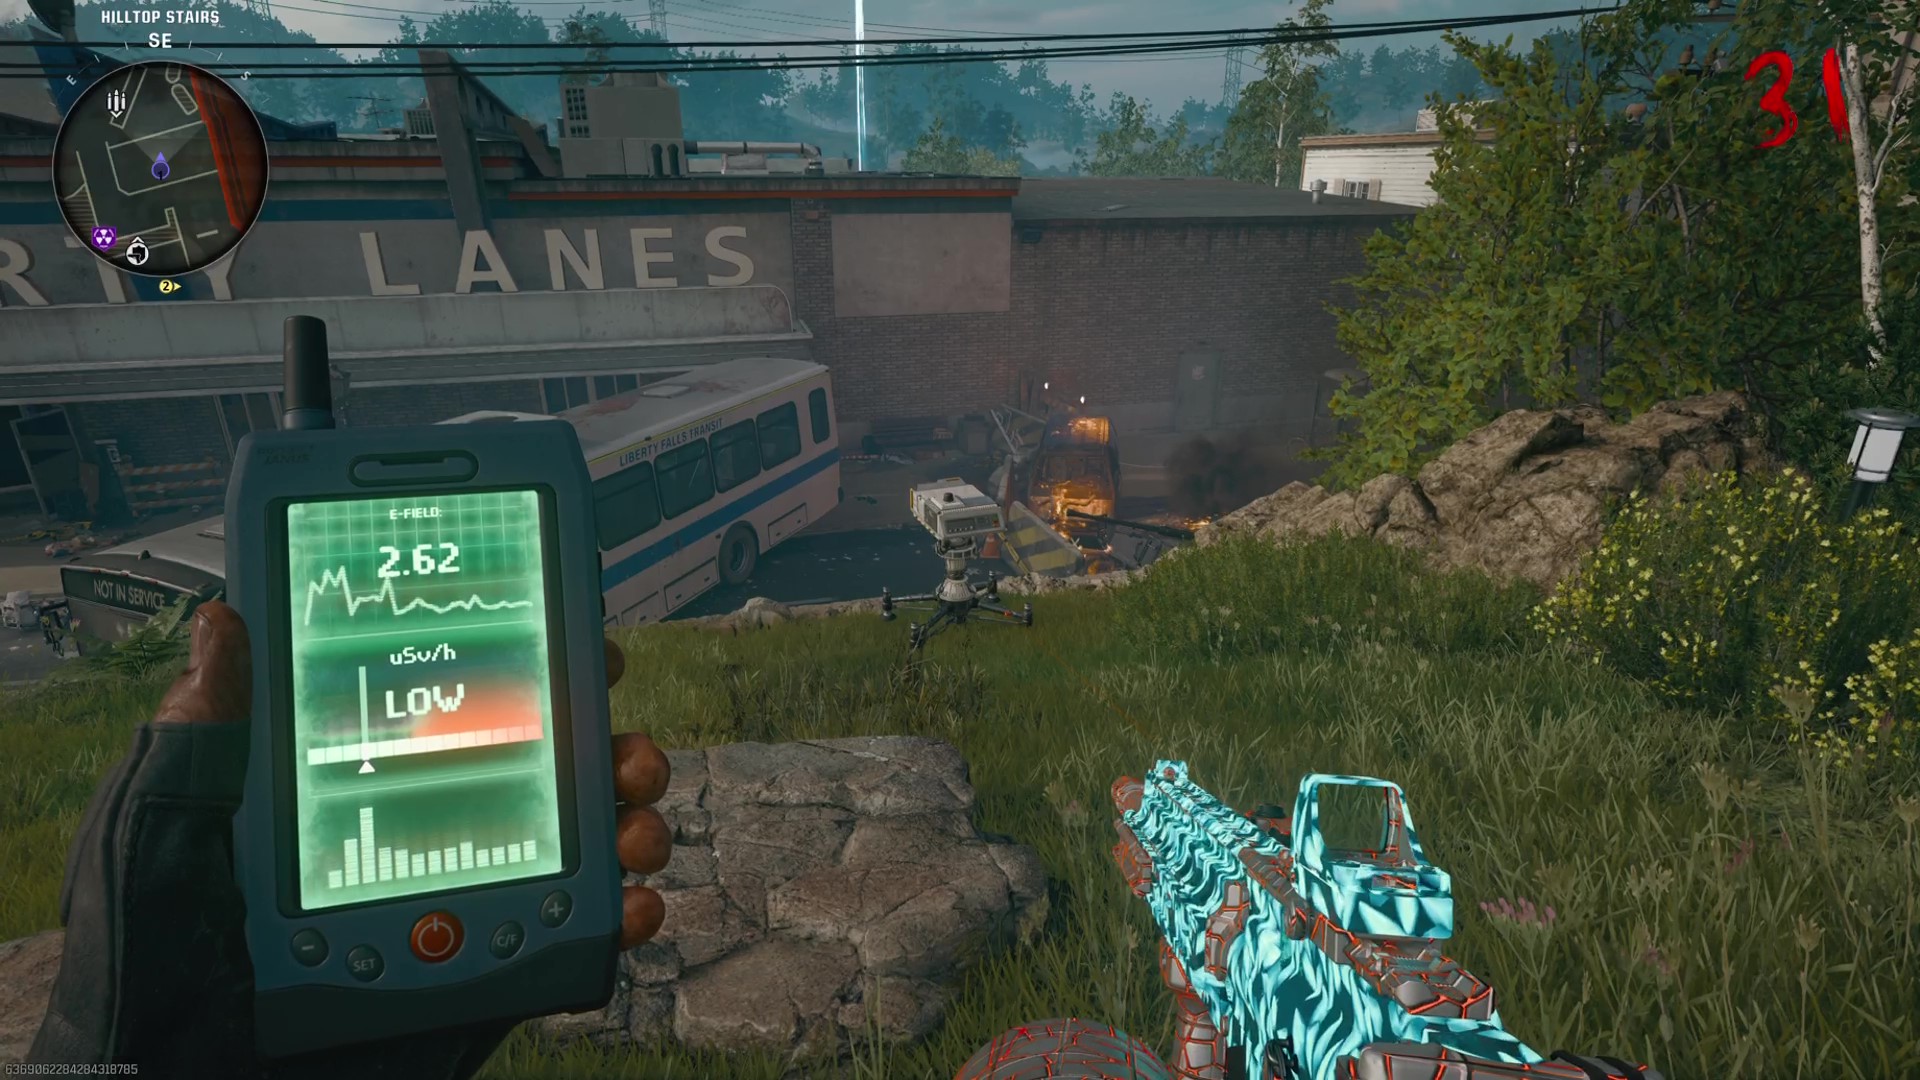
The Hilltop Stairs projector is the most obvious of the bunch, simply placed on the grass next to—you guessed it—the Hilltop Stairs. It overlooks the bus outside Liberty Lanes bowling alley.
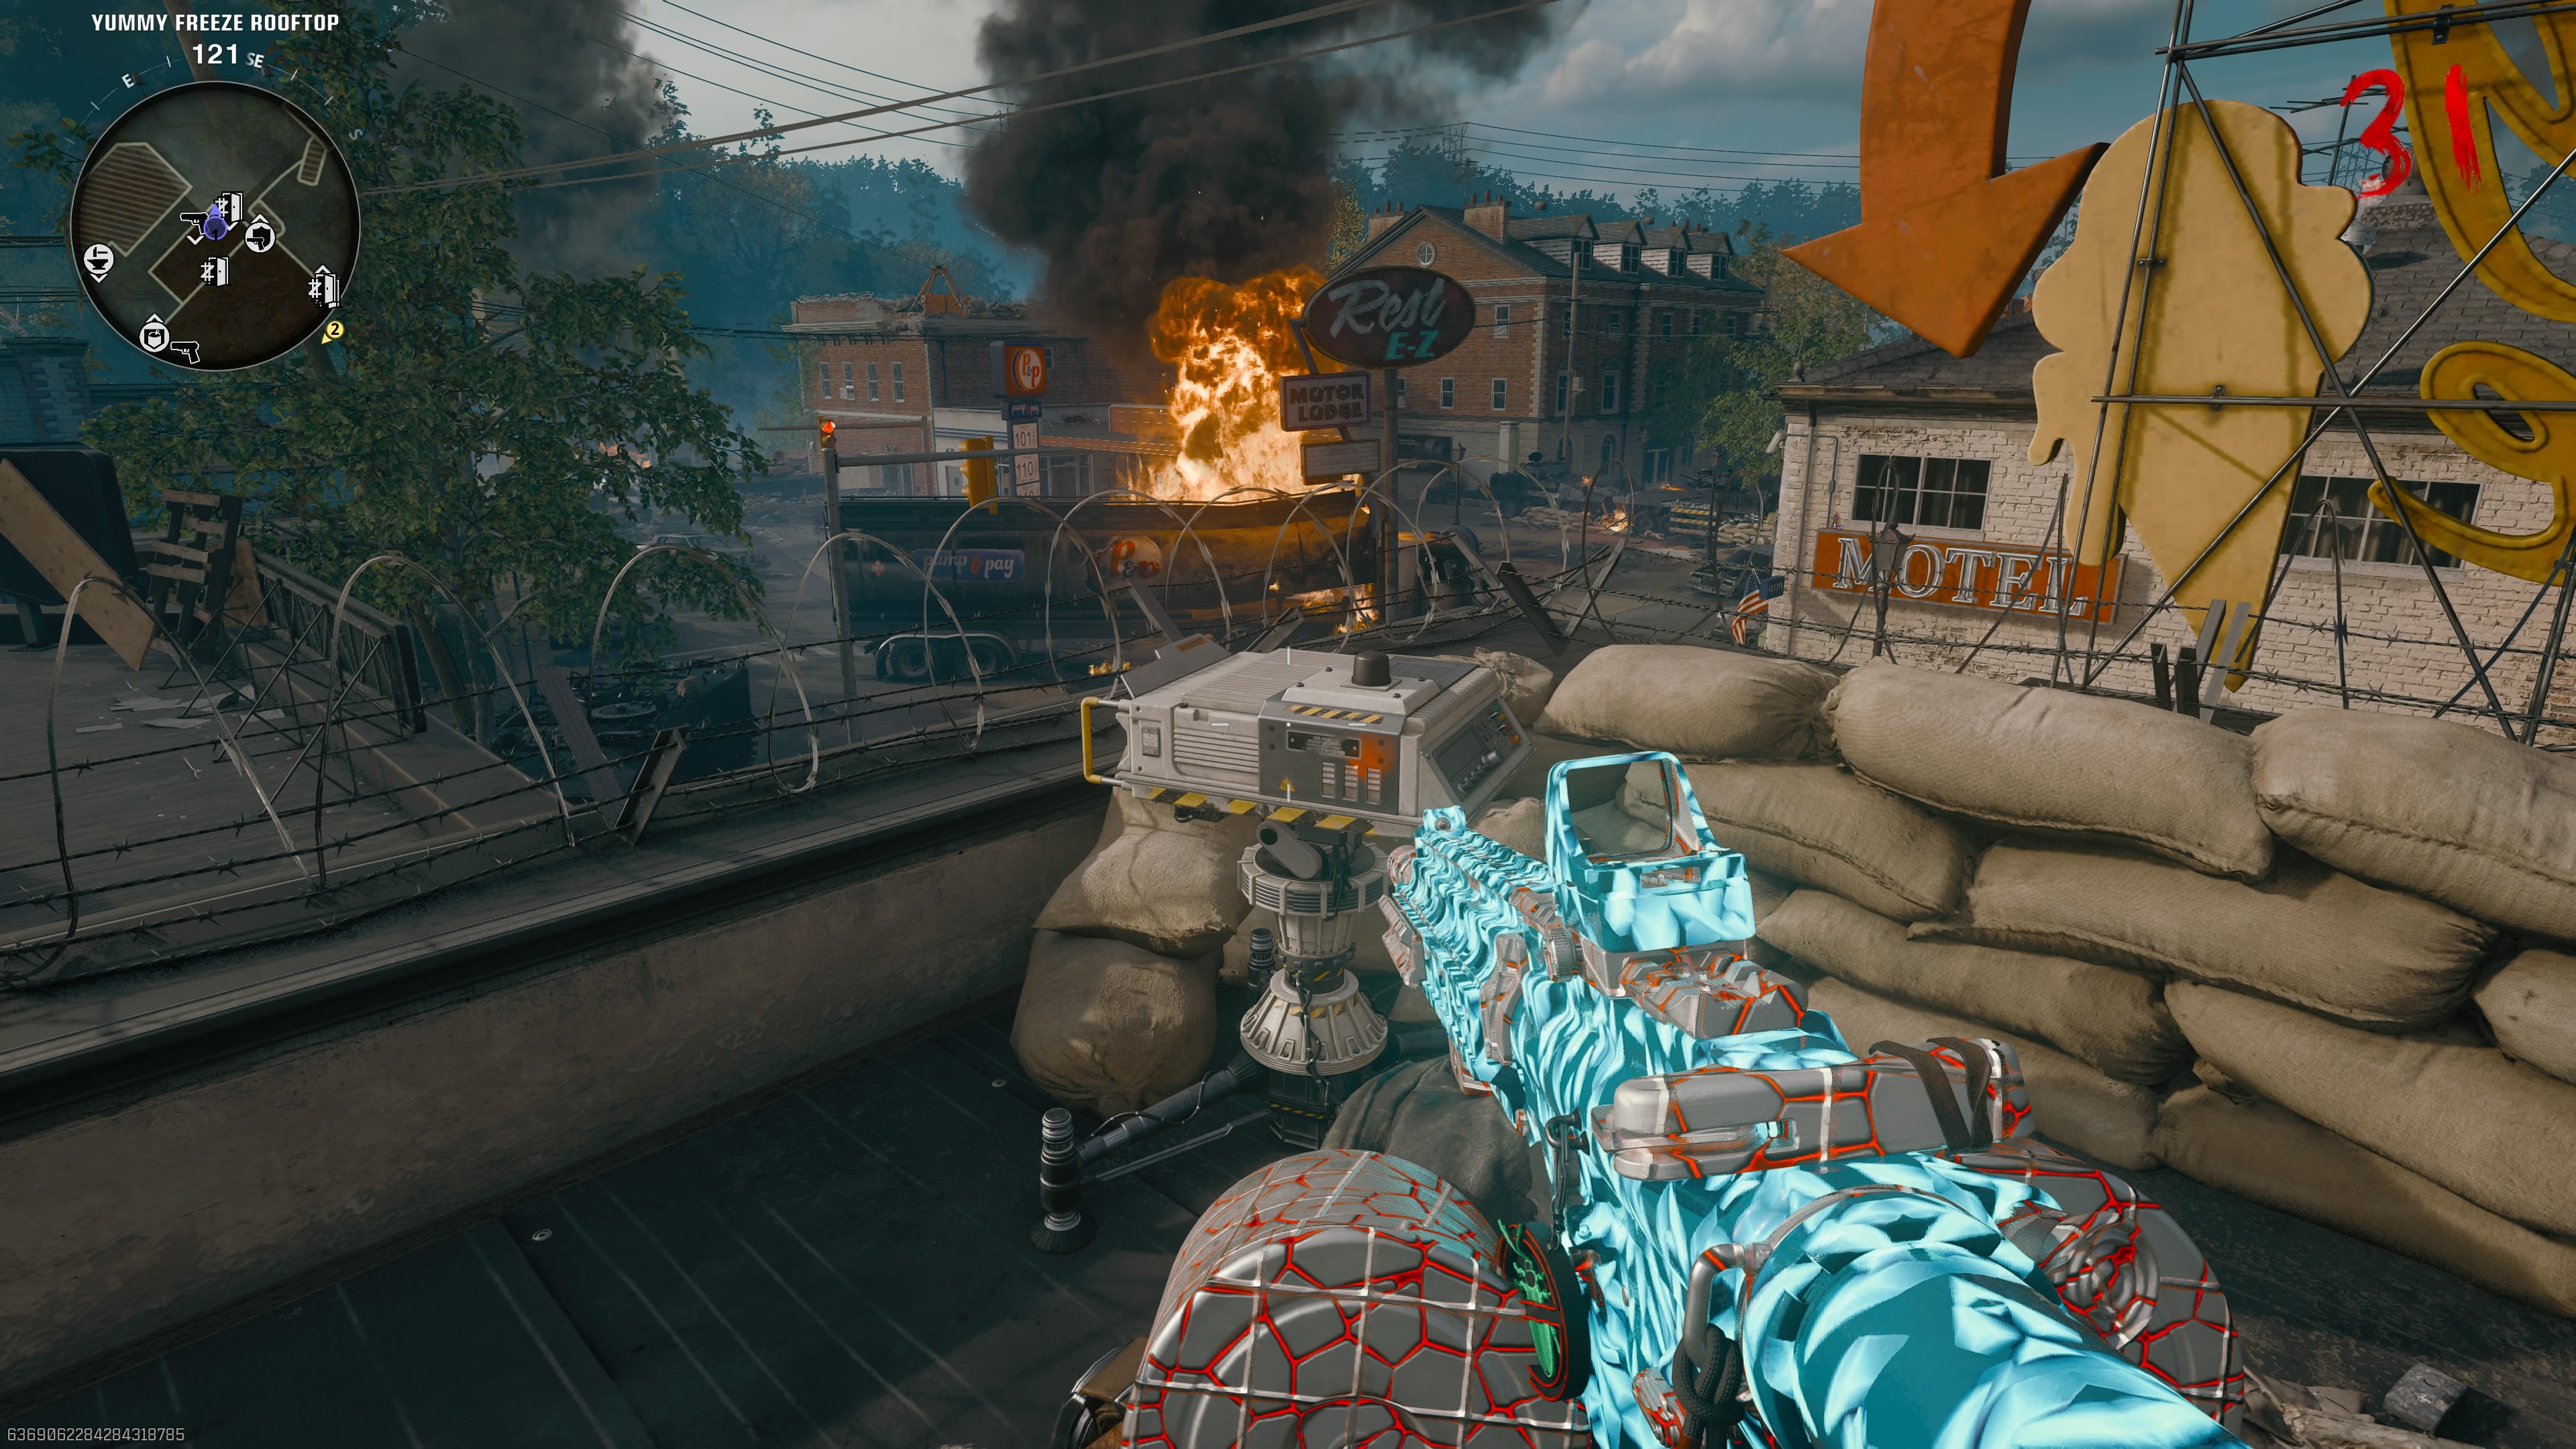
To reach the Yummy Freeze Rooftop projector from the Hilltop Stairs, it's a quick sprint to the Alamo rooftop, accessed via the zipline lift. On the roof, remove the debris marked with a red cross in the low wall to the east and drop down to the lower roof. The projector is found next to the sandbags on the right.
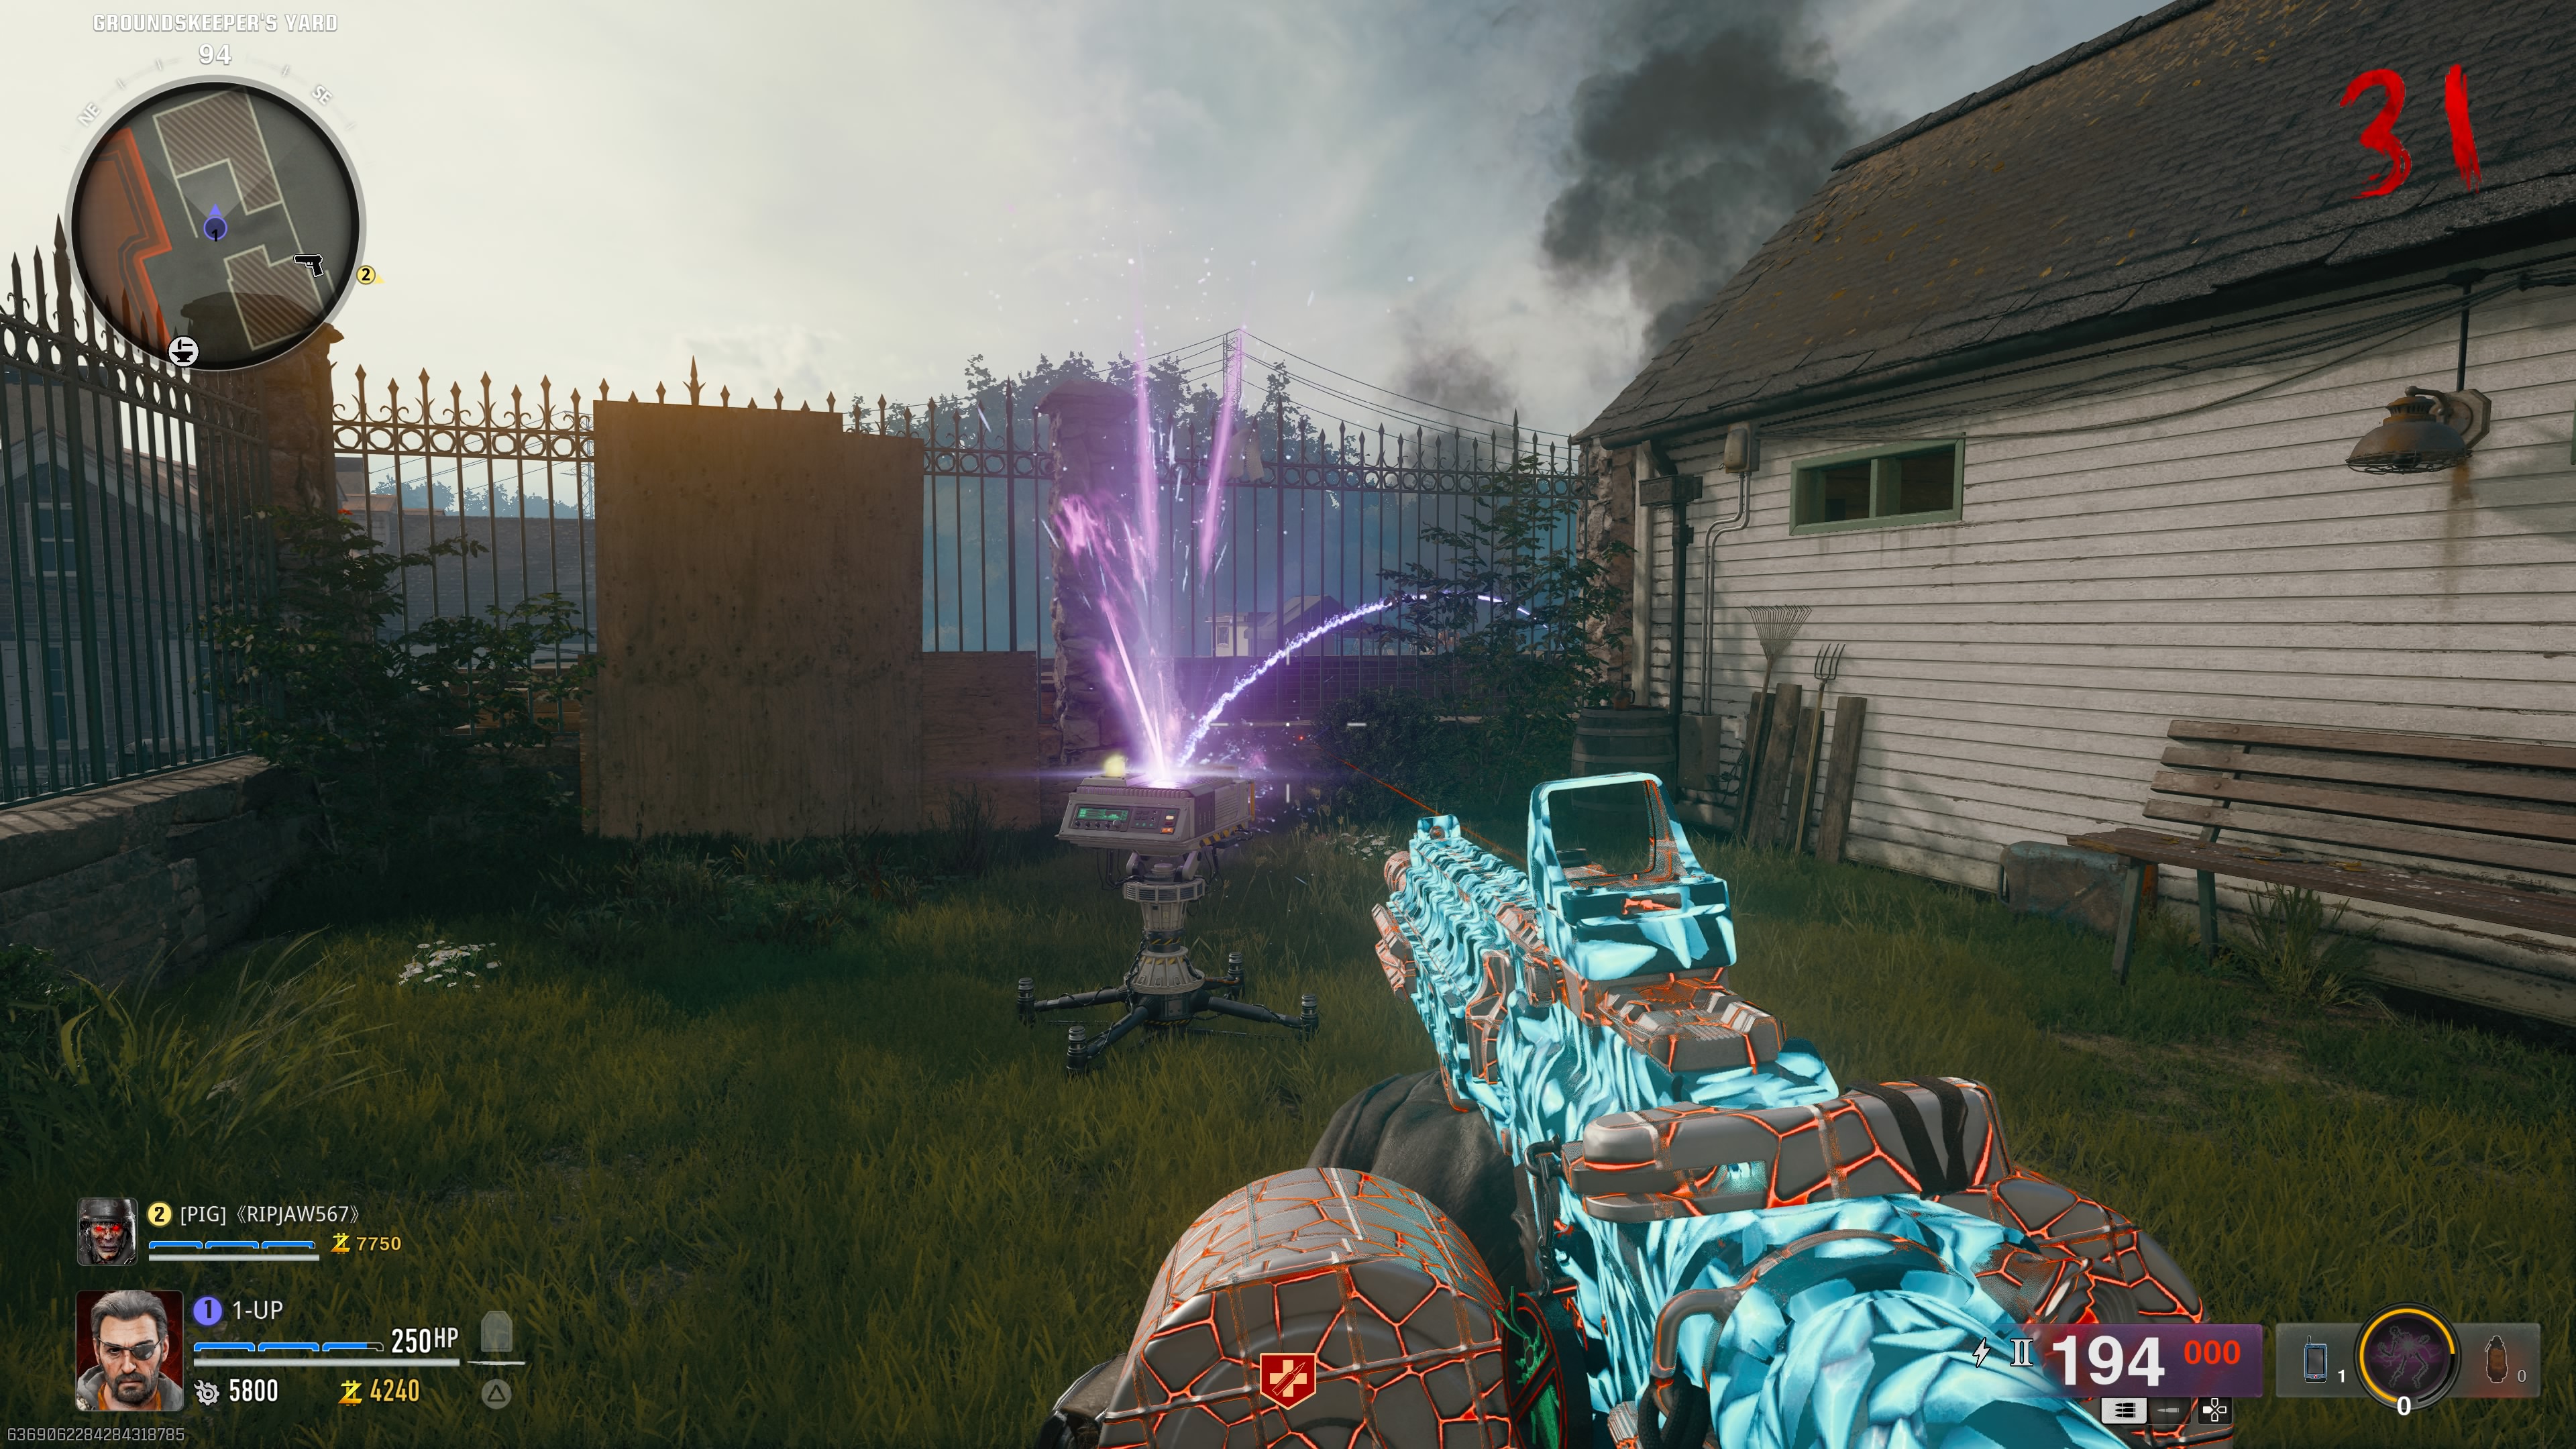
The final projector can be found in the Groundskeeper’s Yard, near the shed where the Jet Gun’s handbrake was hidden inside. The projector is in the patch of grass near the large fences to the east.
Portal Storms: Riverside
Return to the first storm that you completed (which will be in the cemetery, if you’ve been following this guide verbatim) and collect the LTG Device. Then, you’ll need to head over to the other storm and repeat the process. In this case, that’s on Riverside. Ensure you’ve got all the equipment and ammo that you need as you’ll once again be in for a fight.
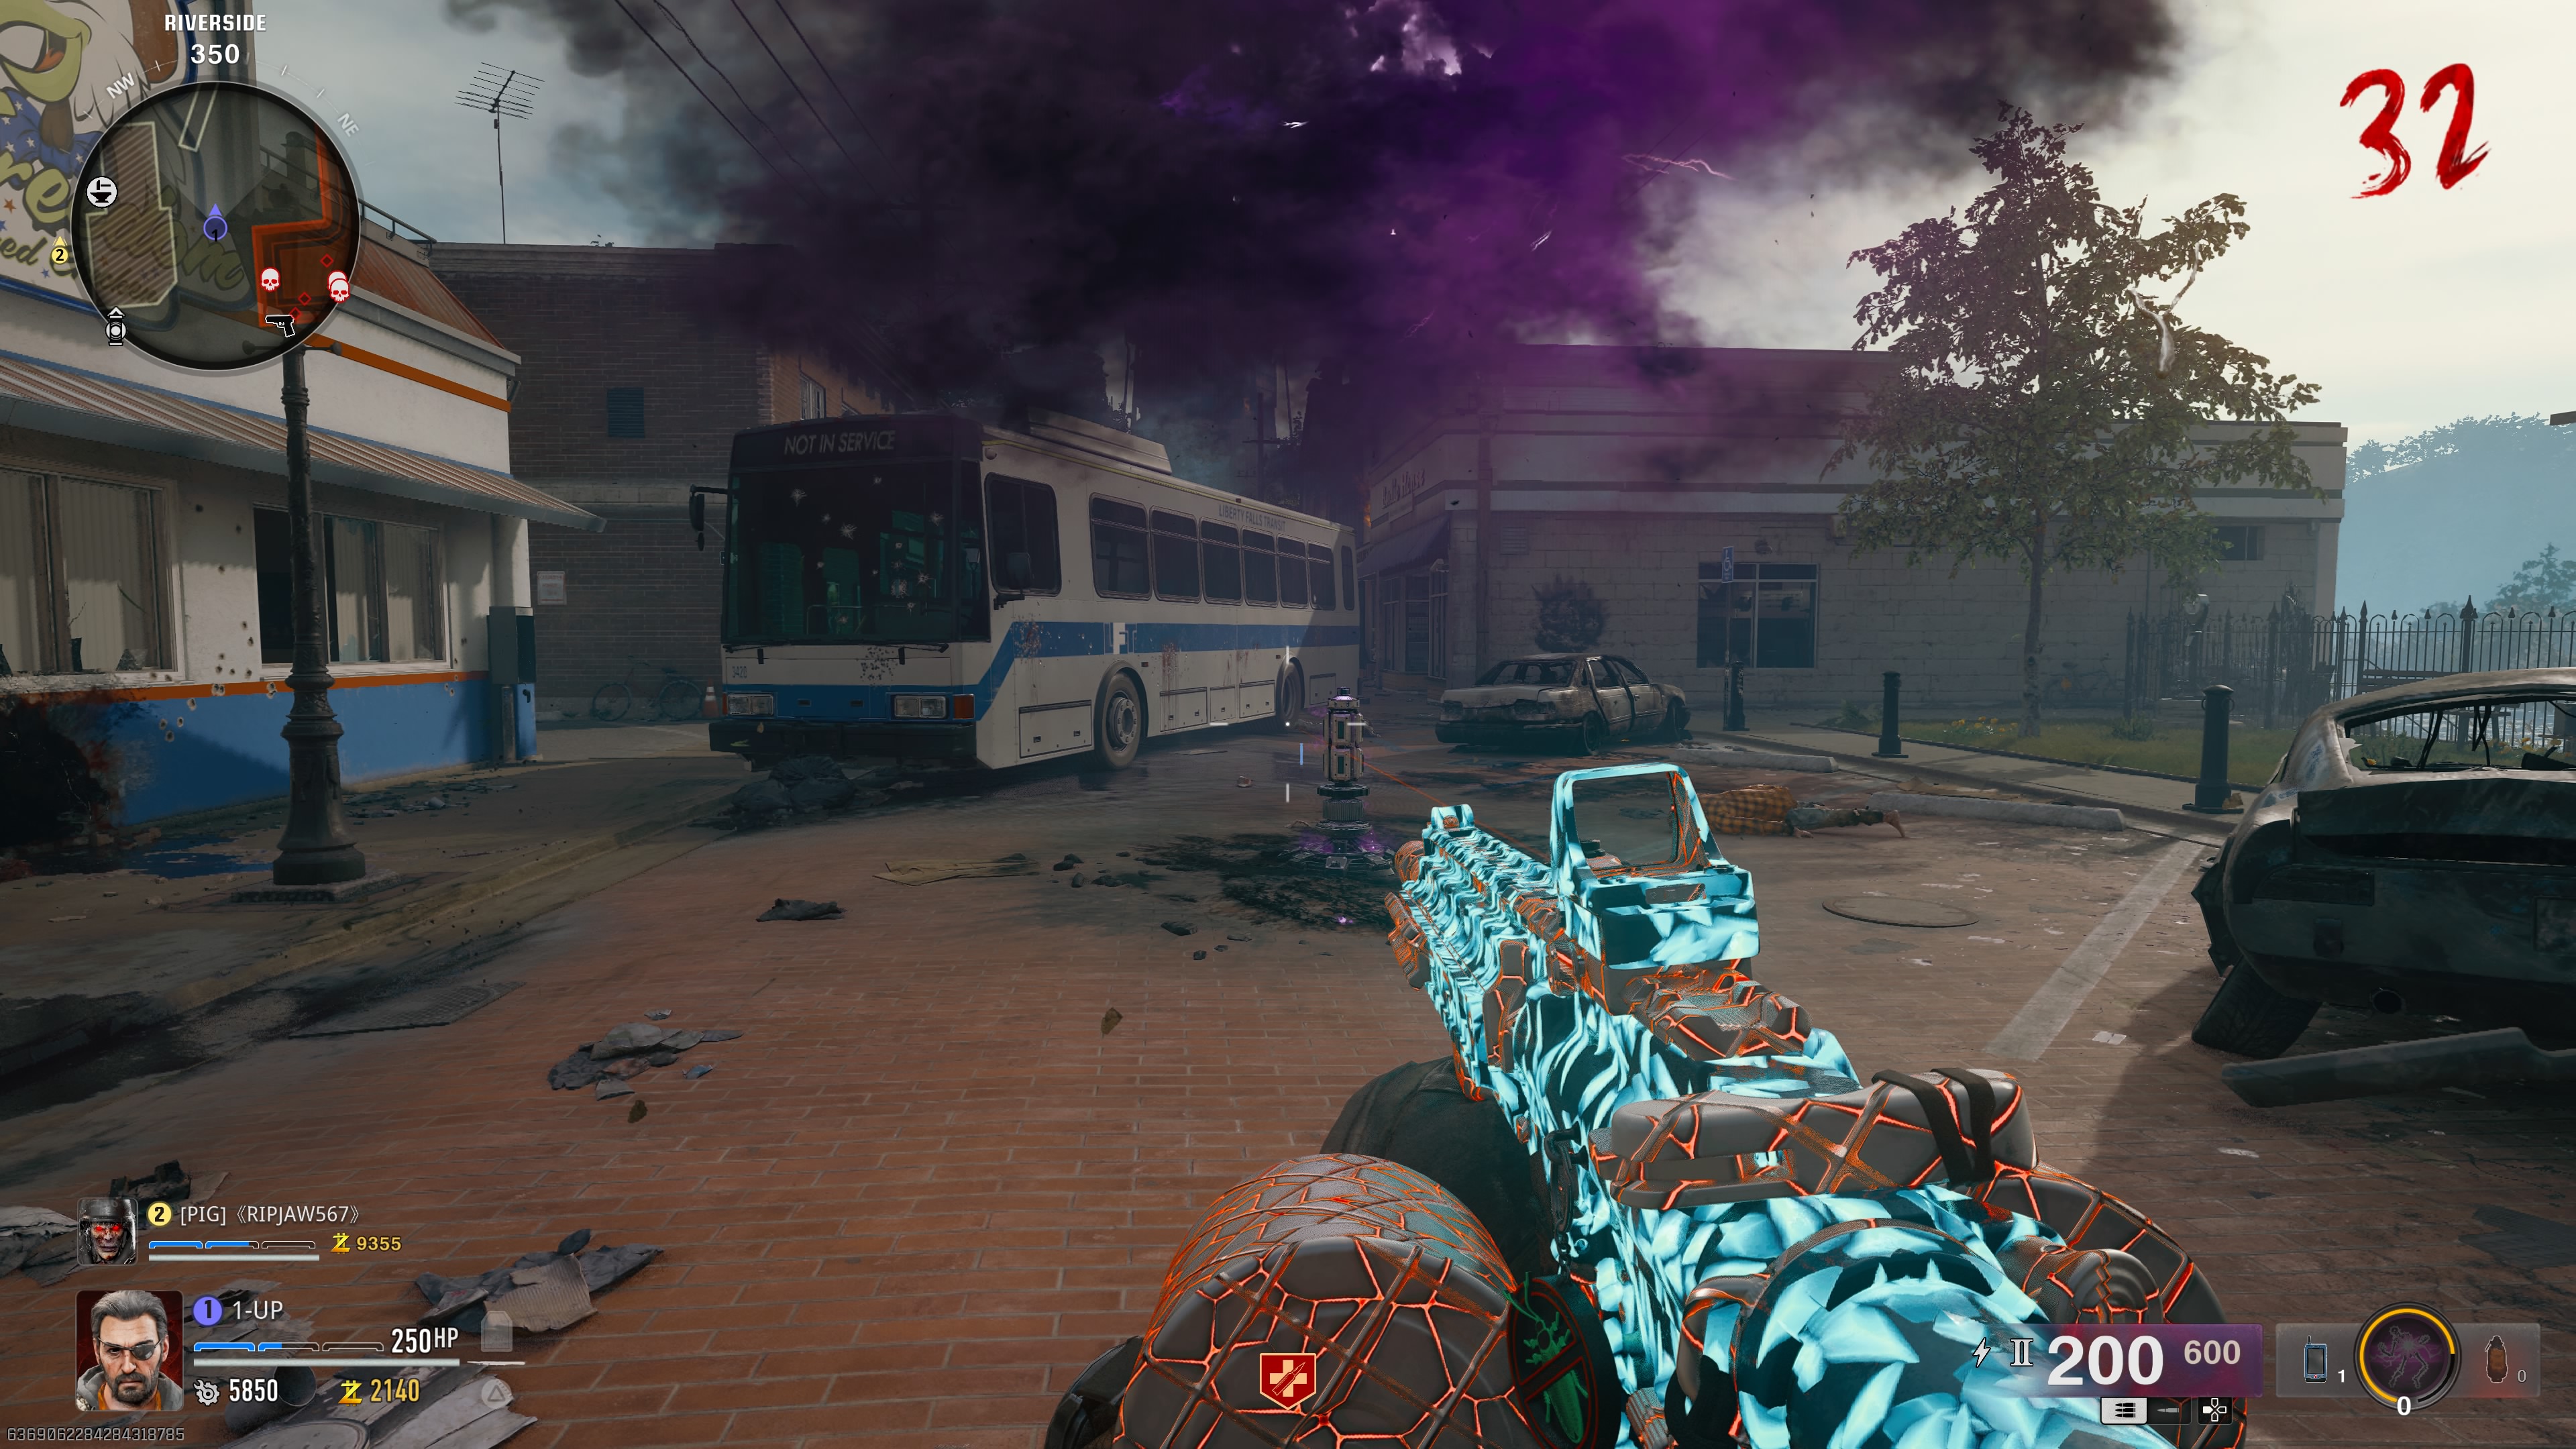
Before activating the Riverside portal, it’s a good idea to set up the next Dark Aether trap. To do this, grab the Aether Canister from the device outside the gas station by holding the interact key. Like before, you won’t be able to run, though you only need to place it in the nearby Dark Aether trap’s radius. Once done, you’re free to start the portal defense whenever you’re ready.
Successfully clear out the waves and defend the portal, and another boss will spawn. Lure this boss into the Dark Aether trap and activate it to absorb its energy in the canister you placed just before.
Like last time, you will then have to carry this canister all the way back to the church to place it in the device, though it’s a lot further to run in just one minute and 30 seconds. Whether you’re playing in co-op or not, it’s a good idea to have some Decoy grenades, or only keep one zombie alive so you don’t have to worry about staying alive.
Survive the Final Encounter
With the second Aether Canister placed in the SDG Generator, you’re officially ready to start the Final Encounter. How ominous!
You will be trapped inside the Dark Aether (in other words the church) as you fight off three waves of zombies and elites. With such limited space and some challenging enemies sent your way, it’s naturally a hard encounter.
Before you start, ensure you are geared up with level three armour, Jugger-Nog, and at least a level two Pack-a-Punched weapon. Additional items like Decoys, Monkey Bombs, and Killstreaks will also be useful.
Obviously, a max Pack-a-Punch weapon will do the most damage, though be careful not to be too reliant on this if you’re low on funds. While there is an ammo box inside, remember it will cost you $10,000 to buy ammo for such a top-tier weapon. That’s why it’s a good idea to also bring a level two Pack-a-Punched weapon as a backup since ammo is cheaper.
Start the Final Encounter whenever you feel ready and, should you survive, you will be automatically downed and enter a cutscene with Panos who will reveal their master plan.
Once this cutscene is over, you will have the option to either continue playing or exit the match. If you choose to continue, you’ll be rewarded heavily with additional currency, high-quality weapons, an Aether Tool to upgrade weapon rarity for free, and a Raw Aetherium Crystal to use the Pack-a-Punch machine for free, too.
Black Ops 6 Terminus easter egg guide
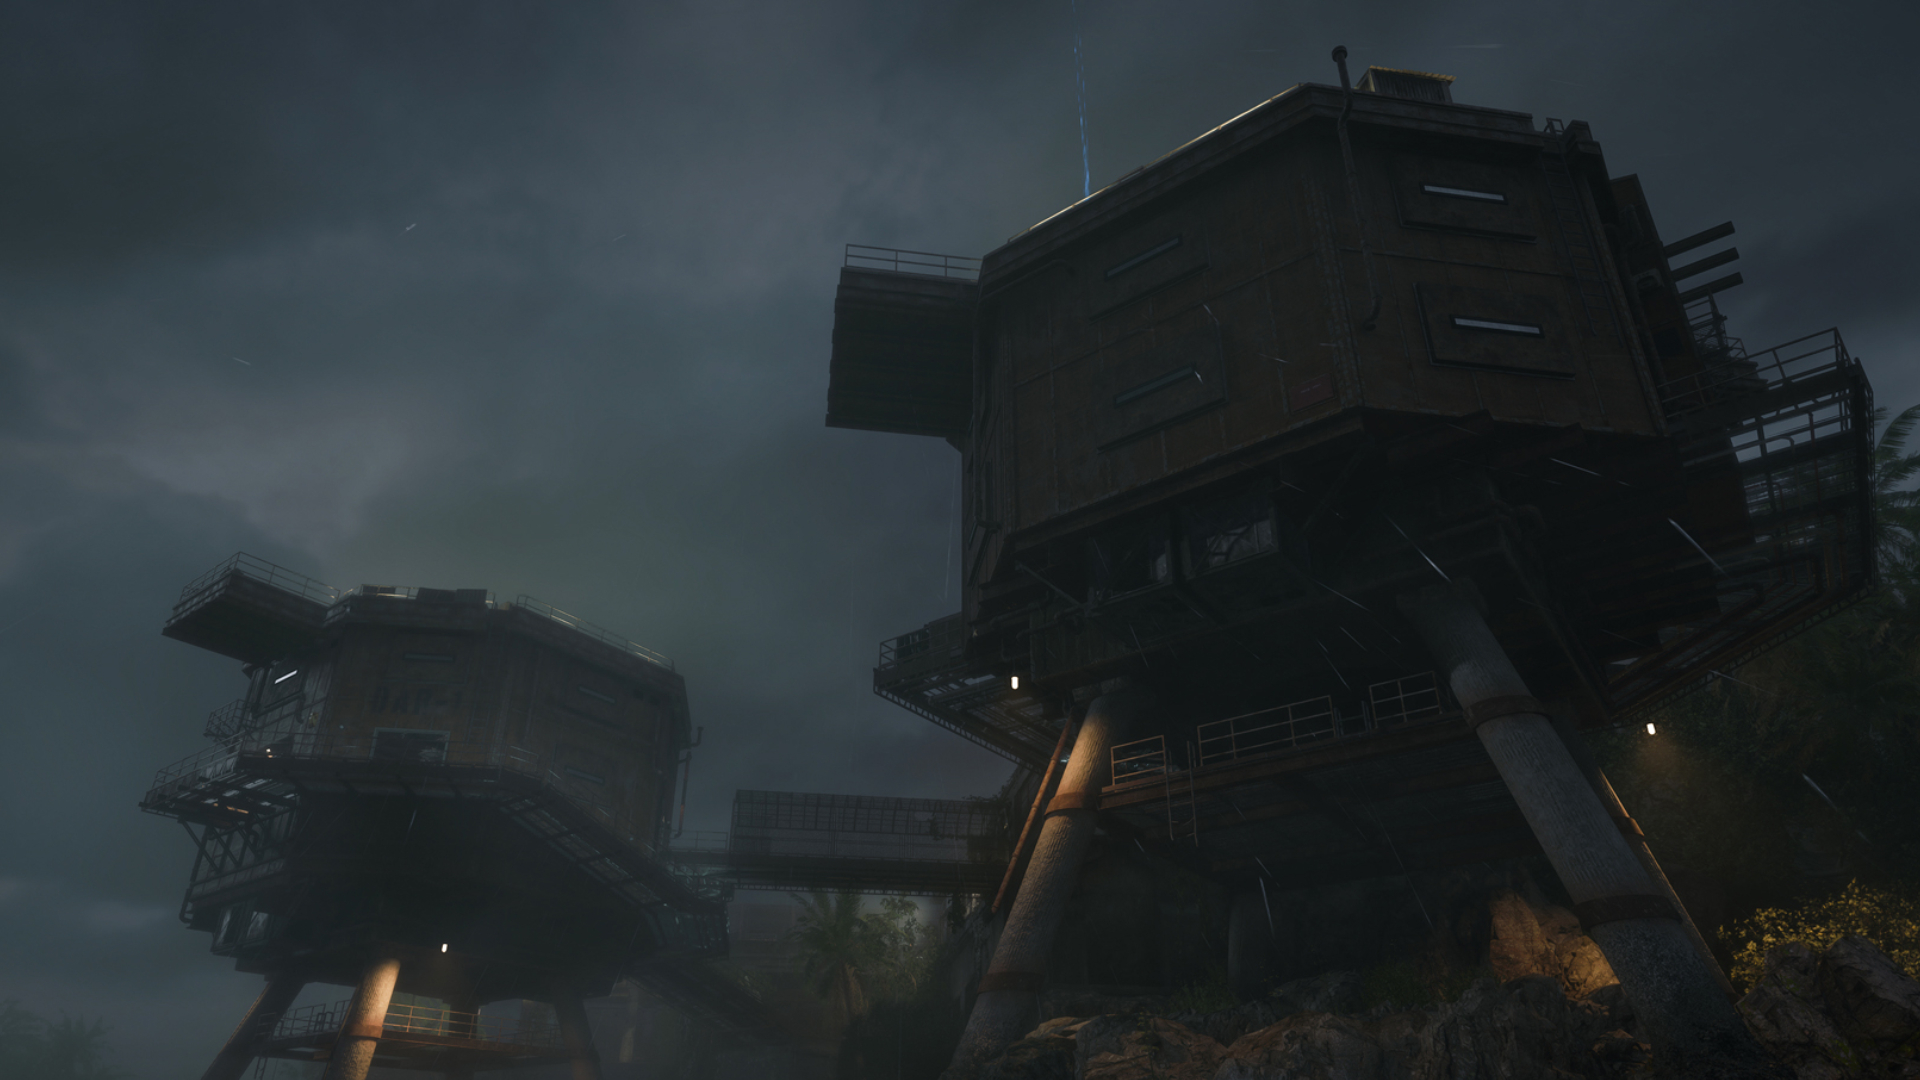
Ready to take on the true challenge of Terminus, eh? Being a much more claustrophobic map, Terminus is certainly the harder of the two launch Zombies maps, not to mention the more troublesome main easter egg too.
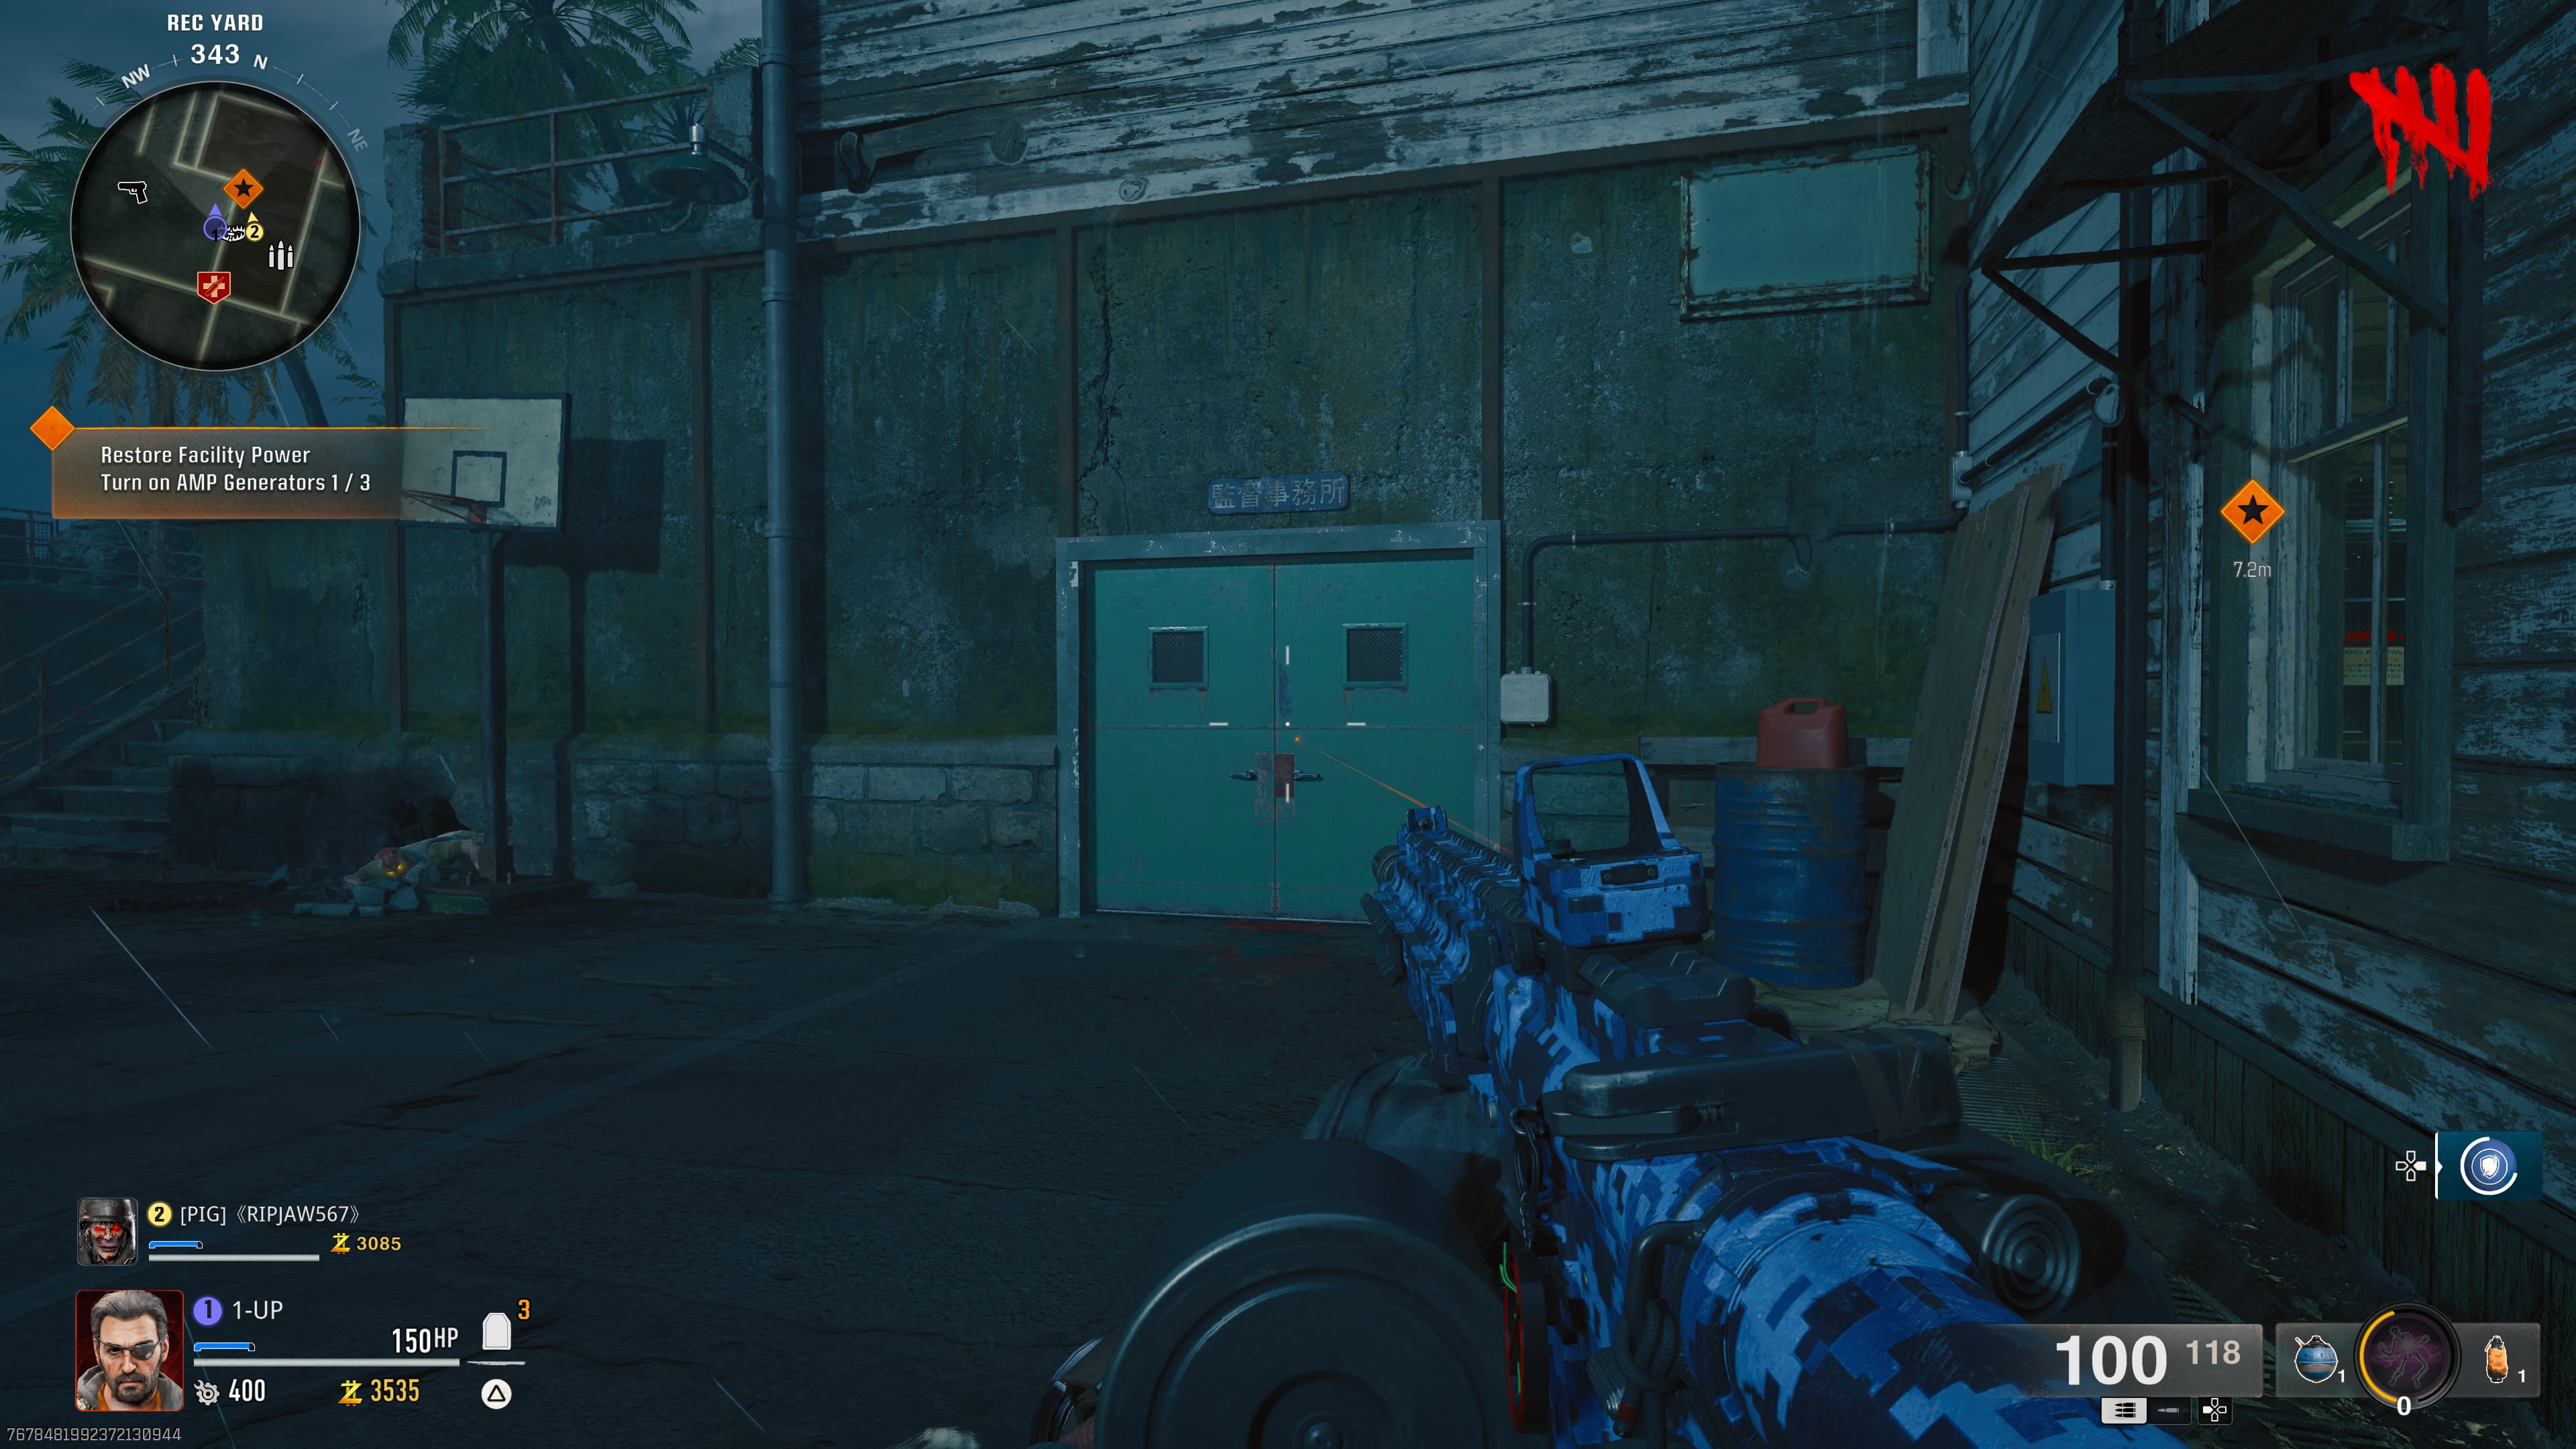
Before you can begin the Terminus main easter egg though, you must first turn on the power as usual. Follow the markers to activate the three AMP Generators, leading you all the way to the Bio Lab.
As always, it’s a good idea to leave one zombie alive at the end of each round when you’re attempting to complete the following steps. This will give you some breathing room to investigate and interact with things without being munched on by hungry zombies. Likewise, it’s a good idea to bring some Decoys to lure enemies away at pivotal moments.
Here is an overview of the main Terminus quest steps:
- Assemble the Beamsmasher
- Break a specific Tentacle Trap with the Beamsmasher
- Find Nathan’s code and beat the challenge
- Fix Node Connectors
- Hack buoys
- Disarm Terminus
- Survive the final encounter
Assemble the Terminus Wonder Weapon
Like Liberty Falls, you will need to get your hands on the Terminus Wonder Weapon before you can start the main easter egg. While it is possible to get it from the box, you’re best off crafting it since you won’t need luck—just skill and the Dead Wire ammo mod from The Arsenal machines. To craft it, you will need to collect three Beamsmasher parts and unlock the crafting room. Here's how:
Opening the Research Office
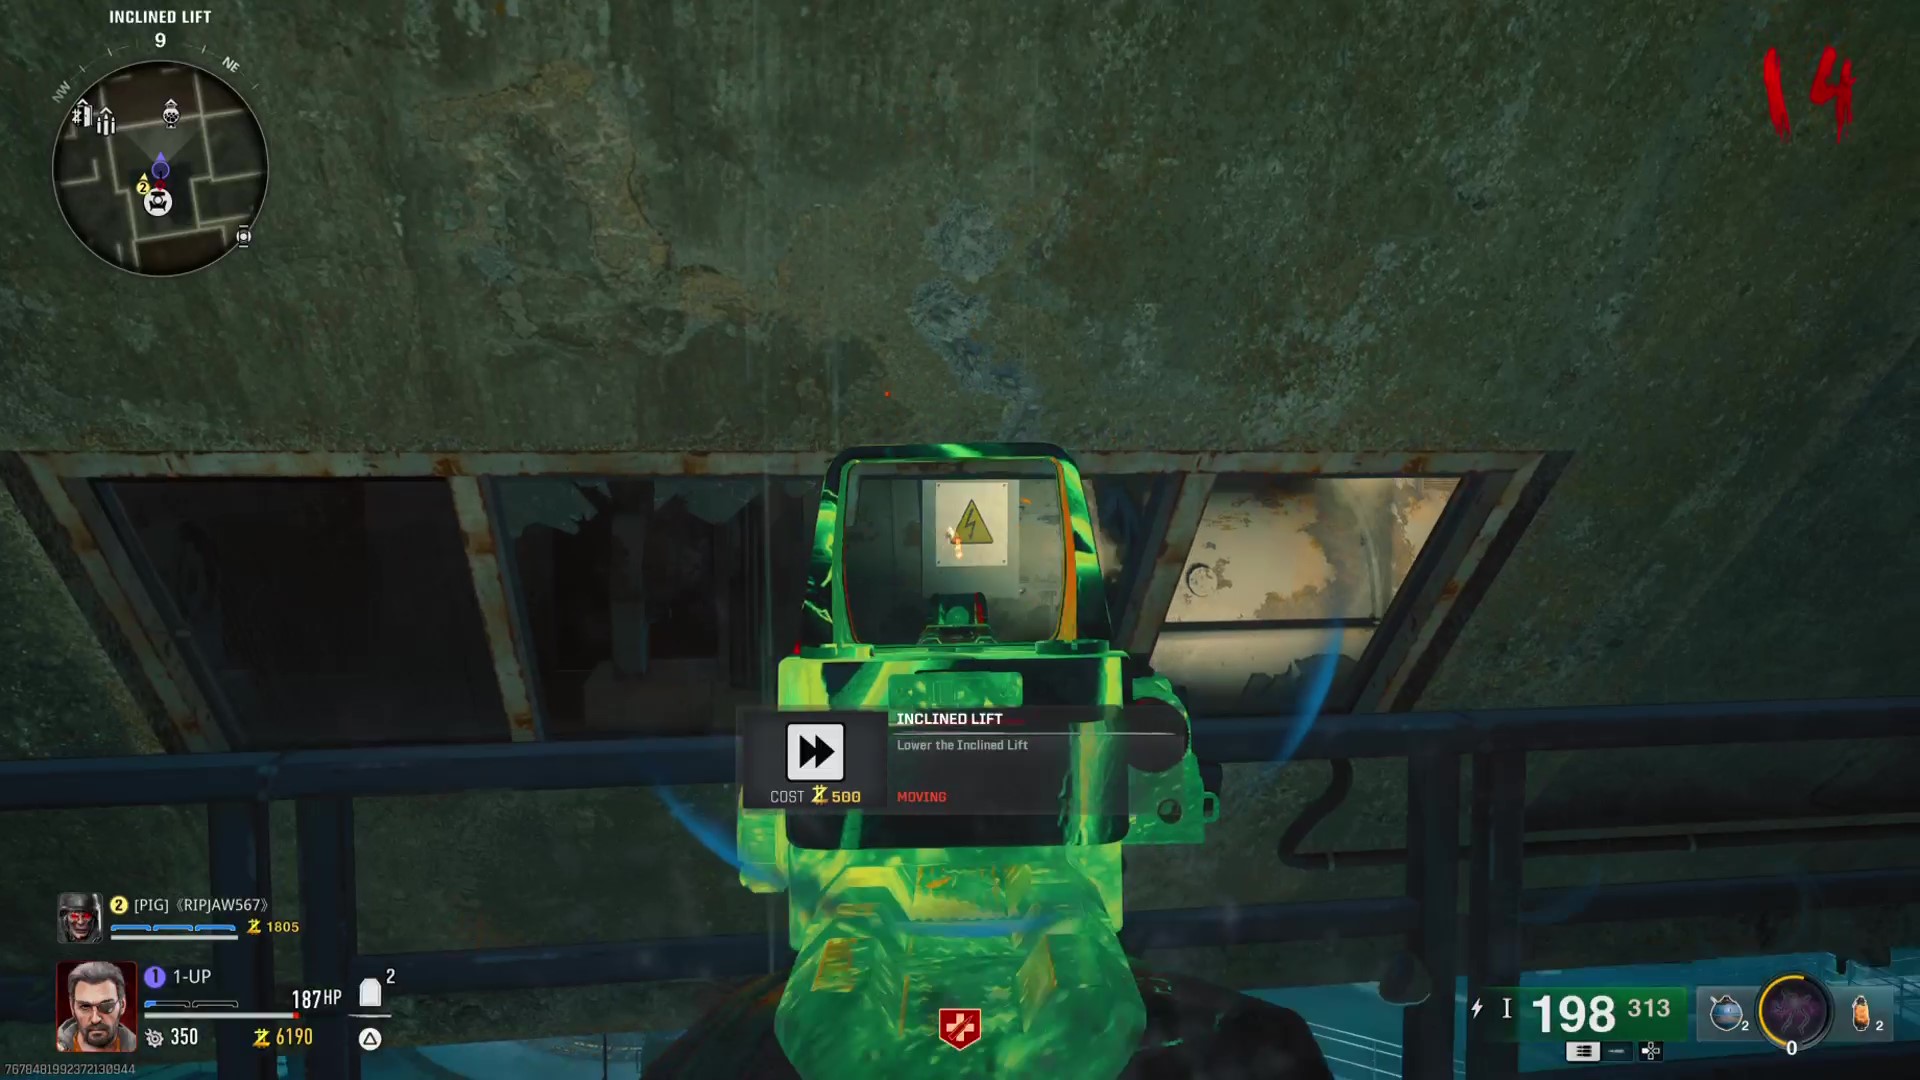
Begin by purchasing the Dead Wire ammo mod for your weapon as you will need it to activate circuits. Then, ride the Inclined Lift (the one with the Pack-a-Punch machine) either up or down into the Bio Lab. On the way, you will need to shoot three electrical boxes—in order—using your Dead Wire weapon:
- The first electrical box can be seen through the right side window of the concrete building as you descend
- Turn directly right to see the second electrical box hidden between the metal frame surrounding the top of the lift
- Turn right once more to face south, where you can see the final electrical box on the wall of the white building
With these three boxes activated, head to Living Quarters (the small room with Jugger-Nog) where you will find another electrical box next to the AMP Generator. If you’ve completed the previous step correctly, it should be arcing with electricity. Shoot this box and then head outside into the courtyard to the west where the final electrical box can be seen on the wall of Living Quarters. Shoot this to open the green doors directly ahead of you, revealing the Research Office.
Inside the Research Office, you can find the crafting bench used to eventually assemble the Beamsmasher, as well as a computer which we’ll get to later. Most important right now, however, is that you kill the trapped zombie to your left, which will drop an EMF Fob for you to collect.
Activate the Laptops to get the first Multiphasic Resonator.
With the Research Office open, it’s time to start assembling the components for the Beamsmasher. The first step in doing so is to activate three laptops hidden around the main island, each with a different symbol and allocated letter on them, though there’s no need to remember these right now.
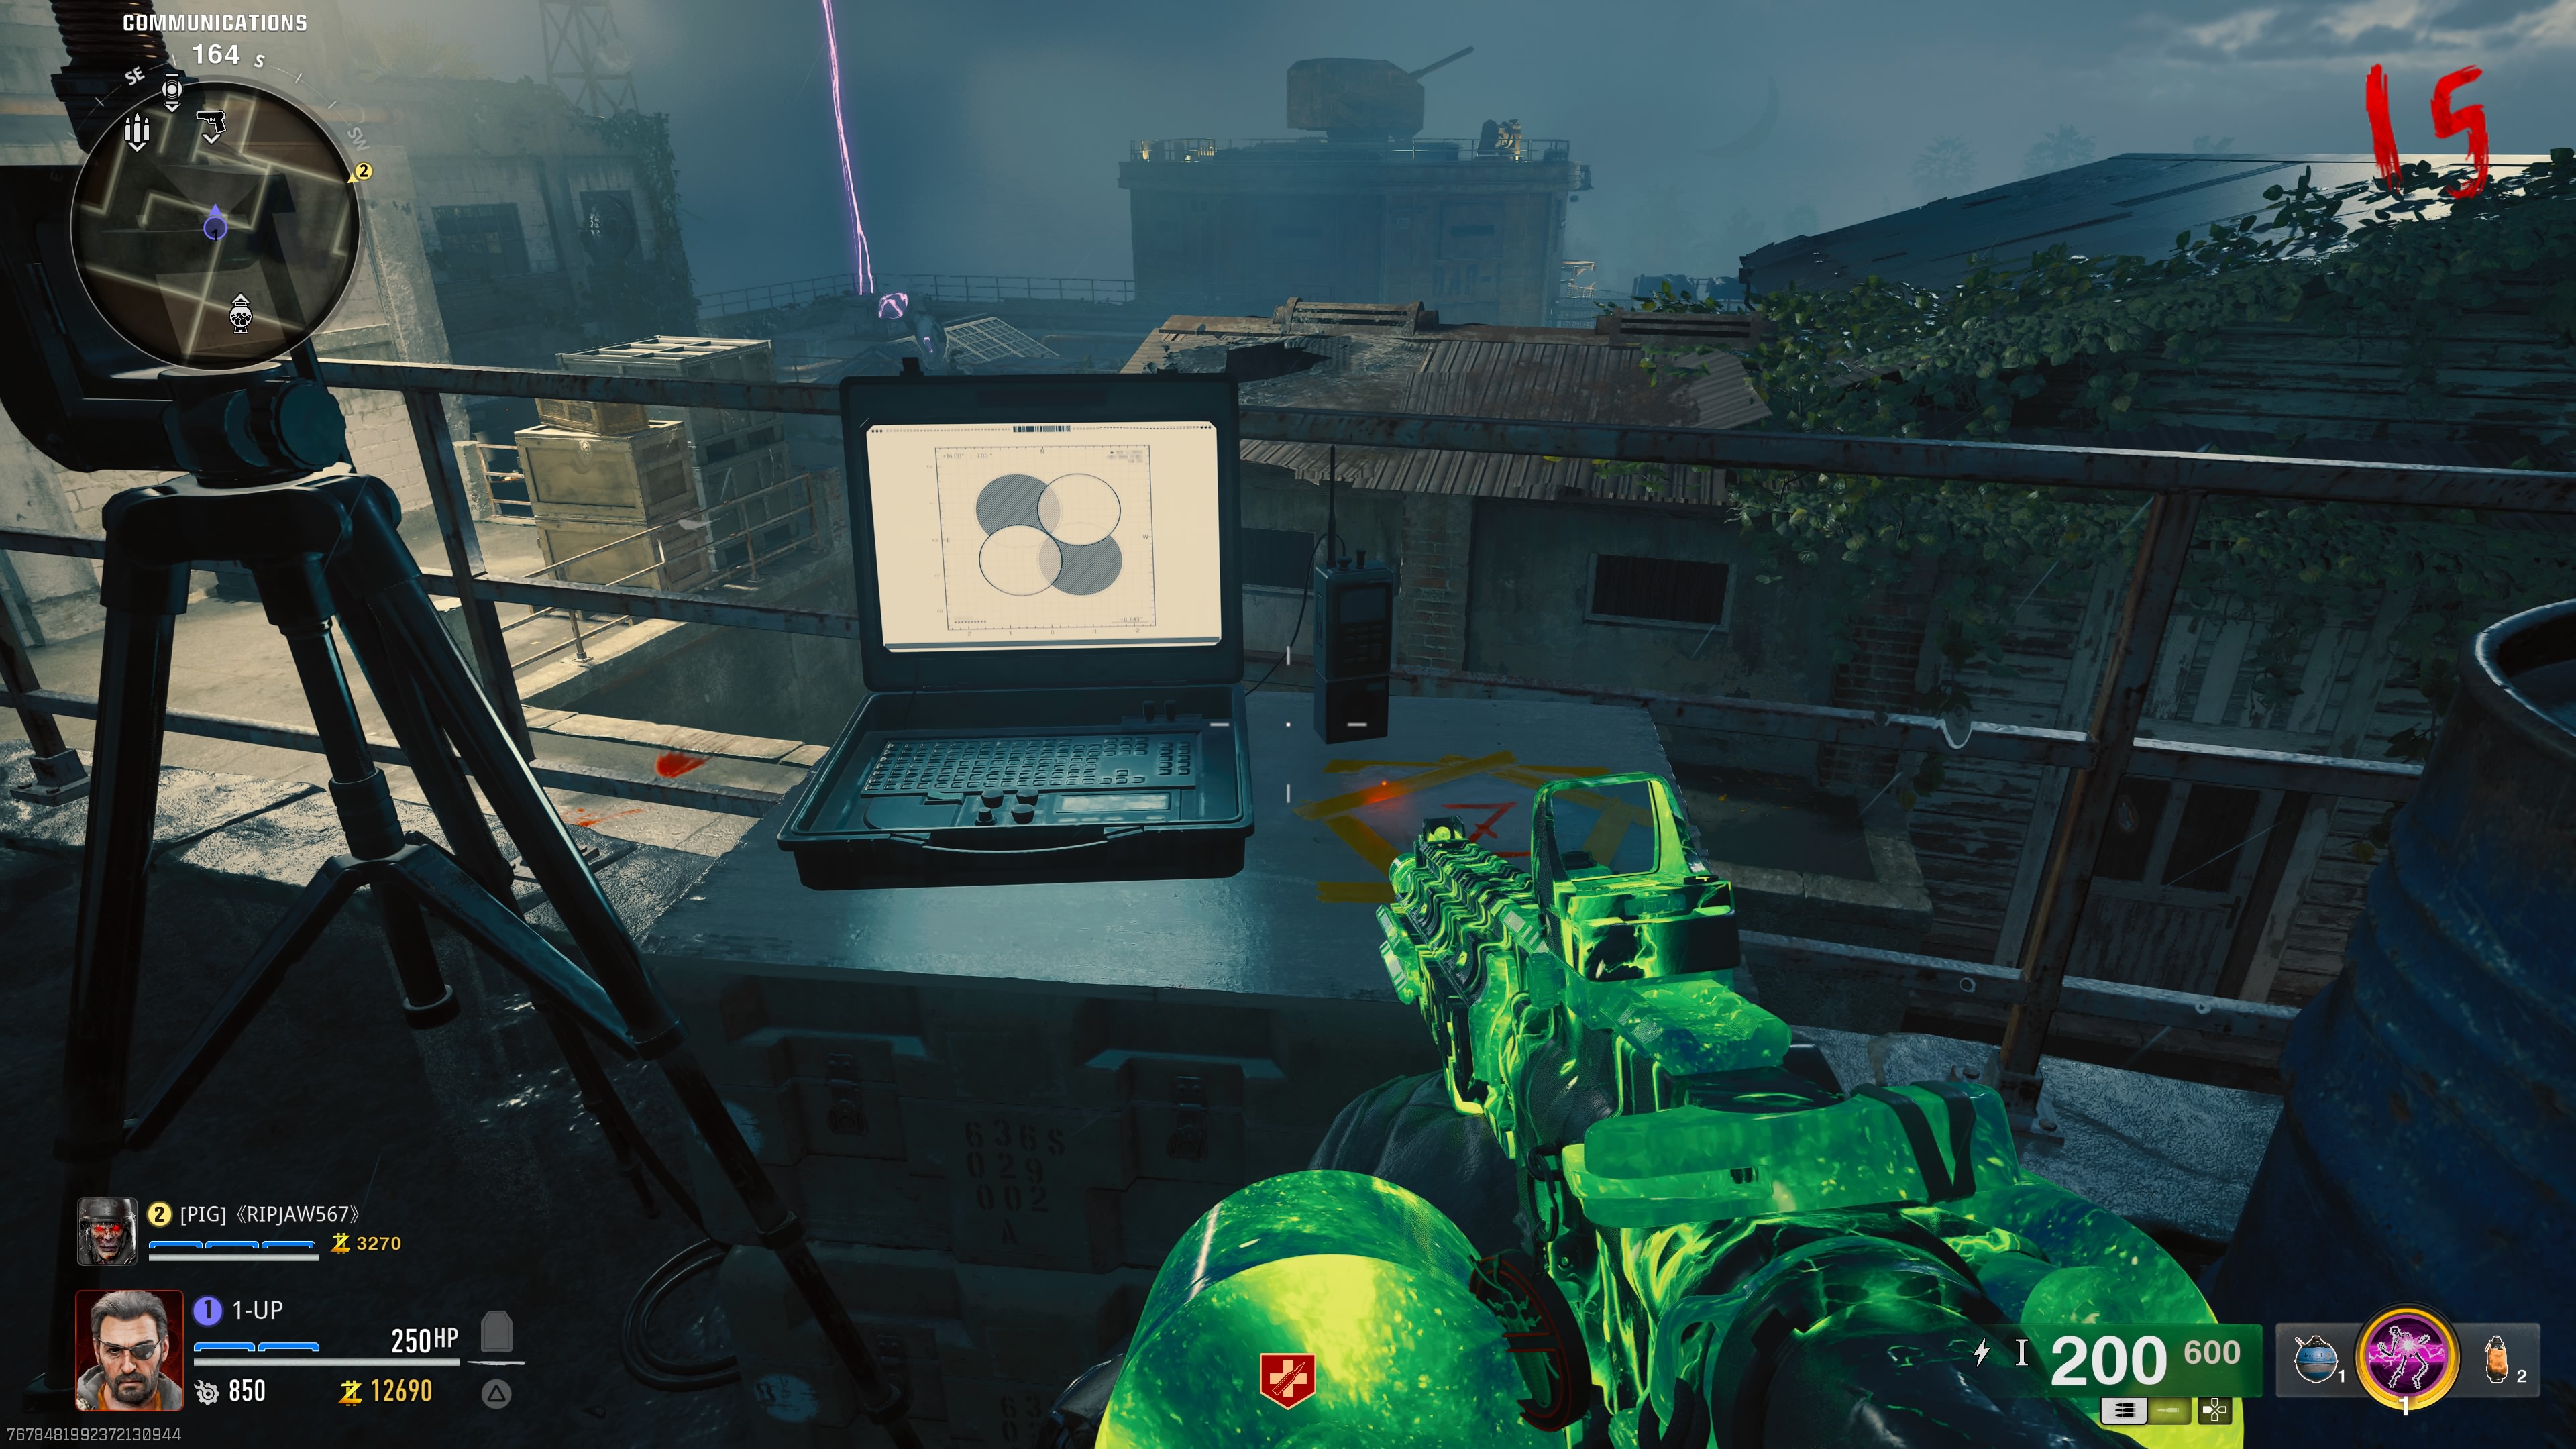
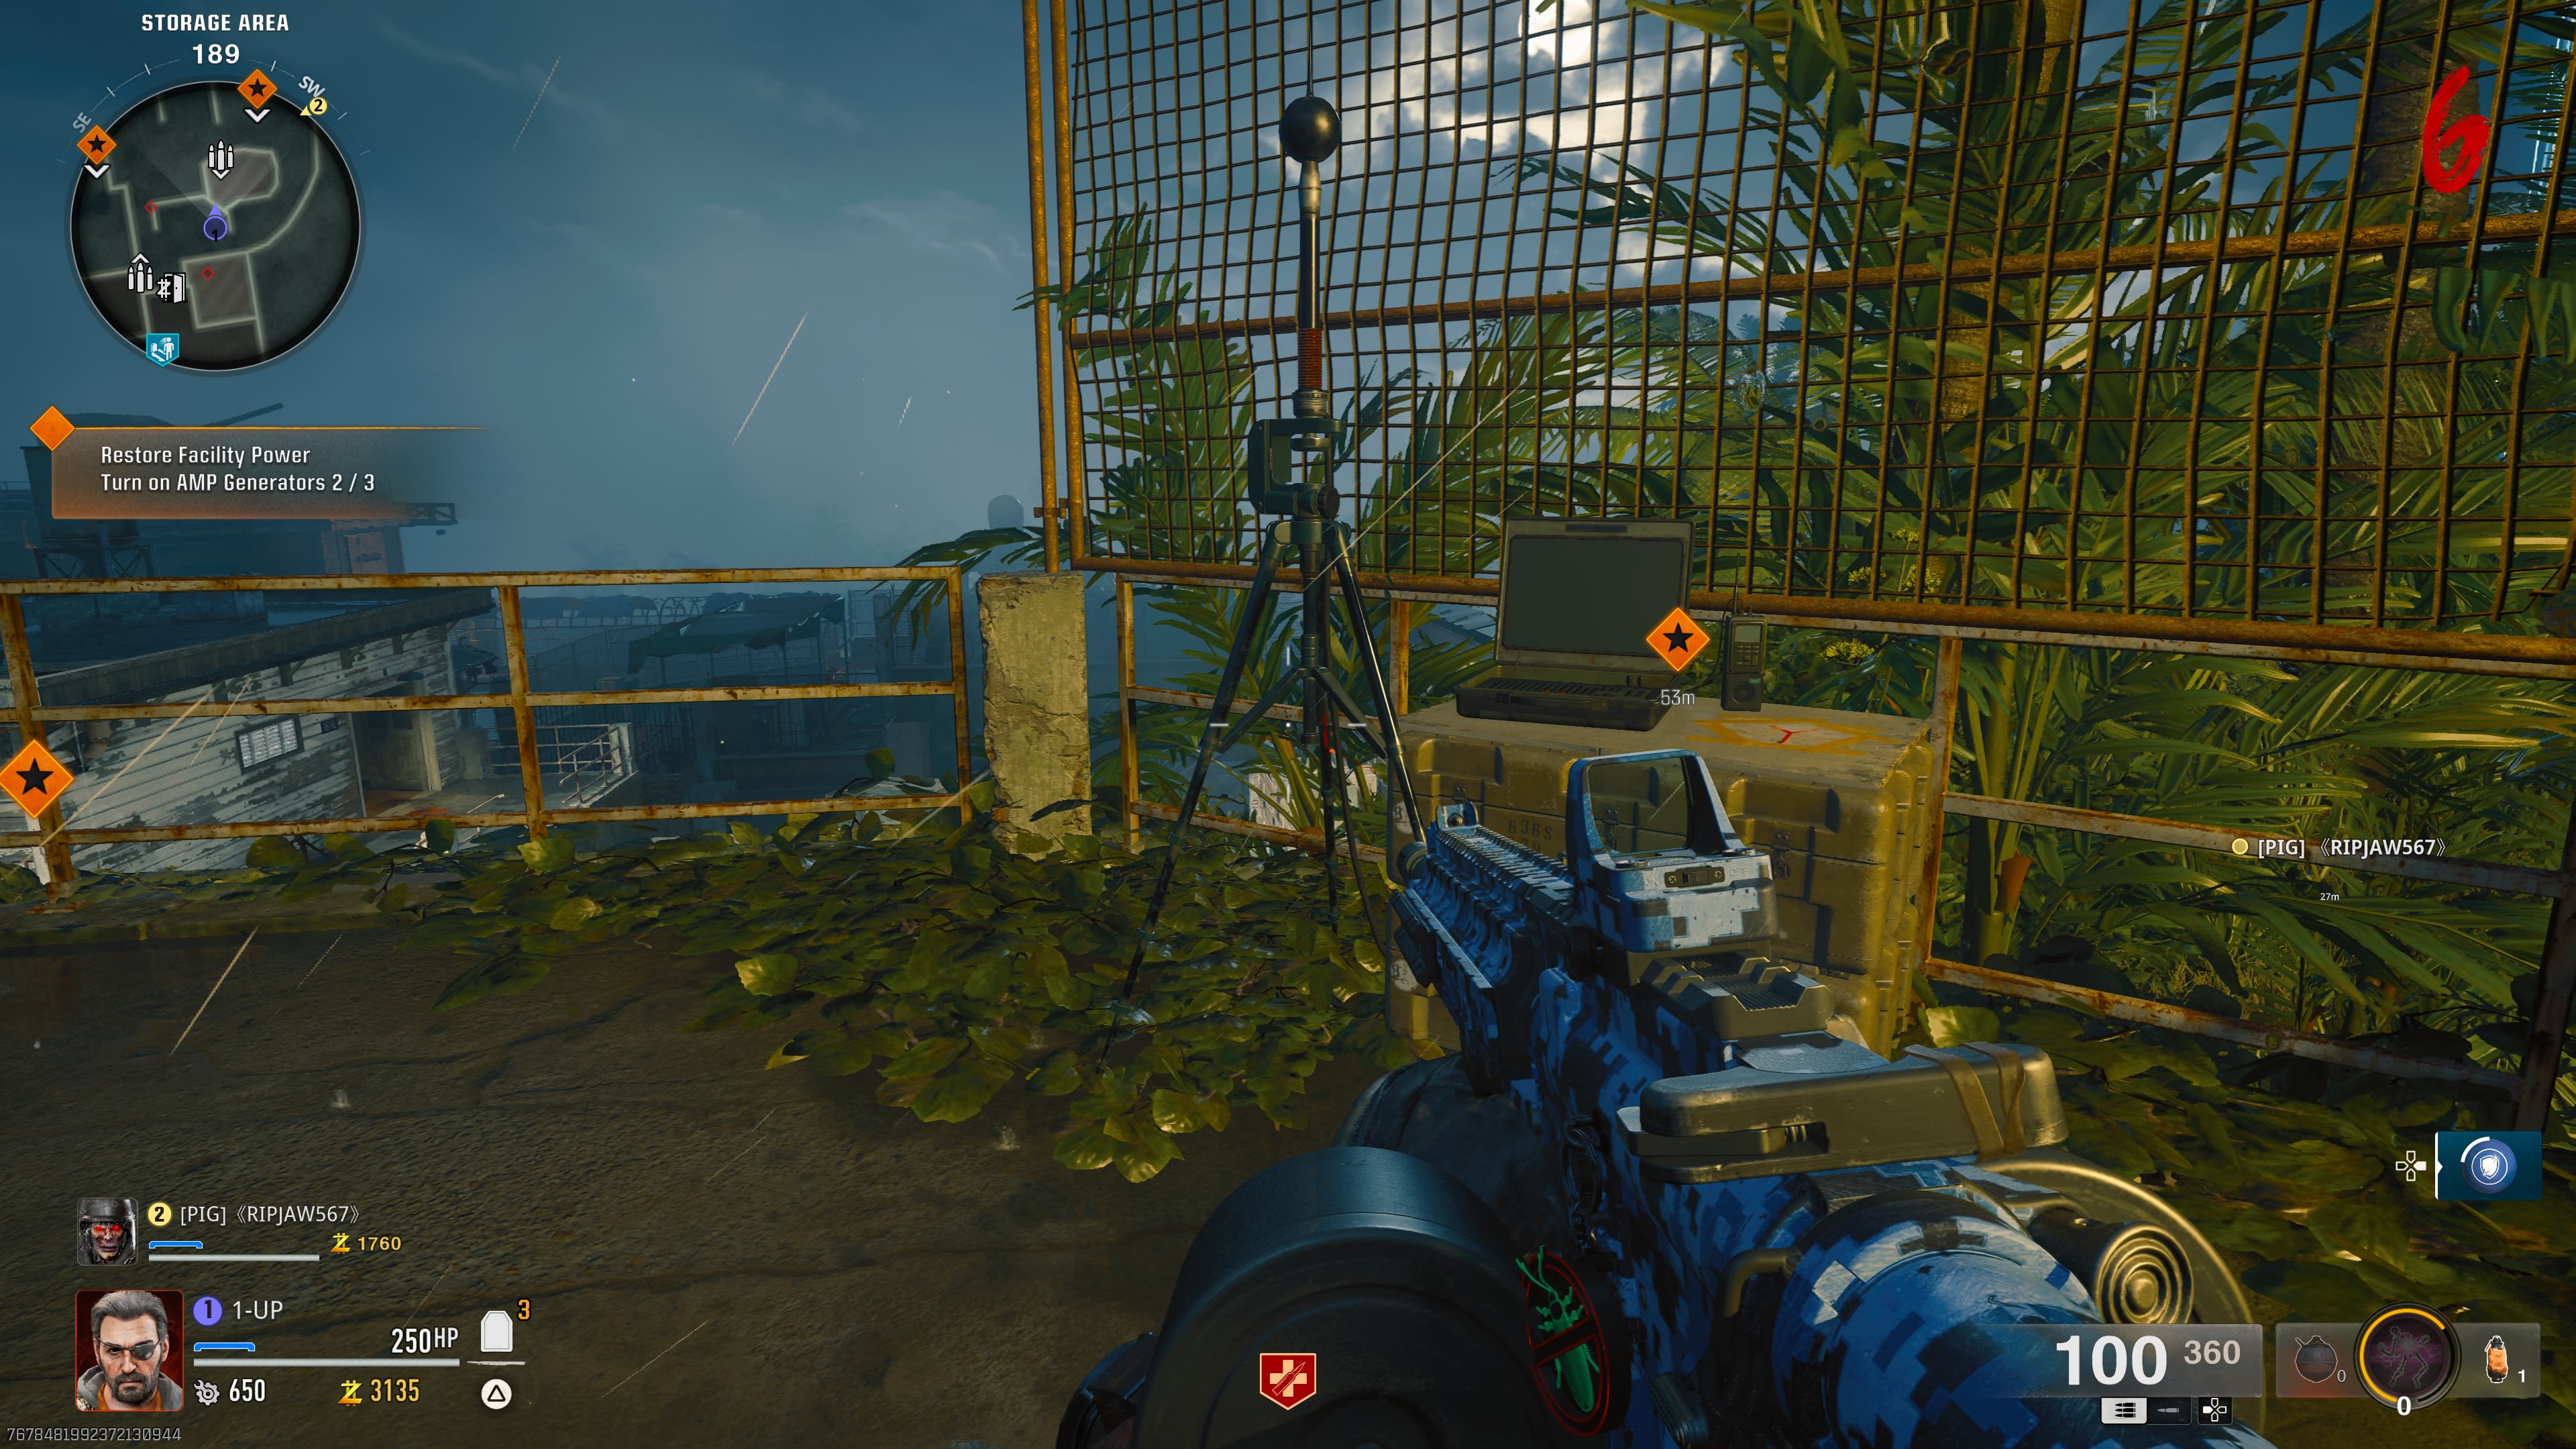
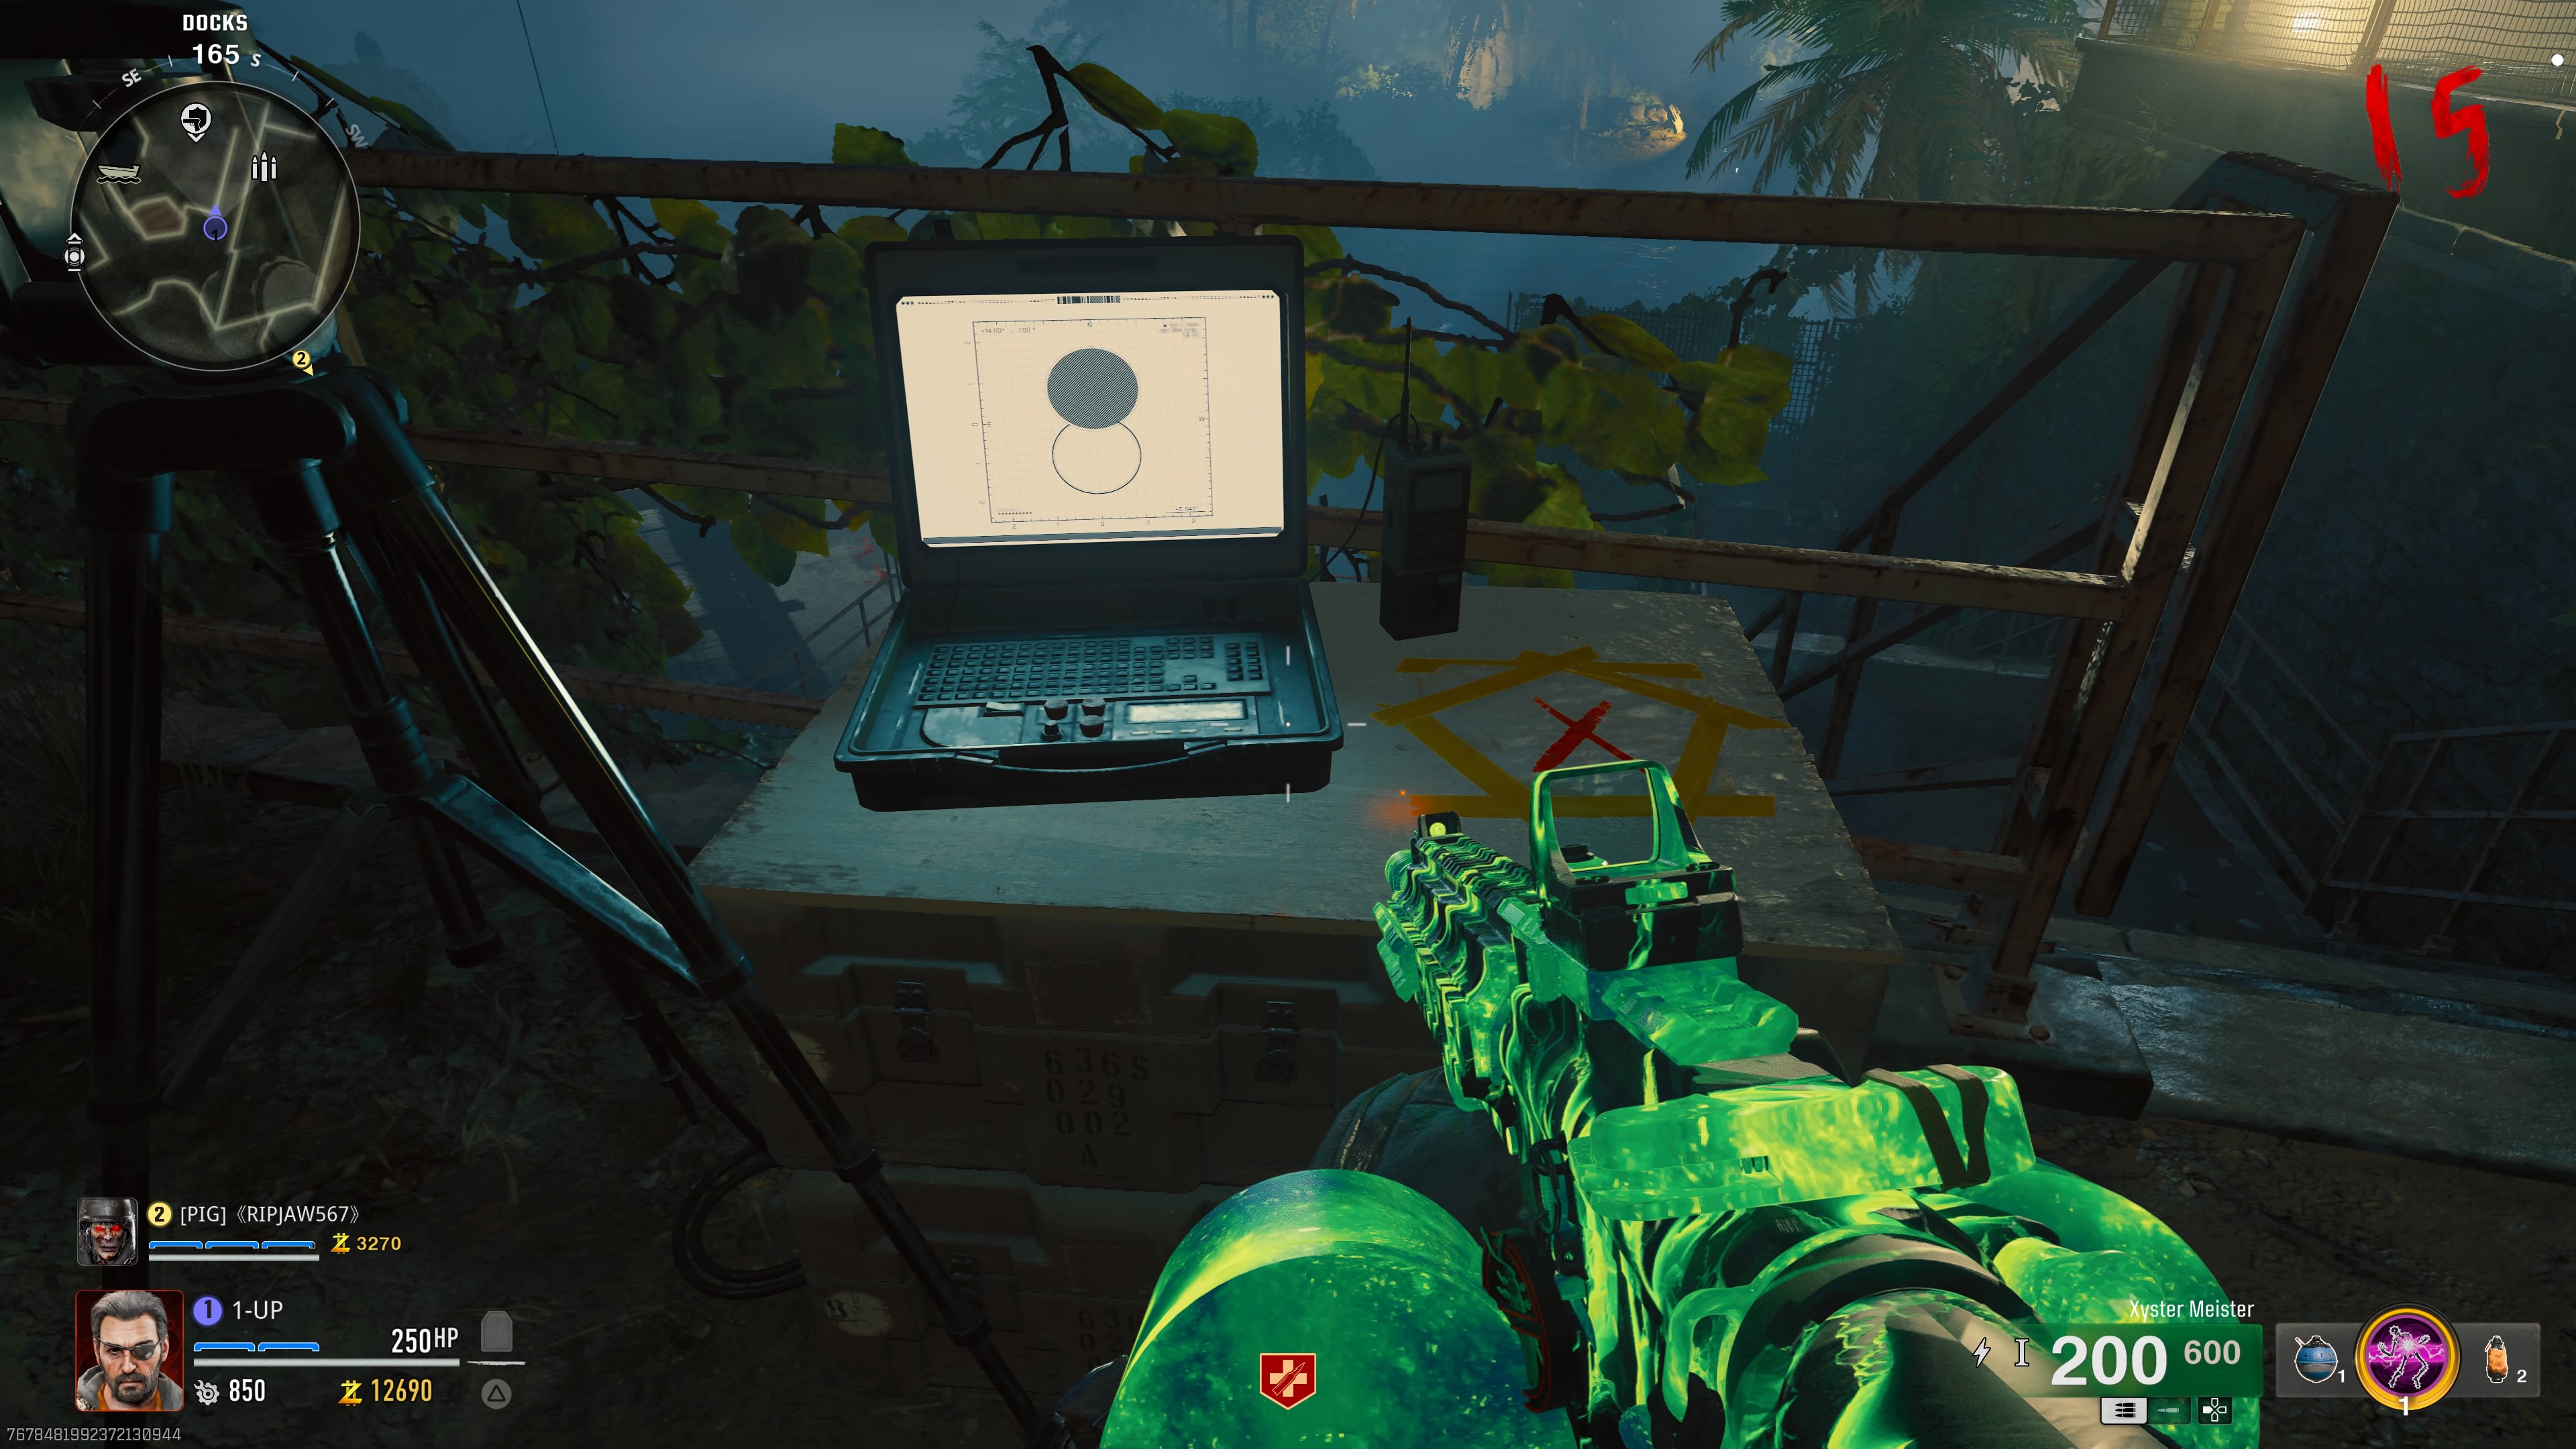
- The first laptop can be found outside the Communications, near where you start the match before entering Living Quarters
- Another laptop is hidden in plain sight in Storage Area, which is to the left of the path leading into the caves to Bio Lab
- The last one can be found at the Docks, overlooking the boat spawn under the Sea Tower
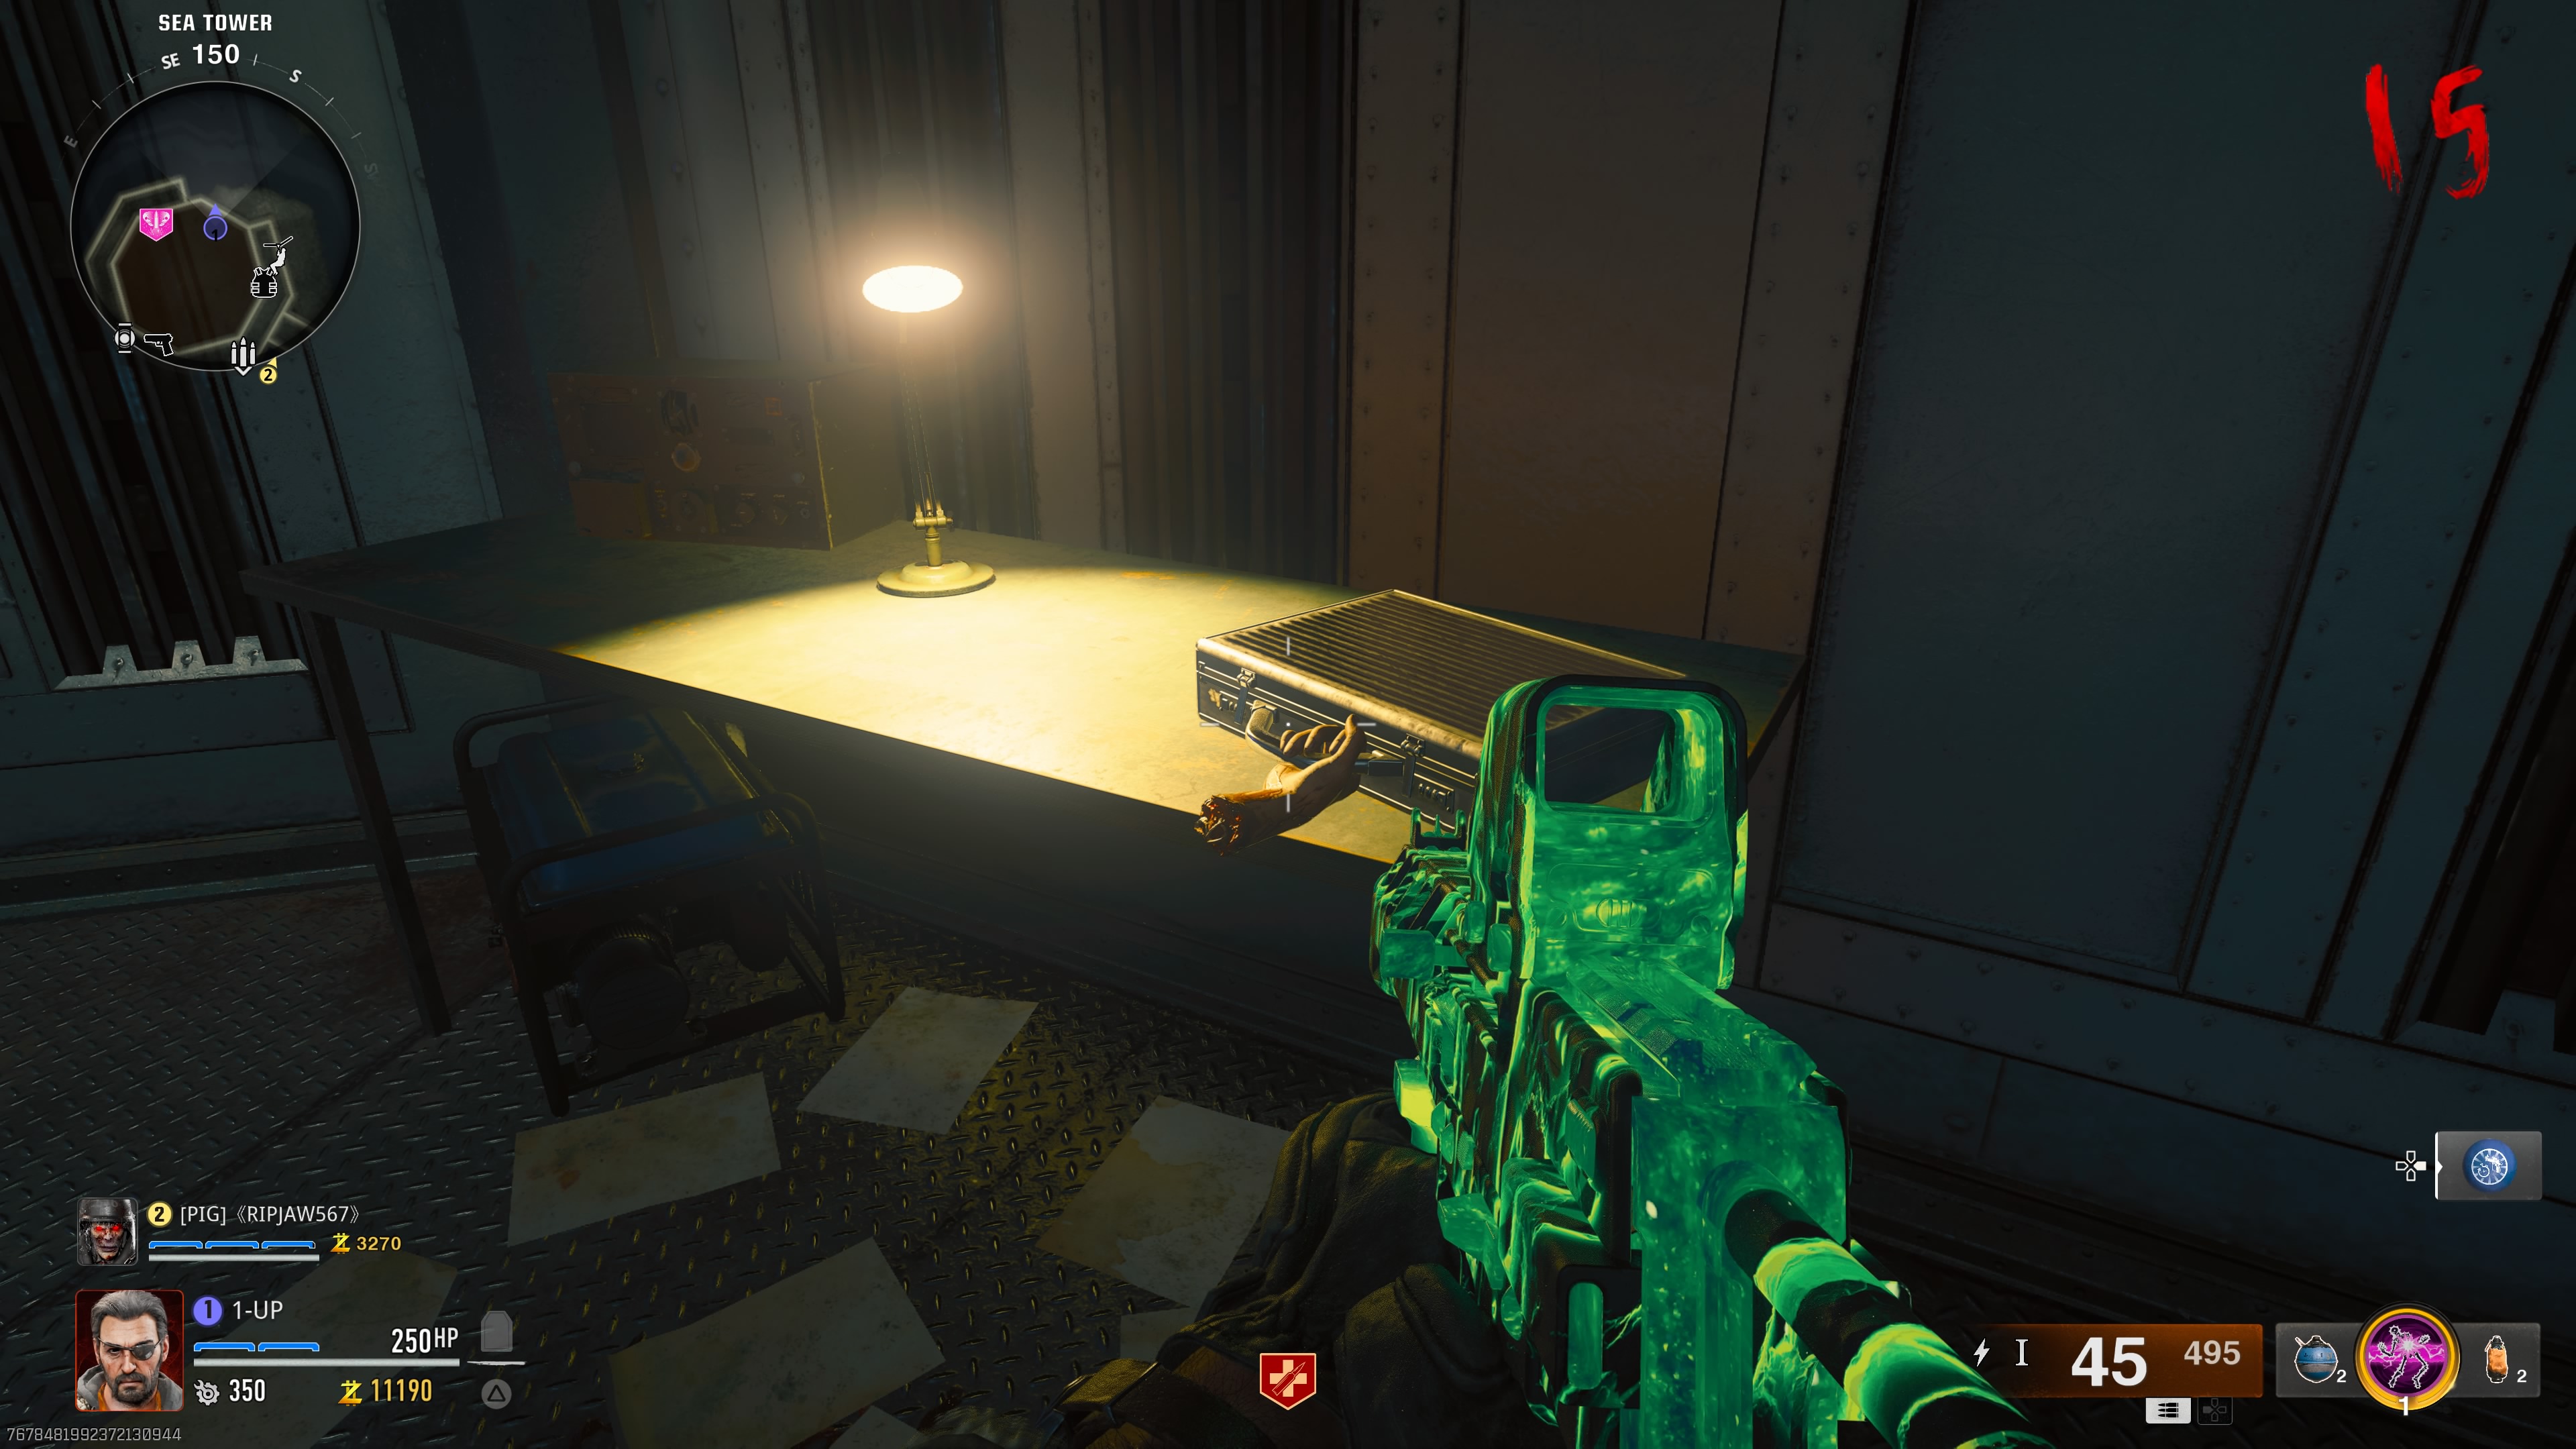
Now, head into Sea Tower where you will find a briefcase with a severed hand clutching it on a desk opposite Elemental Pop. Interact with the briefcase to open it using the EMF Fob and grab the Multiphasic Resonator.
Get the Computer Code.
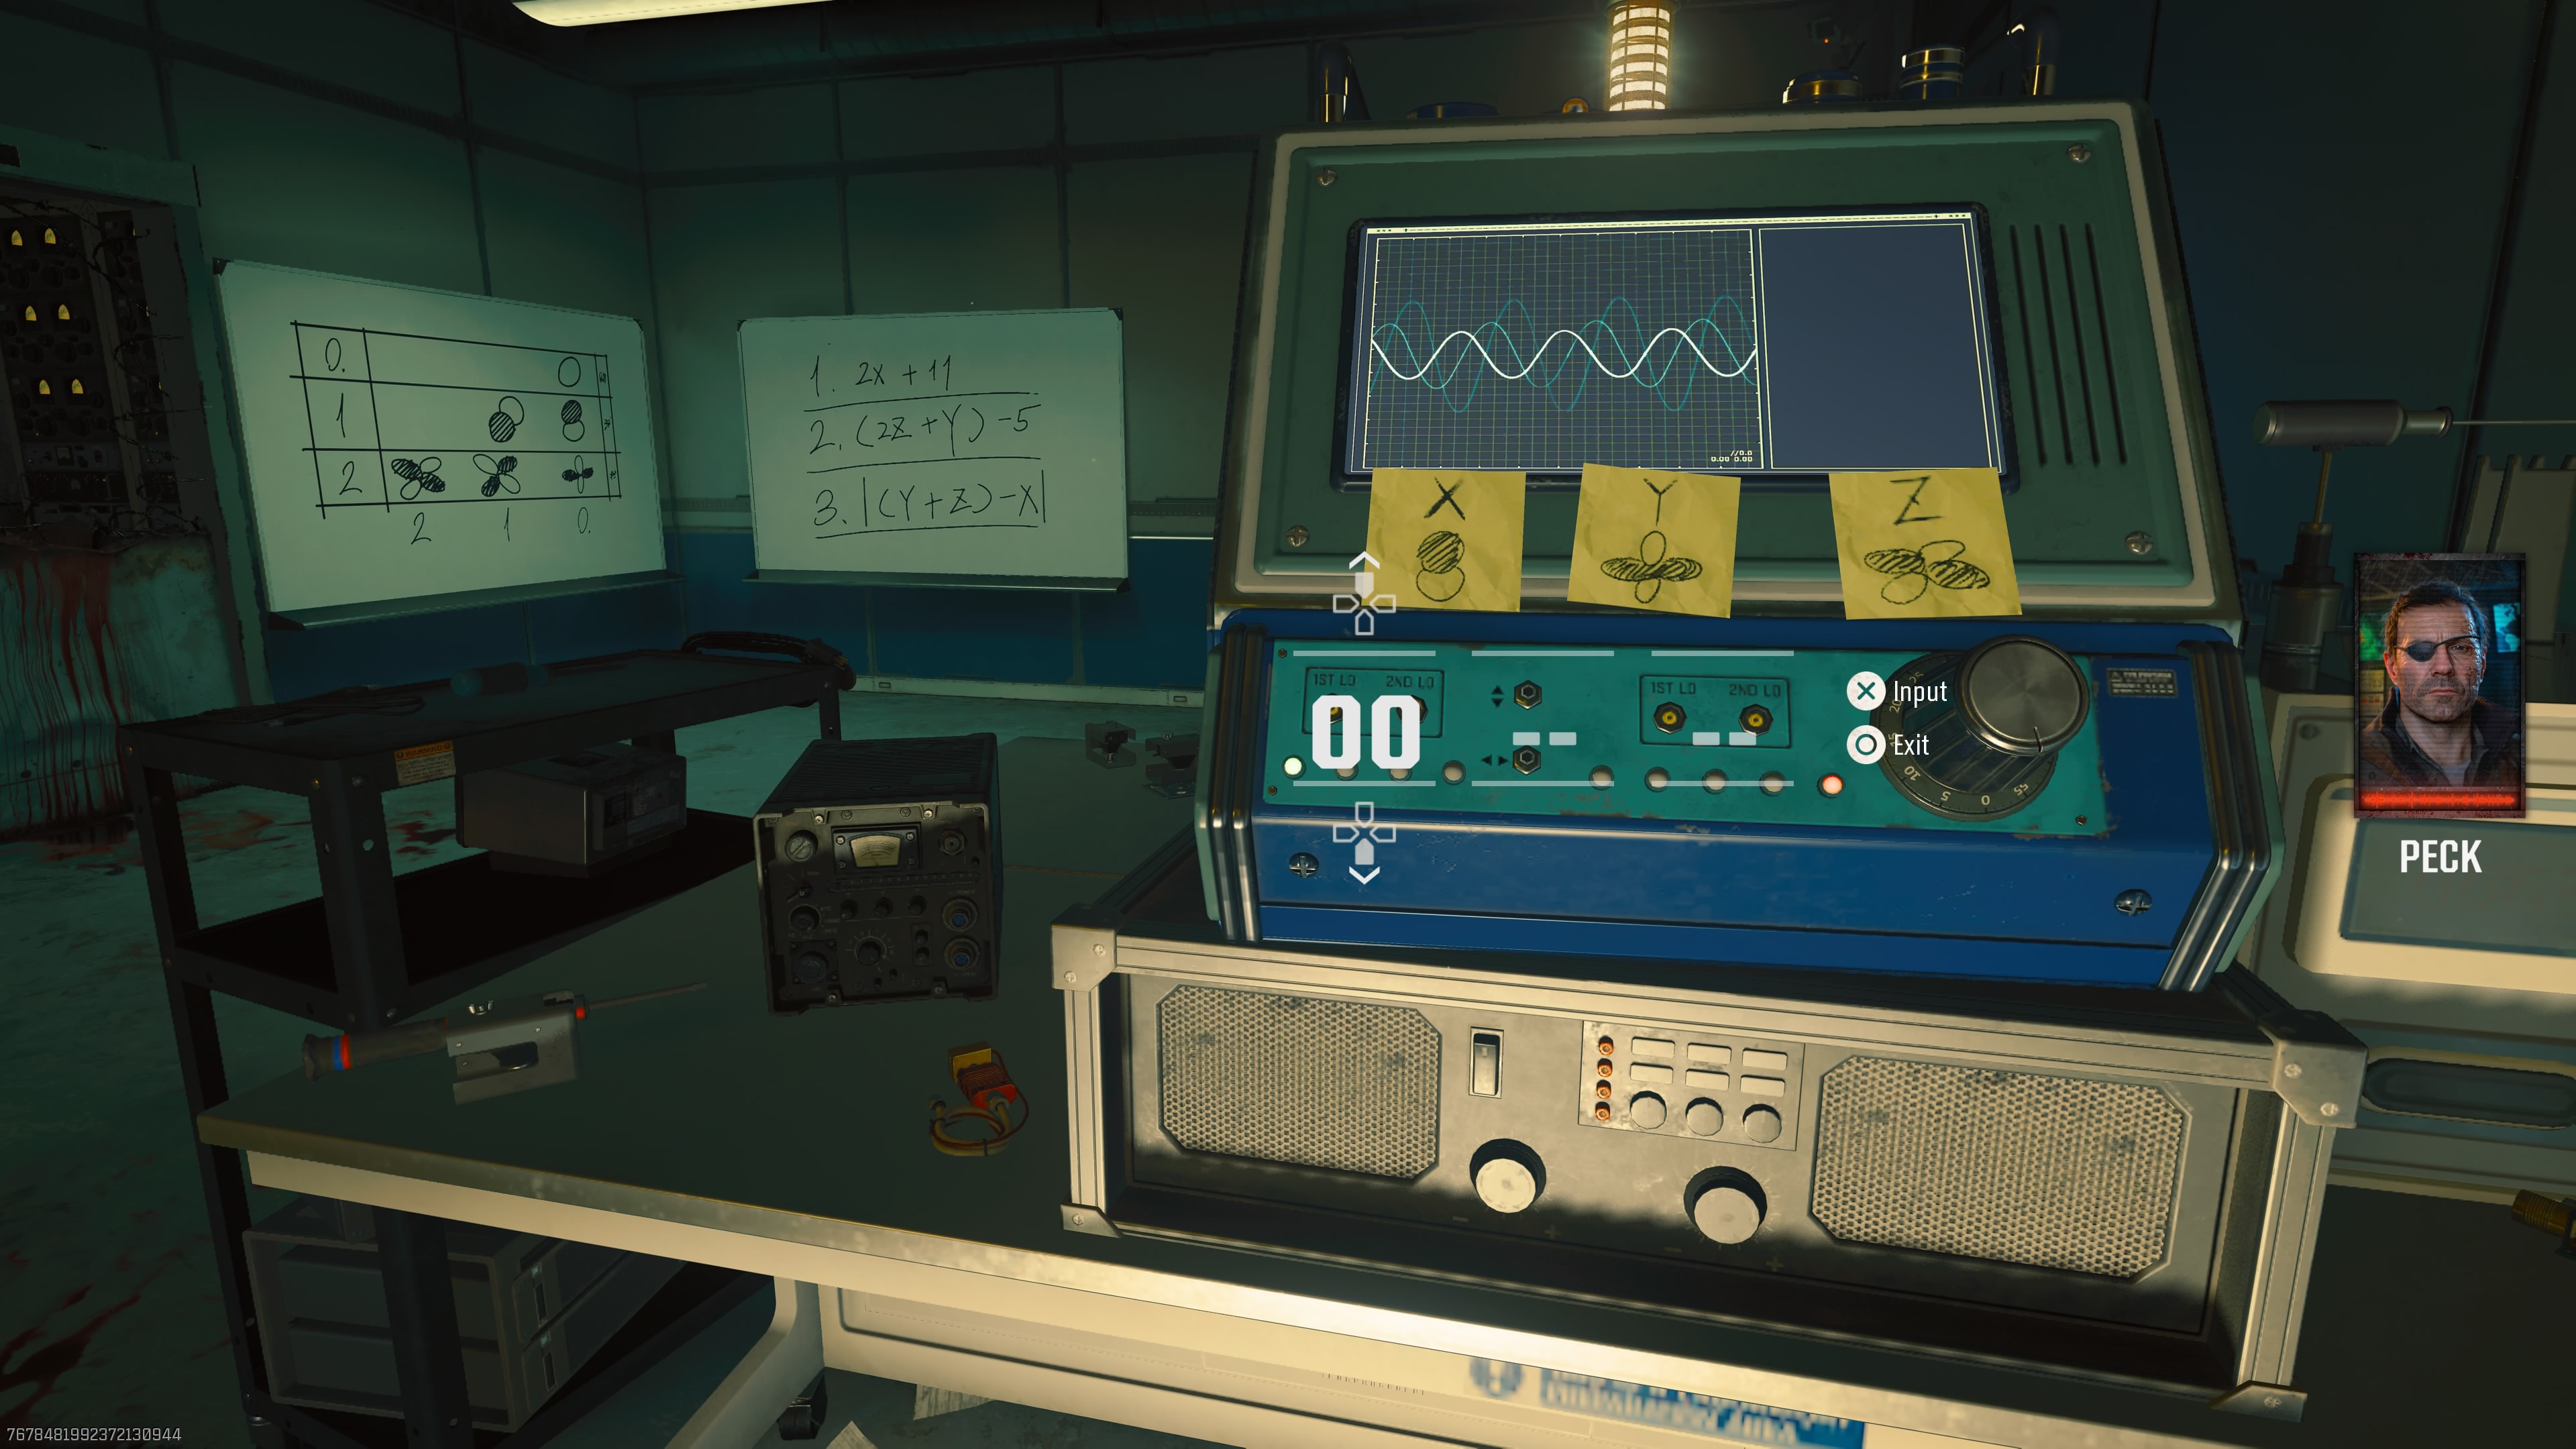
Return to the Research Office and interact with the computer directly ahead of the entrance. This will place the Multiphasic Resonator on the top, at which point you can interact with it again to display a code interface.
In the background, you will have a clear view of two whiteboards containing the means to crack the code, though this involves a complex equation using the symbols on the laptops. To make matters worse, this code will be random each time you play. To save time and bypass this step, it’s best to get $5,000 and speak to Peck who will give you the answer via a computer screen to his left.
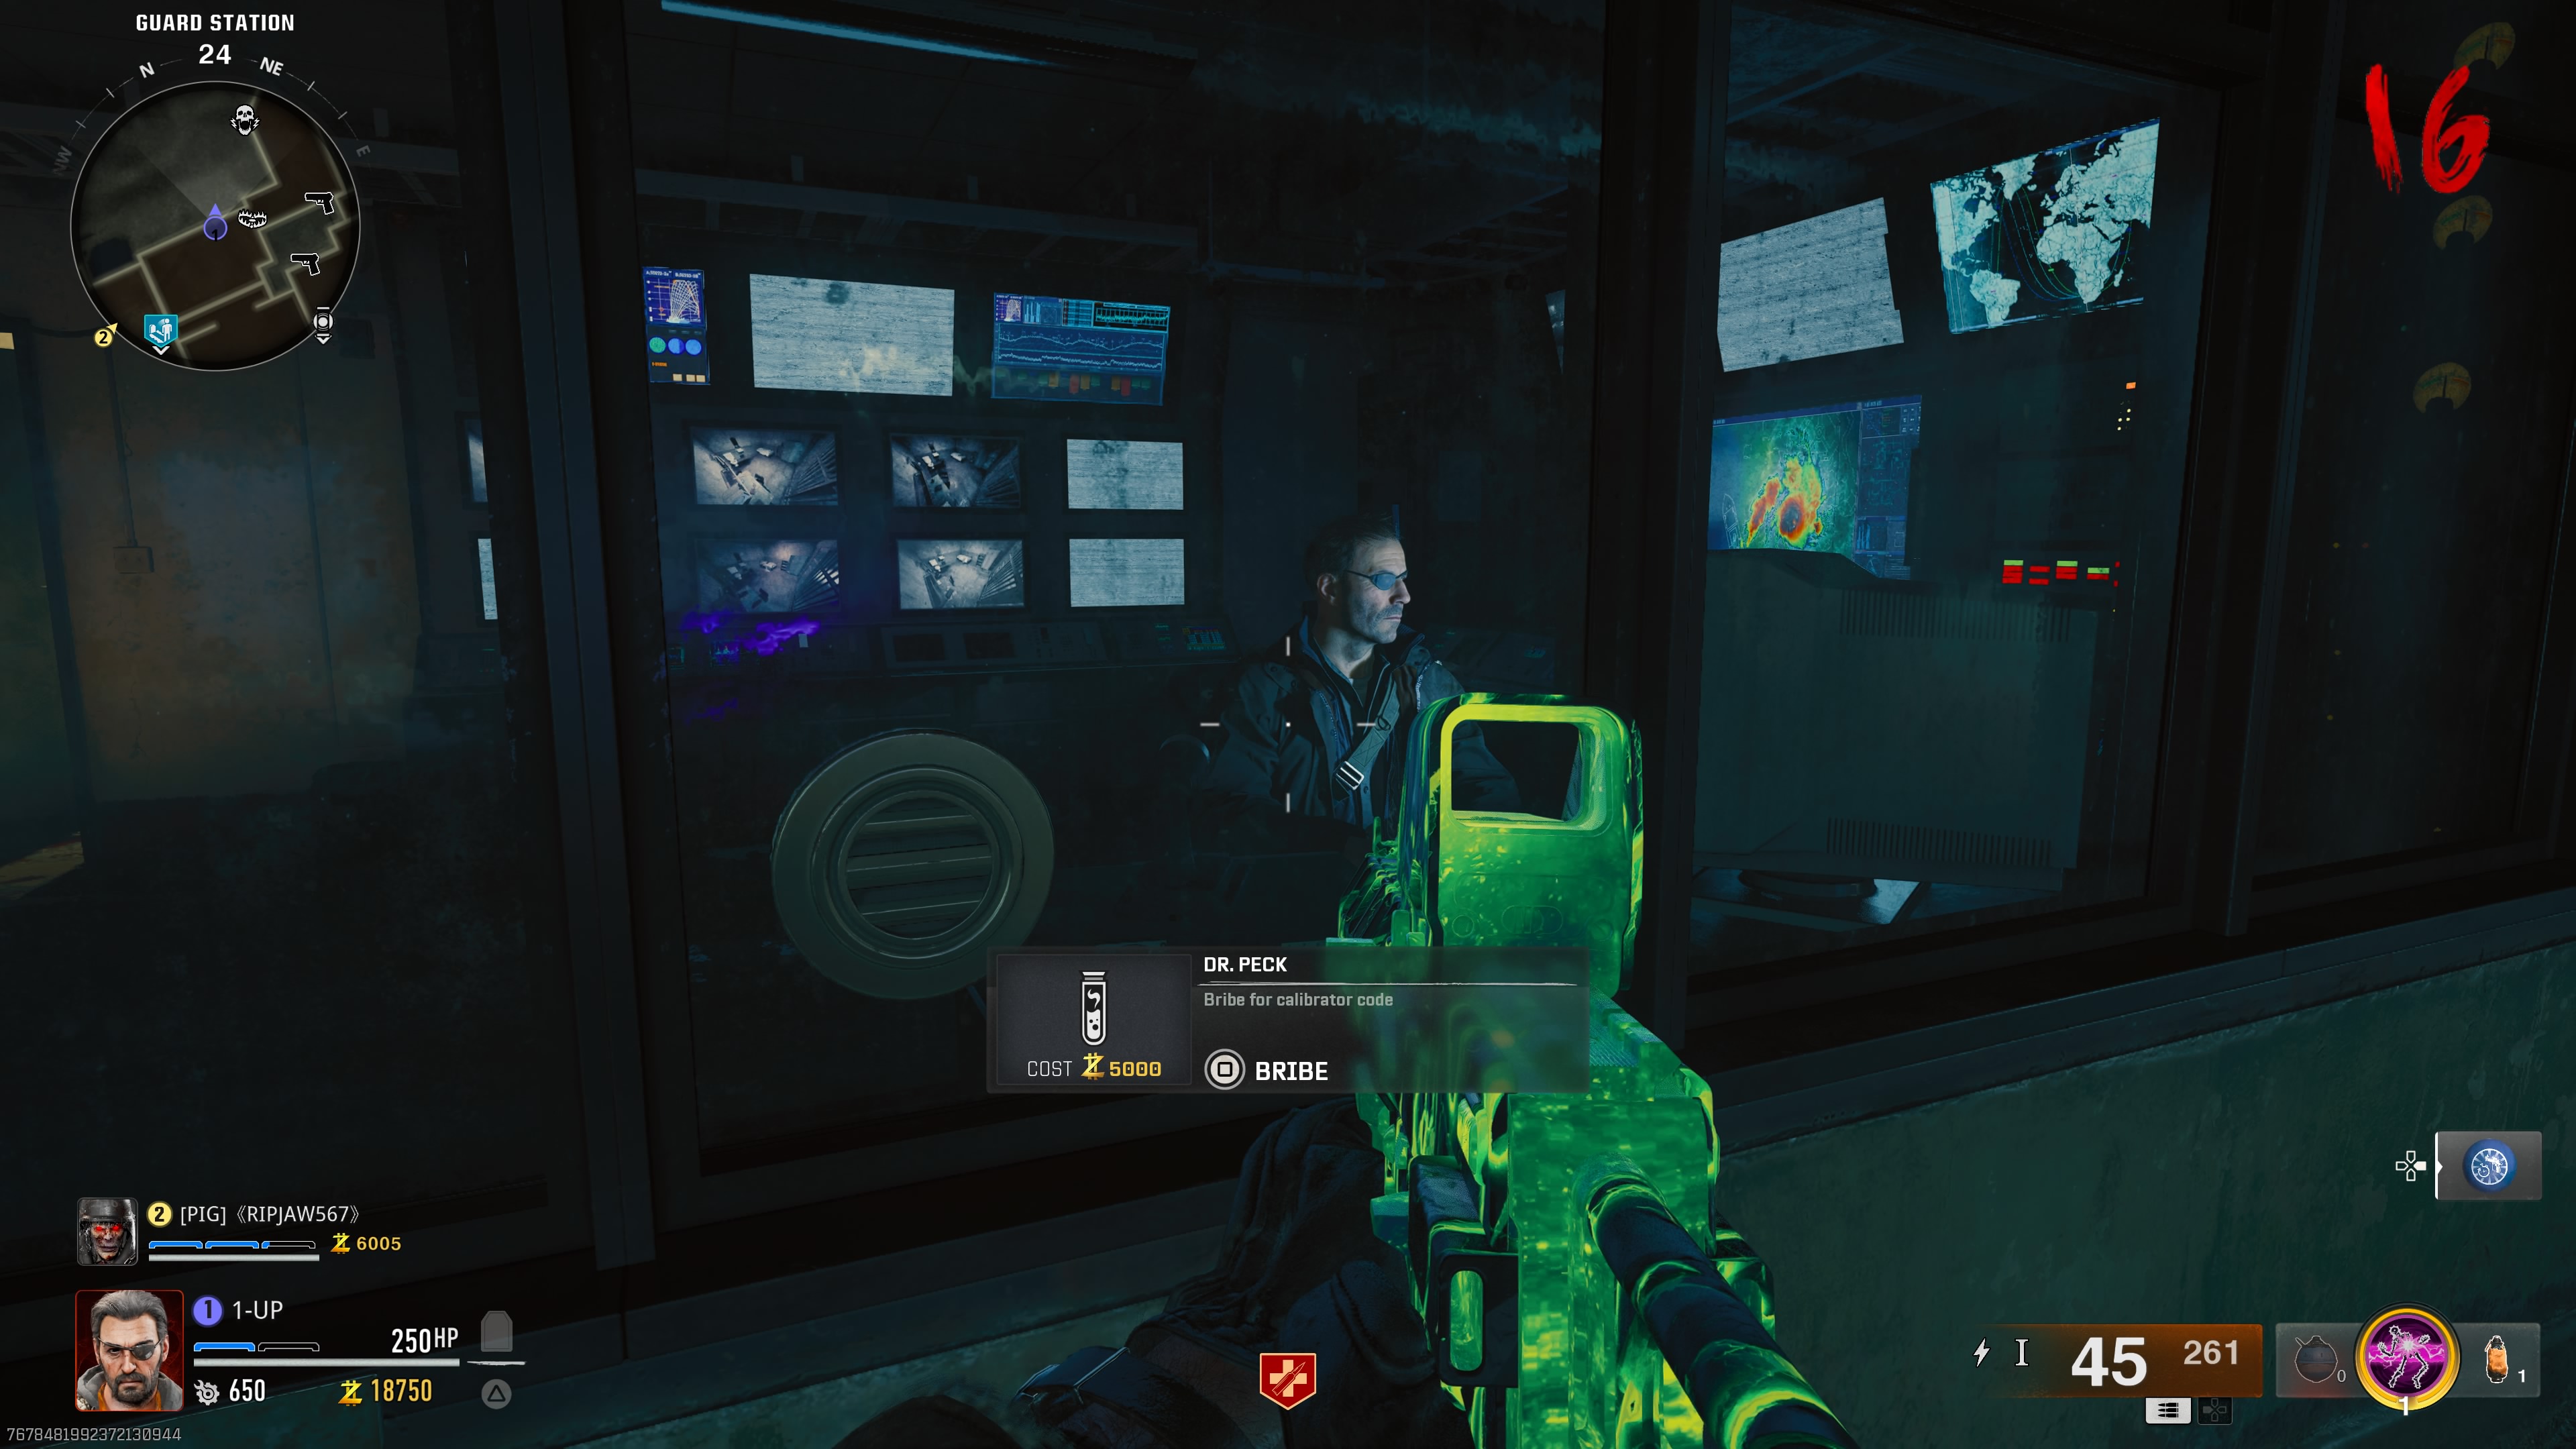
Peck can be found by leaving the Research Office and turning right to head through Storage Area and into the Guard Station, where you spawn at the start of Terminus. Peck will be behind the large glass window.
Whichever way you acquired the correct code, enter it into the computer in Research Office and the display will start highlighting various islands around the map. Complete one round and the computer will then pinpoint one island in particular that you will need to head to. This could be either Castle Rock Island, Crab Island, or Temple Island.
Before you leave, make sure to pick up the Multiphasic Resonator by interacting with it on top of the computer again. This is the first part of the Beamsmasher.
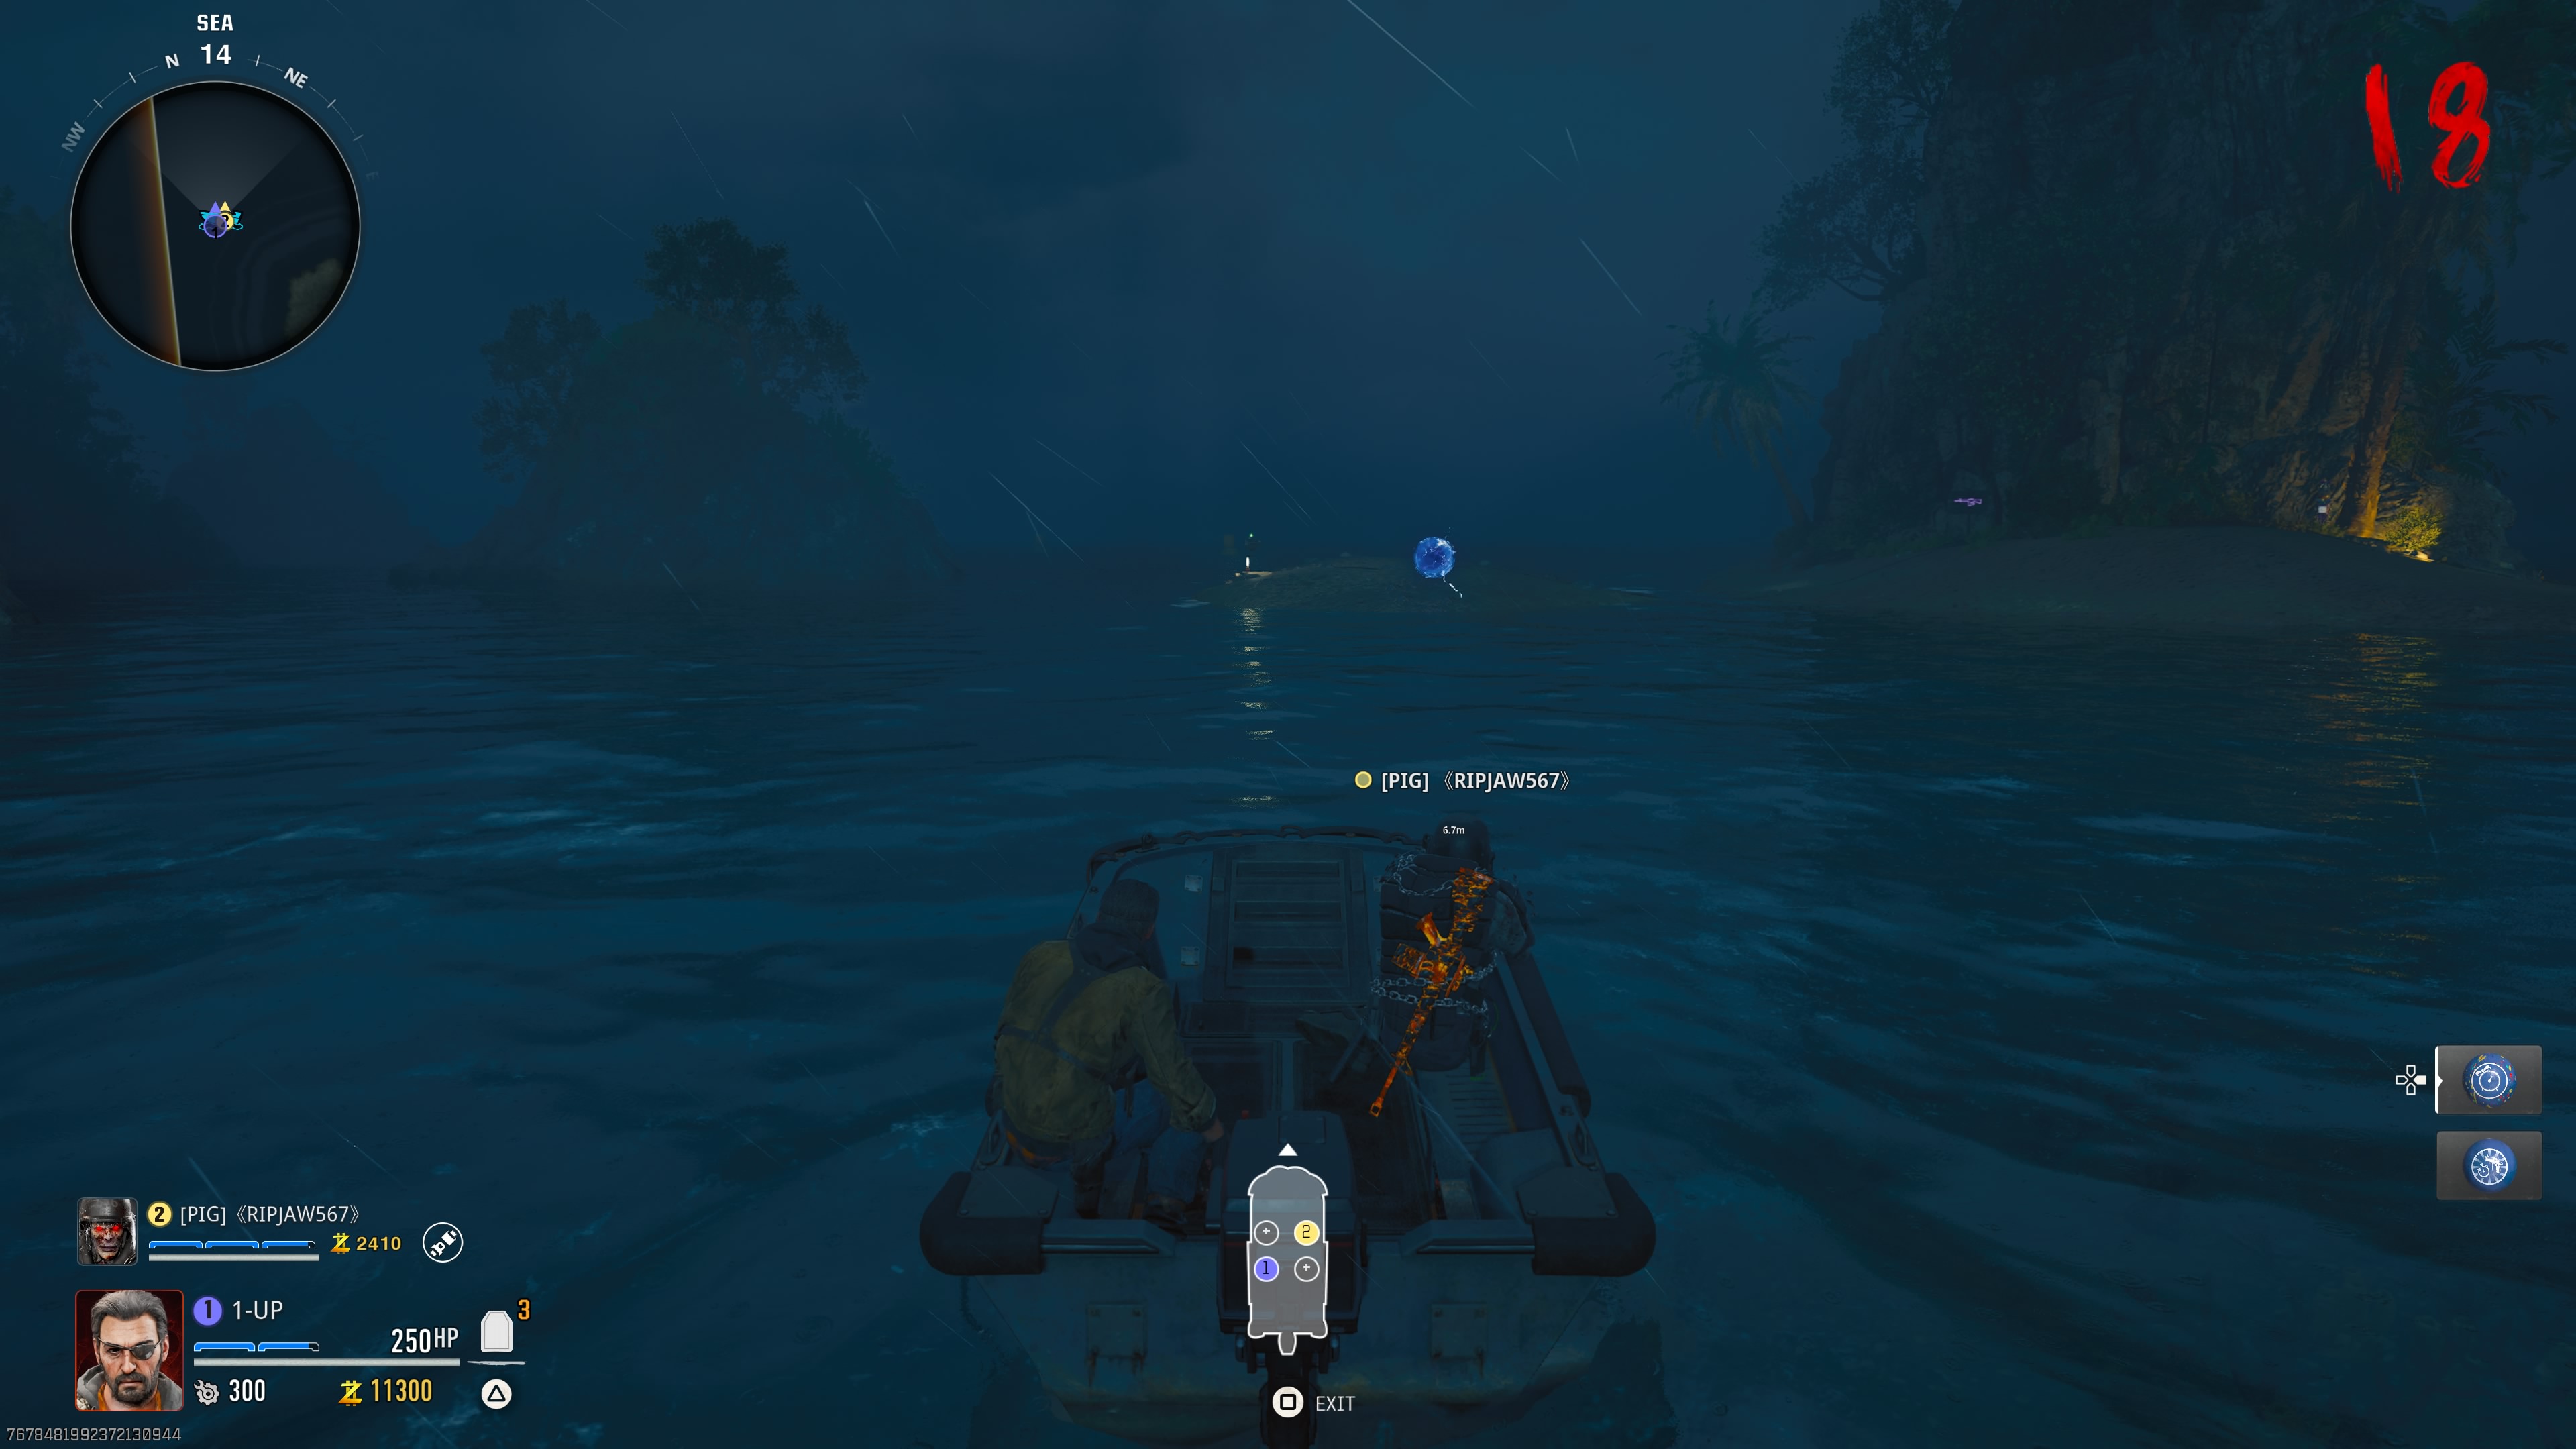
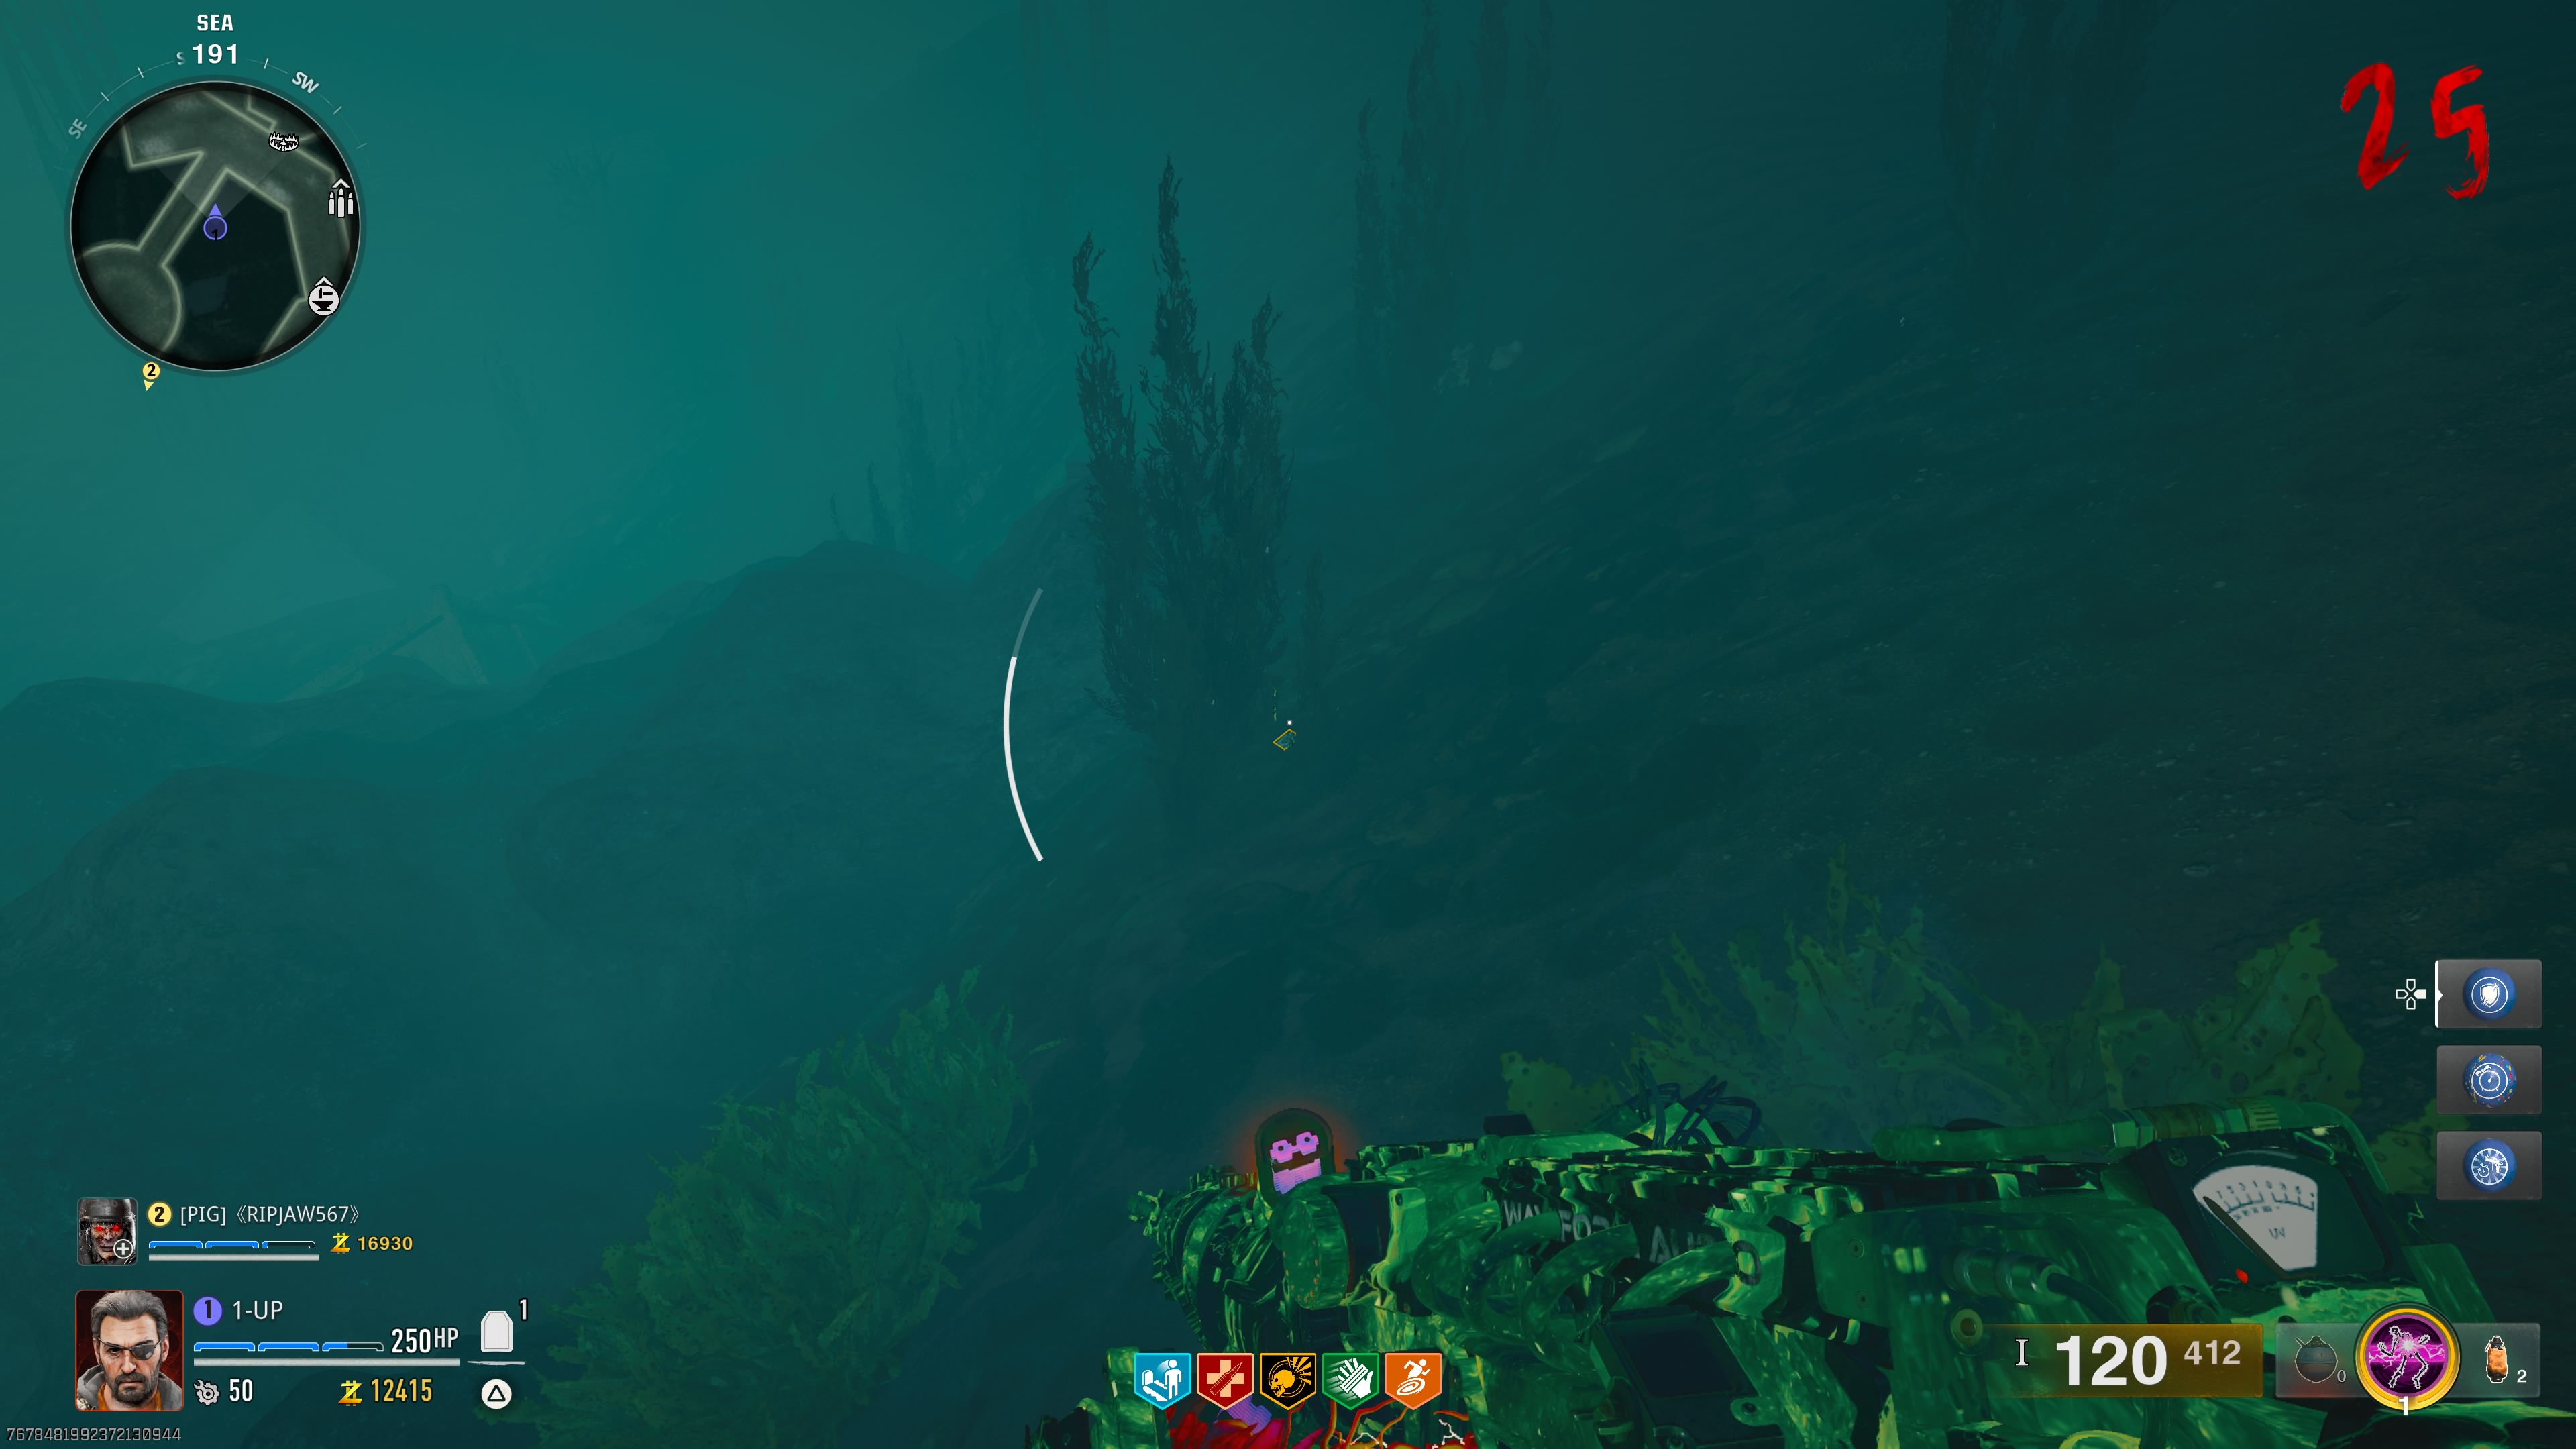
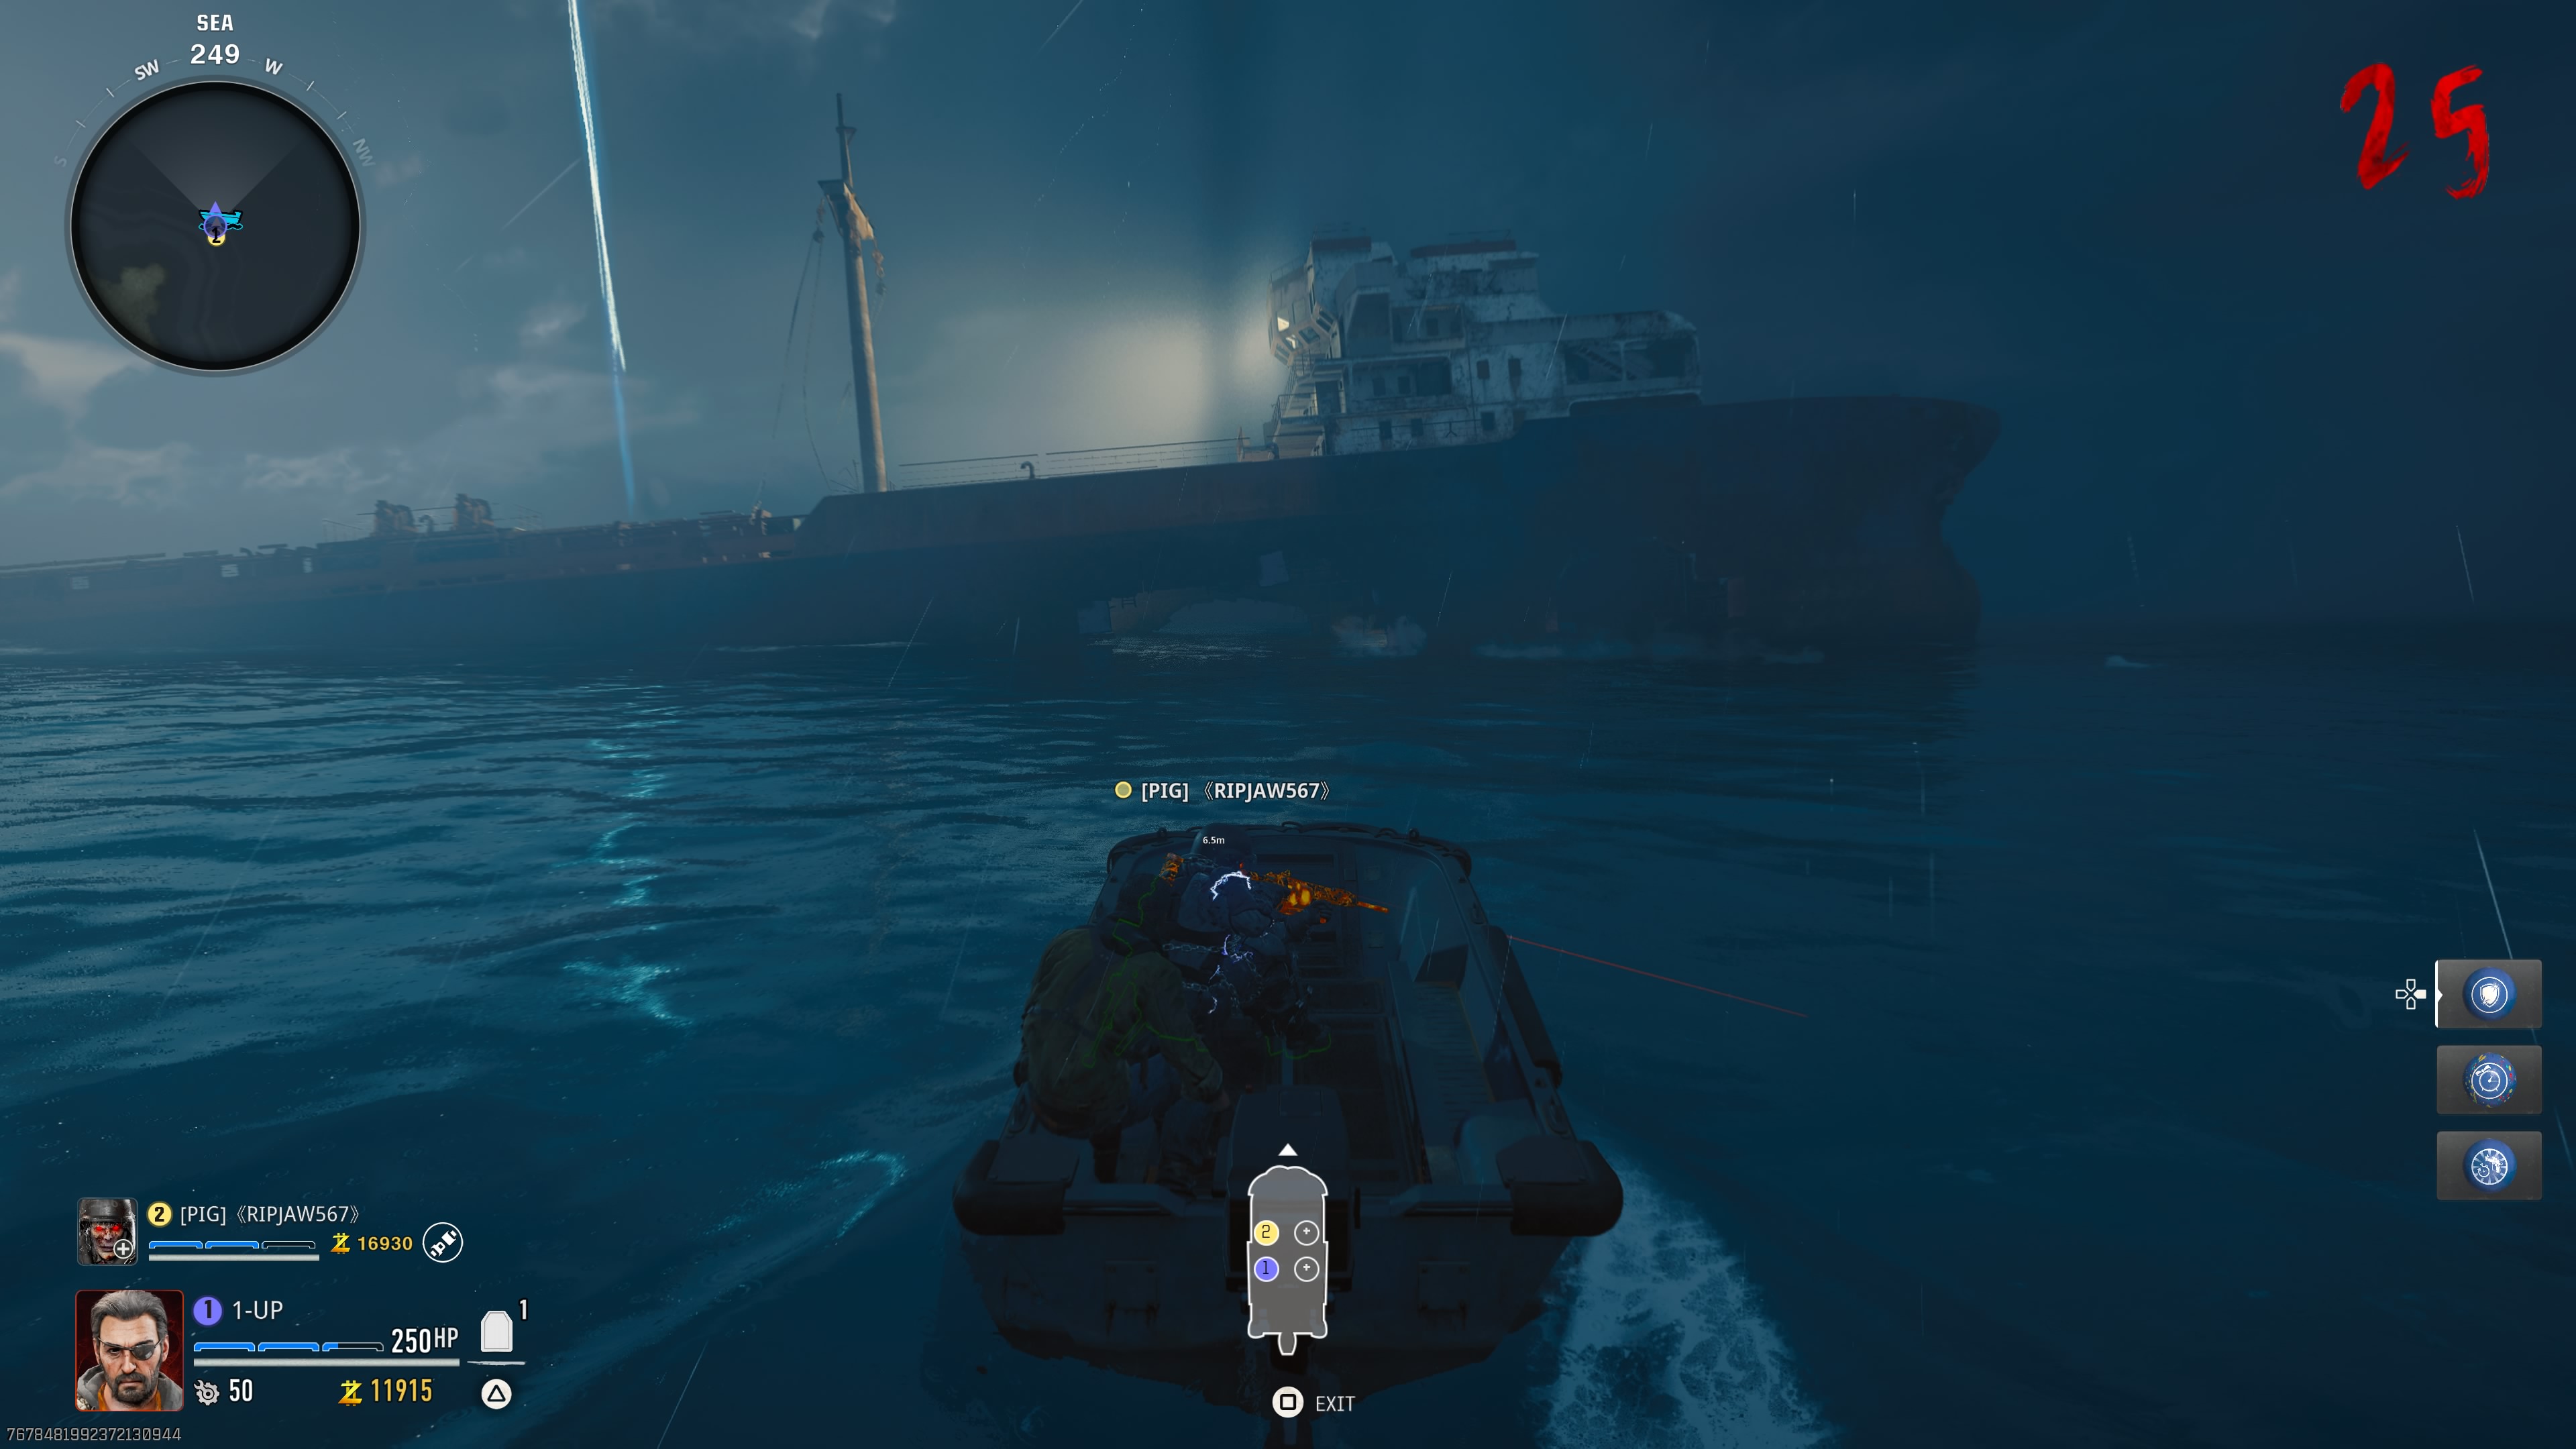
Head down to either the Docks under Sea Tower or the Bio Lab, spawn a tactical raft and travel to the island that was displayed on the computer. For me, it was the island to the east known as Castle Rock Island. This begins the process of acquiring the Beamsmasher parts.
Locate the other Beamsmasher parts
Sail to the correct island and you will see a large blue orb pulsing with energy. Interact with the orb to begin a challenge that will spawn waves of zombies. Occasionally, a zombie will glow blue. Defeat this marked enemy and it will drop an orb, which you must pick up and run into the large blue orb. Repeat this process two more times and this orb will disappear, dropping another Multiphasic Resonator.
You will need to repeat this process on the other two islands. However, it can only be completed in a specific order: blue, green, purple. If the island you head to doesn’t have an orb yet, then you’ve skipped an island.
After you’ve cleared the orbs on each island, finishing with the purple orb, it will drop the AMP Munition. This is the second part of the Beamsmasher.
The third and final part of the Beamsmasher is, thankfully, much easier to get. Simply make your way to Engineering back on the main island (east of Living Quarters) and look for the Battery on the desk in the middle of the room.
Return to the Research Office and interact with the Workbench to craft the Beamsmasher Wonder Weapon. Now, you’re ready to start the main easter egg quest for real.
Beamsmashing Tentacles: Get the Hard Drive
The first true step of the Terminus easter egg is to acquire a Hard Drive. To do this, head into the Bio Lab and find the Tentacle Trap which has a broken vent above it. There are two Tentacle Traps in Bio Lab and the correct one will be random each game. If you can’t find the correct trap, then it’s possible that it could also be the Tentacle Trap in Living Quarters, though this is less likely.
Activate the trap and continuously fire the Beamsmasher at the tentacles until they drop the Hard Drive item on the ground. If you can’t activate the trap, then it’s because you haven’t yet opened the door it’s covering.
Once you have the Hard Drive, return to Peck in the Guard Station and deposit it in the box at the bottom of the window. Afterwards, Peck will send you off to find Nathan in the Bio Lab.
How to get Nathan’s Code
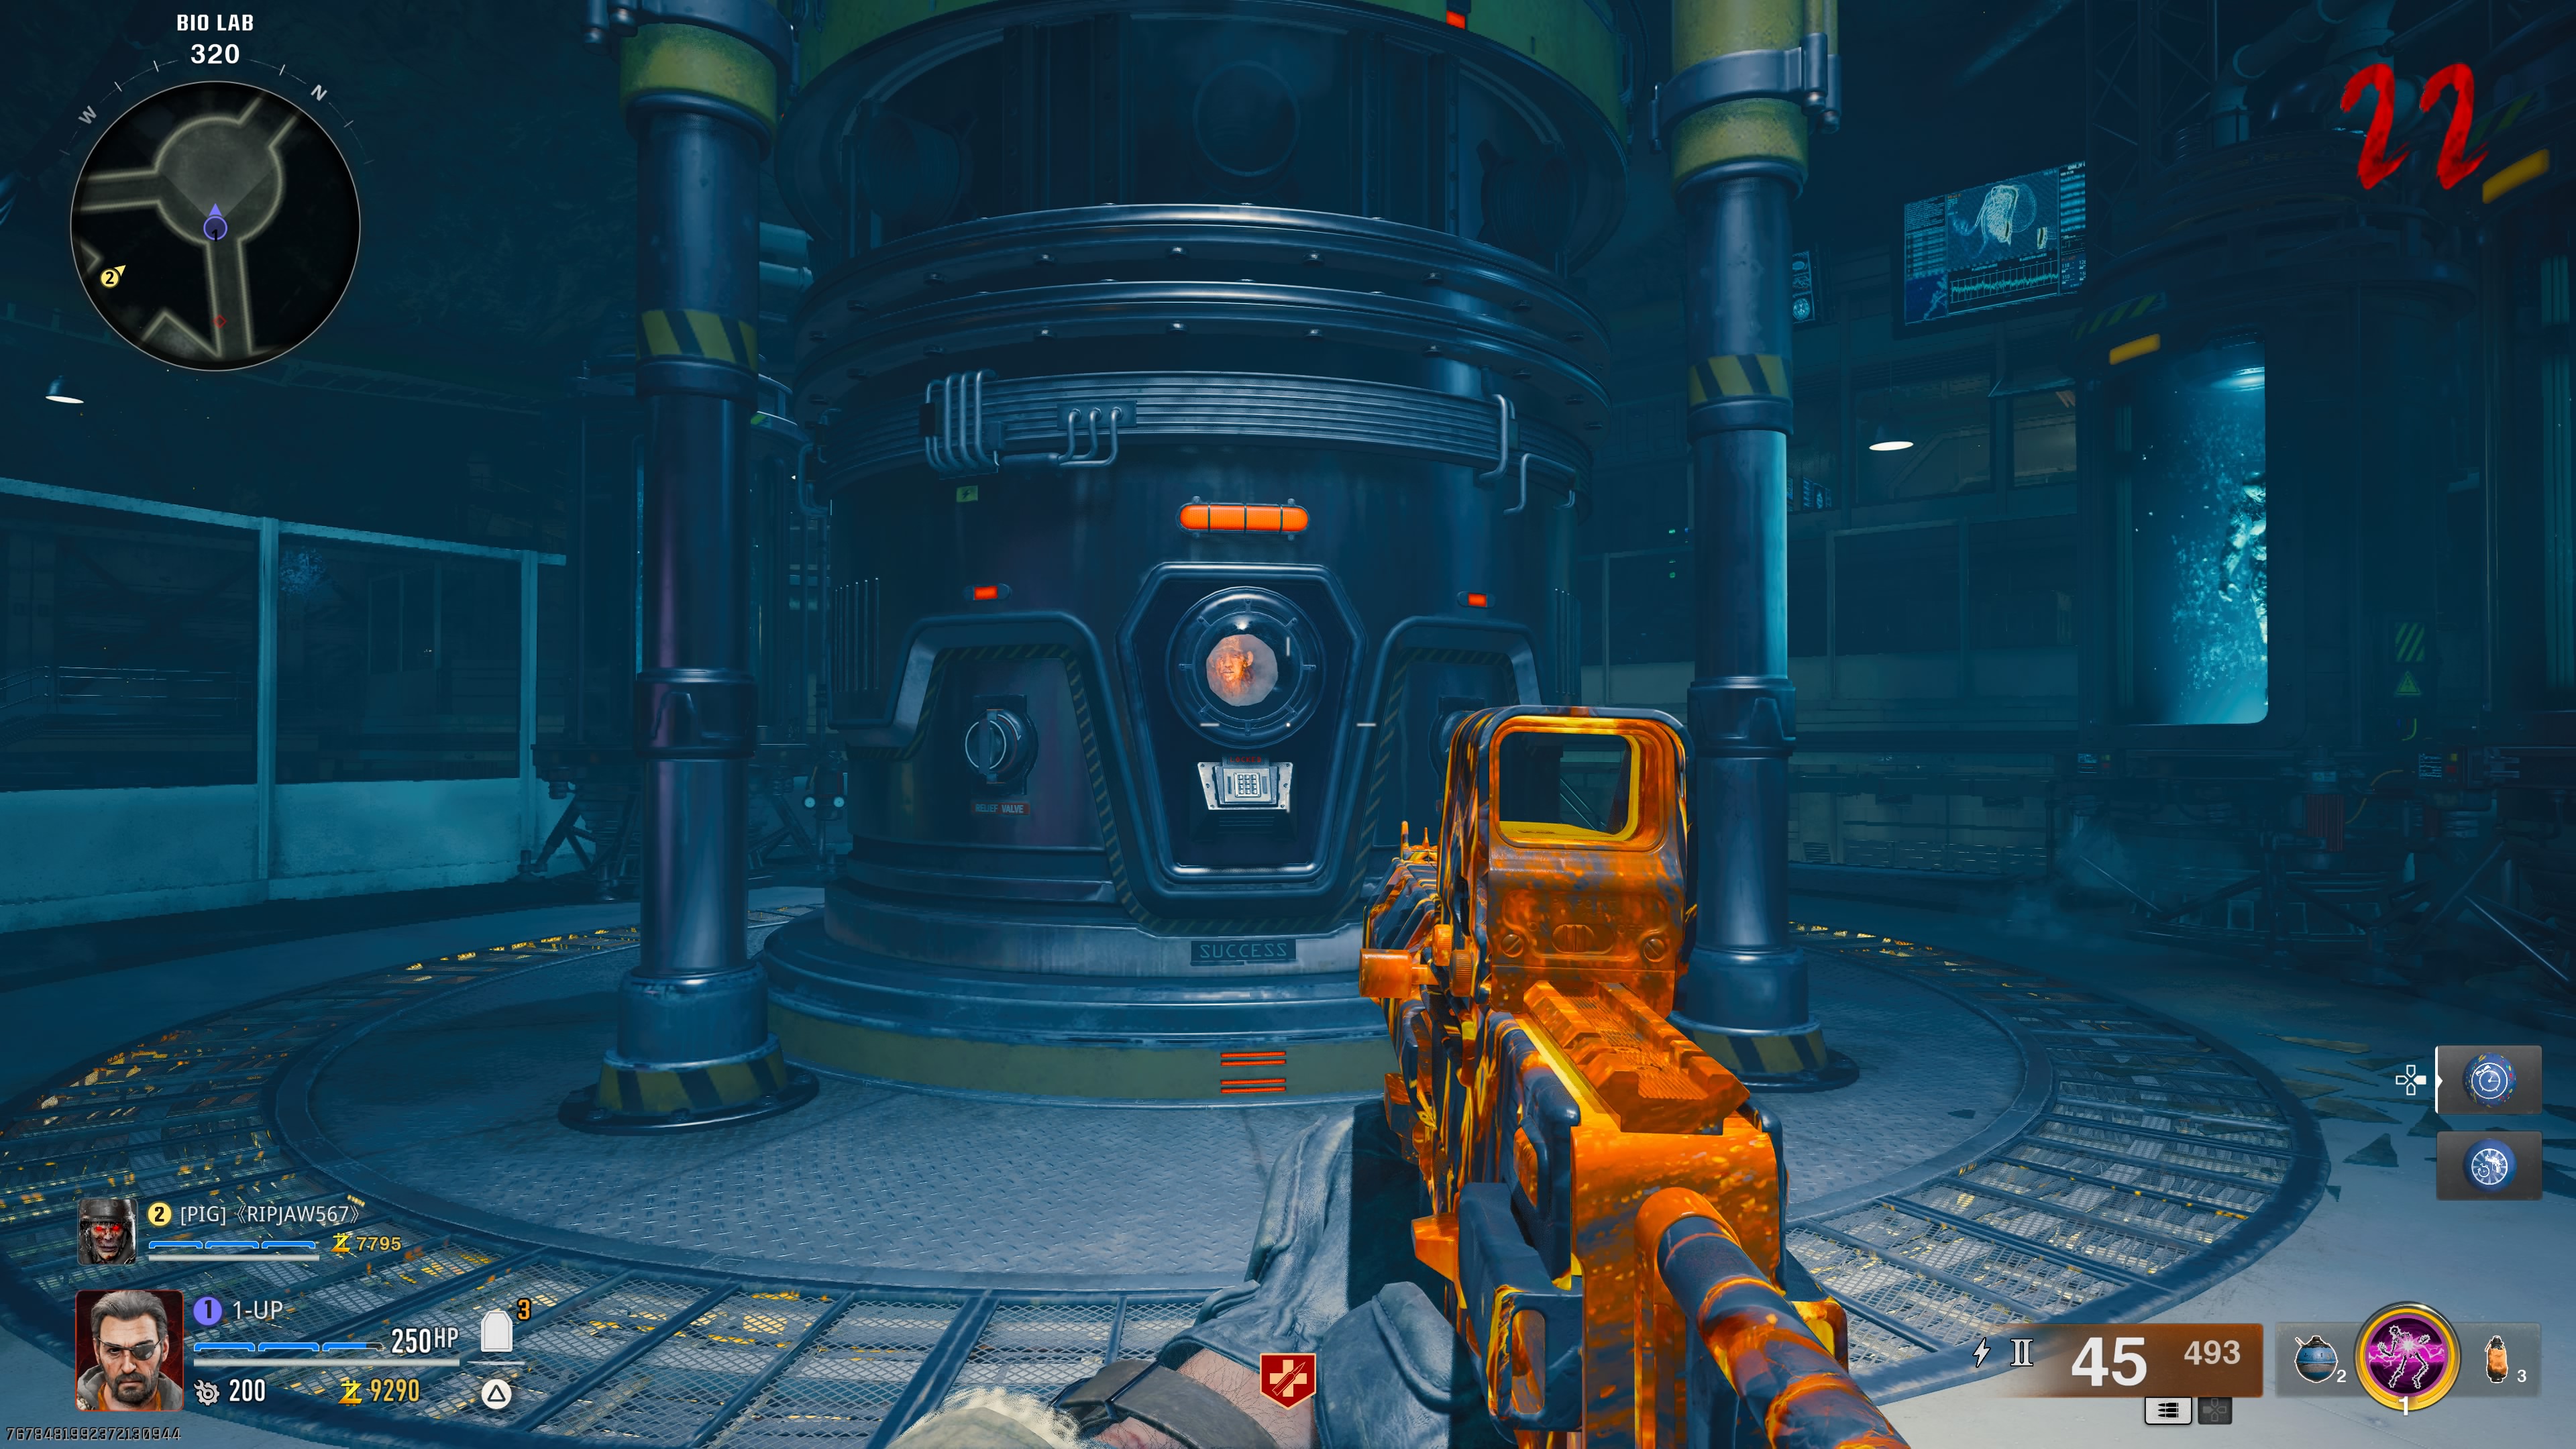
Go to the Bio Lab and head to the centre of the room, next to the AMP Generator. Here, interact with the window above a small keypad on the large chamber. Nathan will appear in the window. Your next goal is to rescue Nathan from his chamber by finding the three-digit code to the keypad below his window:
First digit
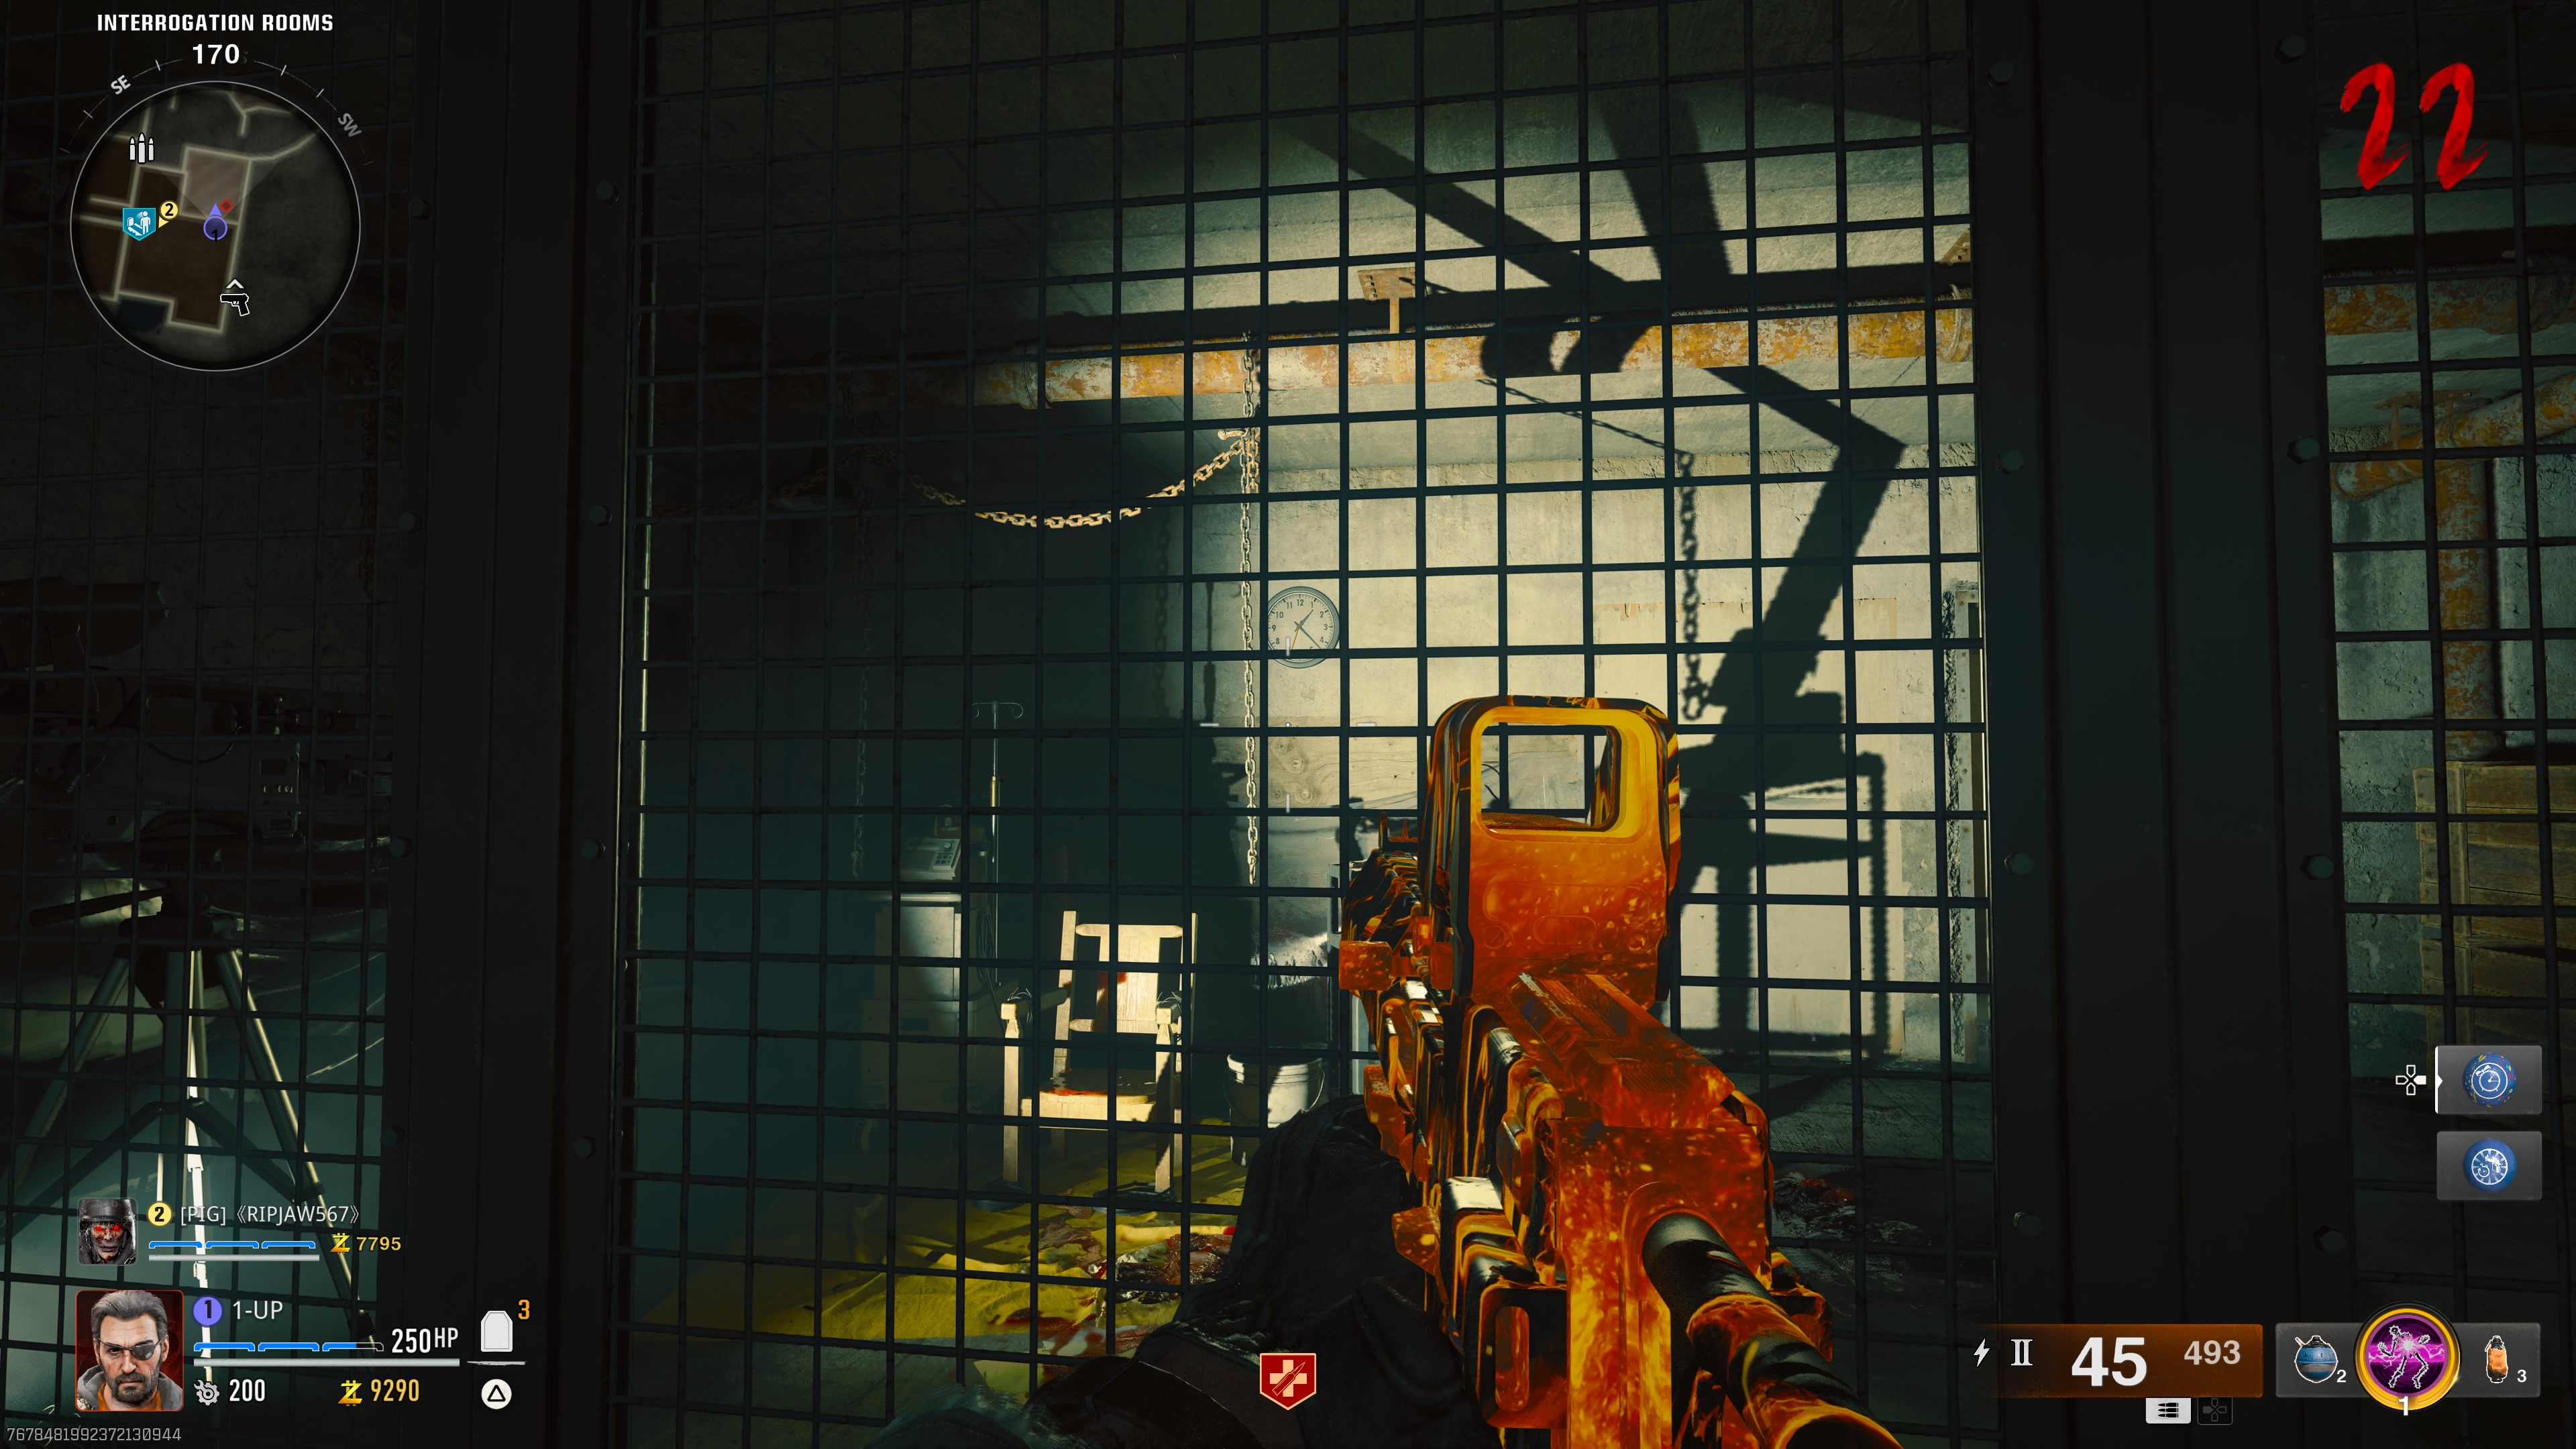
The first digit of the code to unlock Nathan’s chamber is very easy to miss. Go to the Interrogation Rooms (near the Guard Station featuring Peck) and look at the clock on the wall behind the fenced-off area. Look specifically at the hour hand, which will tell you the first digit. If the hour hand is between two numbers, then look at the minute hand to round it to the nearest hour.
Second digit
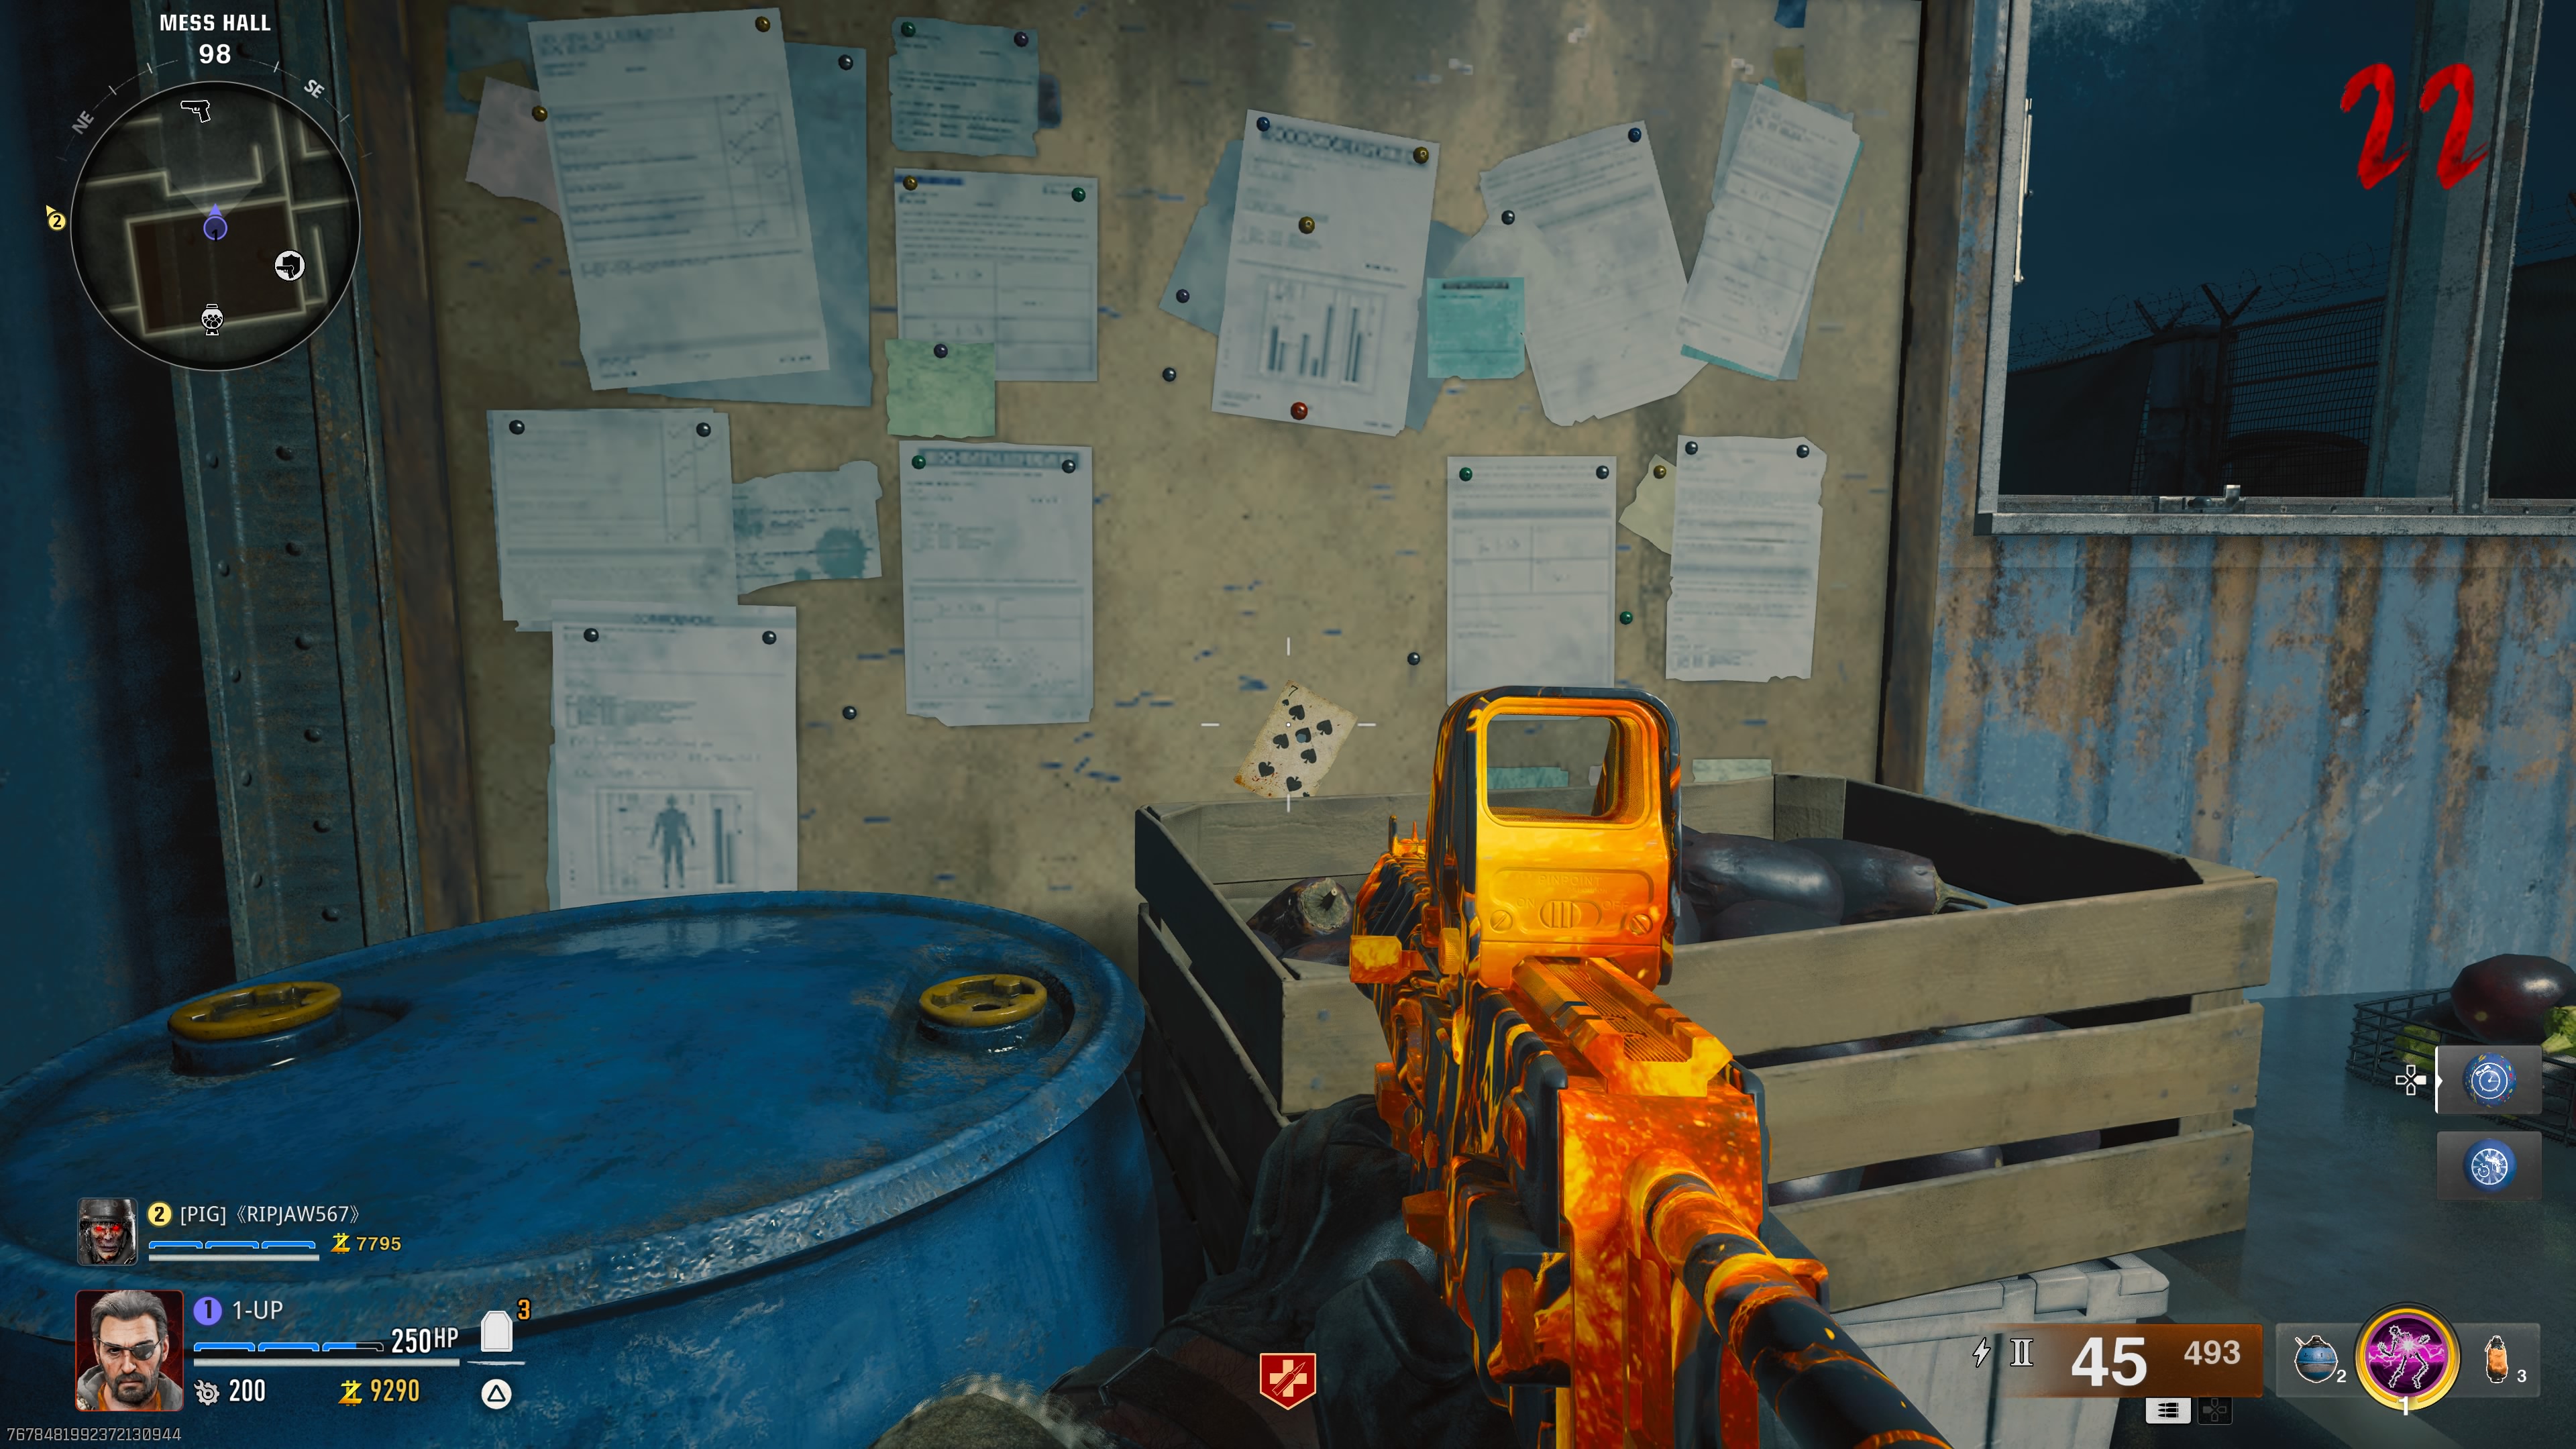
The second digit is just as obscure. Make your way over to the Mess Hall near the Research Office and look for the corkboard next to the window. On this board will be a small playing card, which will give you the second number for the code.
Third digit
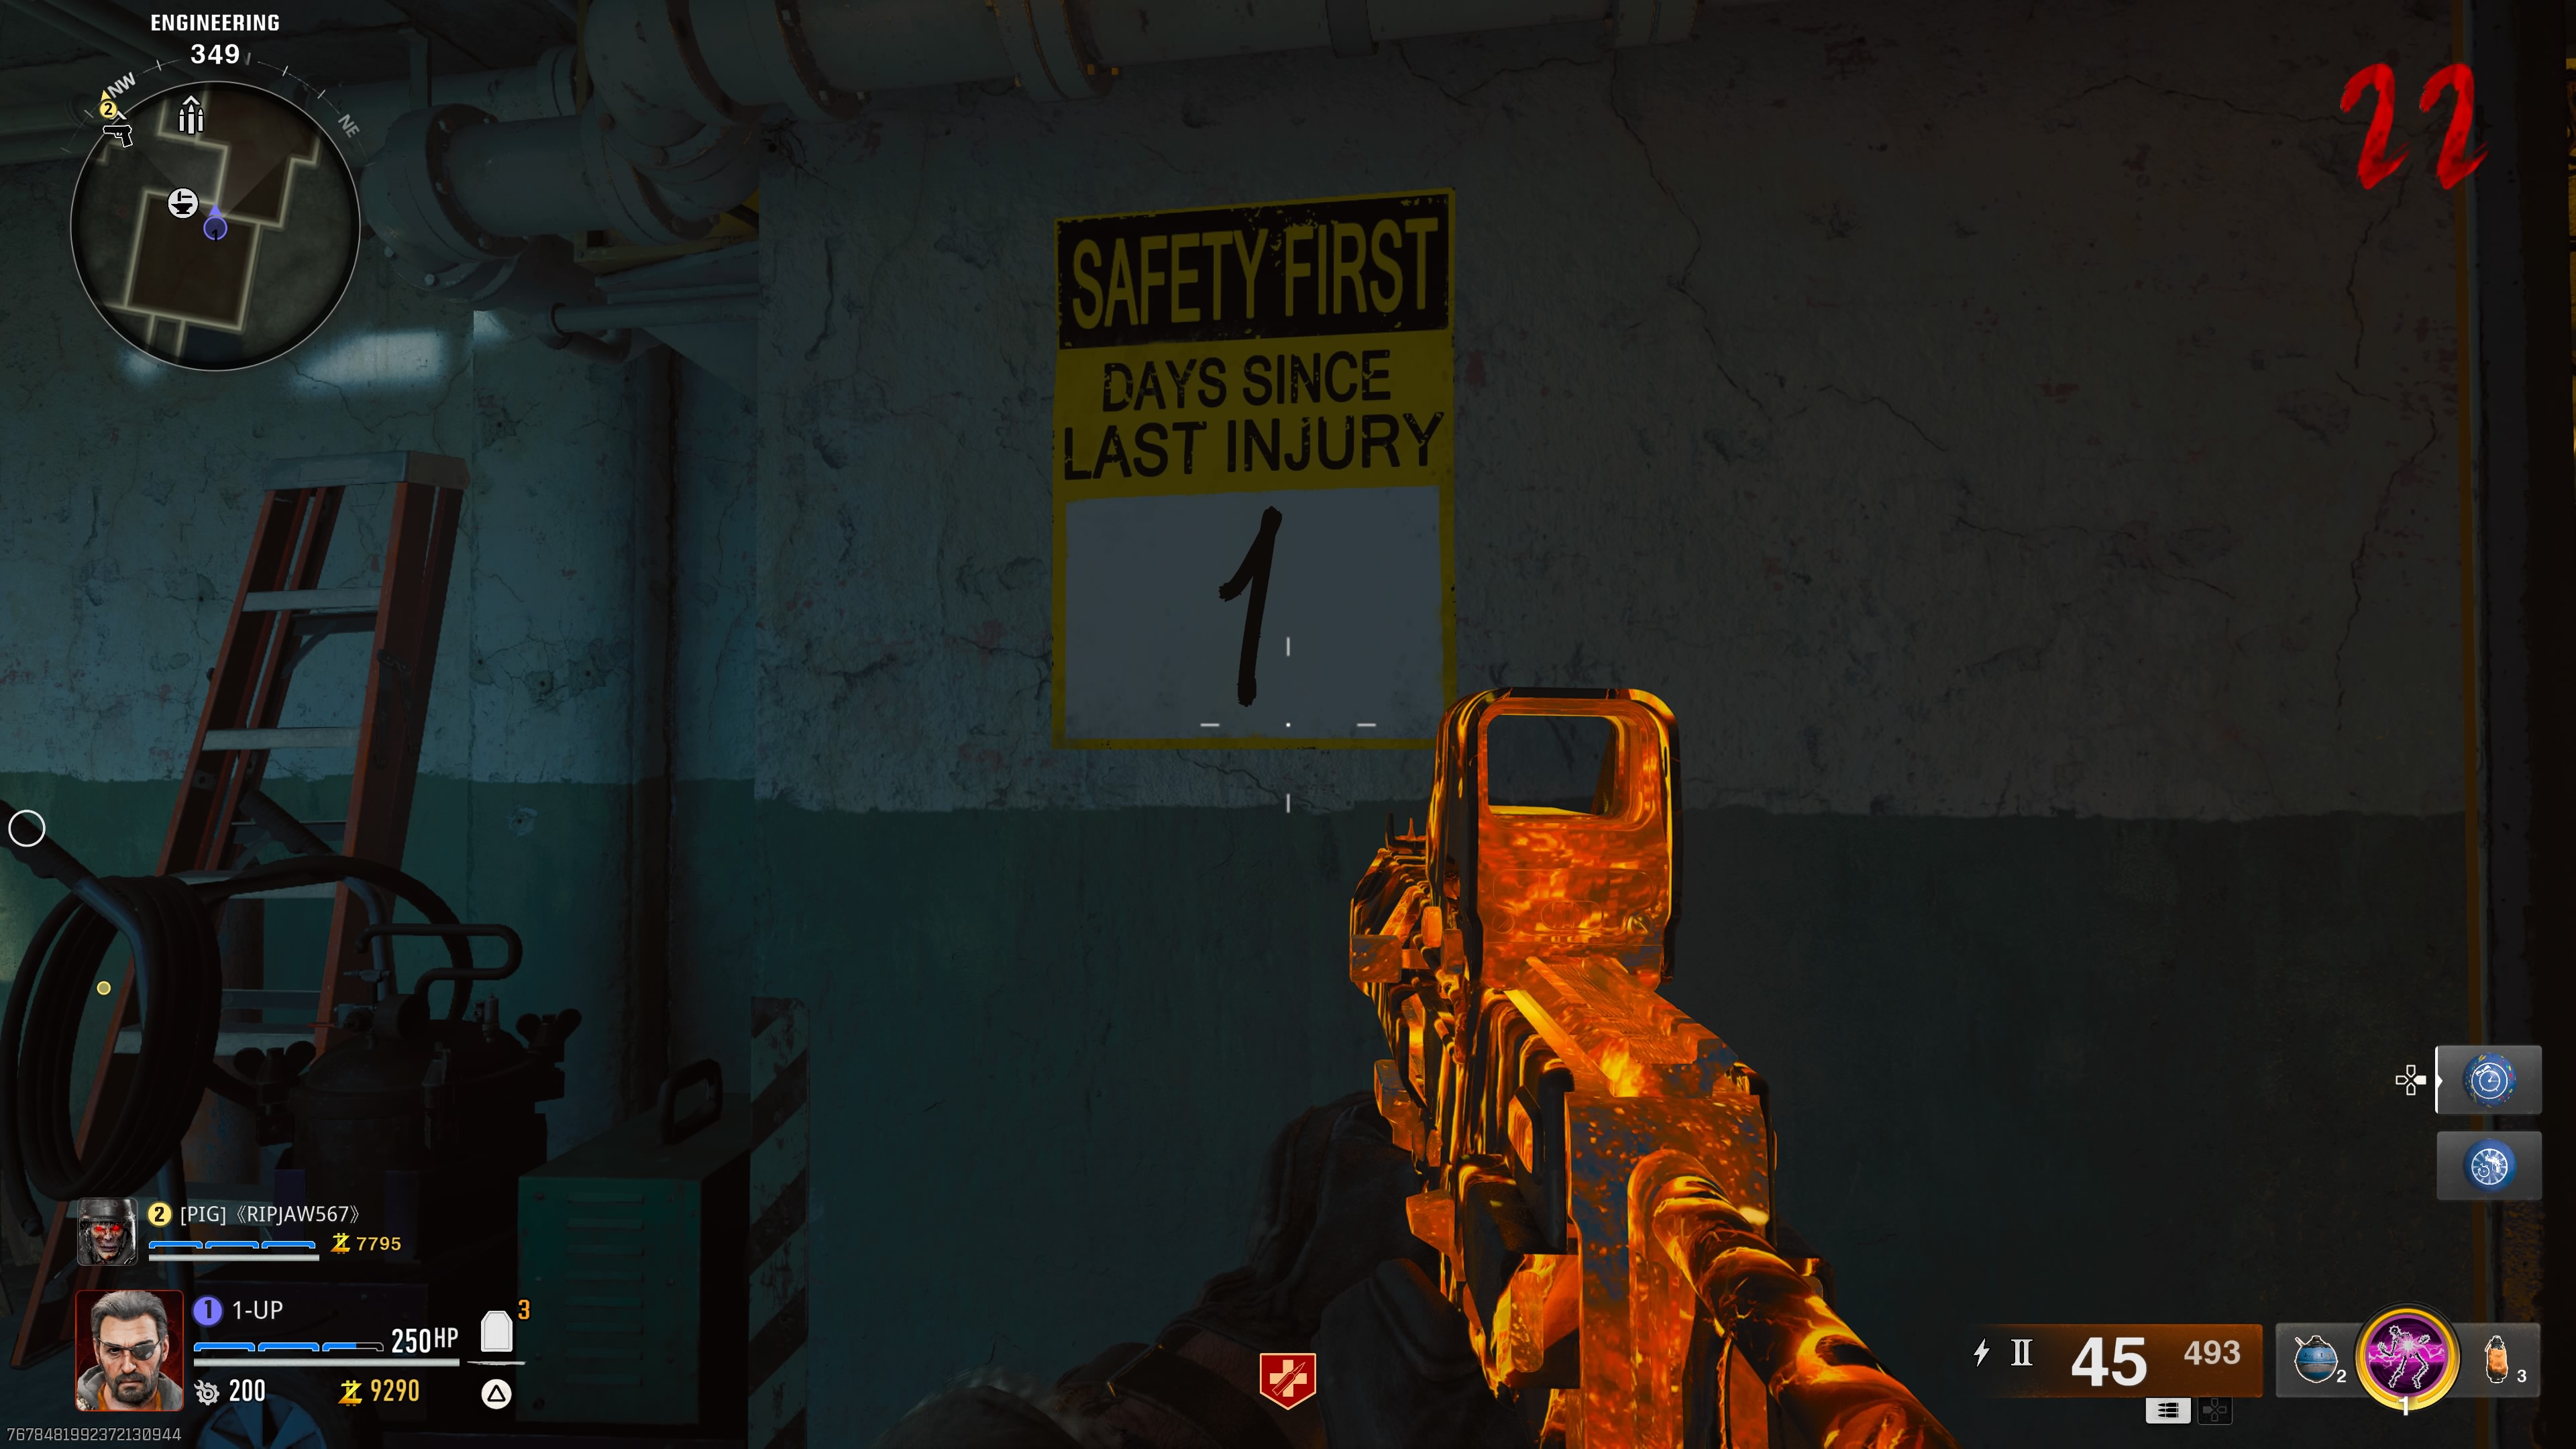
The third and final digit is located in Engineering. To the right of the crafting table you will find a poster counting the days since the last injury. Surprise, surpise, that number is your final digit.
Before you return to Nathan’s chamber to enter the code, make sure you gear up with armour, ammo, Jugger-Nog, and a Pack-a-Punched weapon as this will trigger a tough encounter. It’s also a good idea to call the Inclined Lift down to the Bio Lab so that you can do a full loop of the arena with no dead ends.
After entering the code, you will need to interact with the four levers around Nathan’s chambers. If you’re playing solo, this can be done one by one. However, when playing in co-op, these will need to be activated simultaneously. I did this with only one other player, and we activated them in pairs.
While the encounter is rather challenging, it’s also pretty straightforward. Whether you’re solo or with a group, it’s best to run around the arena in a loop, firing back at the named Amalgum until it’s dead. Then, you’ll be treated to a cutscene. Afterwards, dive into the water and search for the gold keycard item on the ground. This item is very small and spawns in a random location, so it will take some thorough searching to find.
Node Connector locations
Once you’ve found the keycard, gear up once again as you’ll have yet another encounter shortly. Take a boat over to the large shipwreck to the west and sail underneath the hole in the middle of the wreck. Here, you will find a ladder with a hatch above it. Thanks to the keycard, you’ll be able to enter.
At the top of the ladder is a very small room called the Workshop. Here, there are two Node Connectors on a desk that, when interacted with, will trigger waves of enemies to spawn while locking you in. If you’re playing with a full party, then you can actually guard one window each. Defeat the enemies and eventually, you will be let out of the room.
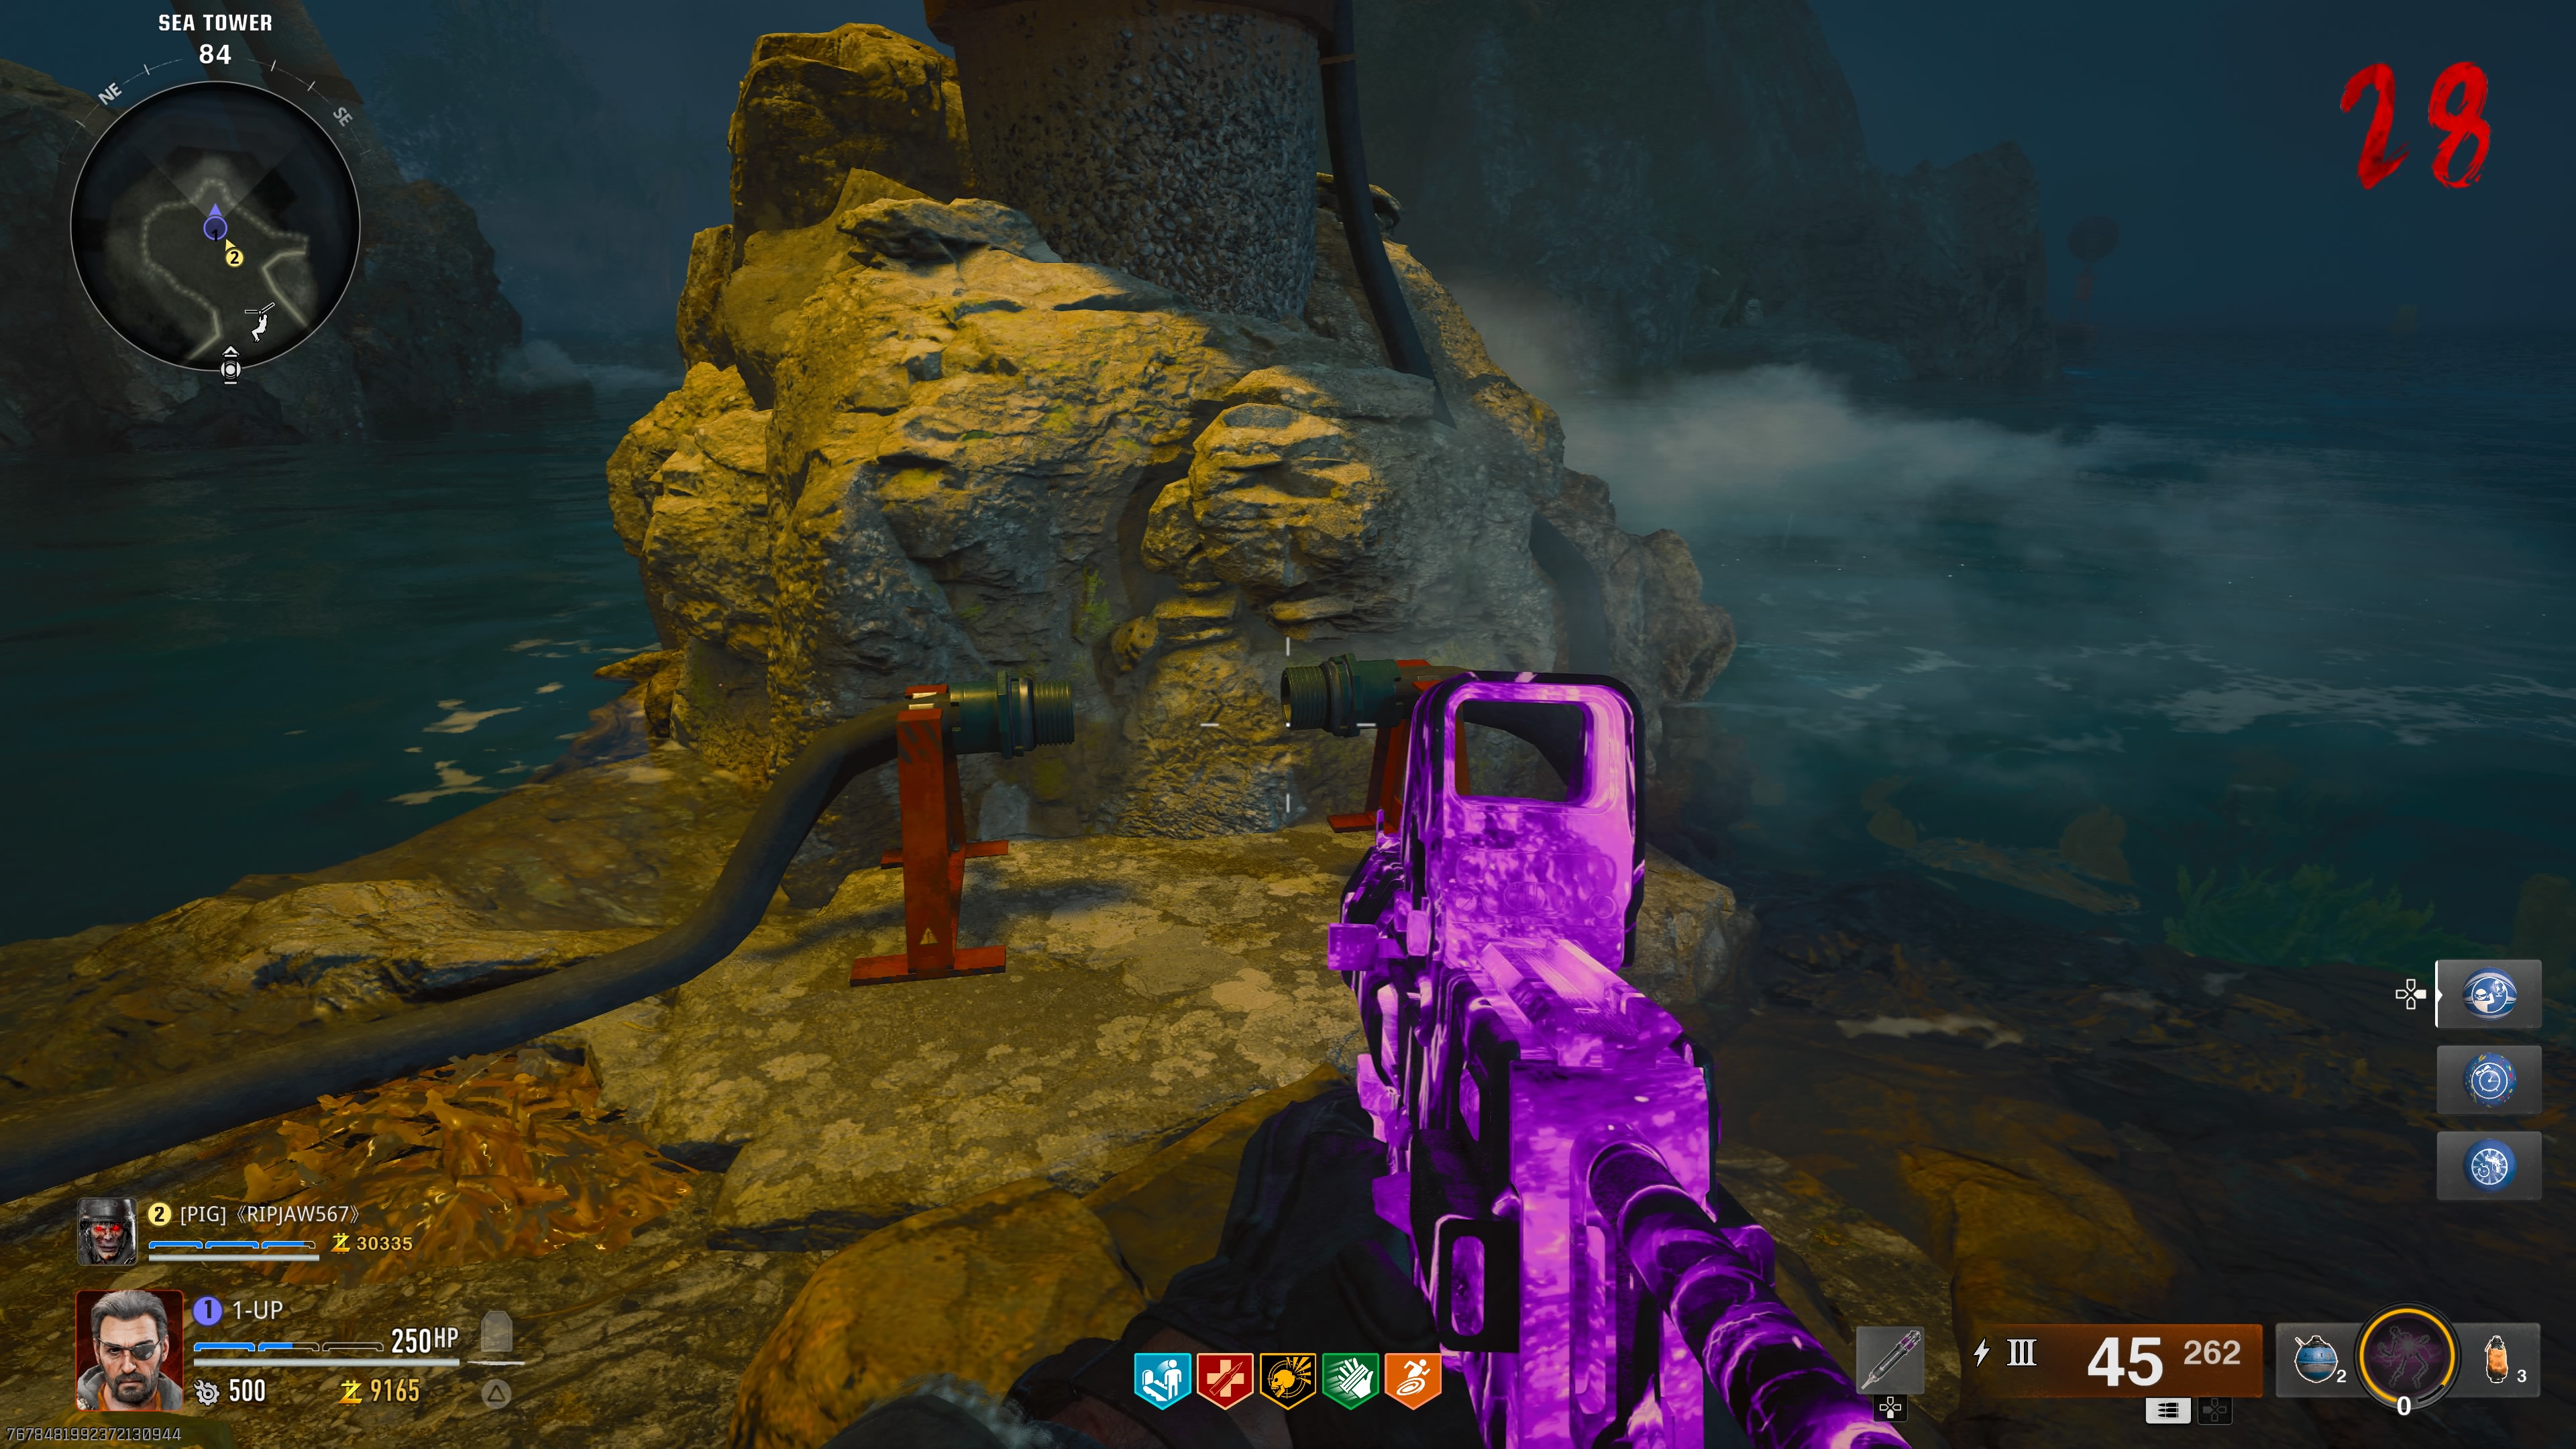
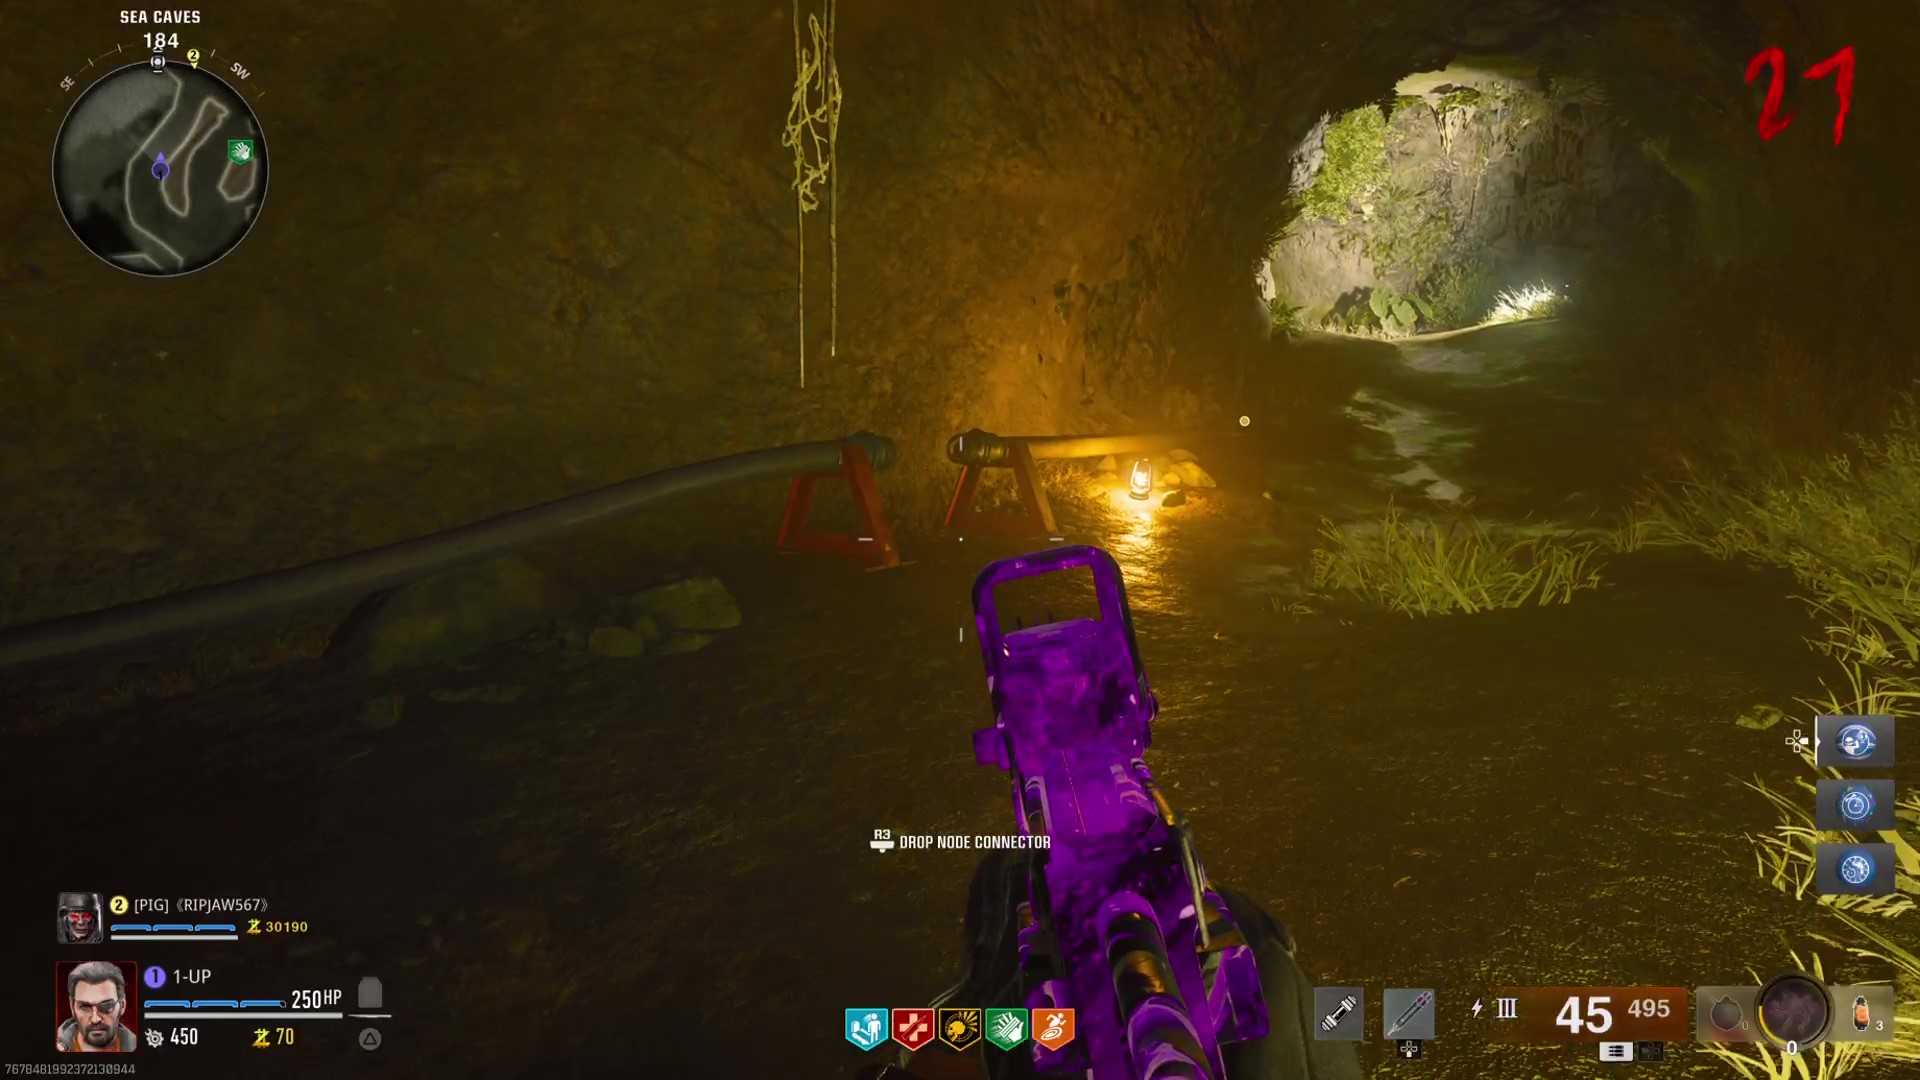
Now, you have to take the two Node Connectors to two of three randomised locations. You’re looking for a section of thick pipe that is missing a piece. If the pipe is complete, then it’s the wrong location. If you’re playing solo, you will have to do this one at a time, returning to the shipwreck for the second Connector afterwards.
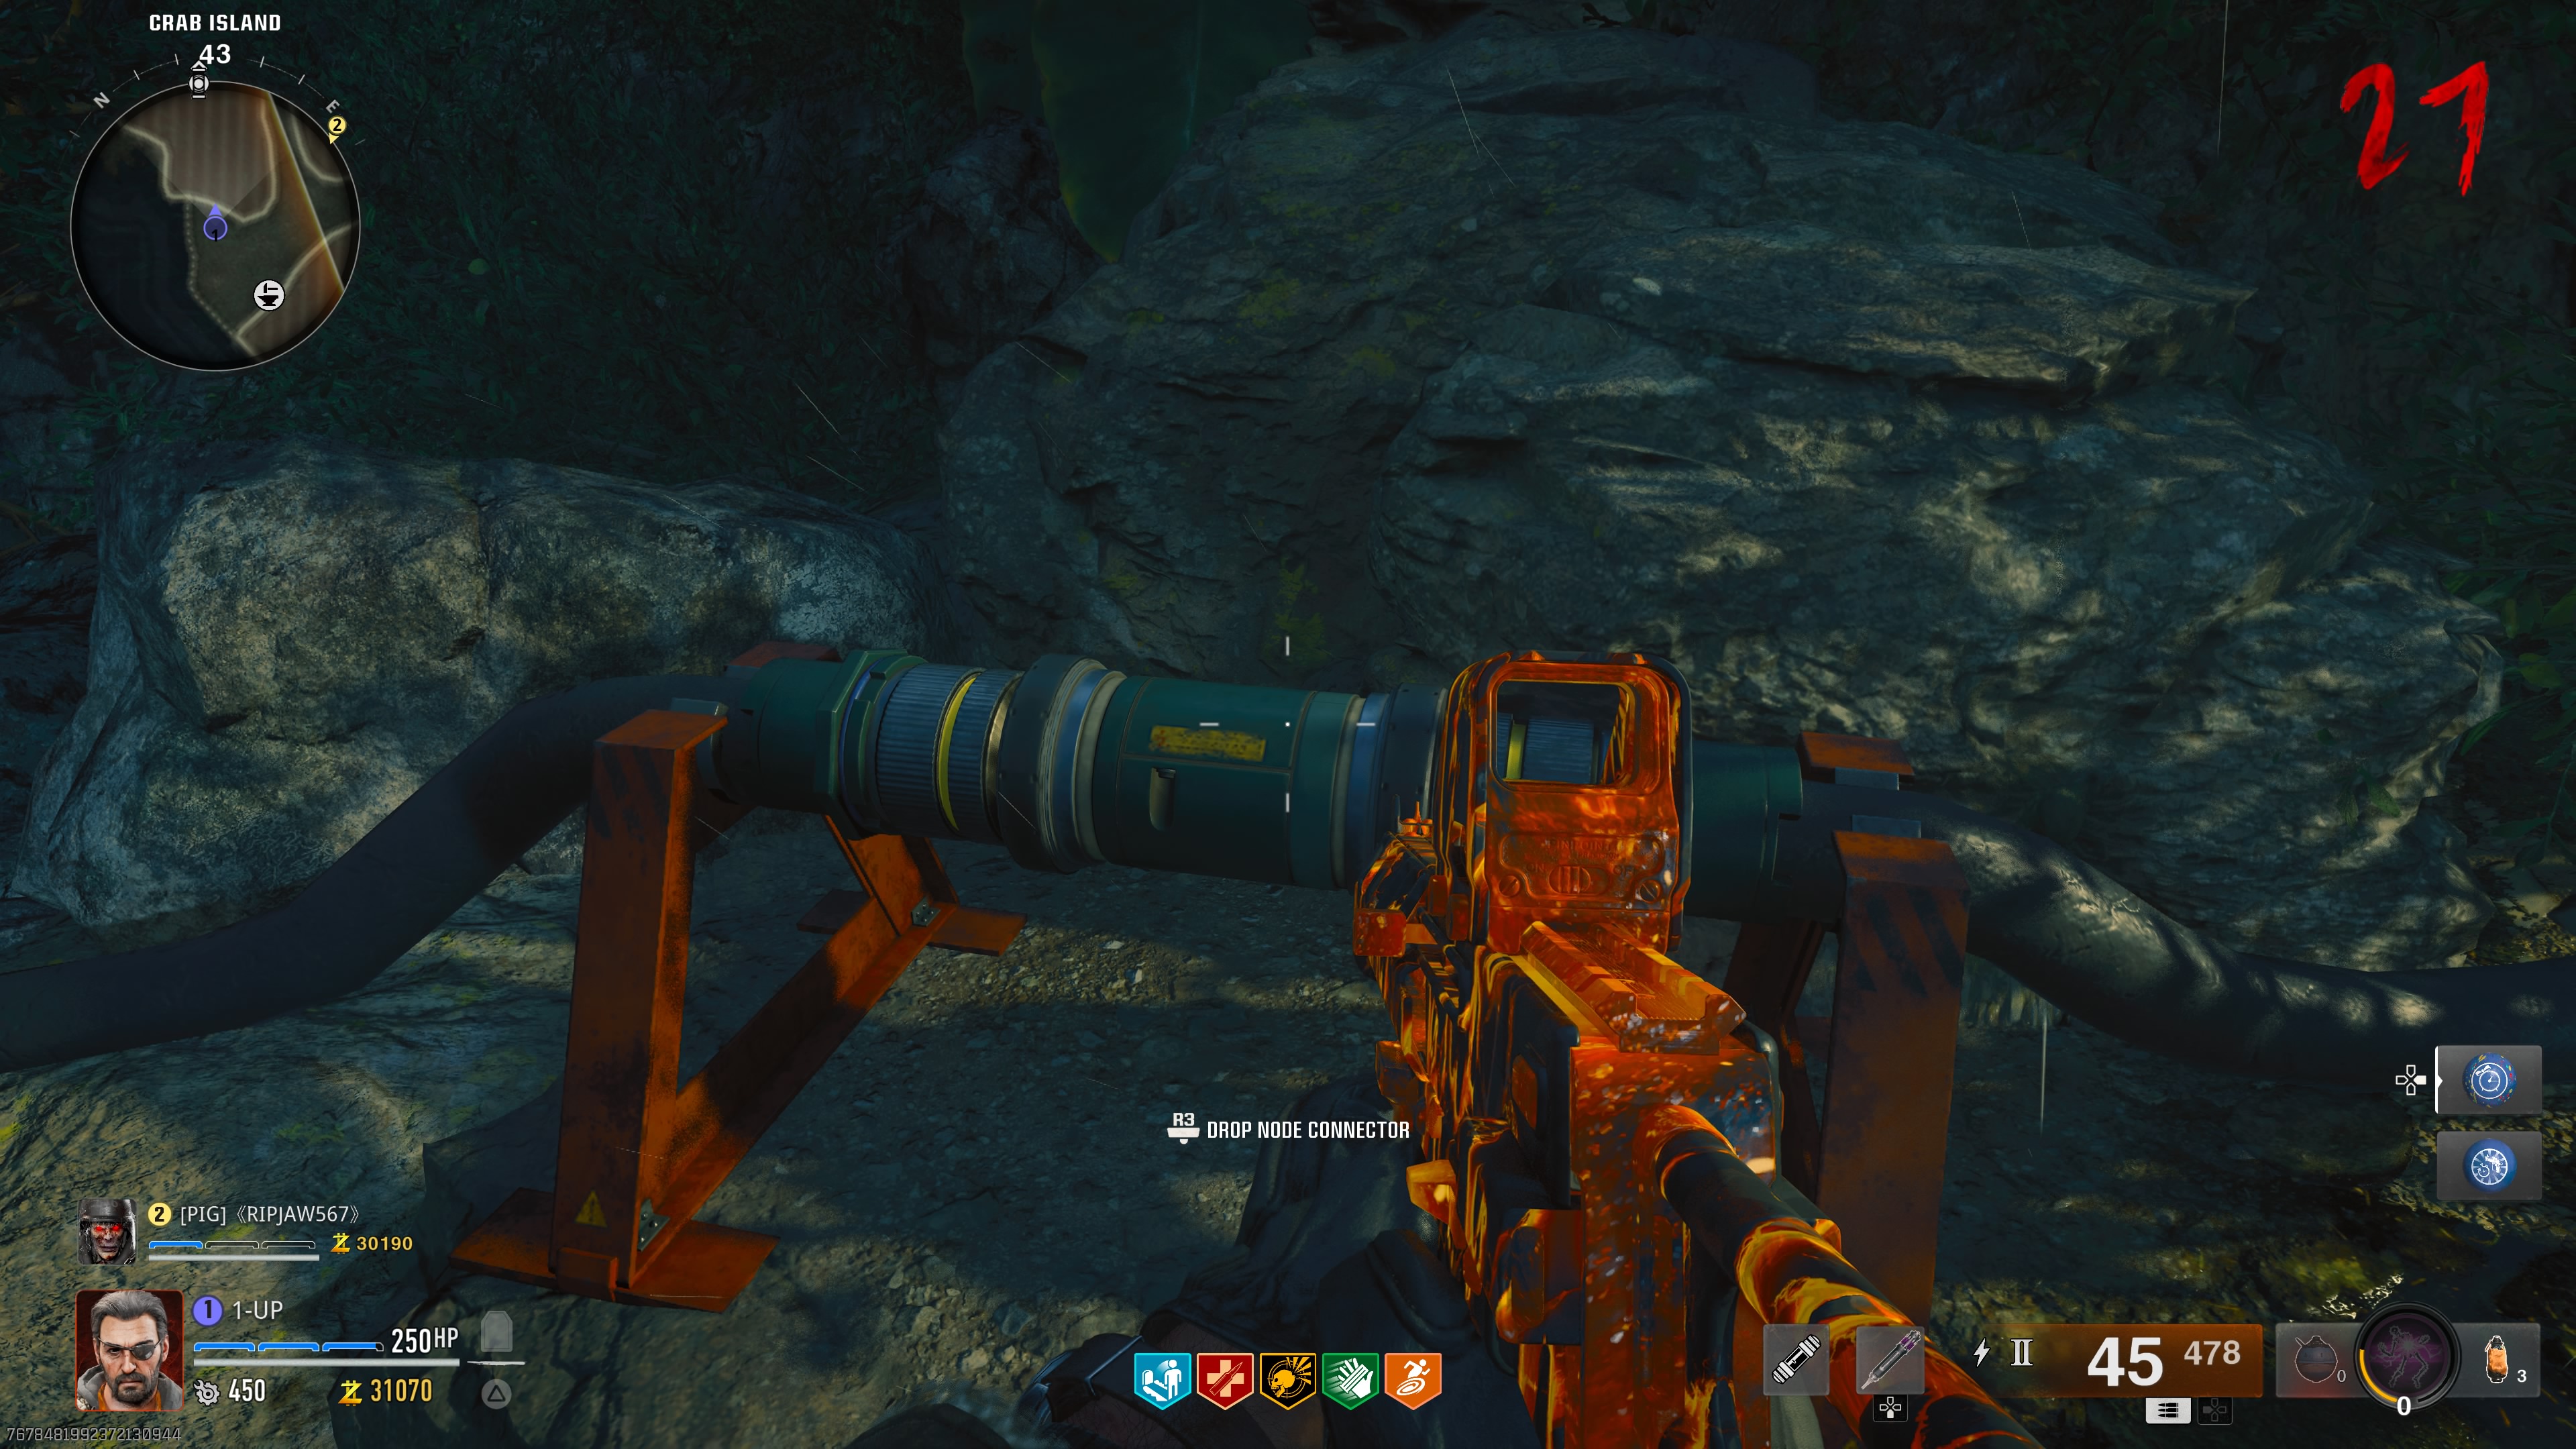
- The first Node Connector is on Crab Island, just east of the shipwreck. The pipe is on the west side of the island opposite the crafting bench.
- The second Node Connector is at the Docks, directly underneath the Sea Tower on the beach area.
- The third Node Connector is in the Sea Caves joining the Docks to Bio Lab.
With the two Node Connectors slotted, head back to Peck in the Guard Station to pick up the Hacking Device.
Where to find and Hack the buoys
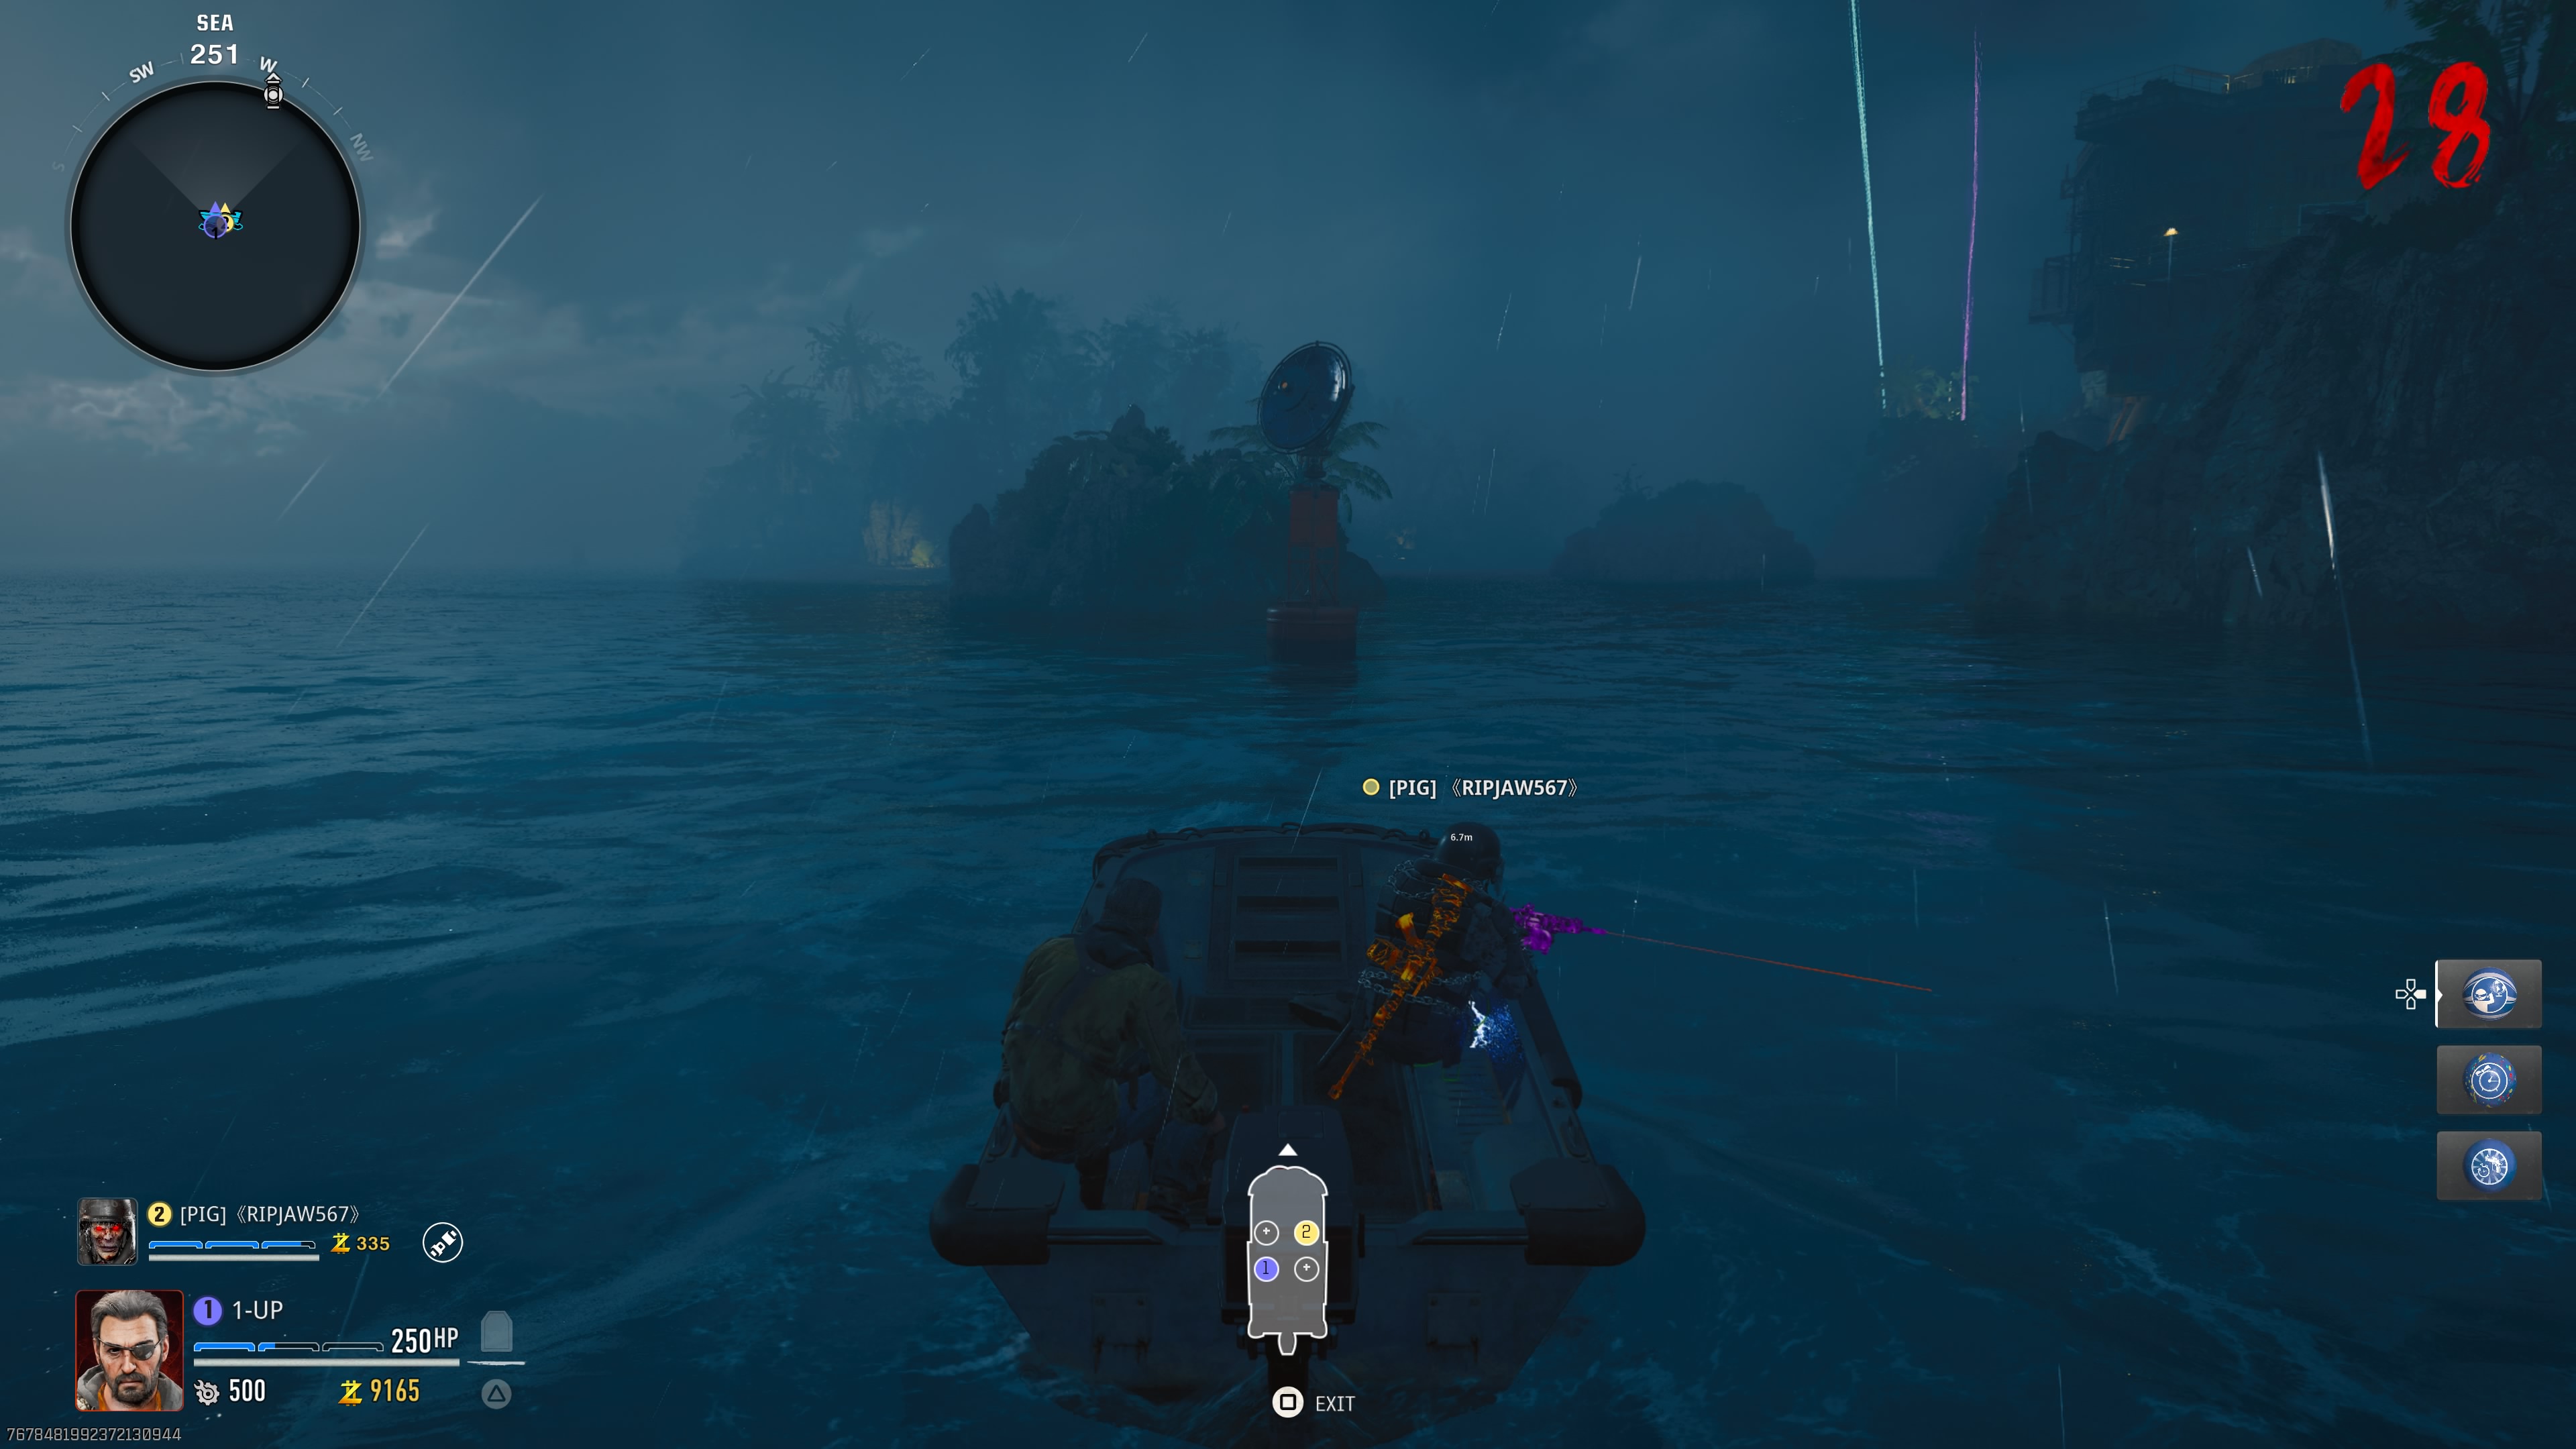
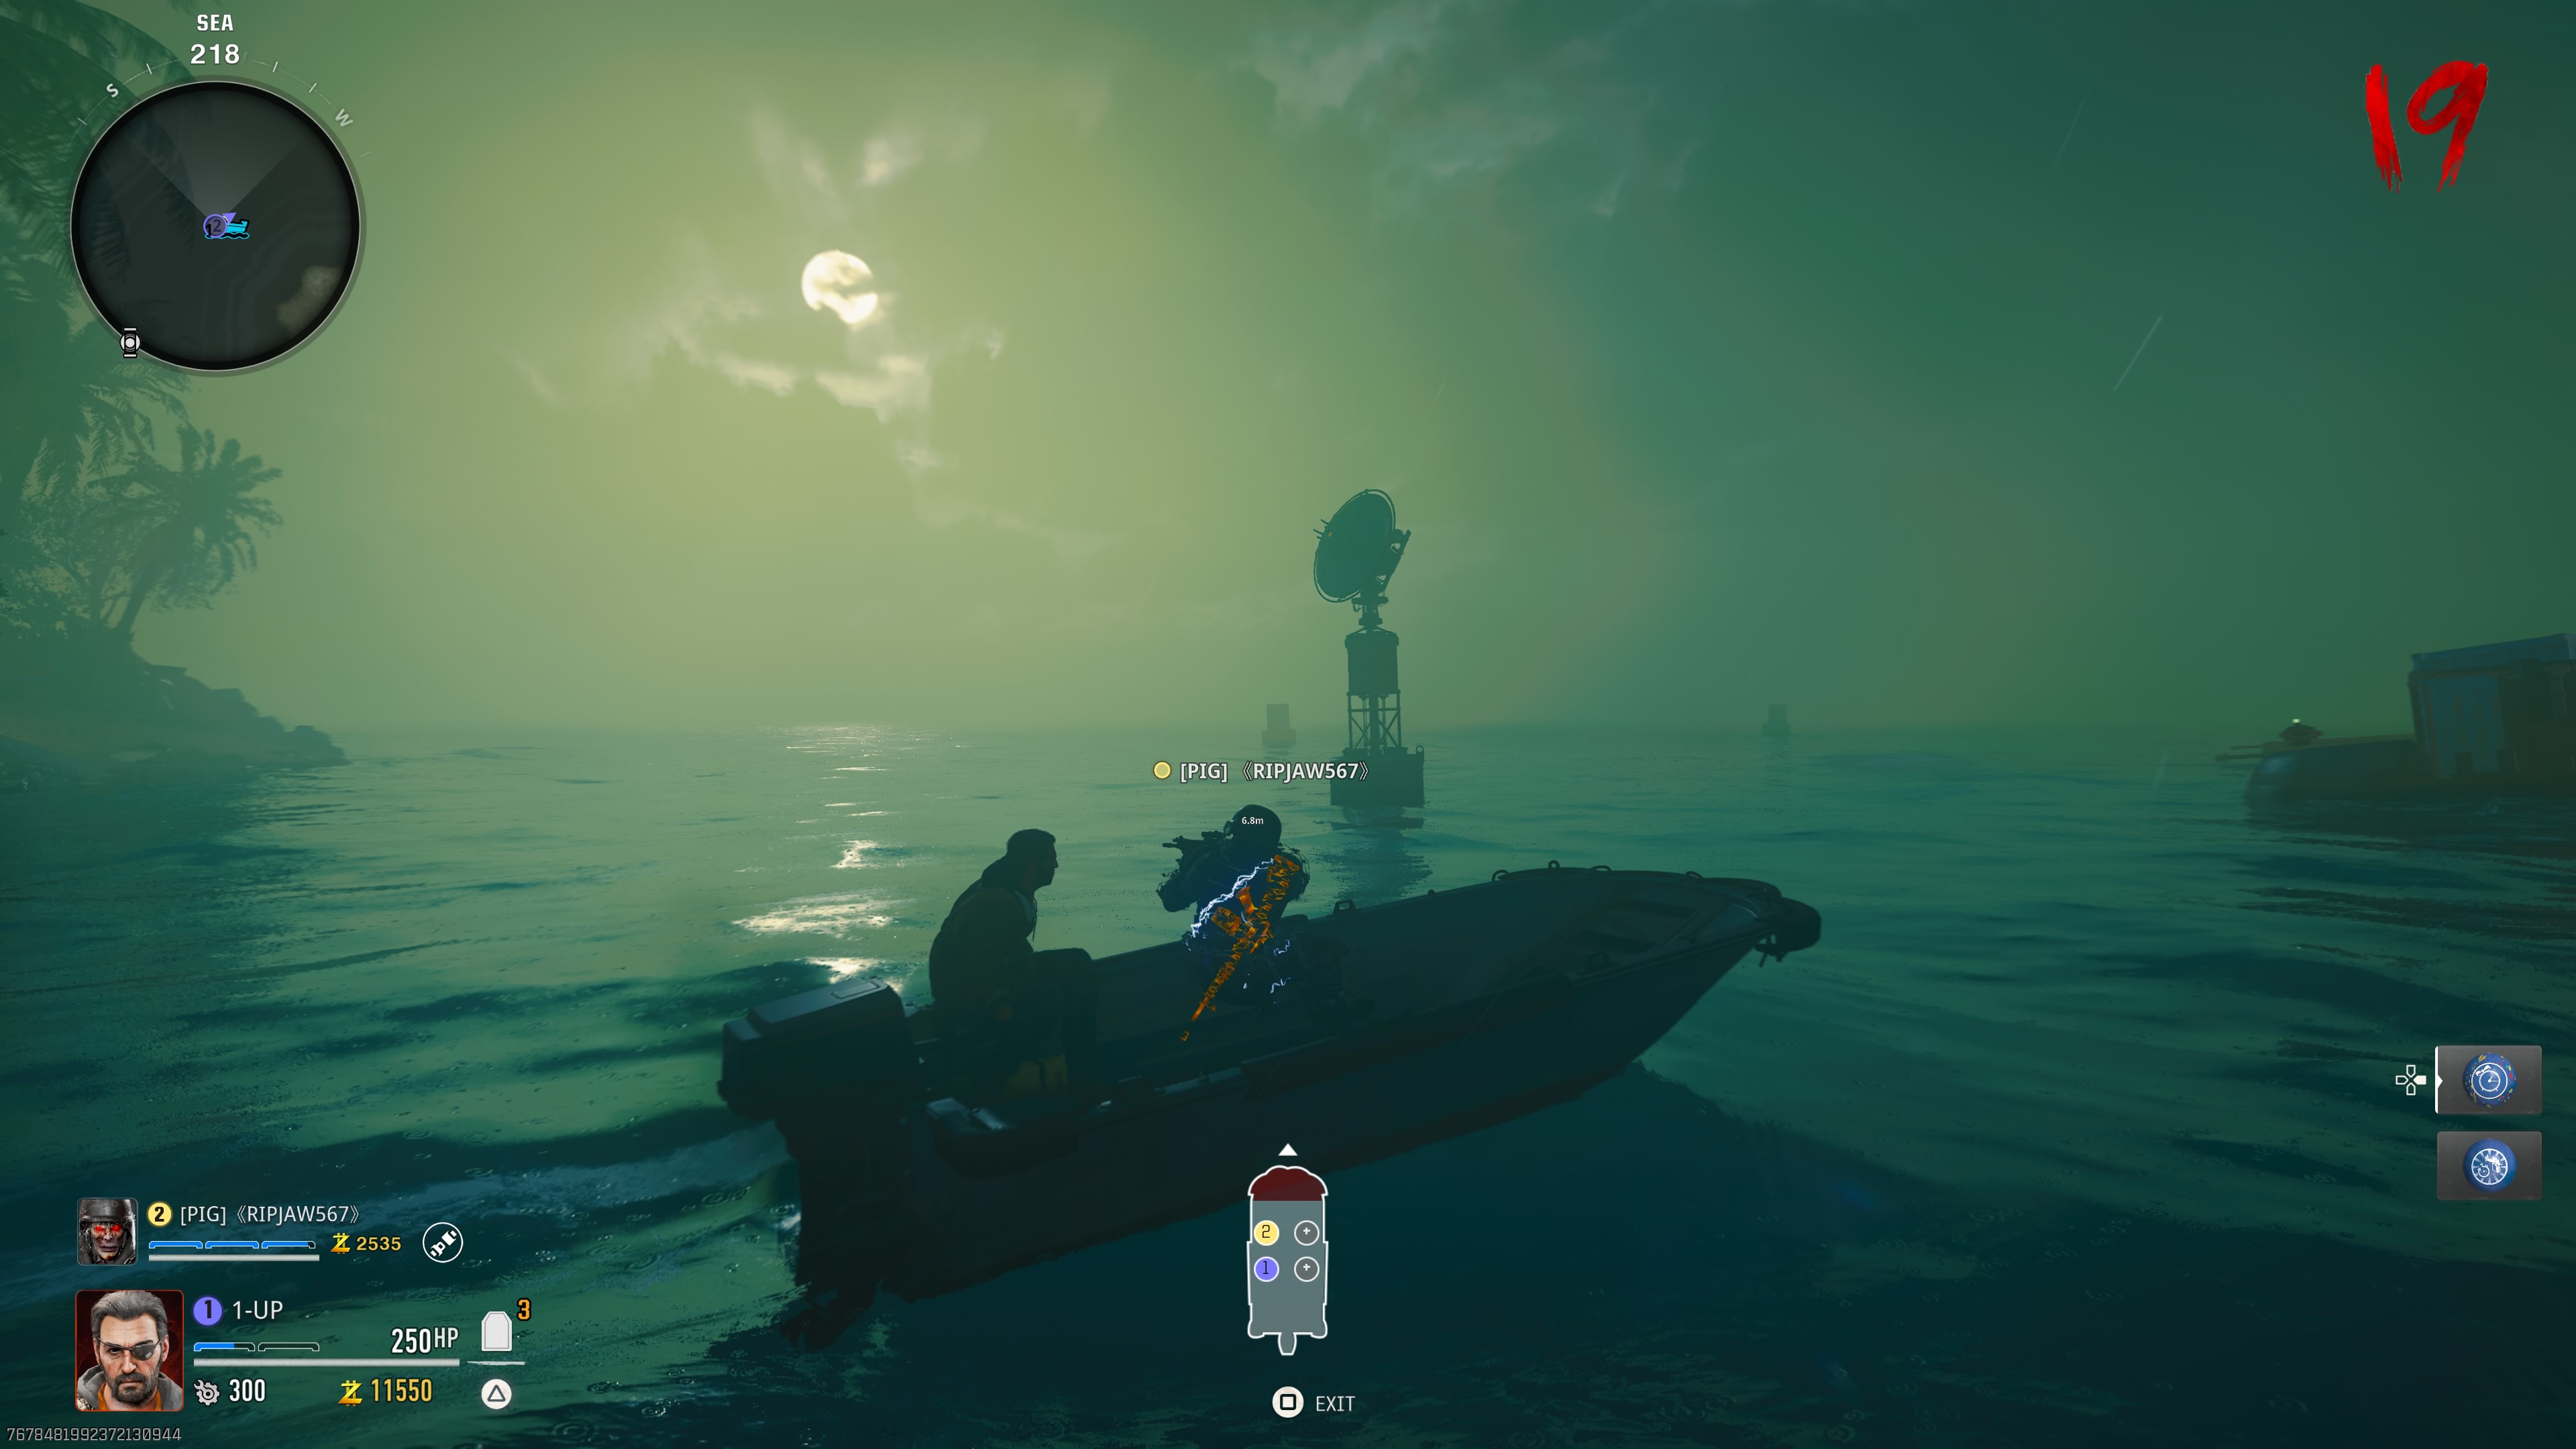
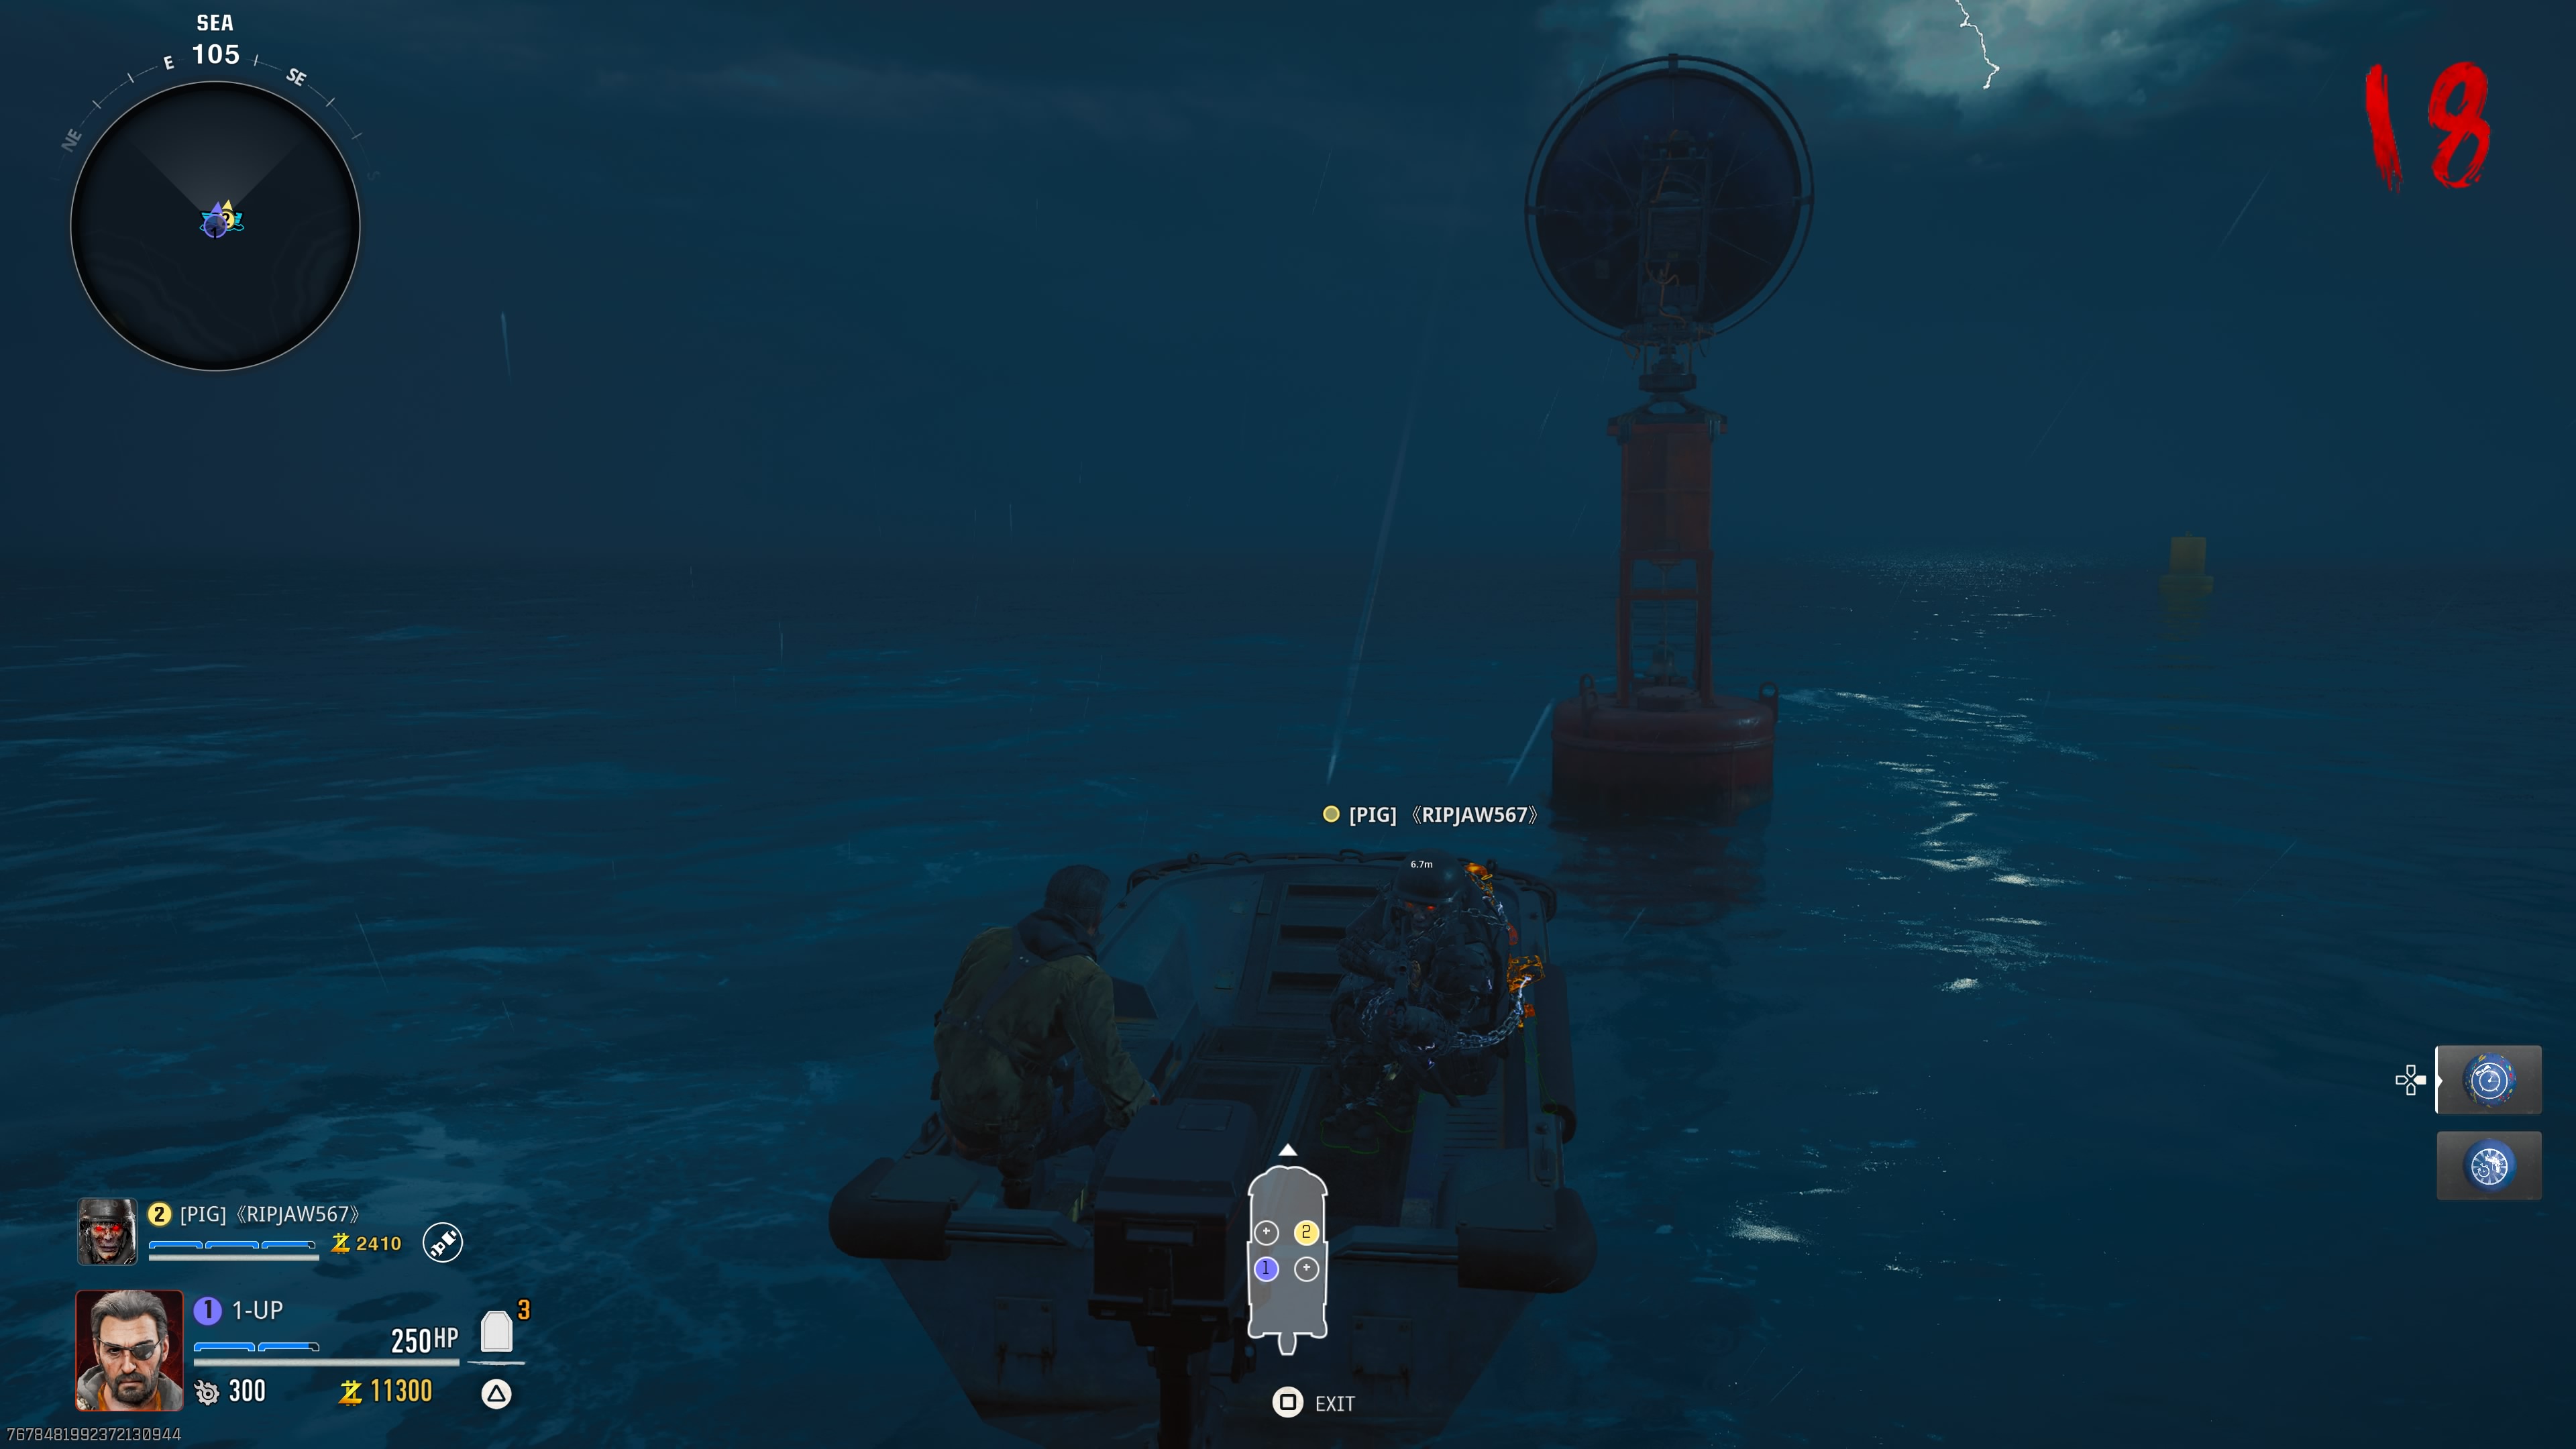
With the Hacking Device collected, you need to head back out onto the open waves to hack three buoys. These buoys are easily identified by the satellite dish and flashing light. While the buoys can be hacked in any order, there is a simple loop you can follow. Before you hack any of them, it’s important to note two things:
Firstly, hacking each buoy takes several seconds, during which you will be vulnerable, and against a two-minute timer. If you’re with other players, it’s smart to have a designated driver and hacker, while anyone else takes out any parasites that spawn.
Secondly, after you hack the three buoys, you will immediately progressed to the next step, which is also timed, and requires you to race back to the Bio Lab to defuse three bombs before the game ends. Make sure you’re familiar with the map and which routes you can take.
- The first buoy is near Castle Rock Island to the east
- The second buoy is between Crab Island and the shipwreck to the west
- The third buoy is between Temple Island and Castle Rock Island to the north
Disarming the Terminus bombs
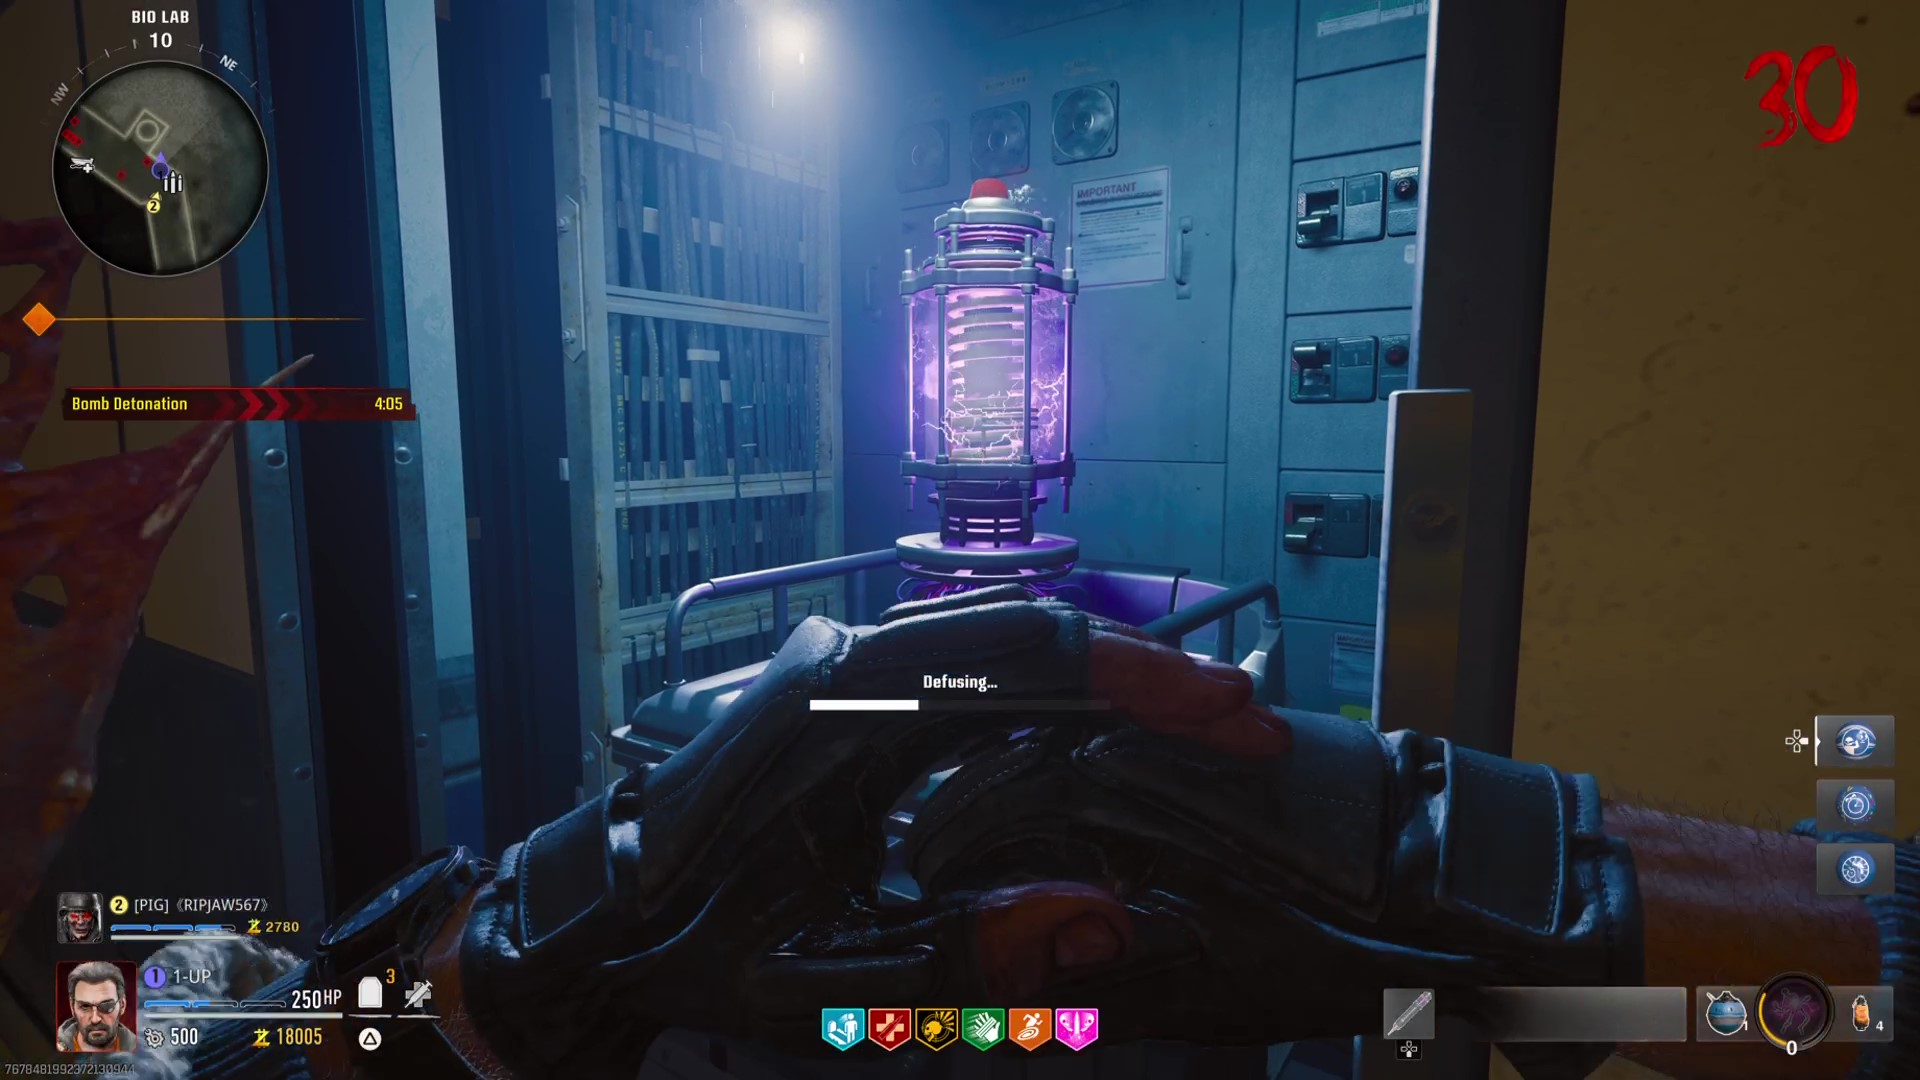
Immediately after hacking the three buoys, you will have to race back to Bio Lab to disarm three bombs around the room within five minutes. Failing to disarm them will result in Terminus exploding and the game ending.
These bombs looks like purple vials attached to a silver stand, each tucked into a wall compartment, and are disarmed by holding the interact key.
Two bombs are located on the bottom floor at either end of the room, and the final one is on the main floor, directly underneath the raised area that leads to the S.A.M Trial machine.
Survive the Final Encounter
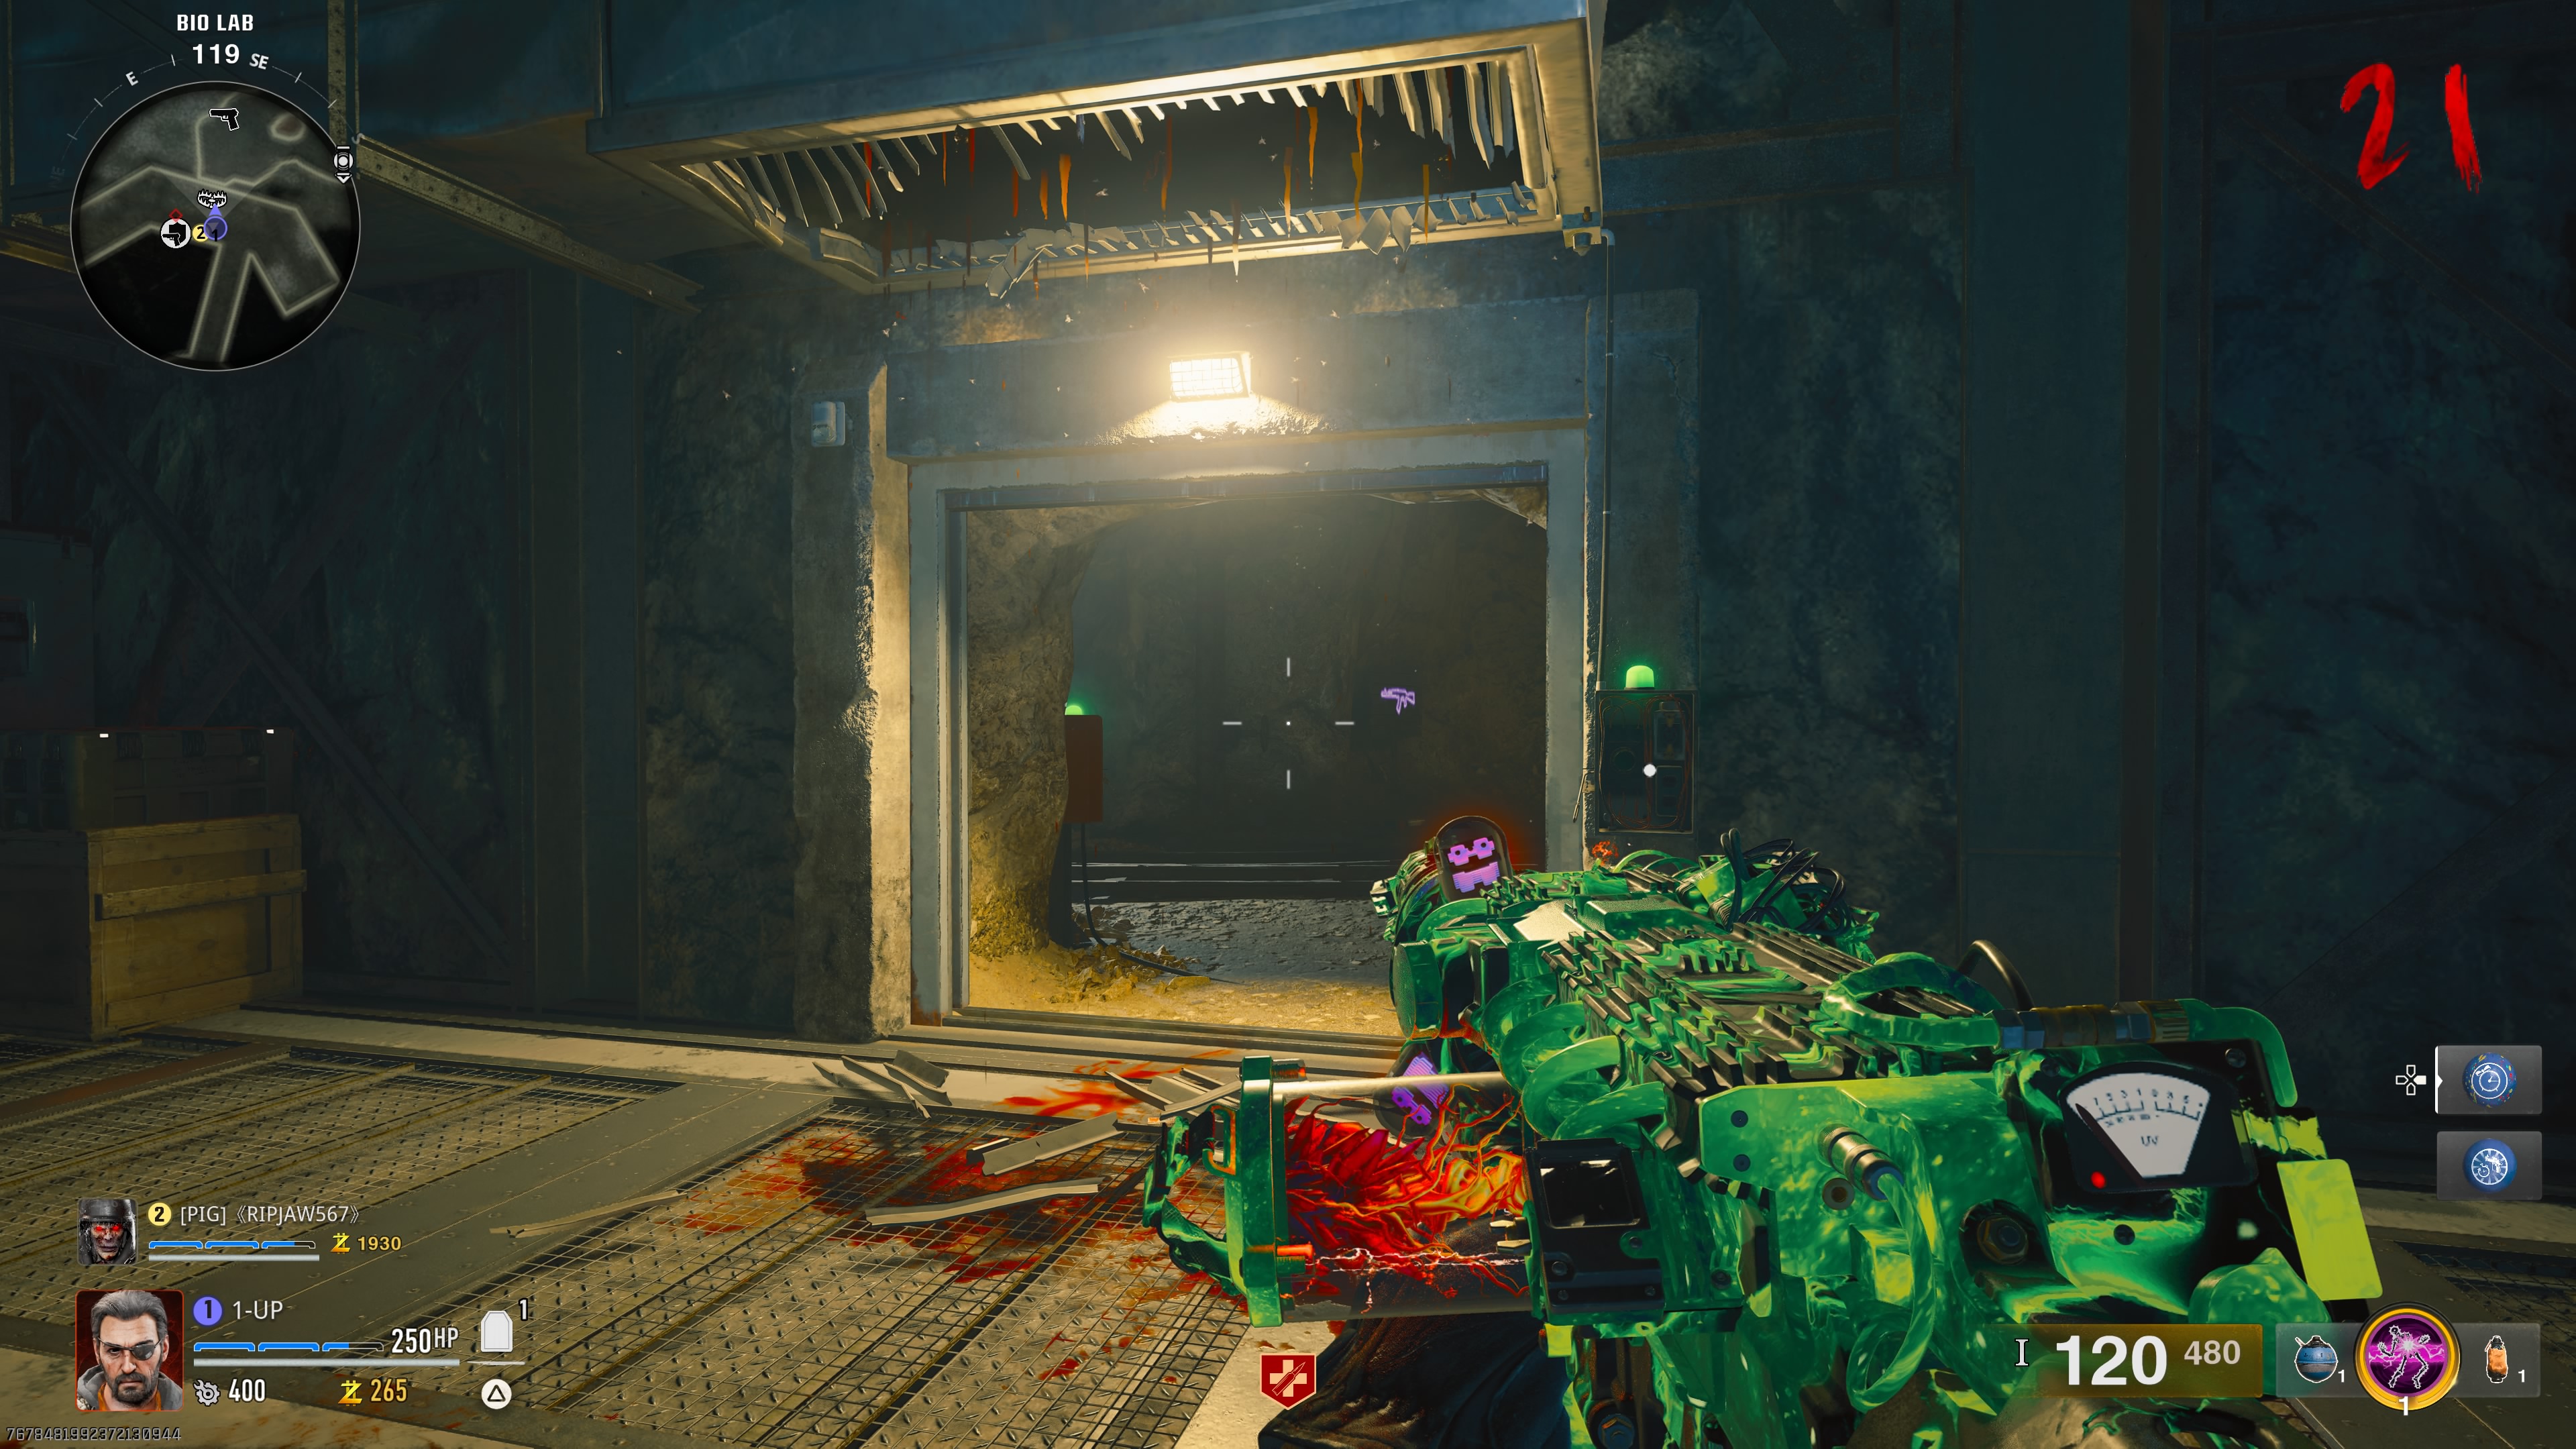
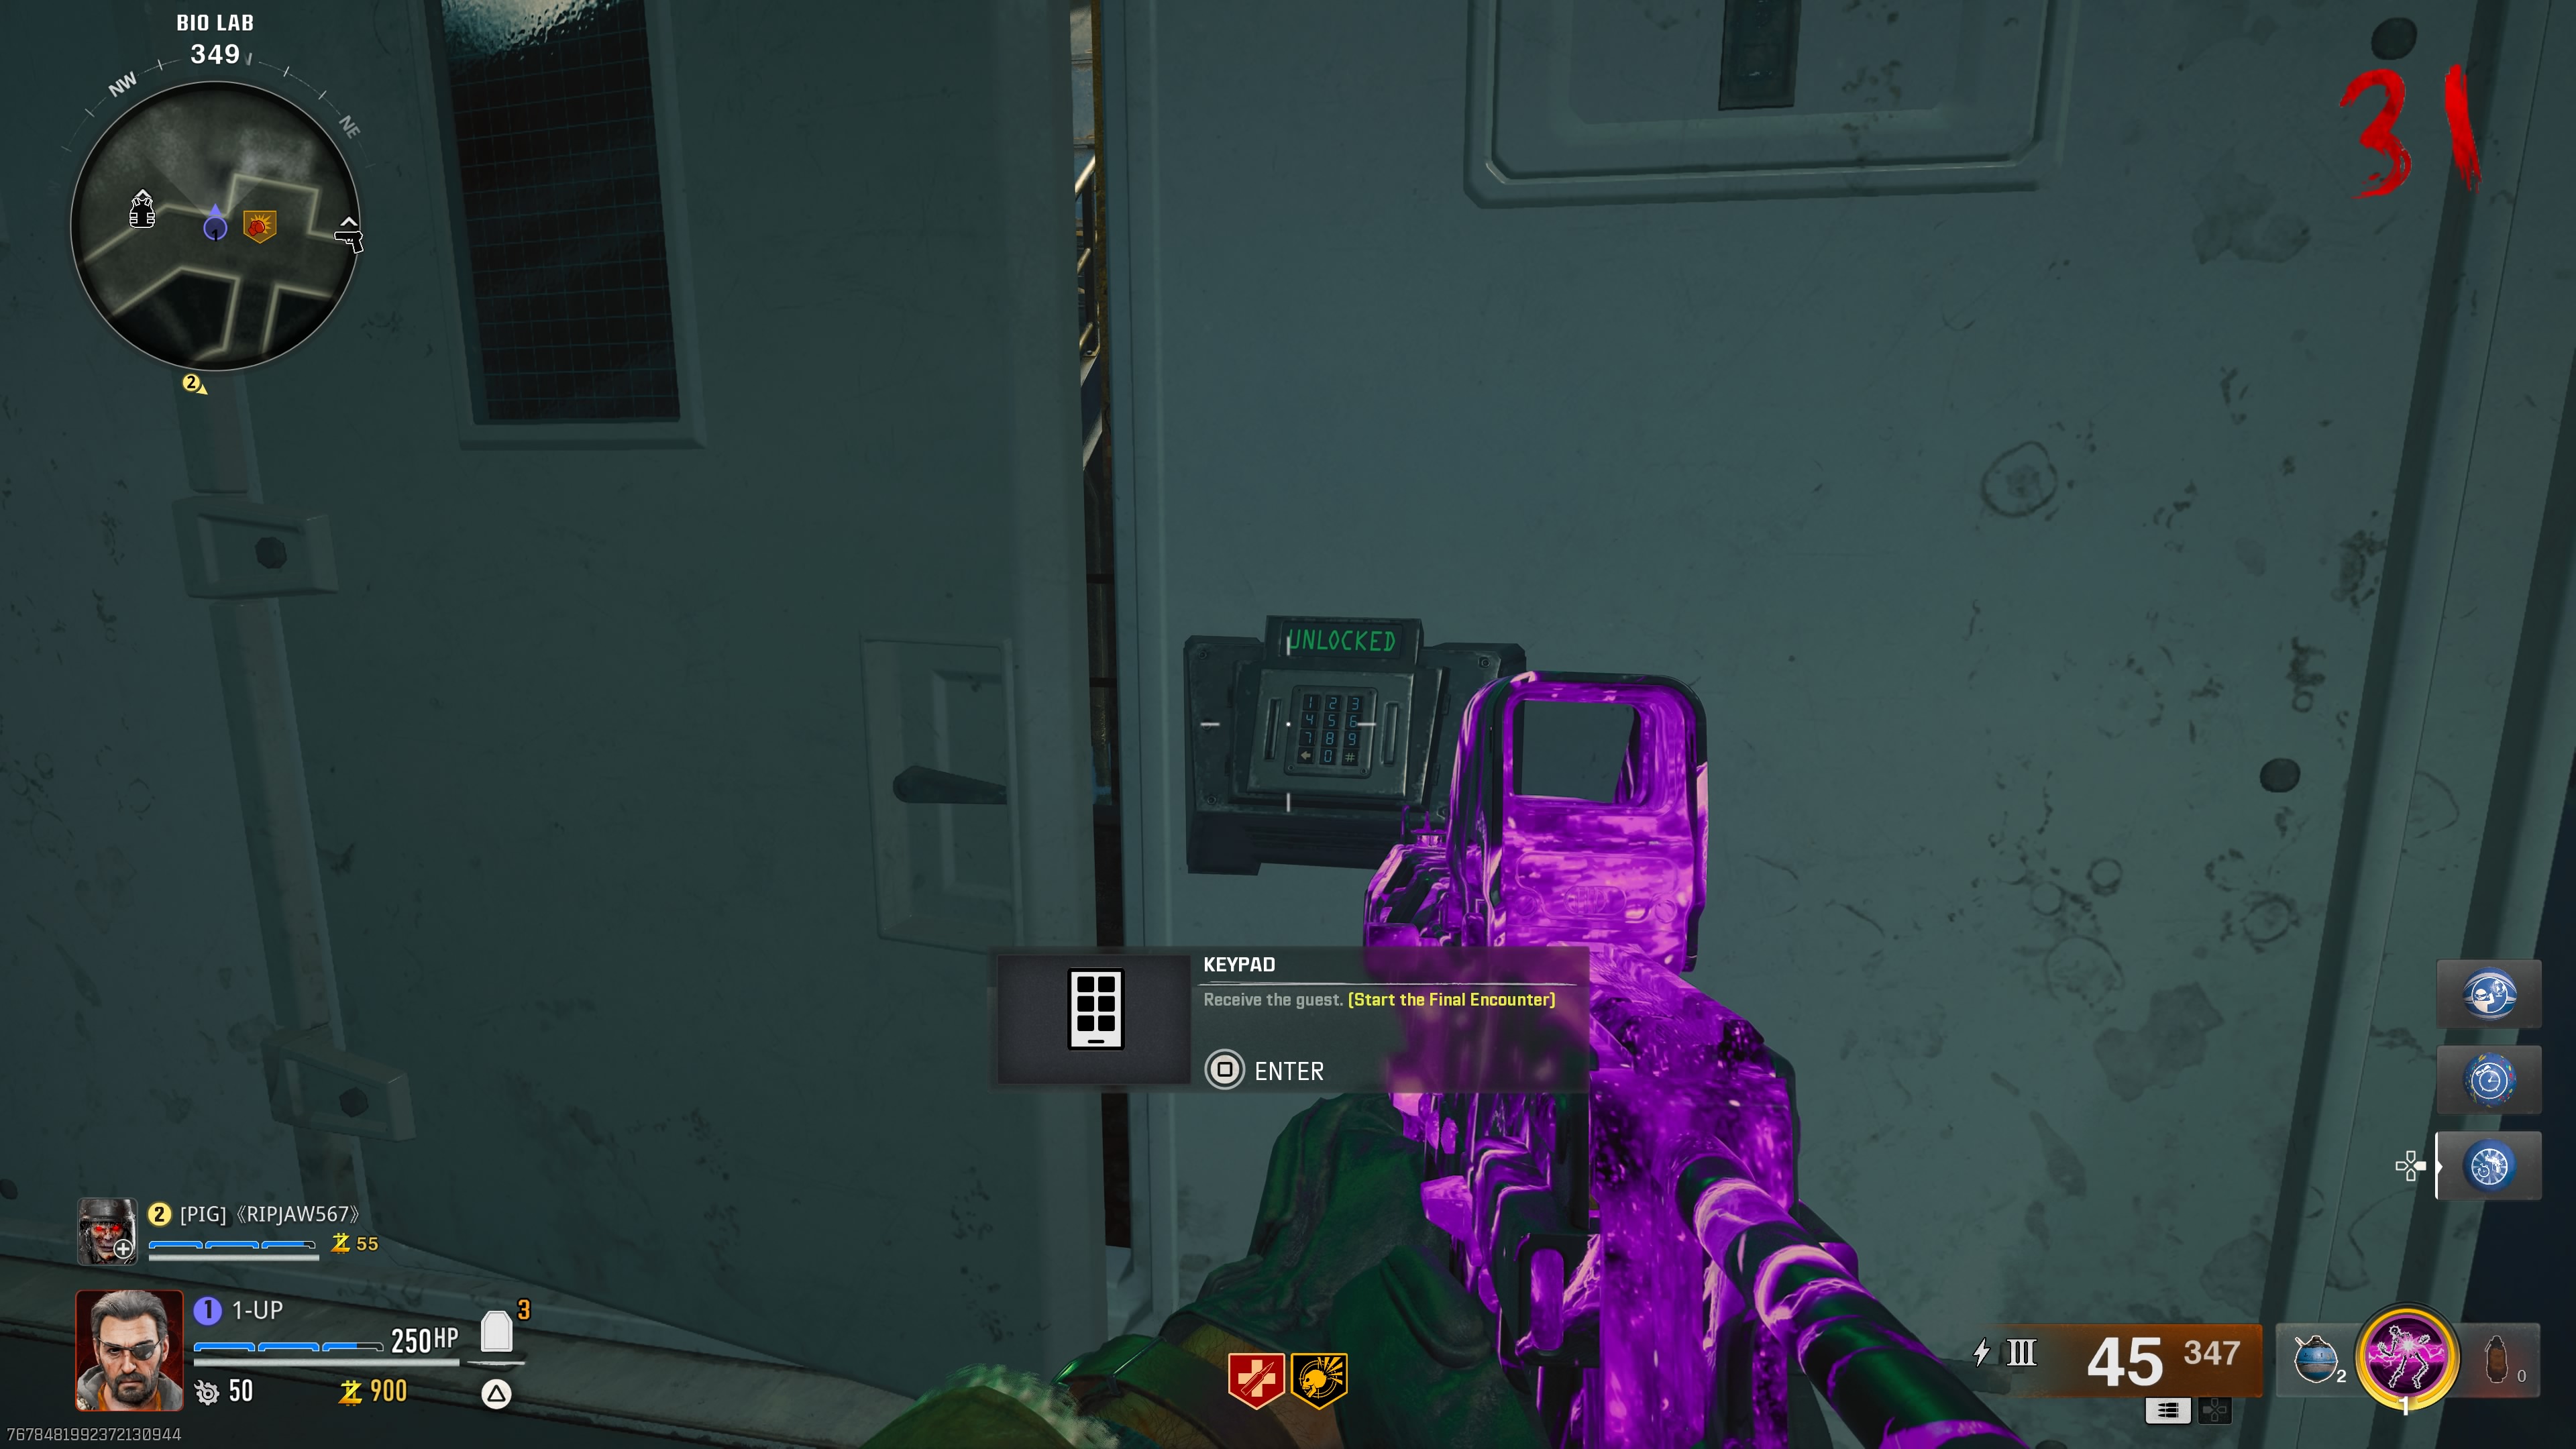
Once you have defused all three bombs, your screen will flash white and you will be able to access the Final Encounter, which is located on the lower levels of Bio Lab via a white door with a green light above it.
Before heading there, it’s wise to gear up with tier three armour and Pack-a-Punch, legendary quality weapons, all the perks you want, and a self-revive kit. This final boss is no joke, so any extras like powerups, Gogglegums, and equipment will be very useful.
Like the Liberty Falls Final Encounter, you can buy ammo in this room. However, keep in mind that max Pack-a-Punch ammo is $10,000. So, it’s not a bad idea to keep a tier two Pack-a-Punch weapon as a backup, since it only costs $5,000 to restock.
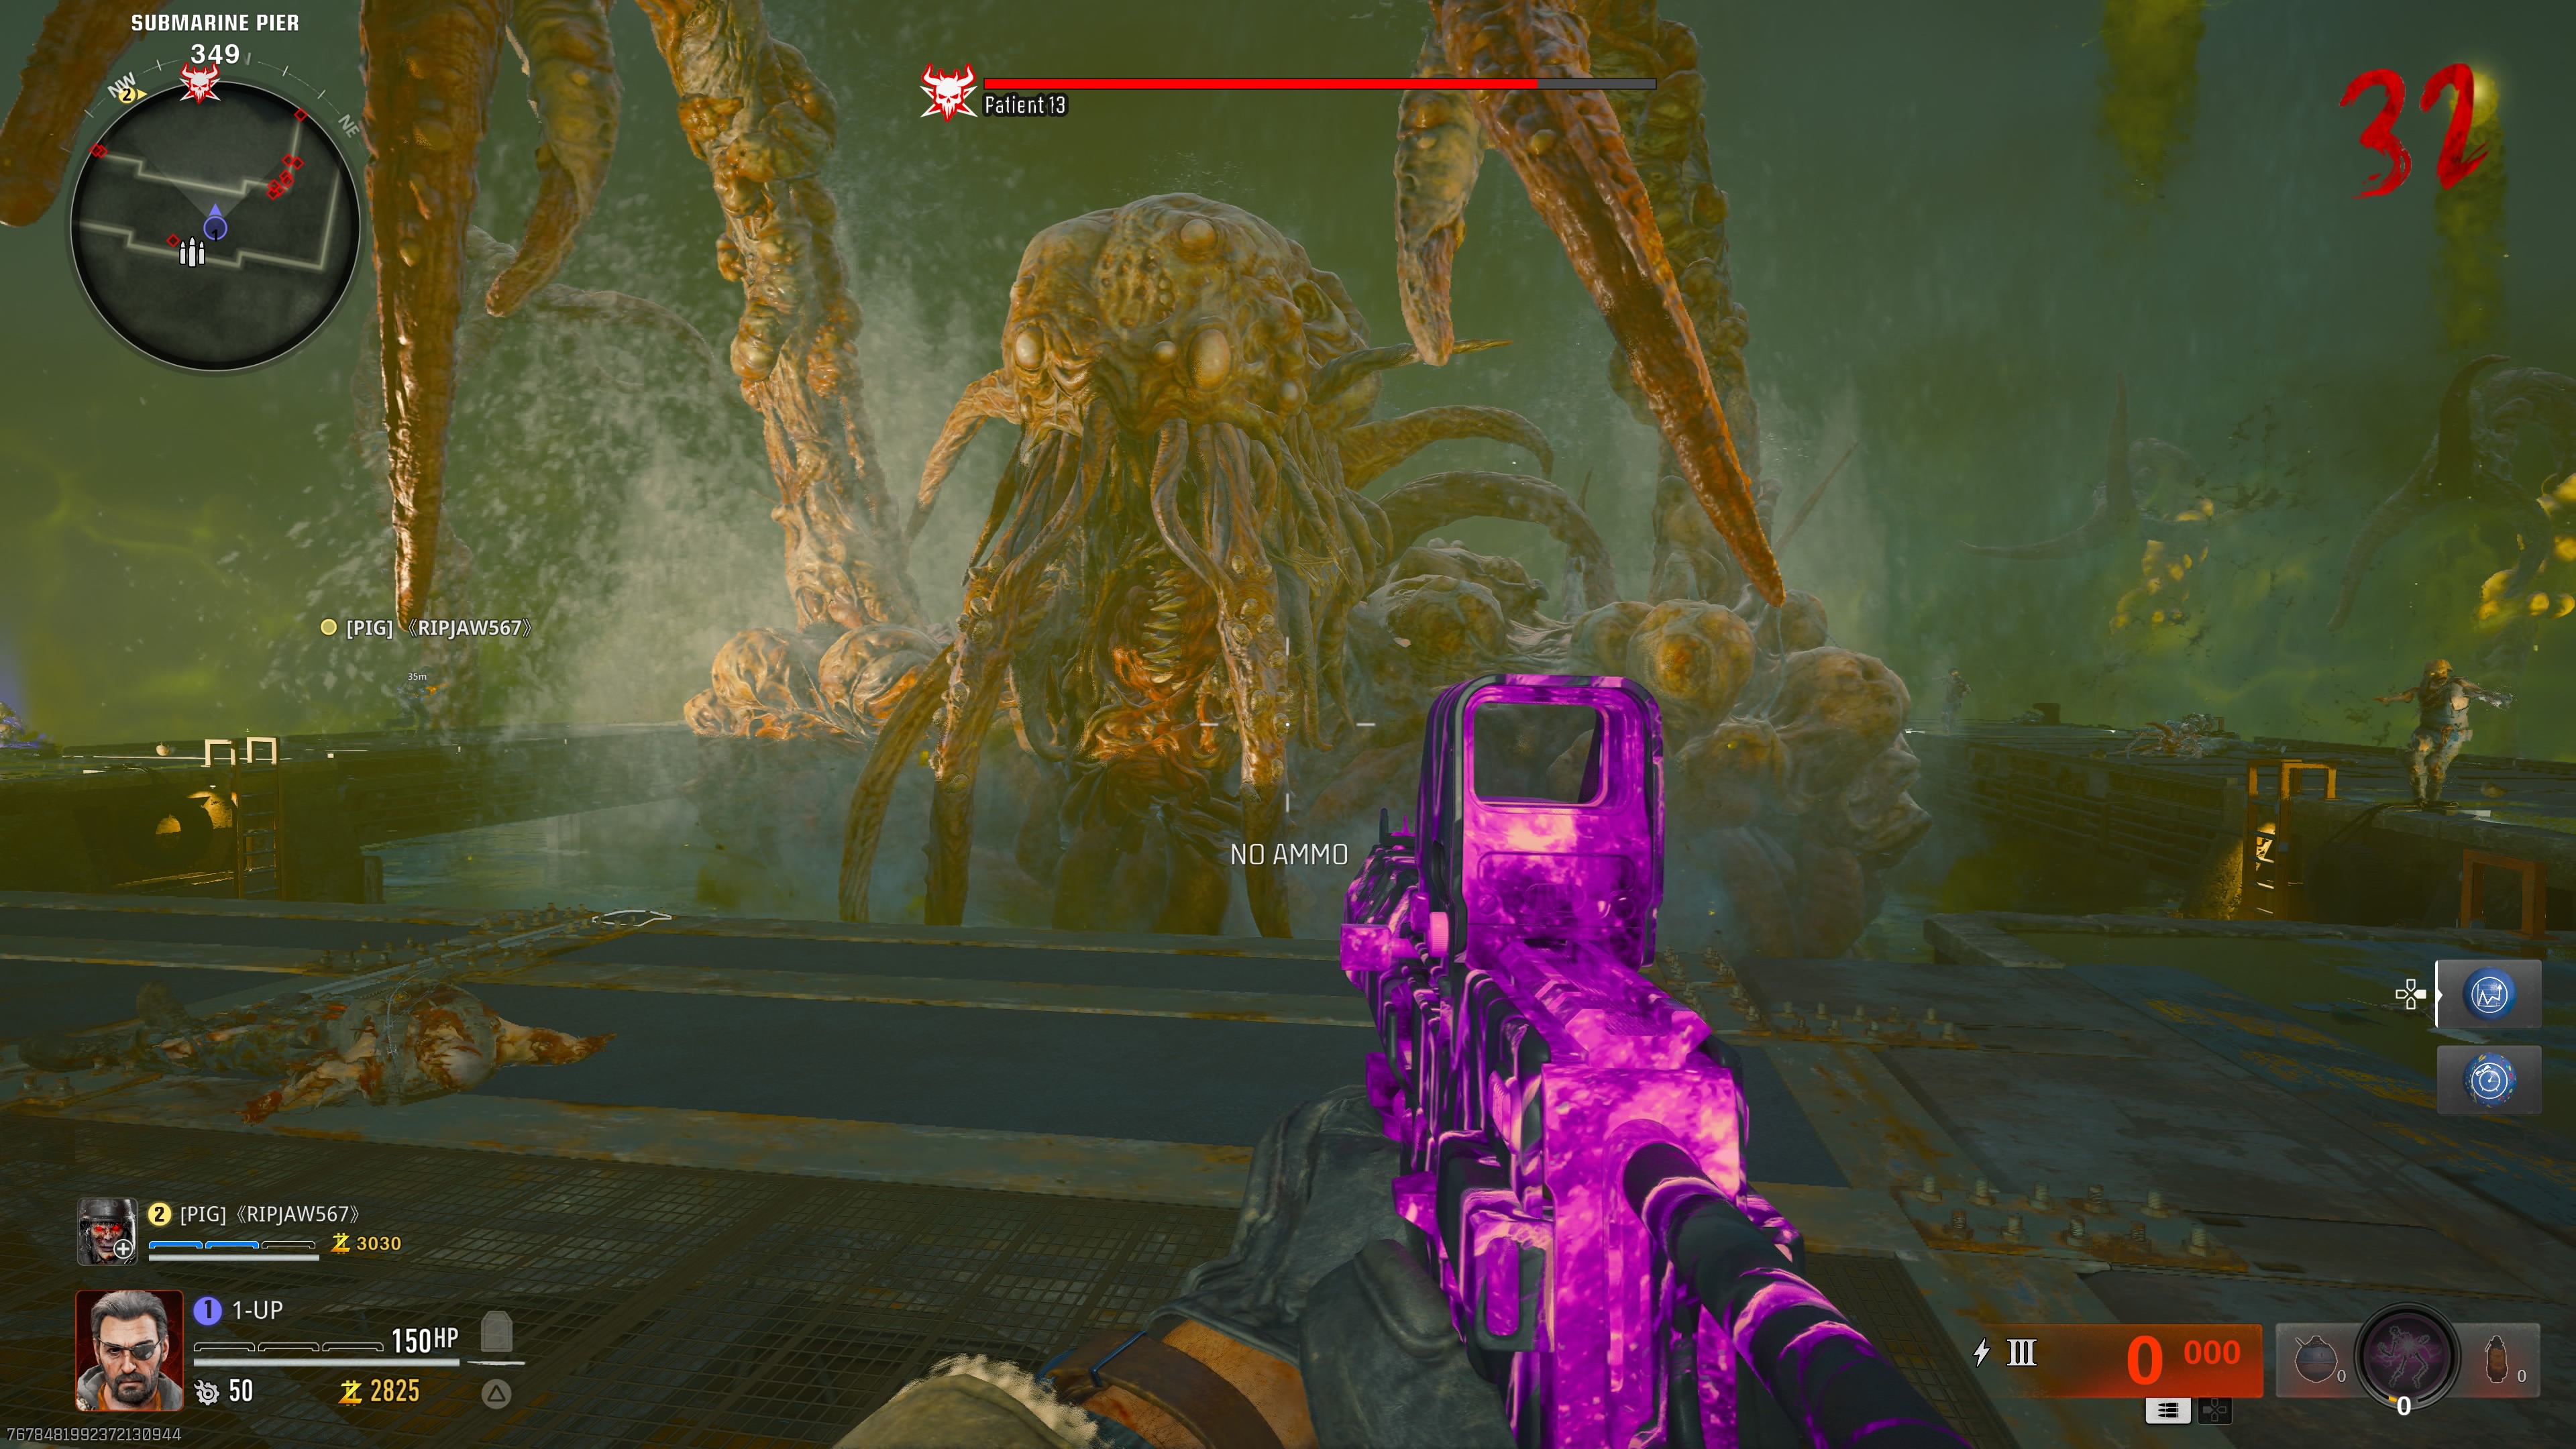
Entering the Final Encounter will place you into a unique boss room against Patient 13. There will also be infinitely spawning waves of zombies, including elites in the later rounds, and poison-lobbing tentacles. Since the enemies are never-ending, you will want to focus on the boss as much as you can—though you can also farm money for ammo using the standard zombies.
Patient 13 has three phases with unique attacks, so here are some things to keep in mind:
- Aim for the glowing areas for critical damage: pustules in phase one, and its chest and tentacles in phase two
- Patient 13 will follow you around the arena, so keep track of them, especially to avoid its slam attack
- Use the cover and even the water to your advantage, though staying the water too long will spawn a roaming poison cloud
- Phase three will block off the arena, making the water the only way to traverse the two sections
- Phase three has a wipe mechanic when it charges electricity that can only be avoided by using the cover near the entrance
After eventually beating the boss, you will have the option to either continue playing or exit the match. If you choose to continue, you’ll be rewarded additional currency, Perkaholic, high-quality weapons, an Aether Tool to upgrade weapon rarity for free, and a Raw Aetherium Crystal to use the Pack-a-Punch machine for free, too.
Now you know how to beat the Black Ops 6 Zombies easter eggs for Liberty Falls and Terminus, all you need to do is put it to good use. After all, there are exclusive rewards up for grabs for those who are successful.

Rory has made the fatal error of playing way too many live service games at once, and somehow still finding time for everything in between. Sure, he’s an expert at Destiny 2, Call of Duty, and more, but at what cost? He’s even sunk 1,000 hours into The Elder Scrolls Online over the years. At least he put all those hours spent grinding challenges to good use over the years as a freelancer and guides editor. In his spare time, he’s also an avid video creator, often breaking down the environmental design of his favourite games. If you can’t track him down, he’s probably lost in a cave with a bunch of dwarves shouting “rock and stone” to no end.
 Join The Club


