F1 Manager 2022 tips: Use your brains to become the next Brawn in Frontier’s new F1 sim
Here's how to get ahead to P1.
Keep up to date with the most important stories and the best deals, as picked by the PC Gamer team.
You are now subscribed
Your newsletter sign-up was successful
Want to add more newsletters?
Every Friday
GamesRadar+
Your weekly update on everything you could ever want to know about the games you already love, games we know you're going to love in the near future, and tales from the communities that surround them.

Every Thursday
GTA 6 O'clock
Our special GTA 6 newsletter, with breaking news, insider info, and rumor analysis from the award-winning GTA 6 O'clock experts.

Every Friday
Knowledge
From the creators of Edge: A weekly videogame industry newsletter with analysis from expert writers, guidance from professionals, and insight into what's on the horizon.

Every Thursday
The Setup
Hardware nerds unite, sign up to our free tech newsletter for a weekly digest of the hottest new tech, the latest gadgets on the test bench, and much more.

Every Wednesday
Switch 2 Spotlight
Sign up to our new Switch 2 newsletter, where we bring you the latest talking points on Nintendo's new console each week, bring you up to date on the news, and recommend what games to play.

Every Saturday
The Watchlist
Subscribe for a weekly digest of the movie and TV news that matters, direct to your inbox. From first-look trailers, interviews, reviews and explainers, we've got you covered.

Once a month
SFX
Get sneak previews, exclusive competitions and details of special events each month!
Finally, an F1 game with all that boring driving nonsense taken out. F1 Manager 2022 gives you all the decision-making power and crushing responsibility of a team principal, but doesn’t ask you to get your hands dirty in the cockpit.
Your first season can be a real voyage of discovery, and a list of what ifs gradually emerges as you figure out, much too late, that you should have been developing a new front wing ages ago.
Worry not, first-time F1 managers—consider this guide your handover doc from the departing team boss you just replaced. It's a cheat sheet that tells you all the important aspects of your job, how to manage efficiently and, most importantly, how to start winning races.
F1 Manager 2022 tips
Start designing new parts before the first race weekend
Above all, F1 Manager 2022 is a race to develop the best car parts and install them on your car the quickest. Every other team is constantly iterating on their designs, so if you don’t, you’re not just staying still—you’re going backwards.
If you’re at a team with some money in its pockets—Red Bull, Ferrari, Mercedes, and even Alpine and McLaren—starting a new design project should be one of the first things you do. This ensures that nobody will be developing at a faster rate than you.
This being a management game, it’s not quite that simple. Every team has its own strengths and weaknesses in the car it’s developed, and parts take longer to design and manufacture depending on whether you select ‘normal’ or ‘rushed’ in the menus when you’re setting the project up. If you can afford it, rush through the first season’s upgrades. You’ll miss out on extra XP for your staff, but on the plus side, you’ll get new parts on the car sooner.
As for precisely what you should be designing and manufacturing first, here's what you should be prioritising.
Keep up to date with the most important stories and the best deals, as picked by the PC Gamer team.
Prioritise underfloor, front and rear wings
There are several areas of the car you can redesign throughout the season:
- Front wing
- Rear wing
- Underfloor
- Chassis
- Sidepods
- Suspension
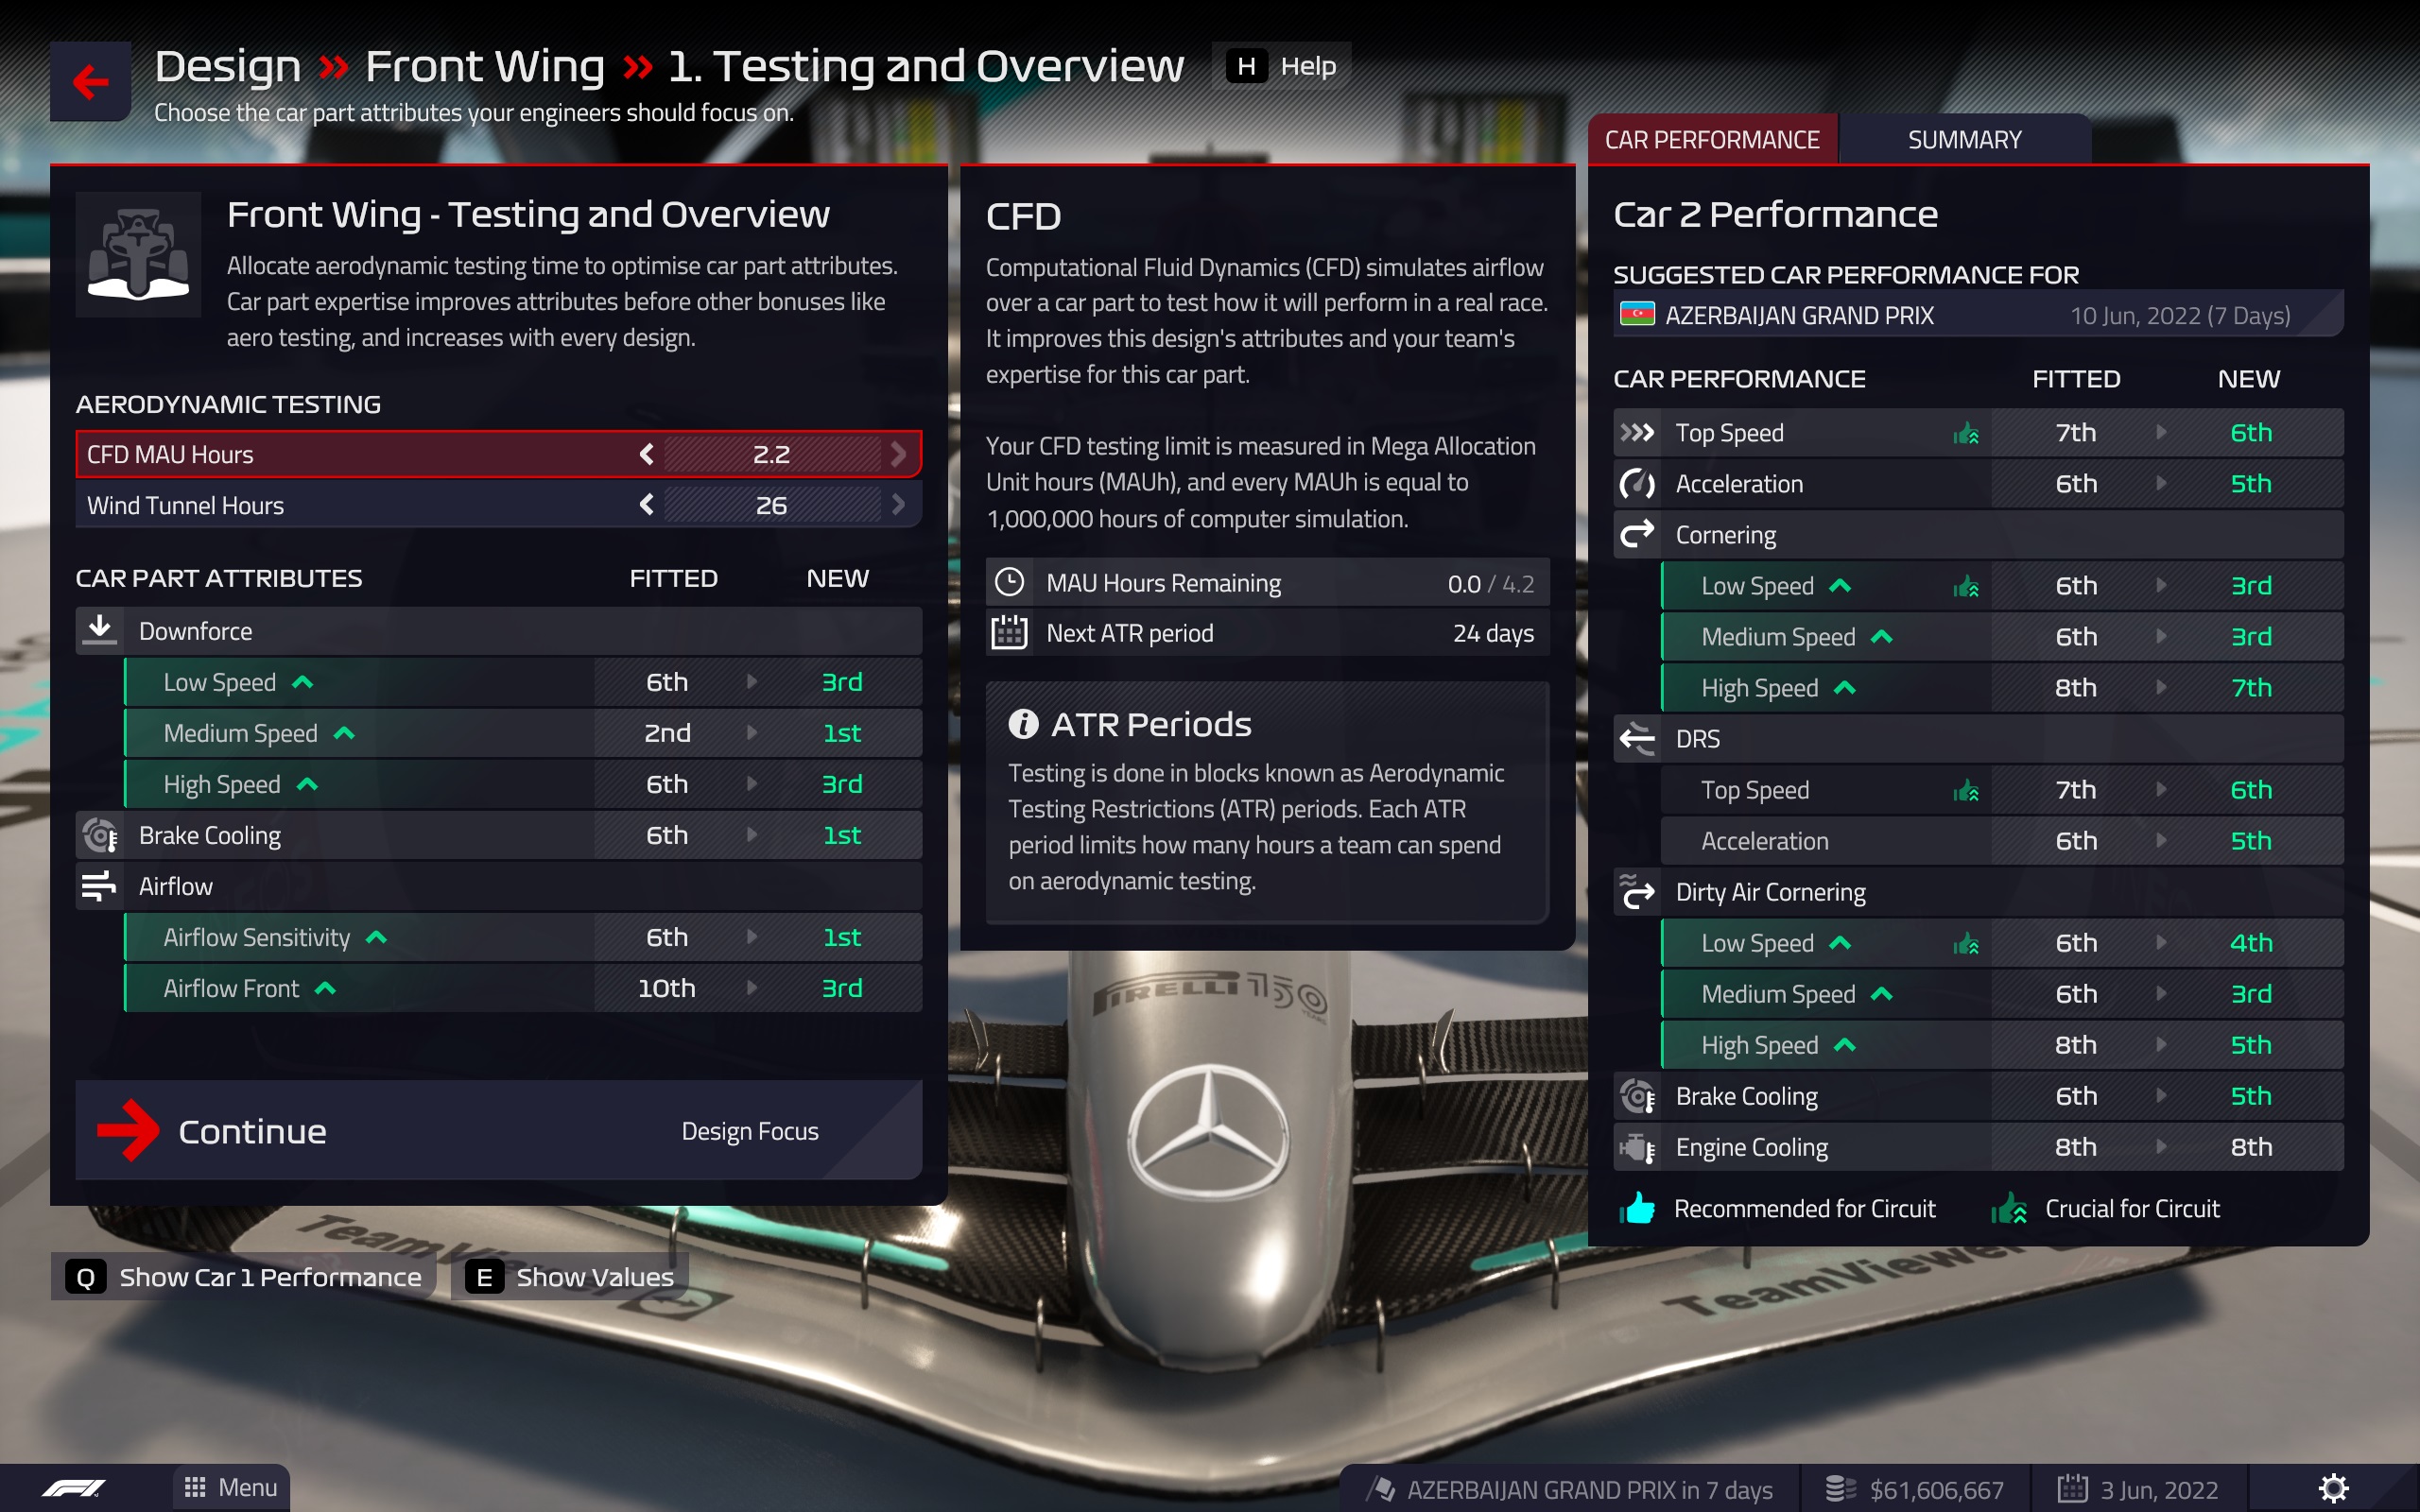
Again, every team has some parts that are better than others. You may have the third-best front wing on the grid, for example, but only the ninth-best engine cooling. Hit ‘E’ after setting up a new design project and entering the part selection menu to see how your components stack up against the rest of the grid.
There’s a dilemma here: do you develop the weakest parts, hoping to catch up, or focus on making the best bits even better so that you don’t lose your advantage in that area?
Neither. Simply focus on the front and rear wings, and the underfloor. These three parts will give you the most performance gain per upgrade since they affect more of the car’s performance criteria than any other part.
It’s definitely still worth working on new suspension, chassis and sidepods, too, but get these done using fewer designers, CFD and wind tunnel time than the rest so that you can push the important stuff through at a faster rate.
Don’t scrimp on CFD and wind tunnel time
You have limited testing time throughout the season, regardless of your team’s budget and lofty aspirations. This is actually a good thing if you’re managing a team further towards the back of the grid because you’re not penalised in this area for having less budget. Red Bull can’t throw more money into the wind tunnel to get more hours.
However, it’s worth knowing that the allotted hours you get for computer simulation and wind tunnel testing replenish roughly every 40 days—the number you see isn’t your allocation for the season. Make use of every second available to you—you can’t roll them over into the next period. They’re a lot like annual leave, in that way.
Start the race in the red
Races are the moments in a team manager’s life when shirt armpits get drenched, knees start nervously bobbing, and glorious victories can turn into ignominious P4s with a few bad strategy calls—just ask Ferrari on any given Sunday throughout the season.
There’s a lot to getting good results on race day, most crucially all the development work you’re doing between race weekends. But you can give both your drivers a fighting chance by setting their driving modes to all-out attack before the lights go green.
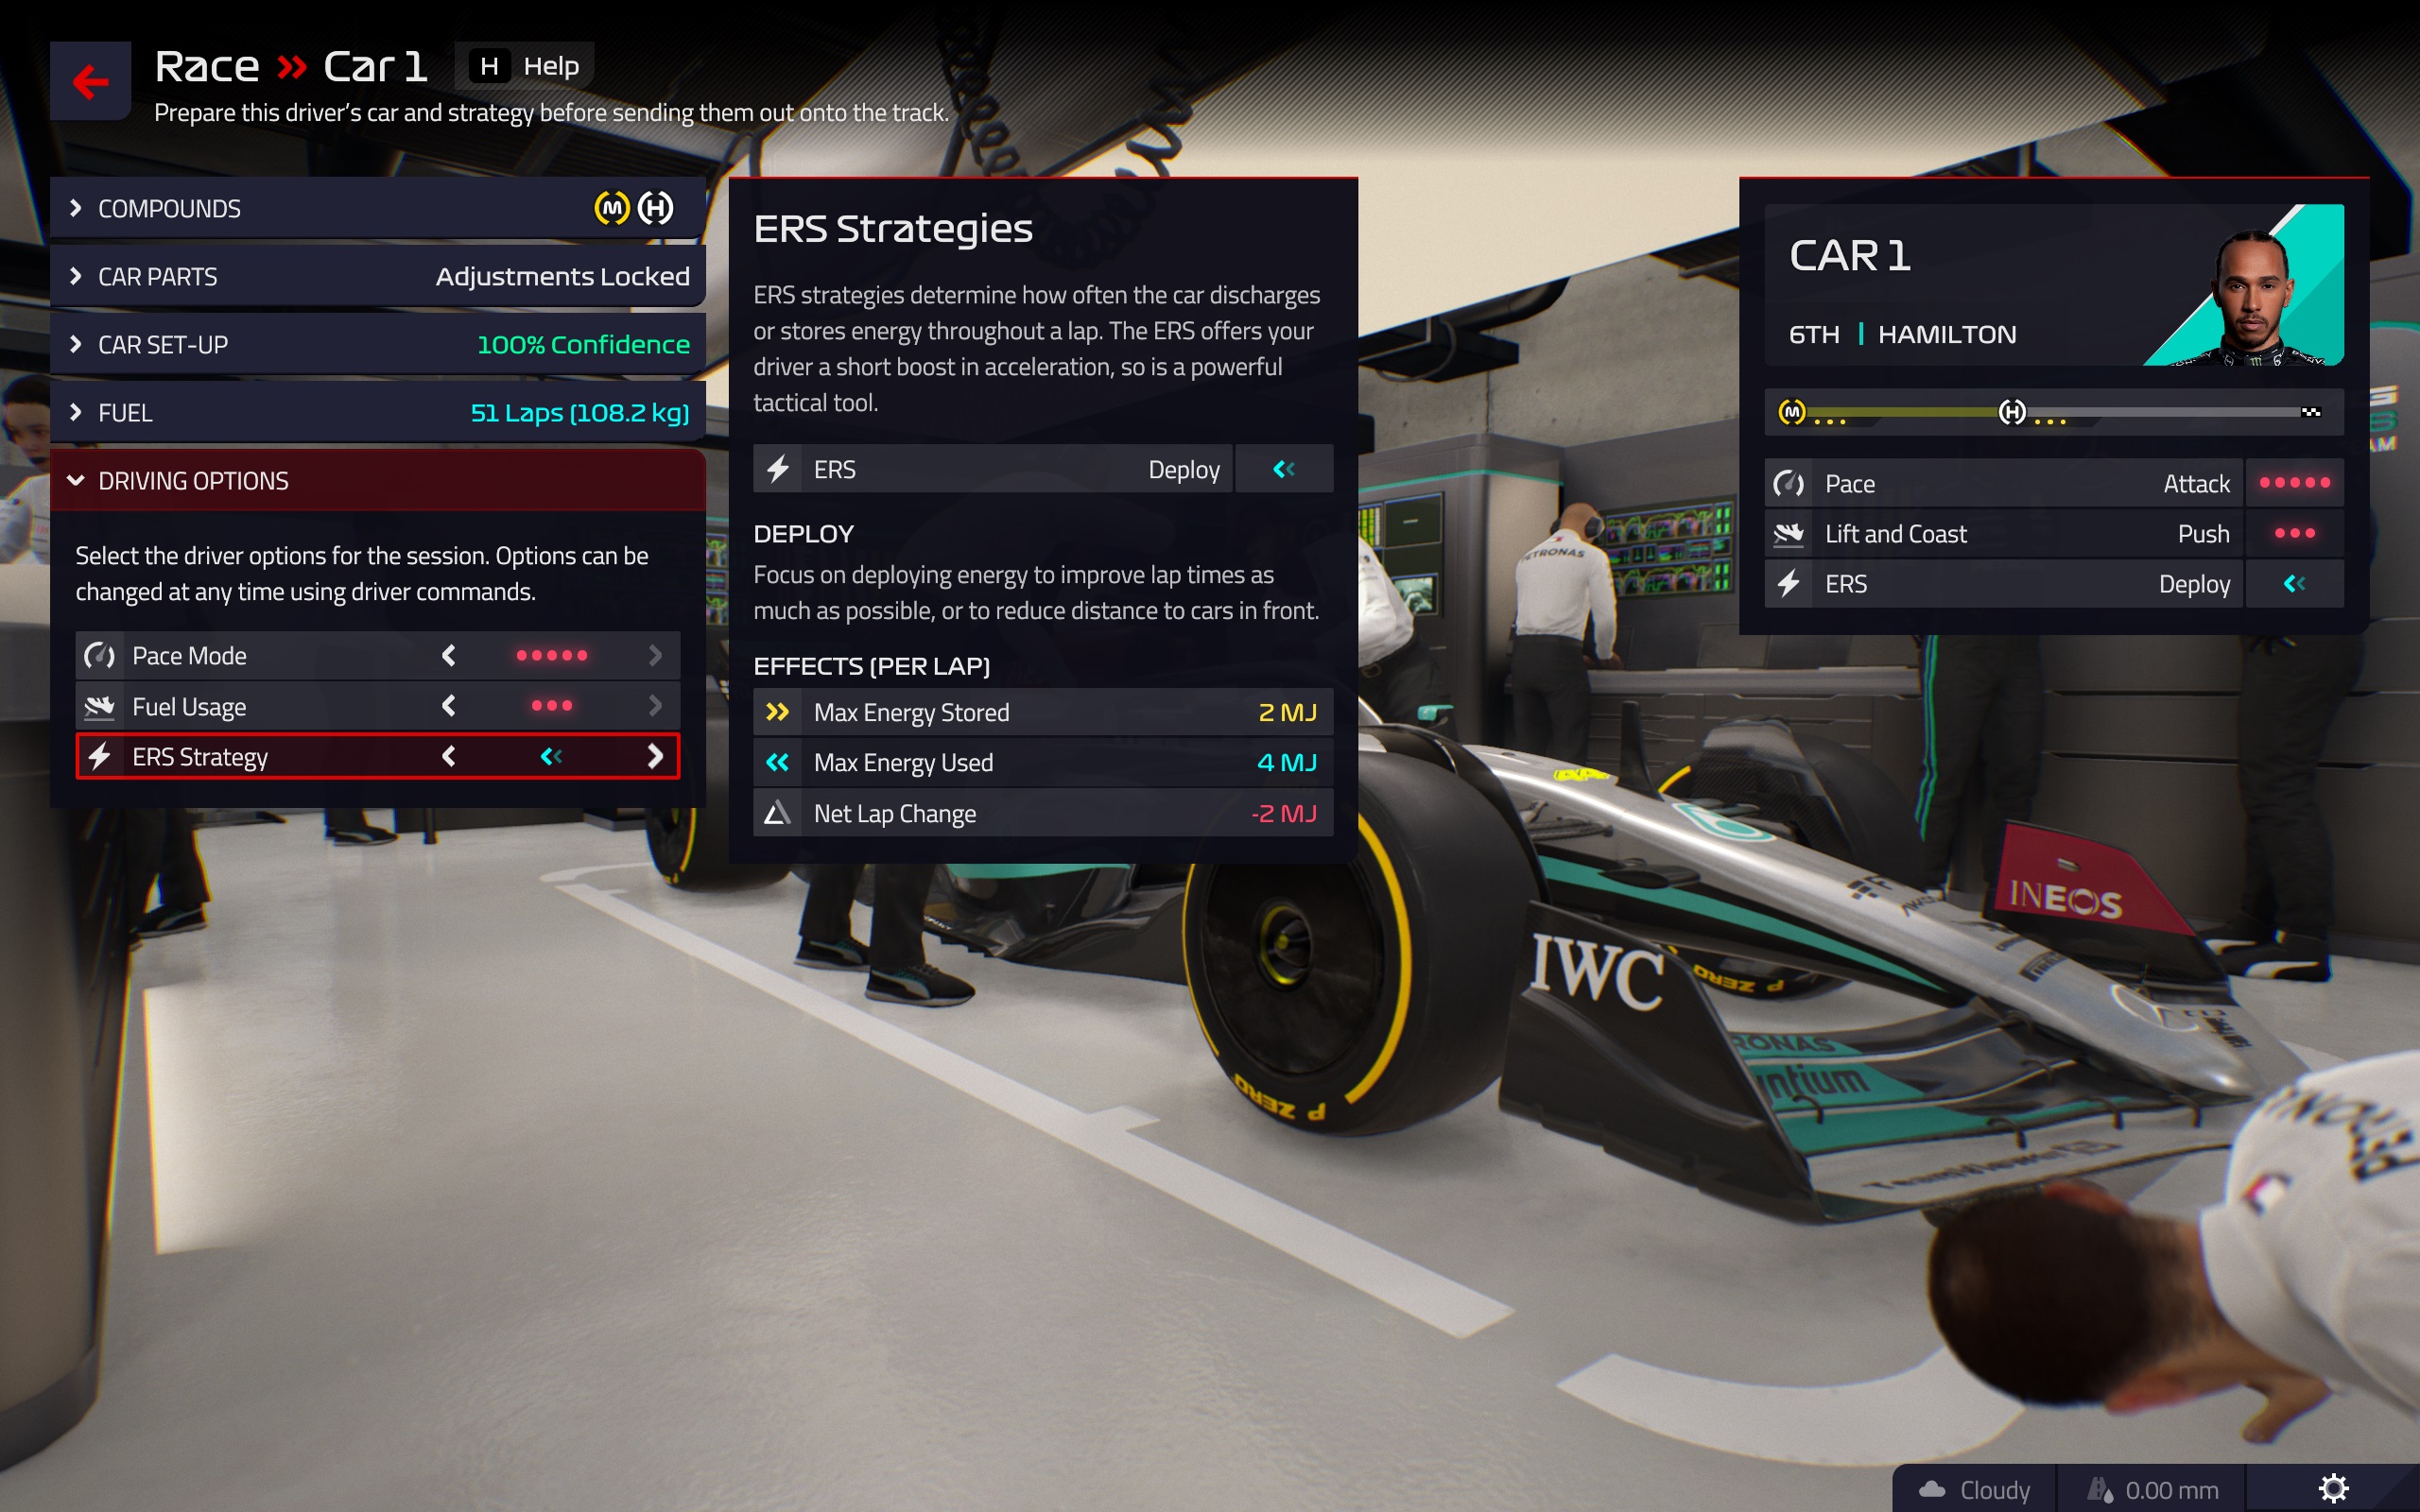
In the same menu where you set tire strategies before the race, check out the Driver Settings menu. This is where you can access the pace, fuel burn and ERS settings that you usually have access to mid-race.
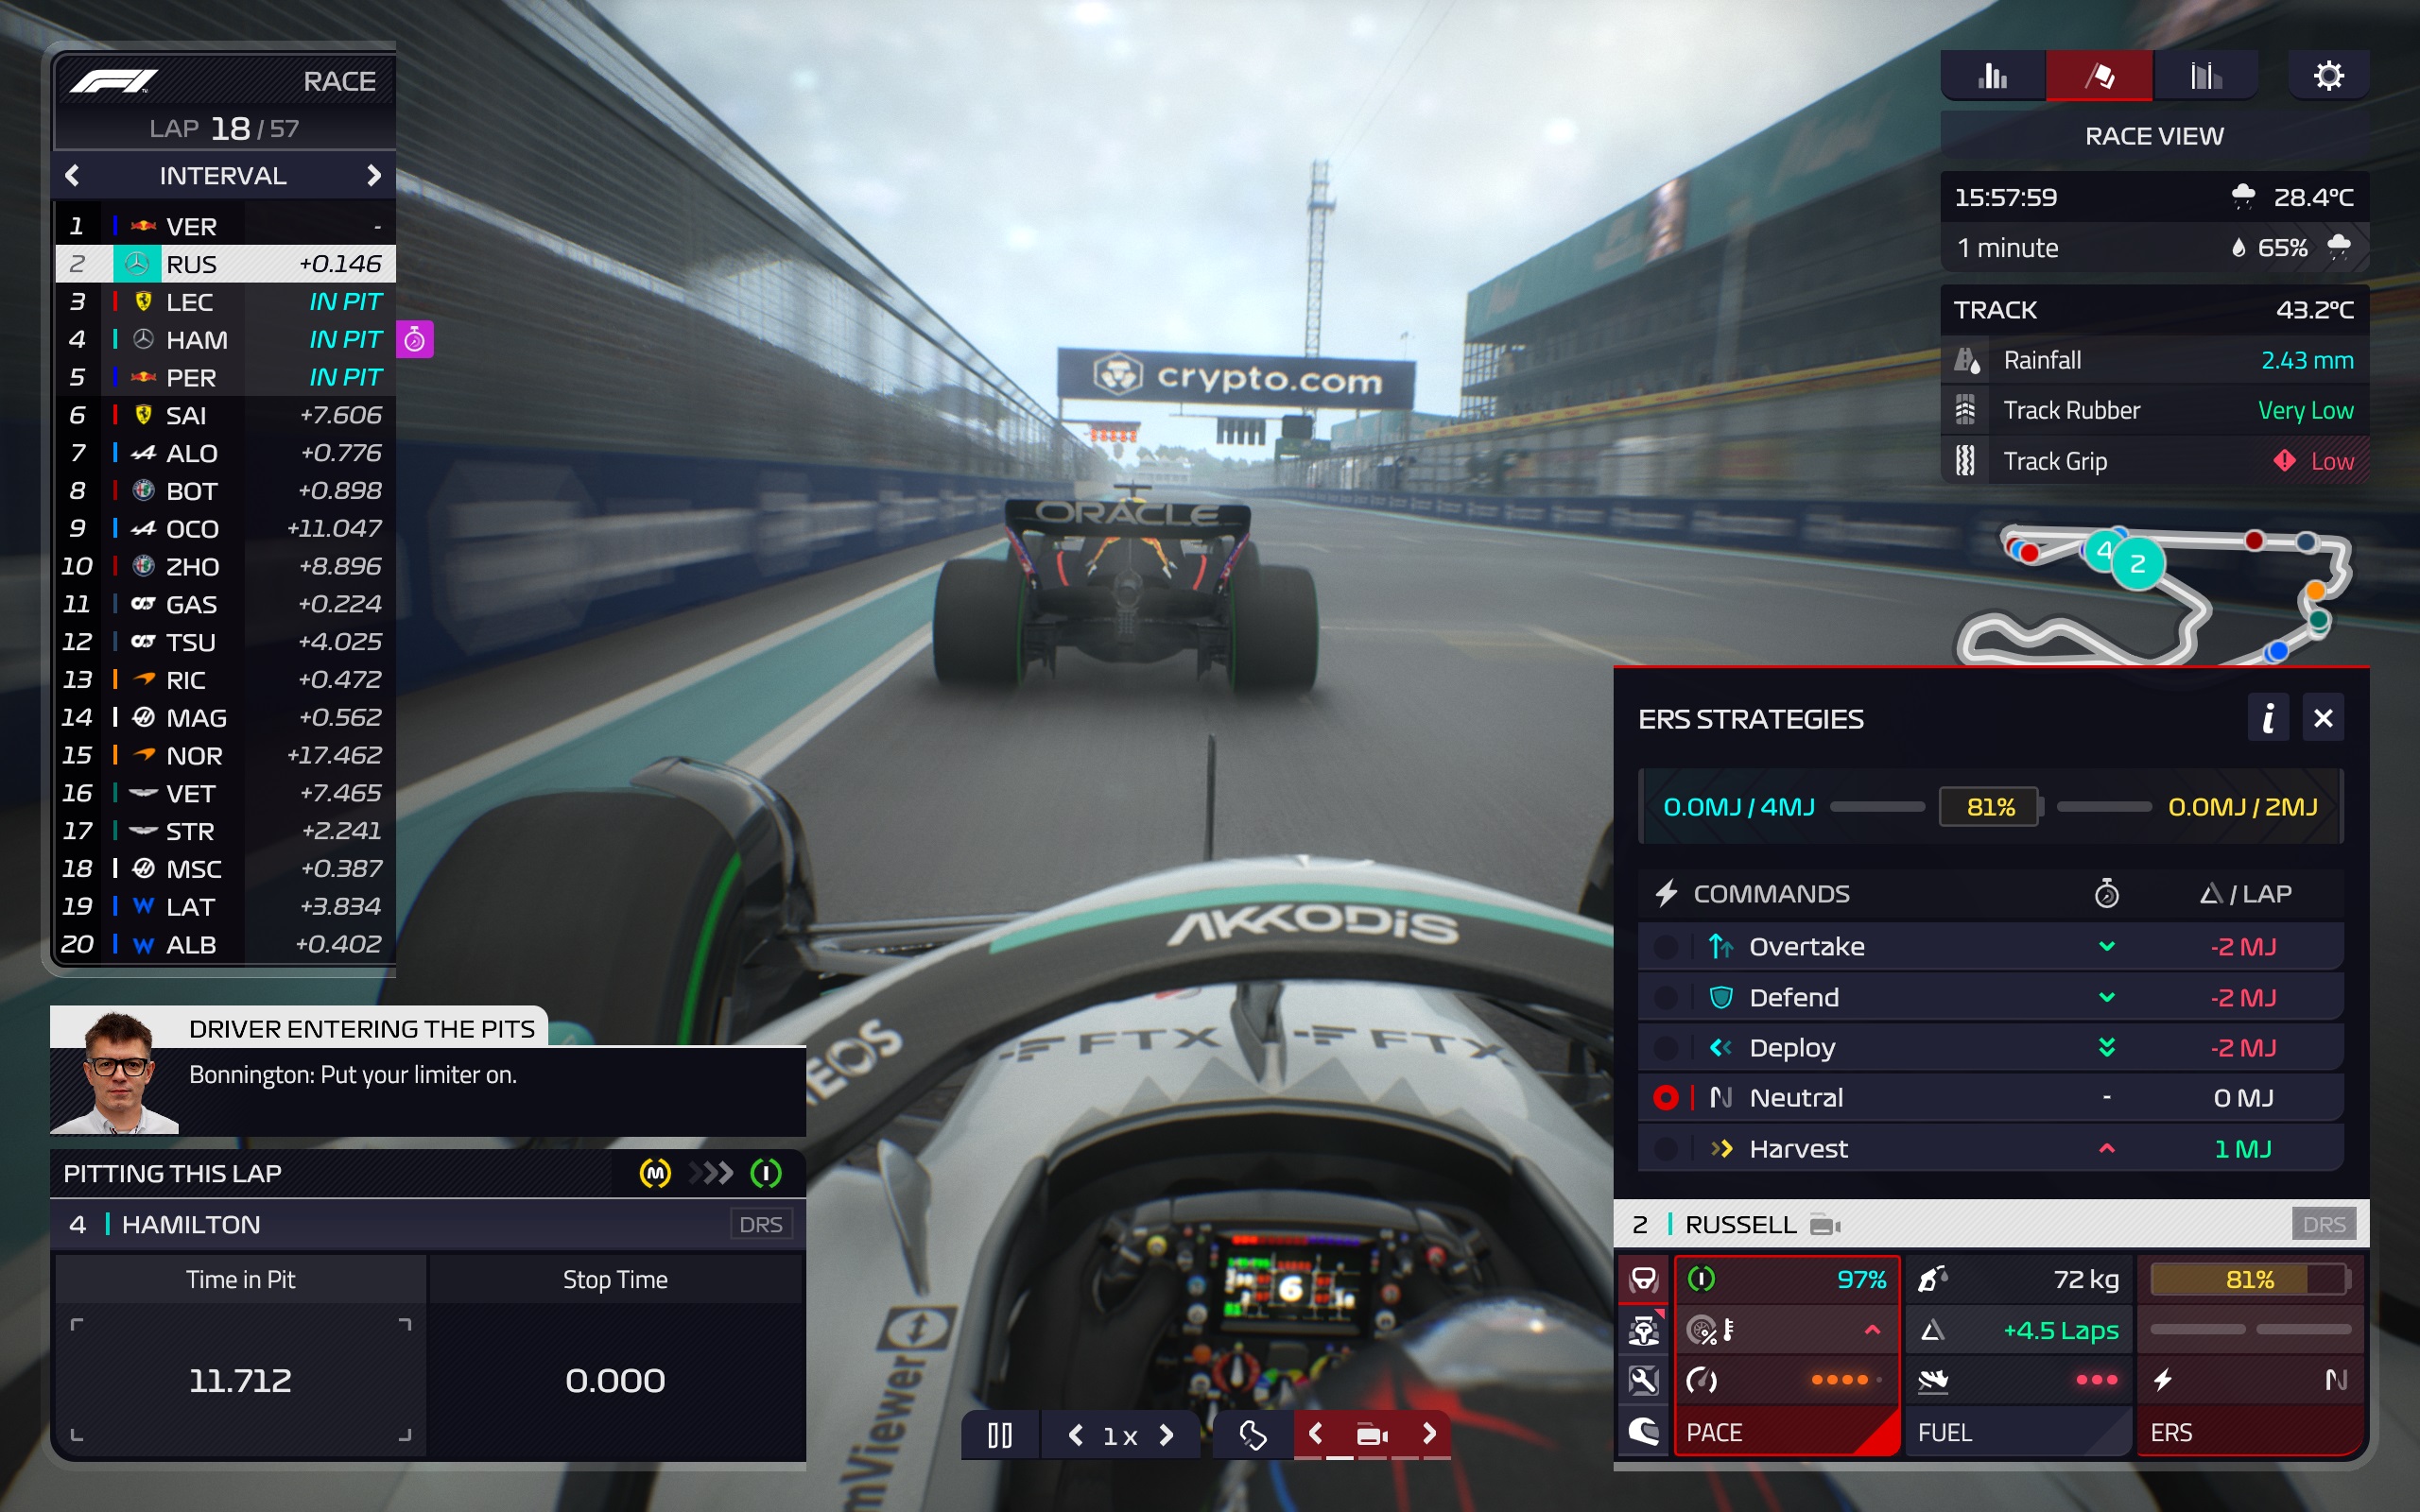
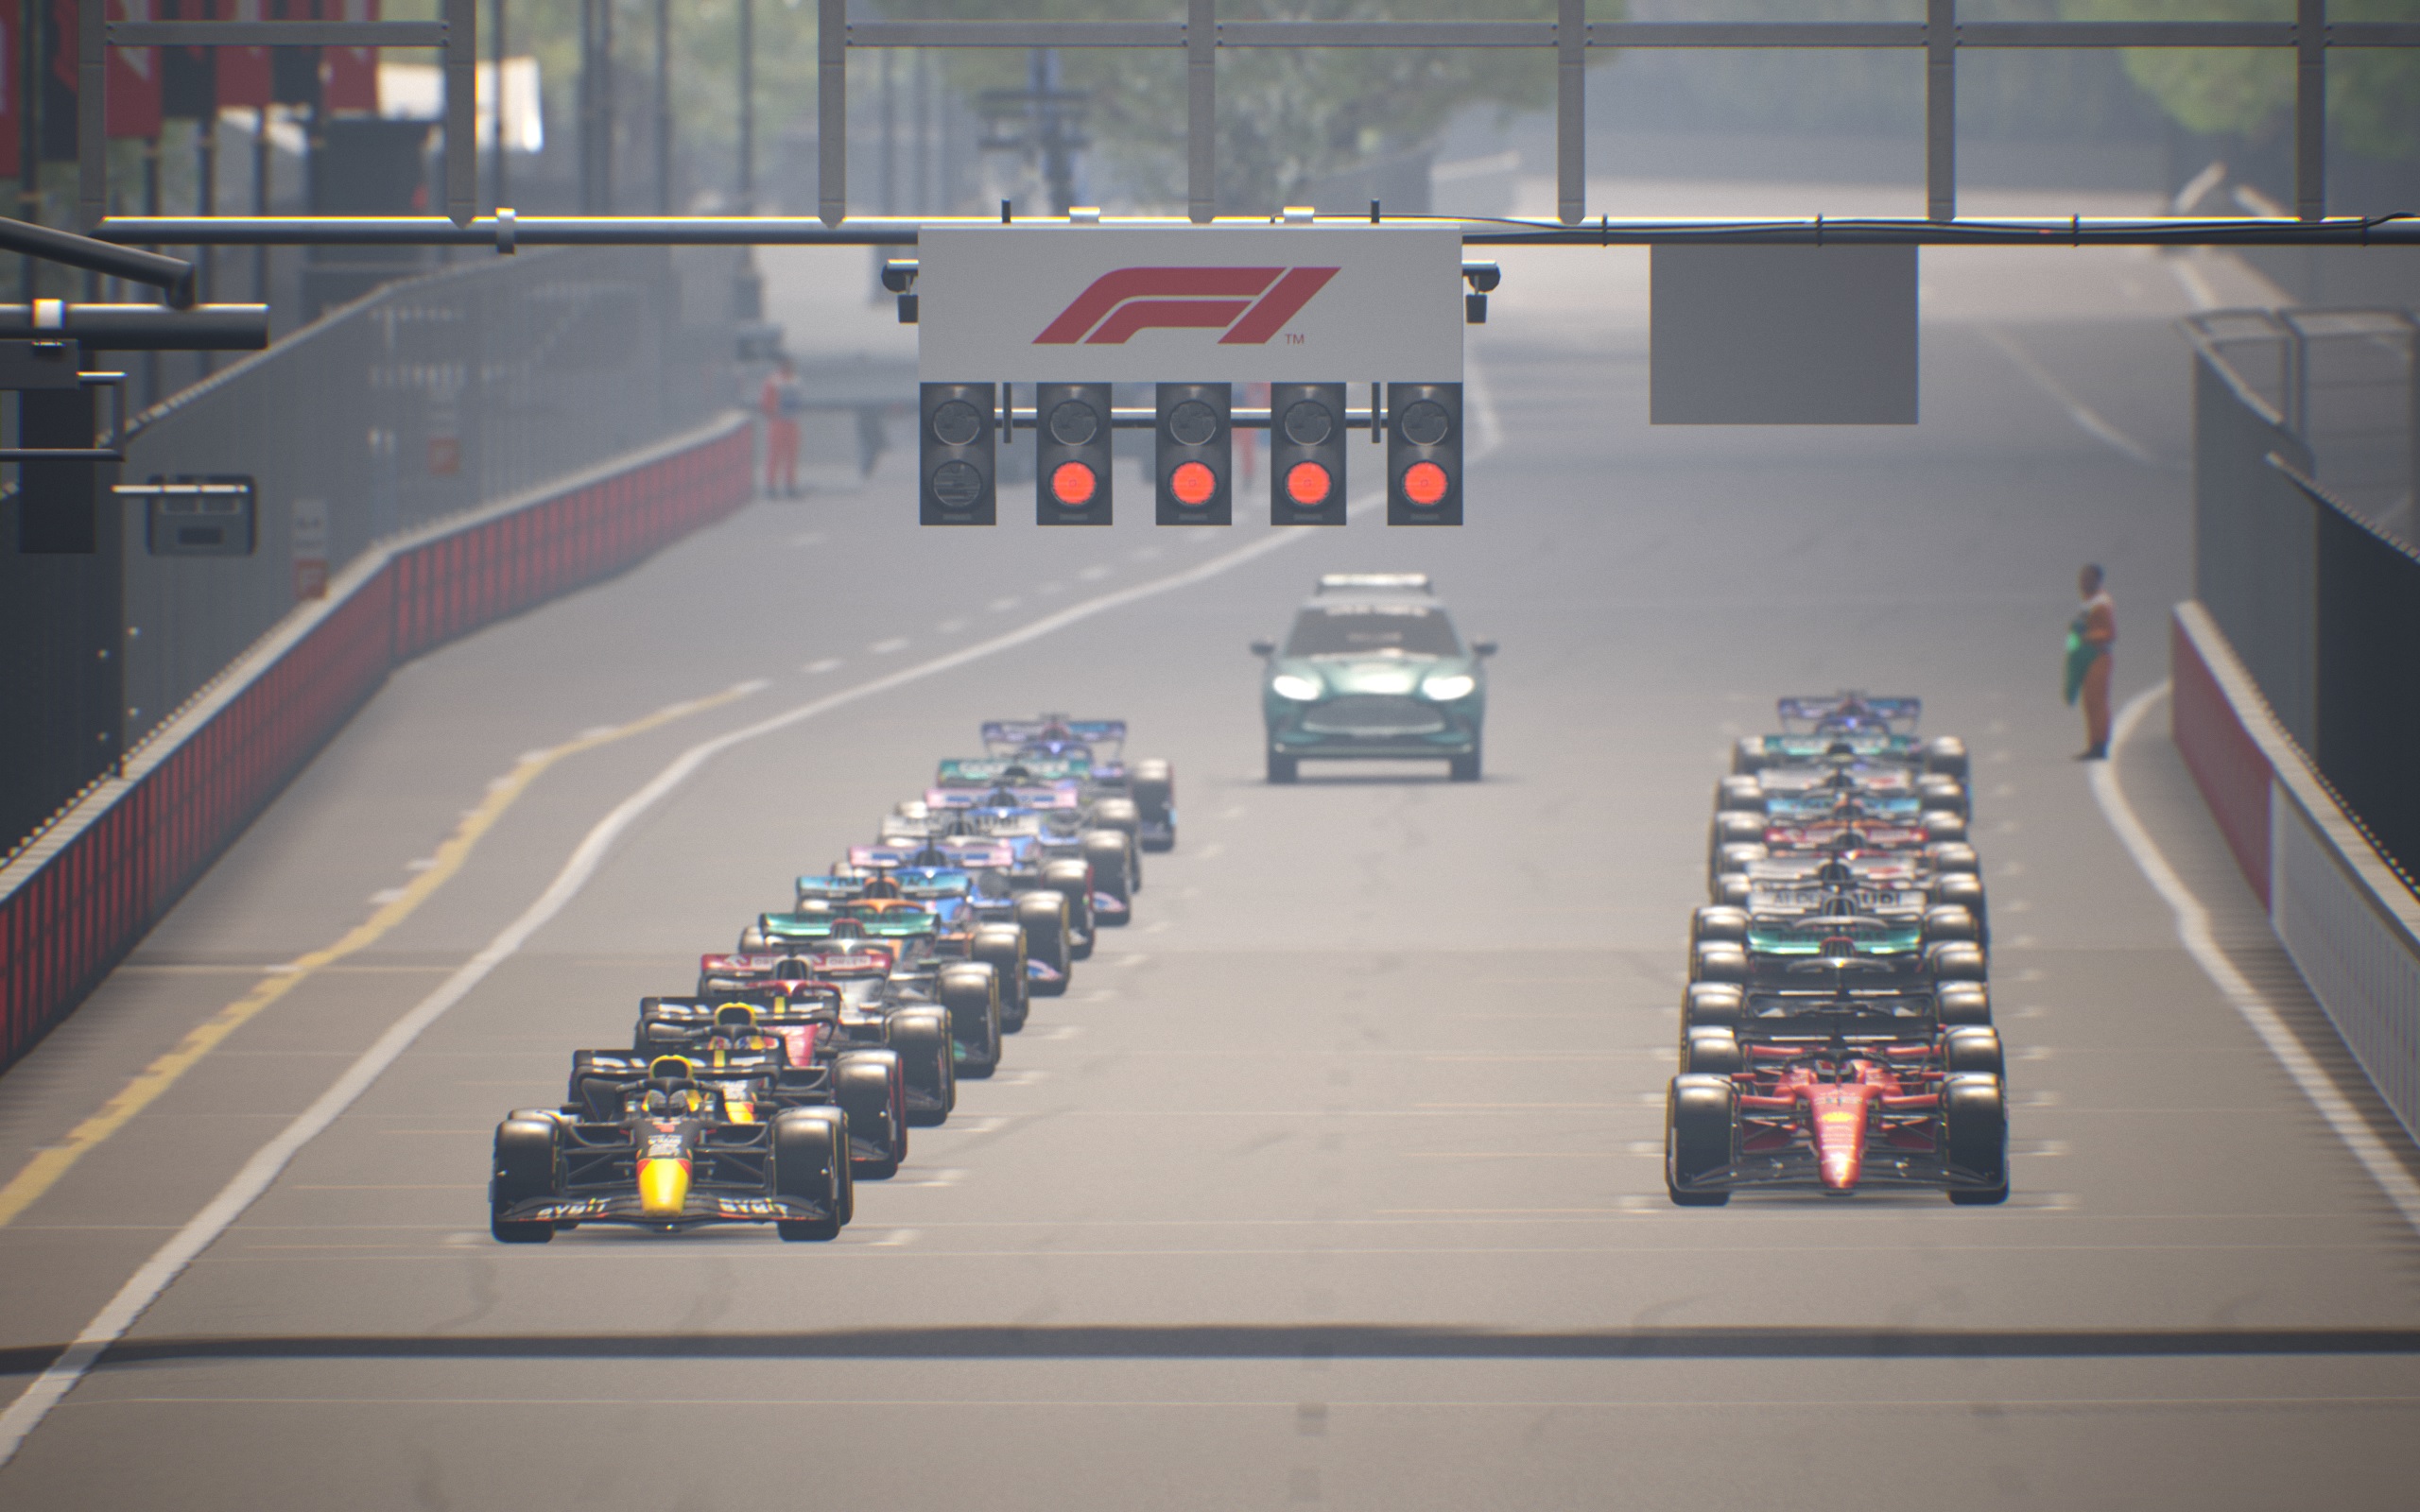
Set your pace to full red, fuel to maximum consumption, and ERS to deploy, before the race begins, and leave it like that for both your drivers for the whole of the first lap. Trust me—every other driver around you is doing it, so it’s attack or be attacked in this very early phase in the race.
One lap on full attack won’t take too much out of your tires, and you won’t need to enter the dreaded conserve mode later just by burning a bit more fuel on the opening lap. Keep using these settings every race start, and you’ll avoid losing positions off the line and into turn one.
Tweaking setups is tedious but worth it
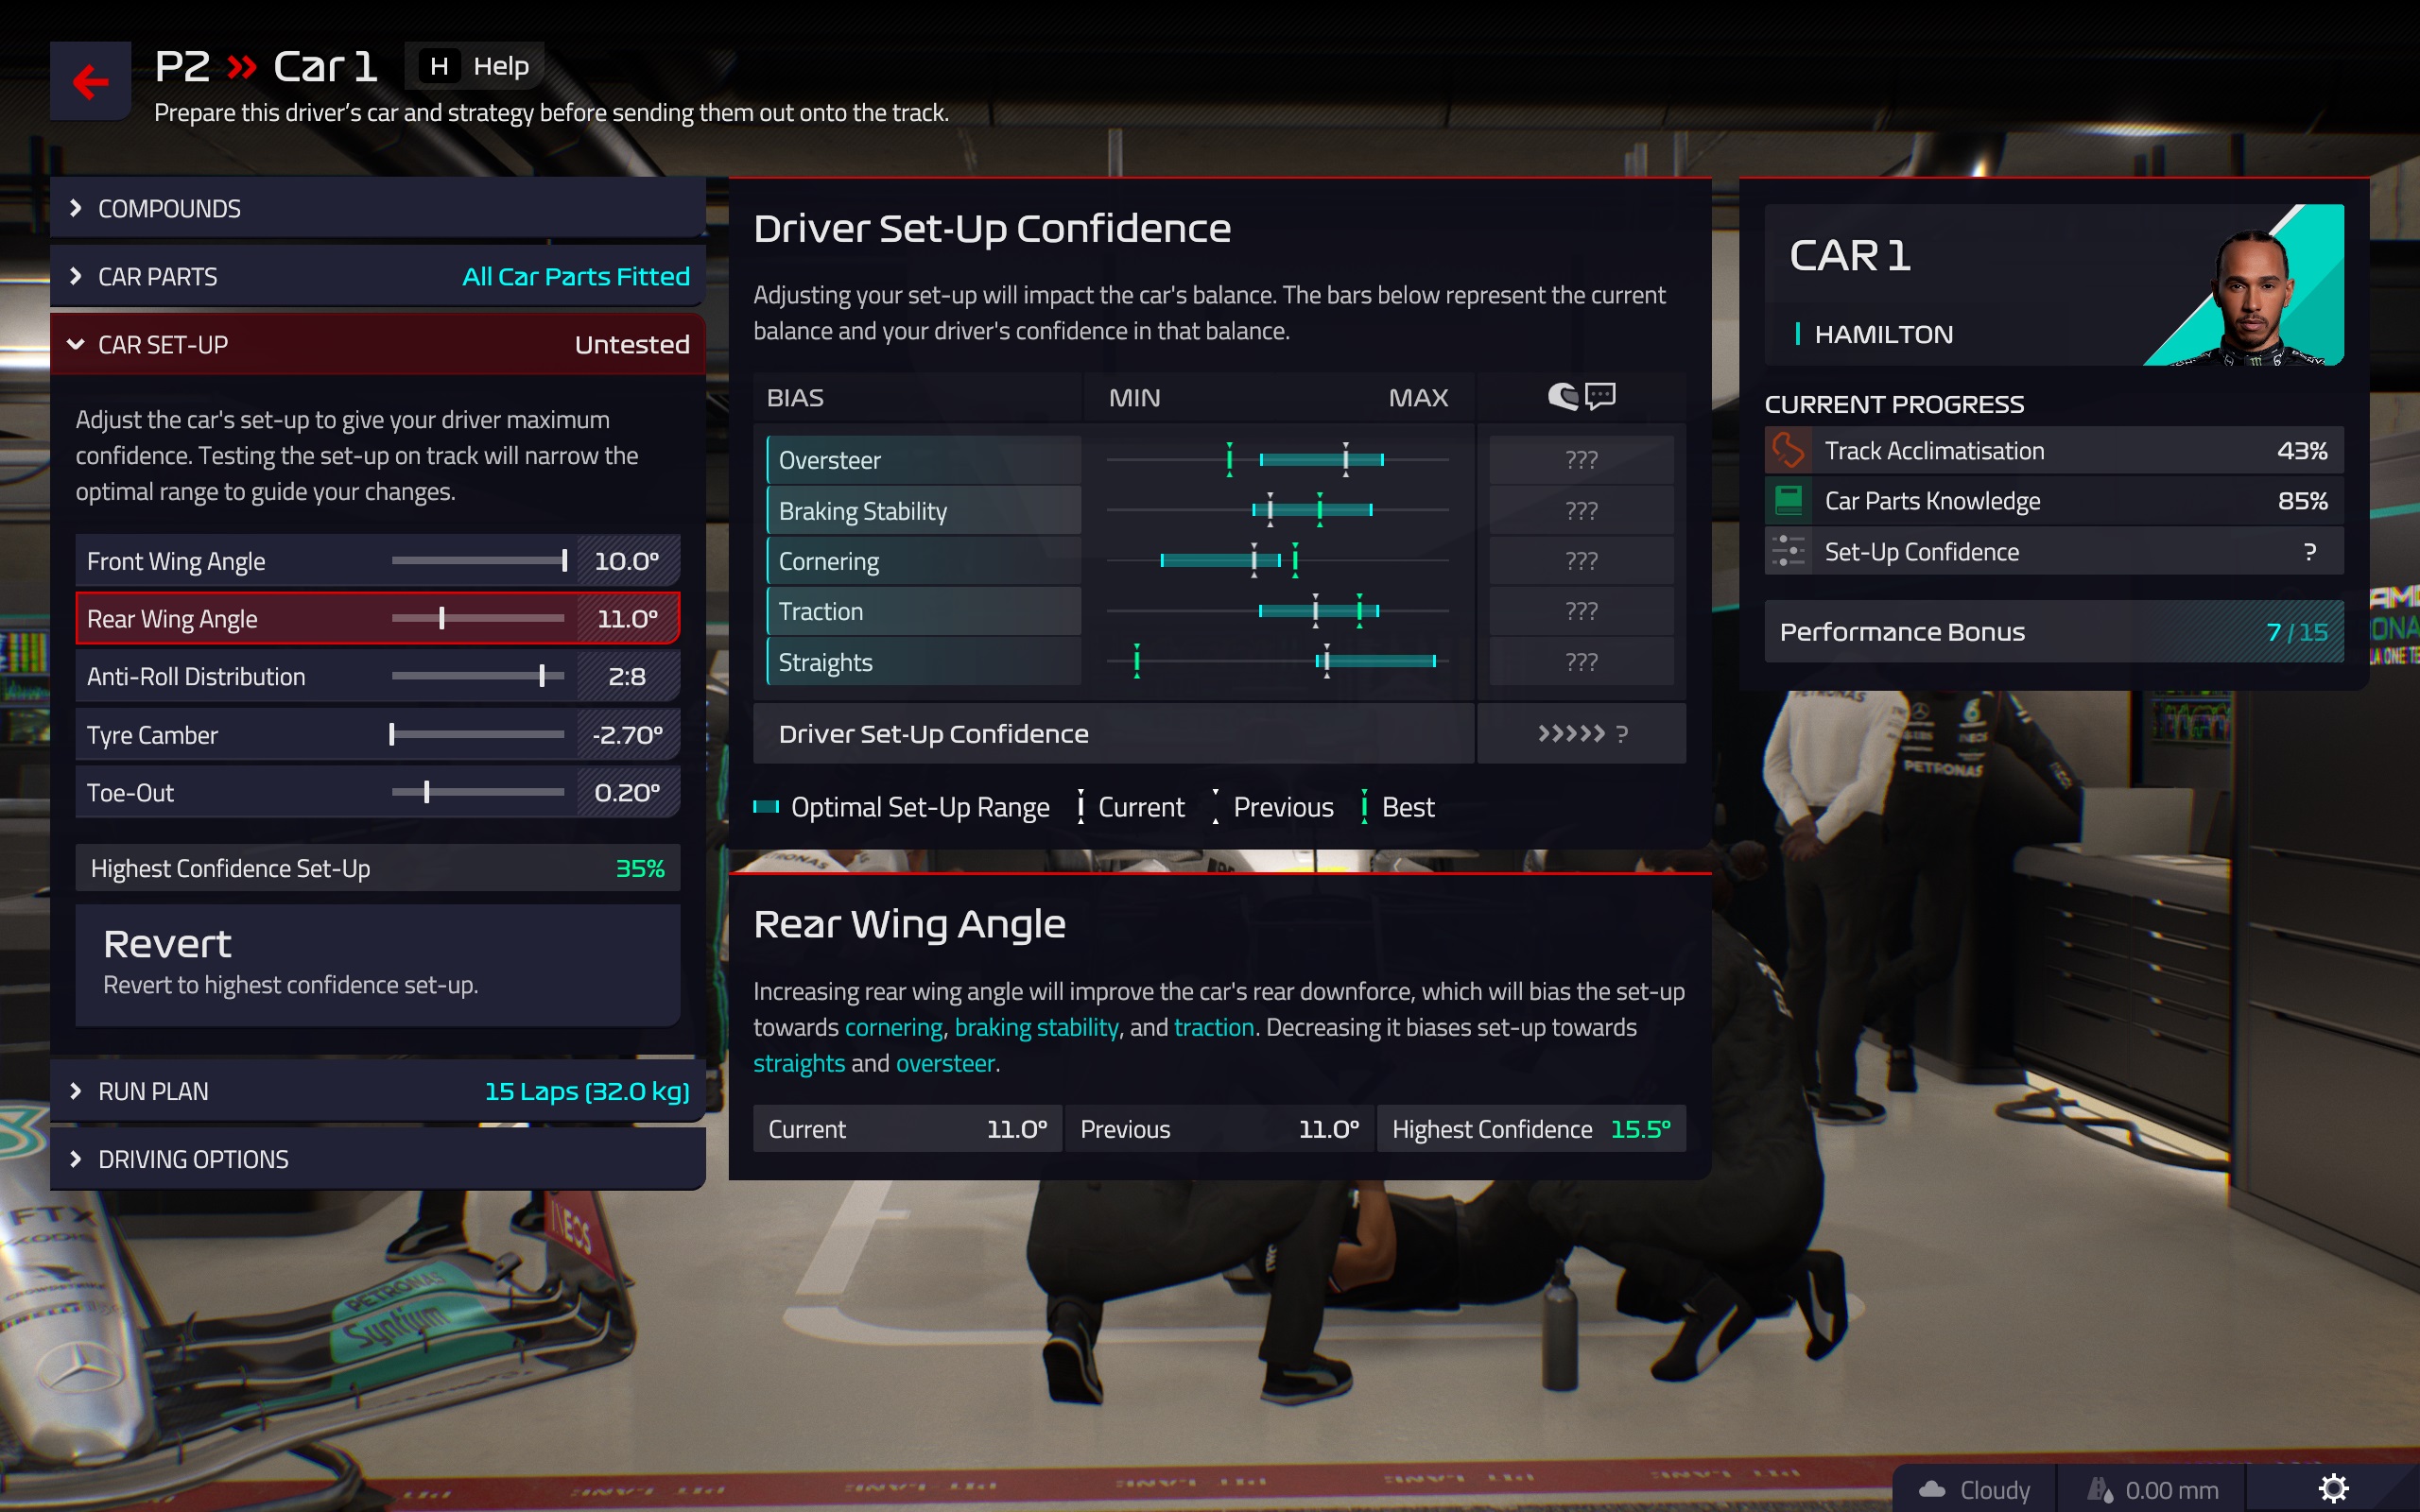
One of the more game-fied aspects of Frontier’s take on being Christian Horner is the car setup system. As your drivers rack up the laps in practice sessions, you’ll see that the ideal range for each car setup setting narrows. The fun twist, however, is that reaching all those ranges isn’t as simple as dragging sliders about.
Instead, the settings are all connected to each other, so if you change toe-in, your ride height changes too, and so on. Fiddling around with the sliders so that you’re within the ever-narrowing ranges feels a bit like picking a lock in a clunky old ‘90s RPG, but if you can stand it, the performance gains are worth it.
Each of your drivers has a maximum of 15 performance points that can be achieved before qualifying. These are unlocked through a mix of car part familiarity and setup confidence. Don’t worry about the others for now—getting new parts on the car regularly is a must. Setup confidence is a biggie though, and the difference between someone pootling around on a performance level of seven versus going full send on a performance level of 12 or above could be several tenths. It’s much easier to gain that time with a good setup than it is with several upgrades.
Use safety cars and VSCs to harvest ERS and save fuel
Races are a constant resource management balancing act, and both your fuel and ERS battery level are vital resources for maintaining pace, defending against attacks and making overtakes. It makes sense to have some in reserve, then.
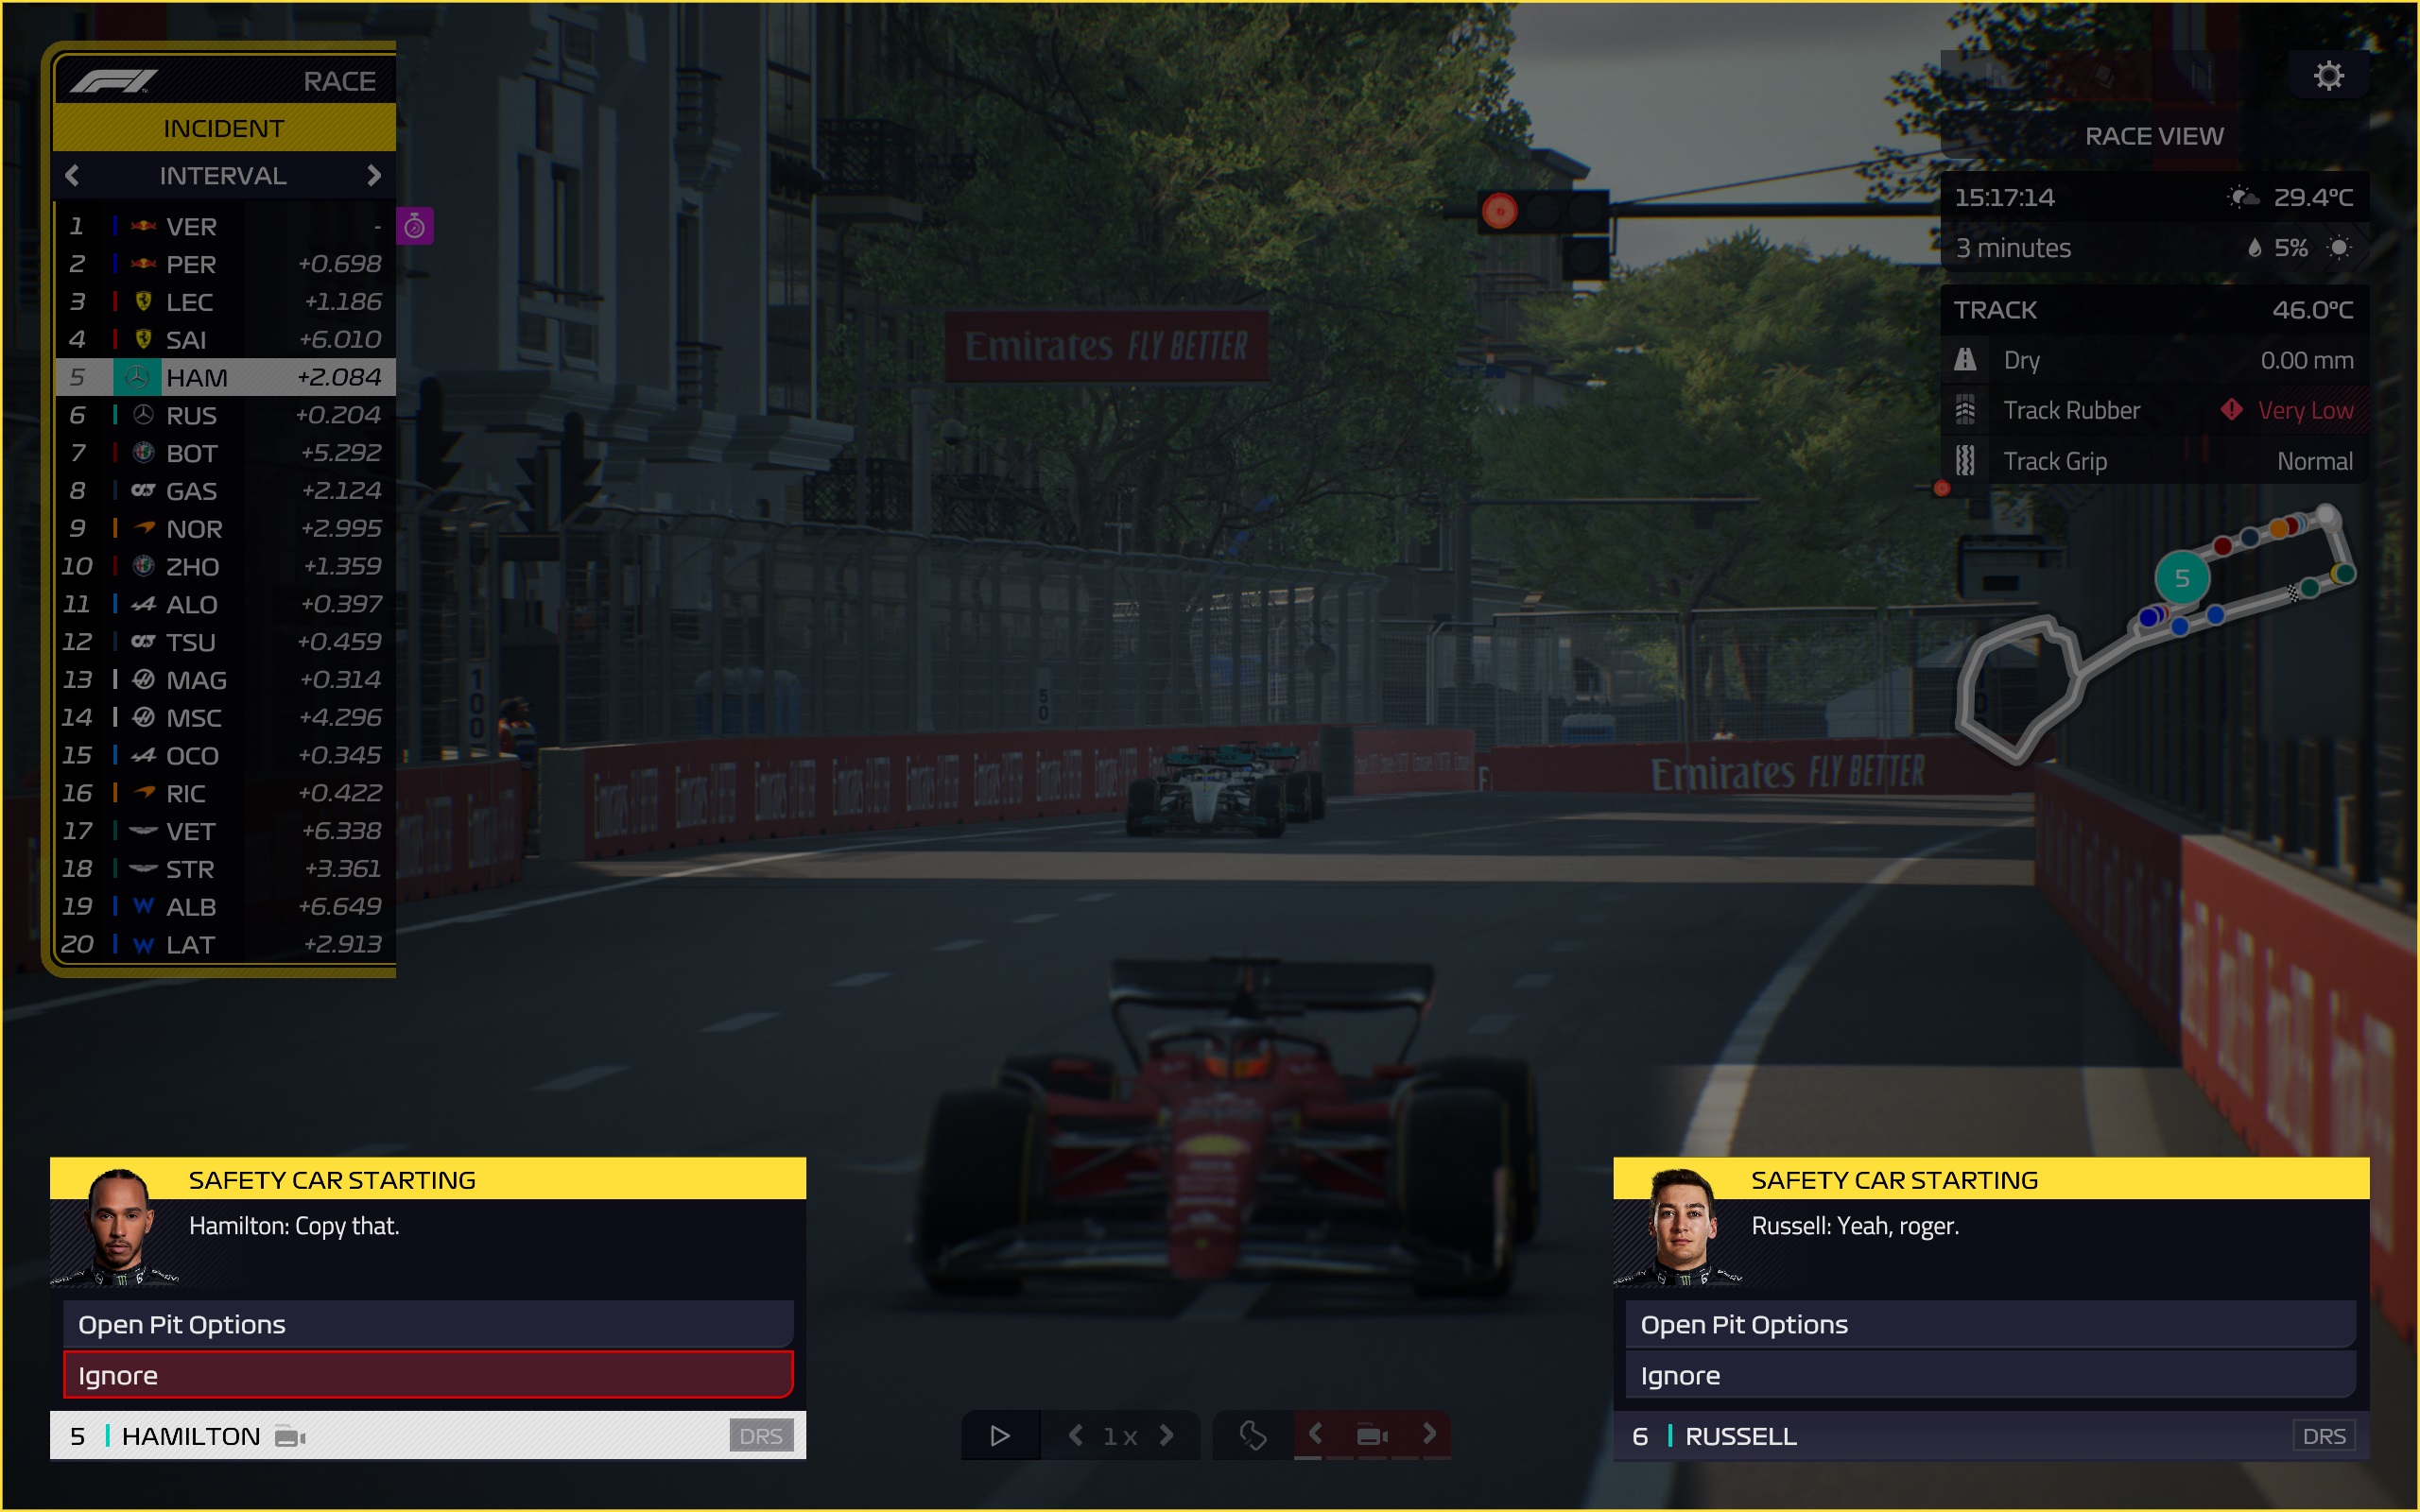
Safety cars and virtual safety car scenarios are a good opportunity to do that, and also to eke out a bit of extra life from your tires. As soon as you hear from your race engineer that a safety car or VSC has been deployed, change all your driver settings down to the minimum—tires, fuel, and ERS into harvest mode. That’s regardless of whether you intend to pit immediately—even half a lap spent in this mode will give you a bit of surplus performance later in the race.
Remember to warm everything up before the race resumes, though. You don’t want to be caught on cold tires. As soon as you hear that the safety car’s coming in this lap, set the driver pace to attack, and consider setting ERS to deploy too so that you don’t get passed in the first few corners when the race restarts. Basically, treat it like a race start.
Take everything out of your tires on your in laps
If you’ve been watching the sport for a while, you’ll have heard race engineer Peter ‘Bono’ Bonnington telling Lewis Hamilton that it’s “hammer time”. While this has unfortunately never resulted in a display of flamboyant dance moves on the track from the seven-time world champion, it has instead prompted him to go all-out and set the fastest laps he’s capable of right at the end of his tire stint. And on balance, that’s been more effective than the former.
Once you hit your pit stop window, you don’t need to worry so much about conserving the tire. Thus, you can take absolutely everything out of them on your in lap, and even a lap before. It’s often worth increasing fuel burn and deploying some extra ERS on these in laps, too.
Because these crucial laps before and after pitting are your best chance to make up positions in the race. Opponents around you will likely have either just pitted, and will thus be on cold, fresh tires, or they’ll be scrabbling around for grip on worn tires at the end of their stint. In either scenario, you need to extract the maximum pace from your car in order to capitalise on your advantage.
Phil 'the face' Iwaniuk used to work in magazines. Now he wanders the earth, stopping passers-by to tell them about PC games he remembers from 1998 until their polite smiles turn cold. He also makes ads. Veteran hardware smasher and game botherer of PC Format, Official PlayStation Magazine, PCGamesN, Guardian, Eurogamer, IGN, VG247, and What Gramophone? He won an award once, but he doesn't like to go on about it.
You can get rid of 'the face' bit if you like.
No -Ed.
