How to escape Fort Joy in Divinity: Original Sin 2
Fort Joy isn't exactly Fort Knox, so there are five ways for you to worm your way out of captivity.

Divinity: Original Sin 2’s first challenge is successfully, if not safely, getting in and out of the Fort Joy prison camp. There are quite a few ways to crack that particular egg, depending on how creative you want to get. Here’s every way to get in, and more importantly, back out of Fort Joy. You can mix and match to your heart’s content or pick up every quest along the way if you want. There are a few ways to escape without getting into a fight, but you’re going to have to handle some combat, one way or another, to get in.
To make it easy, we've described the set up and outcome of each relevant questline, so there are spoilers ahead for the early game.
I'll go into detail below, but these are all five ways to escape Fort Joy:
- Lower the drawbridge
- Climb down the broken ladder
- Teleport down the docks
- Ride in Han's boat
- Escape by sewer grate
How to get into Fort Joy in Original Sin 2
Use the Magister’s key
Magister Yarrow’s father is missing and if you can reunite the two you’ll be rewarded with Yarrow’s key to the fort. Either talk to Yarrow on the north wall of the fort to start the quest or find her father, Migo, on the southeast beach. Migo is half out of his mind and eager to rip you in half when you find him. The only way to stay out of a fight is to talk to him armed with a yarrow flower.
Fortunately, Yarrow flowers are all over the island (they're purple, and I found one near the man with the coffin). Give him one to remind him of his Yarrow Girl and he’ll give you his ring. Present the ring to Yarrow as proof her father still lives, follow her to the family reunion, and she’ll give you a key to help you escape before you turn into as sorry a sight as her father. The only problem is, the key goes to a door just south of the main fort gates on a catwalk whose ladder is propped up out of your reach. To put the Magister’s Key to use, you’ll need to teleport up to the catwalk with the Teleportation Gloves.
Meet Lord Withermore
In the "strange cave" on the south beach is a small group of elves who’ve made a sort of hideaway from Griff and his bullies. The kids playing hide and seek off to the side can reveal a hidden passage if you talk to them. With high enough Wits, you can discover it yourself without their help. You'll need a shovel, and you can find one just outside the entrance to the Fort Joy slums (where you first approached from the beach), on top of a ruined wall where there's also a bedroll.
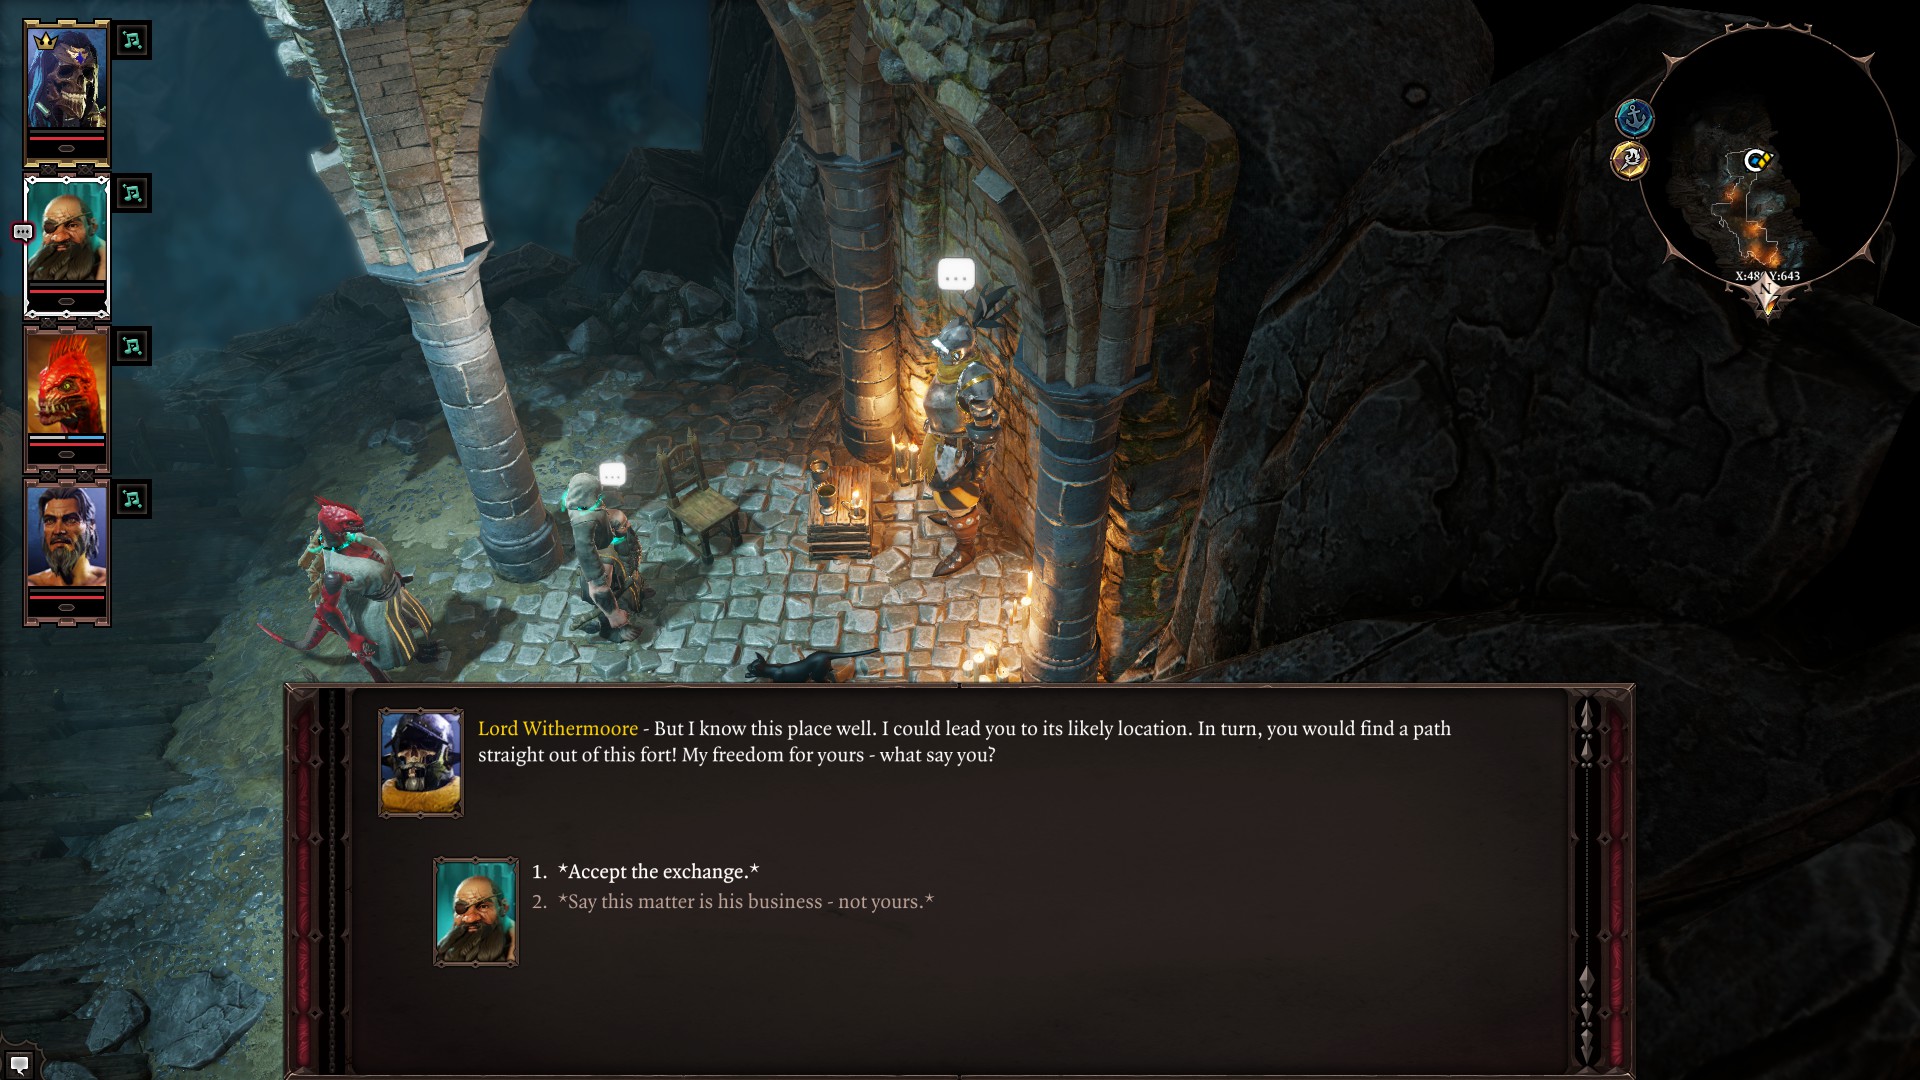
Down the hatch is a long-undead Skeleton named Lord Withermore. If you agree to take on a quest for him in Fort Joy’s basement, he’ll reveal a hidden route into the dungeons. In the waypoint statue at the entrance of the camp is a switch revealing another secret door. If you climb inside, you’ll find yourself another waypoint and an entrance to the dungeons. A locked door blocks your way but if you look closely there is a lever nearby to open it.
Keep up to date with the most important stories and the best deals, as picked by the PC Gamer team.
From there, you'll find a locked door up some stairs. You'll either have to pick the lock, or get into a fight. Note that the key doesn't drop from one of the Magisters—it's sitting on a stool where you fight them.
Use the teleportation gloves
An enterprising human named Gawin who hangs out near the northwest wall will tell you he has a teleportation scroll to help get out of the island. He needs an accomplice who also possesses the powers of teleportation. If you want to come along, you’ll have to find yourself the teleportation gloves.
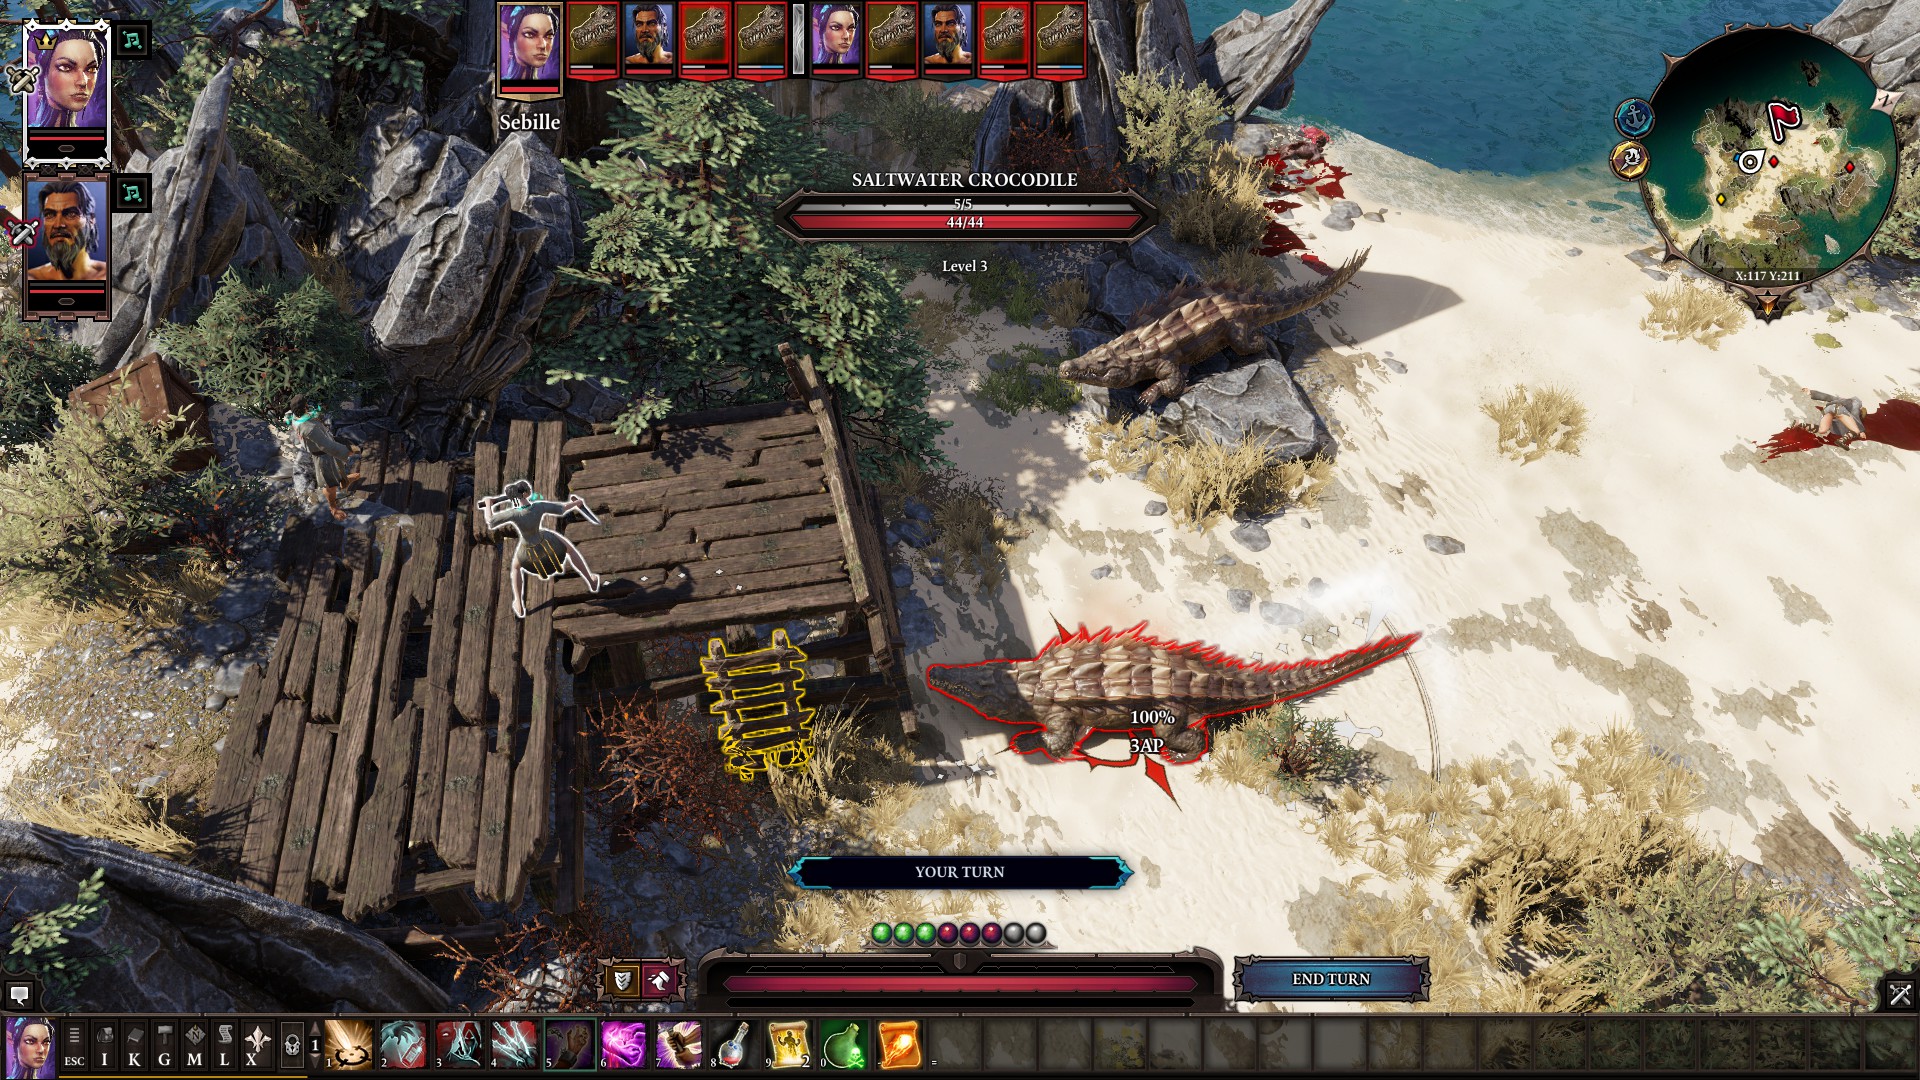
Don’t worry, Gawin informs you, they’re just in the stomach of a furious crocodilian. You’ll find them on the beach north of the boat where you first encounter Beast. Watch out, those crocs have a teleportation skill of their own. Why wouldn’t they, right? Once you pry the Teleportation Gloves out of their cold, dead jaws, you can go help Gawin with his scheme outside the North side of the fort walls.
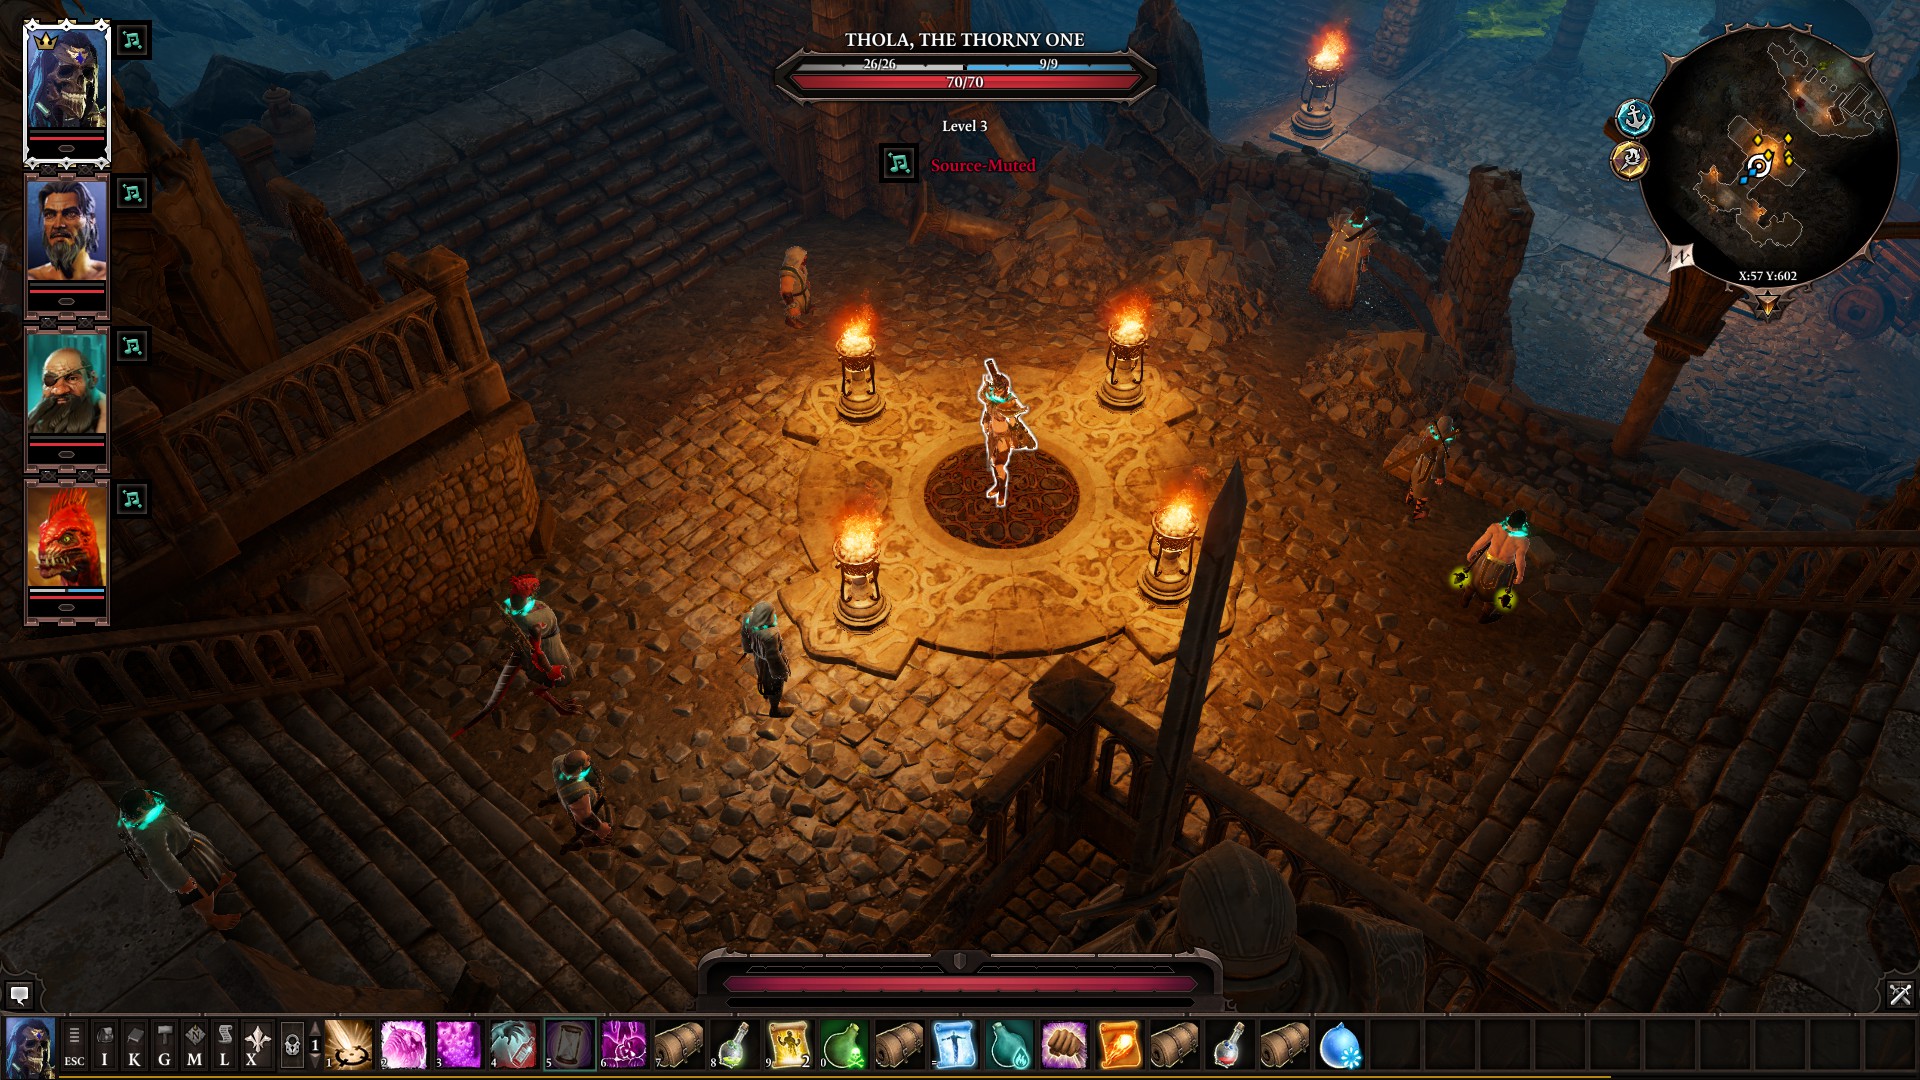
He claims that only one of you can come along but that isn’t entirely true. Gawin will double-cross you as soon as you send him across to the opposite ridge, leaving you in the dust. Send your party over after him with those gloves anyway. You’ll still be close enough to one another that you can send the gloves to the inventory of your party members on the opposite side. Teleport the last poor member of your crew over and get going. This path will lead you to the docks. If you’re alone and unable to follow Gawin, you can smash the trunk on the ridge to bits and fall down the hole to the beach. After that, a cave below the opposite ridge will take you into Fort Joy’s dungeons.
Free Amyro the elf
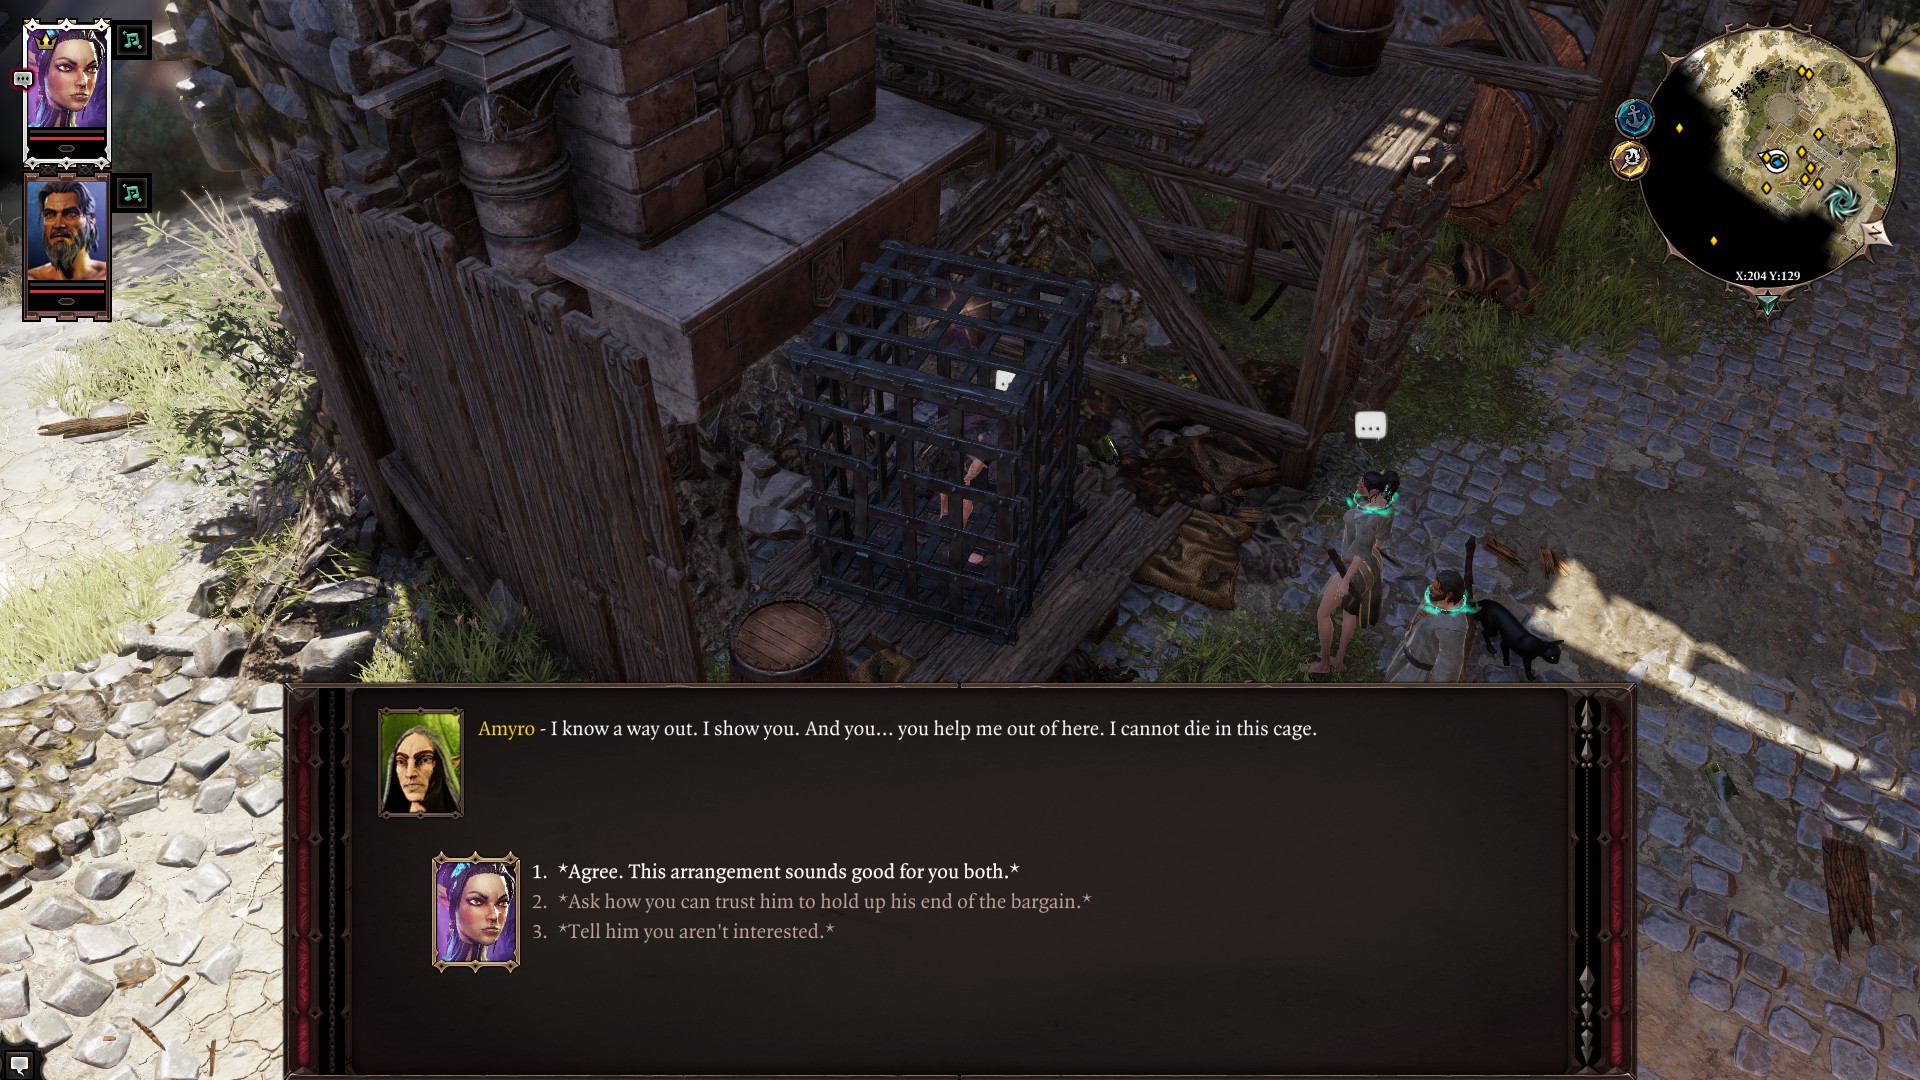
The camp’s resident gang boss, Griff, has an elf named Amyro locked up in the kitchens. If you free Amyro, he’ll clue you in on a secret passage into the fort. To free him, you’ll need to prove to Griff that the elf isn’t the one who stole a shipment of oranges. The real culprit, Stingtail, is on the Southwest beach.
Be careful about approaching him because you can wind up putting a damper on two companion quests by accident. The Red Prince needs to speak to Stingtail and Sebille needs to kill him. Let them both do their thing, in that order, separately. Don’t worry about Stingtail winding up dead. You can grab the oranges out of a nearby crate and give them to Griff in exchange for Amyro’s freedom.
The path Amyro shows you will eventually lead you to the dungeons, with some gags in between that I refuse to spoil. Suffice it to say, you’ll want to either bring a character with the Pet Pal perk or make sure to hug the east side walls and look for vines to climb to get through the passage safely.
The arena of Fort Joy
The fighting ring beneath the kitchens is another tough fight. If you plan to take this one on, I recommend starting each of the other quests to get the experience first. Not only that, but if you do choose to play for a win in the arena, your reward is having your collar removed, which the Magisters will promptly throw you in the dungeon for. This will force you to exit the fort by fighting your way out of the dungeons, so wrap any other matters of interest up first.
How to escape Fort Joy in Original Sin 2
If you took an entry route that leads to the dungeons, prepare to fight your way out. When you do, you’ll exit from a staircase that takes you to the main floor of the fort. Otherwise, you’ll have found yourself on the main or second floor of the fort with all of the following escape routes:
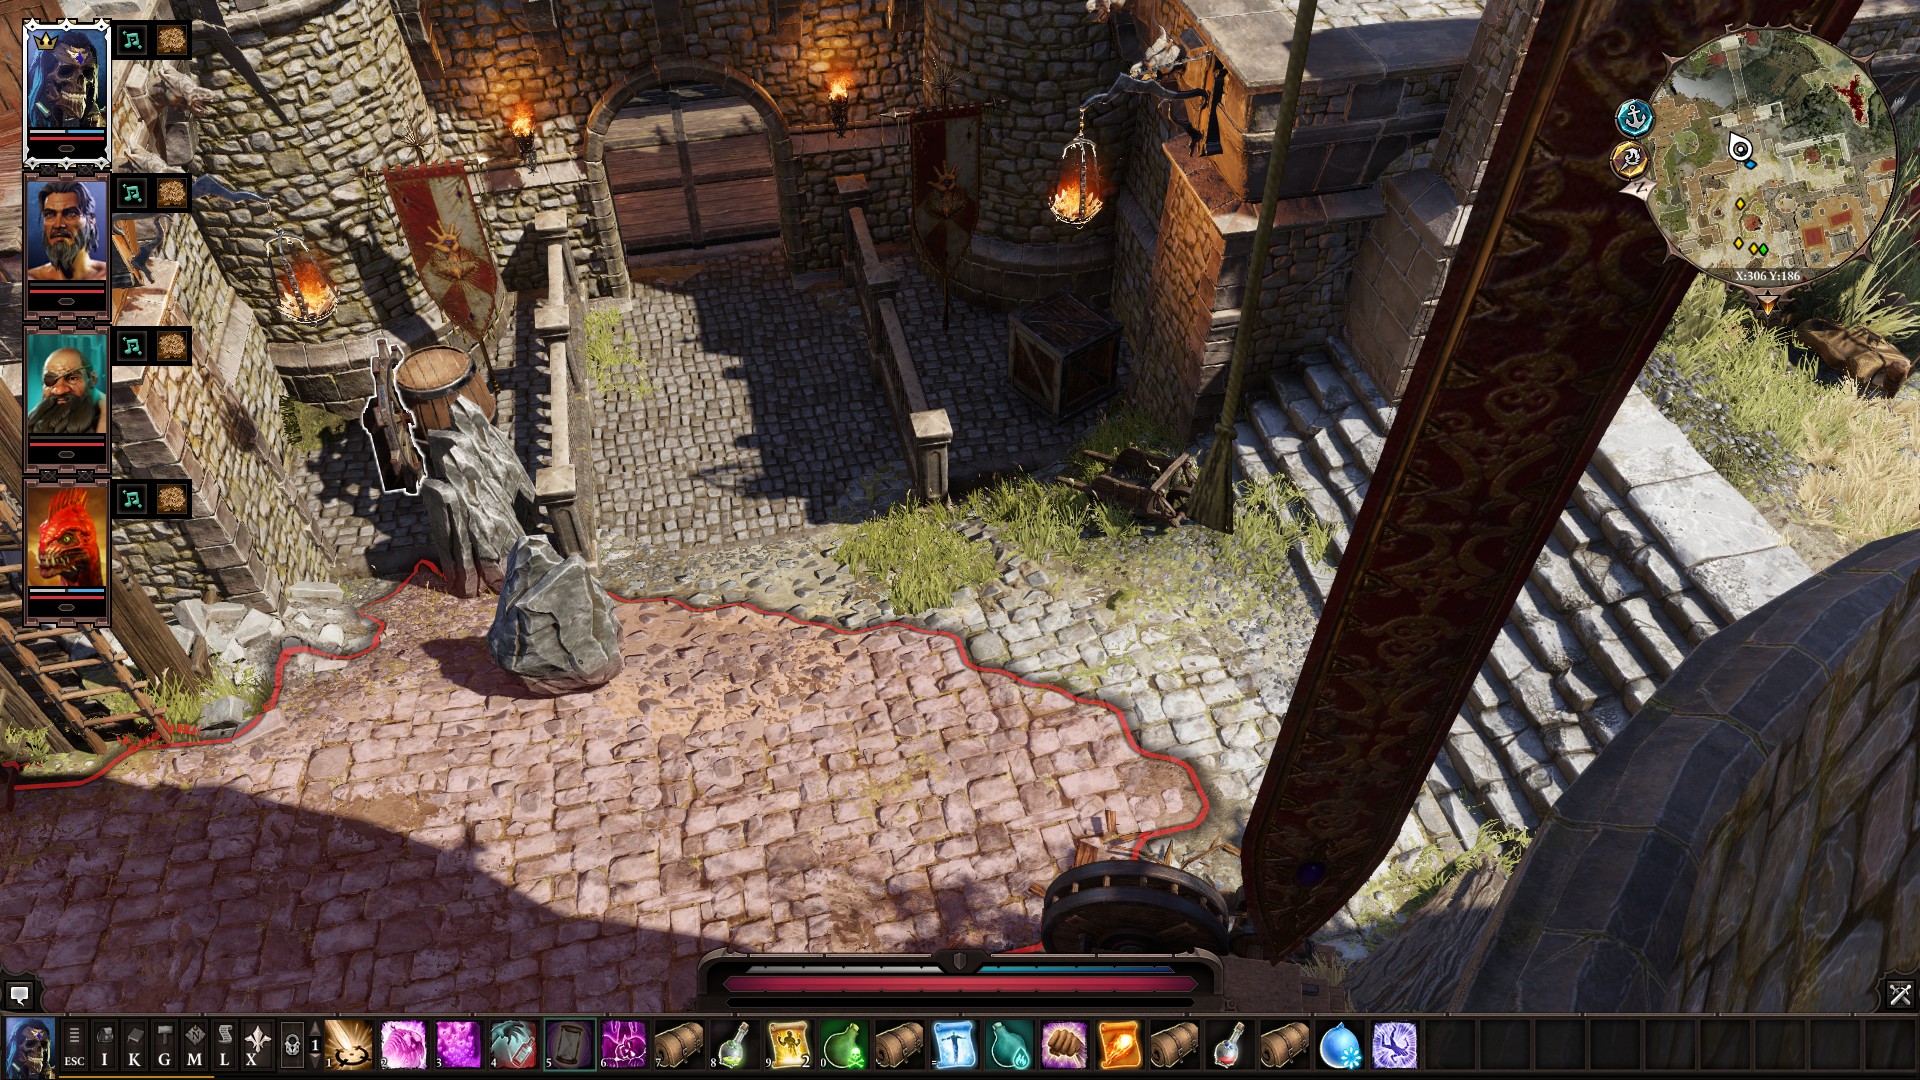
Open the drawbridge
You can actually just lower the drawbridge at the back of the fort with a lever nearby. To reach it, you may have to fight a few Magisters on the north side walls. You can reach this area either by walking up the outer stairs within the fort’s courtyard or by entering the second floor and walking out the north door where Paladin Cork is already confronting them. Alternatively, you can sneak out the back door of the same room, lower the drawbridge unnoticed, and get gone fast.
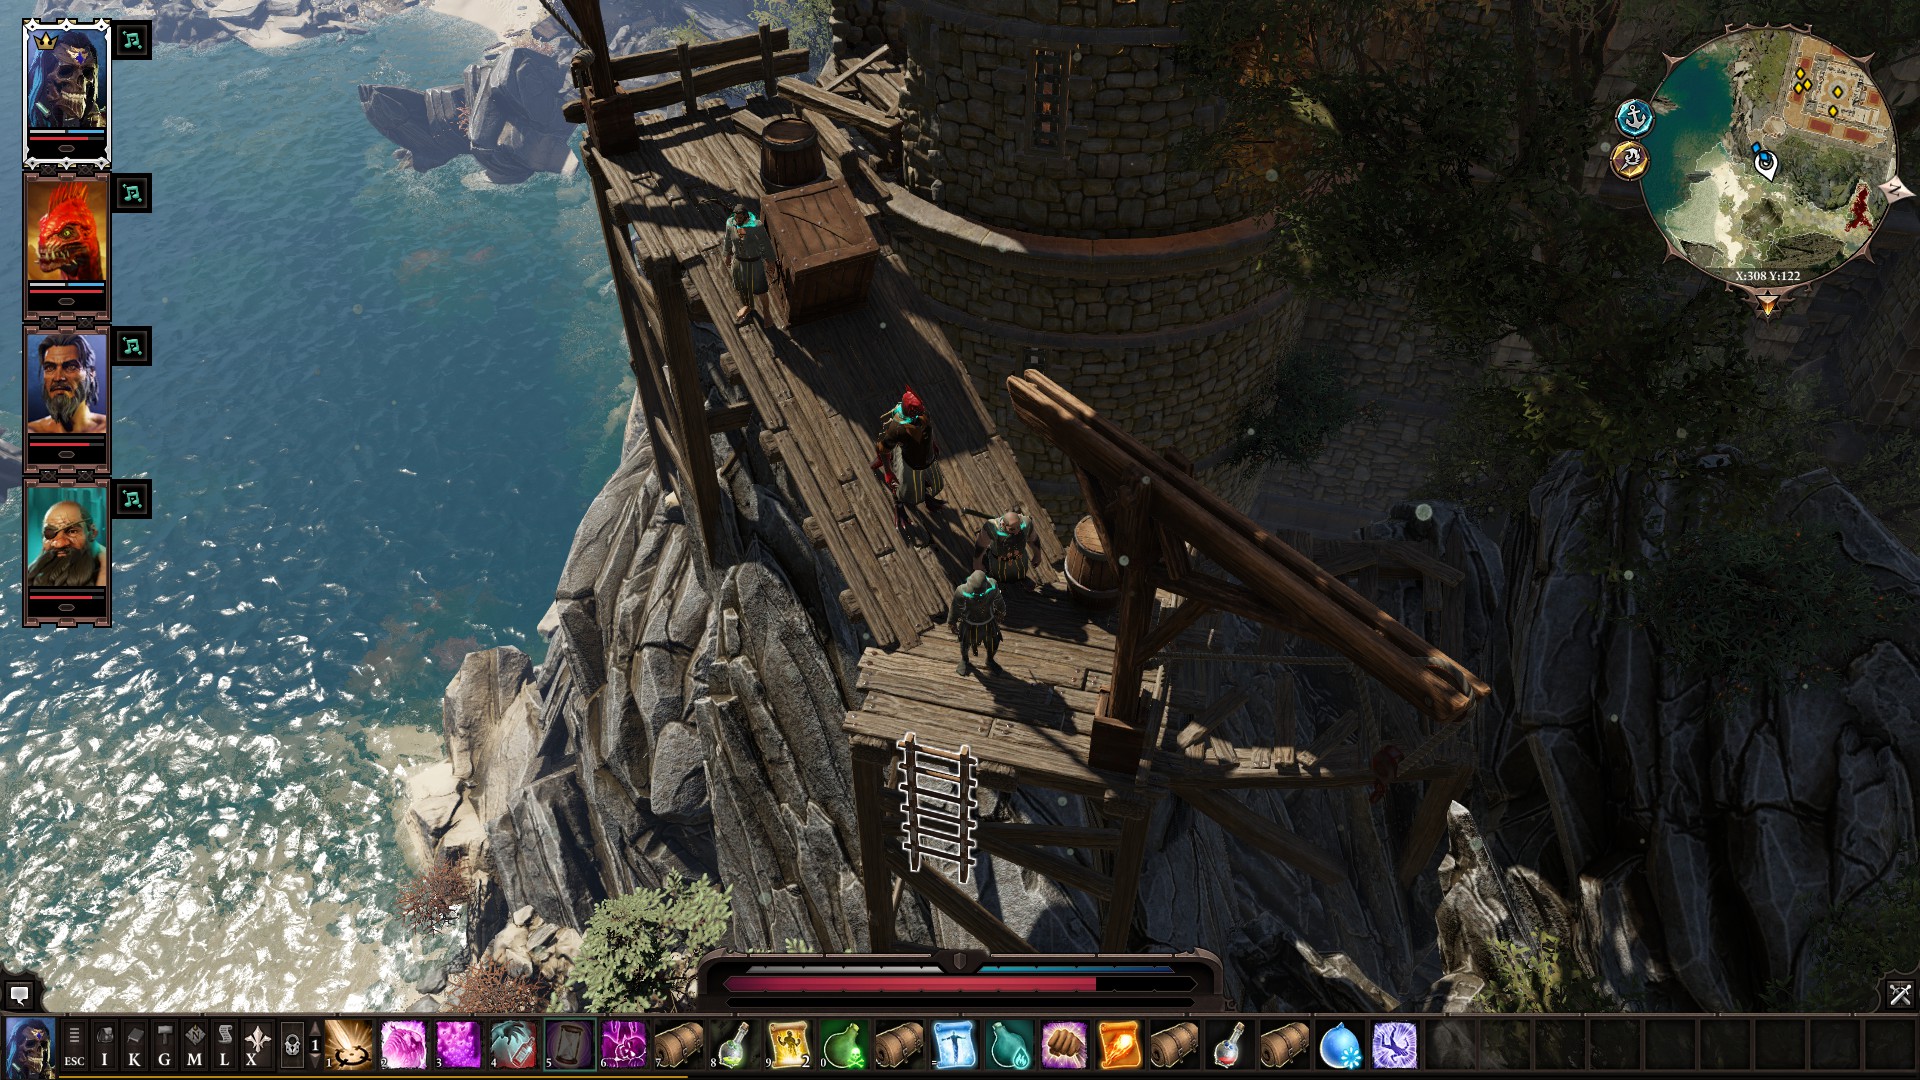
Climb the broken ladder
On the second floor, east of the Hall of Penitence where High Judge Orivand is lecturing some poor prisoner, there’s a small, circular room that looks like a guard tower. There are some barrels blocking your exit onto a wooden catwalk. Just move the barrels out of your way and you’re home-free. At the end of the platform is a broken ladder to climb down. You’ll land on your rear, but that isn’t so bad as far as escape attempts go.
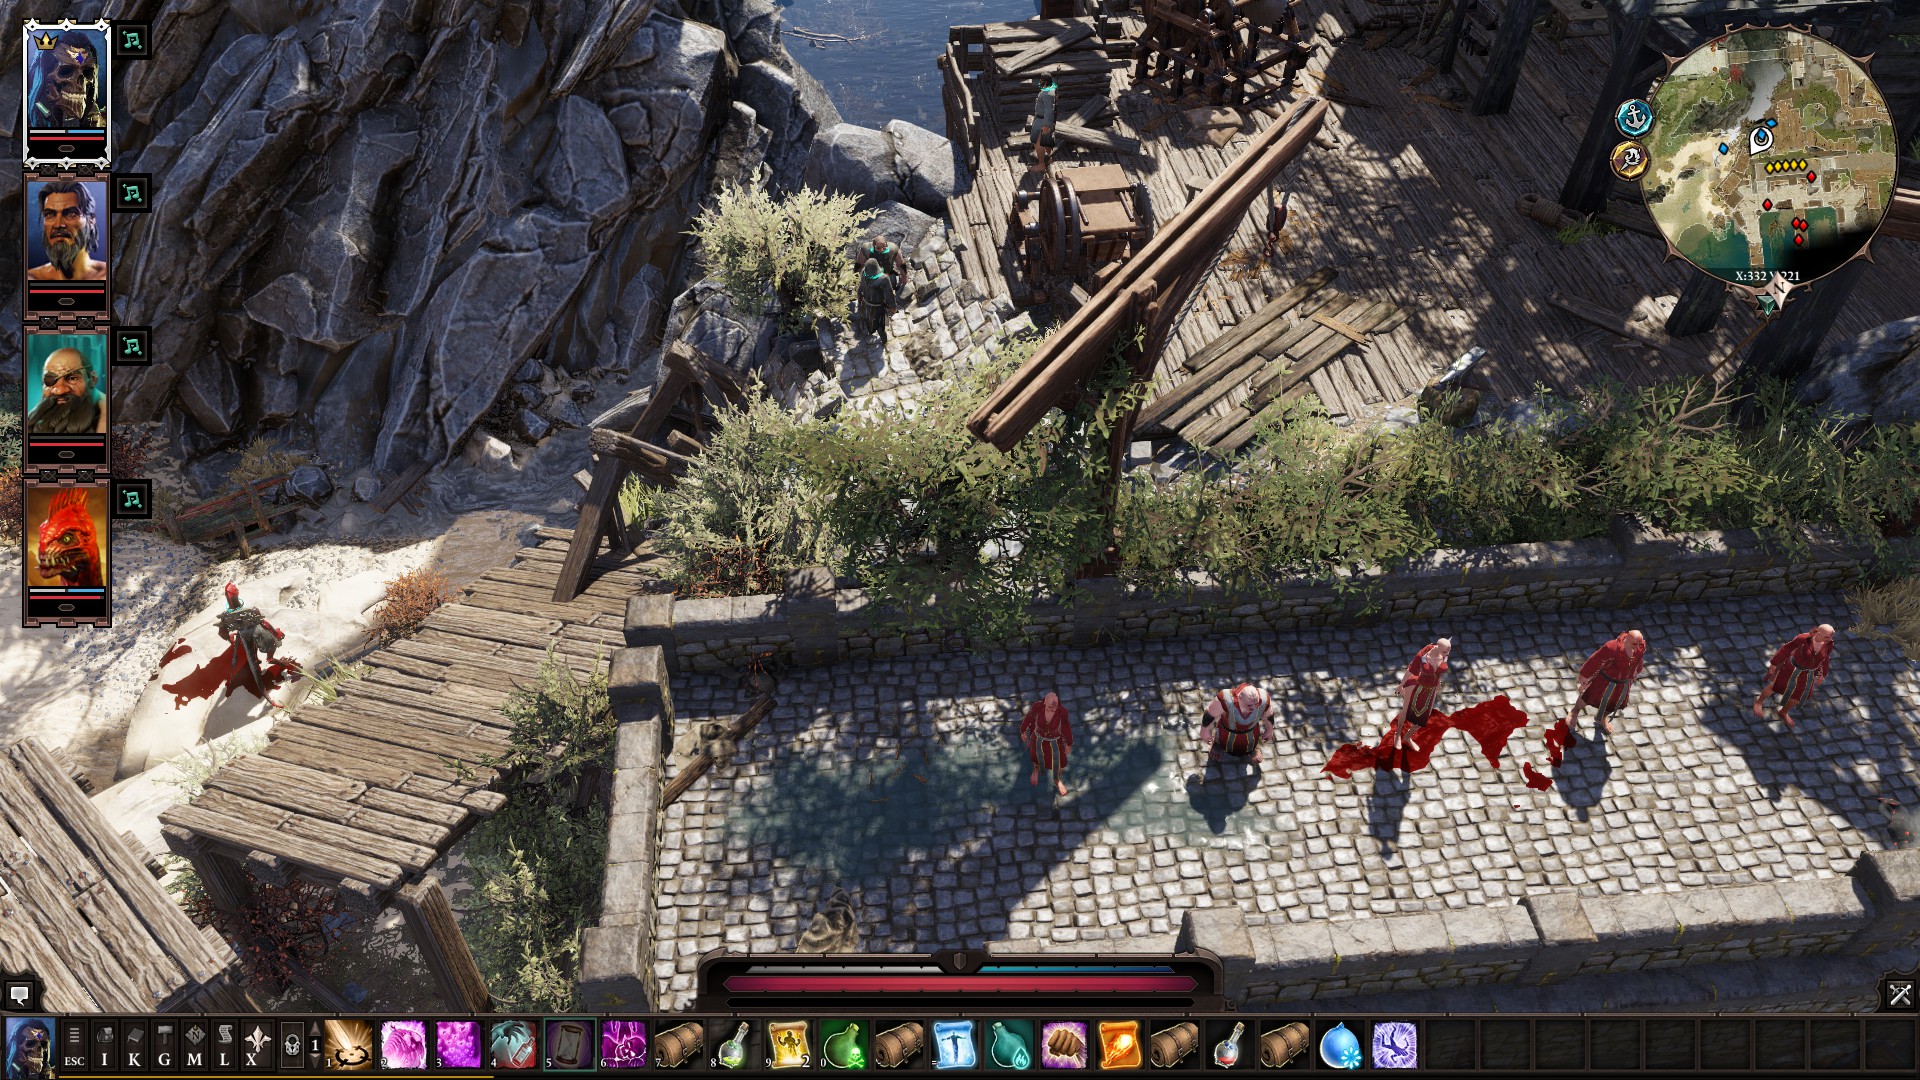
Teleport down the docks
If you painstakingly teleported your party across the cliffs where Gawin so thoughtlessly abandoned you, the docks will be your escape route. When you arrive, Gawin is getting what he had coming at the hands of the Magisters on the docks. You can either take out this group yourself and simply walk out or do some sneaking. It is possible to sneak behind the main dock area and teleport your party one-by-one onto the beach below. It takes time, but was worth it for a coward like me.
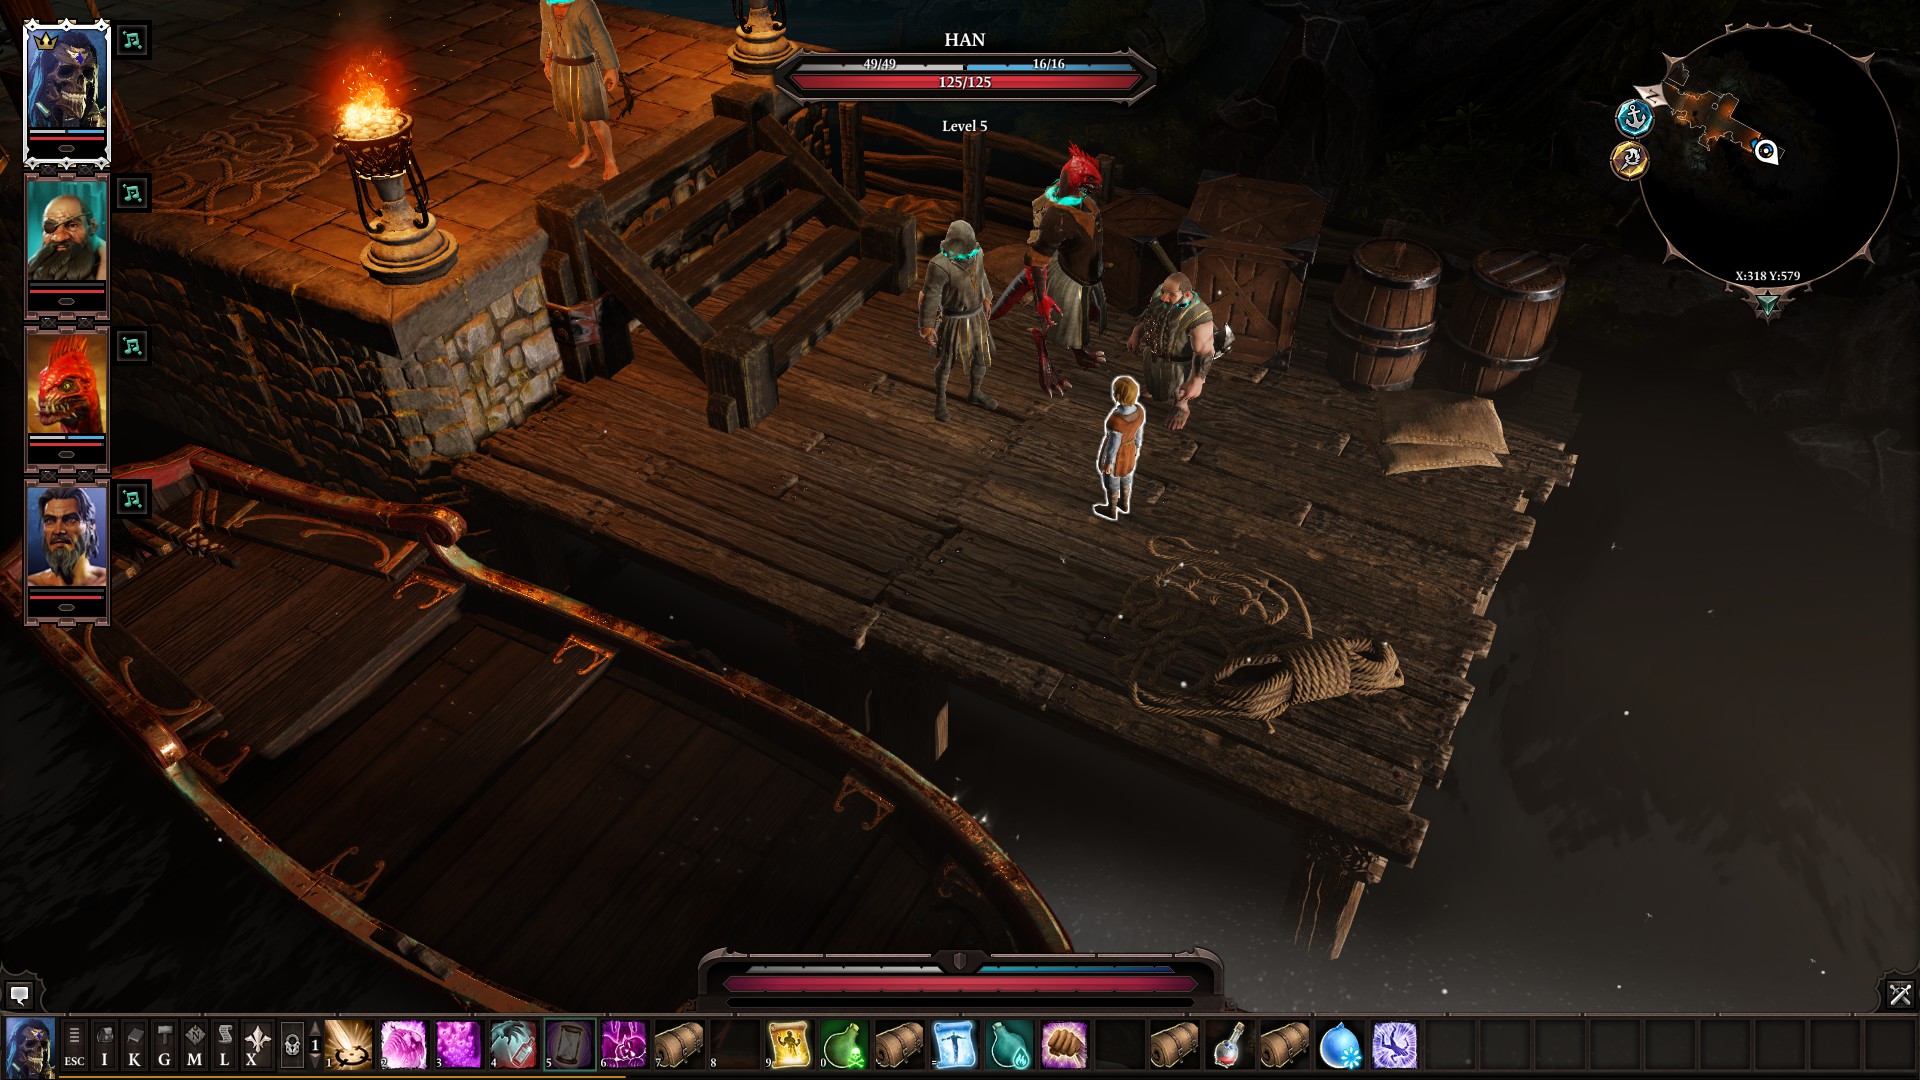
Han the Ferryboy
If you got onto the second-story catwalk of the fort but don’t have the magister’s key, you can climb down the ladder inside the courtyard while sneaking and enter the main fort doors. Conveniently, those aren’t locked. Once inside, head immediately to your right to confront two Magisters harassing a young boy named Han. The kid was sent in to rescue someone else who, if you explored the dungeons, you can tell him won’t be making it. After taking out the Magisters, Han will help you escape in his boat.
Unlocked sewer grate
Also on the main floor of the fort is a torture area. Instead of heading for the docks where Han is waiting, take a left and make your way back. You can fight Kniles the Flenser if you really want to, but be warned that the Silent Monks in the room, who are passive elsewhere, will join him. Instead, you can sneak around the left side of his room and out an unlocked gate leading to the sewer drainage pipe. Freedom!

Lauren has been writing for PC Gamer since she went hunting for the cryptid Dark Souls fashion police in 2017. She joined the PCG staff in 2021, now serving as self-appointed chief cozy games and farmlife sim enjoyer. Her career originally began in game development and she remains fascinated by how games tick in the modding and speedrunning scenes. She likes long fantasy books, longer RPGs, can't stop playing co-op survival crafting games, and has spent a number of hours she refuses to count building houses in The Sims games for over 20 years.

 Join The Club


