The best Diablo Immortal builds
Gear up with these strong setups for each class.
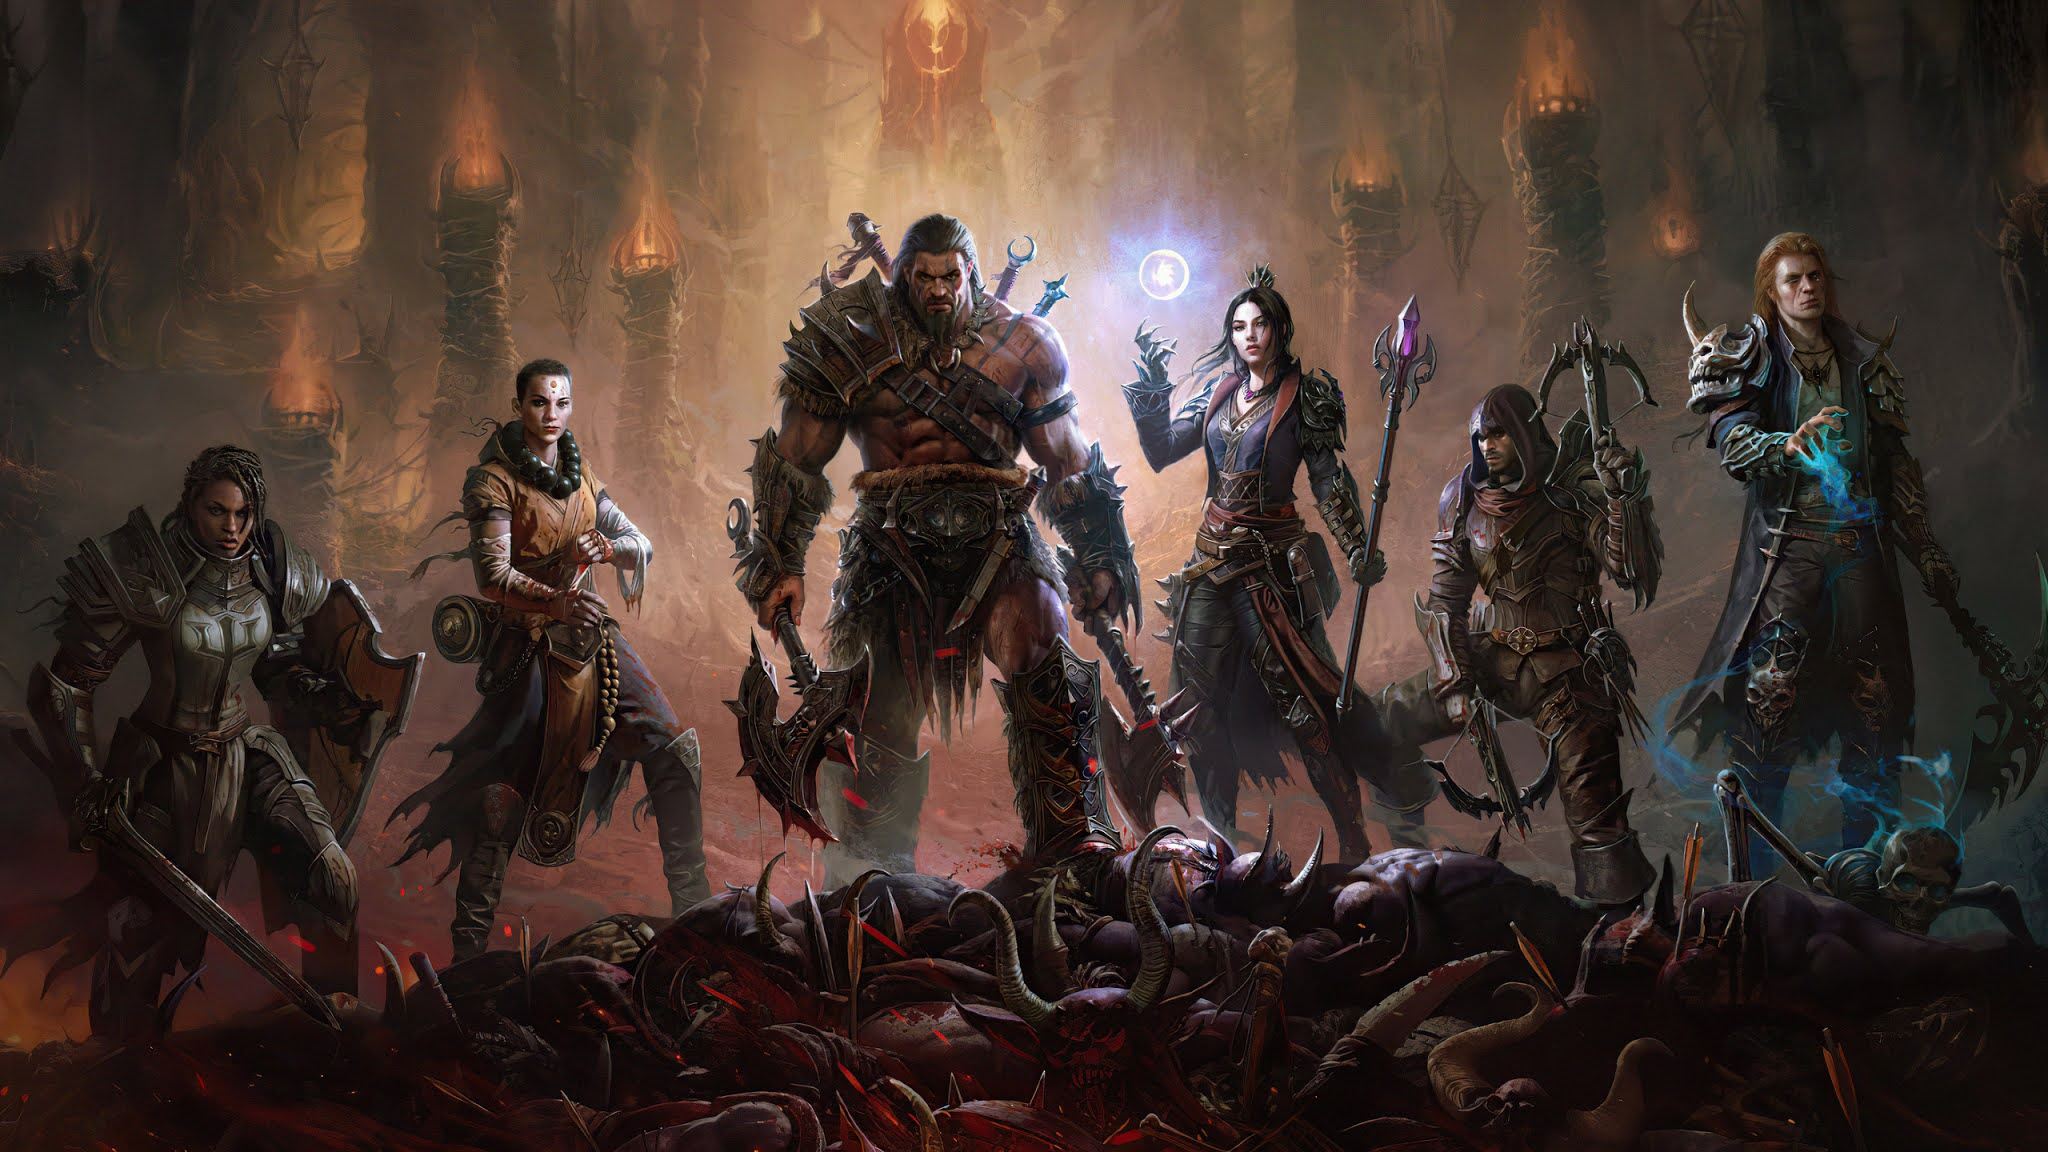
Looking for a good Diablo Immortal build? Whether you're enjoying the game or refuse to engage with it at all due to monetization, people continue to play and experiment with the series' iconic classes and abilities to create all sorts of setups: whether it's taking some heads as the barbarian, or getting your skeletal servants to do it as the necromancer.
In this Diablo Immortal builds guide, I'll run through a strong setup for each class. With the legendary gem grind being the most nightmarish pay-to-win aspect of the game, these builds all include low rarity gems that you can craft for yourself at the Jeweler's Apprentice using runes gained with that free daily Epic Crest.
There are also a few ways to get legendary items for free: buying mystery items at the Hilts and Rarities & Antiquities traders, joining a warband for a shared stash and item drop boost, completing dungeons with bonus rates, or just defeating orange-marked enemies for that increased chance of legendary item drops. That should help you get what you need to try some of these out.
Article continues belowThe best Diablo Immortal builds
Barbarian
Berserker
Skills: Lacerate, Furious Charge, Hammer of the Ancients, Whirlwind, Wrath of the Berserker
Armour: Lasting Hate (head), The Coming Storm (shoulders), Trackers Rage (torso), Determination or Screaming Fury (legs)
Weapons: Eager Maelstrom (main hand) and Broken Soul (off hand)
Legendary Gems: Berserker's Eye, Chained Death, Ca'arsen's Invigoration, Seled's Weakness, The Hunger, Mocking Laughter
Attributes: Strength, Fortitude, Vitality
The Barbarian is a pretty straightforward class: simply charge in and wreak havoc. This build in-particular focuses around boosting Wrath of the Berserker's duration with Lasting Hate and The Coming Storm, while buffing Furious Charge with Tracker's Rage and Determination so you can close with enemies and lay into them with increased damage.
For legendary gems, we've stuck to low rarity ones you can craft yourself. Chained Death and Ca'arsen's Invigoration work well together, buffing your primary attack speed and damage with consecutive hits, while Seled's Weakness and Mocking Laughter draw elite enemies to you, and grant you increased damage when you defeat them. In terms of weapons, Eager Maelstrom increases the radius of Whirlwind, but the real star is Broken Soul, which has the incredibly strong effect of converting Wrath of the Berserker's usual speed buff into an increased critical hit chance.
Keep up to date with the most important stories and the best deals, as picked by the PC Gamer team.
Necromancer
Lich
Skills: Soulfire, Skeletal Mage, Command Golem, Command Skeletons, Bone Armor
Armour: Skullveil (head), Synod’s Anointing (shoulders), Parting Gift (torso), Graven Bulwark (legs)
Weapons: Desolatoria (main hand) and Welcome End (off hand)
Legendary Gems: Freedom and Devotion, Follower's Burden, Seled's Weakness, Chained Death, Black Rose
Attributes: Intelligence, Willpower, Vitality
What better way is there to play the necromancer than to summon a horde of skeletal minions to do your bidding? This build focuses around strengthening the necro's summons and Bone Armor ability for increased survivability while your servants do all the work. Skullveil, Synod's Anointing, and Welcome End buff the Skeletal Mage summon, but also turns the mage into a powerful grim reaper. Parting Gift and Graven Bulwark on the other hand, buff the duration of Bone Armor, and the number of damage negation charges it grants to you and your allies. Desolatoria also transforms your golem into a molten golem that burns all nearby enemies.
For your legendary gems, you’re going to want Freedom and Devotion as well as Follower's Burden, since they both buff the duration and damage of summons. Seled's Weakness grants an attack bonus when defeating elite enemies, Chained Death boosts attack speed, and Black Rose provides a chance to entangle your foes in vines: perfect prey for your skeletal serfs.
Crusader
Shielder
Skills: Sacred Fire, Spinning Shield, Shield Charge, Shield Glare, Judgement
Armour: Questor's Mien (head), Barbed Council (shoulders), Hungerfire Chiton (torso), Shieldswathe (legs)
Weapons: The Bristle (main hand) and Constant Scrutiny (off hand)
Legendary Gems: Pain of Subjugation, Defiant Soul, Seled's Weakness, Chained Death
Attributes: Strength, Vitality, Fortitude
The crusader class is all about shields and this build focuses everything around boosting the impact of the Shield Charge skill. Questor's Mien increases the number of charges, Hungerfire Chiton causes a shockwave at the destination point, and Shieldswathe forms a protective circle of shields when you finish performing it. Barbed Council means the Judgement skill now implodes after a short delay, pulling enemies towards it, and letting you punish them in an AoE. For weapons, The Bristle also turns Sacred Fire into more of an AoE ability, while Constant Scrutiny now causes Shield Glare to blind all enemies around you.
The most important gems to use are Pain of Subjugation and Defiant Soul. The first will increase damage to enemies that have lost control, as with those you'll be blinding and stunning with your shield, while the second deals damage to nearby enemies when you block: a must-have for any crusader.
Monk
Exploding Monk
Skills: Fists of Thunder, Flying Dragon, Mystic Allies, Exploding Palm, Seven-Sided Strike
Armour: Crippling Insight (head), Disciple’s Weight (shoulders), Breath of Incense (torso), Inner Rhythm (legs)
Weapons: Spirit's Reach (main hand) and Reaching Rebuke (off hand)
Legendary Gems: Chained Death, The Hunger, Ca'arsen's Invigoration, Berserker's Eye, Freedom and Devotion
Attributes: Strength, Fortitude, Vitality
This monk build adds a little twist to one of the class’s coolest abilities: Exploding Palm. Crippling Insight and Inner Rhythm both buff the ability's damage and decrease its cooldown, which is handy, since Reaching Rebuke turns Exploding Palm into a more powerful AoE ability with increased cooldown. Meanwhile, Disciple’s Weight boosts the damage for Seven-Sided Strike, and Spirit’s Reach adds an effect that lets your Mystic Allies strike at the same time. Breath of Incense further buffs the strike, and lets you activate a secondary Exploding Palm when you use it on bleeding enemies.
Once again, we're going with low rarity gems for obvious reasons. Chained Death and Ca'arsen's Invigoration pair well for increased attack speed and damage, and The Hunger restores health when you defeat enemies, which is handy with the Monk’s low-ish health. Finally, Freedom and Devotion will give your Mystic Allies a longer duration to help you out on the battlefield.
Demon Hunter
Revenger
Skills: Crossbow Shot, Daring Swing, Rain of Vengeance, Multishot, Vengeance
Armour: Vision of the Lost (head), Hailstone Shoulders (shoulders), Heart of Vengeance (torso), Ruinous Path (legs)
Main hand: Flamespite (main hand) and The Hungerer (off hand)
Legendary Gems: Ca'arsen's Invigoration, Chained Death, Berserker's Eye, Everlasting Torment, Power and Command
Attributes: Strength, Fortitude, Vitality
The Demon Hunter's primary strength in PvE lies in peppering hordes with projectiles and laying traps, all the while evading and repositioning to ensure they never get hit. This build centres around the Vengeance skill, which lets you enter a state where you launch extra projectiles. Vision of the Lost is key to this since it increases the duration of Vengeance for every kill, Heart of Vengeance massively reduces its cooldown, and Ruinous Path buffs the damage you deal during Vengeance.
Using Hailstone Shoulders to infuse your Rain of Vengeance AoE with chill will keep enemies from getting too close. In terms of weapons, Flamespite makes Multishot fire flaming bolts that burn enemies, while The Hungerer causes your projectiles to pierce through multiple enemies, making it a great choice for dealing with large groups. The low rarity legendary gems that will add some value here are Ca'arsen's Invigoration and Berserker's Eye for increased attack speed, damage, and crit rate. Everlasting Torment will add the agony effect to those crits, while Power and Command alternates between buffing both your attack and skill damage: perfect for both Vengeance and the Demon Hunter's fast-firing skills.
Wizard
Cryomancer
Skills: Electrocute, Ray of Frost, Scorch, Meteor, Ice Crystal
Armour: Vision of the Frozen Path (head), Phoenix Mantle (shoulders), Starcaller's Drapery (chest), Frostwalkers (legs)
Weapons: Electrospike (main hand) and Azkalor's Fire (off hand)
Legendary Gems: Chained Death, Trickshot Gem, Pain of Subjugation
Attributes: Intelligence, Willpower, Vitality
One of the fun things about this Wizard build is that it converts other magical skills into icy ones. Vision of the Frozen Path and the Frostwalkers convert Scorch and Meteor into icy abilities that deal extra damage and cause chill, while Phoenix Mantle and Starcaller's Drapery reduces the cooldown and buff radius of both. In terms of weapons, Electrospike means that Electrocute jumps to additional enemies, and Azkalor's Fire buffs the damage you deal with that ice-infused Scorch.
For gems, Trickshot and Pain of Subjugation are the vital ones, since the first reduces the energy cost of Channelled skills, while the second increases damage against enemies that have lost control. Since chill counts as loss of control and you’ll be applying that a lot, this should prove pretty effective. Chained Death could also be useful since you'll be dealing damage with a lot of AoE skills.

Sean's first PC games were Full Throttle and Total Annihilation and his taste has stayed much the same since. When not scouring games for secrets or bashing his head against puzzles, you'll find him revisiting old Total War campaigns, agonizing over his Destiny 2 fit, or still trying to finish the Horus Heresy. Sean has also written for EDGE, Eurogamer, PCGamesN, Wireframe, EGMNOW, and Inverse.

 Join The Club


