 Join The Club


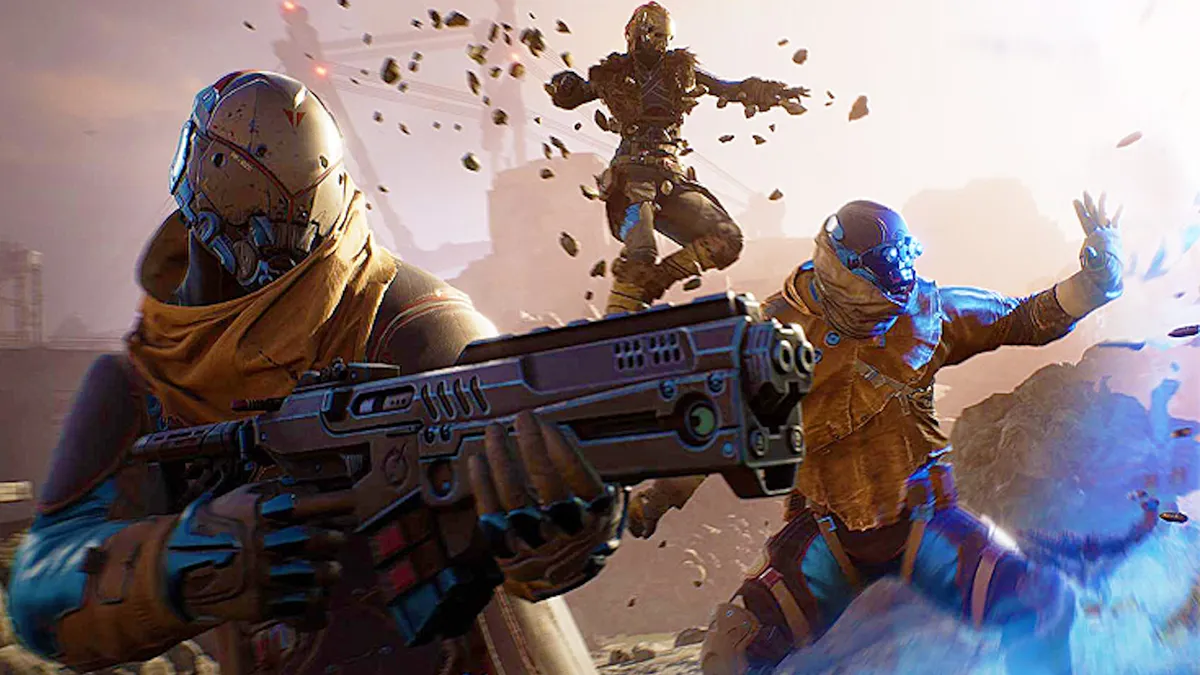
Need a hand with the Outriders Yagak final boss? So you’ve almost made it all the way to the end of Outriders, and that nasty beast boss, Yagak, is standing in the way of your glorious conquest of Enoch. Yagak’s wide variety of attacks make it very tricky to deal with, so in this guide, I'm going to show you how to dodge his most vicious abilities and use your build to your advantage to get past the game’s final challenge, regardless which of the four Outriders classes you chose.
Players will take on Yagak during The Caravel story point, particularly the ‘Defeat Yagak’ node, so make sure you select this option if you want to revisit the boss battle after completing the game on higher World Tiers for even rarer rewards, such as Outriders legendary gear. So, without further ado, here's how to defeat Yagak in Outriders. Just know that, if you haven't reached the end of the game yet, naturally there are spoilers ahead.
Outriders Yagak guide: How to defeat the final boss
Phase 1
Once you enter the hangar to face Yagak, things get hairy very quickly. Your arena is small, and Yagak’s damage output is bonkers. First, Yagak summons a series of Anomaly Rifts. These electric orbs constantly shoot out annoying tracking projectiles. It’s hard to deal with as a solo player: If you're not going in as a team, focus on them as soon as they spawn, or Yagak will keep spawning them over time and overwhelm you, turning Outriders into a nightmarish bullet hell game. In a team, communicate and make sure your whole crew wipe the projectiles out quickly so you can spend more time damaging Yagak.
Outriders Trickster: Powerful early setups
Outriders Pyromancer: Fiery starter skills
Outriders Devastator: Top tank setups
Outriders Technomancer: Support your squad
Yagak also summons a Sand Wyrm, an attack that's simple to anticipate. You’ll see it rise in the distance and a blue bar on the floor where it’s going to land, so just dodge roll out the way.
The other main ability to look out for is Overload. Yagak will summon a shield (so don’t bother shooting it) and after charging, will shoot out a quick narrow floor beam of pain that tracks the player. Time your dodge to get out of the way of it as Yagak wraps up the attack.
Yagak also has a few quick attacks to watch for in the first phase. Grasping Shock is a forward blast that will interrupt you. Chain Lightning sees Yagak lobbing electric at you, and Ground Blast is a ground slam that generates lightning when you get too close. Keep on your toes to make sure you don’t get caught off-guard by these cheap shots.
As for weak points, just make sure you’re shooting Yagak in the head to deal more damage. Most guns are viable here, but burst rifles, SMGs, and shotguns work especially well. Keep in mind that there are no enemies to fight in this section besides Yagak, so there’s no easy way to heal by killing weak critters. The Technomancer’s healing ability is a godsend, and weapons and gear with health-leeching mods will ensure your HP replenishes when you’re in a bind.
Phase 2

Now Yagak is even more troublesome. A lot of his attacks such as Sand Wyrm, Chain Lightning, and Anomaly Rifts carry over, but a few special attacks are exclusive to the second phase, such as gap-closing teleportation ability, Displacement.
Elsewhere, Hook Chains sees Yagak wind up his hooks and target specific players with them. Yagak’s hooks track you for a while, so be patient and leap out of the way when the tracking bar becomes static. Once that’s done, Yagak leaps towards you and attacks in a fiery cross or slashes wildly at the player. Keep out of the blue cross and let Yagak have a tantrum while you refill ammo and centre yourself. Preferably as far away as possible.
Things get even trickier when Yagak crouches and creates a grey shield around its body. At this point, hordes of melee enemies called Berserkers run towards you. Keep on your toes so they don’t crowd you, and make sure the Anomaly Rifts are gone so you’re not constantly running into damage. Use these enemies as vital healing stations by crunching their health bars to leech HP you may have lost. Movement is key here: Kite them and use area of effect abilities to wipe out multiple Berserkers at once.
At low health, Yagak has one final trick where it spins its chains in a massive circle, marked by a textured blue circle on the floor. Then it slams them down in a smaller circle, burning the floor in the process. As ever, stay away, and make sure the burn damage isn’t ticking over time by watching where you run in the combat arena.
Tips and rewards

This battle is tough, especially given the lack of critter enemies from which to leech health. After you’ve modded your gear to give you lifesteal, it’s time to think about team composition.
A Technomancer is always going to be a vital part of any Yagak boss rush. Their healing ability is unique to the class and their toxic rounds and ranged turrets can be debuffing and ticking away at Yagak’s health while the rest of the team deal damage up close. A Devastator facing Yagak should take Golem for extra survivability and Gravity Leap to get some breathing room from combat by darting up in the air. I found that Endless Mass can be useful here, too, as it can immobilize Yagak and slow its attacks.
The Trickster’s warping abilities are great for escaping the chaos here, and Venator’s Knife is a great pick as it will ricochet between multiple targets when the fight starts to get hectic with Berserkers. Slow Traps will keep them at bay in the second phase, too. Pyromancer’s should skip their targeted abilities and keep the immobilizing Ash attacks in play, as well as bringing Volcanic Rounds to deal more damage.
Rewards-wise, this is the end of the game, and once you beat Yagak you’ll get taken to the post-game Expeditions hub, where you can crack open a chest with special loot inside.

