The PCG guide: Get everything out of Rift’s 1.3 event while you can – Phase 2
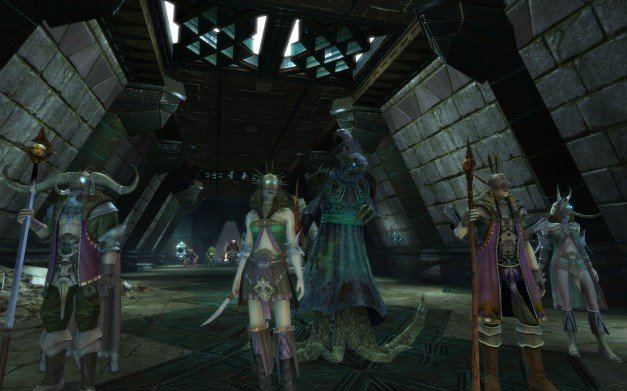
Phase 2 of Rift's 1.3 update has begun, and with it comes several new opportunities to take advantage of new content. Just as was the case in the first Phase , there are a few daily missions, an event, and a new quest that's triggered by an item dropped by Water and Death Rifts. But the time you have to do them is limited, so you'd best read our guide and learn the ins and outs of the new features, so you don't waste a single moment in Telara.
The event: The Waves of Madness (all levels)
As Jornaru performs his Storm Ritual at the steps of Hammerknell Fortress, the summoned storms unleash the Abyssal forces on the land. As the Ascended defend against the waves of Abyssal invaders, the colossal Bloodtide Juggernaut and Bile Fin join the fight to bolster the invaders. When all seems lost for the invading armies from the Plane of Water, the massive Abyssal Invader steps into the theater to deliver a crushing blow to the Ascended.
Bloodtide Fanatic shouts, “Rally, my Abyssal brethren! Show these Ascended the might of Akylios!”
Jonaru shouts, “You cannot stop the Abyssal from discovering the secrets of hammerknell!”
Objective: Ascended must battle and defeat 45 of Jonaru's invasions and 14 Water rifts. Four wardstones are scattered throughout the zone, and players must protect them or risk failing the event if all stones are destroyed. Unlike standard zone events, this invasion features minor rifts with elite mobs and super tough bosses. Collossi and major rift bosses are also beefed up, making the Waves of Madness event significantly more dangerous than the standard fare.
After sealing the rifts and driving back the invasions, two Abyssal invaders will spawn on opposite sides of the zone. Slay their faces off.
Reward: Rune King's Seals (25), Inscribed Sourcestone
Keep up to date with the most important stories and the best deals, as picked by the PC Gamer team.
- Coconut Monkey-approved tips:
- Wardstones are key, so make sure you use the Bless/Augment wardstone ability to bolster defenses
- Make sure you get your dailies. “Stopping the Flood” and “If it Slithers, Kill It” are ideal quests to have in your log before tackling the invaders
- Coordinate your defenses and spread out. Grouping into one large herd in the hopes of completing the objectives before the wardstones fall is a surefire way to fail this event. Make sure a small, but burly, group stays at each stone to defend.
Breakdown of Phase 2?s new, temporary daily quests
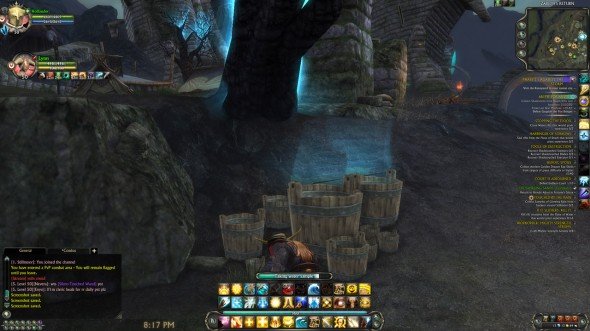
Quest 1: Touched by the Rain (all levels)
"Will this blasted rain ever stop? All over Telara, the constant downpour has begun to have an effect on the land. I need someone to collect rainwater samples so that they may be tested for planar contamination. Would you be willing to help me with that?" - Questgiver Tekro Barkuul
Objective: Collect three Samples of Glowing Rain from buckets around Meridian and Freemarch
Reward: Rune King's Seals (25), XP
The Coconut Monkey-approved strategy:
- That's right, you're collecting buckets of water. Head over to the rain buckets in the vicinity of the quest giver.
- Click to collect three of them, and lift from your legs, not your back! We don't need you lying on the ground crying from spasms.
- Return to Barkuul and give him the buckets he needed so, so much.

Quest 2: Stopping the Flood (all levels)
"Like a breaking dam, our veil is cracking and the Plane of Water is surging into Telara. I'm not sure what is causing this increase of attacks, but they must be stopped." - Questgiver Arnalt Prell
Objective: Close three Water rifts throughout Telara that would grant experience.
Reward: Rune King's Seals (25)
The Coconut Monkey-approved strategy:
- Head to the area you've most recently completed experience-giving quests. It will differ from level to level, but it will be obvious once you look at the map.
- Mount up and ride to some Water rifts. This is a lot easier when there is an event going on, so if you want to wait until that happens it will make things much easier.
- Return to Prell and tell him how well you did to collect your Rune King's Seals (and gold stars).
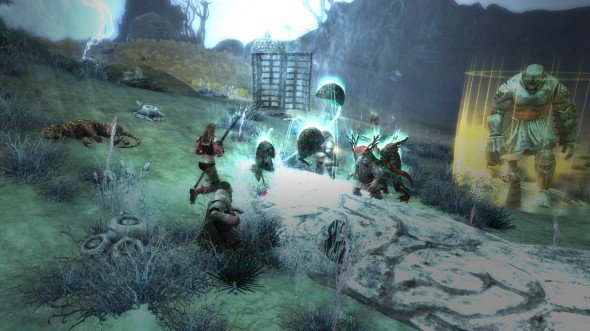
Quest 3: If it Slithers, Kill It (all levels)
"Creatures from the Plane of Water are surging into our realm. Their numbers are swelling! The people of Telara are counting on you to stand against these overwhelming odds." Questgiver Arnalt Prell
Objective: Kill 16 creatures from the Plane of Water that would grant experience
Reward: Rune King's Seals (25)
The Coconut Monkey-approved strategy:
- Just as was the case with Stopping the Flood, you need to find a level-appropriate area.
- The easiest way to handle this is to go after Water rifts, since they'll be filled with creatures from the Plane of Water. If you still have Stopping the Flood you can kill two giant birds with one stone.
- Be sure the enemies you're killing are from the Plane of Water, and not just random nearby enemies. Take out 16 of them.
- Return to Prell. At this point, you'll begin to notice that he can't do anything himself.
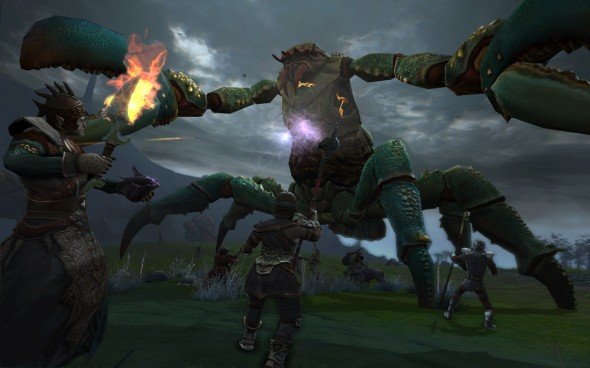
Quest 4: A Dire Threat
"We have a problem. The Abyssal have been seen lurking on the coastline with a strange shell-like artifact. The rest of us have our attention on Jornaru, so it'll be up to you and your fellow Ascended to deal with the artifact. Take a small team out to investigate the artifact, and put an end to any threat it poses."
- Questgiver Dulan Lighthammer
Objective: Investigate the Abyssal Artifact, Kill Tzzik'Clik
Reward: Rune King's Seals (40), XP
The Coconut Monkey-approved strategy:
- Get a party, you're going to need it. Now head over to your respective quest location in Shimmersand, Freemarch, or Silverwood, depending on where the quest guides you.
- Click on the Abyssal Artifact (the sparkly shell in the sand) to summon Tzzik'Clik, a giant enemy crab from the sea. Note: you have to summon him using the shell. Just killing him won't give you credit for completing the quest.
- During the fight Tzzik may spawn adds, so be sure to take care of those quickly. He'll occasionally drop some power orbs that you can use to boost your damage, too, so keep an eye out and be careful of his AoE attack—if you're not paying attention you could be crab food.
- Return to Lighthammer and ask him why he wasn't more clear about your target being a giant crab monster. That might have been useful information.
Phase 2's other quest
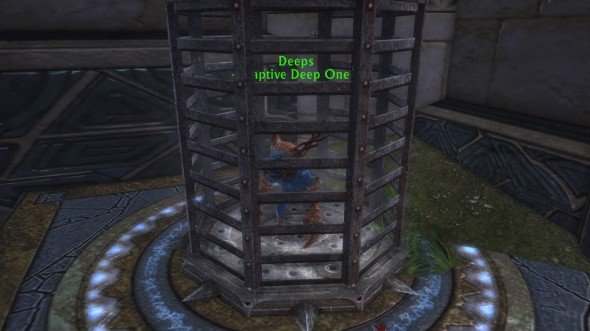
Quest: Torn Scrap
This scrap of parchment is confusing. Along with some incomprehensible symbols, it has comical drawings of planar creatures scrawled in the margins. Petrov Whitemane could help decipher the script. He studies planar linguistics in Sanctum.
Objective: Talk to Petrov Whitemane in Sanctum/Meridian, Laugh at Deeps, the captive deep one in Sanctum/Meridian, Return to Petrov Whitemane in Sanctum/Meridian
Reward: Rune King's Seal (1)
The Coconut Monkey-approved strategy:
- Head to Petrov Whitemane in Sanctum/Meridian and talk to him.
- Whitemane will send you to Deeps. Go over and see the poor, captive deep one in town.
- Laugh at him. That's all. Just /lol at the sucker. Quest over.
- Return to Whitemane, who has a sick sense of humor.

