Is my computer power supply dead?
How to test your PSU to see if it is dead or alive.
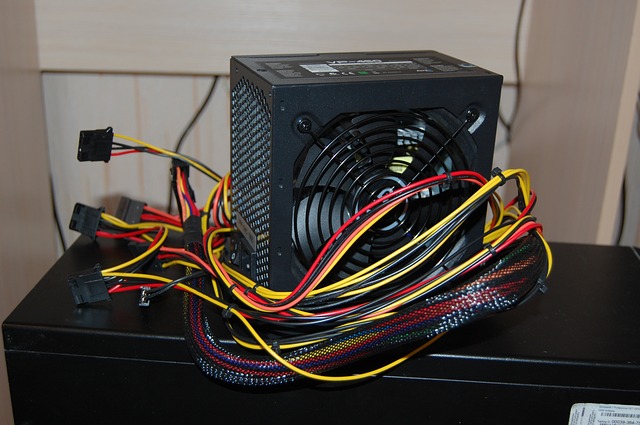
If your computer is behaving strangely or randomly crashing, it can be hard to nail down the culprit. And as much as you don't want to believe it's the problem, testing your power supply should be part of your troubleshooting—it might be on the way out. This tutorial will show you how.
Symptoms of a failing computer power supply
There are a few telltale signs of a computer power supply that may be failing. Unfortunately, many of them are very general and could be a number of things.
Typical symptoms include:
- Random computer crashes.
- Random blue screen crashes.
- Extra noise coming from the PC case.
- Recurring failure of PC components.
- PC won’t start but your case fans spin.
As you can see, those symptoms could have many possible causes. A failing PSU is just one of many. I tend to troubleshoot other hardware first and the power supply last. If you buy a quality PSU, it is unusual for one to fail.
How to test your PSU to see if it is dead or alive
Testing for a faulty power supply is a process of elimination. The process isn’t exhaustive, but should give you a good idea of whether your PSU is working properly or not.
If you have performed software troubleshooting and think the issue may be hardware, follow these steps. Retest after each step.
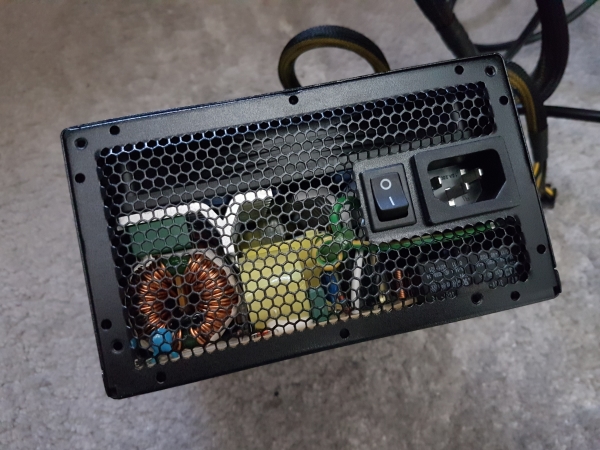
- Make sure any external switch on the rear of the power supply hasn’t accidentally been turned off.
- Check the power cable is secure in the wall socket and rear of the computer.
- Try a different power cable and wall socket to make sure neither is dead.
- Check all internal connections inside your PC, especially power connectors to peripherals.
- Remove all peripherals and hardware from your computer except your boot drive and graphics card if you don’t have onboard graphics. If your CPU does have built-in graphics, remove the graphics card also.
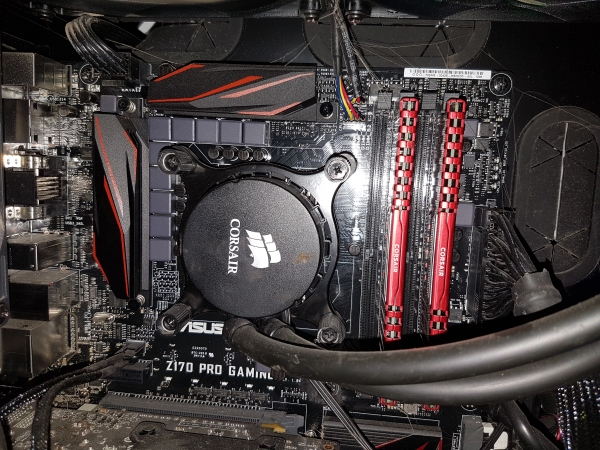
Make sure to check Step 1 first. With over a decade as a PC tech, I have lost count of the number of times the external on/off switch has been flicked by a vacuum or even a pet cat messing around behind the PC!
Keep up to date with the most important stories and the best deals, as picked by the PC Gamer team.
When working through Step 4, pay close attention to the large connector into the motherboard and any connector going to the graphics card. Both of these supply a lot of voltage so they must be securely inserted into their respective sockets. Check all connections thoroughly before testing.
Further computer power supply testing
If you have performed the basic tests above and are not sure whether your power supply is working correctly or not, you now have a couple of options. First is the quick and dirty paperclip test. This video will walk you through it. Remember to be careful.
Another option, if you have another computer, spare power supply or buddy who does, is a swap test.
Swap testing
- Unplug your existing PSU but don’t remove it from the case.
- Place the spare next to your PC and connect the motherboard, external GPU if you don’t have onboard and your boot drive.
- Plug the spare PSU into the wall and test.
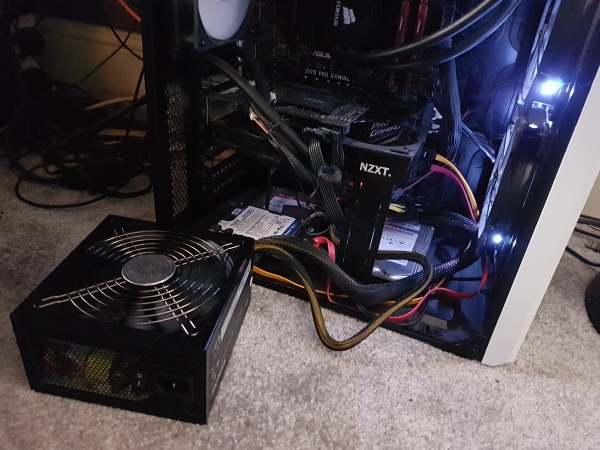
If your PC works normally, you have proven that it was the power supply and can change it. If it isn’t the power supply, you have only minimal rebuilding to do before you continue troubleshooting.
Software monitoring
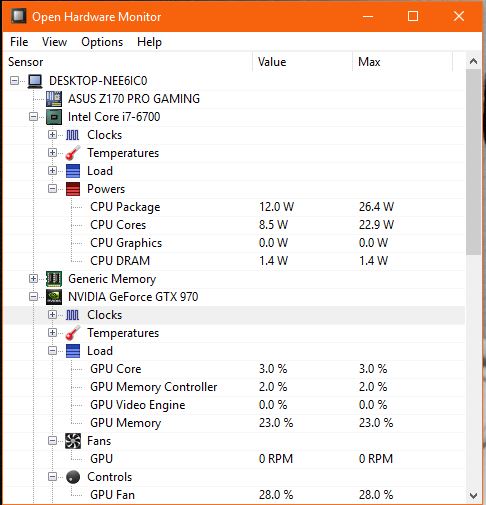
If you suspect a voltage issue is causing crashes you can use a software monitoring tool to keep an eye on things. Programs such as Open Hardware Monitor or HWMonitor can display voltages for components. You will need to actively monitor these voltages and record the average but it is a straightforward way to monitor your computer power.
The downside here is that it requires keen observation to monitor voltage spikes or drops. The upside is that the program is free and offers many more useful features other than just monitoring voltage.

