BattleTech guide: Manage your mechs to victory and riches
A dose of vital mechspertise.
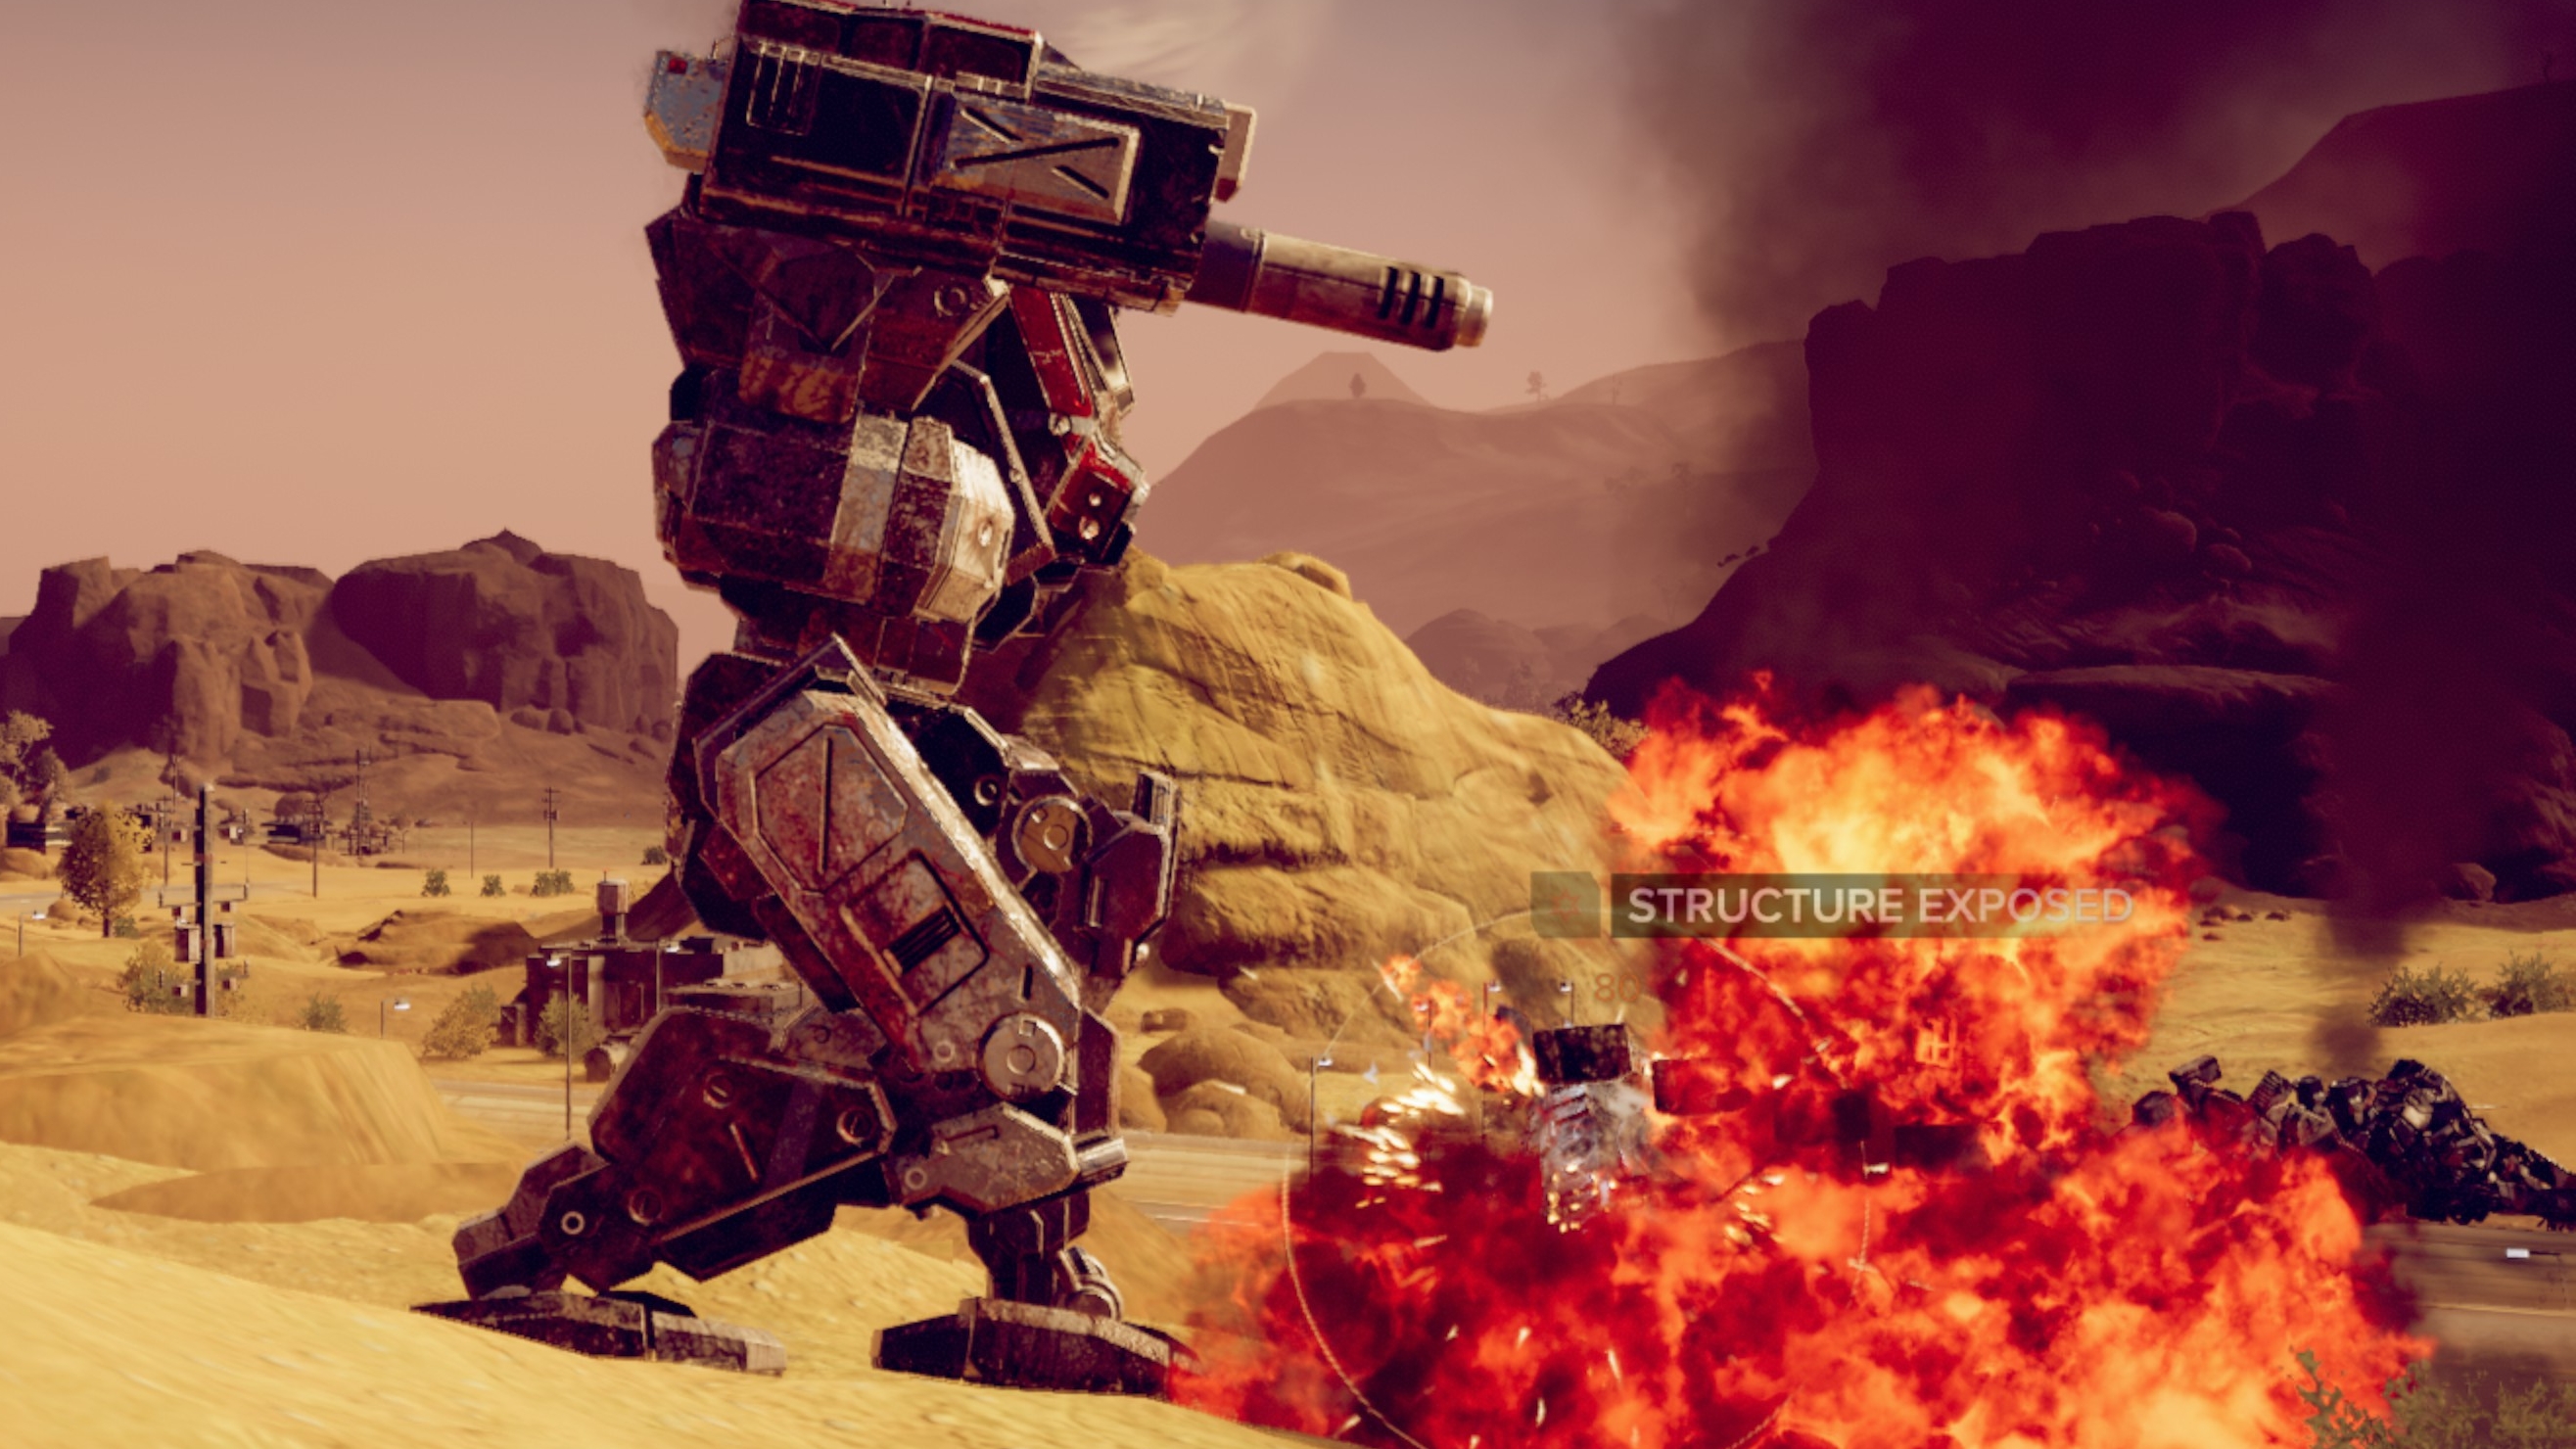
BattleTech is a deep and granular tactics game. Avoiding disaster means paying attention to the details of a given encounter, and inevitably you're going to make a few costly mistakes along the way. Ahead of the game's release, then, here are a few learnings from the battlefield. If any of these tips help you avoid having your favourite mech's arms and legs shot off, then I've done my job.
Get to grips with armour, heat, and stability
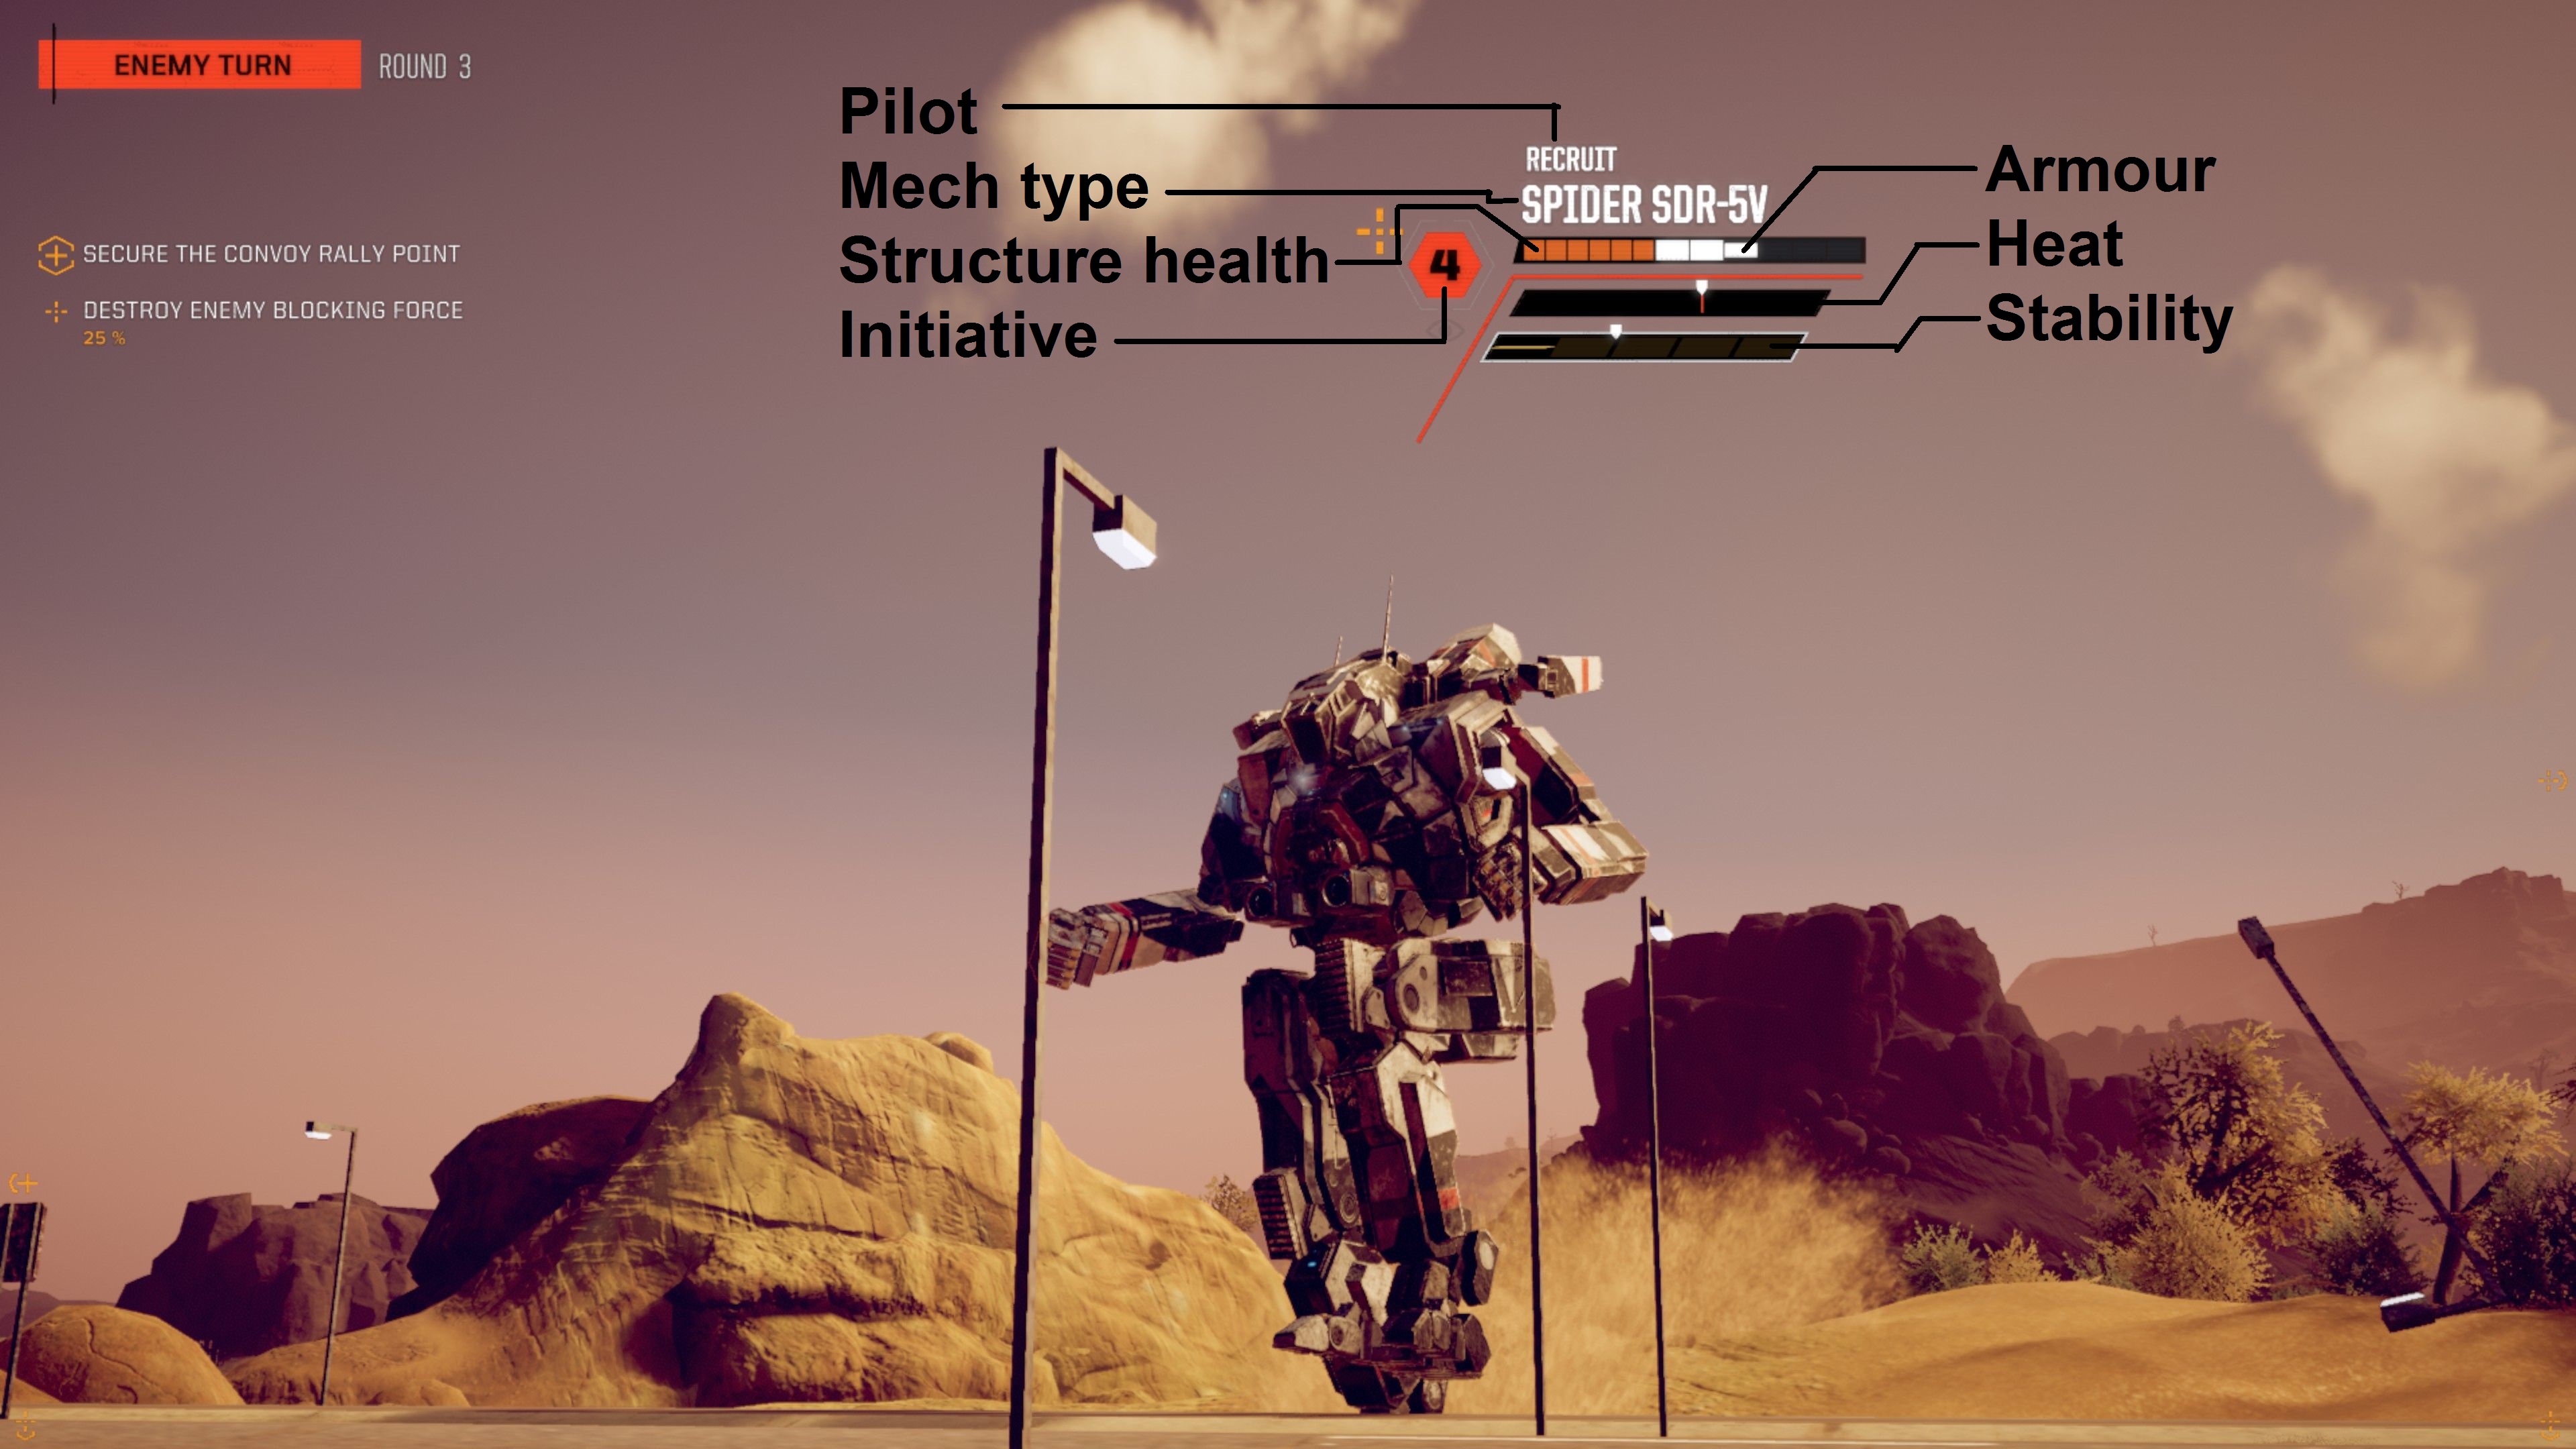
Experienced BattleTech or MechWarrior players know this already, but each mech is more than a healthbar with a gun. It's actually lots of healthbars with several guns, and trying to attack all of them isn't the right way to approach combat.
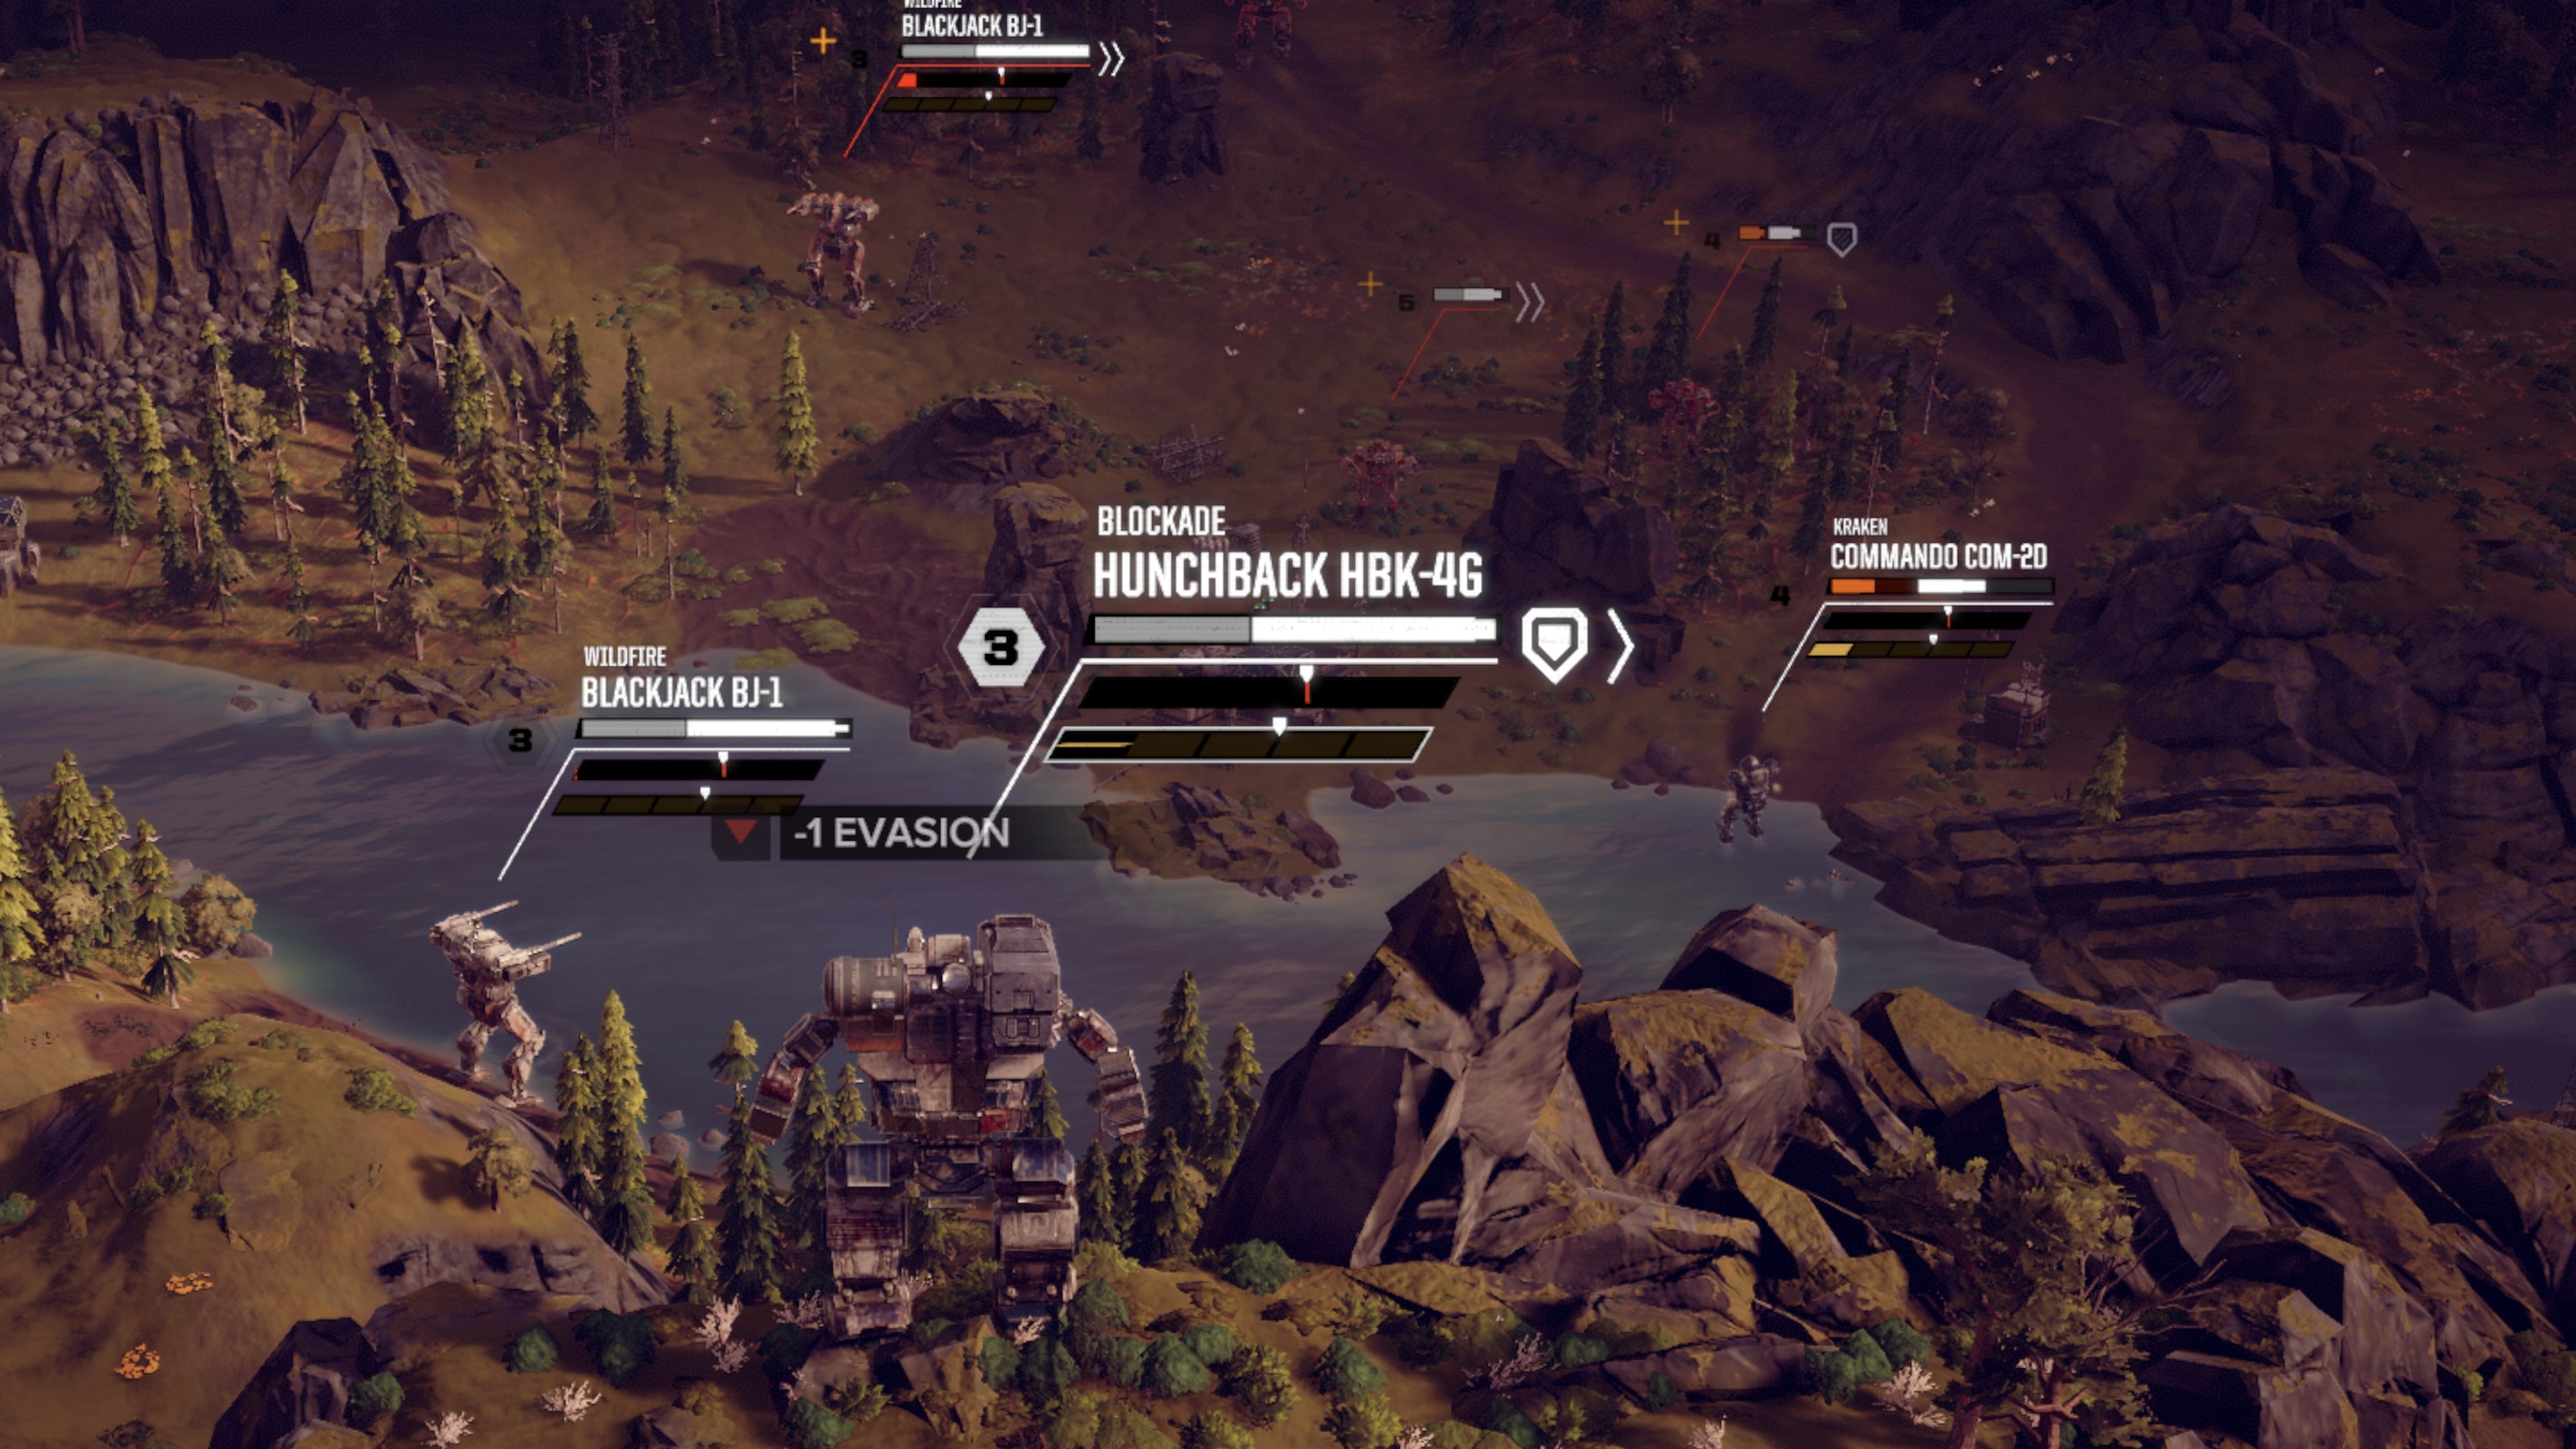
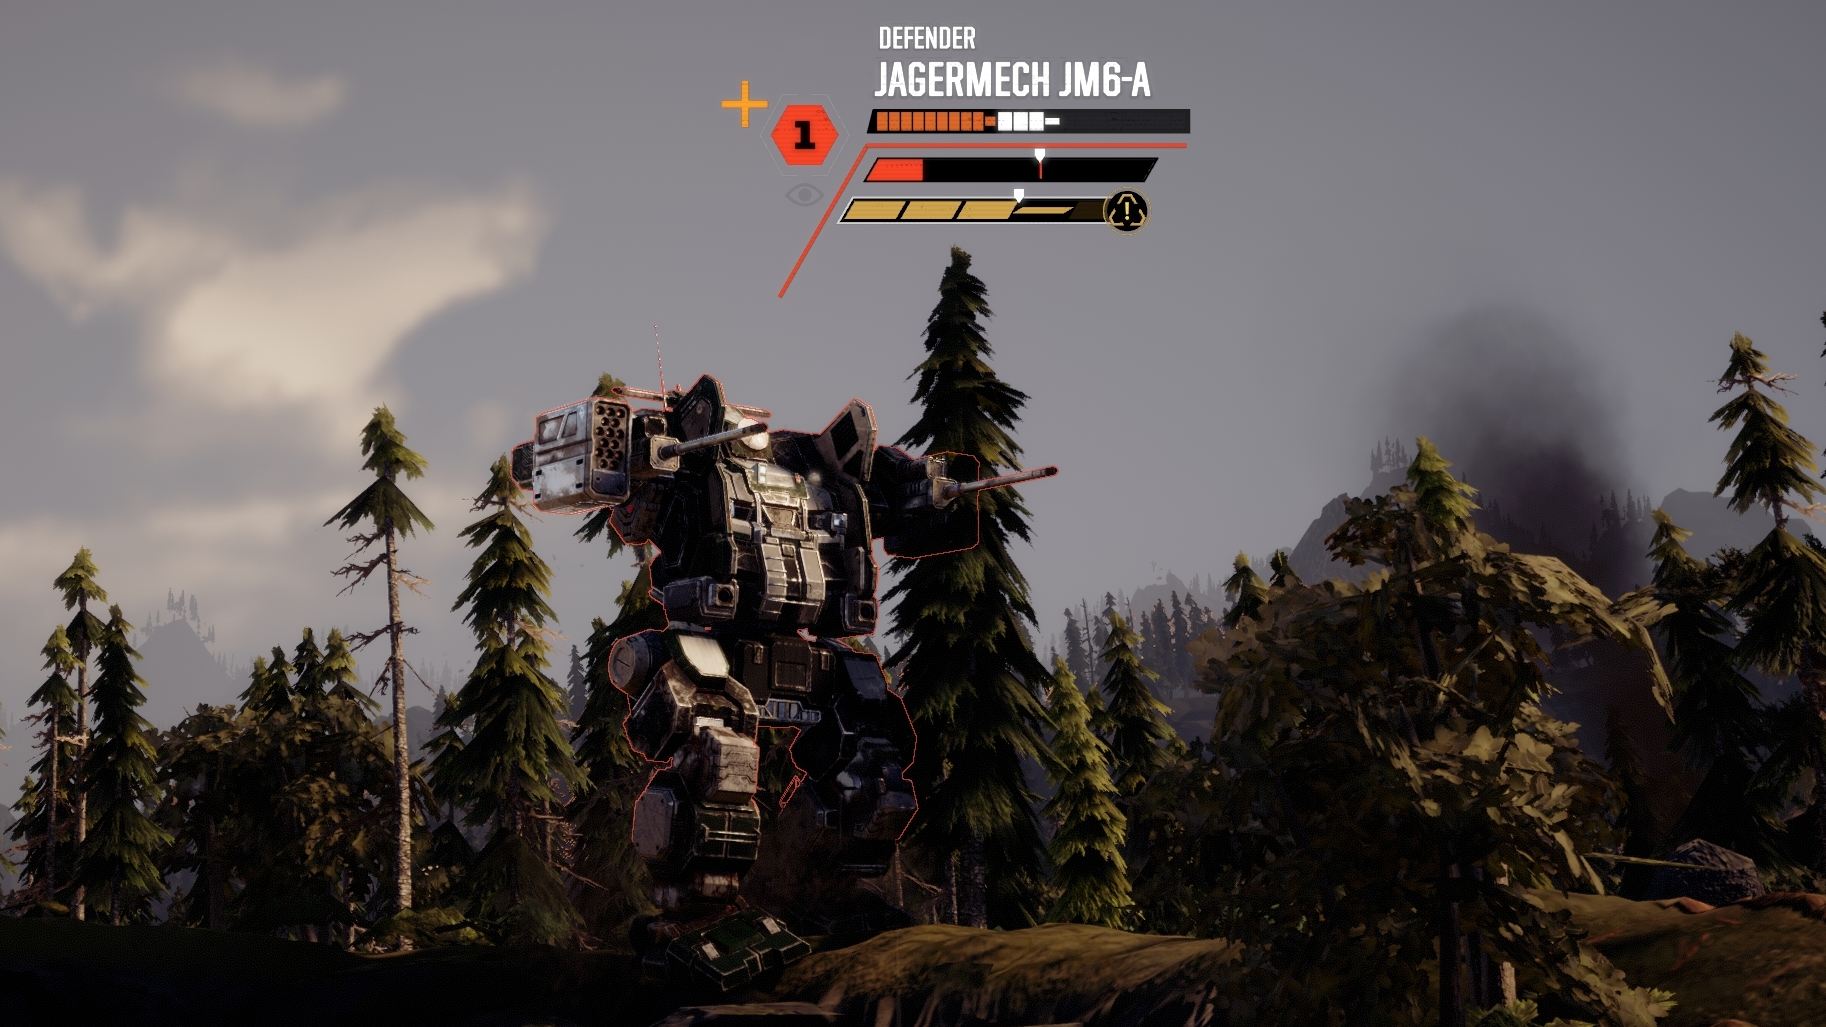
Take a look at the bars over a given mech's head. Here's how that breaks down: the white squares are armour. This bar is a simplified view, but broadly speaking the first half of the bar is front armour and the second covers the rear (it's much more granular than this, really, but let's go with that for now). Armour is basically free to replace and protects your internal systems.
Structural damage is very bad. This is how you lose arms, legs, weapons, and pilots.
The orange squares represent internal structure—damage to these systems is likewise represented by orange, rather than white, damage numbers. Structural damage is very bad. This is how you lose arms, legs, weapons, and pilots. Concentrating fire on a given part of a mech will strip its armour first, then inflict structure damage, ultimately destroying the component.
The red bar is heat, which is generated by firing weapons and can be increased by environmental effects, losing heat sinks, and with flame weapons. If the heat bar fills up all the way to the top, the mech shuts down and needs to be rebooted, and can even take severe damage.
Stability, the yellow bar, is a measurement of your mech's balance. It builds as mechs take damage and can be given a major push with either focused fire to legs or a melee strike—though bear in mind that death-from-above attacks, where you use jumpjets to bop an enemy mech on the head like Mario, also wreak havoc on your own stability. If the stability bar fills up, the mech falls down. A fallen mech falls behind in the initiative order and can't get up until its own turn, during which time enemies get to make precision called shots against any components they want. Falling down is bad. Don't fall down.
Learn counters to Evasion, Guarded, and Entrenched
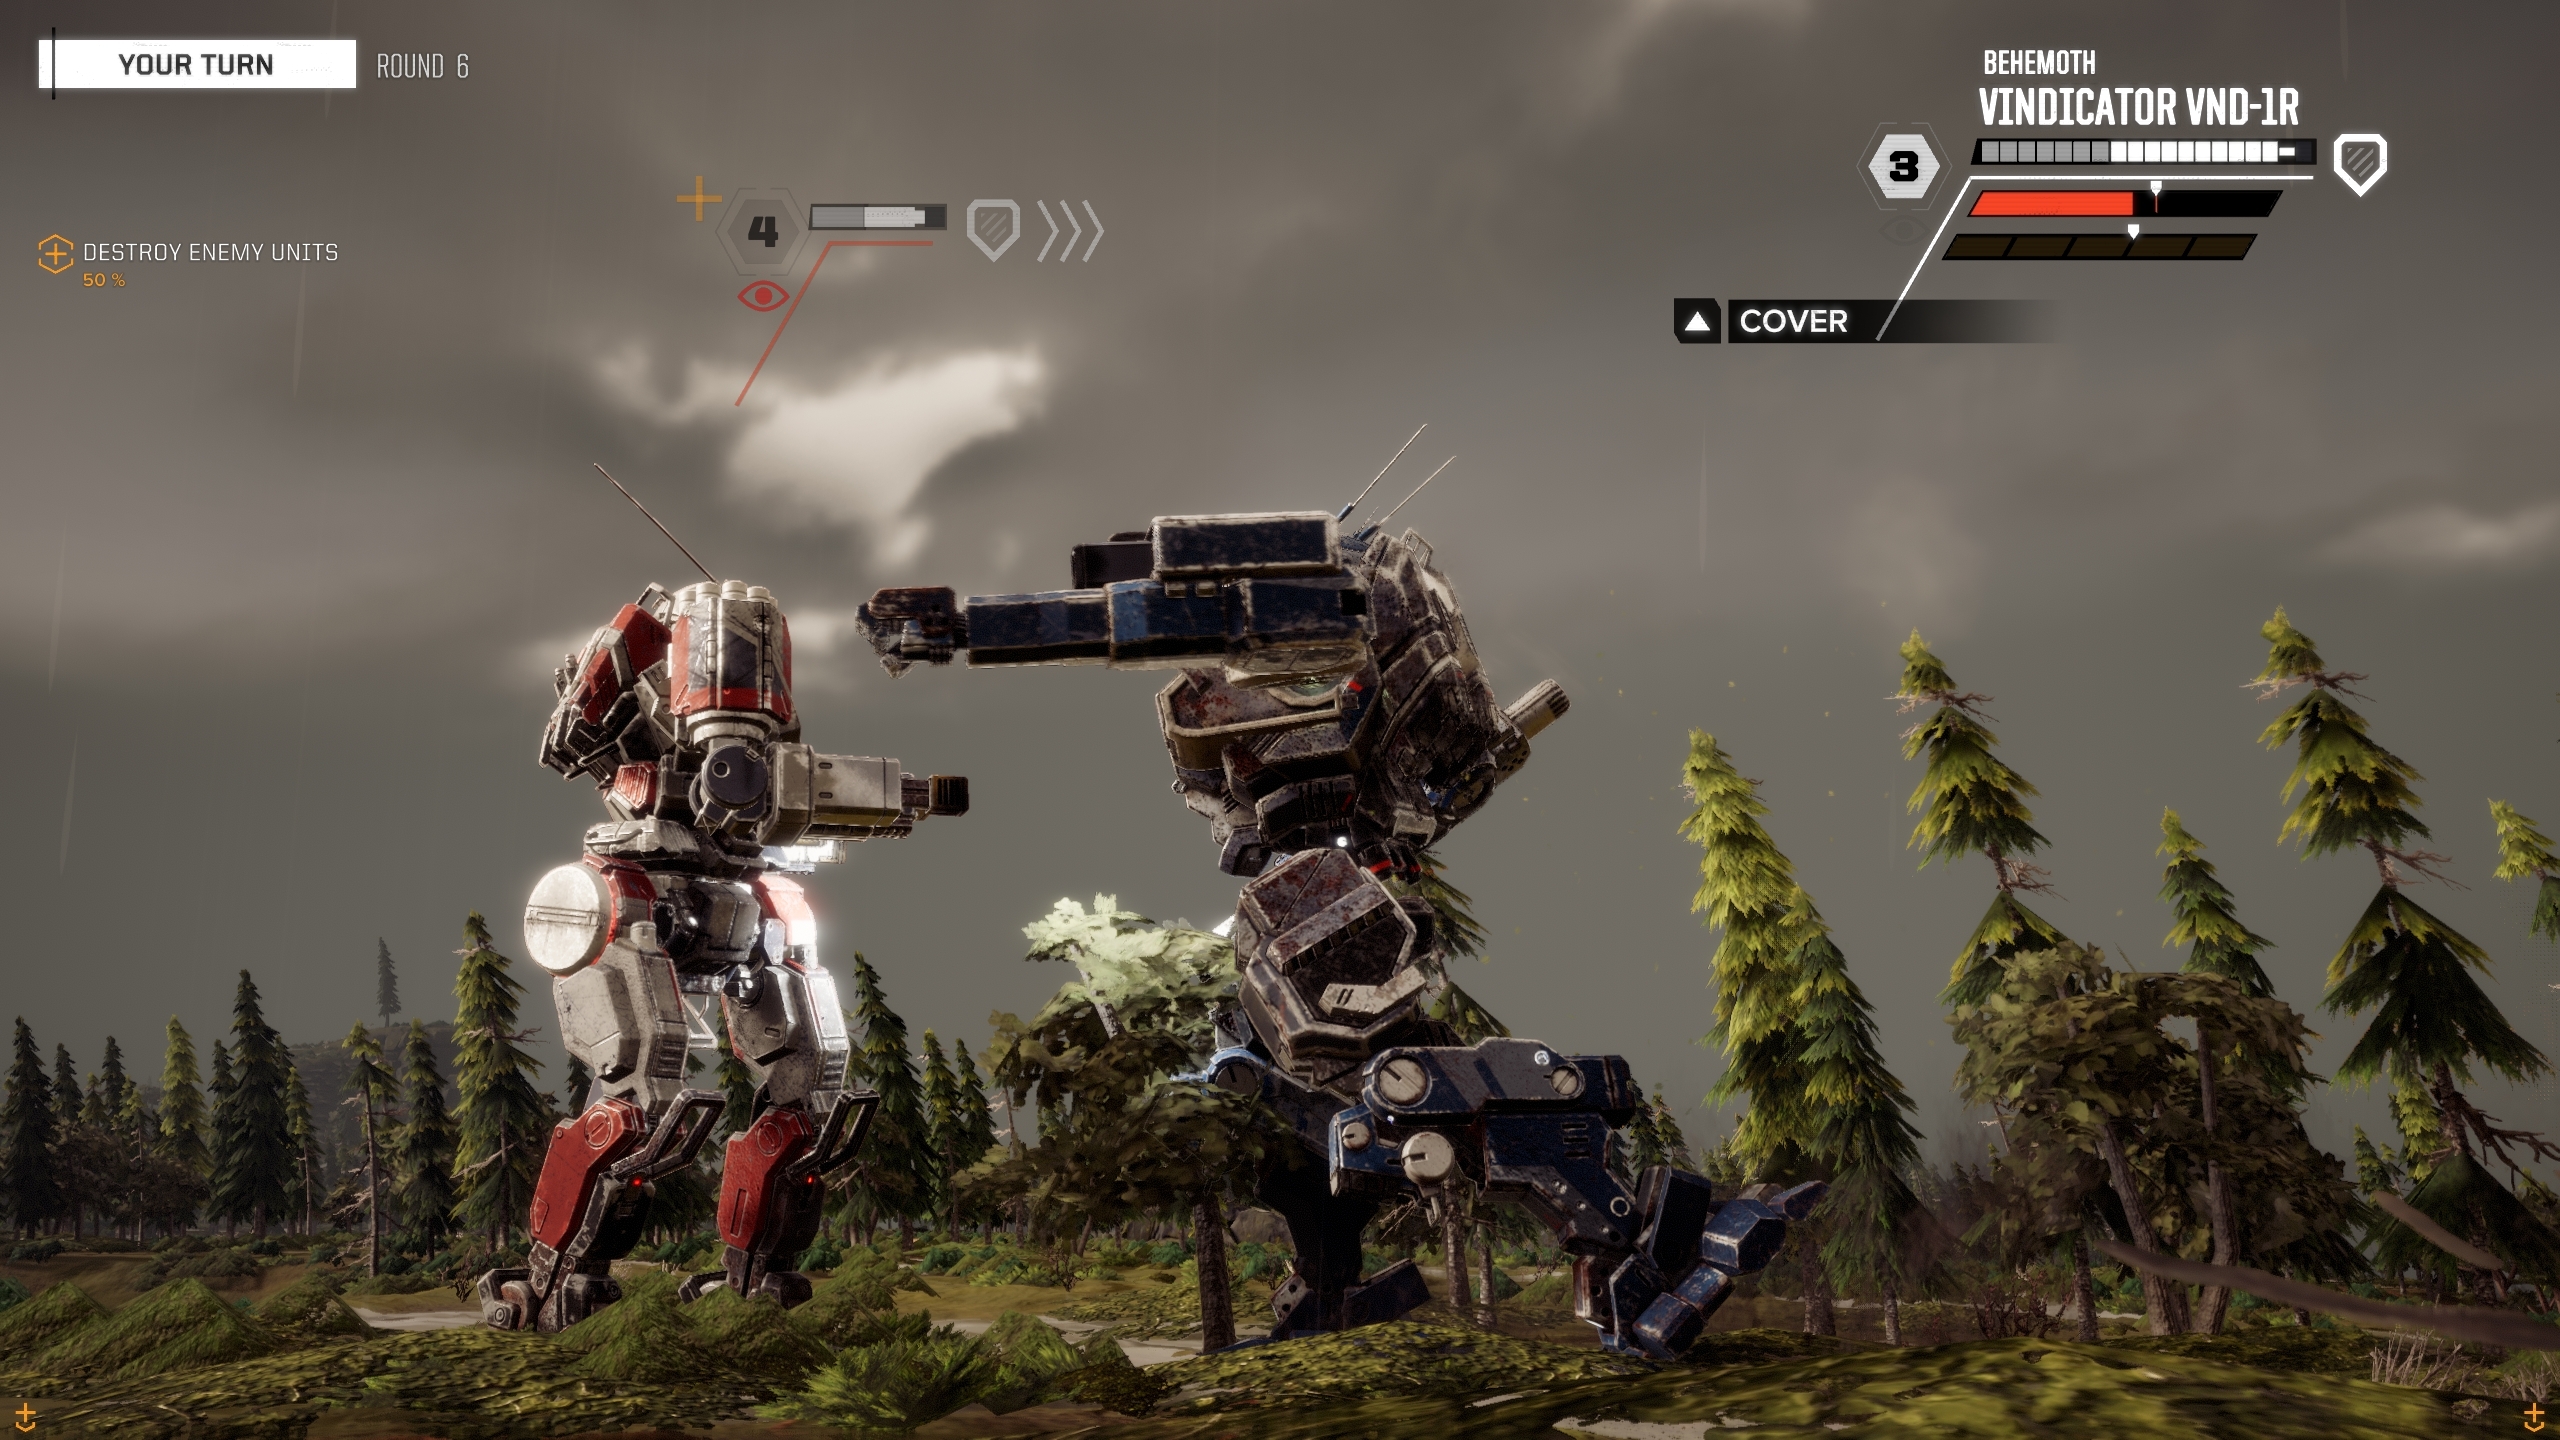
These are the defensive buffs that you'll see in every battle. Stacks of Evasion are gained when mechs move. They last until that mech's next activation, and moving further adds more of them. Each stack makes that mech harder to hit with ranged weapons. Evasion can be mitigated by using the Sensor Lock ability—part of the Tactics line—which removes two stacks, or you can get around it with melee strikes. Taking fire will also strip a stack of Evasion even if the attack misses. This is often a good use of light mechs and weapons that aren't in their effective range bands, helping them set up better shots for your more powerful weapons.
Keep up to date with the most important stories and the best deals, as picked by the PC Gamer team.
Guarded and Entrenched are buffs applied when a mech takes the brace action. Guarded halves incoming damage from the front and sides, while Entrenched reduces stability damage. The ideal response is an attack from the rear, but this isn't always possible. A successful melee strike can strip away Guarded, however, so a good opening against a bracing foe is to send a fast mech to headbutt them before the rest of your guns open up (although bear in mind that this is likely to open up your light mechs to a potentially deadly counter-attack).
Factor in repair time
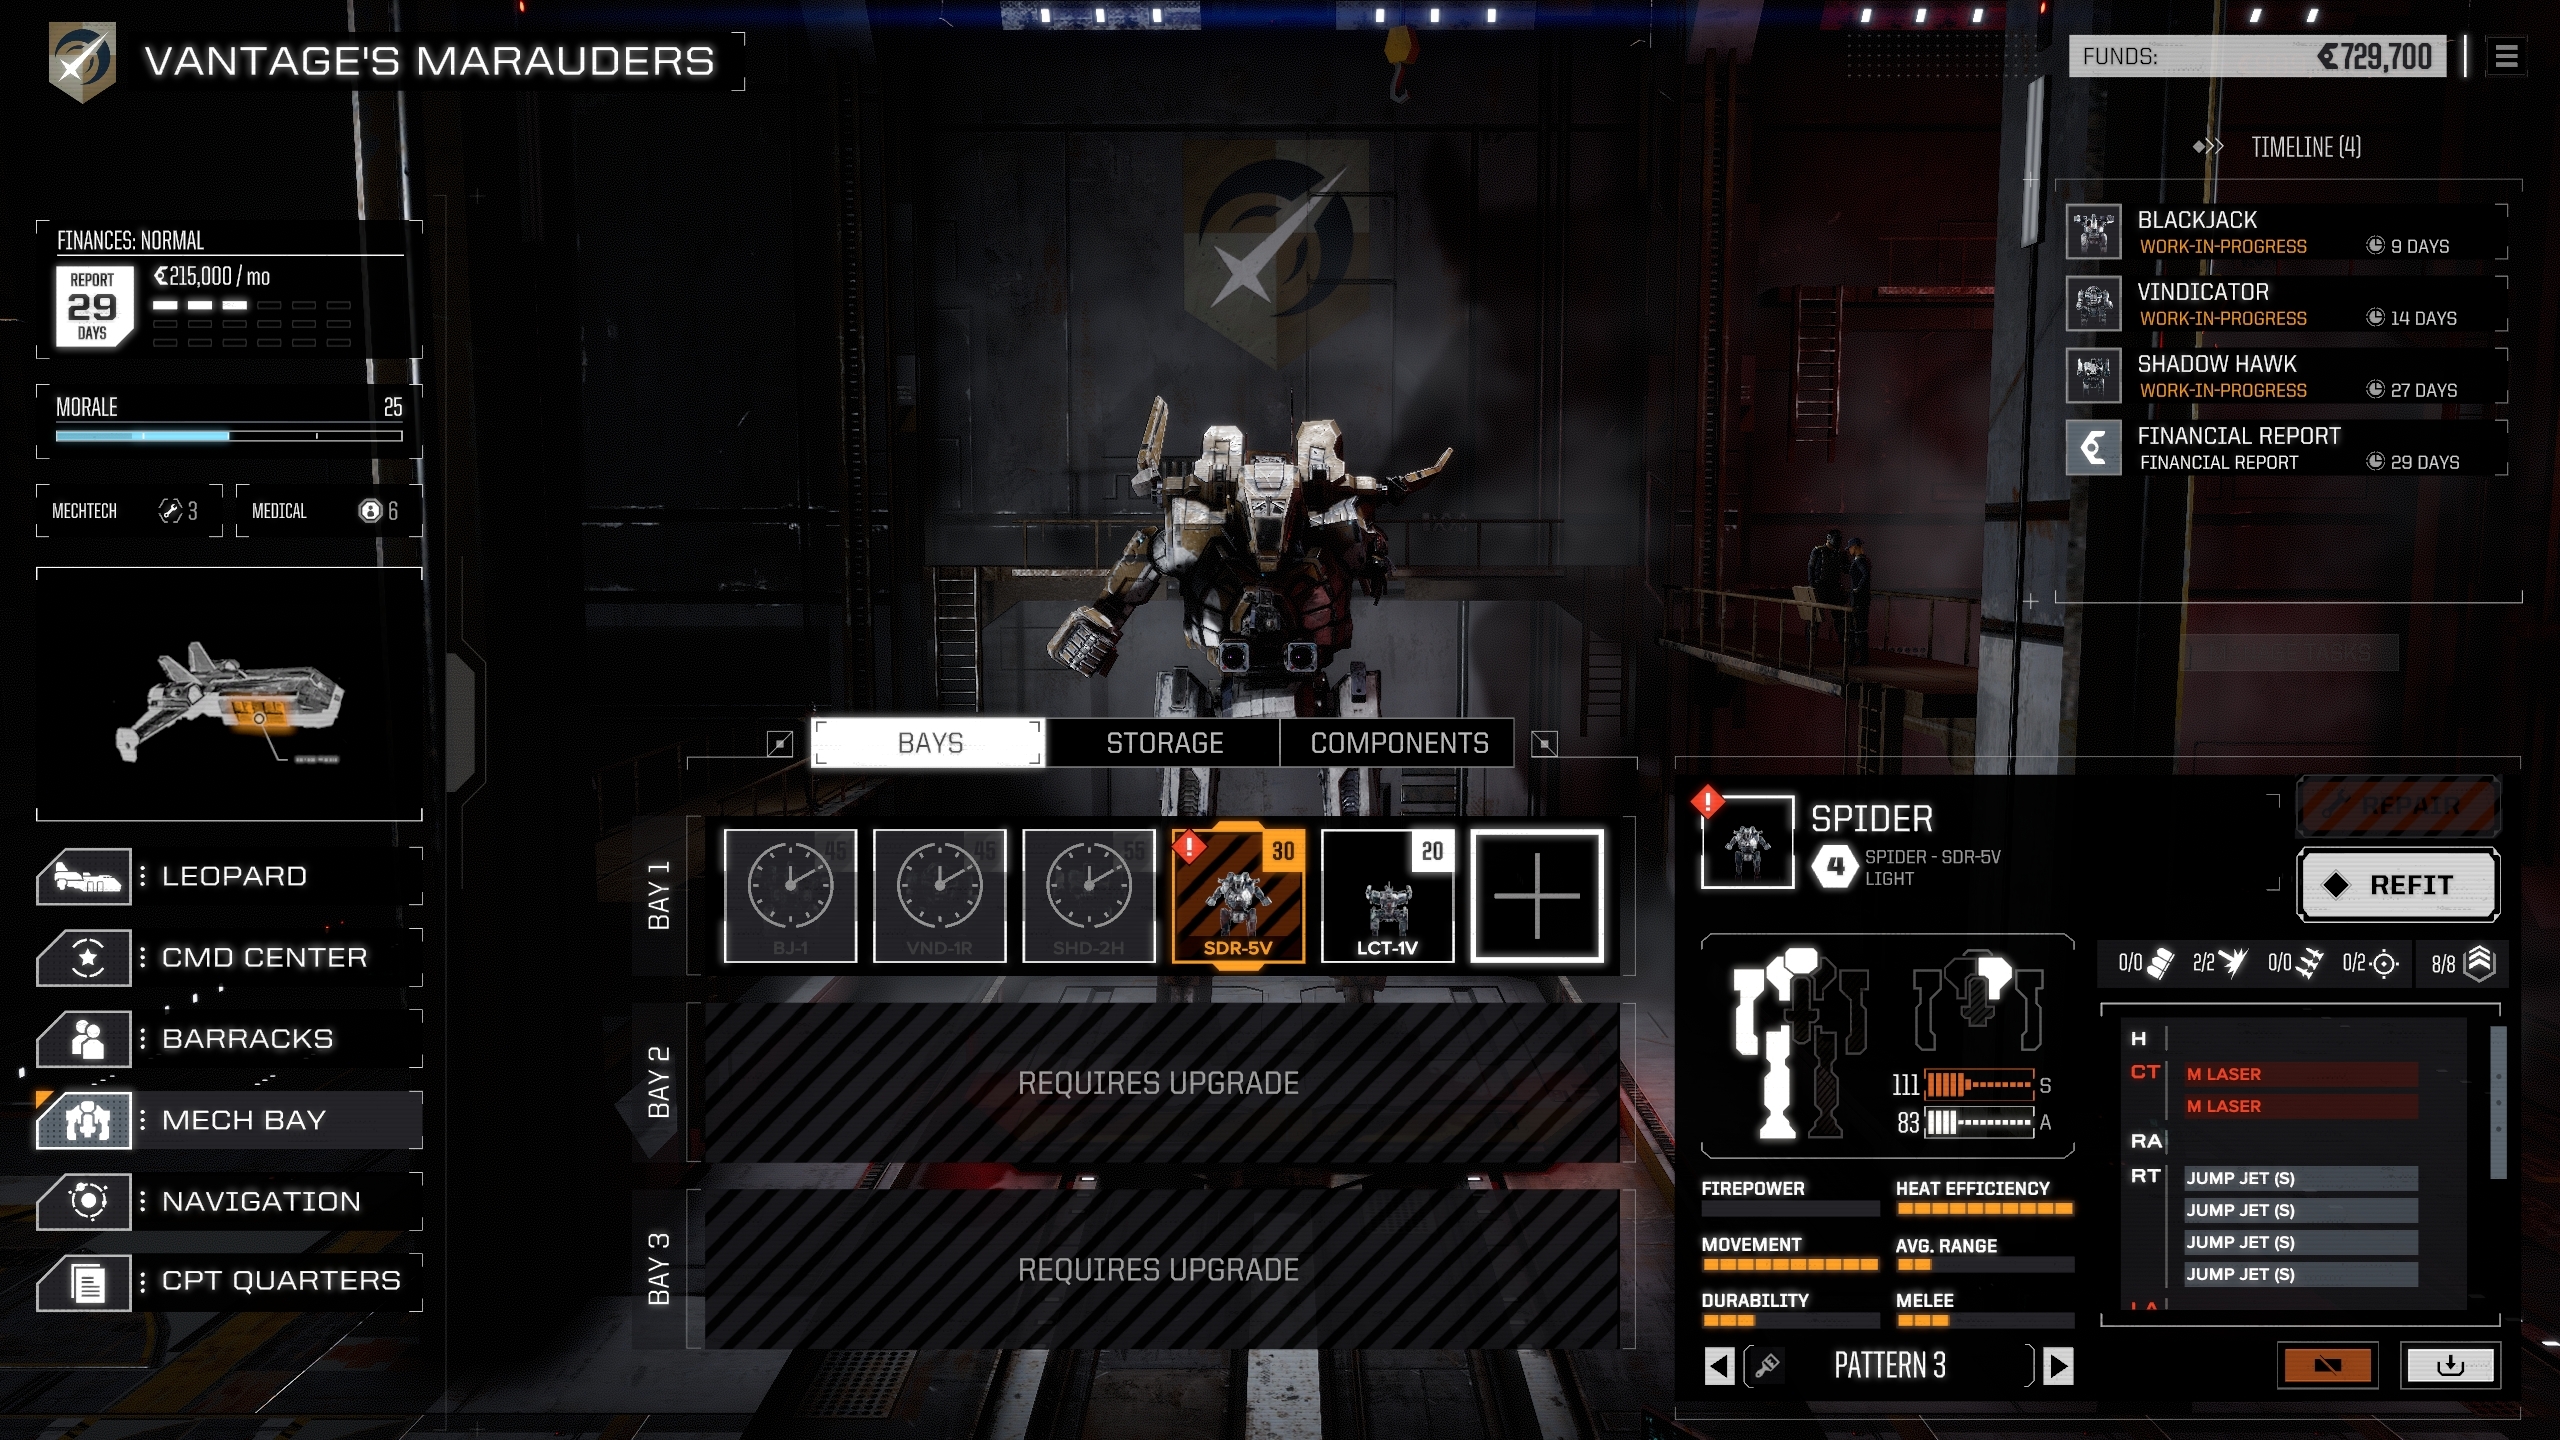
When you start out in the campaign, you'll naturally be concerned with earning money. That's a healthy concern: being unable to pay your monthly upkeep costs is a critical fail state. However, you'll quickly find that the time it takes to repair stuff is more costly than the money it costs.
There's an opportunity cost associated with repairs and refits that must be accounted for. If you can't do a lucrative mission because your best kit is in the shop, then you're effectively in the hole for that amount of money. This problem becomes less pronounced later in the campaign when you have more mechs and an upgraded mech bay, but early on you'll want to plan your missions very carefully. If you take a few easier and less rewarding missions and do well, you might make more money overall than if you fling yourself into a tough challenge and wreck your mechs doing it. Similarly, it's sometimes worth spending an entire month on repairs and refits rather than taking on work 'just because.'
Salvage: it's good
When you take on a mission, you're able to figure out how you want to divide up the reward between cash, priority salvage rights, and faction reputation. Early on, the temptation is to crack that money slider all the way up. However, don't underestimate the usefulness of salvage.
A higher salvage claim allows you to pick up more stuff from the battlefield—this is based on specific damage done over the course of a mission. Broadly speaking, it comes in two forms: specific bits of gear (like jumpjets or lasers) and mech salvage. Collecting three pieces of mech salvage of a particular type allows you to add that mech to your roster.
Here's the thing, though: when I started out, I understood this as 'mech salvage allows you to build that mech for yourself.' That's not right. When you finish the set, you immediately get access to that mech with its basic loadout—weapons and all. This can act as a huge force multiplier, particularly when you're struggling to keep your main roster out of the repair bay for long enough to fight. My campaign hinged on a mission where I sniped the pilot of a massive Battlemaster assault mech, allowing me to fully salvage it and putting me into a much higher weight class for the subsequent missions.
Plan pilot training ahead of time
Each pilot gains XP over the course of the campaign, and you'll invest that XP in four paths: Gunnery, Piloting, Guts and Tactics. Each path has two special abilities. You can ultimately maximise all four paths, however you can only ever have the first special abilities from two trees, and the second special ability from one. The second special ability you choose determines that pilot's final class designation—for example, if you pick up the second skill in the Gunnery path you become a Lancer.
Piloting grants pilots extra evasion charges when they move, and Guts grants them Guarded and Entrenched for free as long as they stay still.
This means that effectively you're building a custom class out of a combination of two paths. A reliable combination I found was to pair either Piloting or Guts with one of the other two skills. This is because Piloting and Guts each grant different, incompatible passive defensive abilities. Piloting grants pilots extra evasion charges when they move, and Guts grants them Guarded and Entrenched for free as long as they stay still.
Here are some sample combos: combine Guts and Gunnery for a pilot that specialises in reaching a vantage point and sniping with high-impact weapons like PPCs and large lasers. Alternatively, combine Guts and Tactics for a pilot that is good at hiding behind a hill, sitting stationary, and bombarding foes with long-range missiles.
Combine Piloting and Tactics for a pilot who excels in fast mechs, moving up quickly at the top of the initiative order to apply Sensor Lock to priority targets. Or combing Pilot and Gunnery for a skirmisher that remains mobile on the move.
You'll figure out other combos you enjoy with a bit of time. Piloting and Guts is actually pretty good for a melee-focused mechwarrior, as it allows you to sprint into melee range with extra Evasive charges and then defend yourself during a slugging match with Guarded and Entrenched.
The reserve function is important
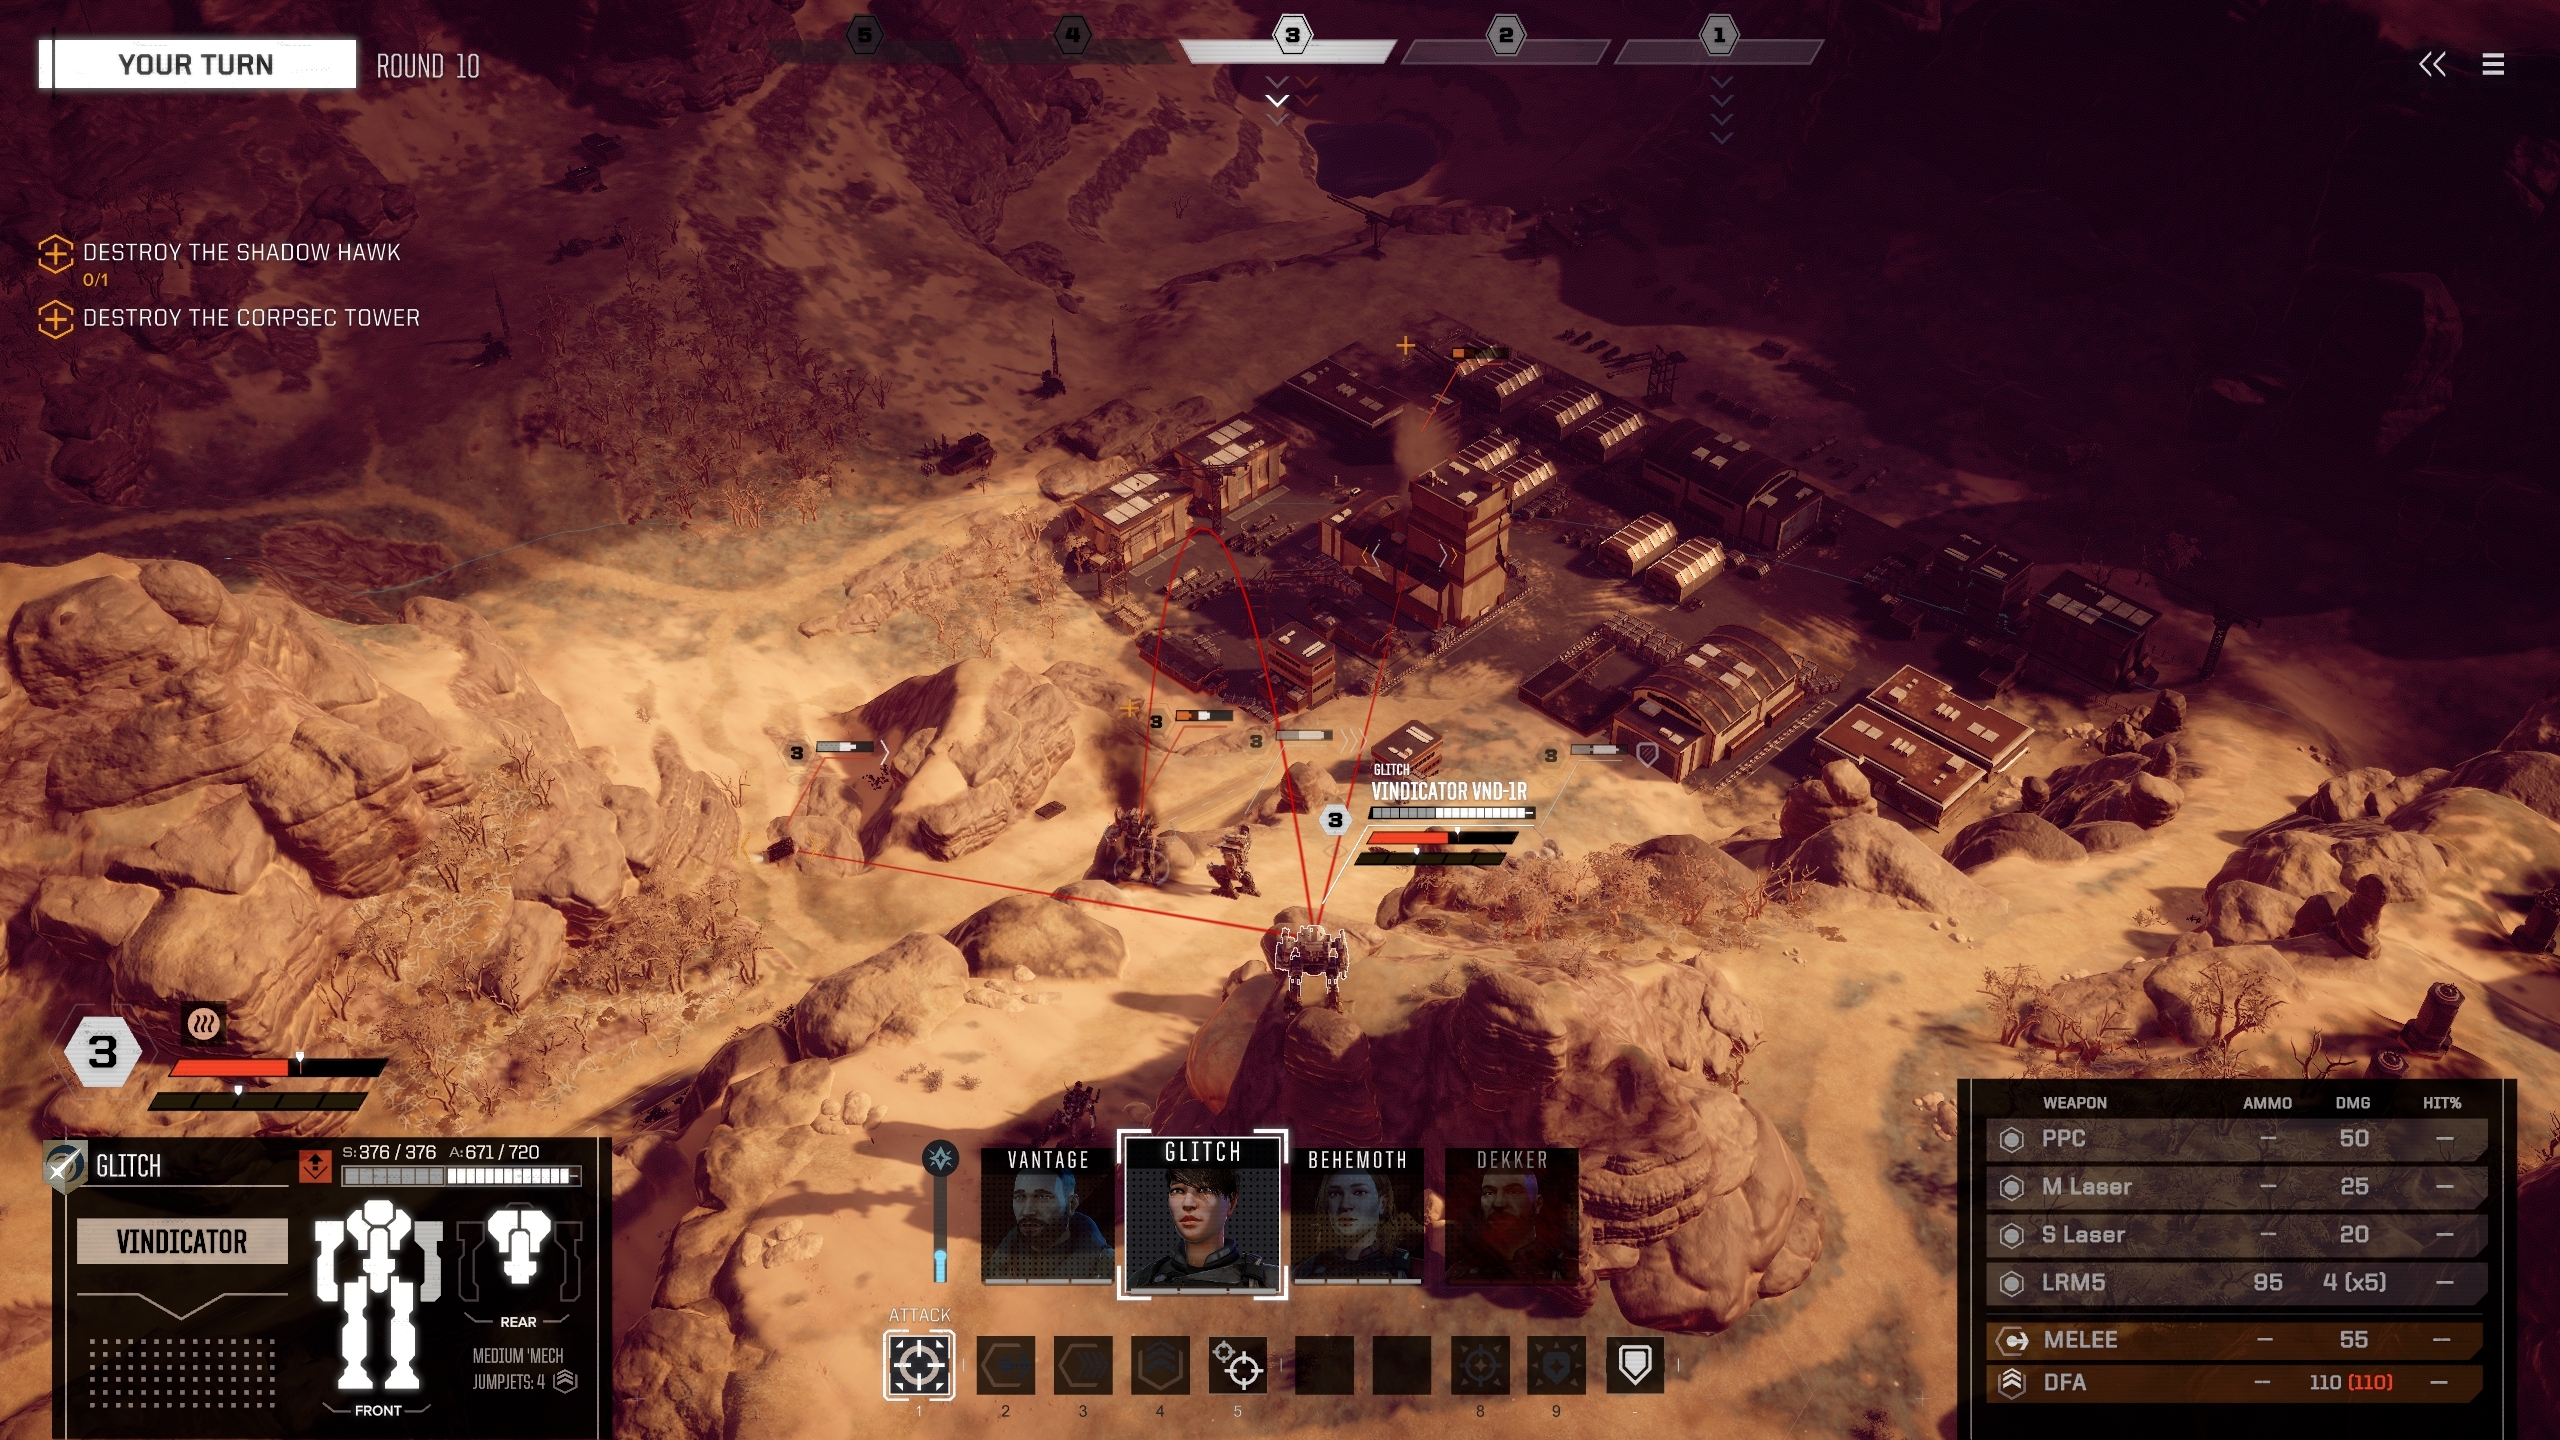
While moving first in the initiative order can be very useful, it also establishes that mechs' positioning and defensive buffs very early in the round—letting your opponent act with perfect information. Opting to Reserve instead shunts a mech into the next initiative slot, allowing you to act after your opponent if you choose. Always remember that you have this option, because it can open up strategic possibilities.
For example: if you have a Tactician in a heavy mech (there's a decent chance of this, as they make a good choice for artillery mechs) then they'll naturally go later in the order. This makes Sensor Lock less useful, as your lighter mechs shoot before it can be applied. By using Reserve to shunt your light and medium mechs into a later initiative slot, you can then use your Tactician to set up a Sensor Lock for their teammates to exploit.
Understand your Inspiration abilities
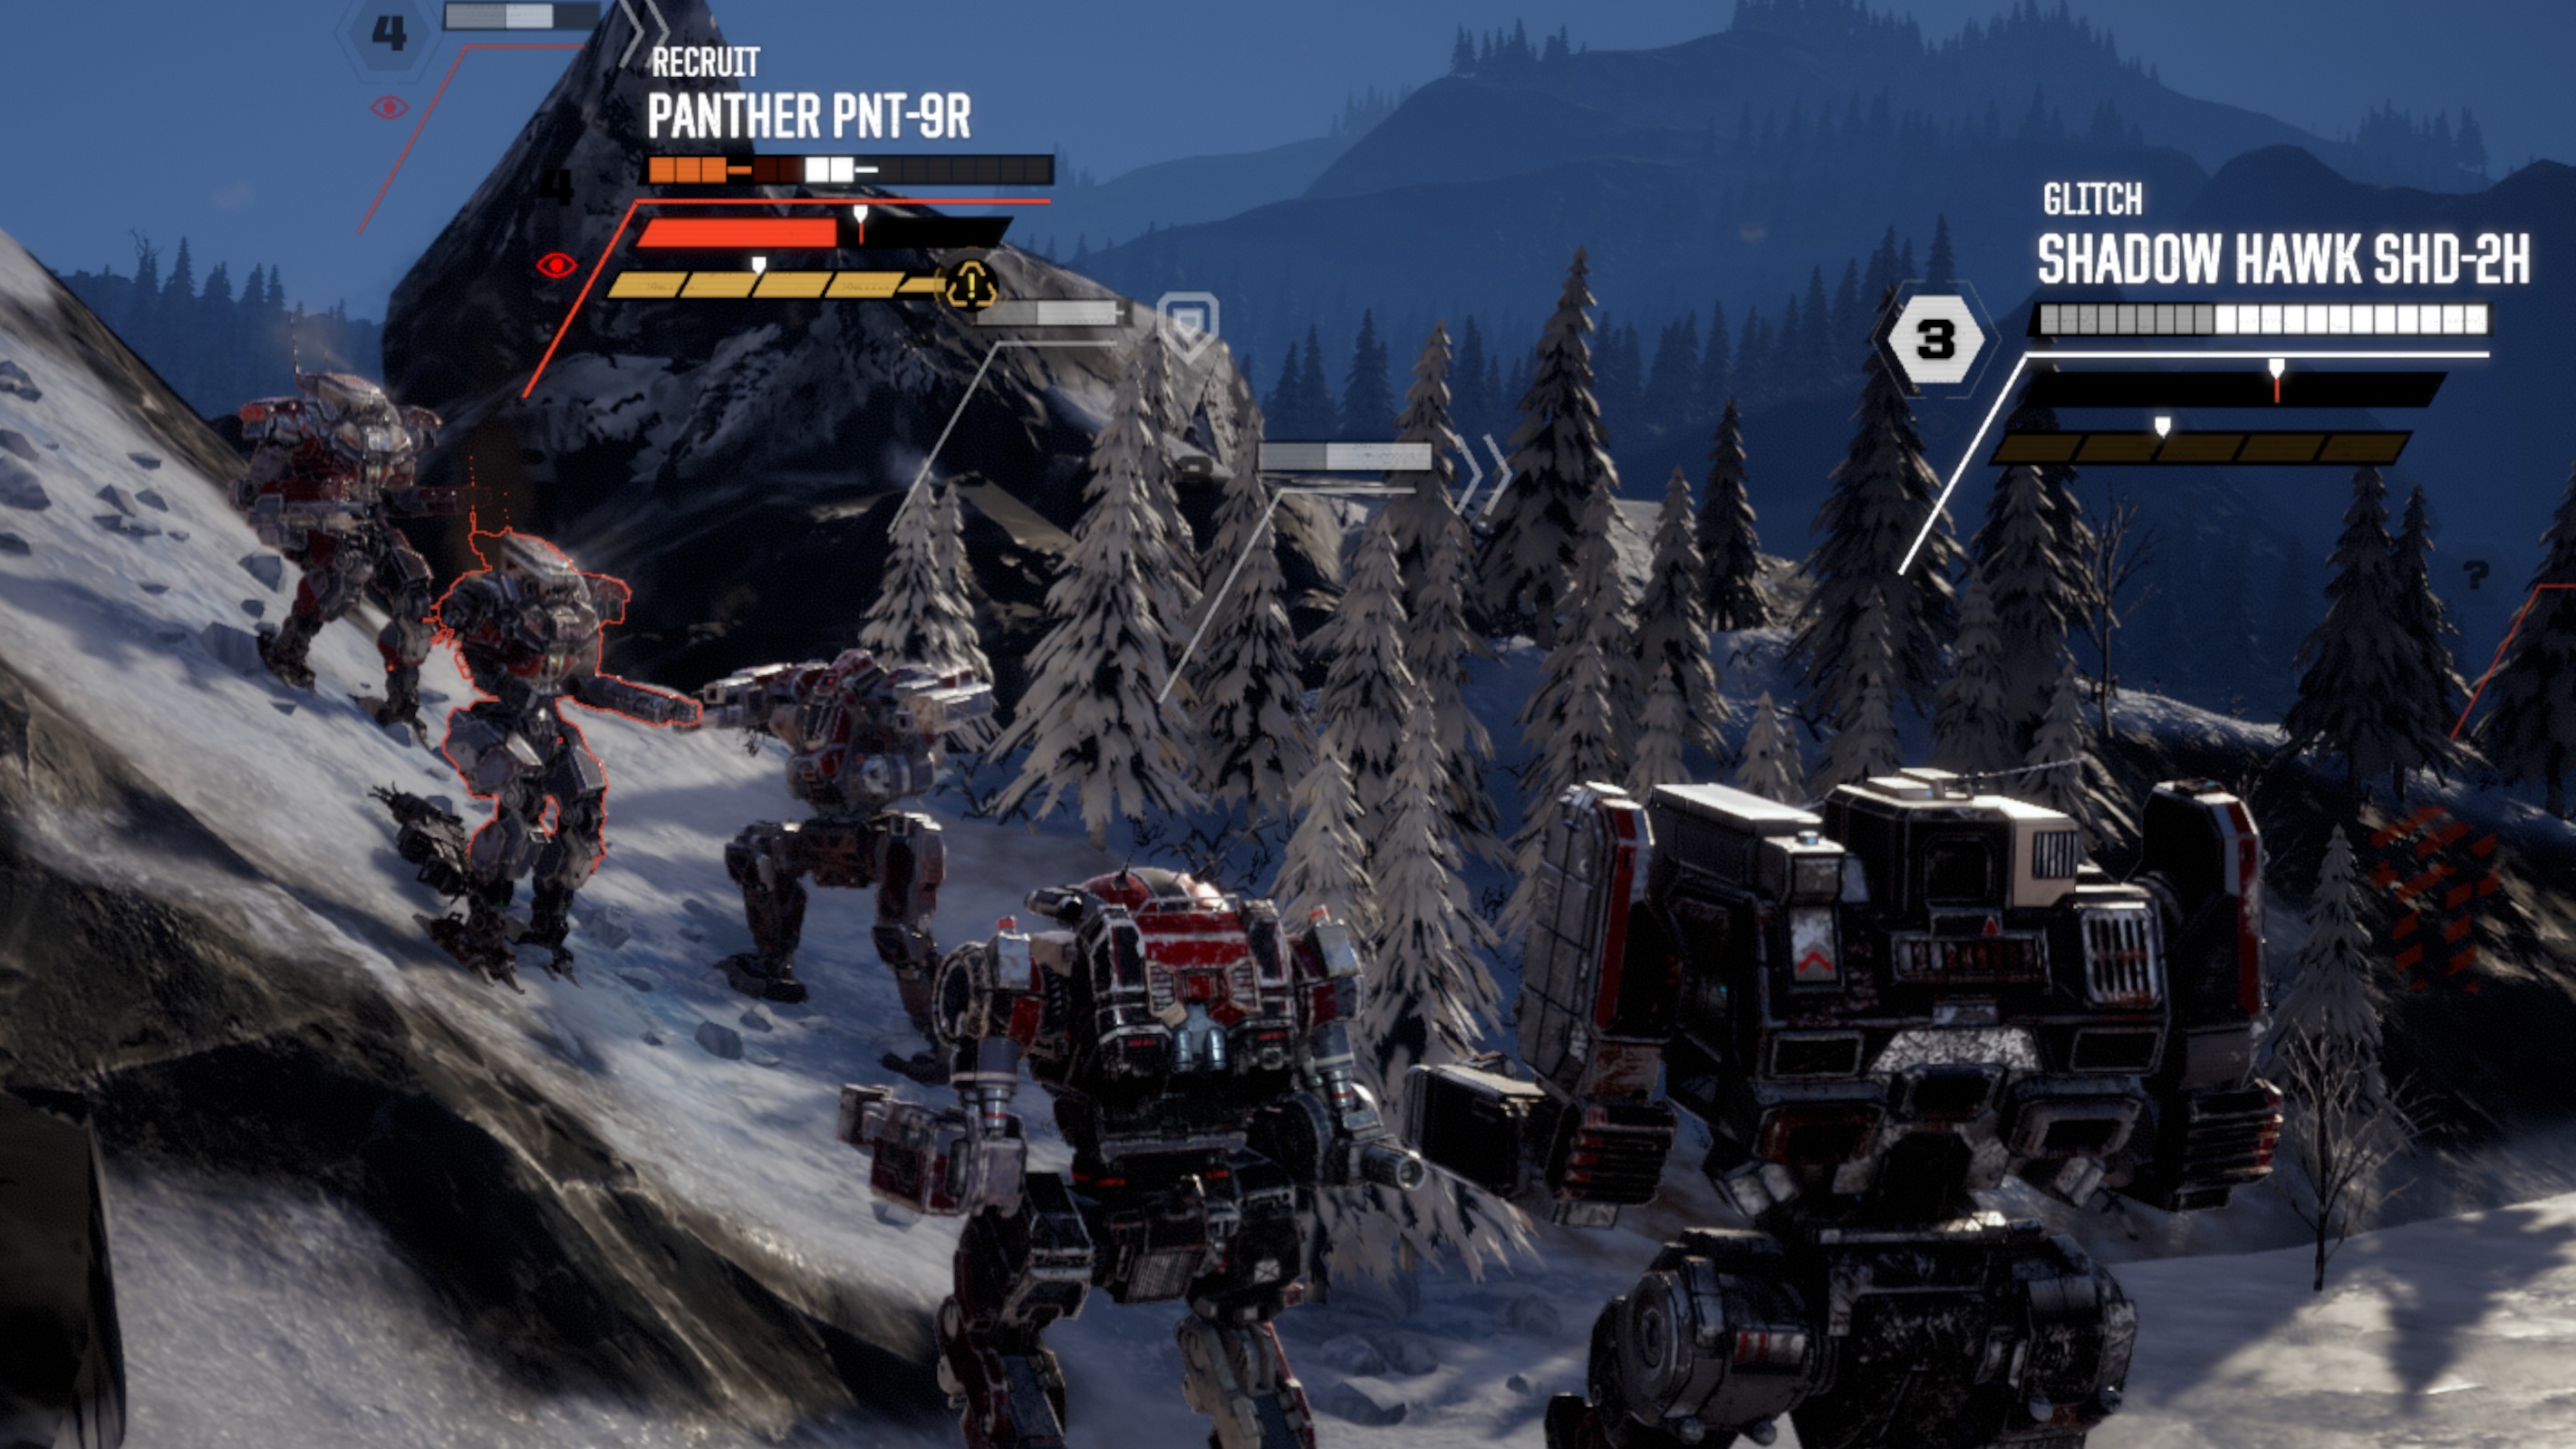
As your mechwarriors fight they build morale points, and you'll start with a huge bonus pool of them if you can keep them happy outside of battle. These allow you access to two special abilities—Precision Shot and Vigilance—that are essential for overcoming stacked odds. Knowing how and when to use them is how you win battles, and both have obvious and less-obvious uses.
Precision Shot allows you to take a called shot (where you get to pick the body part you want to strike) against an opponent that hasn't been knocked down. The obvious use of this is to try to take out legs or weapons before your foe gets to act. The other crucial aspect of Precision Shot, however, is that it pushes your opponent back a slot in the initiative order. This is, I'd argue, the more important thing about it. One targeted shot is good: an enemy being forced to take alpha strikes from your entire lance because you pushed them deeper into the initiative queue is better.
Vigilance applies Guarded and Entrenched to a mech regardless of the situation they find themselves in, but it also—crucially—moves them ahead in the initiative order and removes all stability damage. It's this final bit that I've found match-winning. When you're commanding massive assault mechs, you'll often find them teetering uncomfortably at the upper end of their stability bars at the end of a full turn of shooting—and being so heavy, they almost always act last. Saving morale points to use Vigilance is often worth it because it lets mechs stay on their feet on turns when they're otherwise guaranteed to get knocked down.
Anticipate concentrated fire
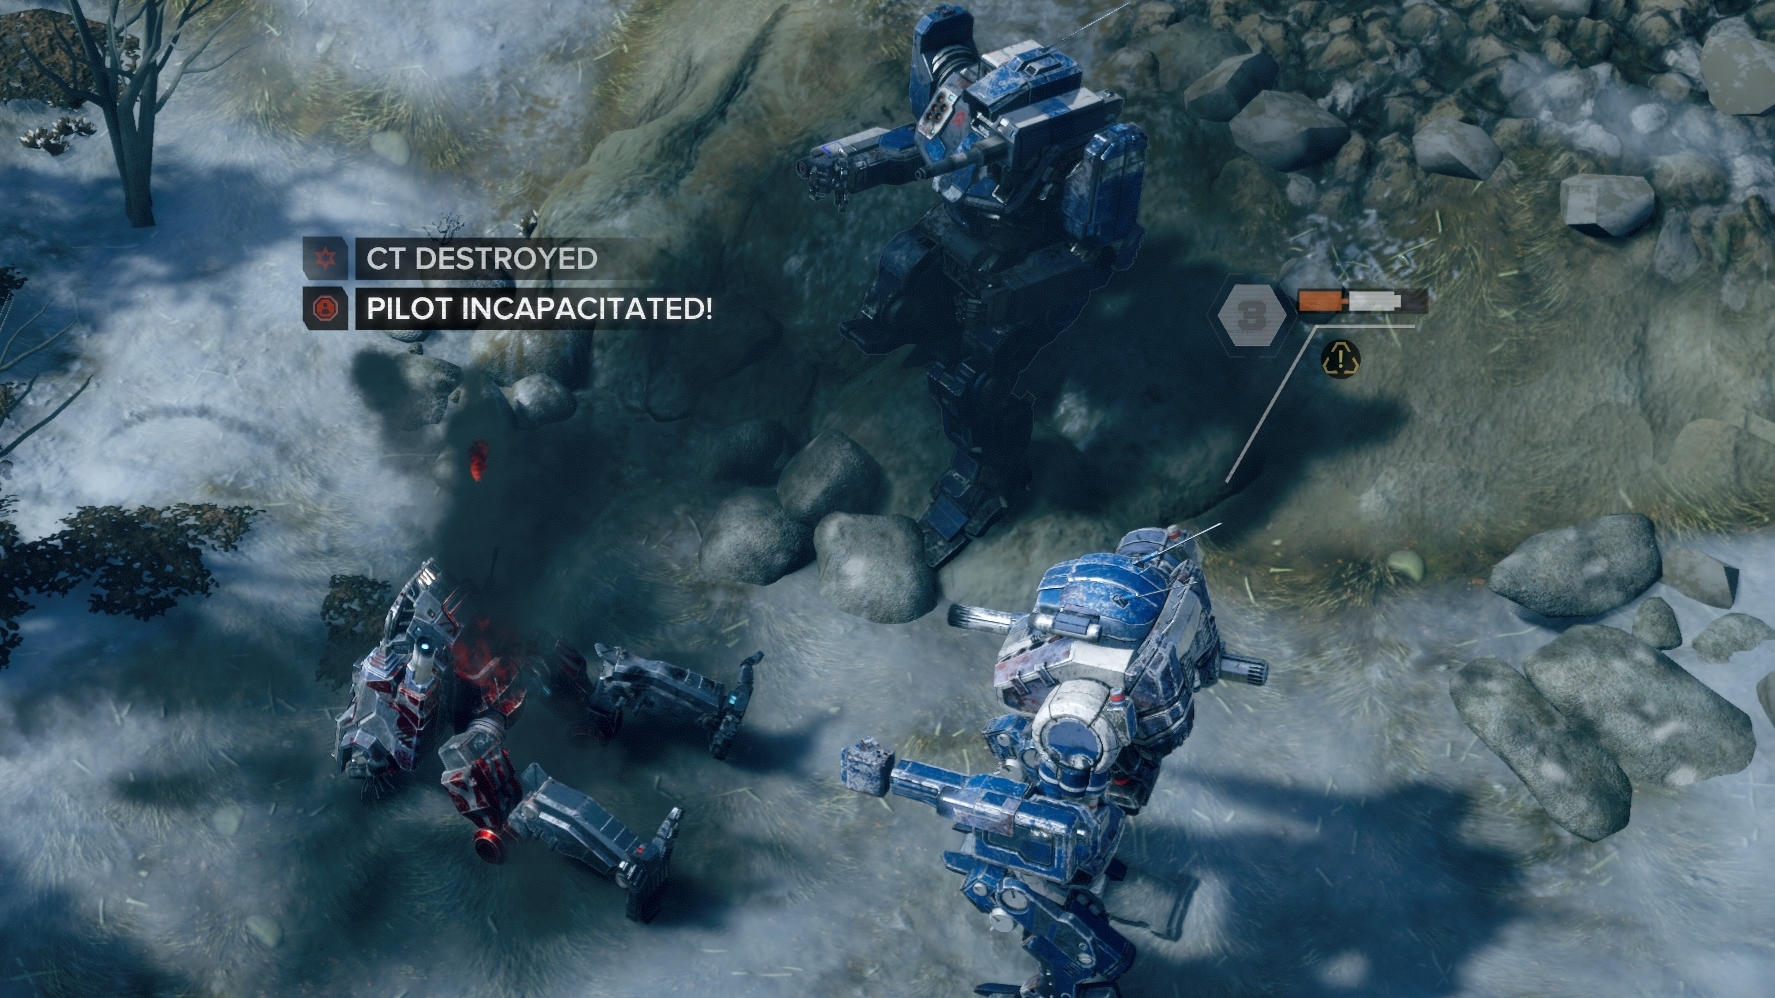
Here's a final hard-won lesson: the AI loves to concentrate fire on a weak target. This is appropriate, given that you'll be doing the same thing to their units, but the difference is that you field up to four mechs and the AI fields anywhere from four to a dozen, plus static defenses, tanks, and so on.
Here's how this can go wrong: you advance a scout mech to take a potshot at a single mech at the vanguard of the enemy force. You don't kill them. They provide line of sight to your scout mech to every single other enemy unit, which—for the sake of argument—comprises a tank column each armed with long range missiles. Your scout mech, evasive though it may be, then gets to enjoy an entire round of LRM fire from every single enemy on the map. If you still have a scout mech at the end of this experience: congratulations. I didn't.
Here's another example: your assault mechs are doing well but one of them has lost all of the armour on its left side. The entire enemy army falls in love with the left side of that mech, moving to annihilate it at the expense of closer targets. It looks weird but it's very effective. You lose your assault mech and possibly snap your keyboard in half.
The AI can be a bit weird at times, in that regard, but it's also consistent—and there are things you can do about it. The first is to be careful, as a rule, and to pay attention to both line of sight and scanner range. If you can scan them, they can scan you: and it only takes one enemy mech with line of sight to open up the danger of indirect fire. Kill spotters and break line of sight where you can. Often, revealing a bunch of full-health mechs at once is a good way to encourage the AI to split its fire.
Mech orientation matters
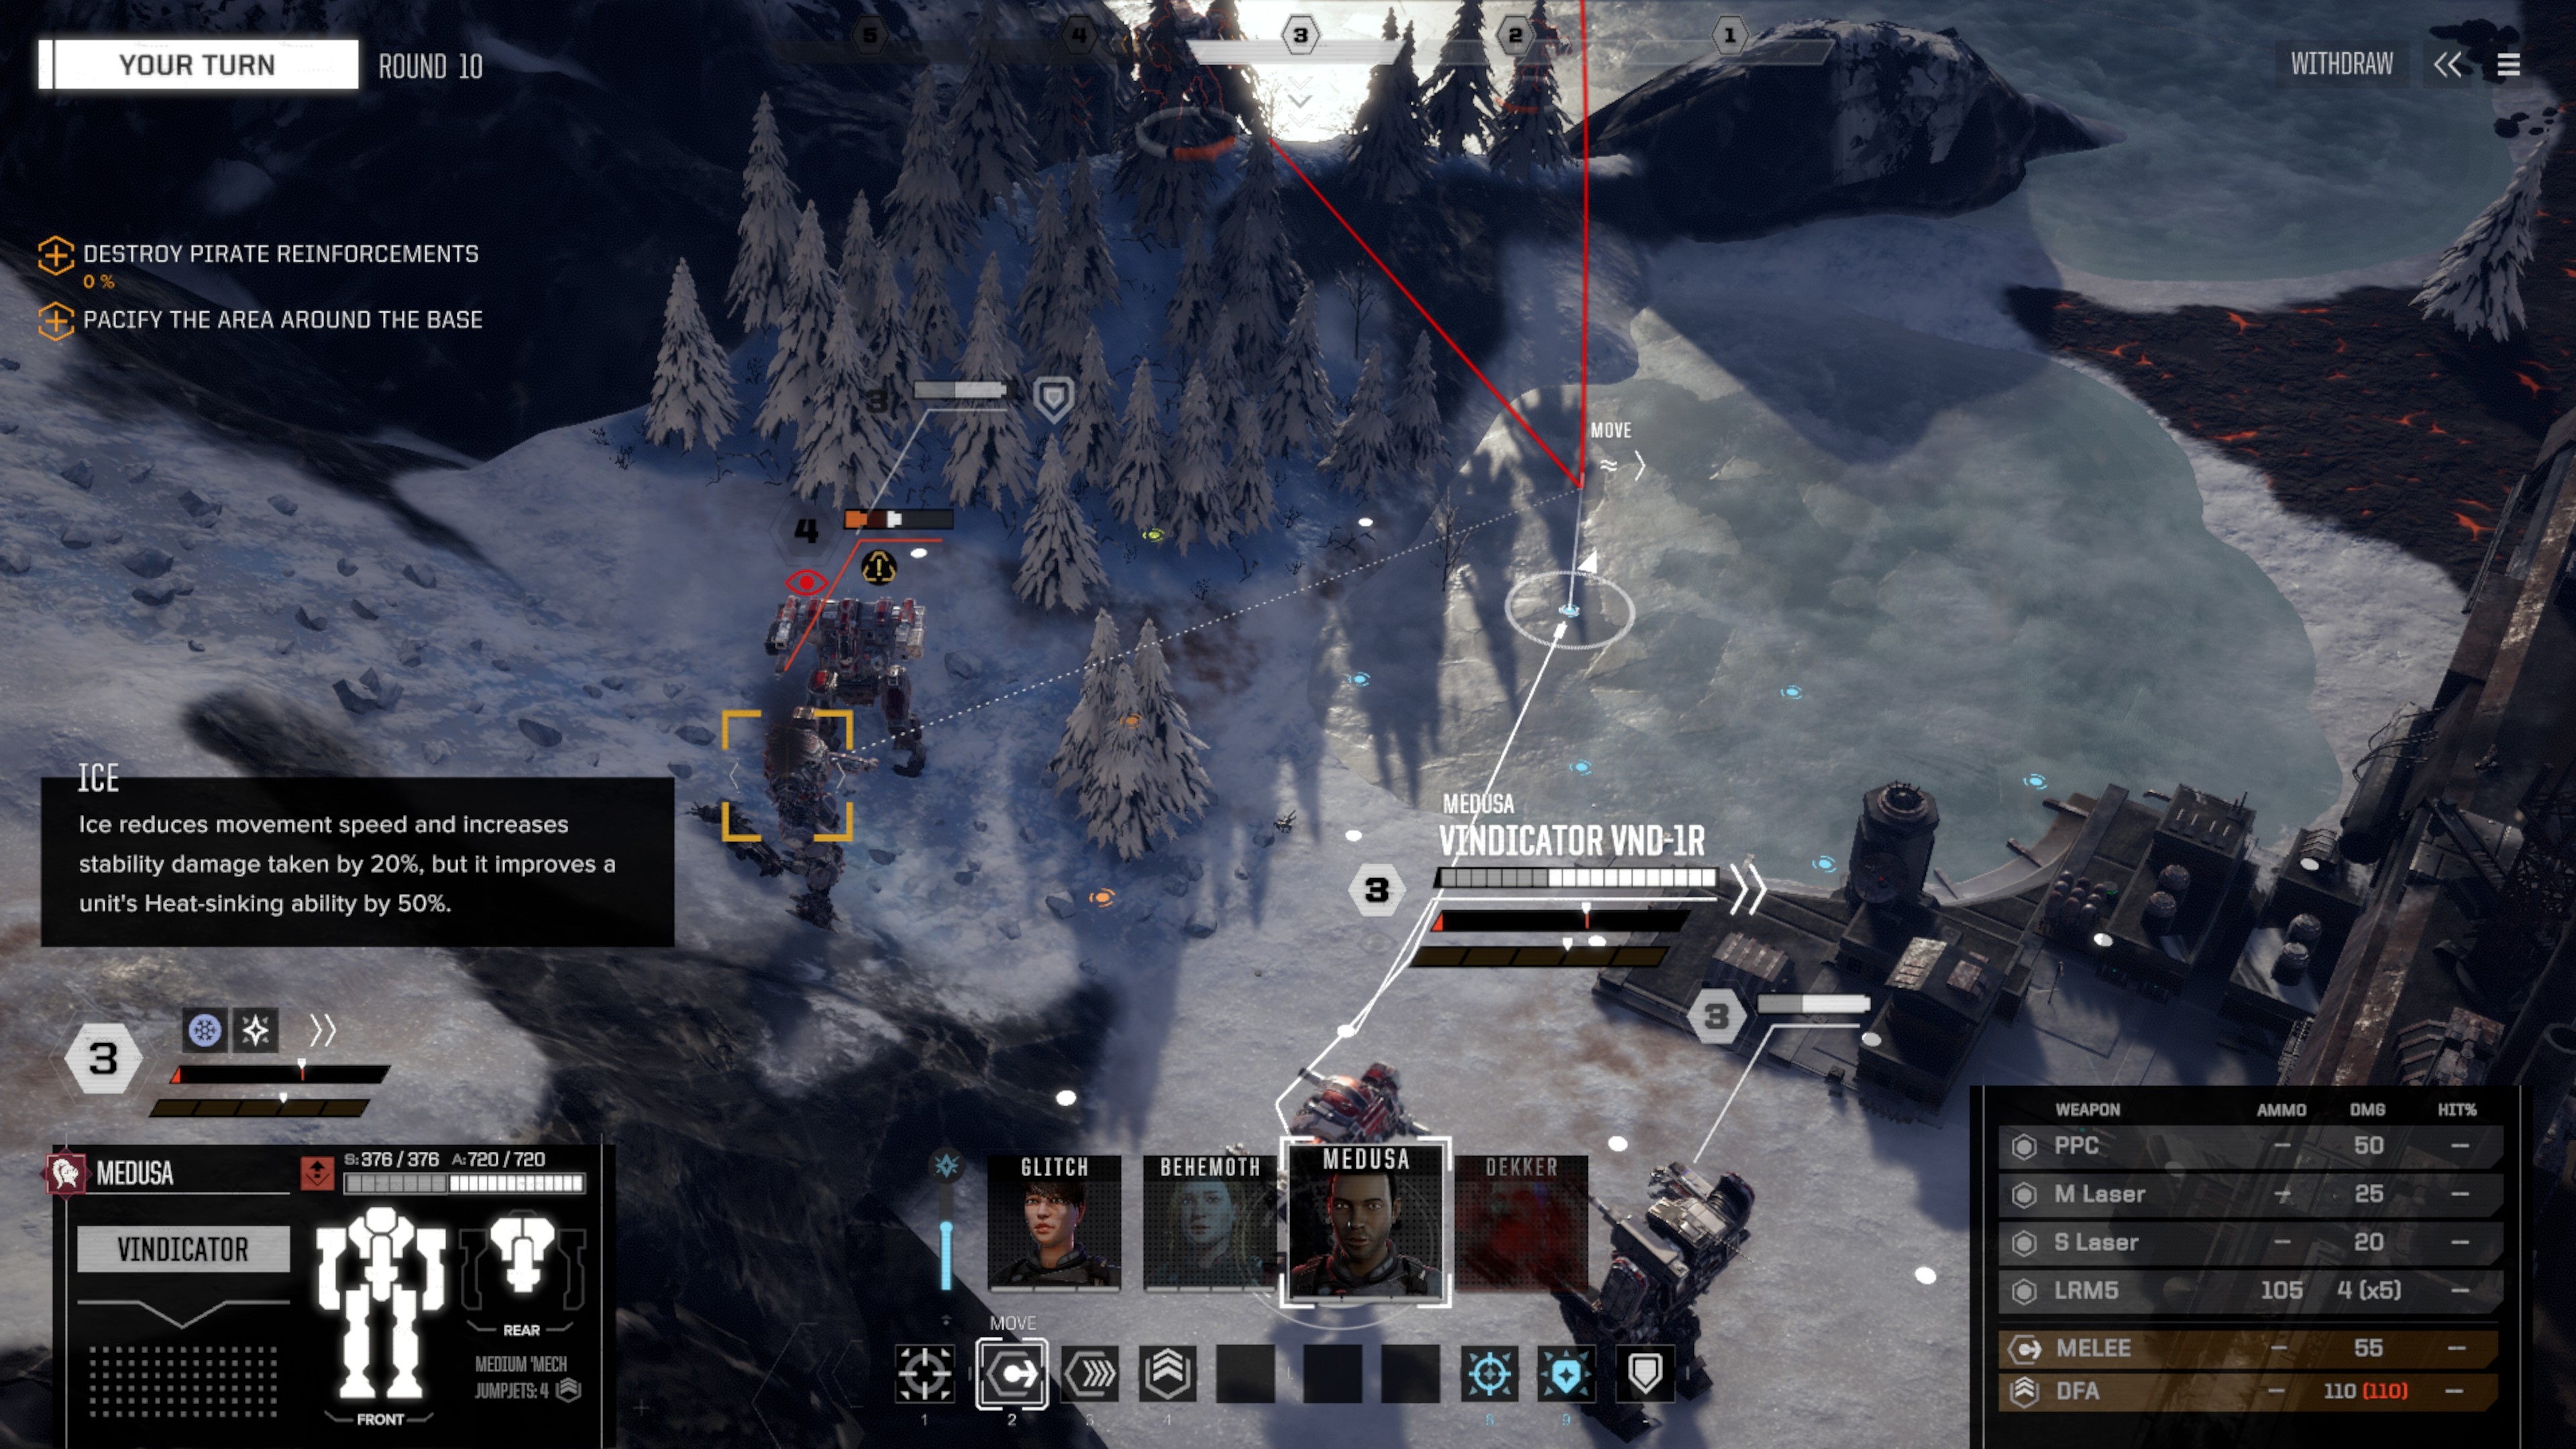
The worst way to spend an attack, usually, is spreading your damage evenly across all body segments of an enemy. Whenever possible, flank or angle your mech so that its weapons have a greater chance of hitting the softest side of your enemy. You can also try to prioritize a key weapon, like a Hunchback's AC/20, by going after its armor location from the outset.
On defense, if your mech has lost all of the armour on its left side, move it so that your opponent is forced to shoot it from the right—even if this means you don't get to shoot. Then, take the brace action. Golden rule: it is almost always better to give up your shot for a turn to force the AI to waste theirs. Don't turn in for a shot until you know it's going to do maximal damage, because—with a vulnerable mech—it could well be the last shot they get to take.
Joining in 2011, Chris made his start with PC Gamer turning beautiful trees into magazines, first as a writer and later as deputy editor. Once PCG's reluctant MMO champion , his discovery of Dota 2 in 2012 led him to much darker, stranger places. In 2015, Chris became the editor of PC Gamer Pro, overseeing our online coverage of competitive gaming and esports. He left in 2017, and can be now found making games and recording the Crate & Crowbar podcast.

