Apex Legends map: Loot tiers and tips for every location
See Apex Legends' map and start finding the best landing spots for your squad.
—Mid-tier loot zones—
Stick near the center of the map and you'll probably hit a mid-tier zone.
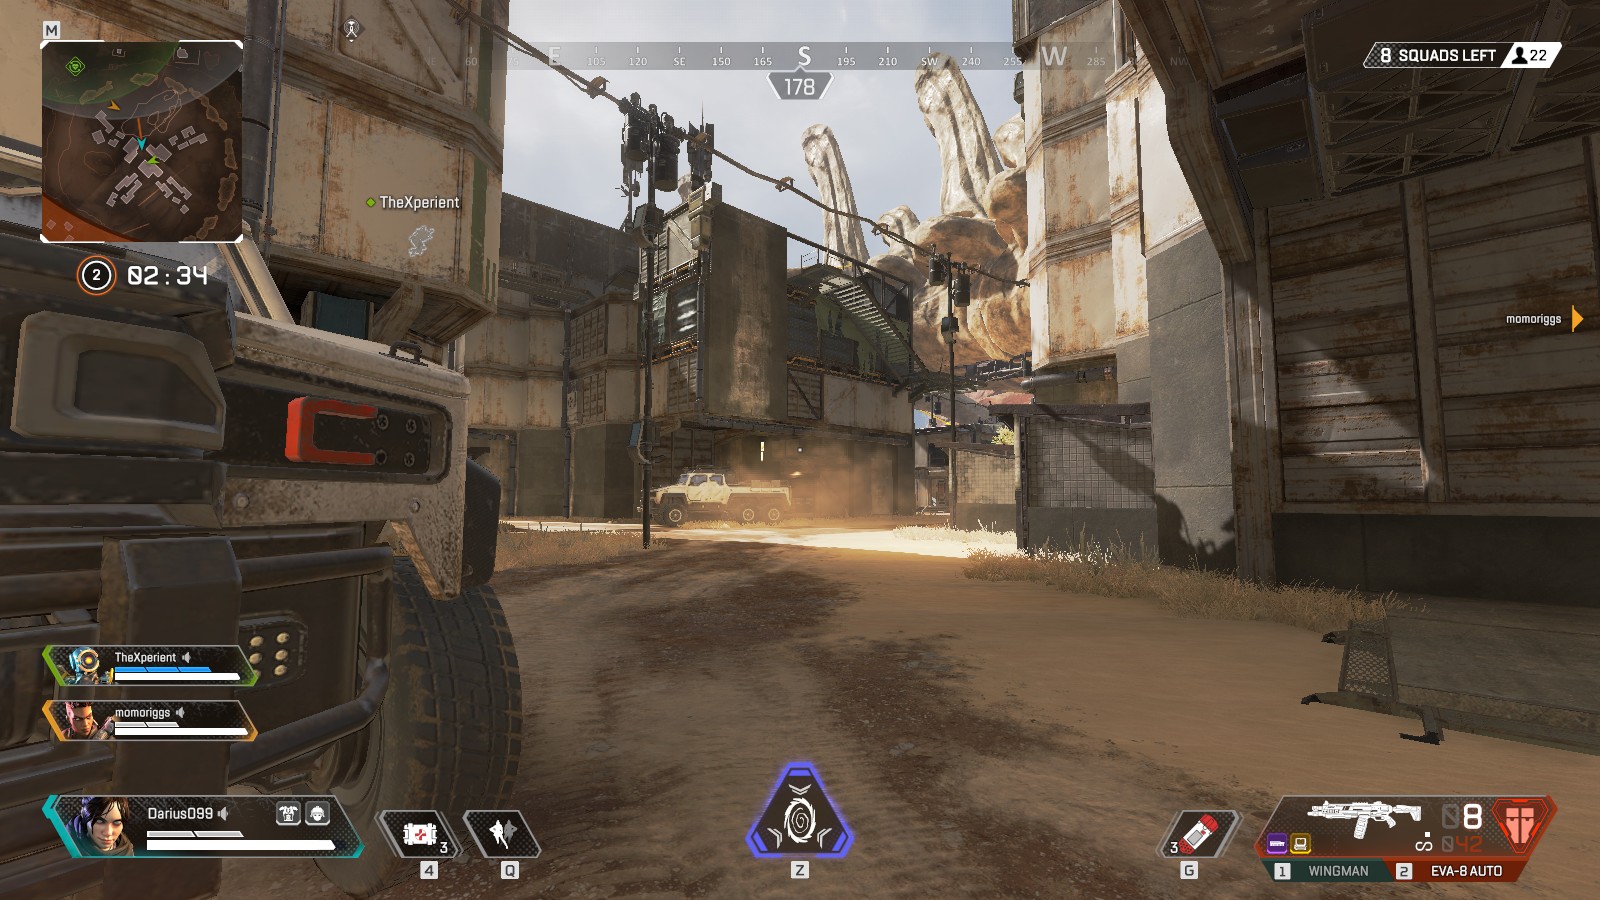
Skull Town (Mid Tier)
Skull Town is the biggest shantytown in Kings Canyon, and often the busiest dropsite. There are close to two dozen buildings, most multi-room, in addition to fences, tarp-covered pens, and three rooftop spots to loot. If you’re dropping on Skull Town, your best bet is to make for the rooftops where there’s generally a guaranteed gun and a little more freedom of movement.
Tips:
- Be prepared to brawl most of the time when dropping on Skull Town. And be aware that if people are dropping on Skull Town, they’re likely also dropping on nearby places. Often, you’ll finish your second or third fight in Skull Town and be set upon by a squad fresh from looting Thunderdome or somewhere else nearby.
- Know when it’s time to get out. Pull indoors after winning a fight, heal up, and loot as fast as you can so you can make tracks.
- Skull Town is an excellent spot to drop if you’re wanting to work on your early shooting and brawling skills (or just want a quick and dirty fight).
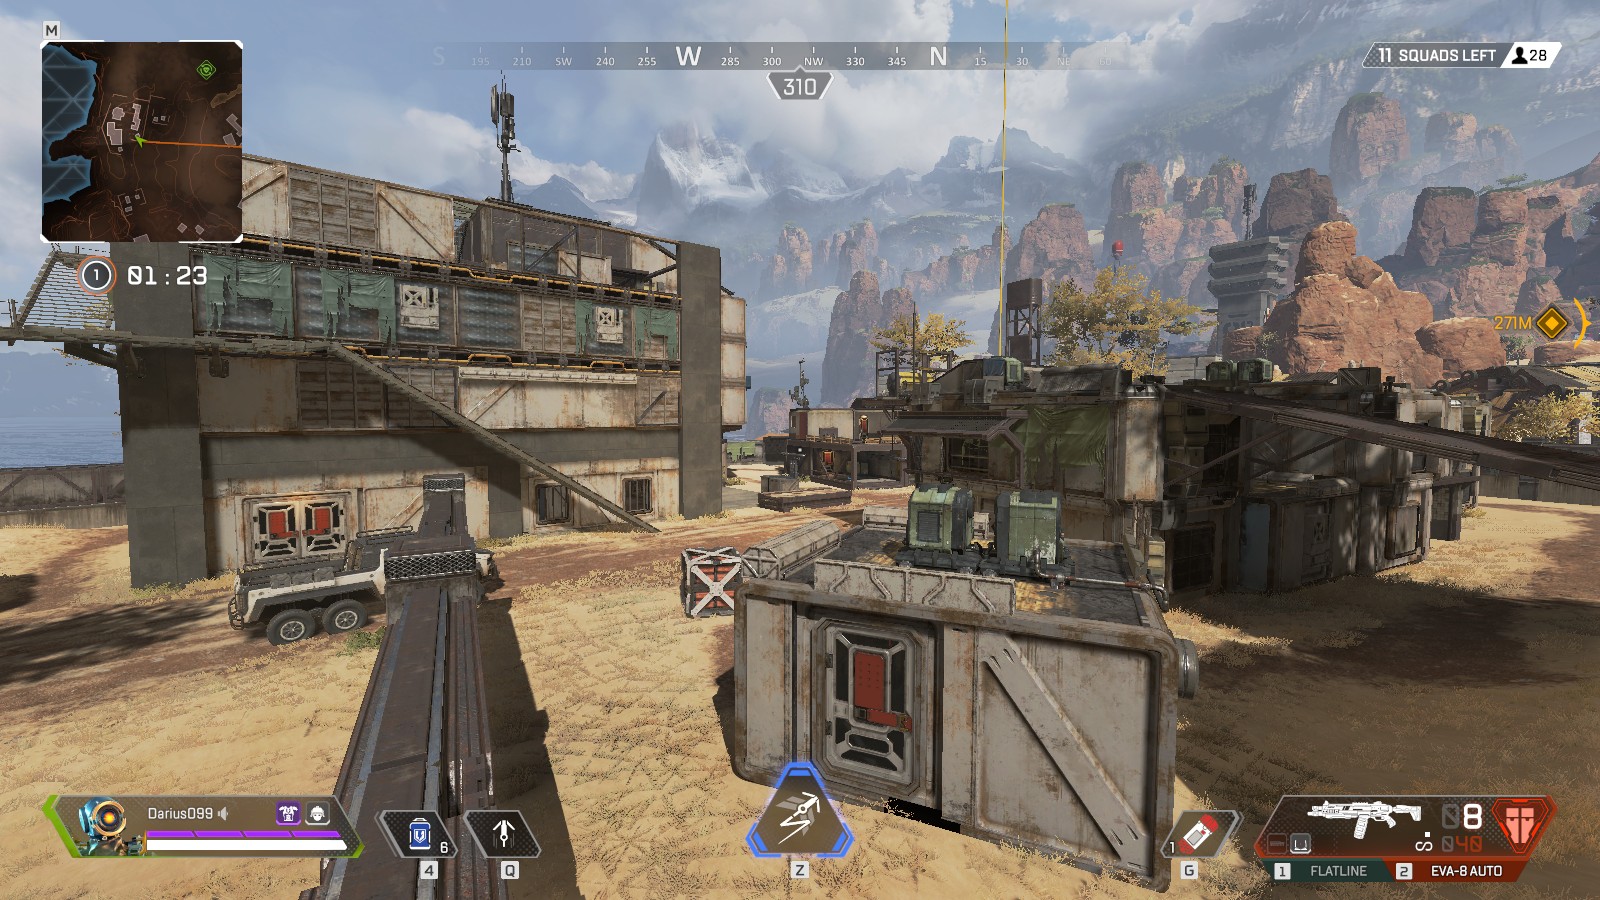
West Settlement (Mid Tier)
A series of small buildings, a medium bi-level, and a single large one with a staircase to the rooftop make up the West Settlement. A zipline leads to Artillery, and there’s a convenient balloon if you want to try to redeploy on Skull Town.
Tips:
- Be careful using the zipline to/from Artillery—it’s over a chasm, and is fairly level, so it’s easy to get caught on it in a no-win scenario.
- The rooftop of the large building can be the best first-loot in a drop as it usually has at least one gun, and is easy to land on. It’s also got good sightlines towards both Skull Town and Thunderdome.
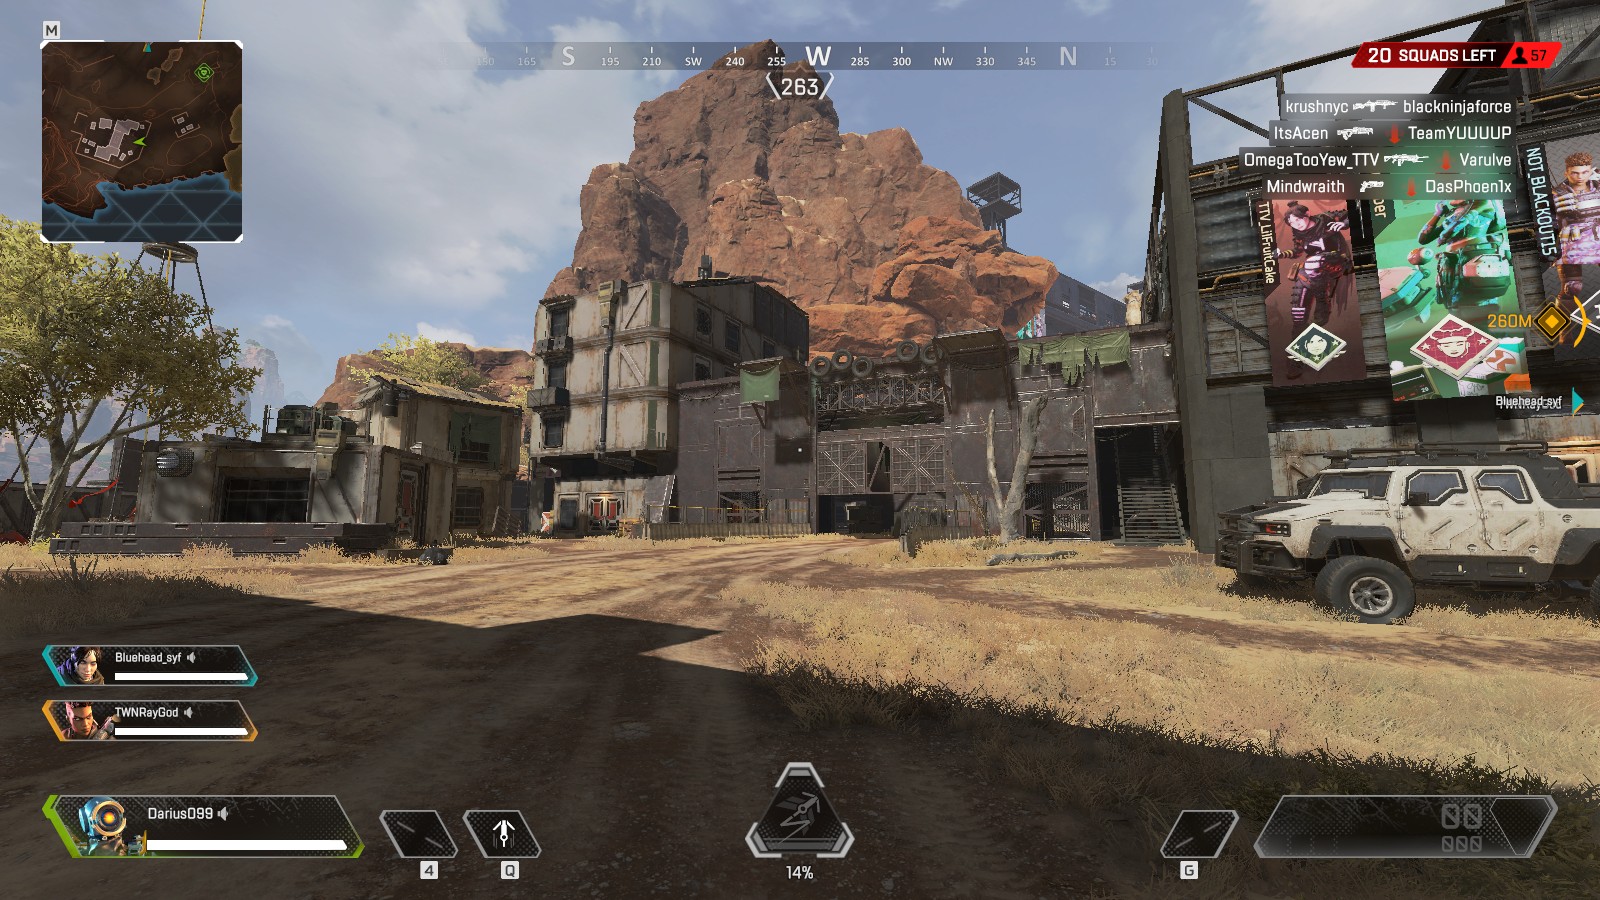
South Settlement (Mid Tier)
A pair of rooftops over a large garage, South Settlement isn’t big, which makes it fairly quick to loot. This should be your first destination after Thunderdome if you aren’t rushing for an immediate fight—it’s often overlooked, but can really fill out the rest of your squad’s kit.
Tips:
Keep up to date with the most important stories and the best deals, as picked by the PC Gamer team.
- Don’t forget to check the rooftop, or to drop there first if you’re dropping on South Settlement—usually there’s at least one gun up there, and sometimes a full kit with shields.
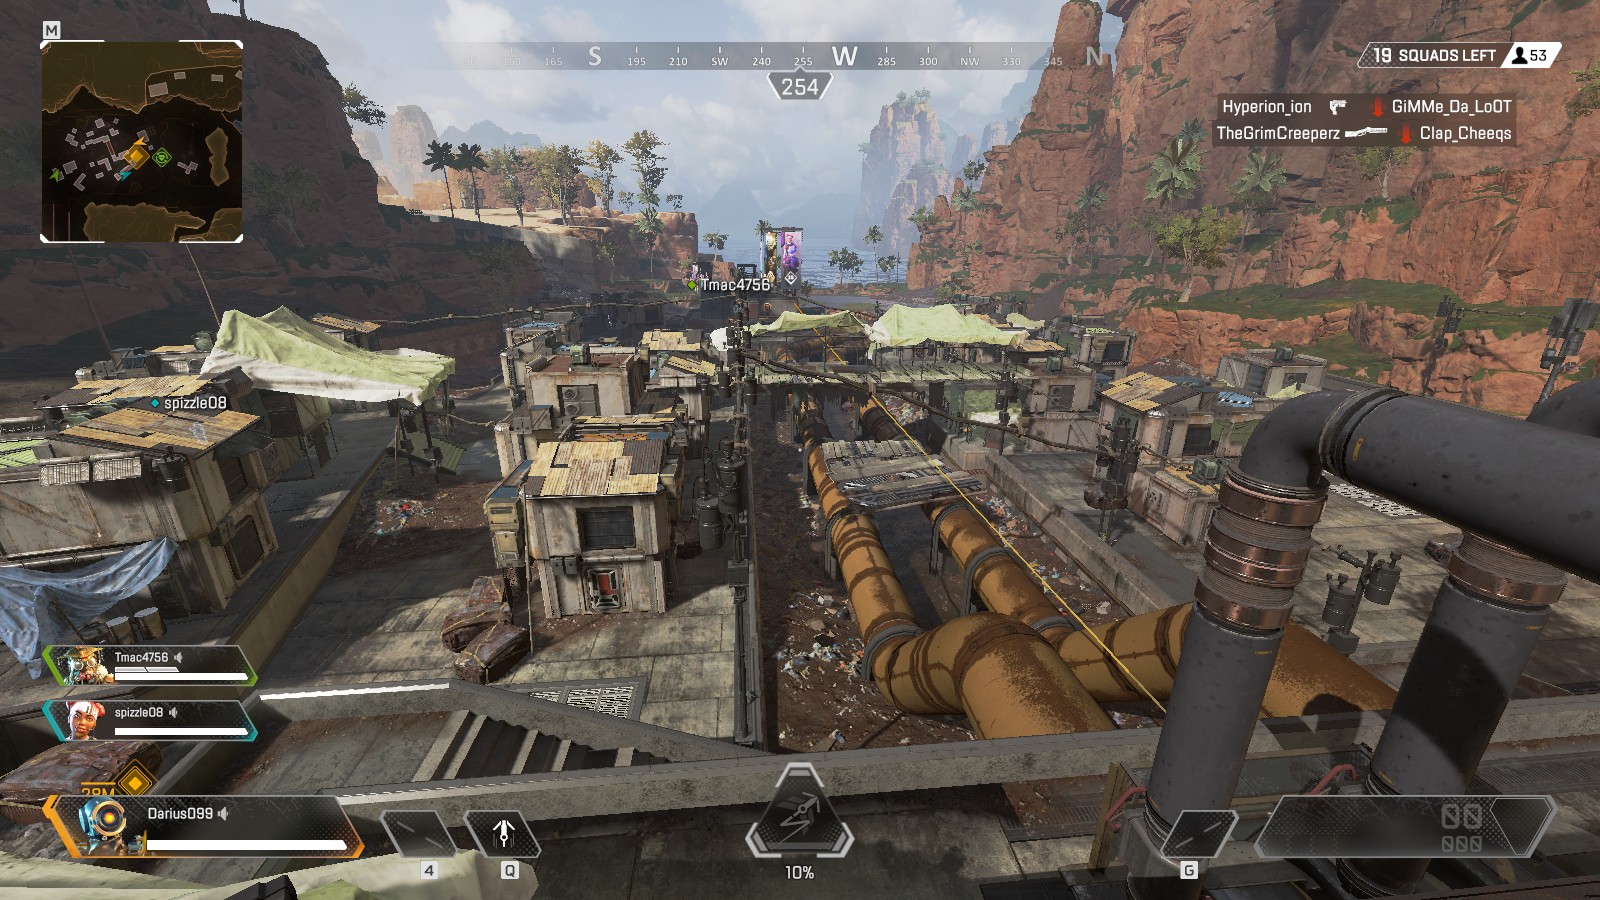
Slum Lakes (Mid Tier)
A sprawling collection of ramshackle slum-type buildings, Slum Lake is bisected by a bunch of pipes over a long trough. The eastern end has a few buildings on higher ground worth checking as well.
Tips:
- With Slum Lakes being a series of samey buildings, you can lose your sense of direction easily, and your sightlines are limited. Try to maintain an easy path to your teammates as you scrape this zone.
- Loot as quickly as you can—Slum Lakes is in the Northwest corner, and often will quickly be overtaken by a far ring.
- While Runoff and Pit are both good choices to check next, don’t overlook the under-cliff houses strung to the north/northeast, which can fill out the rest of your kit while you transition to Cascades and Watchtower North.
Wetlands (Mid Tier)
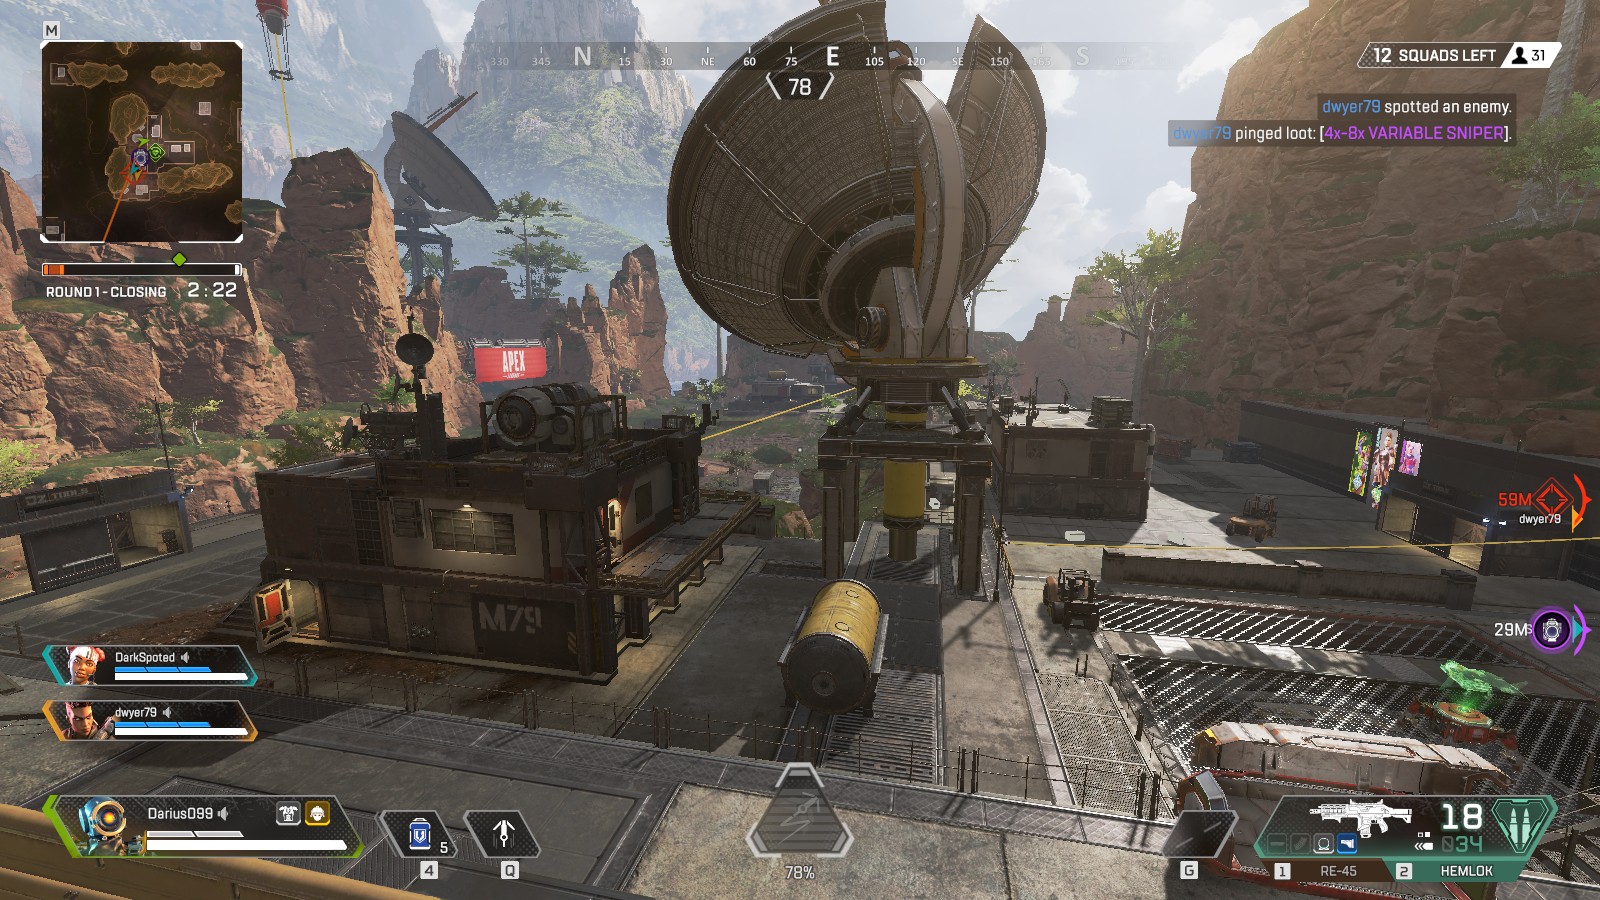
Wetlands is about a dozen buildings, a collection of low ground and high ground with some ziplines. The tiny passage towards the fields south of Artillery is an easily defended choke point, and it’s important to note the commanding sightlines you get from the southwestern tip of Wetlands towards Shattered Forest and The Farm, be wary of approaching Wetlands from these directions if you know people dropped there.
Tips:
- Rotating north towards Relay can be dangerous if you know people dropped there—you’ll be going uphill without much cover.
- Several rooftops are accessible without Pathfinder—this can be a big advantage in sightlines and midrange fights.
Bridges (Mid Tier)
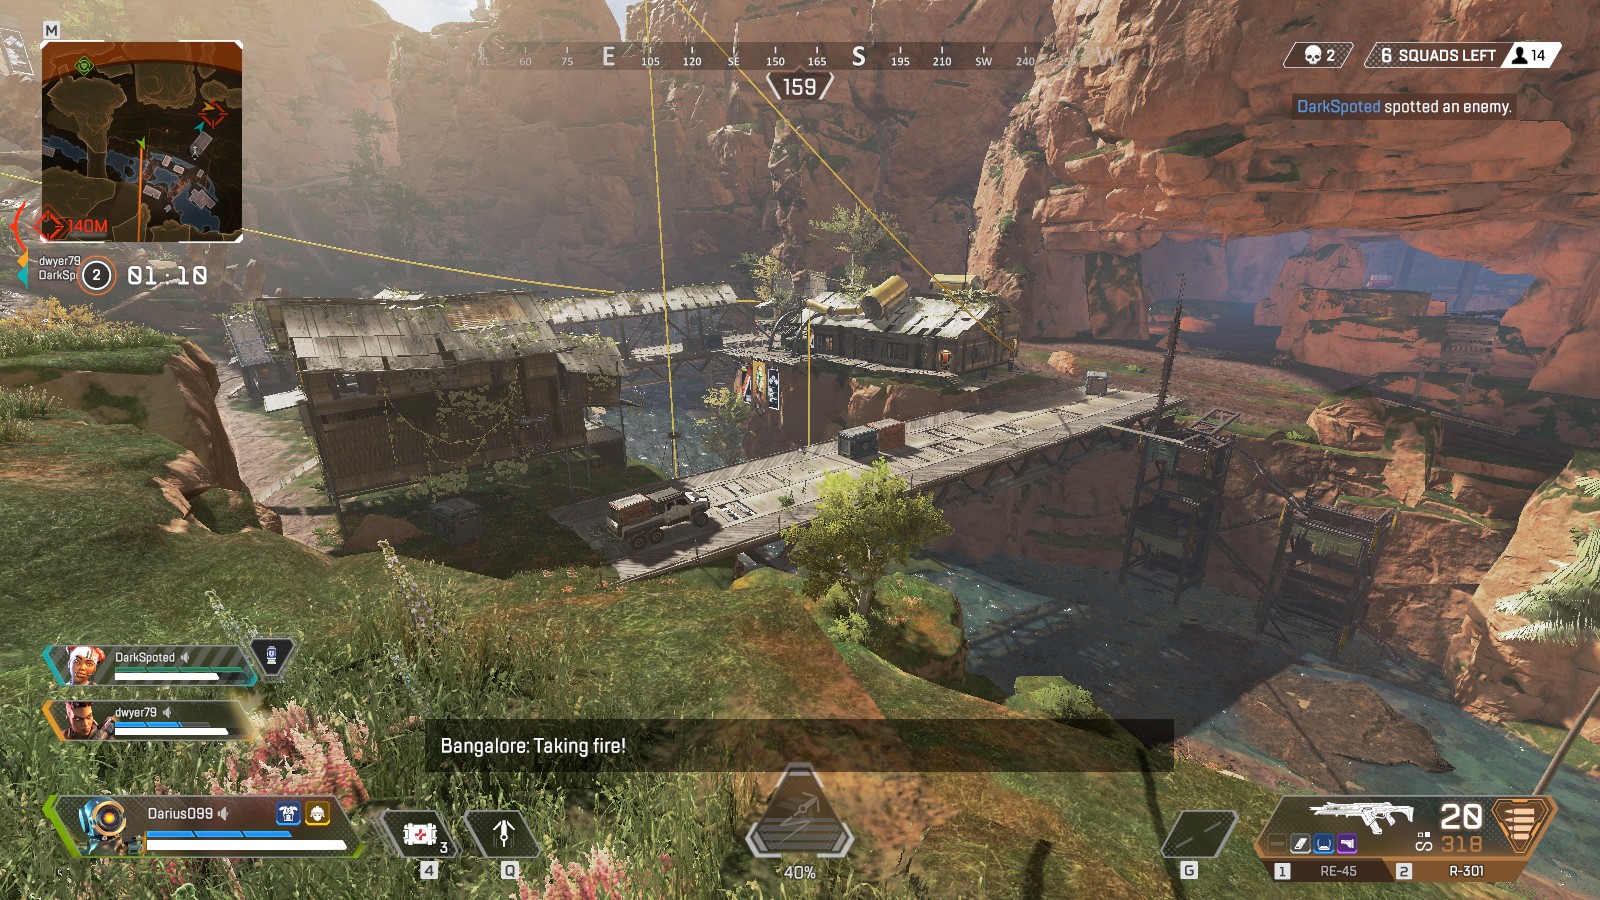
True to its name, Bridges straddles the lagoon area with a pair of spans, and also has two larger buildings and four smaller ones, plus a two-level ‘overhang’ building on the ridge above.
Tips:
- The respawn beacon north of the overhang building may be the most dangerous in all of Kings Canyon, with no less than six points where players can emerge from other parts of the map and have an angle on both respawner and respawnee. Like Pit, it's not a position you want to occupy for longer than you have to.
- Going up the zipline to the overhang to attack enemies aware of you can be suicide—looking down the zipline on an enemy coming up makes for easy headshots.
The Farm (Mid Tier)
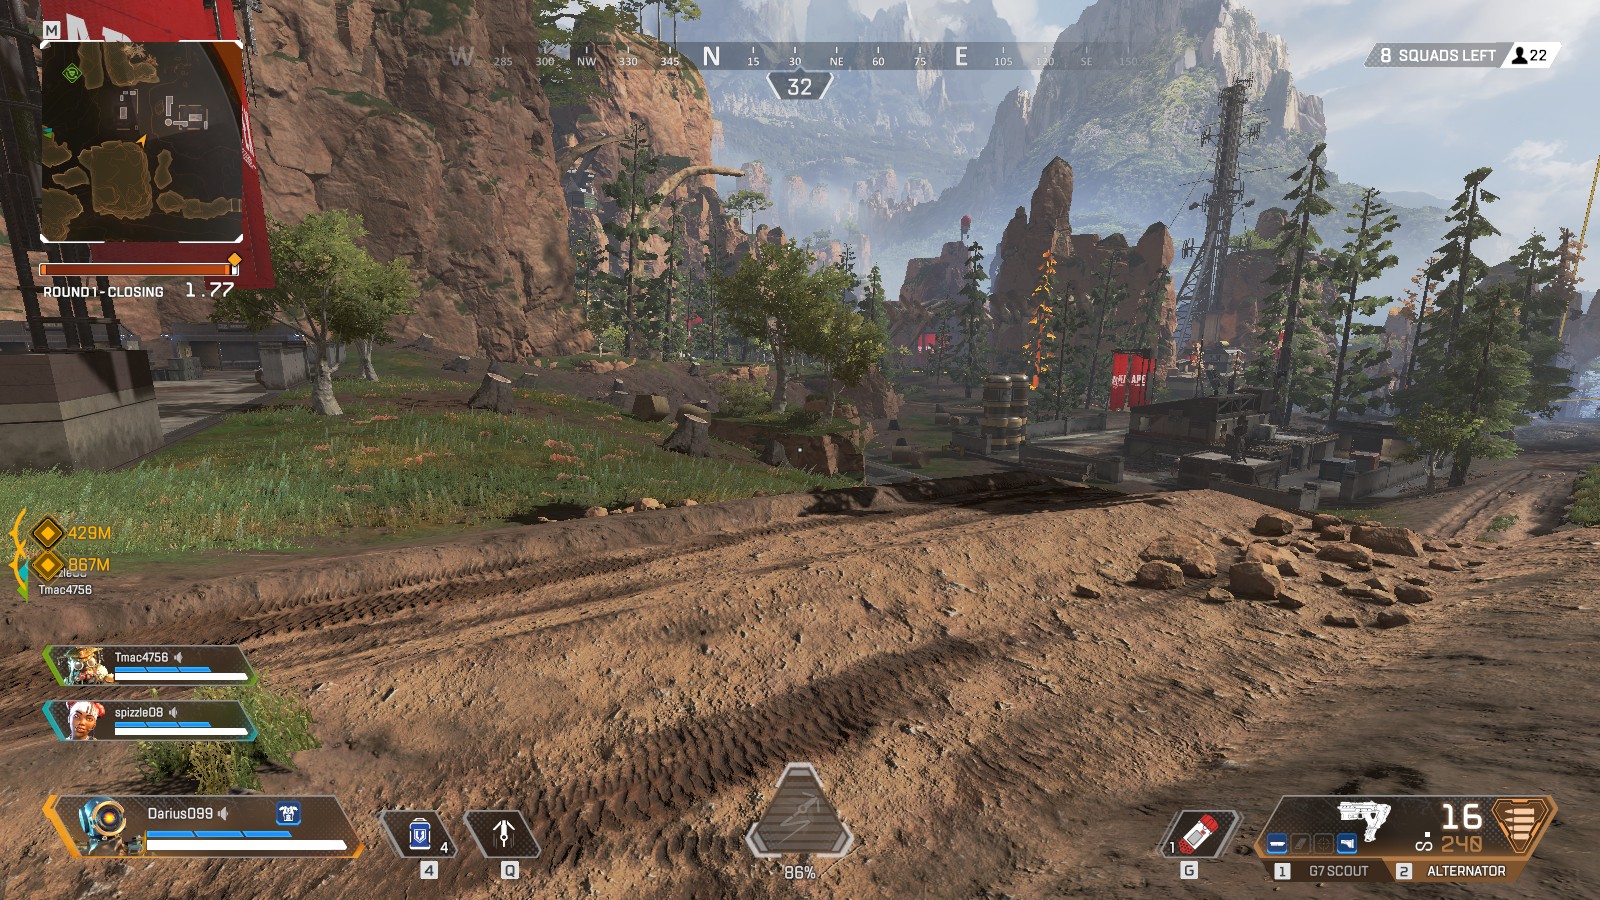
There’s not a ton at The Farm, but don’t neglect the underground area, which usually has a small amount of loot and a couple of guns.
Tips:
- Note that you can get a sightline from inside the circular underground chamber all the way up to the crest of the hill towards Cascades. This can be a good place to ambush from or watch an angle.
- The Farm is a convergence point for a whole bunch of routes to and from. Be aware that if you linger there, you’re likely to encounter another squad pretty quickly (and then probably draw in more with your firefight).
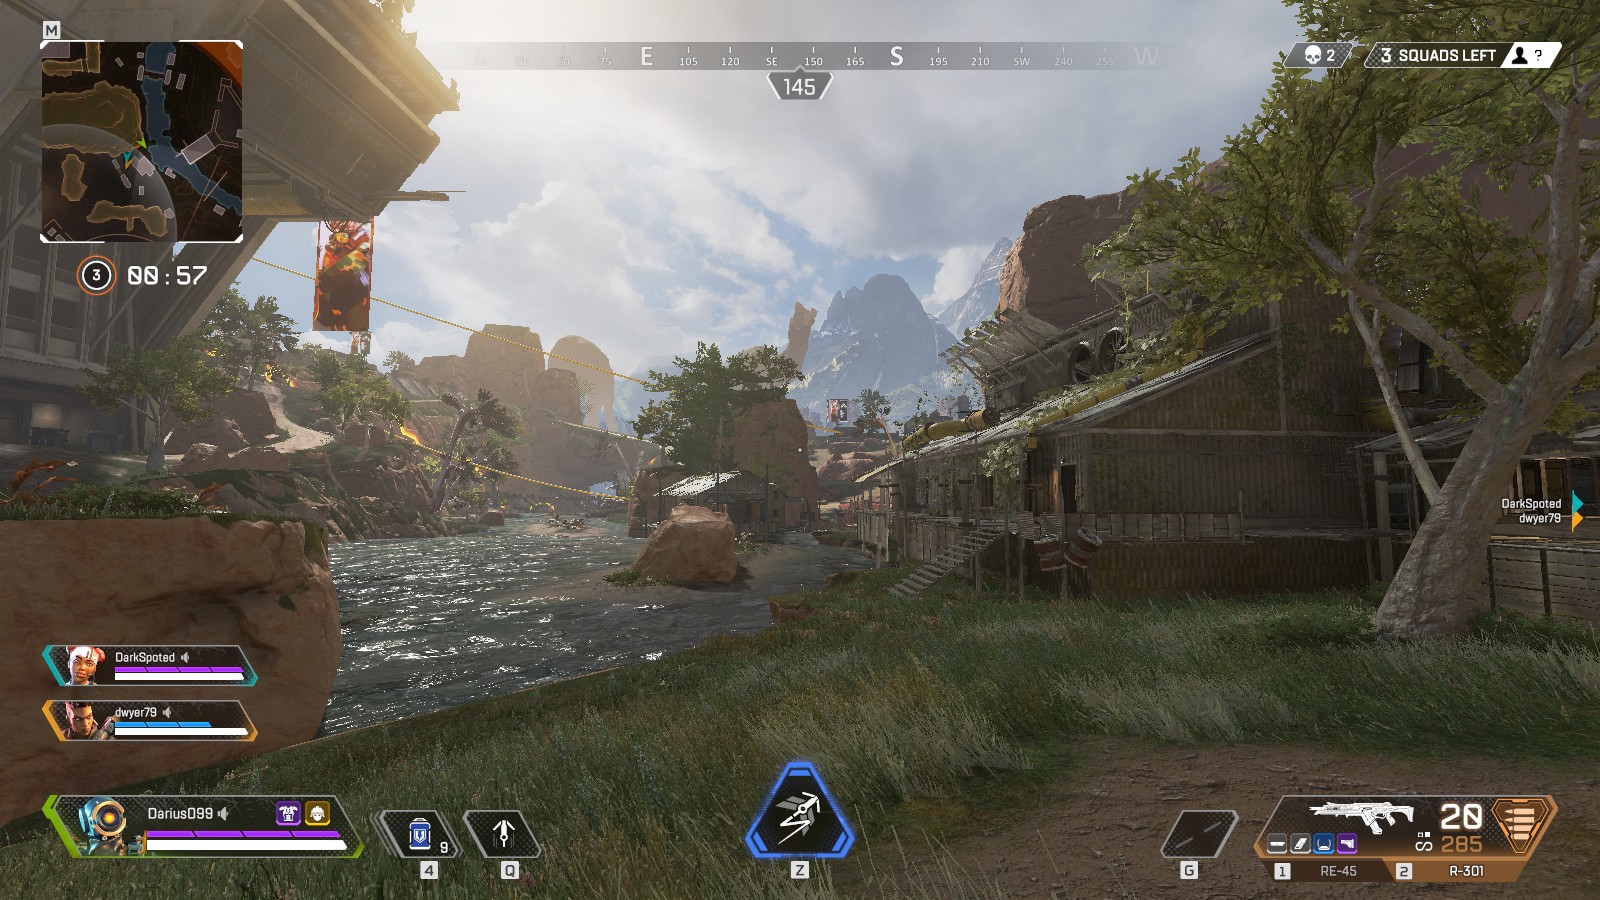
River’s End (Mid Tier)
River’s End is a long sprawl along the river, stretching all the way down to the northeast side of Water Treatment and made up of about a dozen buildings. The eastern bank climbs sharply to tiered cliffs, including a respawn beacon tucked away in the mountains.
Tips:
- Be careful getting caught in the lagoon. Anyone above will have an easy bead on you, and water cancels your momentum when sliding.
- Don’t neglect the northern overhang. The two buildings here are easy to defend and provide good sightlines.
—Low-tier loot zones—
These aren’t places you want to prioritize when landing, but they might make good defensive positions later in a match.
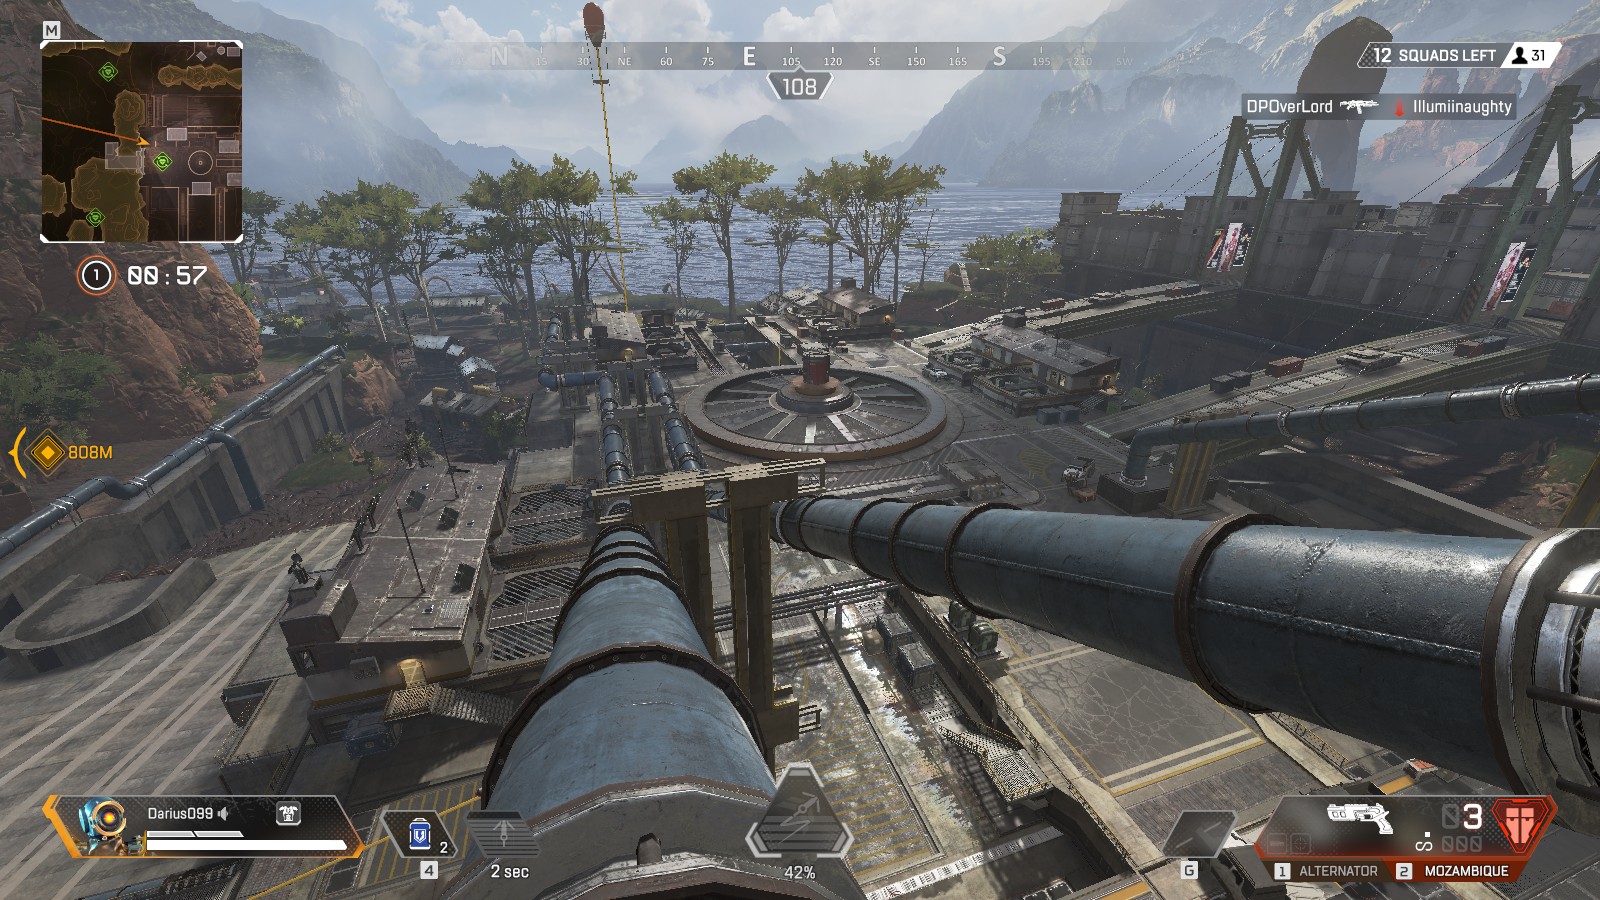
Hydro Dam (Low Tier)
Hydro Dam has a few supply bins, and four symmetrical buildings. The variety of pipes and structures can make you feel secure in cover, but don’t underestimate the long sightlines from the south. Repulsor is higher up than Hydro Dam, and the bridges (or tops of the walls) give excellent firing lanes.
Tips:
- It’s best not to linger in Hydro Dam, it’s in the middle of several popular drop sites, and is a natural route towards Bridges.
- The interior section leading towards Bridges often has a few guns, even if they aren’t the best.
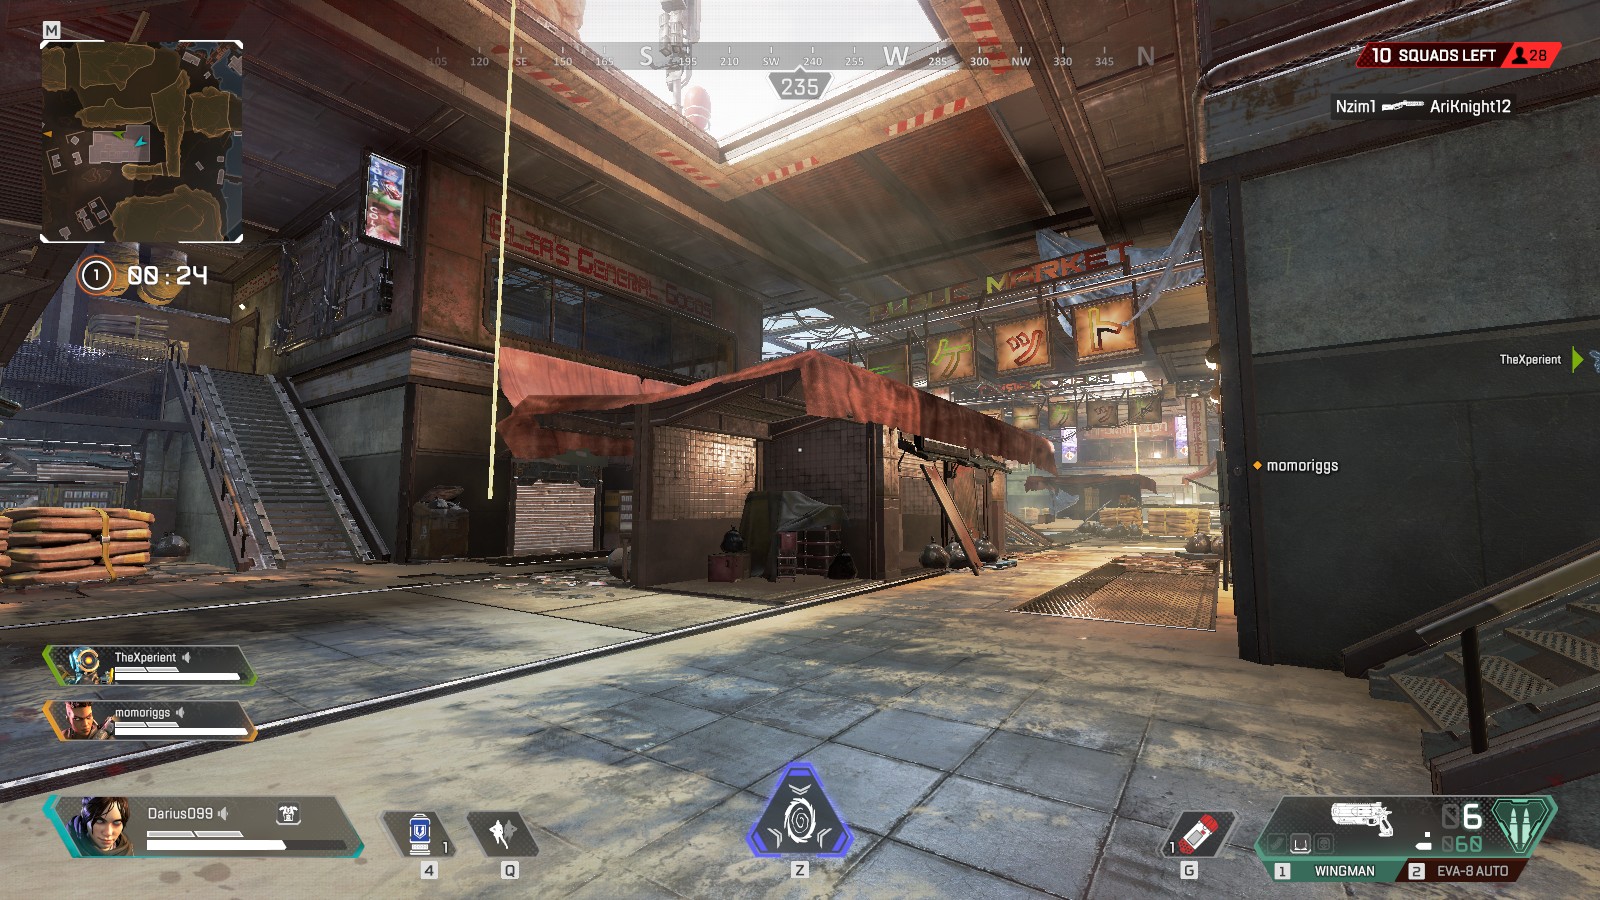
Market (Low Tier)
A ramshackle indoor slum, Market has a lower open-air area that is deadly to be caught in by fire from the second-floor walkway surrounding it. Stick to the higher walkway as much as you can, and take note of the easy roof access.
Tips:
- Market tends to be a common drop location due to loot density. Be aware you’re probably committing to an early brawl if you drop on it.
- Proximity to several mid-tier loot locations makes staying in Market an even worse idea than it already is. Loot the basics and GTFO.
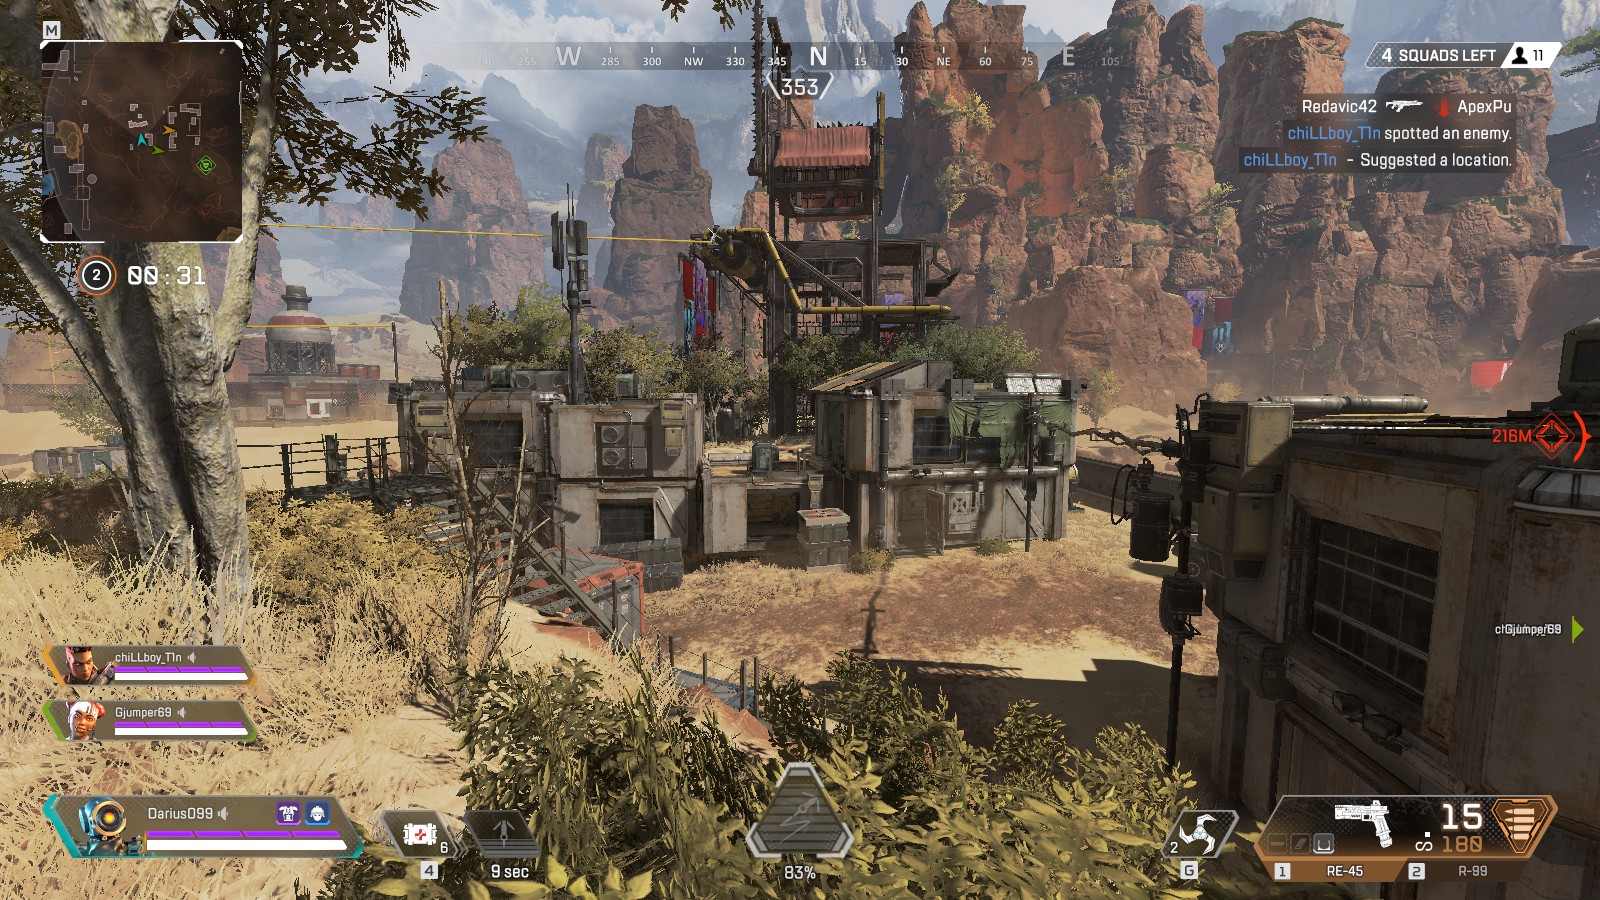
High Desert (Low Tier)
Noteworthy for the massive tower on the hill, High Desert is made up of a few small and medium sized slum-style buildings clustered together next to a hill with a few more. The tower often has at least a small amount of better quality loot near the top.
Tips:
- The tower in High Desert can make an excellent vantage point to get an idea of who is moving where, or spot out enemies to engage. Don’t underestimate the value of taking it later in the round either, if the circle allows it.
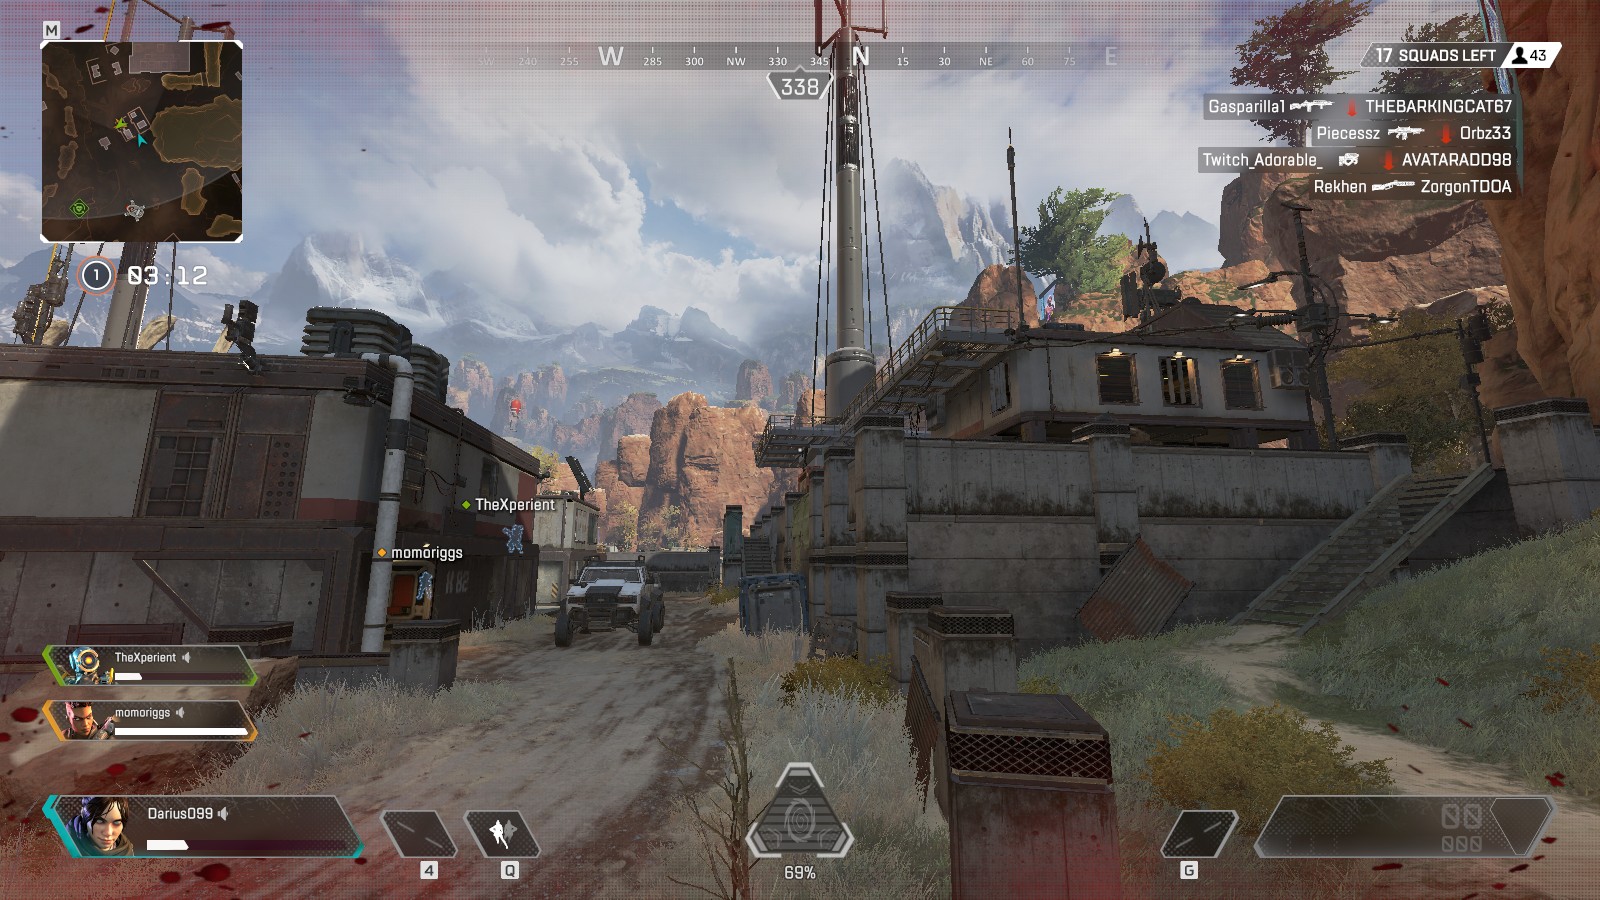
East Settlement (Low Tier)
A few clusters of buildings that go up in elevation as you go northeast, East Settlement has a small platform on top of the most northeastern building. This platform can provide good sightlines on the south side of Market, and may be worth using to spot squads out from.
Tips:
- Be aware that the ‘shooting platform’ doesn’t offer a ton of cover, so you may need to leap off in a hurry.
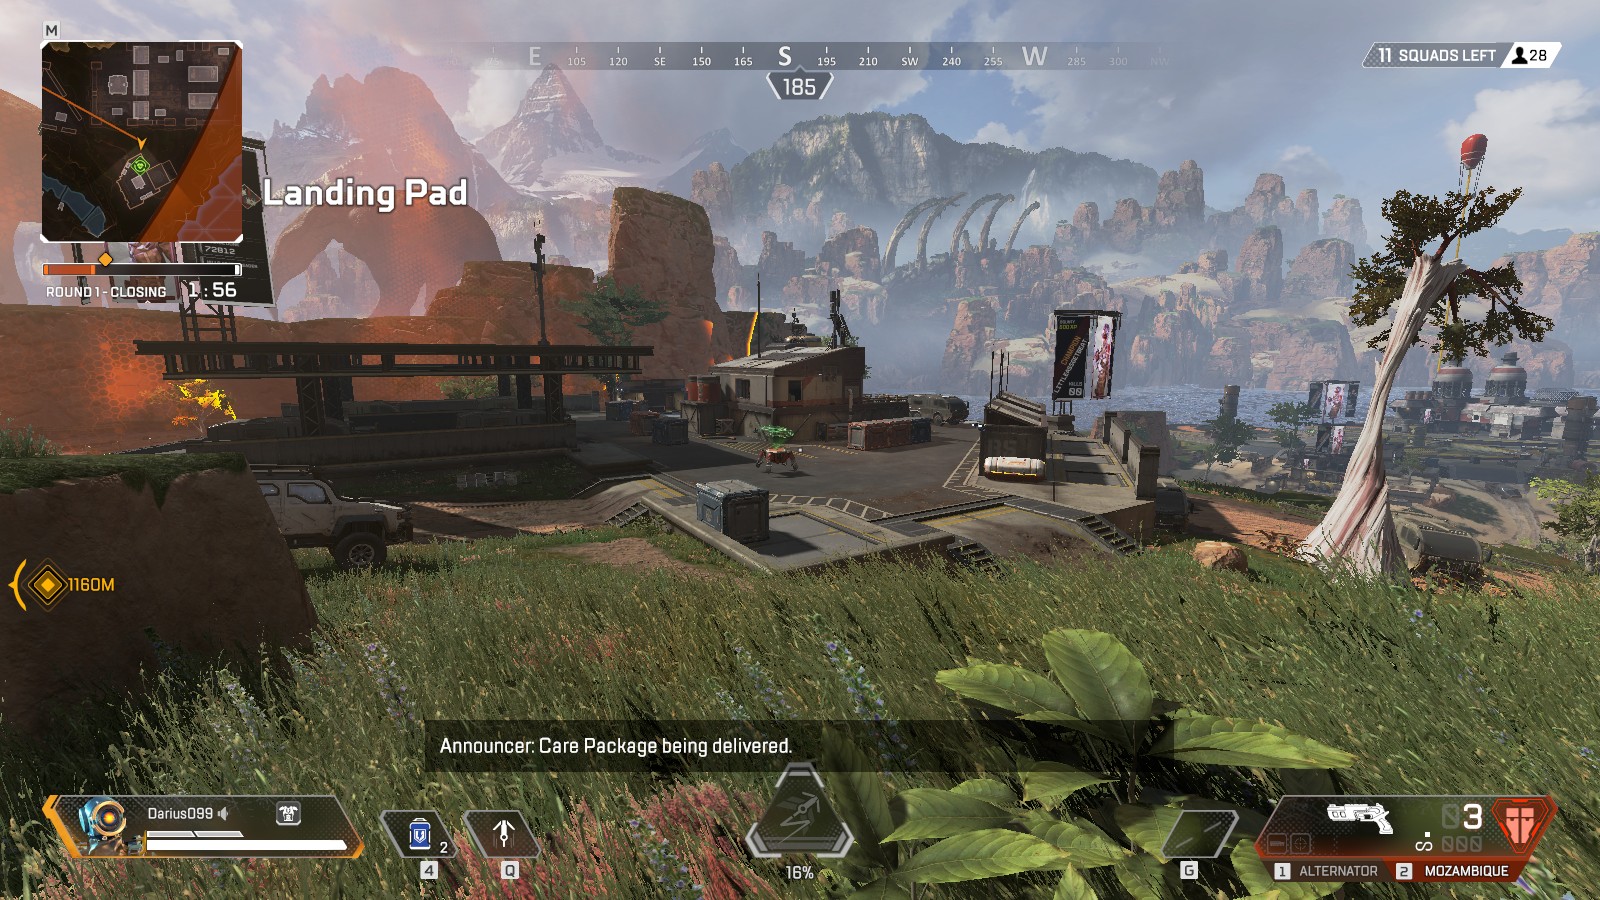
Landing Pad (Low Tier)
With just a single building, Landing Pad is really just a whistle stop when heading to or from Repulsor. It’s one of the most common places that people respawn squadmates at after early fights in Repulsor, so be aware you may be able to catch an unprepared team if you notice the dropship coming by.
Tips:
- Immediately redeploying with the convenient balloon is a smart idea after respawning someone, just try not to do it if you’re already under fire.
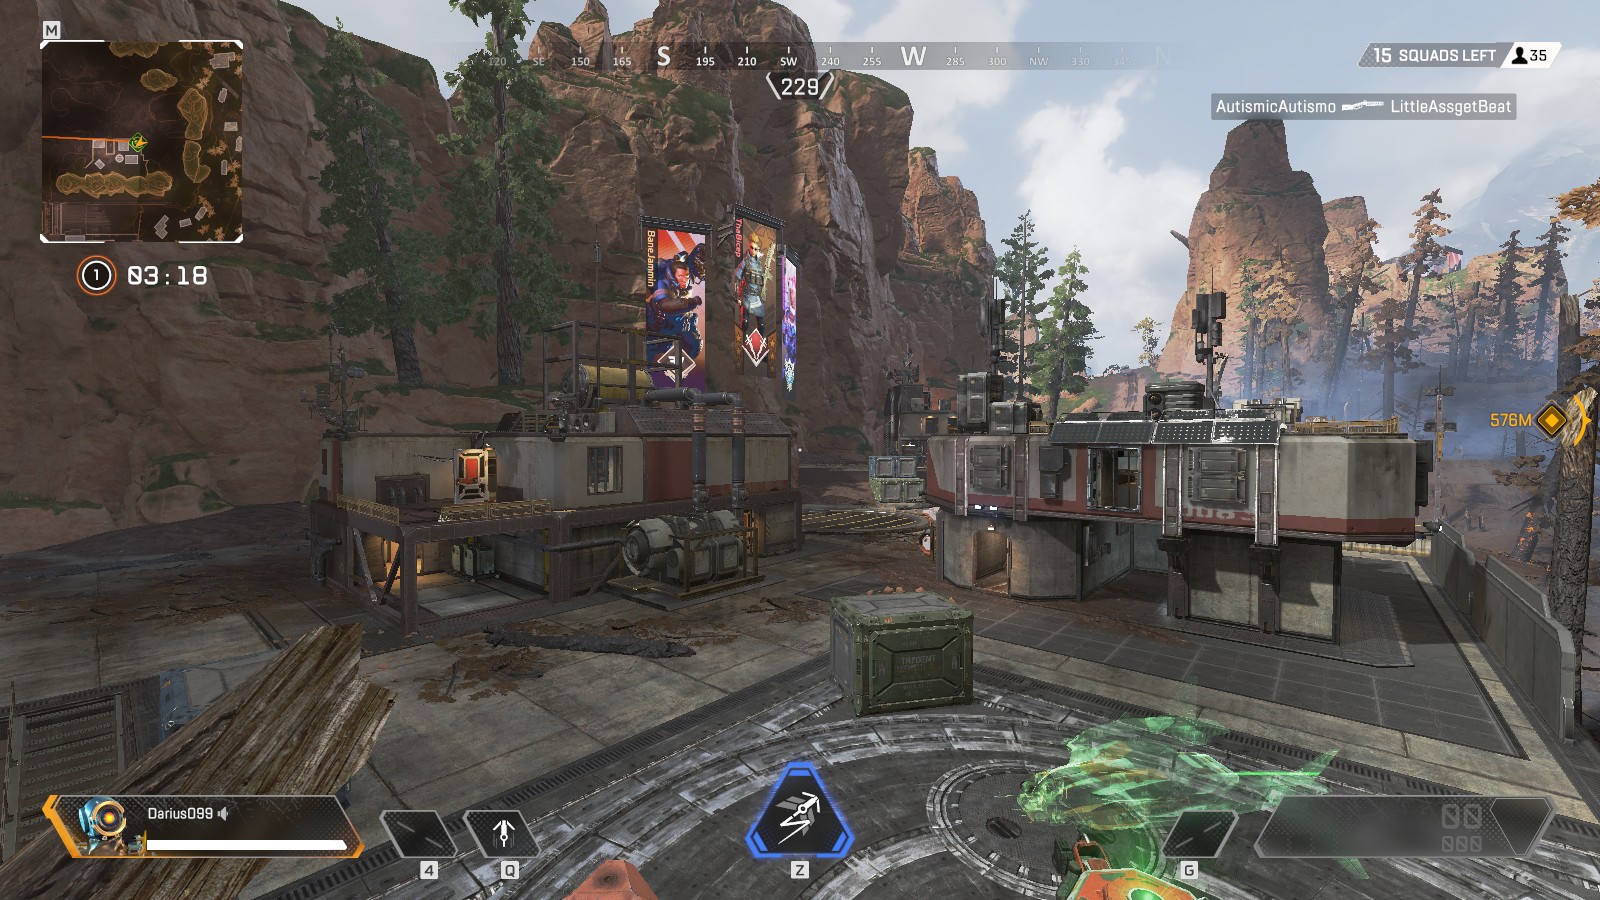
The Shattered Forest (Low Tier)
A small military outpost on the edge of the burned wasteland, the four buildings can provide a few guns and a moderate amount of loot. There’s also an underground area, but it doesn’t seem to have loot often, and thus is just a place to hide or sneak around the area.
Tips:
- This is a very low traffic spot, possibly one of the least visited in Kings Canyon. It’s not an awful choice for a last-minute diversion from Swamps if it looks overpopulated.
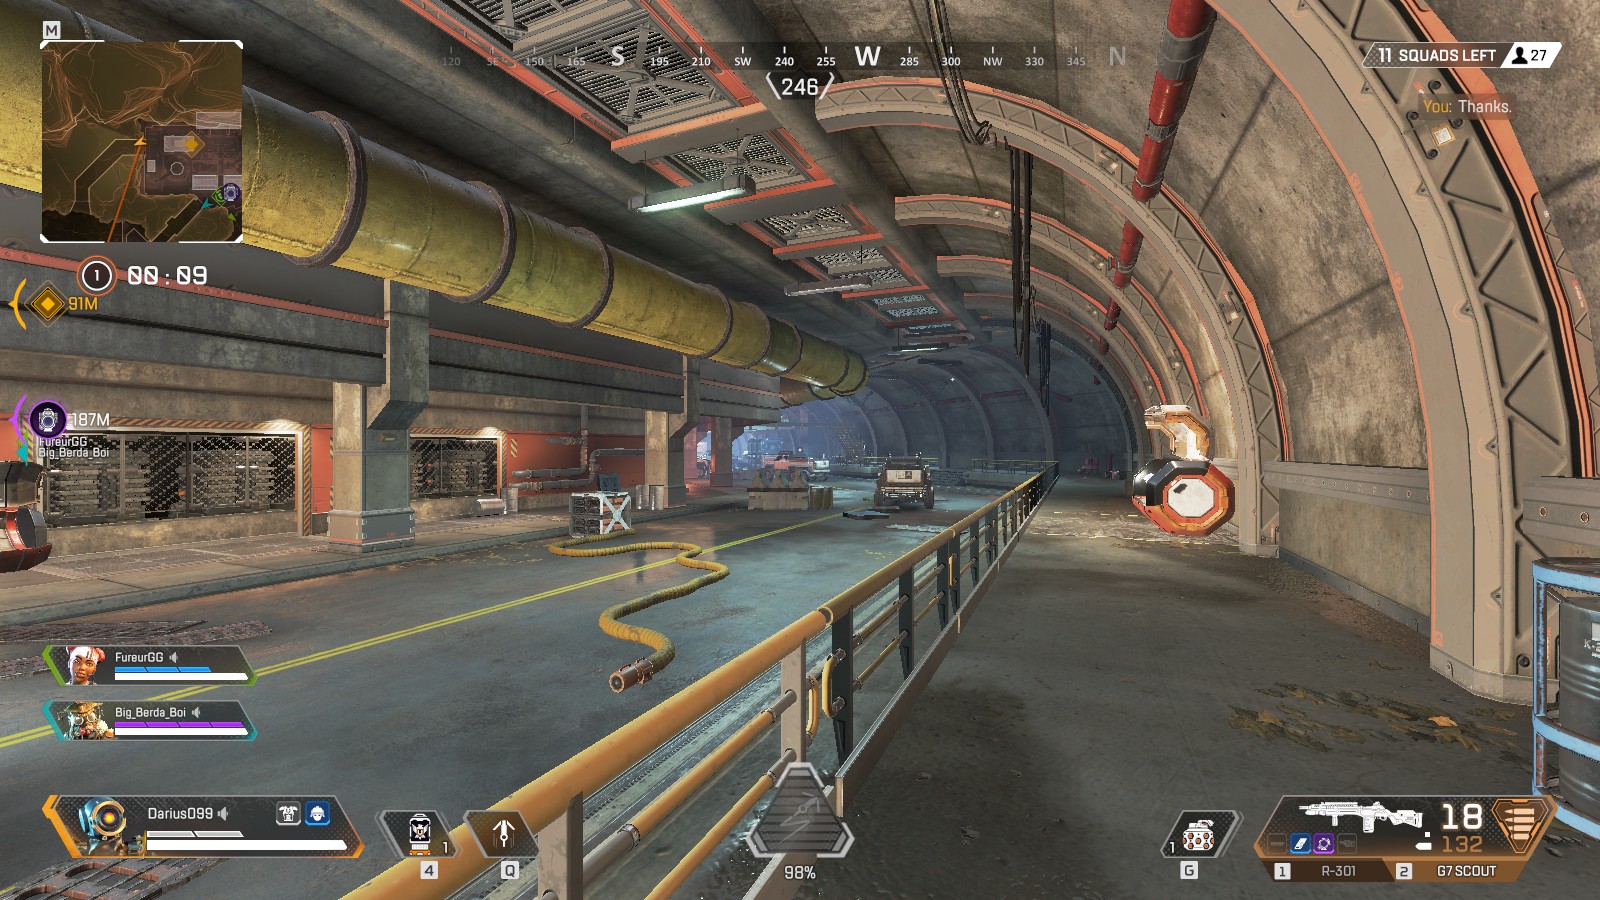
Artillery Tunnel (Low Tier)
Little more than a long tunnel connecting the west end of Artillery to the northwestern side of Cascades, there are a few supply bins along the way (and a few on a catwalk above halfway through).
Tips:
- On a contested Artillery drop, it’s a good idea to drop one member of your squad near the entrance of the tunnel and duck in for the first two bins—this will often net a gun or two and armor for the fights, usually unopposed.
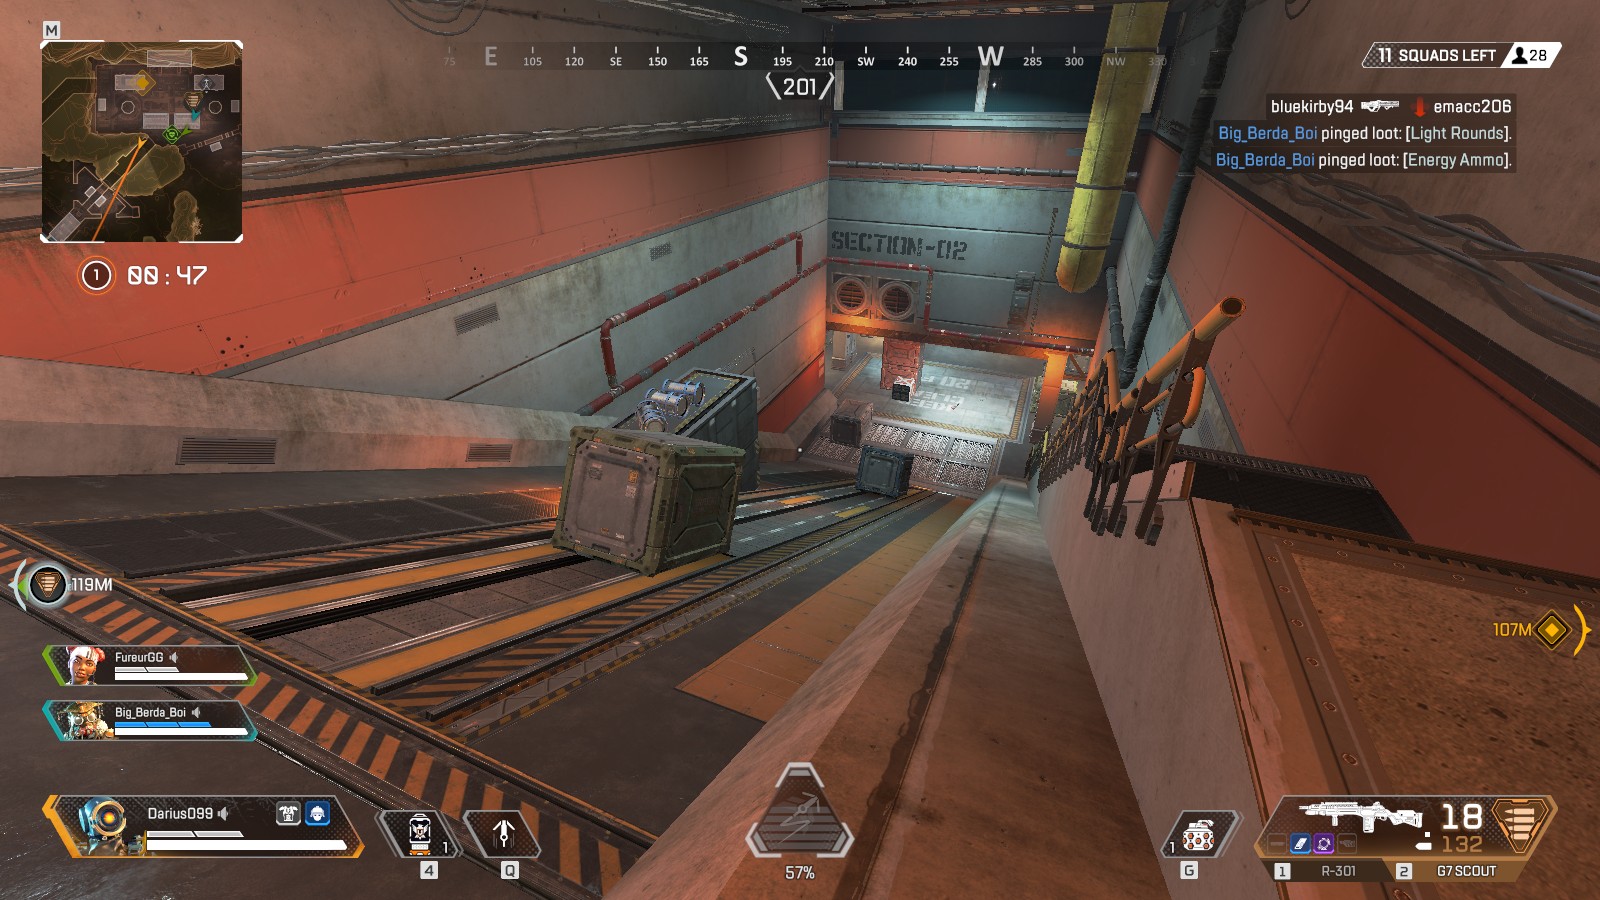
Artillery Underpass (Low Tier)
A short downhill slide to Watchtower North (or a short run uphill to Artillery), Underpass doesn’t provide much loot, and isn’t much more than a named footnote.
Tips:
- If you have to escape Artillery, this is a pretty quick rotate sliding downhill towards Watchtower North, and it may even net you a gun on the way.

Sarah is a contributor for PC Gamer, formerly of TechRadar Gaming. With five years of experience writing freelance for several publications, she's covered every genre imaginable and probably a few she made up. She has a passion for diversity and the way different genres can be sandboxes for creativity and emergent storytelling, and loves worldbuilding. With thousands of hours in League of Legends, Overwatch, Minecraft, and countless survival, strategy, roguelike, and RPG entries, she still finds time for offline hobbies like tabletop RPGs, wargaming, miniatures painting, and hockey.

 Join The Club


