5 fixes when your PC randomly won’t turn on
Try these troubleshooting steps when your PC suddenly won't power up.
PC Gamer is going back to the basics with a series of guides, how-tos, and deep dives into PC gaming's core concepts that we're calling The Complete Guide to PC Gaming. There's much more to come, and it's all being made possible by Razer, which stepped up to support this months-long project. Thanks, Razer!
We already covered some of the common reasons why a newly assembled PC might not boot, such as plugging in the front panel connectors (and specifically the power switch) incorrectly and missing motherboard standoffs. If you’re having an issue with a new build, you should definitely check that out. However, it’s not always brand new PCs that can be problematic.
One of the worst feelings is when a formerly reliable PC suddenly stops turning on. We take for granted that when we power down our system, it will dutifully fire back up the next time we want to use it. Even if you leave your PC running 24/7, you might one day find that it’s turned off and won’t come back to life. Either way, it’s a gut punch, but not necessarily the end of the world.
There are various reasons why an old PC will suddenly not turn on. Tripping over the power cord is one of them, but unless you sleepwalk, you’ll know if that’s the case. So, we’ll skip that one and jump right into five reasons why your old PC will no longer boot.
1. Check the surge protector or UPS
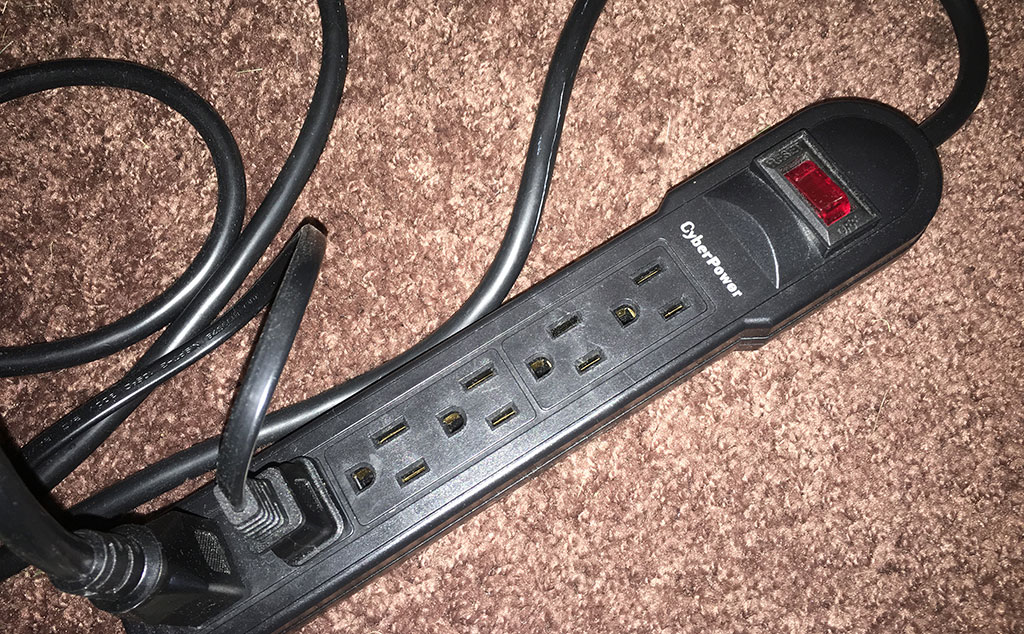
Is your PC plugged into a surge protector or uninterruptible power supply (UPS), otherwise known as a battery backup? While this sounds like the equivalent of asking ‘Is it plugged in?’ it’s actually very easy to overlook, especially if you have pets or kids. Even though the surge protector is plugged into the wall, if the power switched gets accidentally bumped to the off position, your PC is not going to boot no matter how many parts you replace. It’s best to check this first before you start ripping hardware (or your hair) out.
The same thing applies after a power outage or lightning storm. Some power strips with built-in surge protection have a reset switch that needs to be pressed after absorbing a power surge. You can test if your surge protector or battery backup is the culprit easy enough—just plug a known working electronic into one of the sockets, like a lamp, and see if turns on.
2. Change the CMOS battery
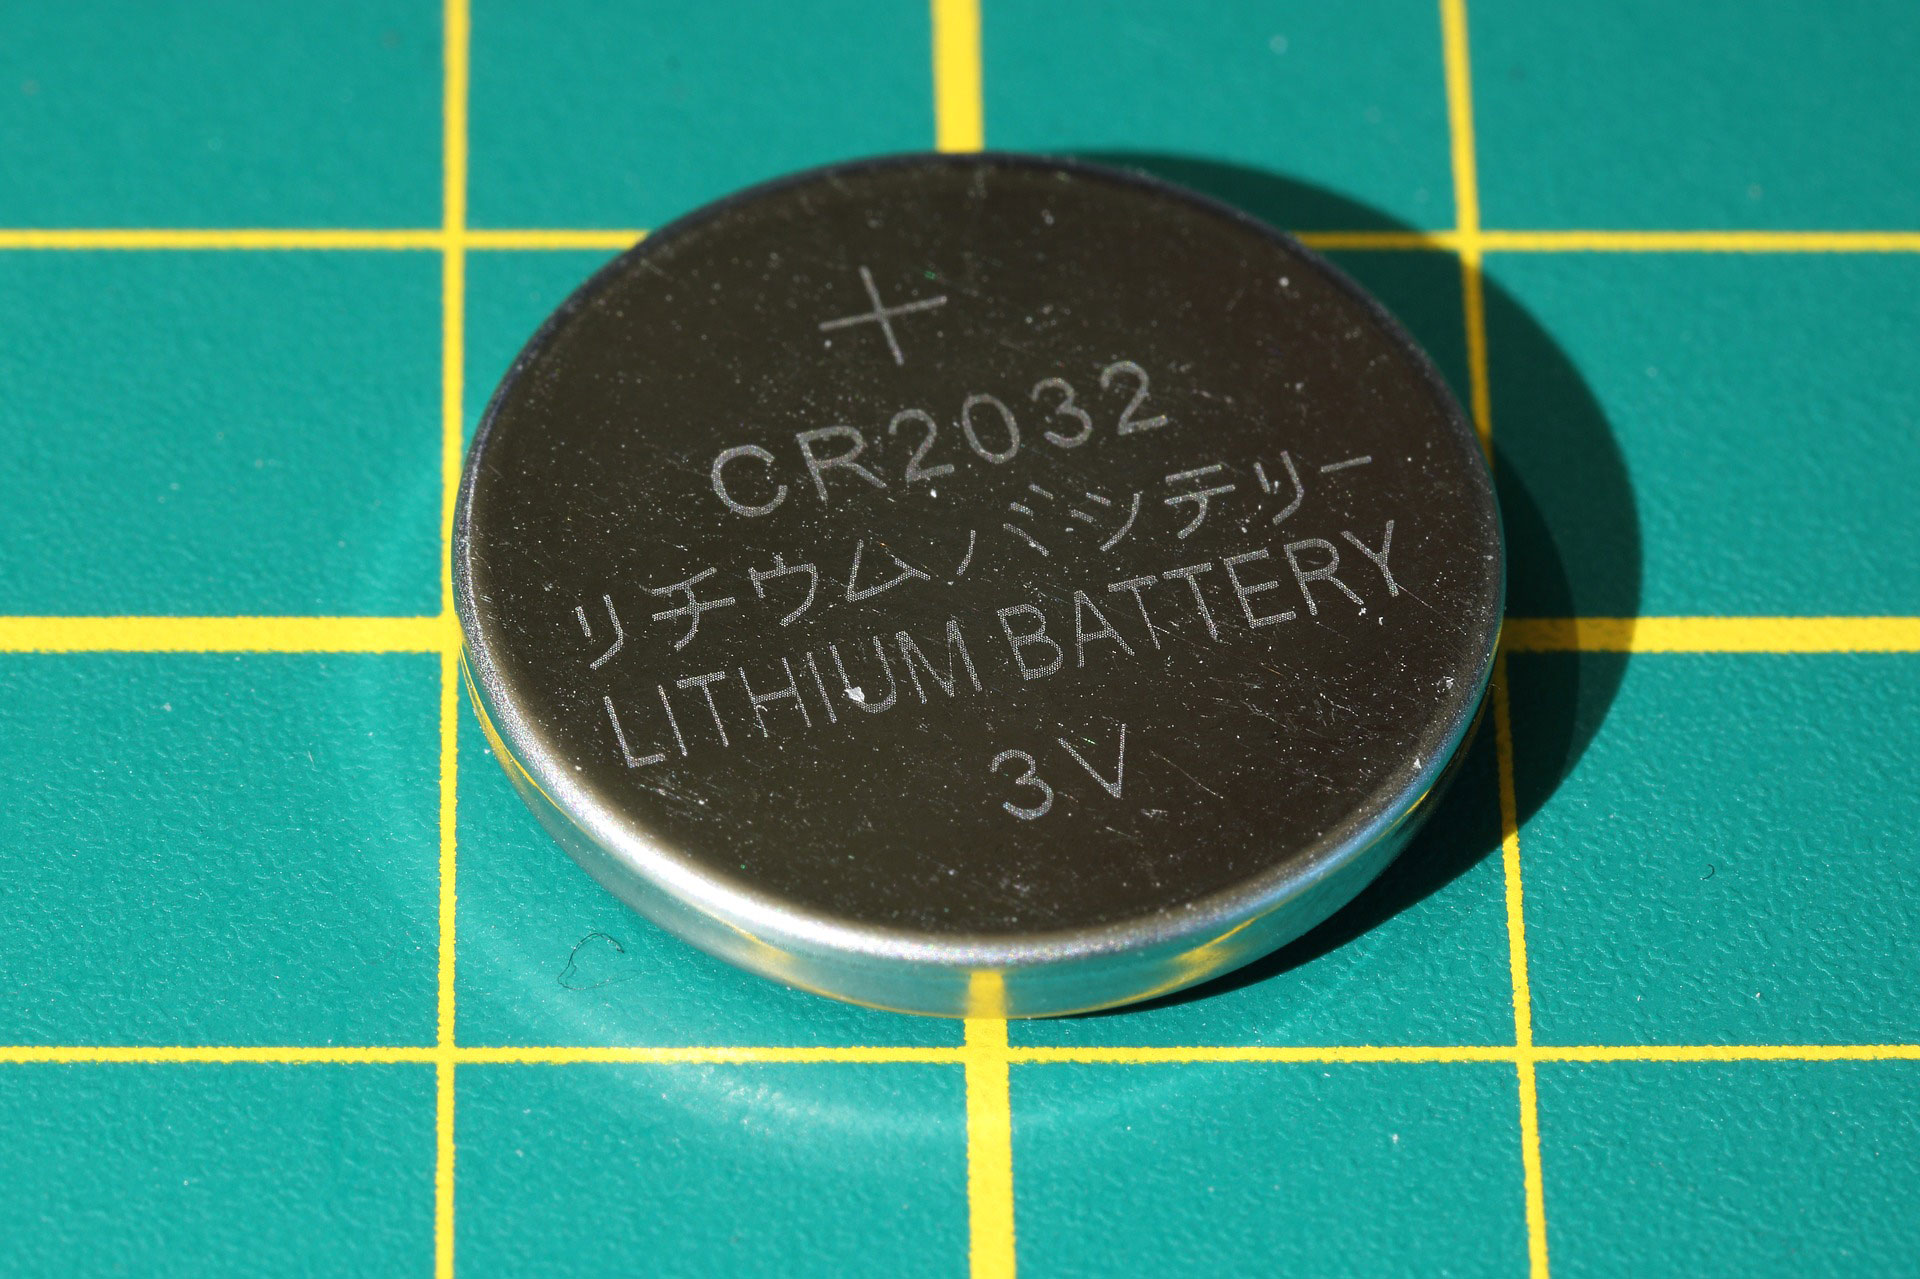
Every motherboard has a CMOS (complementary metal-oxide semiconductor) battery. This is commonly a little CR 2032 3V coin cell battery, and is sometimes found sandwiched between PCI Express slots, though it can be just about anywhere (refer to your motherboard manual if you can’t find it). This is what provides backup power to the CMOS chip so that it can remember the date, time, and other settings when the PC is turned off.
In theory, a dead CMOS battery shouldn’t prevent your PC from booting, it should mainly just mess with the time. In practice, we’ve seen it be the culprit. CMOS batteries typically last a long time, but if you have an older PC that is being stubborn, it only costs a few bucks to buy a new one and swap it out with the potentially dead one. After you do this, and assuming it solves the problem, hop into the BIOS to make sure none of the settings have been changed.
Keep up to date with the most important stories and the best deals, as picked by the PC Gamer team.
3. Test the RAM (if you can)
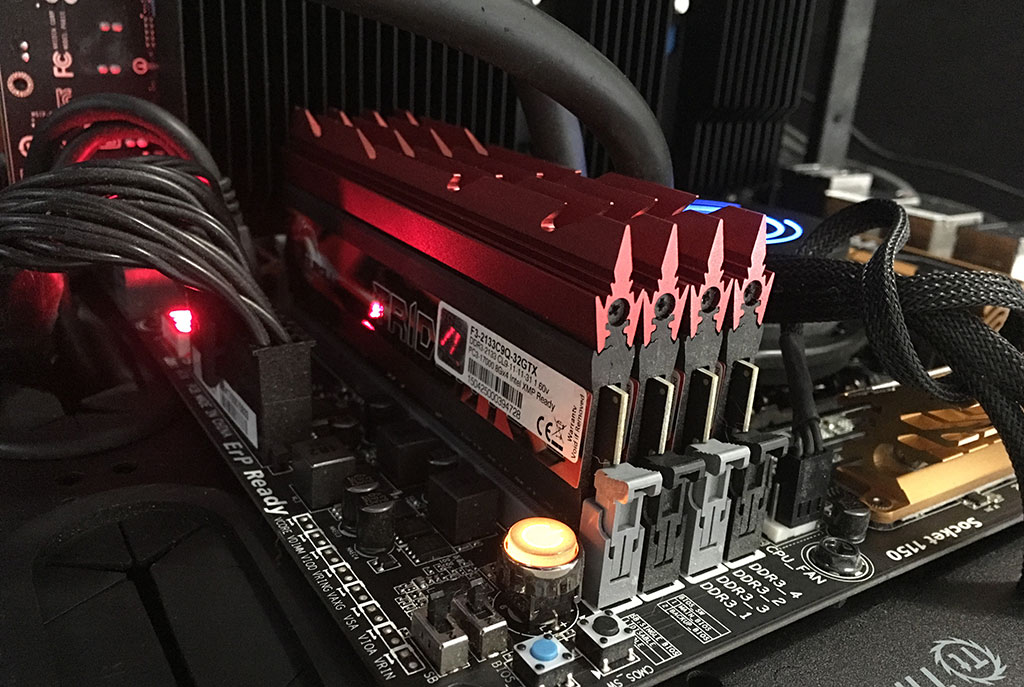
One of the signs that your RAM is to blame for a non-booting PC is one or more seemingly random blue screen of death (BSOD) errors that preempted your system’s permanently powered off state. If you have access to a spare PC with compatible DIMM slots, you can test your RAM using Memtest86+, an older but popular diagnostic. While time consuming, it’s best to test one module at a time, as it’s unlikely (though not impossible) that multiple modules suddenly went bad.
Another option, and one that is quicker, is to try booting your system with just a single stick of RAM. This only applies if you’re using two more memory modules as part of a dual-channel or quad-channel kit. If one of the sticks is bad, attempting to boot with one module at a time will narrow down the culprit by process of elimination.
4. Lower the heat
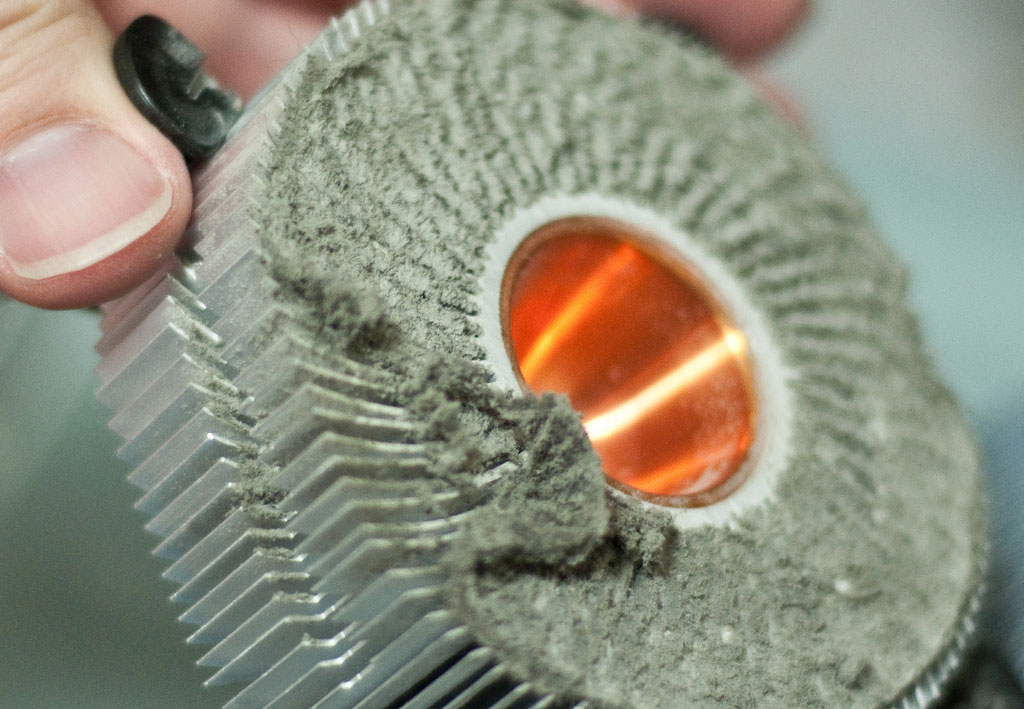
It’s more difficult these days to actually fry a processor. Typically a modern system will shut itself off before that happens, and if your PC turns on for a second or two before losing power again, it could indicate that your CPU’s temp is rising too high and too quickly.
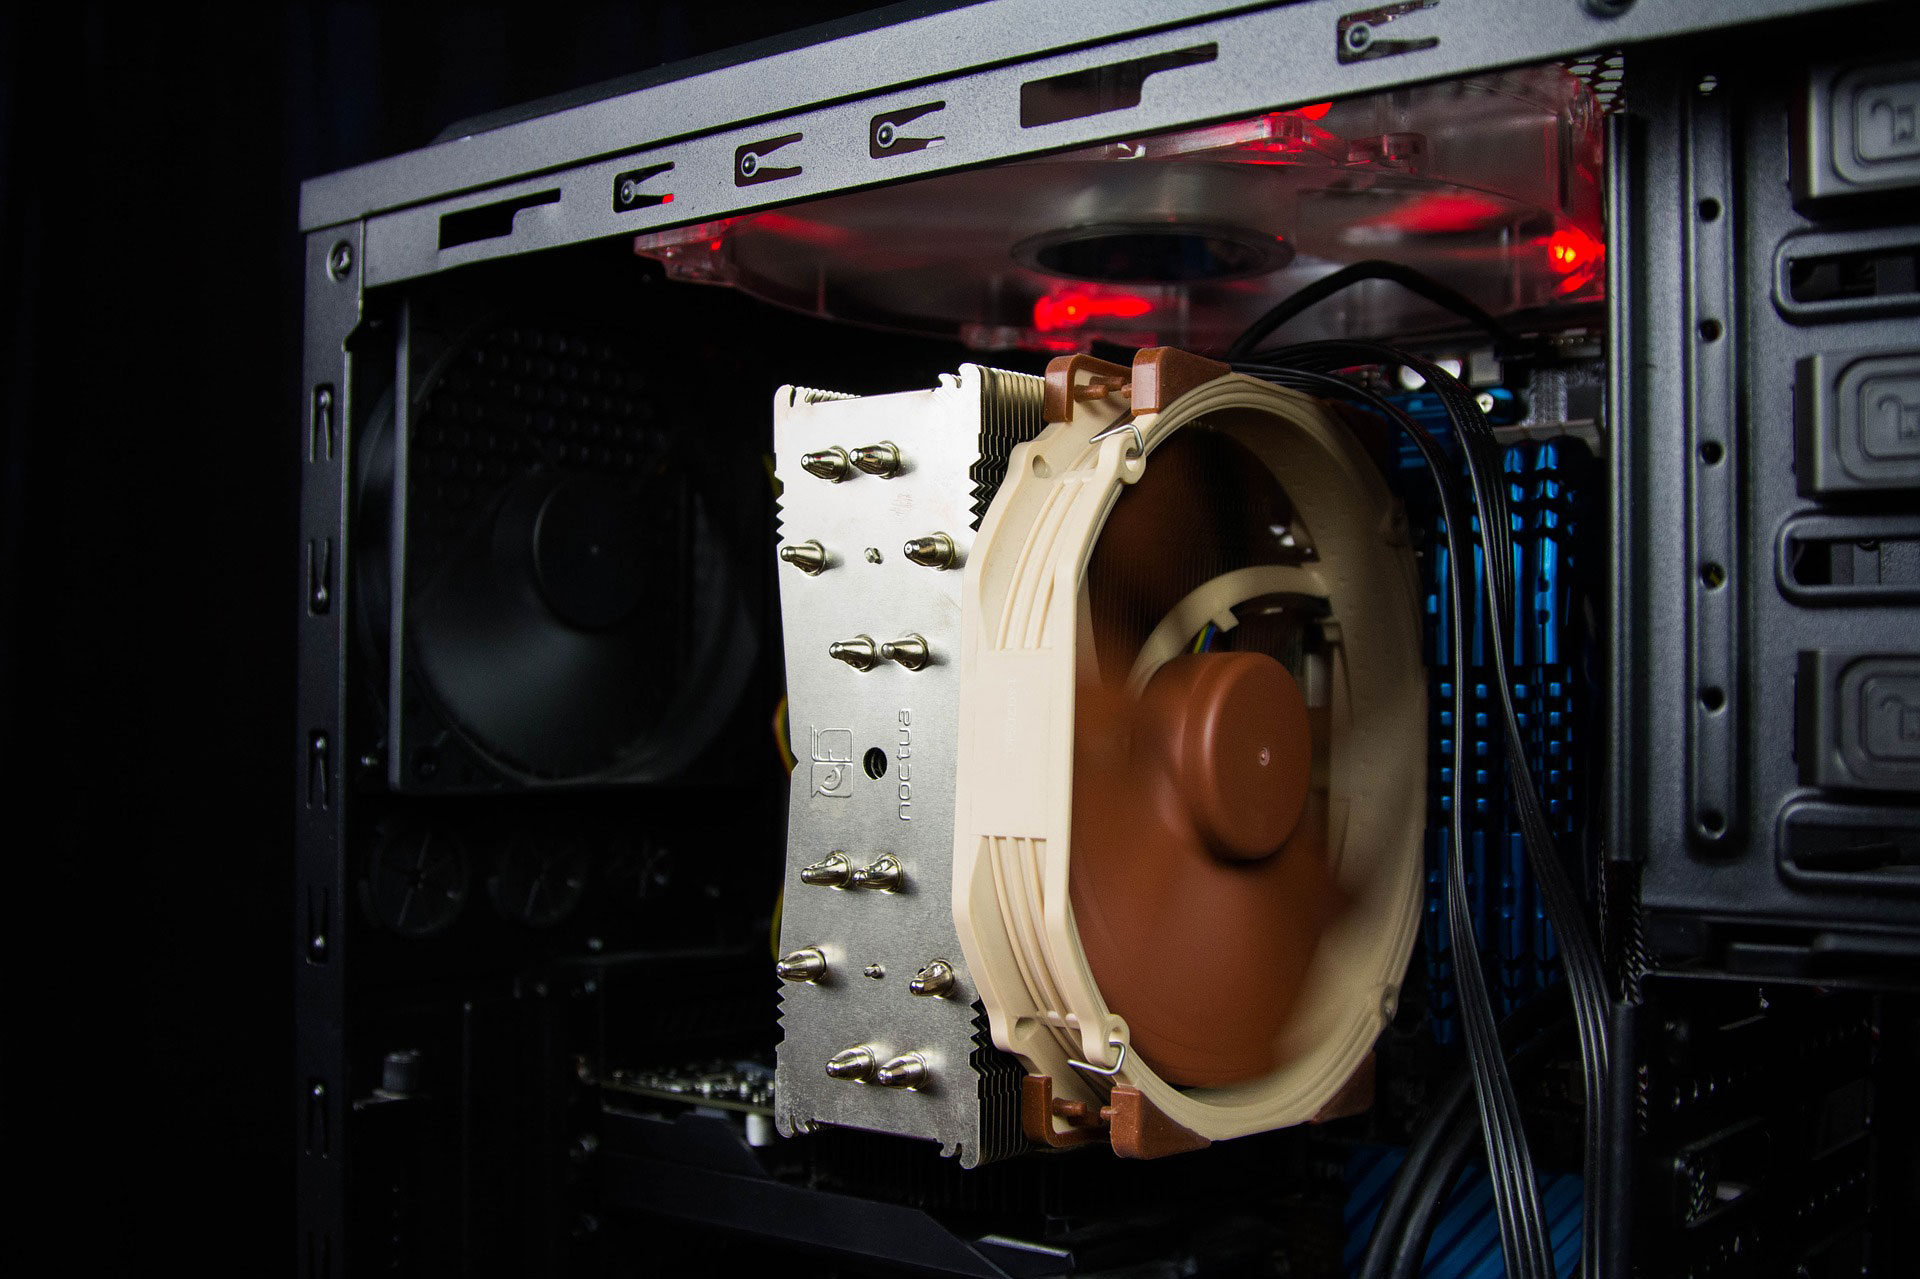
You probably don’t need to reseat your CPU cooler, not unless your overexcited labrador bumped into your case and jarred things loose. However, depending on the age of your PC, it's possible the thermal paste between your cooler and the CPU’s integrated heatspreader (IHS) could have dried up. Cleaning off the old, crusty paste and applying brand new goo can significantly reduce temps, and potentially revive a non-booting PC.
Don’t stop there. While you’re at it, now is a good time to blast out any dust bunnies that might have taken residence in your PC. A few blasts from a can of compressed air will do the trick. This is especially important on fans and heatsinks. Dust that builds on either can act as a shield against proper airflow.
5. Dial back the overclock
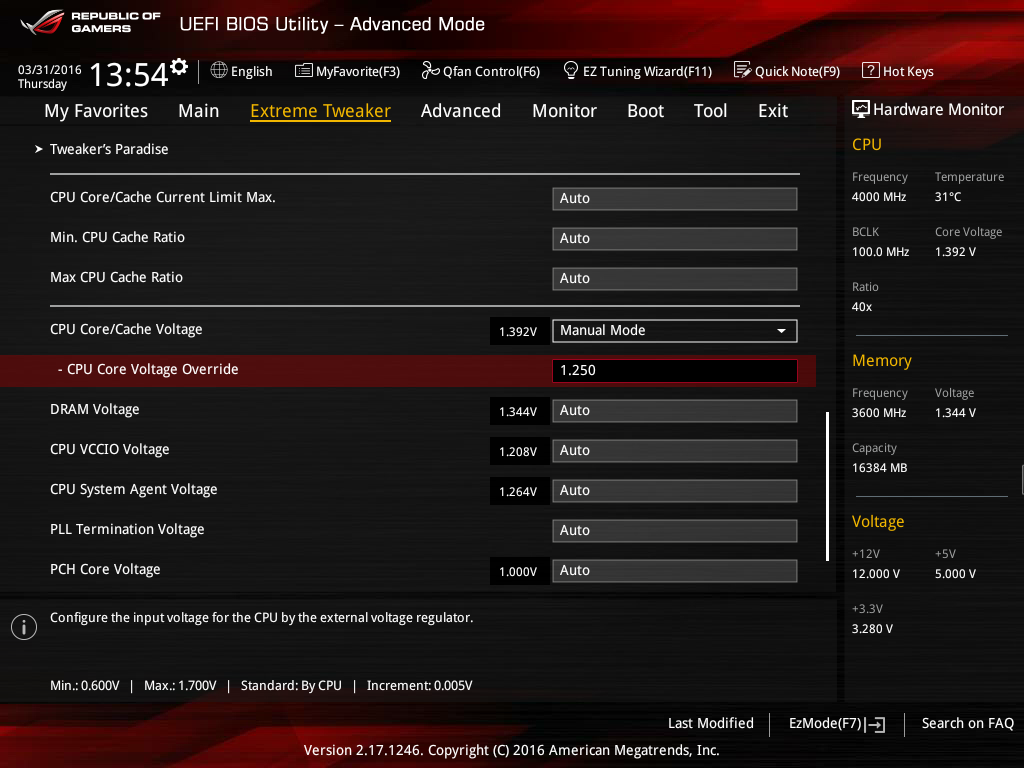
Overclocking is a funny thing. Everything can seem fine one day, and then the next day you’re right back to retesting settings to find a stable OC. An overclock that is too aggressive can stop your PC dead in its tracks. This is true even if everything seemingly worked fine before.
If you’re able to get into the BIOS, go in there and dial things down, or revert to stock settings to see if that does trick. Entering the BIOS is not always possible. I had an older Gigabyte motherboard that was finicky with overclocked settings and would play dead any time I shut it off. The only recourse was to clear the CMOS so that the factory settings would be reapplied. Some motherboards have a button that makes this easy, others require fiddling with a jumper. Consult your motherboard manual on how to do this on your specific mobo.
One word of caution: If you’re running two more drives in RAID, resetting your BIOS can destroy the RAID array if you don’t go back in and select RAID. The default setting is typically IDE or AHCI. Be sure to set this back to RAID if that’s how your boot drive is configured.
Paul has been playing PC games and raking his knuckles on computer hardware since the Commodore 64. He does not have any tattoos, but thinks it would be cool to get one that reads LOAD"*",8,1. In his off time, he rides motorcycles and wrestles alligators (only one of those is true).


