How to get started with the open-source OMV and Network Attached Storage
1. Get OpenMediaVault We’re assuming you’re installing this on a blank system—we’re not attempting to run anything alongside OMV, dual boot, or so on. So, we can safely wipe the entire boot system drive. You could run it off a USB stick, but an old sub64GB SSD would be ideal. We’ll add data drives later. Head here and download the latest ISO file. Currently, that’s v4.014 amd64 (64-bit). See the box, above-right, on how to get this on to a DVD or USB drive, and boot from it.
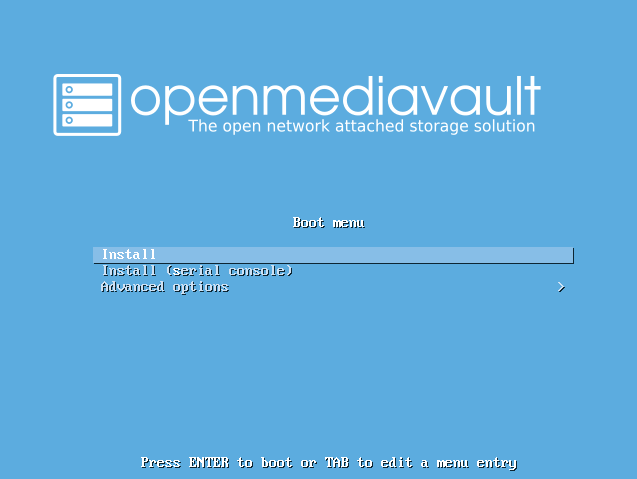
2. Start the install If the target NAS PC has booted from your OMV media correctly, you should see an OpenMediaVault boot menu. Ensure “Install” is selected, and press Return. “Advanced options” has a hardware detection tool, handy for checking if your drives have been correctly identified. If your boot device/DVD isn’t detected, see 'How to install an OS' on the following page for options on boot menus and adjusting the BIOS/UEFI.
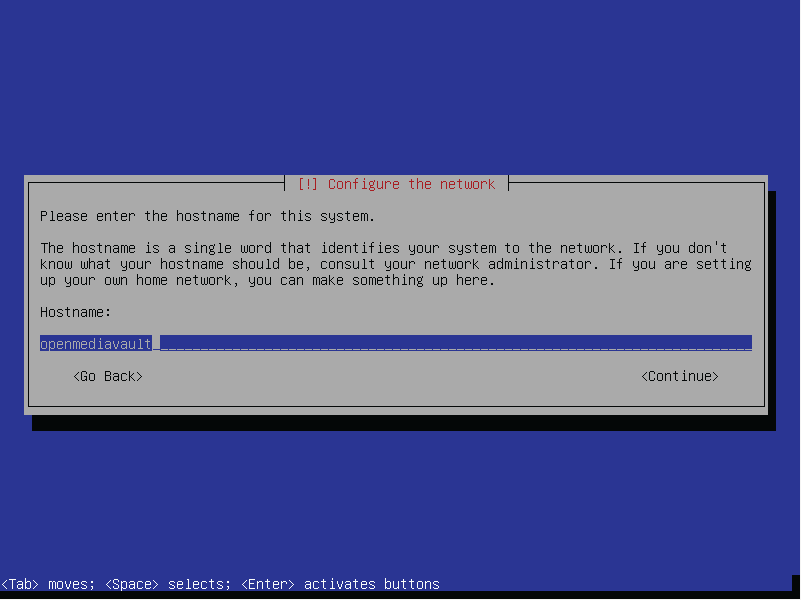
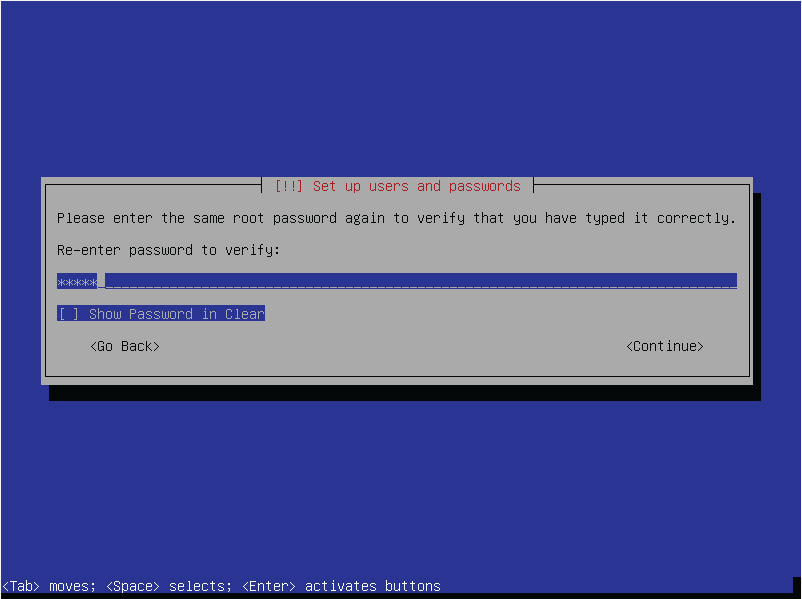
3. Basic options Forget your fancy graphical installers, we’re kicking it old-school with text-based interfaces. Use the cursor keys to select options. There are some mundane options: “Language,” “Location,” and “Keyboard.” “Hostname” is the name displayed to the network. Use the default for the “Domain.” Then you need to set a “root” administrator password; you’ll rarely need to use this, but it controls system changes, and remote system log-ins (via SSH), so is recommended to ensure it’s secure.
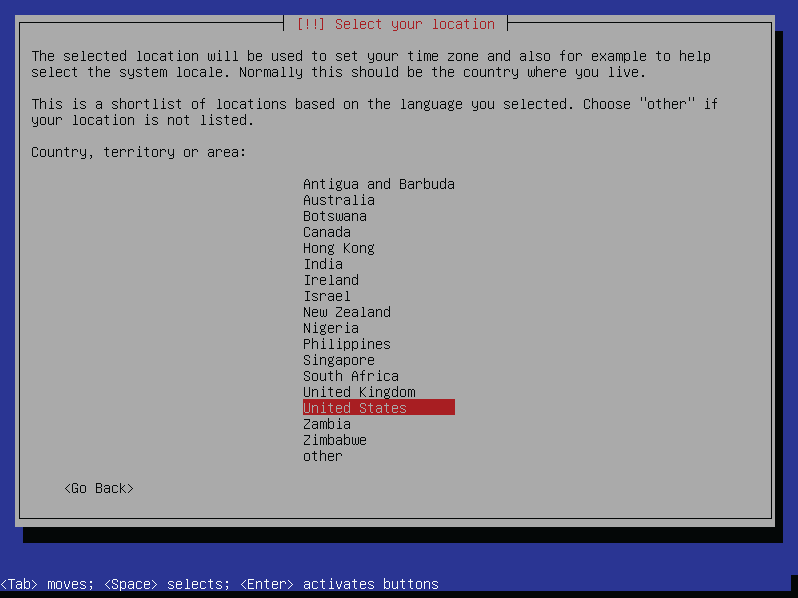
4. Enhanced options The installer attempts to set the time zone via a network connection. It’s likely this will fail, so select a time zone from the presented selection—don’t worry, you can adjust this later. Installation initially begins, and you’re prompted to select a suitable mirror location. Do so, ignore any option for a “Proxy,” and wait for the installer. This takes a few minutes; time for a cup of coffee.
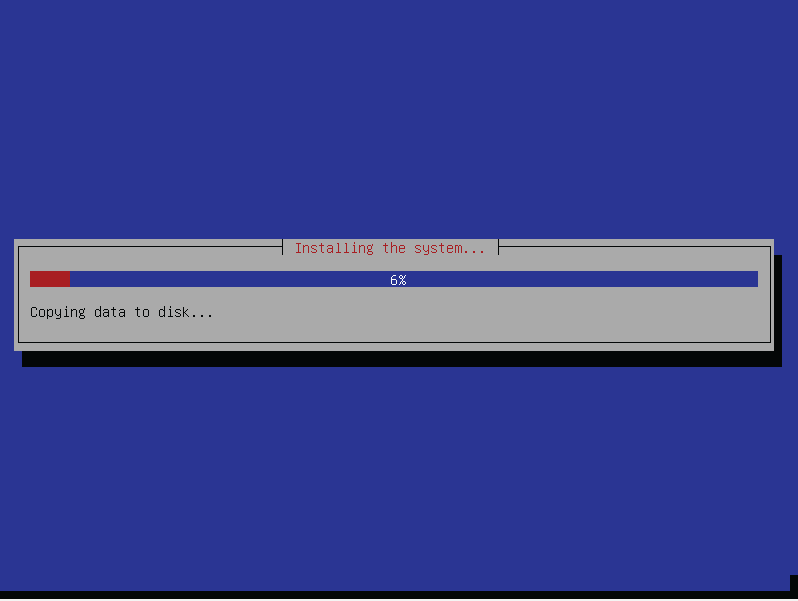
5. Install a Bootloader Do not enter the boot device manually. Choose the generated option below this, it should read something along the lines of: /dev/sda (complex name of your drive). If you hit “Enter Manually” by mistake, press Escape, and reselect the “Install the GRUB boot loader” option. There’s a few more update dialogs, and it prompts you that the installation is done, and it can reboot.
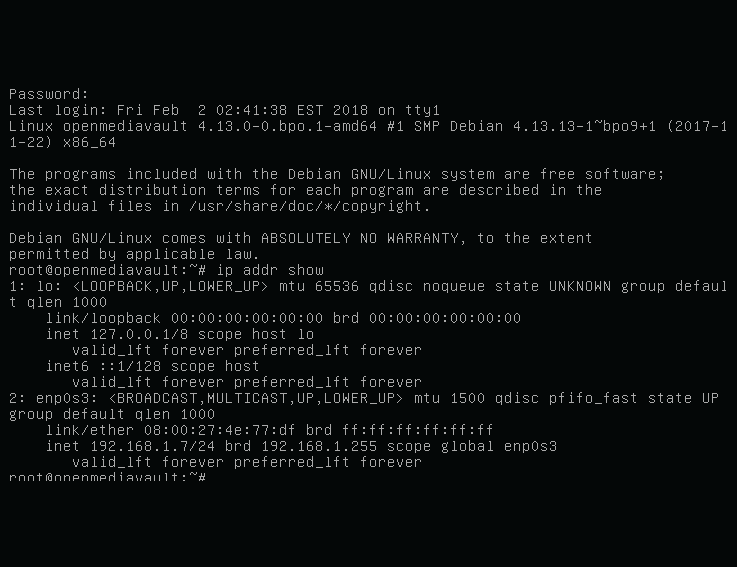
6. It's Linux! A blank terminal—what now? It’s like a choose your own adventure. OMV is designed to be controlled via a web dashboard, and for the “box” to be run headless. So, you need to discover the IP address of the OMV PC. To do this, you could use a smartphone network scanner, such as Fing, use a Windows-based scanner, such as Advanced IP Scanner, log into your router and discover the device’s IP, or log in to the OMV terminal using the username “root” and your root password, then type “ip addr show.” It spits out a bunch of networking nonsense, but the IP address is the second-to-last line, ending with a /24—something like 192.168.1.10/24.
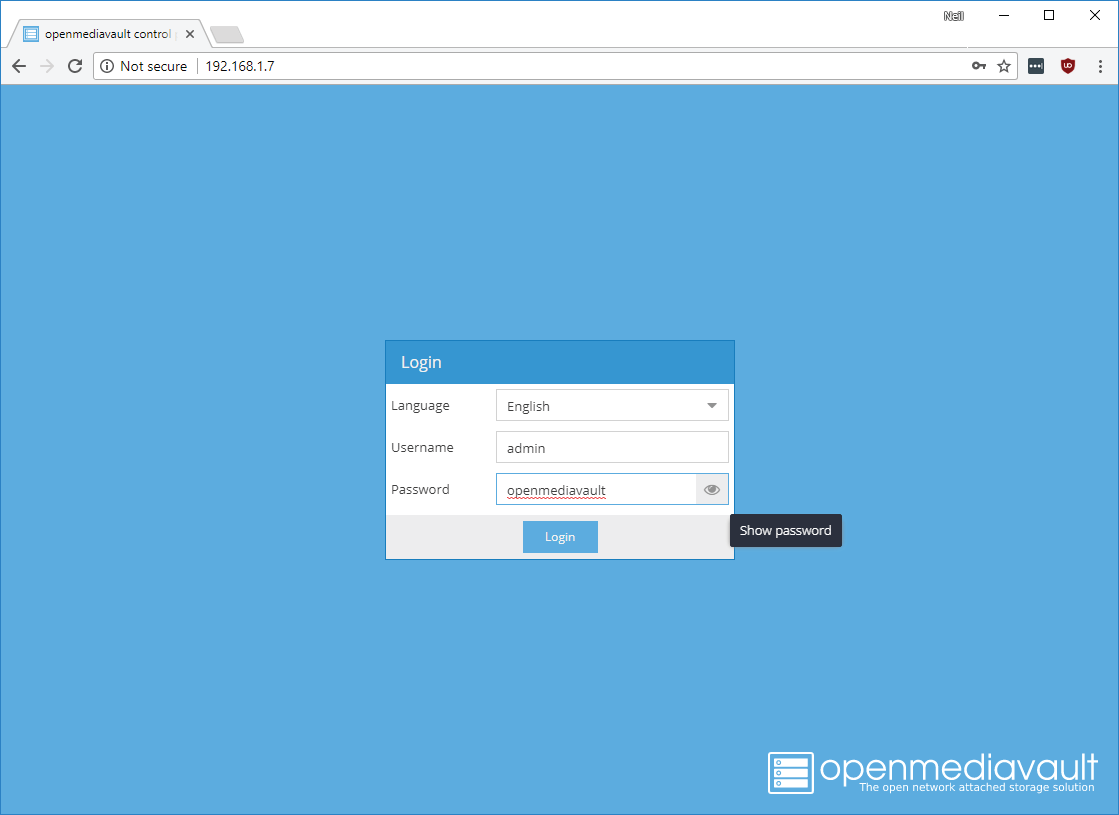
7. Web interface OMV is controlled via a web interface—you log into this via a standard browser, running on any device, connected to your local network. In the browser’s address bar, enter the IP spat out in step 6. For example: 192.168.1.10. To log in, the username is “admin” and the password is “openmediavault.” Congratulations, you’re up and running. You start viewing the Dashboard section, under “Diagnostics.” All controls are down the left-hand menu, reboot and power controls are in the top-right menu.
Keep up to date with the most important stories and the best deals, as picked by the PC Gamer team.
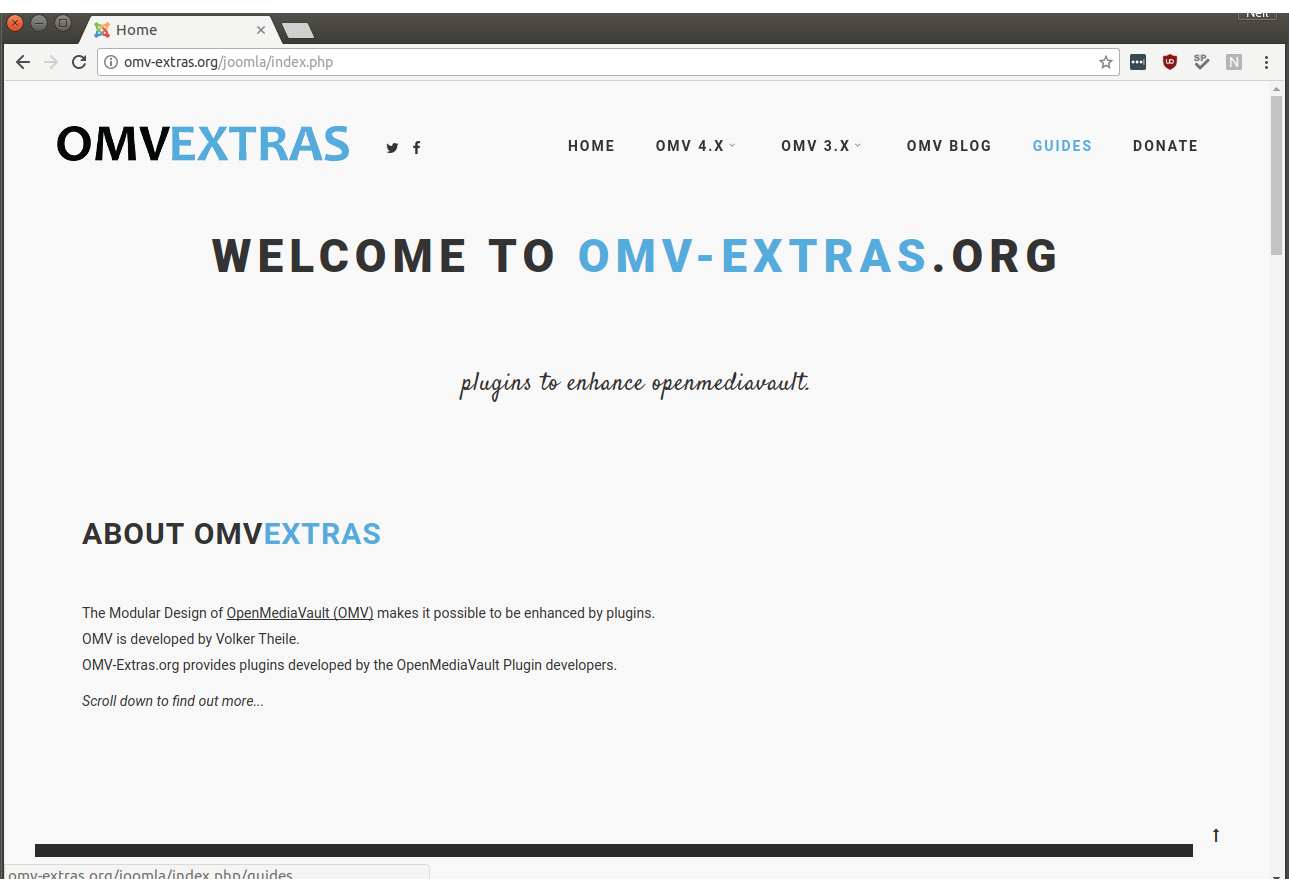
8. Plugins Before we configure any storage, we’re going to look at the plugin system. You add additional official and third-party extensions via the plugin system, which is basically a wrapper for the Linux software install (package management) system. Under the “General > Plugin” section, you’ll find a number of default bundled official plugins. We need to add the flash-media plugin, which isn’t included. Head here—this is the official repository for OMV plugins. Click “Guides,” scroll to “Installation,” then click and download the “For OMV 4.x openmediavaultomvextrasorg_latest_all4. deb” package to your PC.
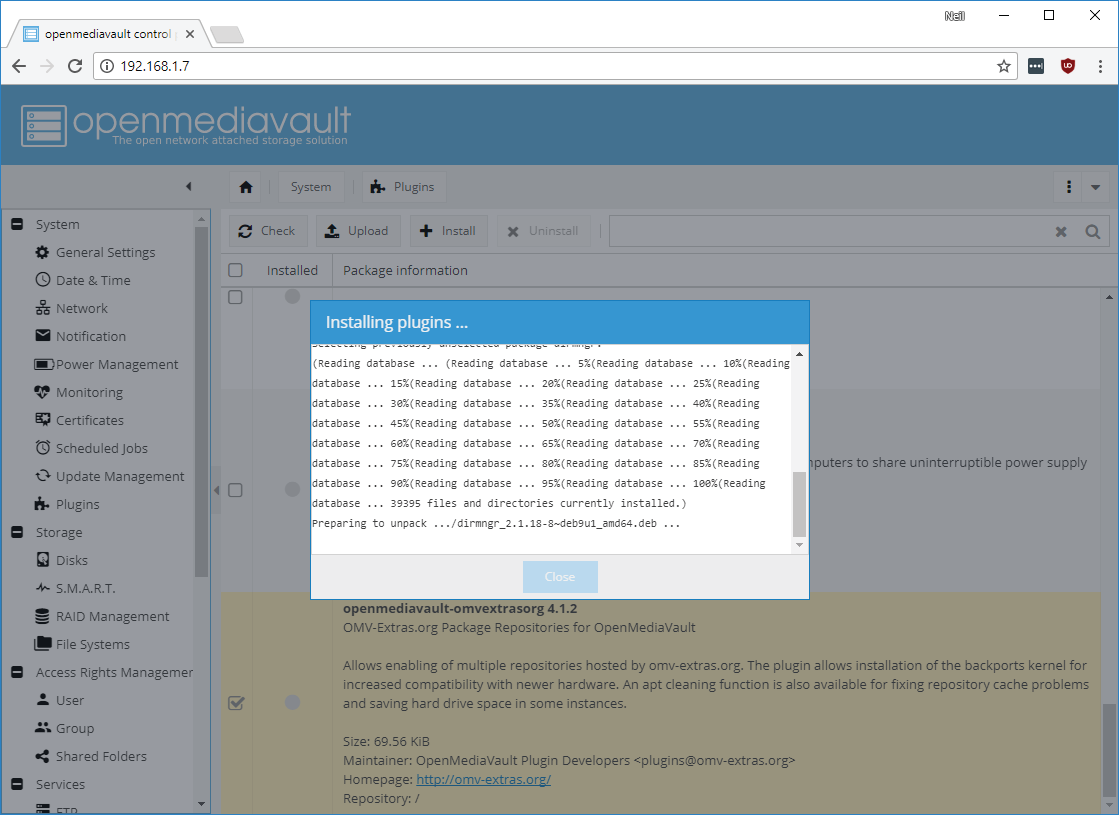
9. Install the extras Back in the OMV interface, select “Upload” in “General > Plugins,” click “Browse,” locate the .deb file you downloaded, click “OK,” and let it upload. Scroll to the bottom of the “Plugin” list, click the checkbox next to the “openmediavaultomvexrtasorg 4.x.x” entry, and click the “+install” button. After a few seconds, the browser reloads, and a new section called “OMV-Extras” is available. This has added a bunch of extra features, and enables you to easily add new plugins, as we’ll see...
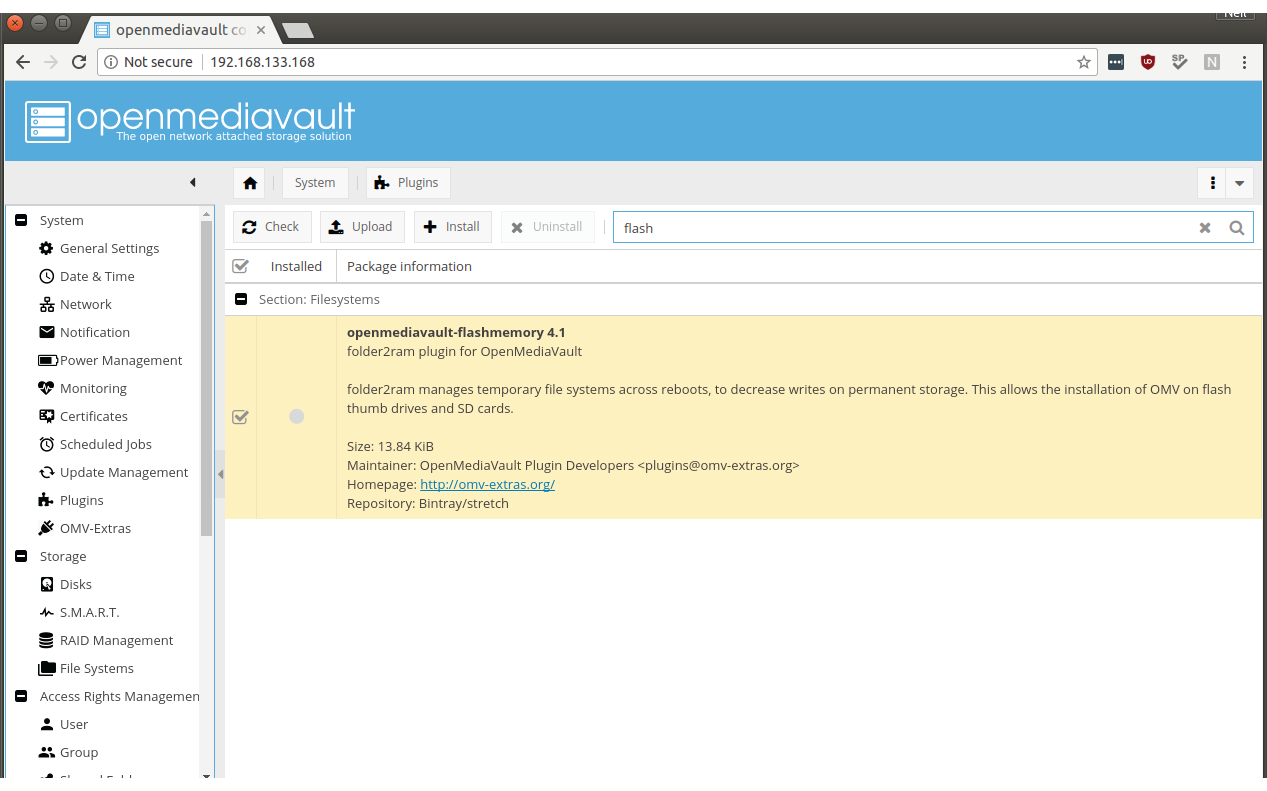
10. Install an external plugin If you’re running OMV from a flash device, you’re recommended to install the flash-media plugin. This reduces direct drive writes to extend the flash life via a memory cache. With the extras installed and a “Check” run, there’s now an openmediavault-flashmemory plugin under the “Filesystems” section. this reduces the write load on flash media by caching to memory. Click the checkbox and click “+install.” With everything set, let’s add some data drives and user folders.
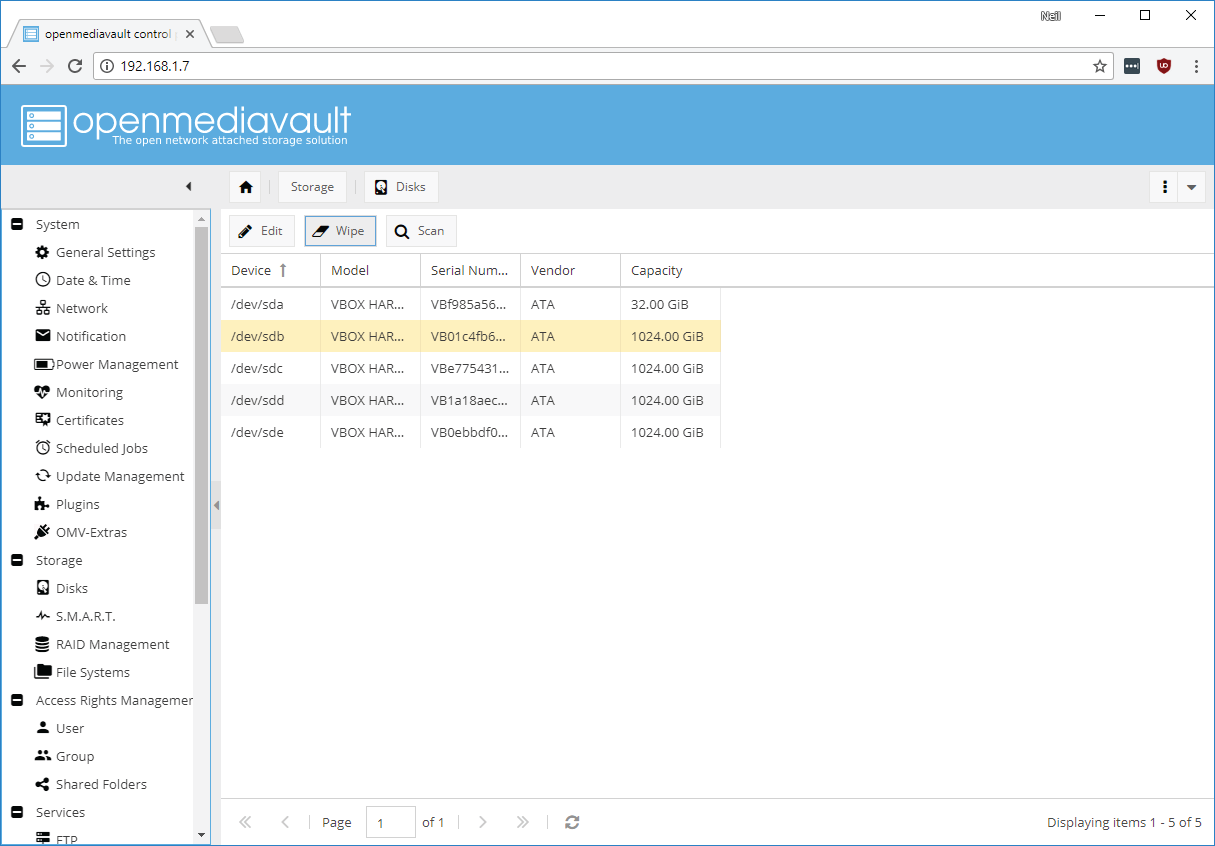
11. Attach your drives Power down and connect the drives that you want to store files on. We’re going to create a RAID with four drives attached. These all need to be wiped before OMV will allow you to do anything. Select “Storage > Disks.” Ignore “/dev/sda”—that’ll be your boot drive. Select the others in turn, and click “Wipe.”
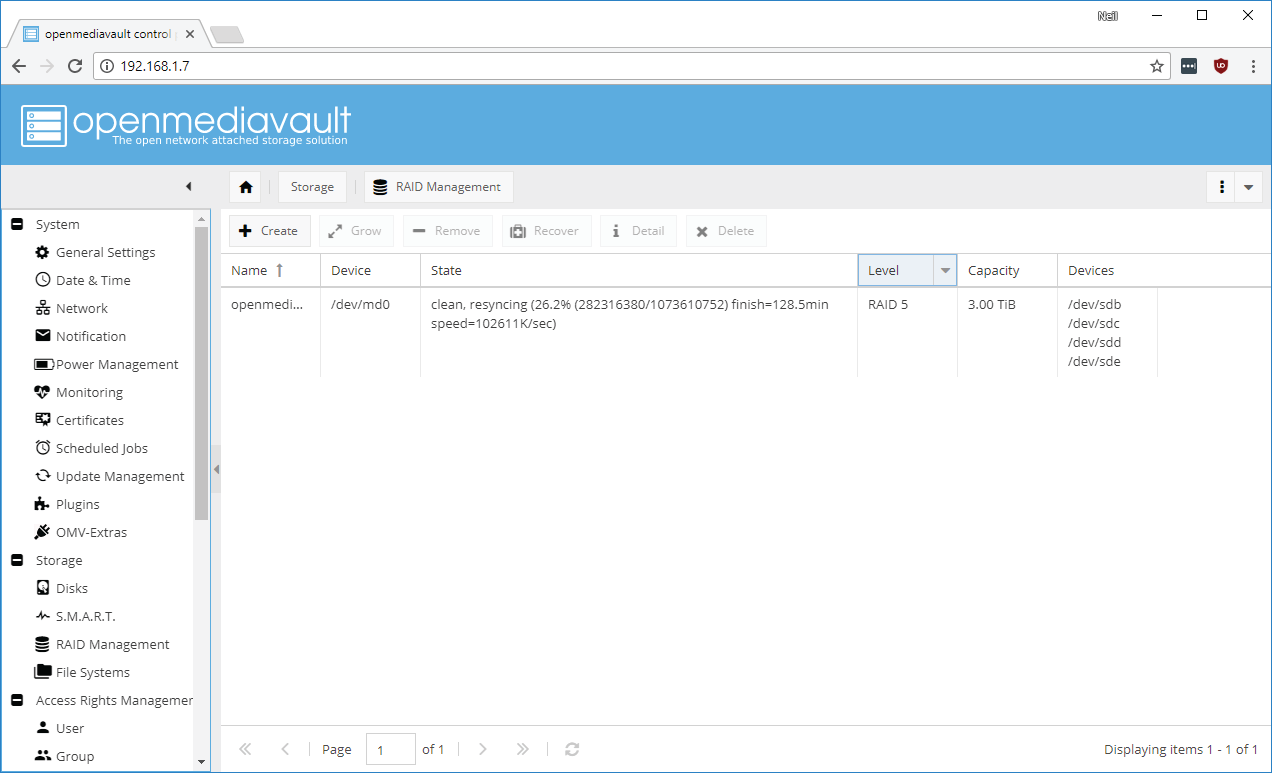
12. RAID time Switch to “Storage > RAID,” and click “+Create.” Give your RAID a name, select the drives you’re going to add to the RAID, and if you’re not happy with the default RAID mode, choose another. Once done, click “Create.” The RAID requires synchronizing—even though it is blank—and this takes a few hours, depending on the size and speed of the drives. You’ll also note the final capacity is somewhat less than the total, which is due to an entire drive being used as redundancy, so if one fails, data is not lost.
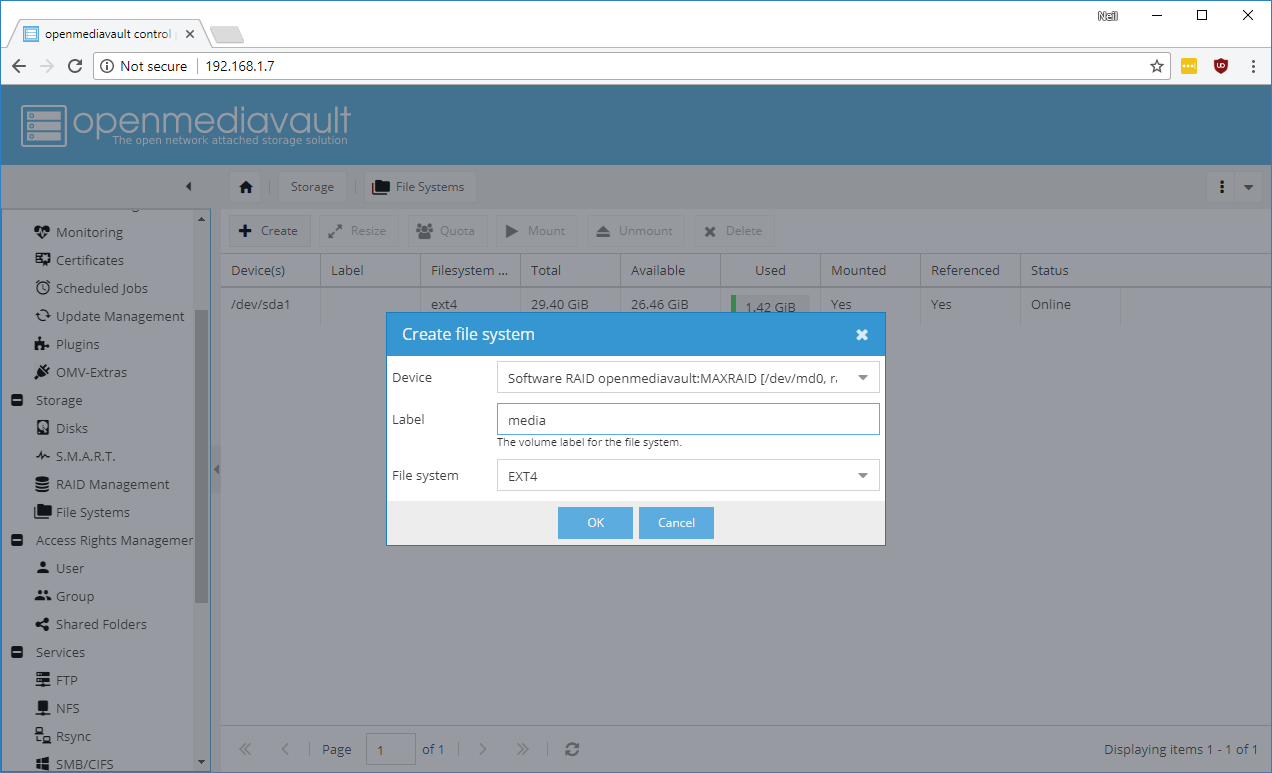
13. Filesystem Once the RAID is in a clean state, you can add a filesystem to it. Under “Storage > Filesystems,” click “+Create.” Select your RAID from the “Device” pull-down menu, give it a name—we’re case-sensitive around here— and leave the “Filesystem” as EXT4. OMV does support advanced filesystems, such as Btrfs, that support anti-bitrot checksums, among other things, but that’s way beyond the scope of this article. Once created, select the new drive, click “Mount,” then “apply.”
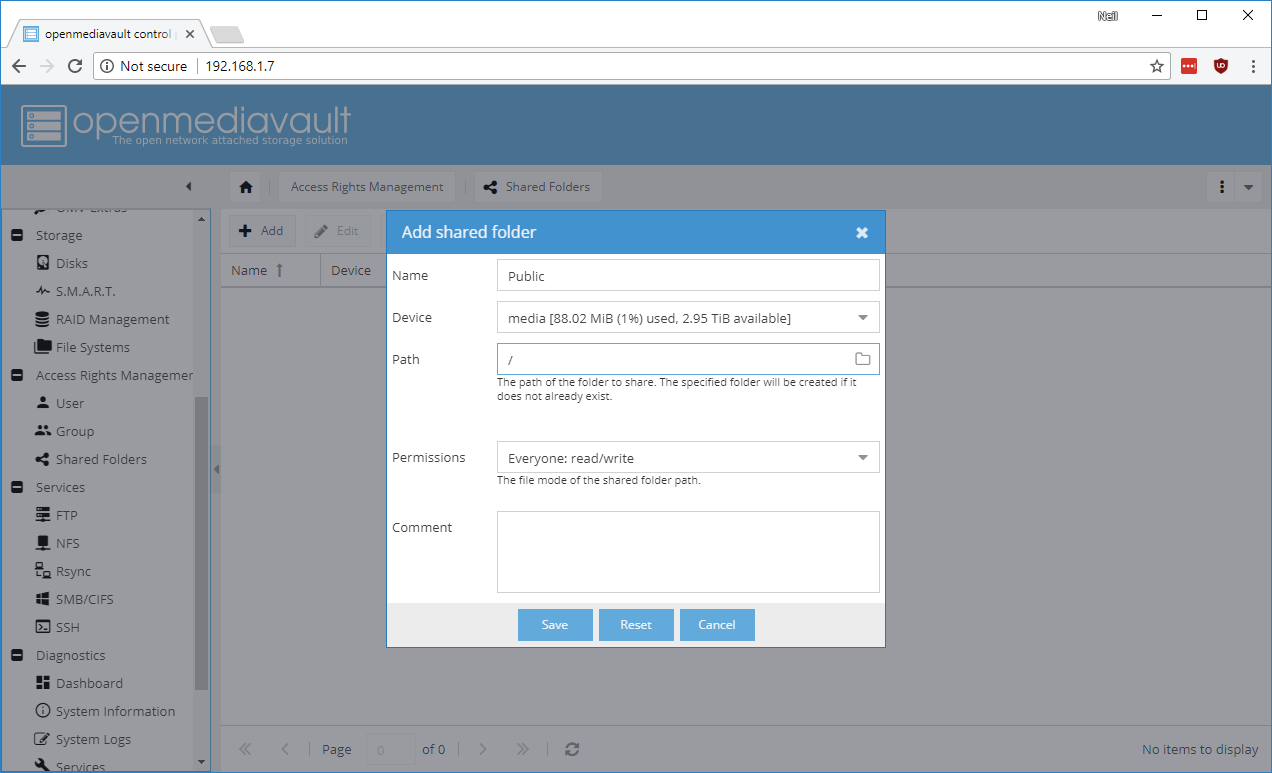
14. Folders You’ll want to add shared folders to keep different files for different reasons, groups, users, and so on. Have a think about who and how files will be shared and accessed. We’ll create a generic “Public” to begin with. You create shared folders under “Access Right Management > Shared Folder.” Click “+add,” choose a name (“public”), your RAID device, ignore the “Path,” and choose “Everyone” for “Permissions.” For more on network shares and Windows access, see 'Windows shares' on the following page.
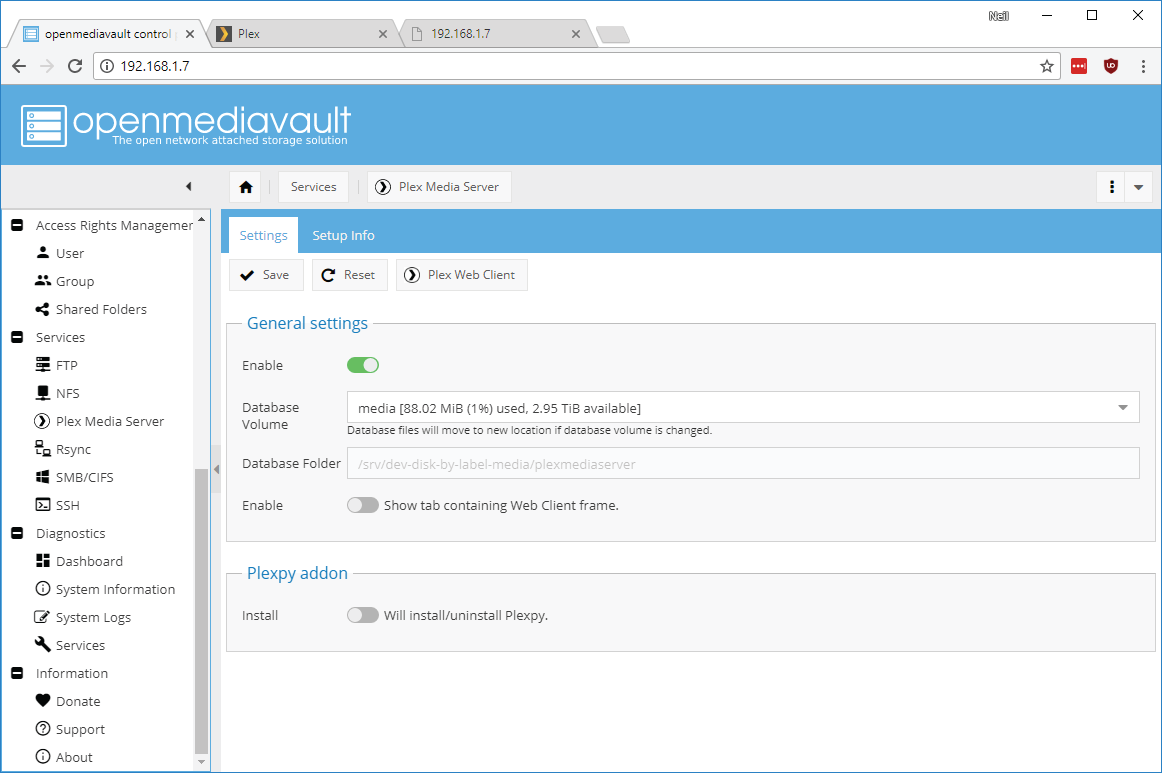
15. Media server Before we leave you, let’s kick a Plex Media Server into action. We’ll pretend everything is stored in the “public” folder (you could create “video” and “music” folders). Enable access to the Plex repositories, so we can install it. select “OMV-Extras,” double-click the “Plexmedia” entry, click “Enable, Save and Update.” Switch to “System > Plugins,” search for Plex, select the checkbox, and click “+install”—this actually installs Plex. Once done, the web interface refreshes. Select the new Plex control under “Services > Plex Media Server.” Click “Enable,” select your main device, and “Save.” Click the Plex Web Client to configure Plex. Happy NASing!

