
Fans play an important role in keeping our systems cool and running at their best. Different sizes and fin designs have a big impact on fan efficiency and performance. We can spend hours searching for the best PC fans but then we connect them and forget about them and still expect them to efficiently dissipate heat. To make the most of your fans, they need to be tuned to find the right balance between noise and performance. The right fan speed will keep your components cool without being annoying.
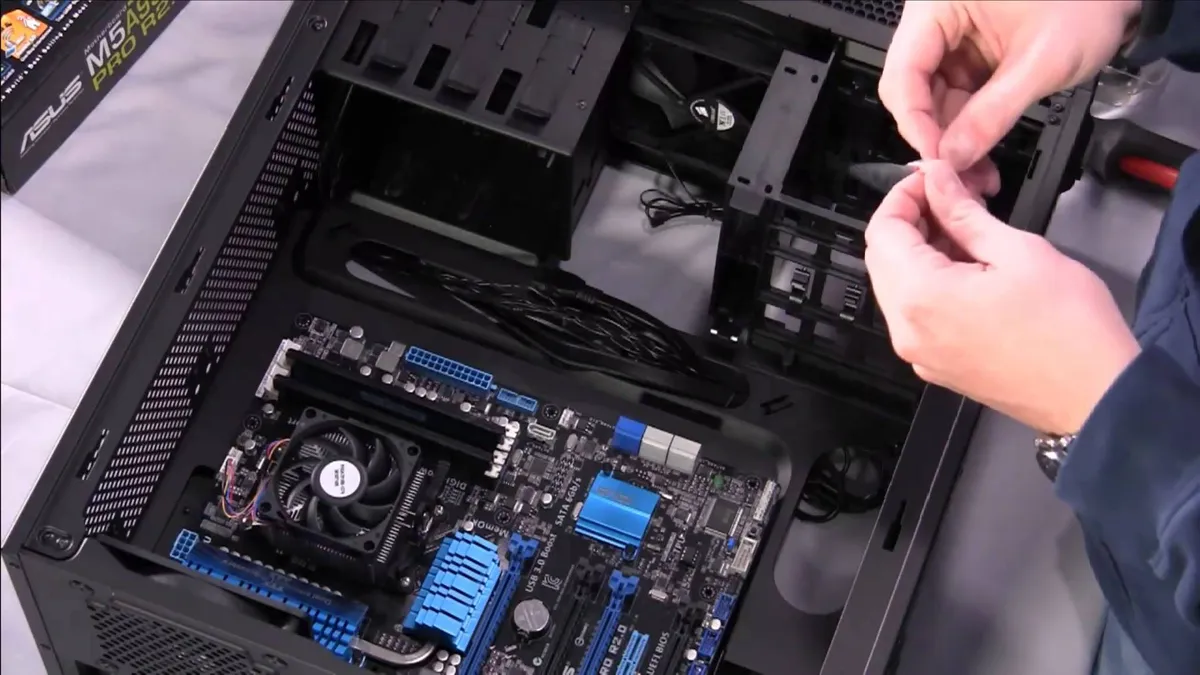
This is our gaming PC build guide, for everyone crafting their own, bespoke rigs.
Keeping noise levels down is important, but should always come second to keeping your system safe. When adjusting your fan speeds you must make sure that, at the minimum, they dissipate enough heat to keep your components operating within a safe temperature range. But what’s the best way to adjust them?
While separate fan controllers are an option, they are bulky and ultimately pointless since nearly every modern motherboard offers fan control features for four pin PWM or three pin fans. Controlling your fans this way requires accessing your motherboard’s BIOS. If you haven’t accessed your BIOS before, you’ll need to read your manual to find out which key needs to be held down at POST. Many Motherboards will also display the various boot options on the post screen.
Once you are in the BIOS you might have to do some menu diving to find the fan control options.

From here what you can adjust and how you make adjustments will vary with different motherboard manufacturers, but most offer the ability to adjust fan speed for a given temperature. This is usually represented in a graph where you can adjust existing points, delete points, or add new ones to get your fans operating at the desired speed.

When adjusting your fan curves, it’s important to give yourself a bit more headroom than you think you’ll need. You want to make sure your components stay well below their throttling points to maximize performance. If you have configured your case fans in a way that your GPU or CPU coolers are feeding them hot air, you will need to make sure their speeds can dissipate heat at, or higher than, the rate that your components are dumping it out. CPU cooler performance doesn’t matter if hot air is being trapped inside your case. You need to find a balance between all the fans in your system to ensure that they are working together and not fighting each other.
If you at all concerned about noise, this balance can be harder to achieve. When you are building a silent system, you need to decide how much noise you are willing to tolerate and then set the maximum speed of your fans accordingly. There is some trial and error in this since it can be hard to judge how loud a fan is going to be at a specific RPM and not all manufacturers list decibel levels for their products. You also need to test your average workload thoroughly to ensure that your components aren’t overheating to maintain silence. If your CPU starts throttling, you will need to go back and make adjustments, sacrificing some aural comfort.
If you are unwilling to increase noise levels to keep your components safe, then you will need to consider sacrificing some performance. By underclocking and undervolting your CPU and your GPU, you can pull back load temperatures and run your fans as slow as possible. If you have experience overclocking, the methodology is the same.
If you are running an older motherboard and are unable to adjust fan speeds through the BIOS, or would prefer to make adjustments within Windows, SpeedFan is a free software solution that also allows you to monitor temperatures and voltages. But, no matter how you choose to adjust your fans, whether it be through the BIOS, using software, or hardware, fan speeds are integral to keeping your system safe and performing at its best.

