I built my own super router out of old PC parts and I've never felt so powerful
It's easier than you think to build a router that's way better than what you can buy off the shelf.

I can't tell you how many hours—days—of my life I have spent messing with internet connectivity over the years. I must've power cycled a modem and a router a thousand times, hoping that unplugging and replugging things in the right order would restore a sluggish connection. Trying to set up Quality of Service settings to keep my connection stable when three college roommates were hogging the download. Installing custom firmware on an old black-and-purple Linksys router and boosting the antenna power to try to get a better wi-fi signal. There's always something that annoys me, and I feel like this is a near-universal experience: No matter how much you spend on a router, it will still, somehow, make your life miserable.
This is the awful truth. Routers suck. They're bad. Their interfaces are slow. Their problems are impossible for most people to diagnose. I've spent years trying to make my routers better, thinking, there has to be a better way. Maybe if I put it in the right place, maybe if I find the right settings, maybe if I spend more money.
It turns out there is a better way, a much better way, to make your internet connection vastly better and more stable. You build your own router.
This might sound impossible, or out of your league, but I promise you it's not. If you have some old PC parts in the closet, or are willing to spend a little cash on a small form-factor PC like an Intel NUC, you can build a router that whips the shit out of anything you've ever bought at the store. All you need is some modest hardware and open source routing software called pfSense. It might sound or look intimidating, but it's actually really easy to set up, and easier to troubleshoot than any store-bought router I've ever owned.
A recent study said that ditching your ISP's shitty wireless router will make you happier. But building your own super router is true bliss.
Why I built my own router
A few months ago I upgraded to to a gigabit fiber connection, and initially seemed to be getting close to true gigabit speeds. But the problems started to pile up. Even over Ethernet, downloading games from Steam didn't go nearly as fast as I knew Steam's servers could handle. Worse, for some reason downloading a game, even at 100-200 mbps, would often tank the entire home network. I started running speedtests every day, and despite spending hours messing with my $250 Netgear R8000 router and modem, I wasn't getting near gigabit speeds. Something had to change.
Also, I've been stuck at home for four months, and every time I start to go stir crazy I overreact to the first thing that frustrates me by fixing it in the most elaborate way possible. I'd already bought a bunch of new plants and re-caulked my kitchen sink, so here we are.
Keep up to date with the most important stories and the best deals, as picked by the PC Gamer team.
Also, because of this exact instinct, I'd already built a mini-ITX PC I didn't need, and it was perfect for this job.
What does building your own router mean, exactly?
When we talk about routers, we're pretty much always talking about wi-fi routers. They're essentially low-power computers built to do just one thing—control network traffic—and they have antennas that beam your data over the 2.4GHz and 5GHz spectrum. But the wi-fi is actually extra functionality. The bedrock thing here is the routing.
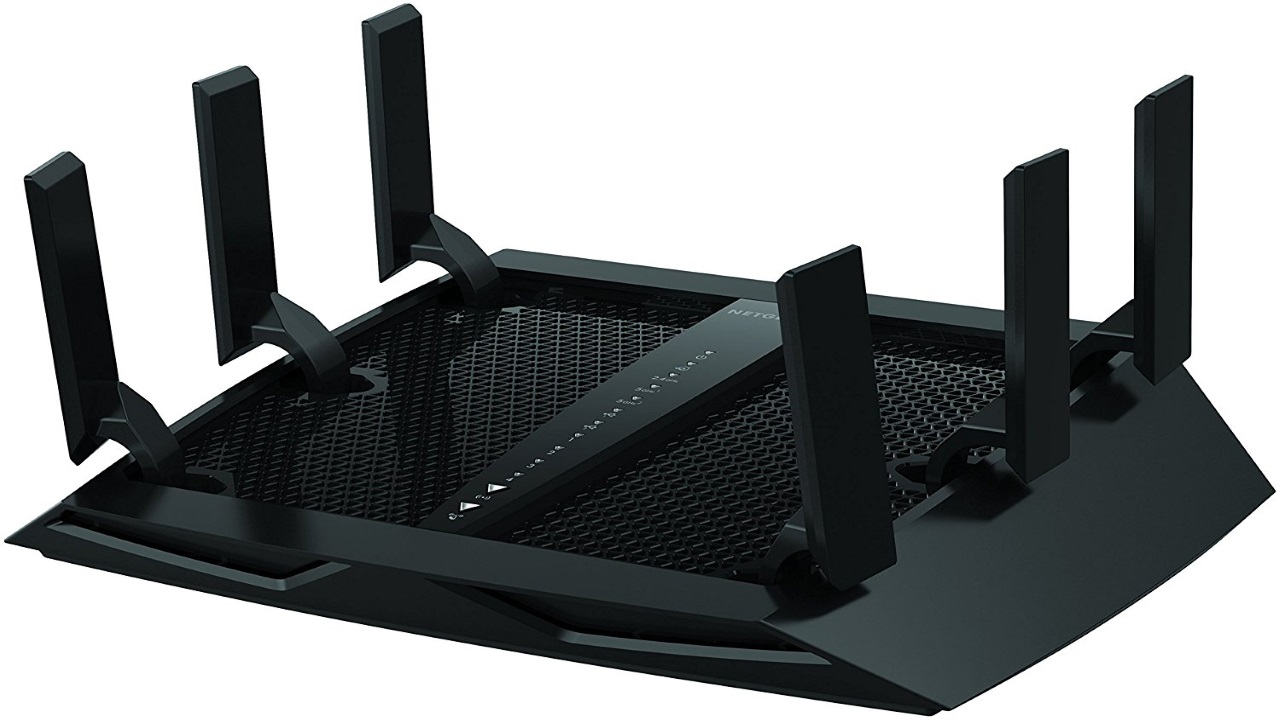
I didn't build a wi-fi router. I built a PC that can do a better job of directing traffic around my network, and turned my old wi-fi router into an access point—basically taking away all of its responsibilities except passing along information to wireless devices.
Think of it this way: Your router is basically like a traffic cop in the middle of an intersection that splits off to a thousand different roads, and it has to know instantly what traffic should go where, and it has to do that job without ever slowing down or getting confused, forever.
That's easy if you have four cars driving through the intersection at a reasonable 30 miles per hour—in this analogy that would be, like, a desktop PC running a game, a Roku streaming 1080p Netflix, a laptop just browsing and a smartphone playing Instagram stories. That traffic cop isn't even breaking a sweat. But what if you have a dozen cars all at once, and one of the cars crossing the intersection is an impossibly long stretch limousine (a big Steam download gobbling up hundreds of mbps) while another car traveling back and forth at 200 miles per hour demands a clear intersection or it'll wreck (a Zoom video conference). Now that traffic cop is starting to sweat.
Most store-bought routers just can't handle that kind of load, especially when it comes to gigabit speeds. Building your own router is basically upgrading from this traffic cop:

To this traffic cop:
There are other factors, but the big difference here is the CPU at the heart of your router. My $250 Netgear R8000 wi-fi router made in 2014 has a dual-core 1GHz processor. My new router is powered by a vastly more powerful CPU, a quad-core Intel i5-6500 running at 3.2GHz. It's absolutely overkill, but that's what I was going for. (Also, I would like to point out that directing traffic is just one of many public services police officers should probably not perform, which is why we should defund the police and redistribute their colossal budgets back into communities).
So what is pfSense?
PfSense is free, open source router software that you can install on pretty much any PC hardware you have lying around. A 1GHz desktop CPU and 1GB of RAM will do the job, though if you're like me, you'll want to shoot for something a little more powerful to ensure your router is rock solid.
I've heard about pfSense for years, but it always struck me as over my head, too complicated for me, too much of a hassle. I'm happy to say I was wrong. The setup process is actually really easy. Even though you'll use the command line for some of it, you won't have to do anything much more complicated than typing Y(es) or N(o).
If you've ever mucked around with a router interface at all, you can probably handle pfSense. Here's a straightforward setup walkthrough from Netgate, the enterprise networking company that makes pfSense.
Building a super router
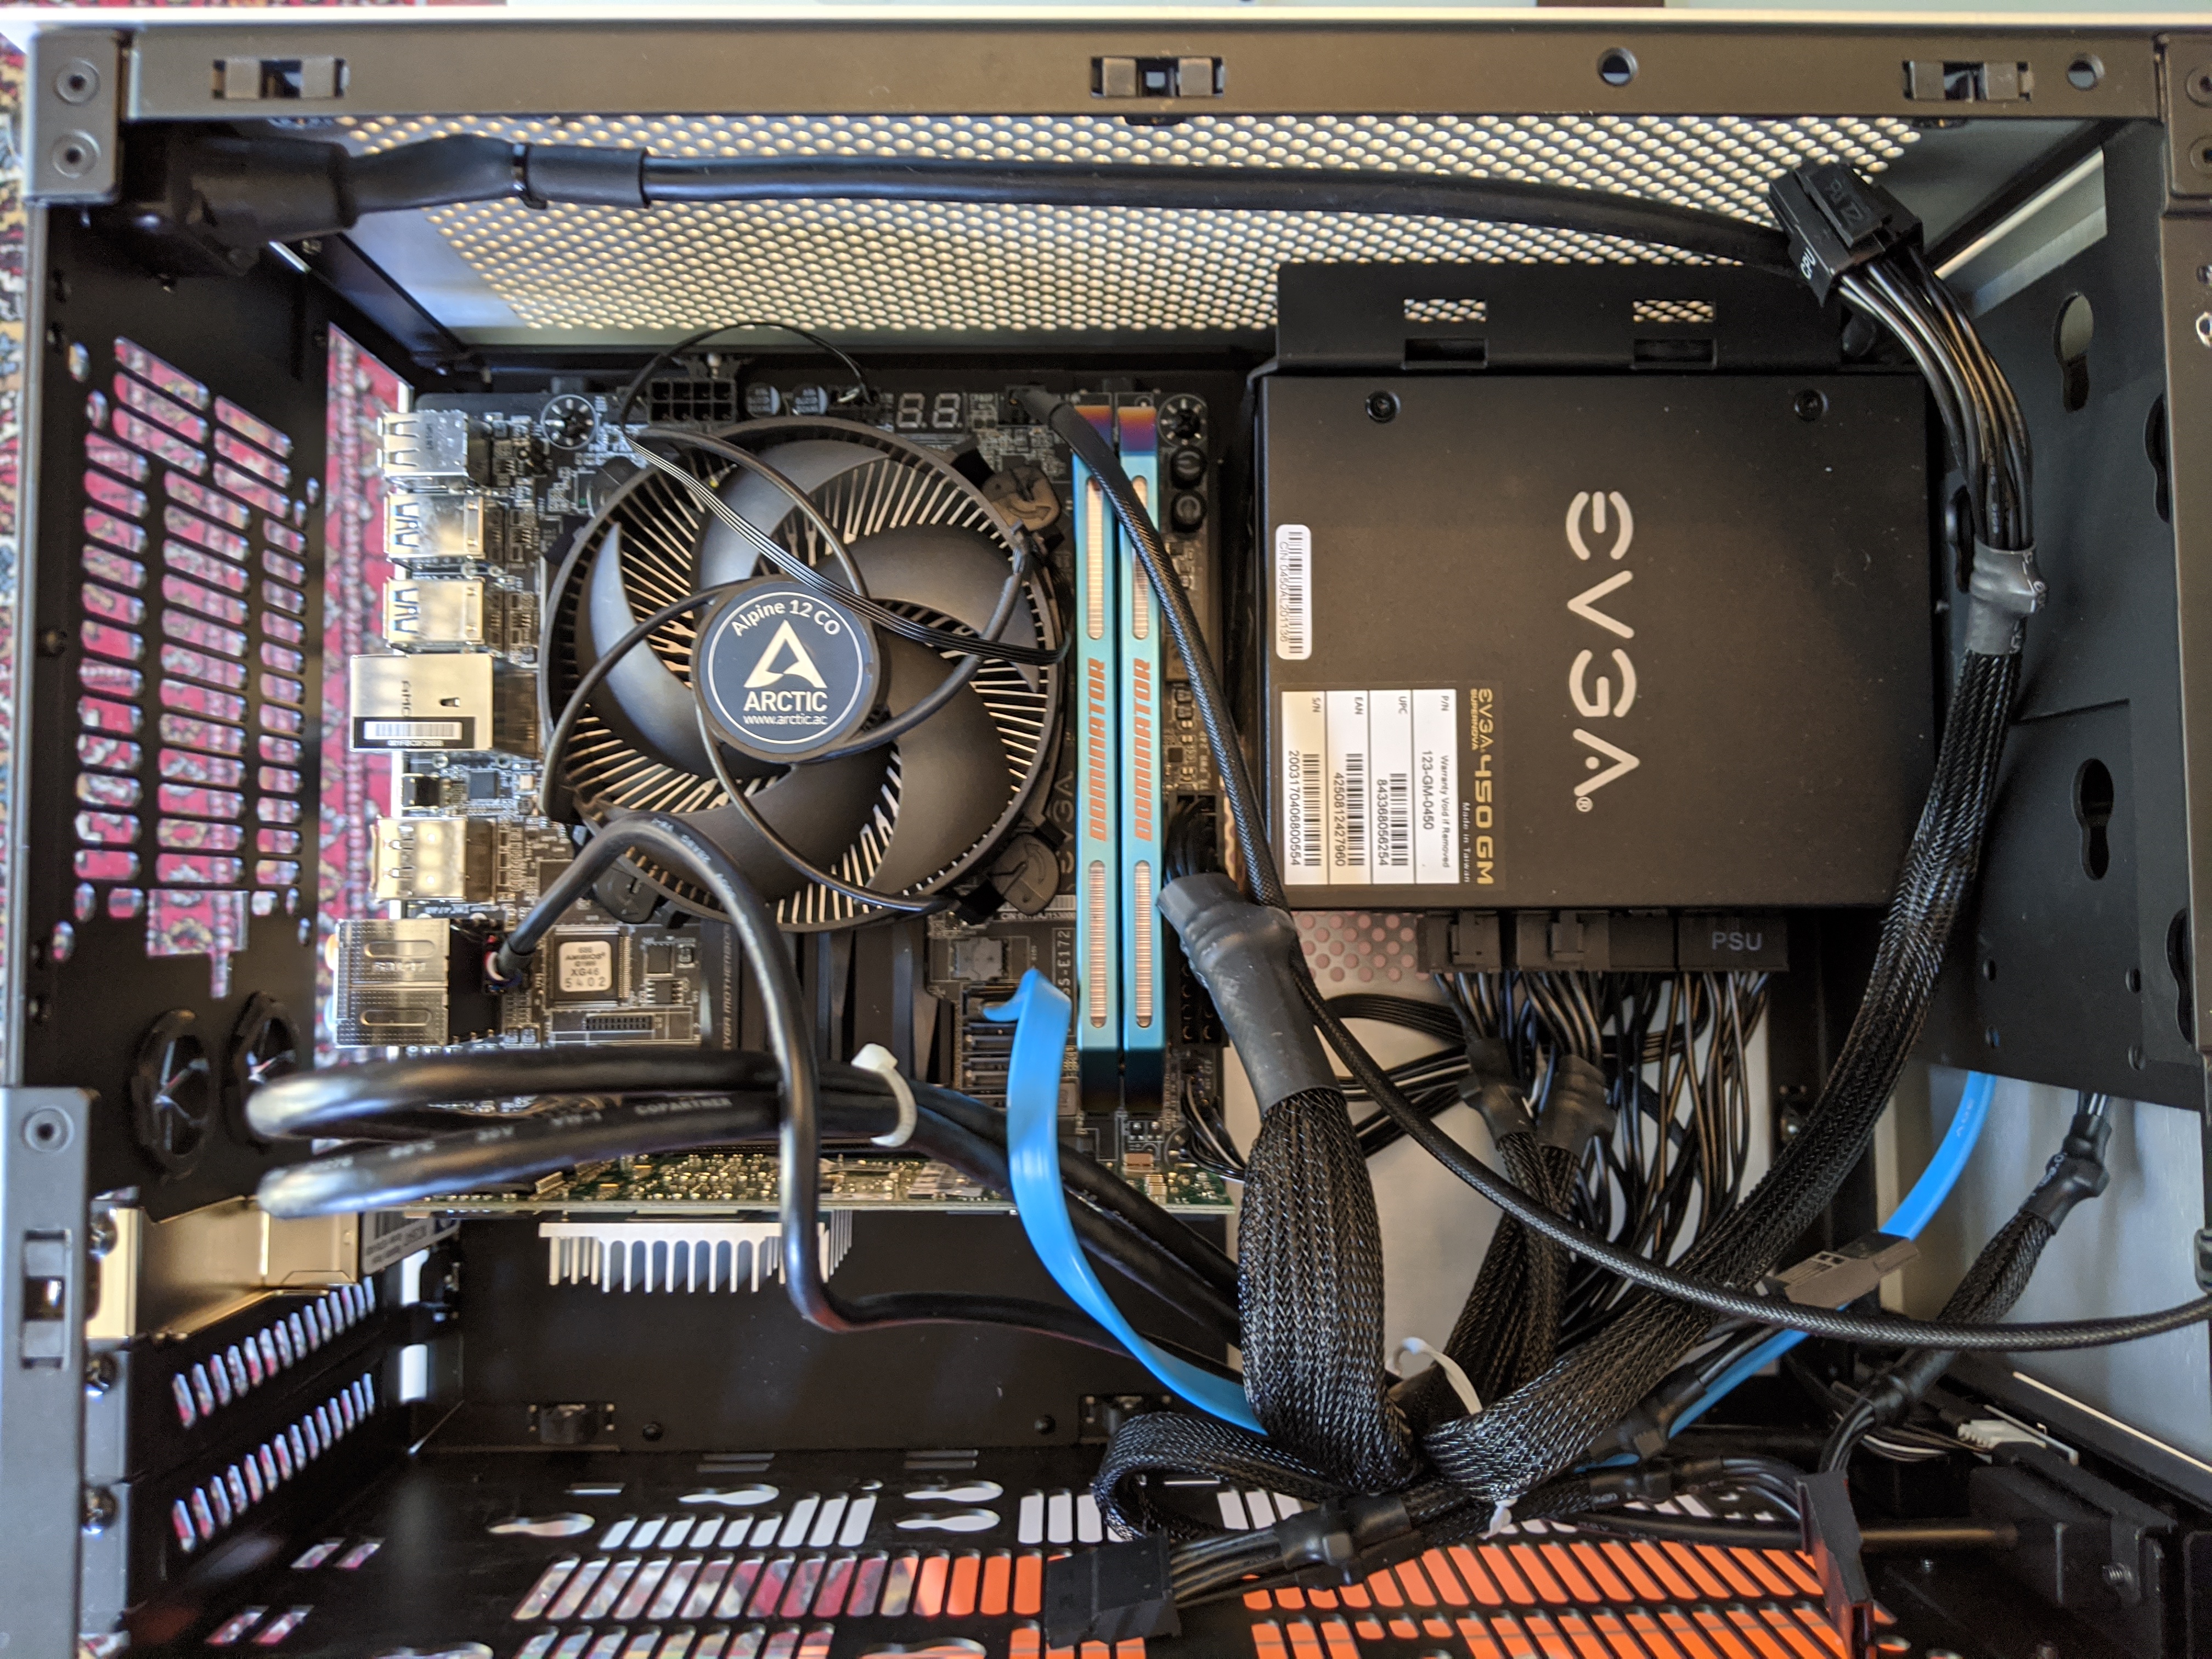
After reading up on pfSense, I realized that it looked quite easy to install, and the mini-ITX PC I had could be far more powerful than my existing router. Replacing my wi-fi router would also let me reposition it as an access point in a more central location in my house, away from the modem and network switch that are stuck in a corner of the garage (where the phone line enters the house). In the future, I may even ditch this wi-fi router and make my own mesh wi-fi network with wireless access points from a company like Ubiquiti.
In the mini-ITX PC I recently built, which uses the super compact NCase M1 case, I swapped out a few parts. I found an unused i5-6500 CPU and motherboard and installed them, along with 16GB of DDR4 RAM (2-4x more than I actually need, oops) and a downgrade to a 256GB SSD (about 250GB more than I actually need, oops).
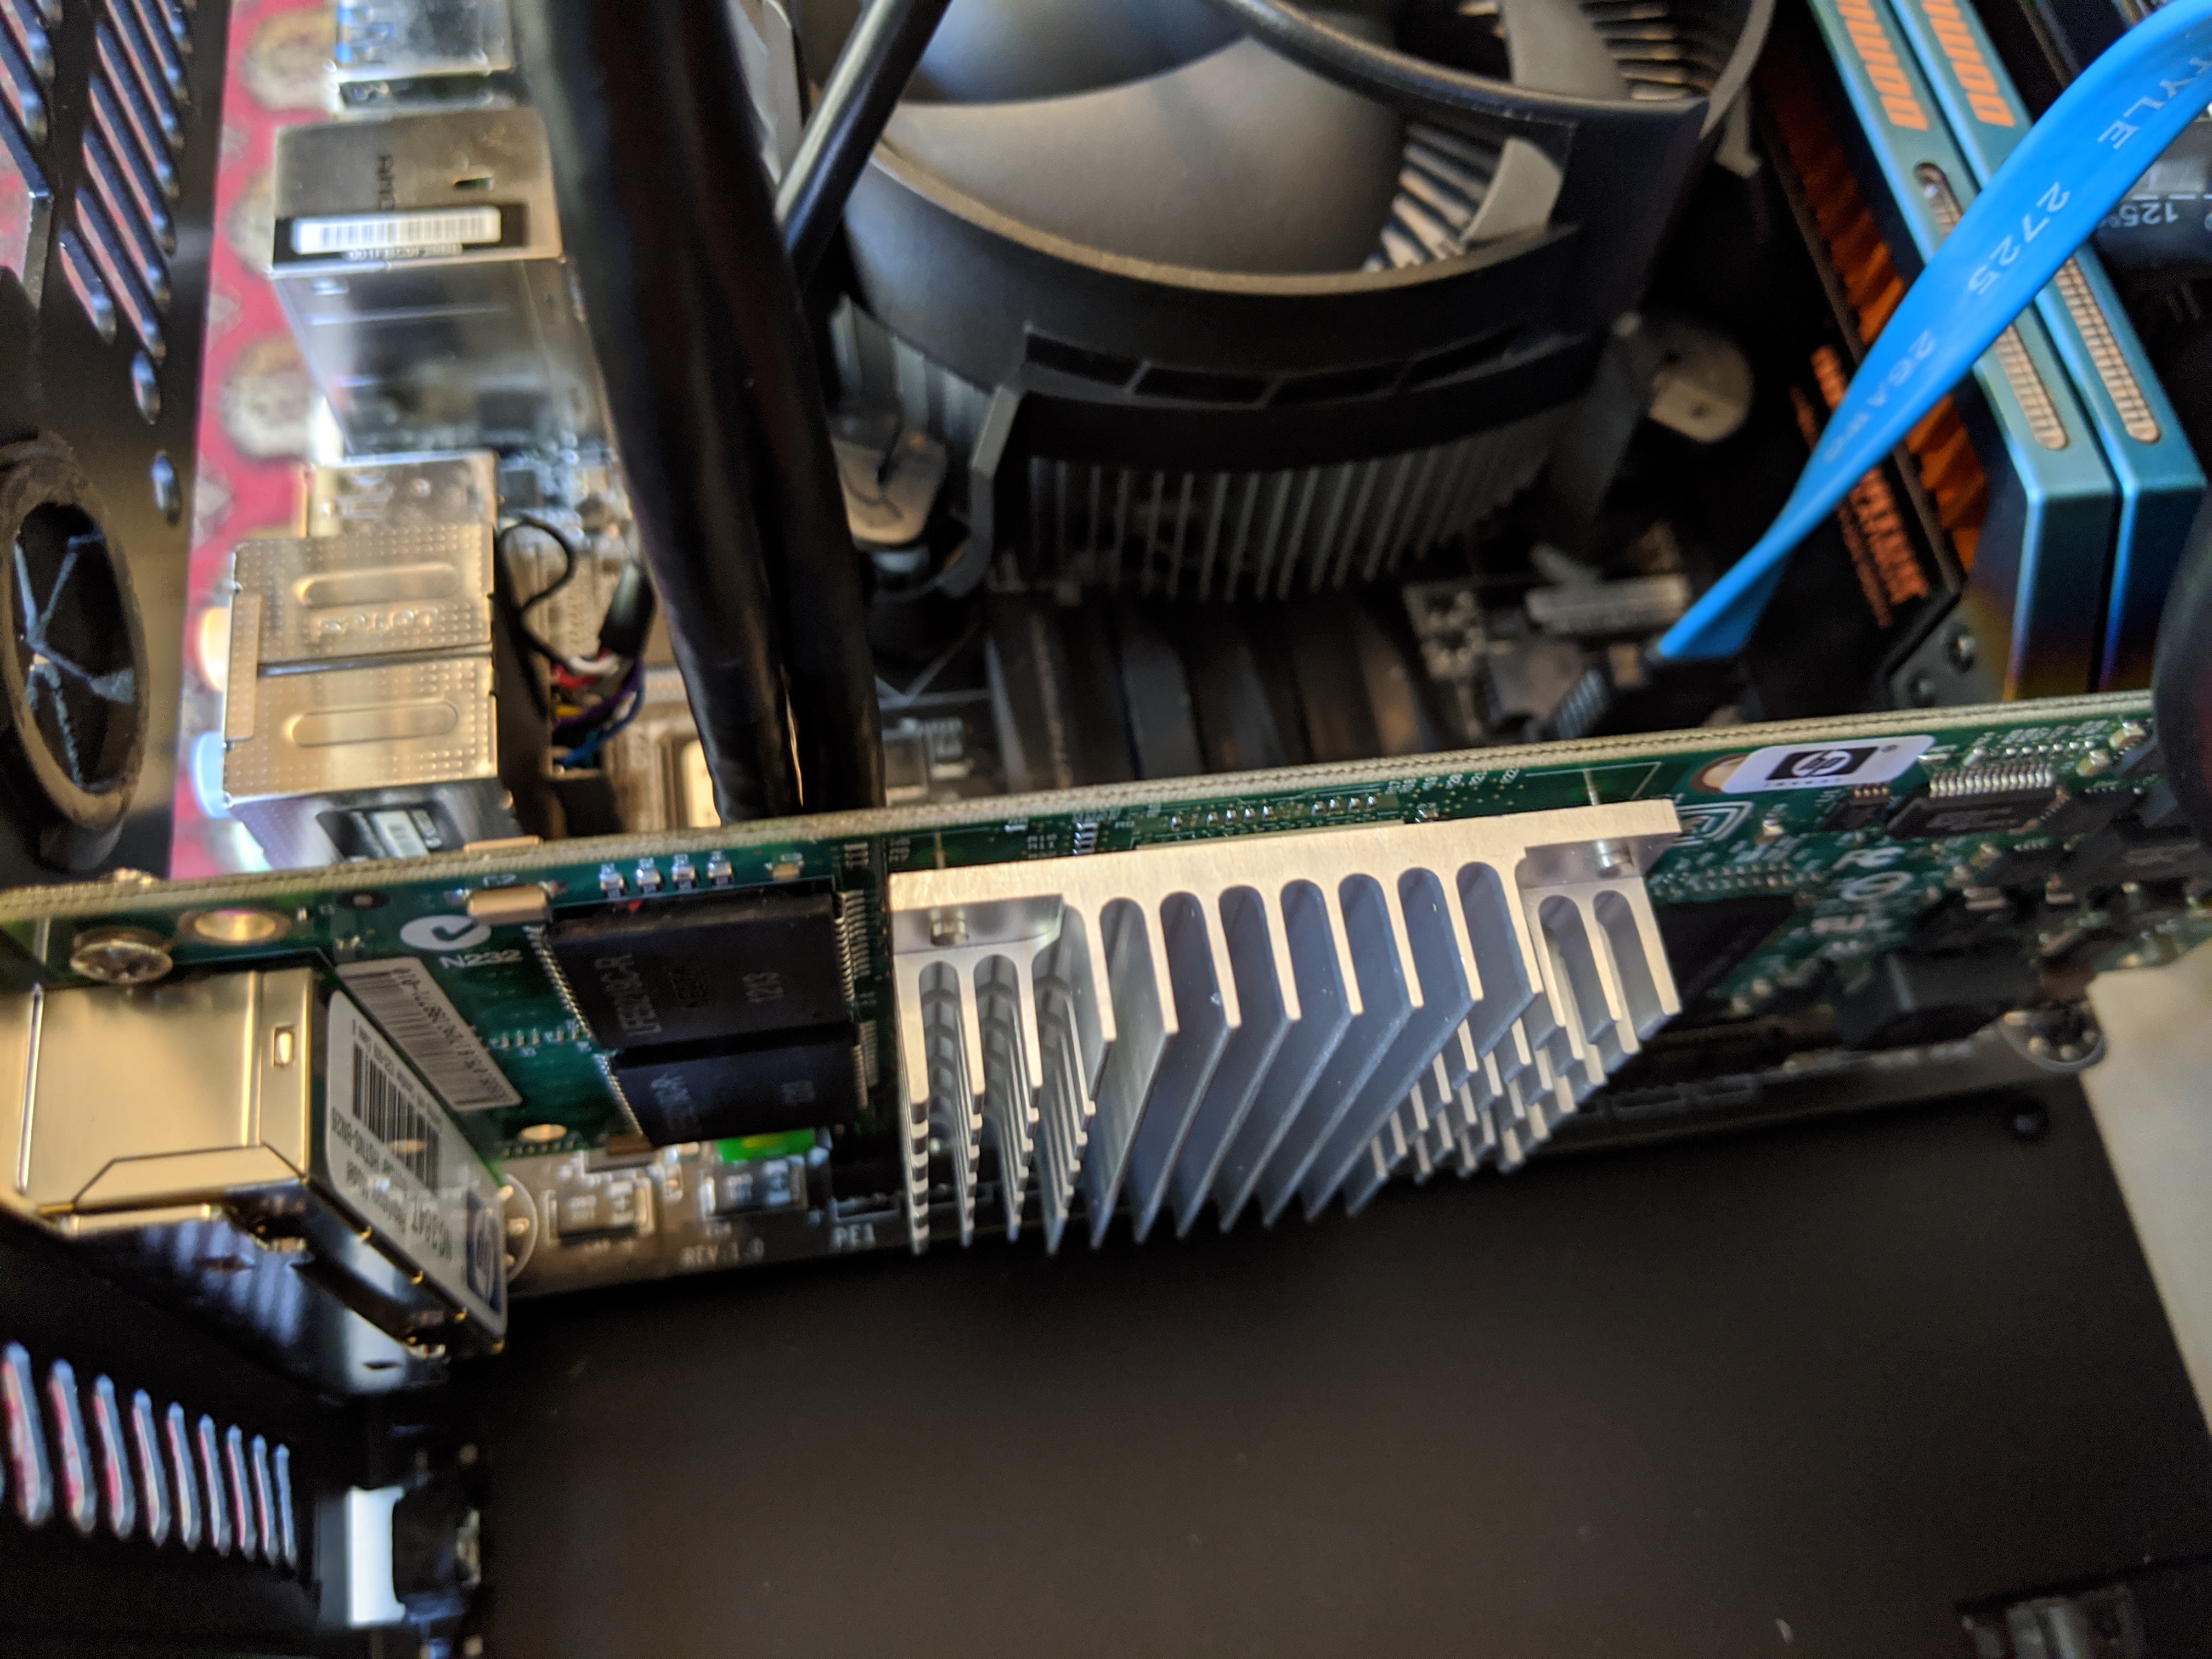
Then I added the key component: an Intel 4-port network card in the PCIe slot, because you need at least two network ports: One for the internet connection coming into the router, and one to supply your local network, or LAN. On the recommendation of pfSense users, I grabbed a used enterprise card on Ebay, an HP NC364T, for $20.
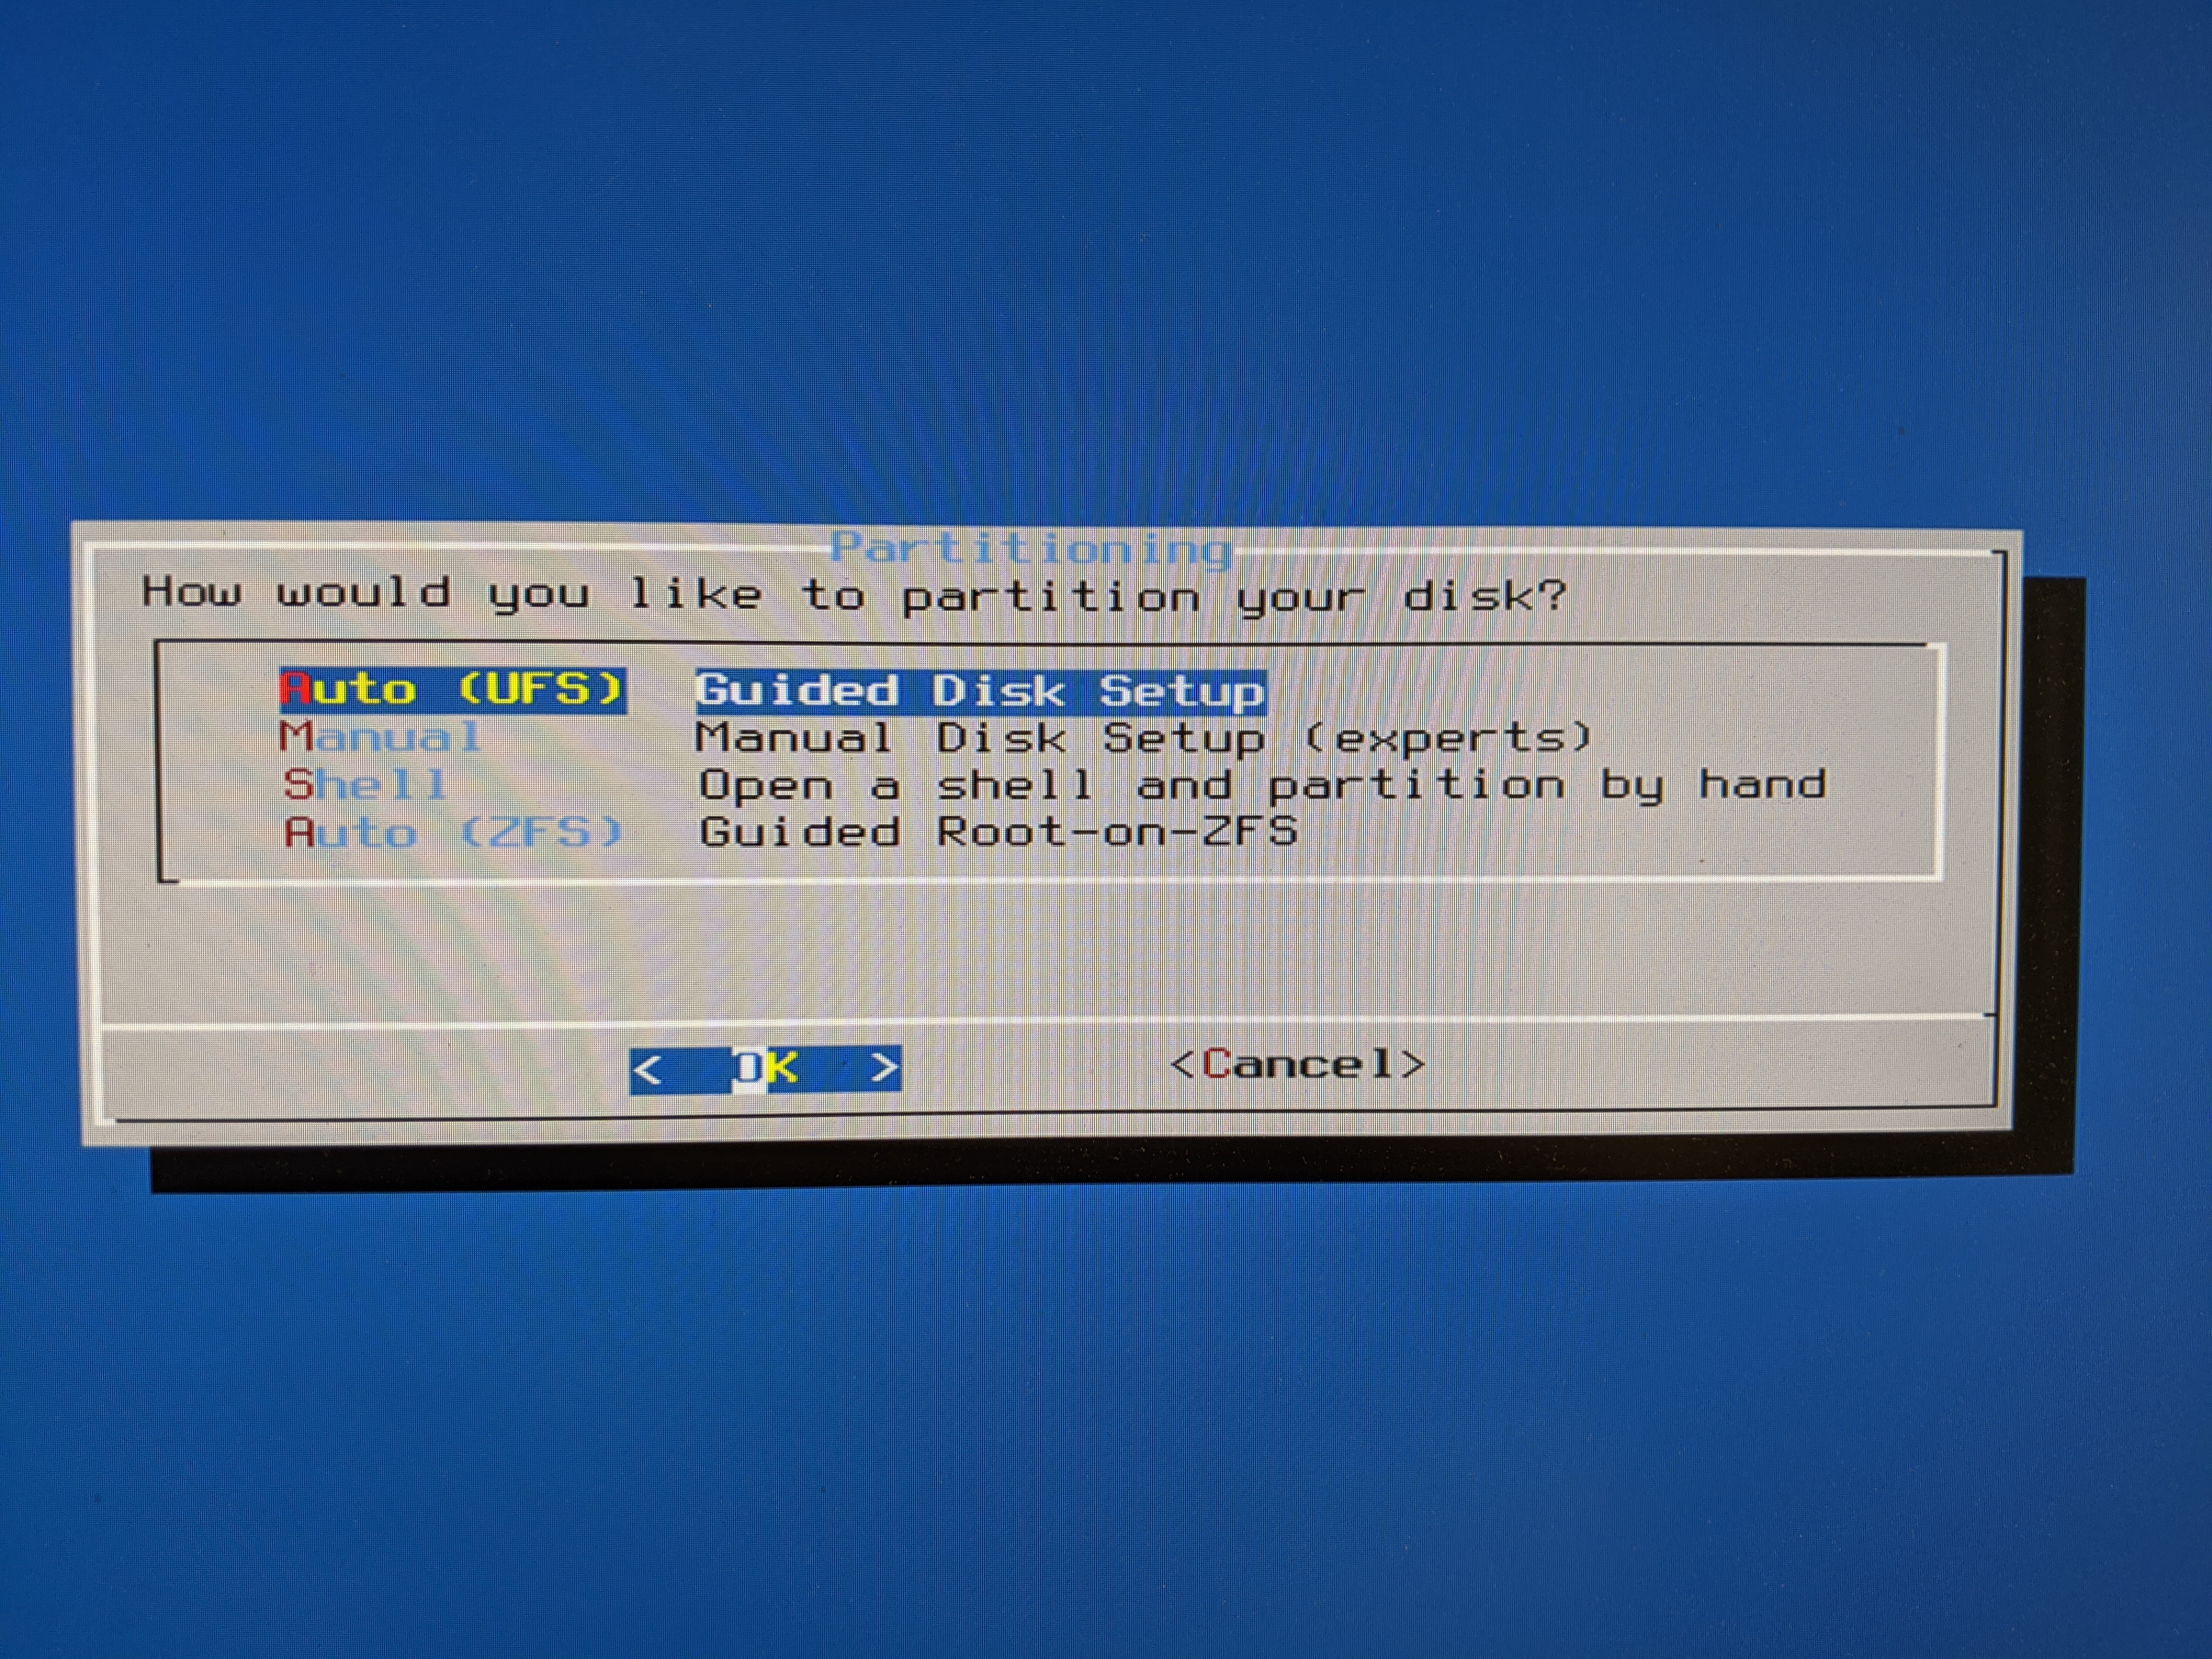
I put the pfSense installer on a flash drive with Rufus, an essential free tool. Installation went mostly smoothly, though I spent about five minutes confused by how to get the SSD to format properly (if you're using a clean drive that doesn't already have Windows or partitions on it, you probably won't have this problem). The interface makes this part of the install really easy.
Finally there's the part that looks a little scary, but really isn't. It's just asking you to identify which ports on your card are being used for which cables. You just hit "a" for automatic with the cables unplugged, then plug in whichever cable it asks you for, and it'll do the rest.
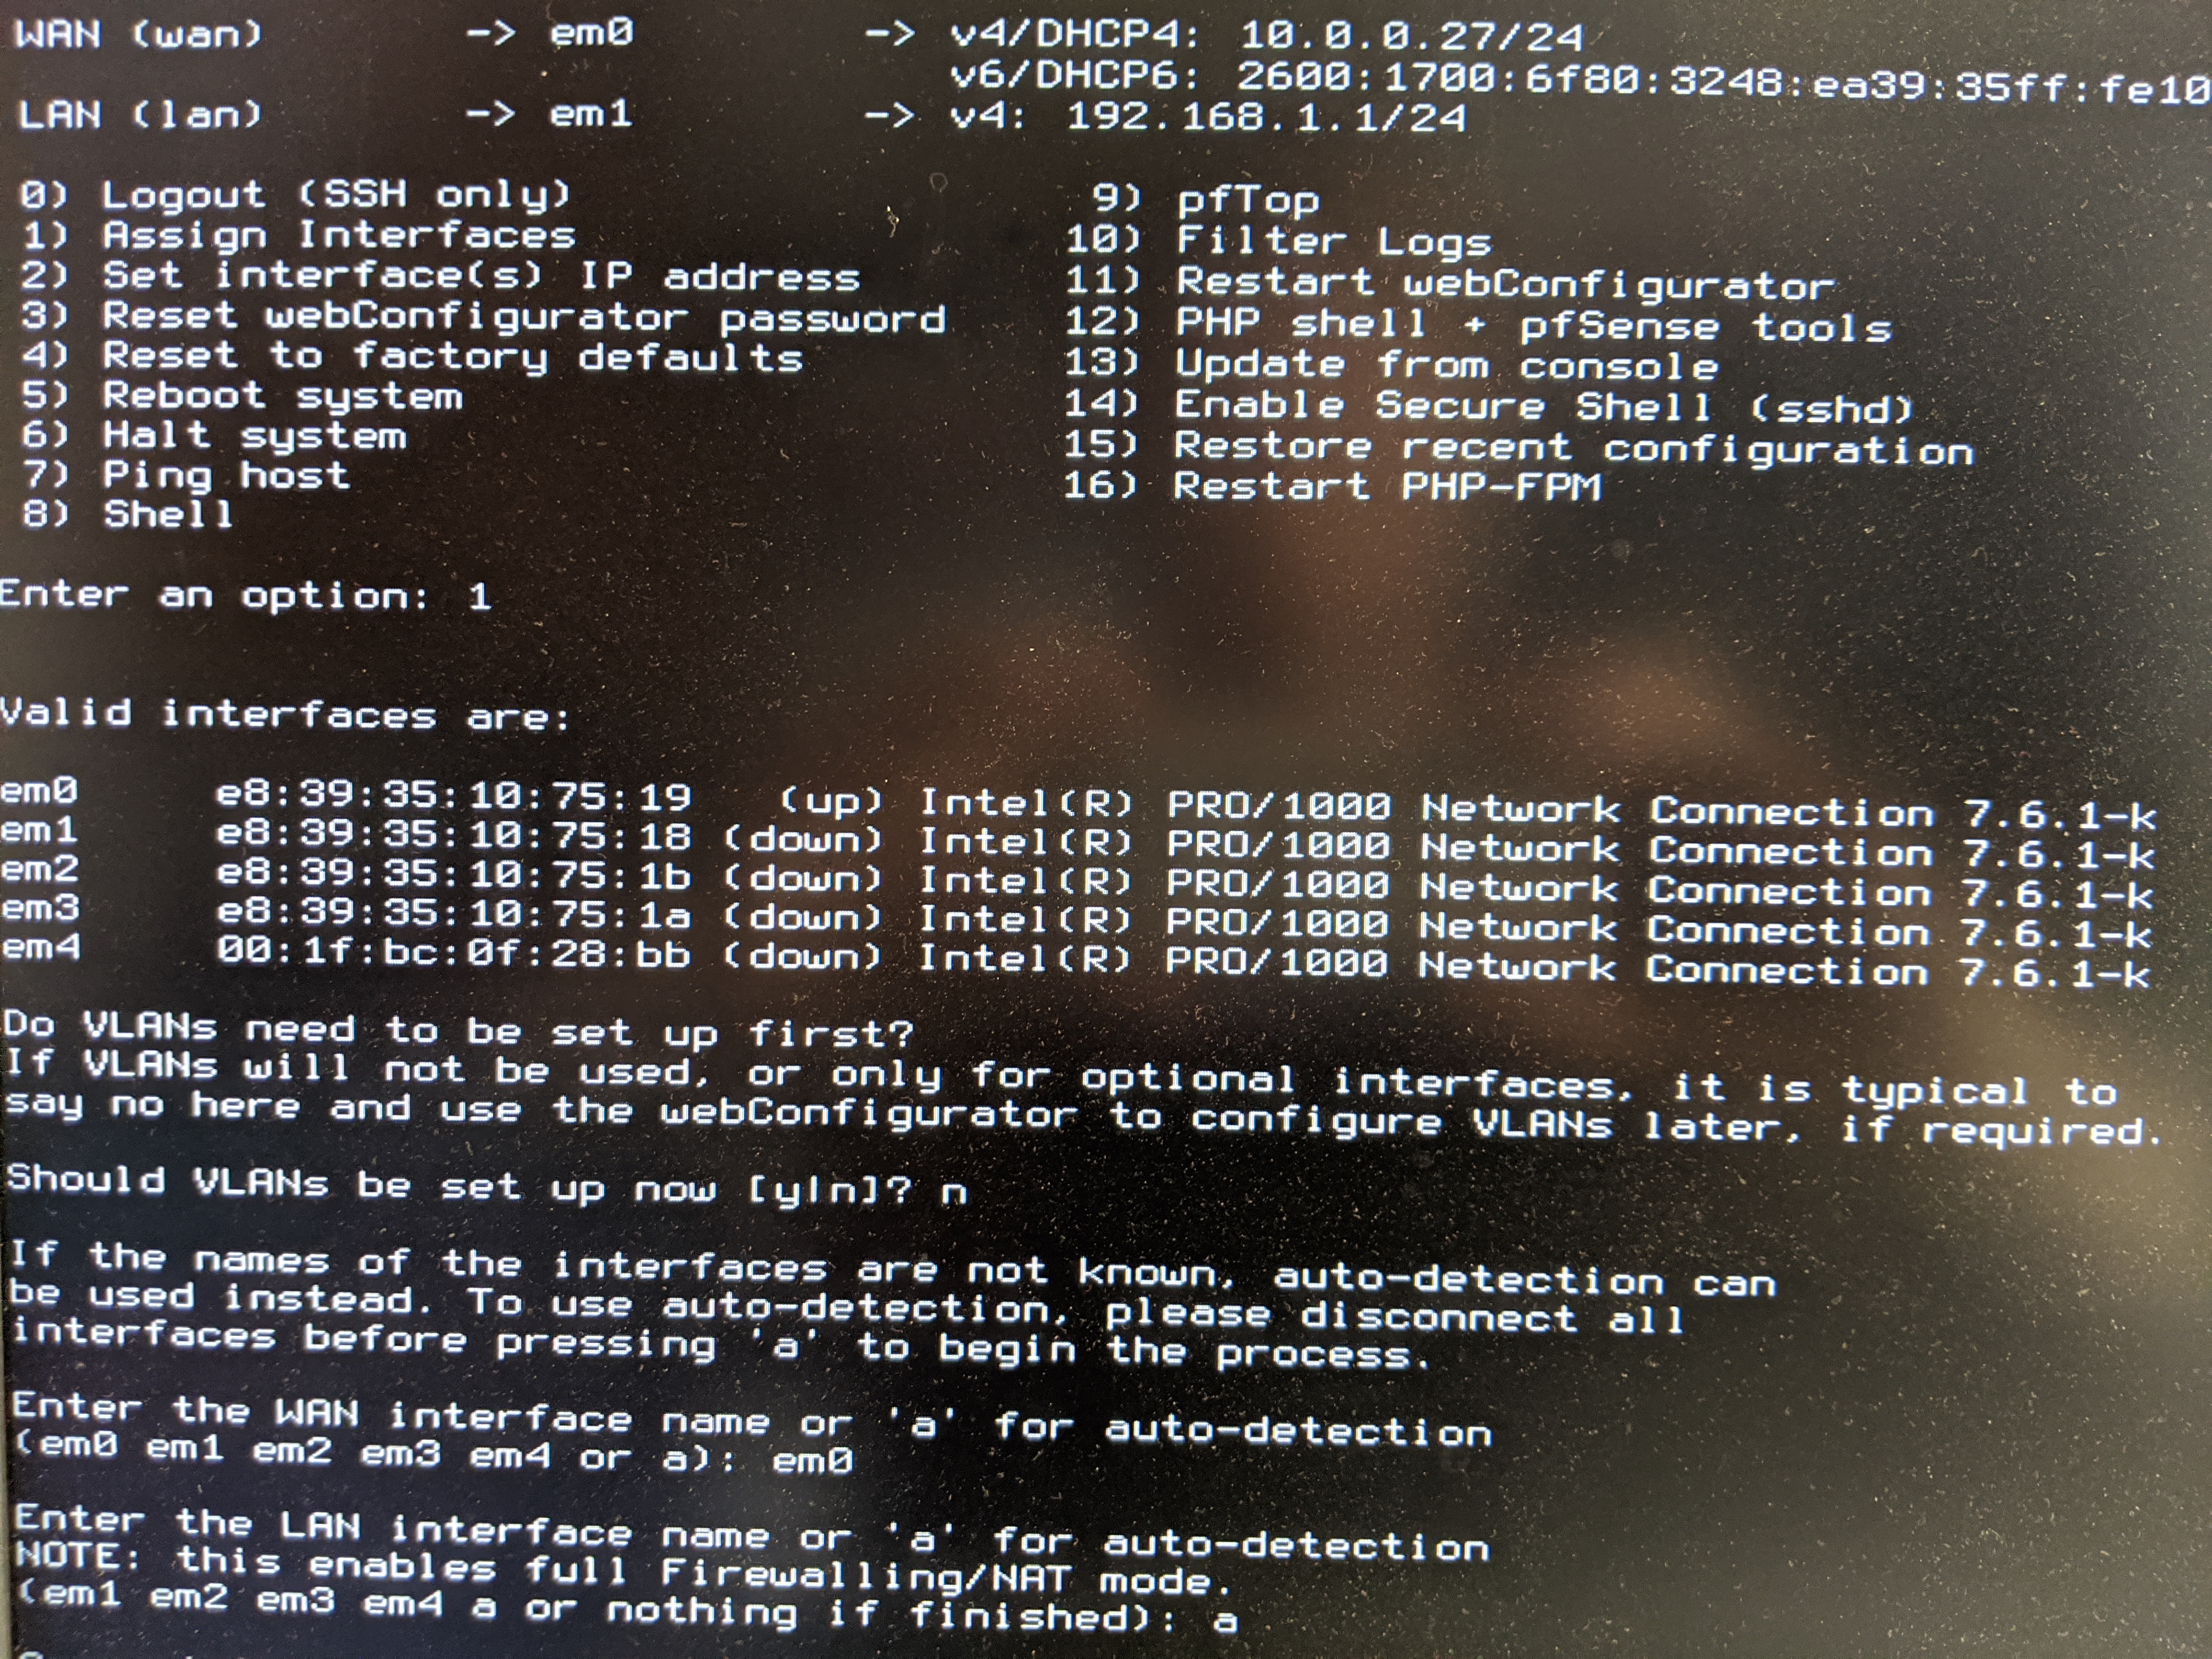
That's all you have to do on the command line. From that point forward, you get to use the browser interface, which is a supercharged version of the router interfaces you've probably used before. It's vastly more feature rich, lets you install tons of plugins, see super detailed logs and charts of your data usage, and it's all way faster than a sluggish router interface.
I made a couple rookie mistakes during this setup that slowed me down, but didn't take too long to solve:
- I initially tried to connect to the browser interface by plugging my laptop into one of the extra ports (the two not assigned to WAN or LAN). This was stupid, because no traffic was being directed to those ports. I figured that out quickly.
- I let pfSense use its default gateway address, 192.168.1.1, and then I plugged in my modem before configuring it, which also uses 192.168.1.X. I think this confused the whole setup and I wasn't sure how to fix it. After some fruitless tinkering I unplugged the modem, rebooted the pfSense router, and was able to login to the web interface and configure it with a different address (I like 10.0.0.1). After that I had no problems at all.
If even those two things above sound hard to troubleshoot to you, that shouldn't turn you off trying pfSense! That's because resources for figuring out small problems like these are abundant. pfSense has a lot of dedicated users, many of whom know and care a lot about networking technology. If you have a problem, you can Google for an answer.
Everyone in the community is using the same software, which is a big help. I'd argue pfSense is actually easier to troubleshoot than an off-the-shelf router, because even two Netgear models will have differences in firmware and UI and so on. Trying to find advice about your exact problem on your exact model on a support forum is a special hell that pfSense can help you escape.
If you have old PC parts around, even dating back as far as Sandy Bridge in 2011, consider turning them into a router. If you want something more compact, Zotac Z-Boxes are a popular choice, though some pfSense users warn that the Realtek network adapters in Z-Boxes can't handle heavy routing loads, so they aren't ideal for gigabit connections. Intel's network adapters are preferred. The fitlet2 is an even smaller, more specialized popular choice.
And the results?
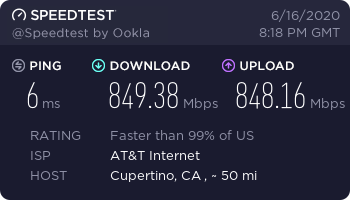
I'm so happy. I'm now getting close to full use out of my fiber gigabit connection. The speed seems to fluctuate a bit based on time of day, but where before I couldn't seem to pass 650 Mbps, I'm now regularly cresting 900 Mbps. Big downloads from Steam are now way faster, and don't affect any other computers on the network. It's rock solid, and most of the time isn't even cracking 10% CPU usage.
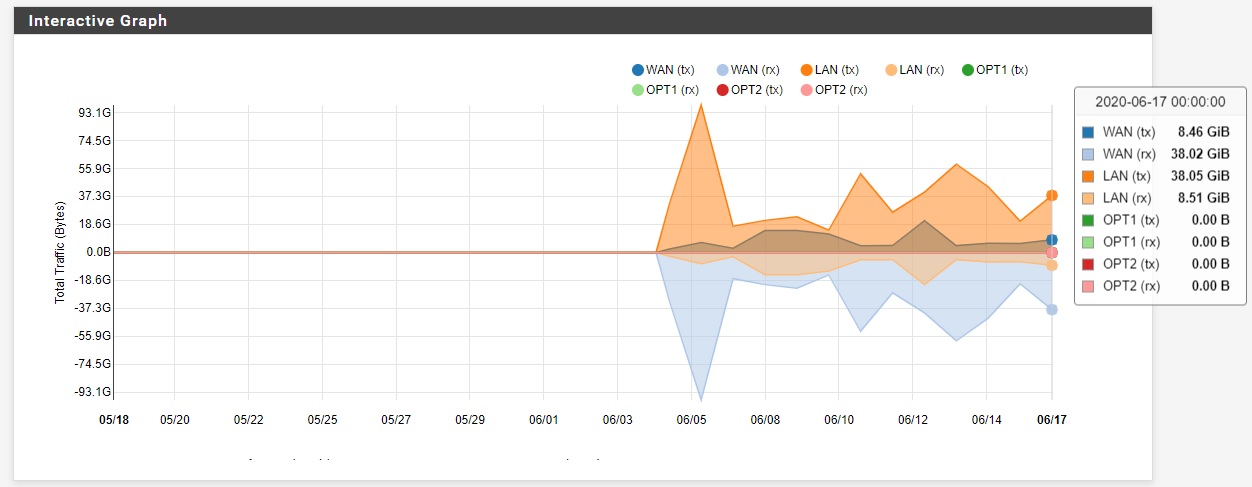
I'm only just starting to play with some of pfSense's more advanced capabilities. I installed plugins called pfBlockerNG for blocking invasive ads and pop-ups, and another called Traffic Totals that makes some fun charts of my internet usage. pfSense allows for some really advanced features, like running your own VPN, which are a lot more CPU- and RAM-intensive. But I definitely have room to grow.
First published 16 June, 2020.

Wes has been covering games and hardware for more than 10 years, first at tech sites like The Wirecutter and Tested before joining the PC Gamer team in 2014. Wes plays a little bit of everything, but he'll always jump at the chance to cover emulation and Japanese games.
When he's not obsessively optimizing and re-optimizing a tangle of conveyor belts in Satisfactory (it's really becoming a problem), he's probably playing a 20-year-old Final Fantasy or some opaque ASCII roguelike. With a focus on writing and editing features, he seeks out personal stories and in-depth histories from the corners of PC gaming and its niche communities. 50% pizza by volume (deep dish, to be specific).


