How-To: Give Your Laptop a Cooling Overhaul
Laptop Cooling 101
Modern day laptops are loaded with powerful, heat producing components that can often lead to over heating, especially if you’re asking your laptop to do some heavy lifting. If your laptop ever feels particularly hot in certain spots, or sometimes randomly shuts off, there's a good chance that overheating is to blame.
And if your laptop is no longer covered under warranty, fear not. We’ve put together a step-by-step guide for both computer novices and hardware enthusiasts that’ll show you exactly how to deal with overheating problems on your own.
Method One: Non-Invasive Cleaning
This method is intended for those who are uncomfortable handling or unfamiliar with computer components. Even if you've never tinkered with computer hardware before, following these instructions should be simple and effective enough to repair an overheating laptop.
Necessary Tools:
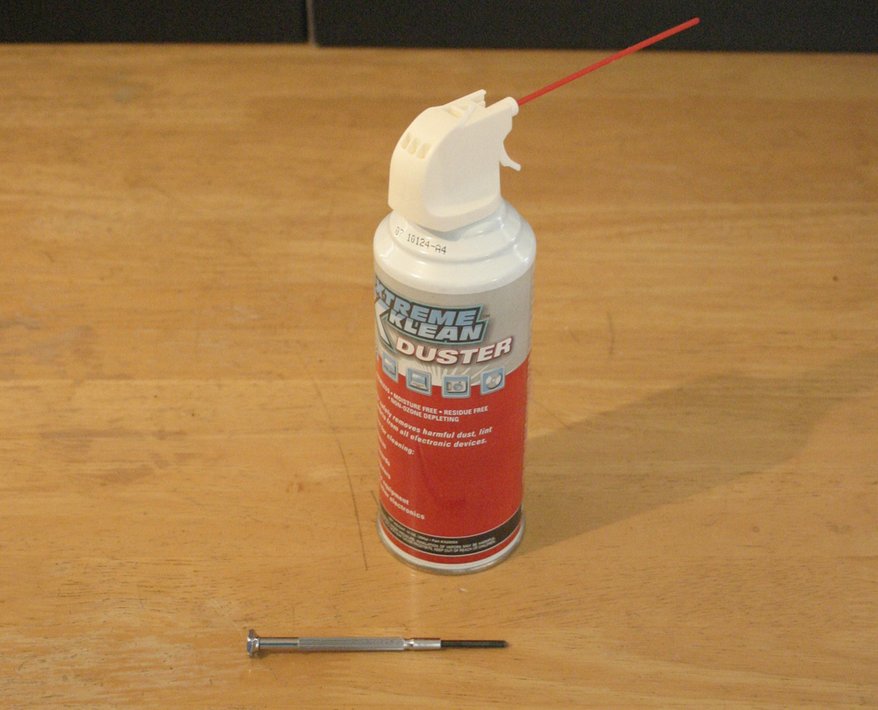
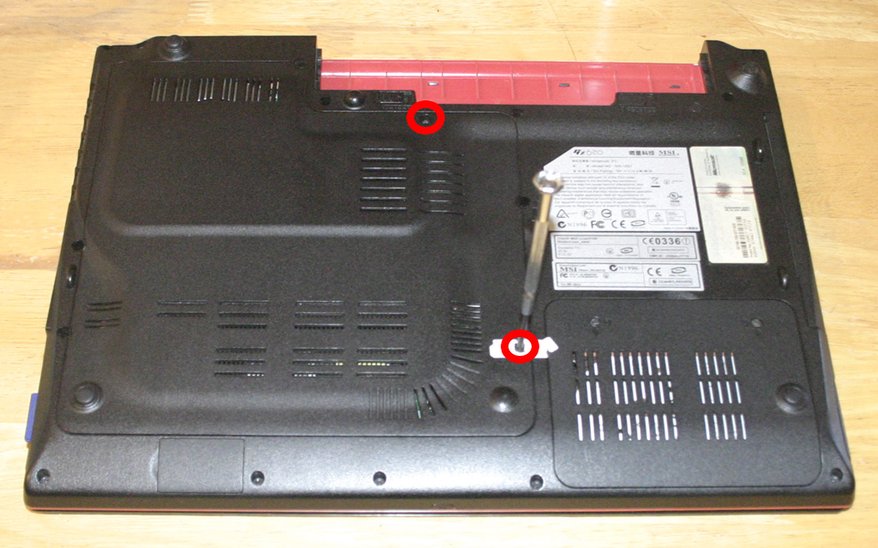
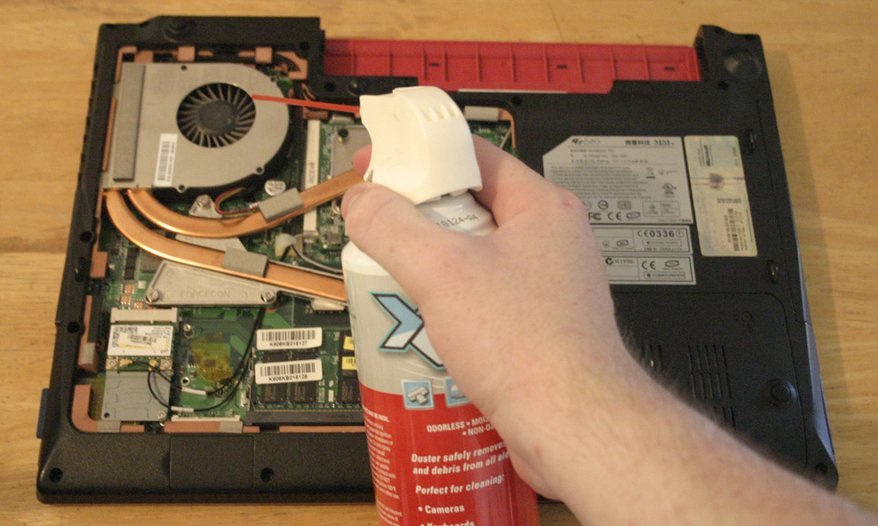
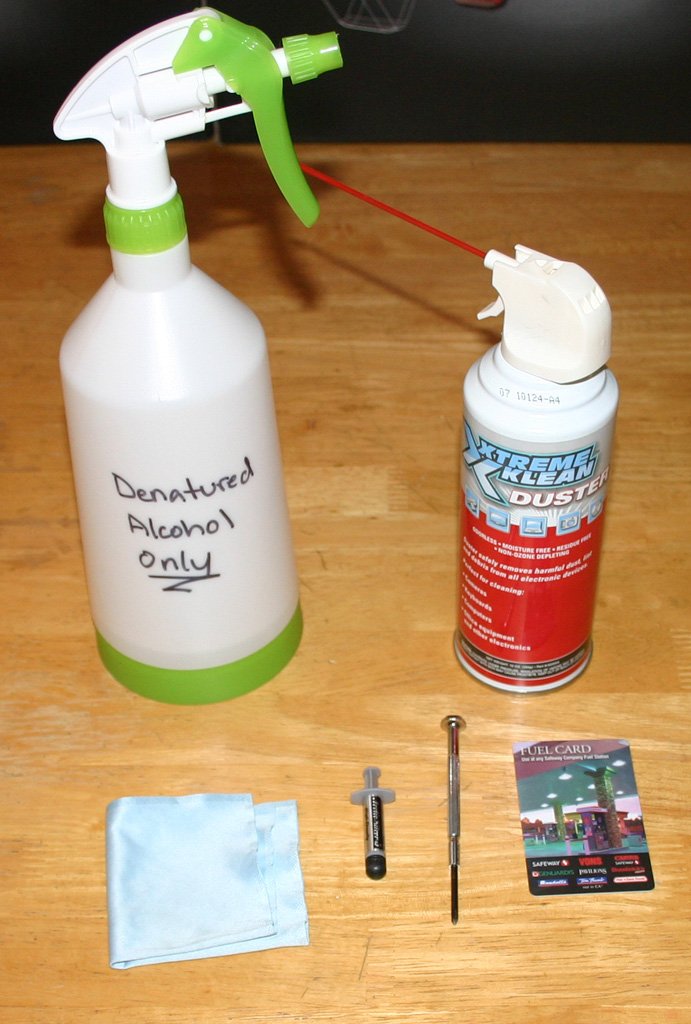

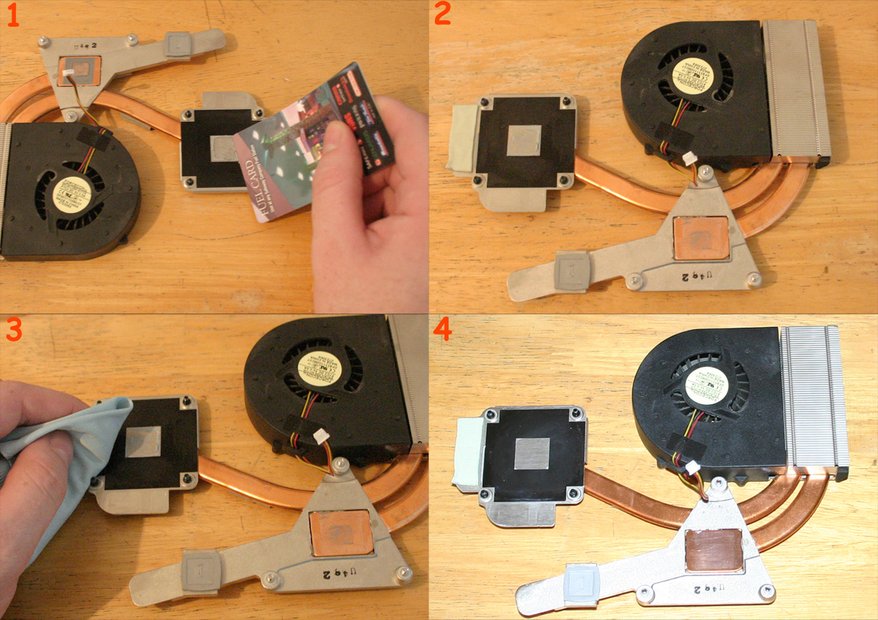
While you have the heatsink out, use the compressed air to clear out the fins of any dust. It's also a good idea to check the fan for any dust as well. Use a plastic edge (old credit card or ID card) and scrape the old thermal material off of the heatsink. Remove as much of it as possible. Do NOT use any sort of metal edge to do this. Heatsinks have tiny micro grooves to optimize cooling, so even a small scratch can compromise the effectiveness of the heatsink.
Once the excess thermal paste has been removed, use your lint-free cloth dampened with isopropyl or denatured alcohol to rub the remaining thermal paste clean from the heatsink. This will probably take several passes to get it as clean as possible.
After you've cleaned the heatsink with isopropyl, make sure you do not touch the contact surfaces with anything--even the slightest contaminate, like a fingerprint, can impede cooling performance.
Step Four: Cleaning the CPU and GPU
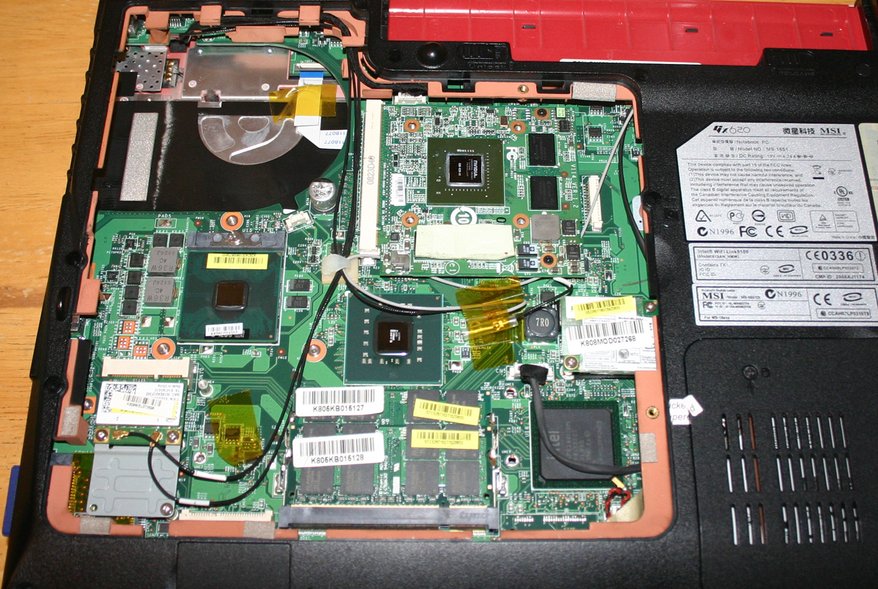

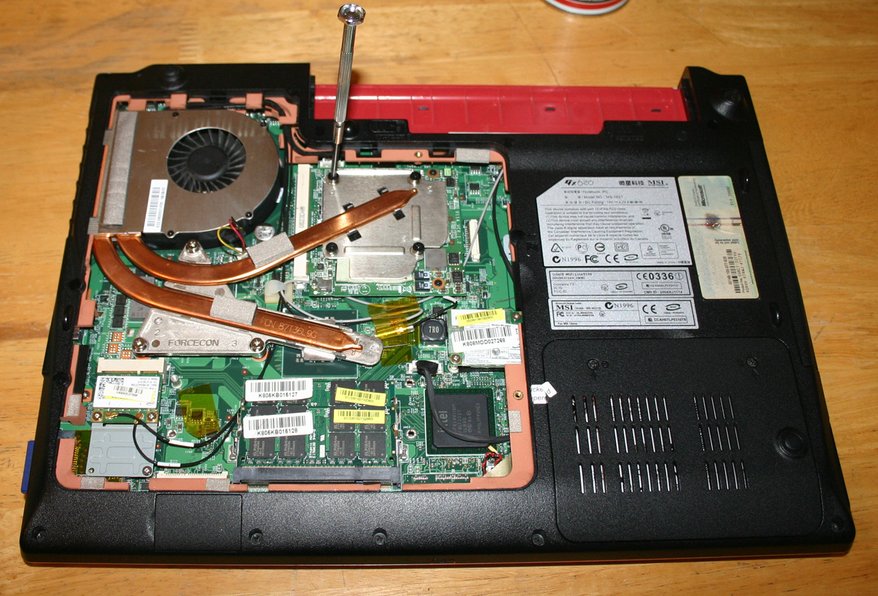
Keep up to date with the most important stories and the best deals, as picked by the PC Gamer team.
