The best materia in Final Fantasy 7 Remake
A complete list of all materia in Midgar.
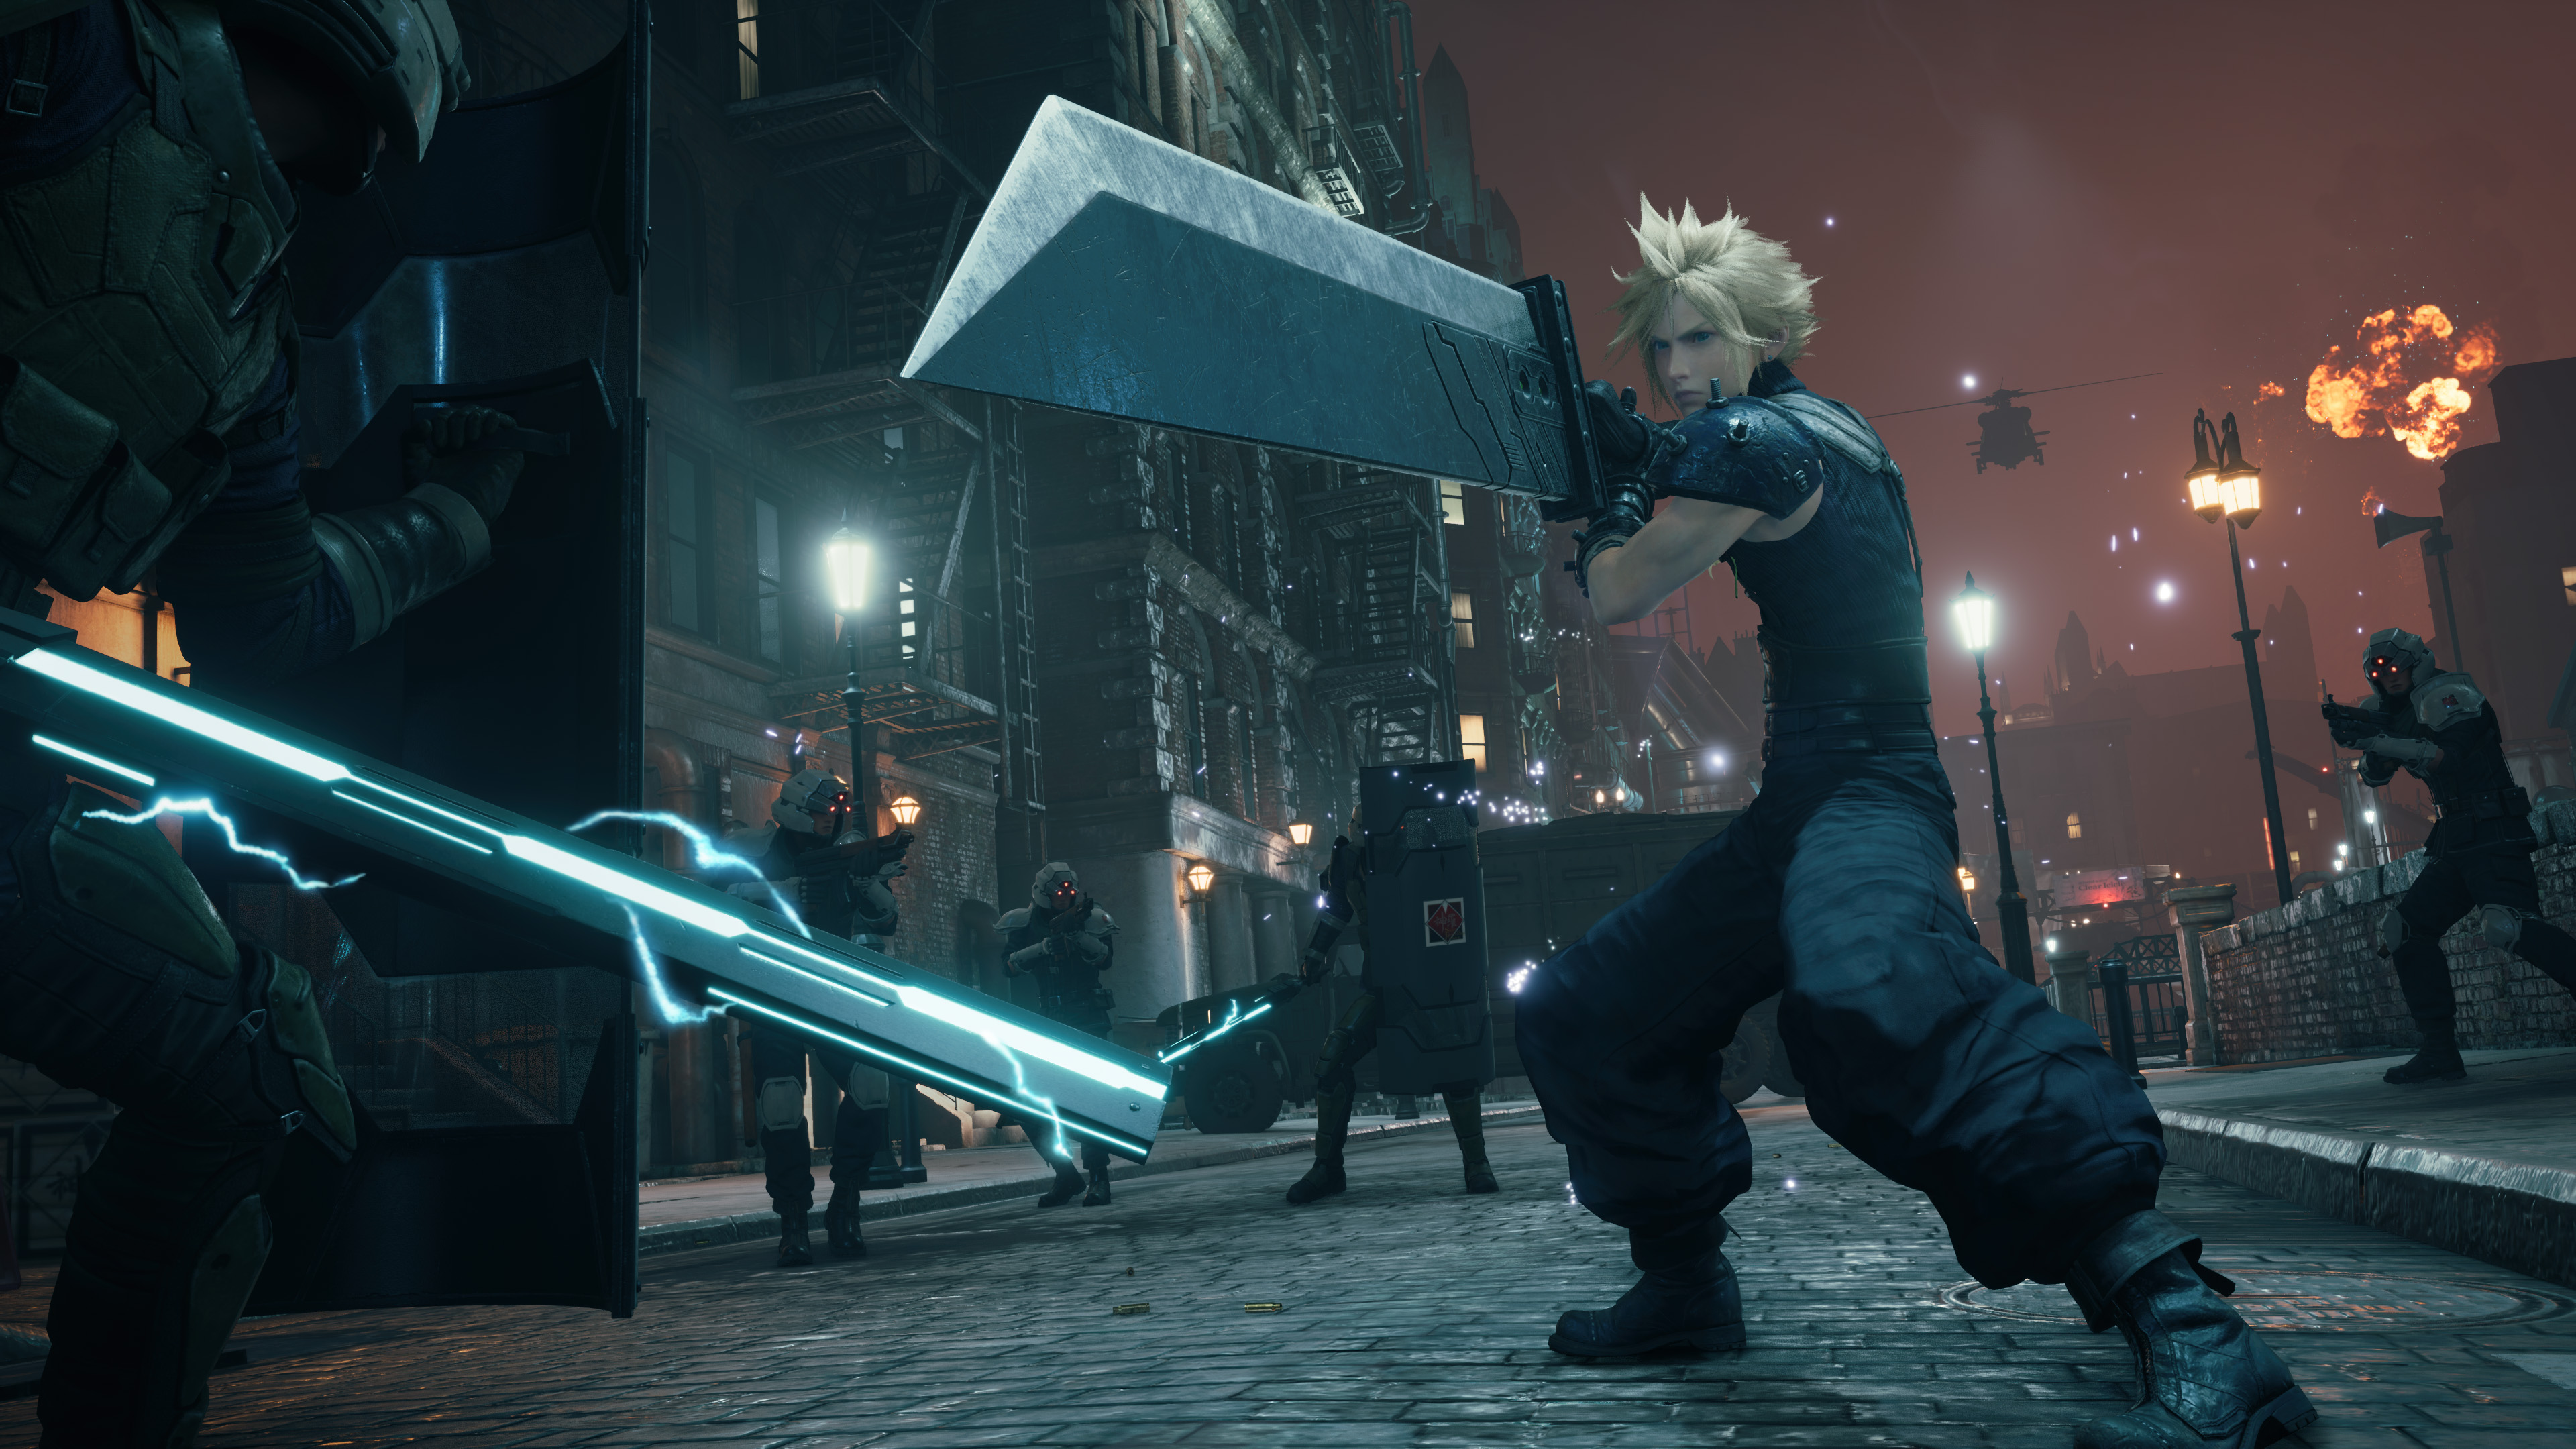
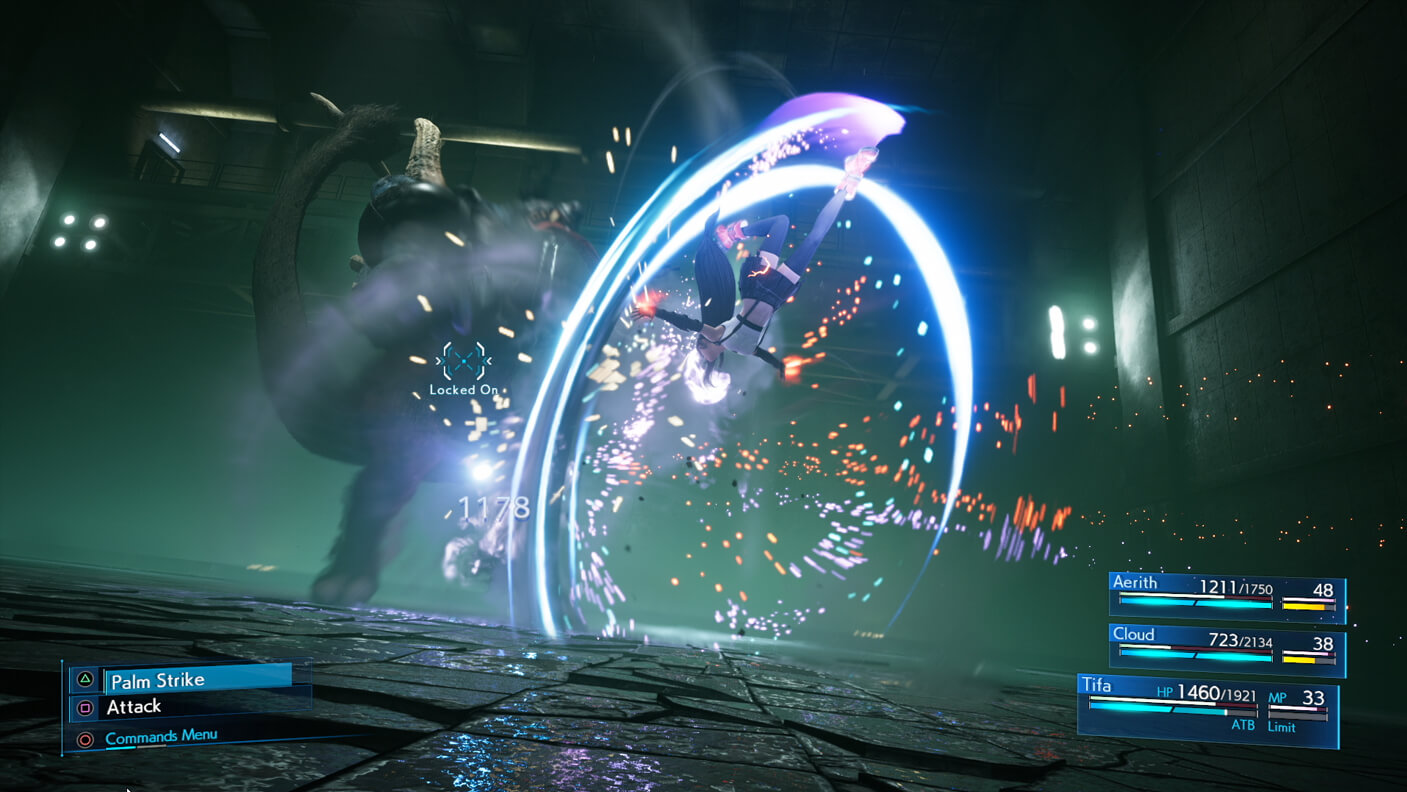
Wondering what's the best materia in Final Fantasy 7 Remake? Once you're over the initial nostalgia of jumping back into Midgar, you might be wondering where to start with the revamped battle system. The new action-inspired combat is a far cry from the original's turn-based combat, but thankfully, there's at least one familiar aspect to it.
If you played the original JRPG, you should be familiar with the basics of materia and how it works when you slot it into your gear. The remake has overhauled the system slightly, but the premise remains largely unchanged. So if you're new to the game or need a refresher, this guide will help you out. Here's the best materia to use in FF7 Remake and where to get it.
How materia works in Final Fantasy 7 Remake
To use materia, you need to equip it in the available slots on your gear. Generally, the better the gear, the more slots you'll have to assign, and so, the more materia you'll be able to equip and use.
Article continues belowWhenever you get into a battle, you'll earn AP, which is used to level up any materia you have equipped automatically. Generally, as materia gains levels, it will unlock more spells or stronger versions of the same spell. And once you've 'mastered' a materia—maxed out its level—a new, unleveled materia of the same type will be created and placed in your inventory.
Materia comes in different types. Some will allow you to cast spells—which cost MP—while others will offer a passive boost of some kind or augment the effects of the materia it's paired with in a linked slot. An excellent example of this is pairing the 'AP Up' materia with any materia you're trying to level up quickly. Or the 'Magnify' materia, which allows the linked spell to hit multiple enemies or allies, depending on the materia it's paired with.
Best materia
Final Fantasy 7 Remake: Best materia to equip
There are many options when it comes to which materia you want to equip on the various characters. Many of your materia choices will come down to your playstyle or the enemies you're dealing with, so this isn't an exhaustive list. But as there are so many to pick from, these should give you a solid starting point.
AP Up: Increases amount of AP earned for linked materia.
Keep up to date with the most important stories and the best deals, as picked by the PC Gamer team.
When you pair this materia with another inside linked slots on your gear, the paired materia will receive 100% increased AP gain. This means you can level up the paired materia much faster.
Auto-Cure: Casts Cure on severely injured allies up to a set number of times.
This frees up the character you're controlling to some extent and allows a non-active character in your party to throw heals to injured allies. The character casting the spell will need an ATB segment and MP available, but it can help out during those more frantic moments.
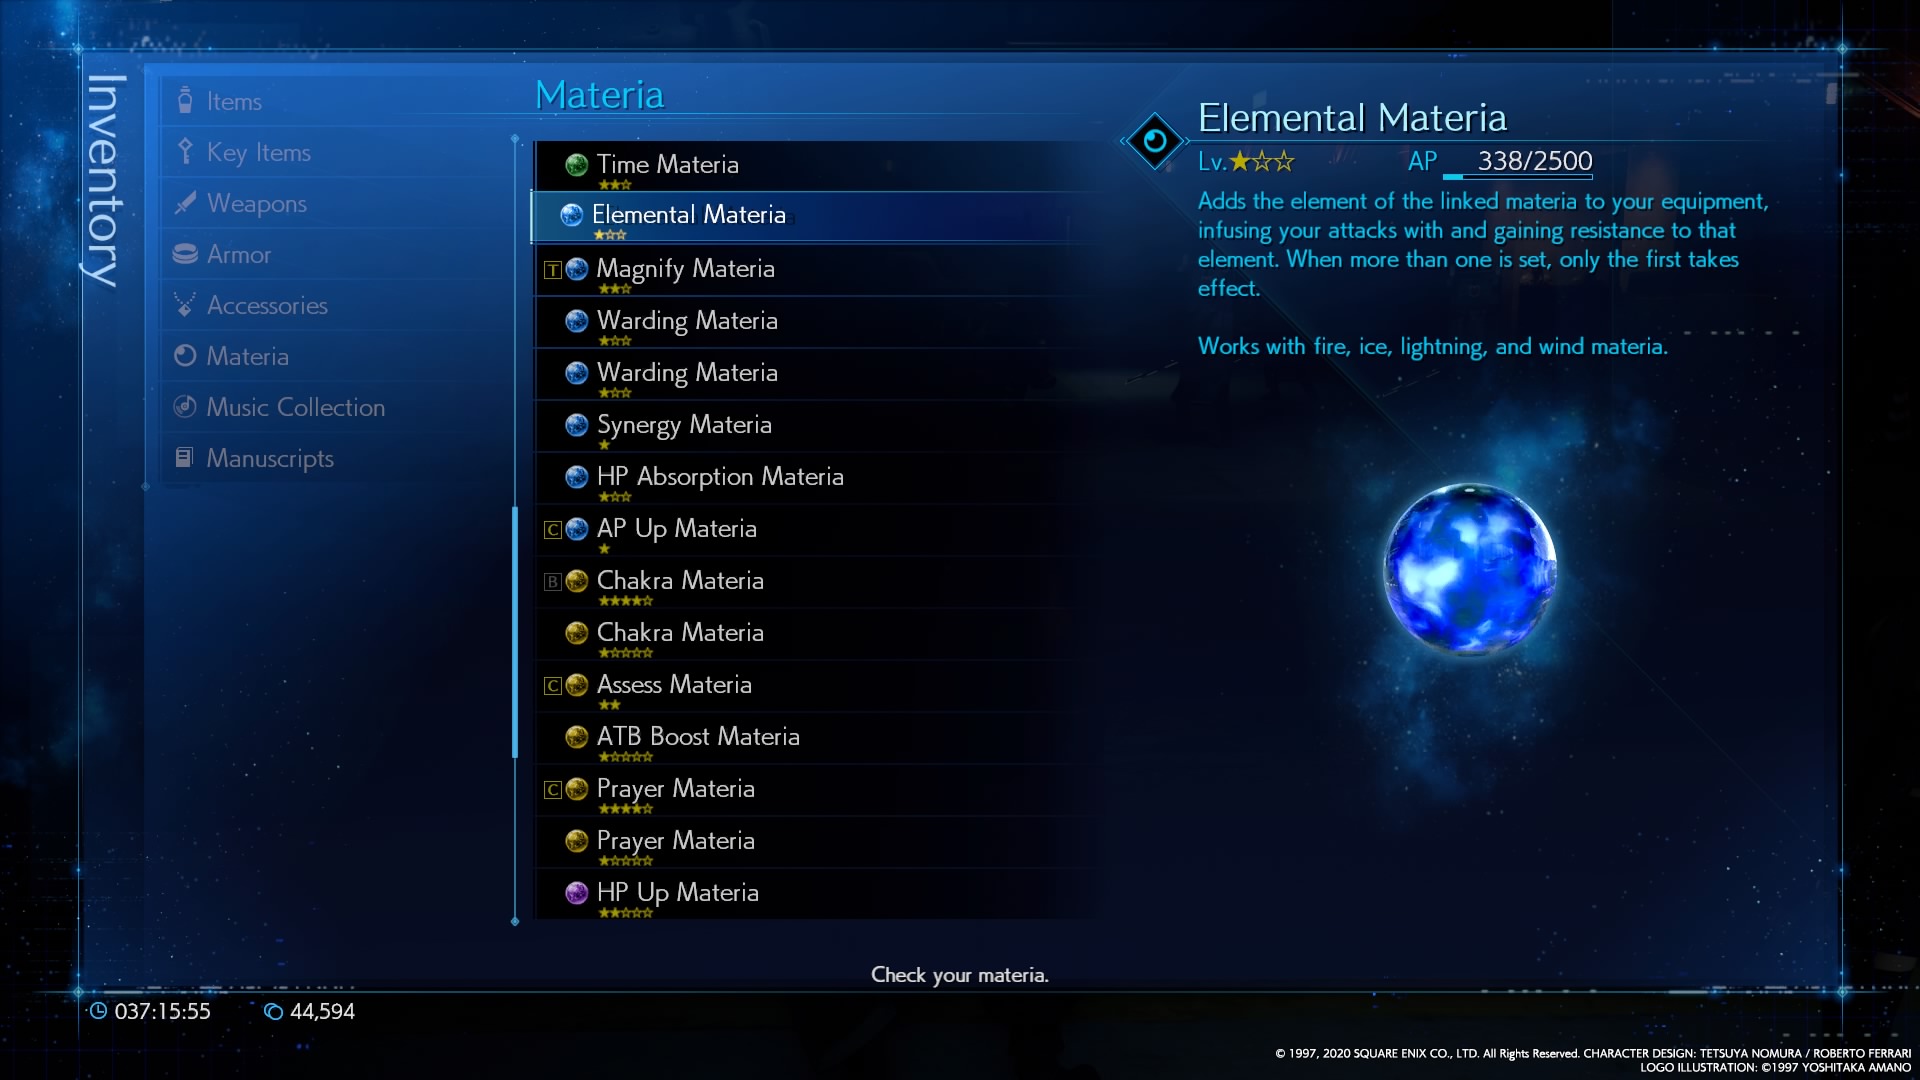
Elemental: When linked with another Materia, infuses your attacks with a linked element OR gives you resistance/immunity to a linked element.
This support materia is only effective when paired with elemental materia (ice, fire, etc.) in a linked slot. If you were to pair it with fire materia on a weapon, your attacks would gain fire damage. But if you take the same set-up and place them in linked slots in armor, you would gain resistance to fire damage.
Assess: Allows you to use Assess.
Knowing an enemy's weakness in FF7 Remake is half the battle. Assess allows you to scan monsters and exploit what you learn to your advantage, which makes the Elemental materia especially useful. This starts as a single-target spell, but it becomes multi-target after you've leveled it up.
First Strike: Increases how full the ATB gauge is at the start of battle.
This gives you an edge at the start of a battle, allowing your ATB gauge to be filled slightly so you can react at once. It works well with Assess, letting you get that cast (if needed) at the start of a fight and will increase the amount of ATB you get as you level it up.
All Final Fantasy 7 Remake materia
Magic
Fire: Allows you to use fire magic.
Location: You find this auto-equipped on Cloud from the start of the game. You can buy more after you have access to the Sector 7 item shop.
Lightning: Allows you to use lightning magic.
Location: You find this auto-equipped on Barret from the start of the game. You can buy more after you have access to the Sector 7 item shop. It's also found in level B7 in Mako Reactor 5.
Ice: Allows you to use ice magic.
Location: You find this auto-equipped on Aerith from the start of the game. You can buy more after you have access to the Sector 7 item shop.
Wind: Allows you to use wind magic.
Location: Complete Chadley's Battle Intel Report 02, and it will be available to buy from him.
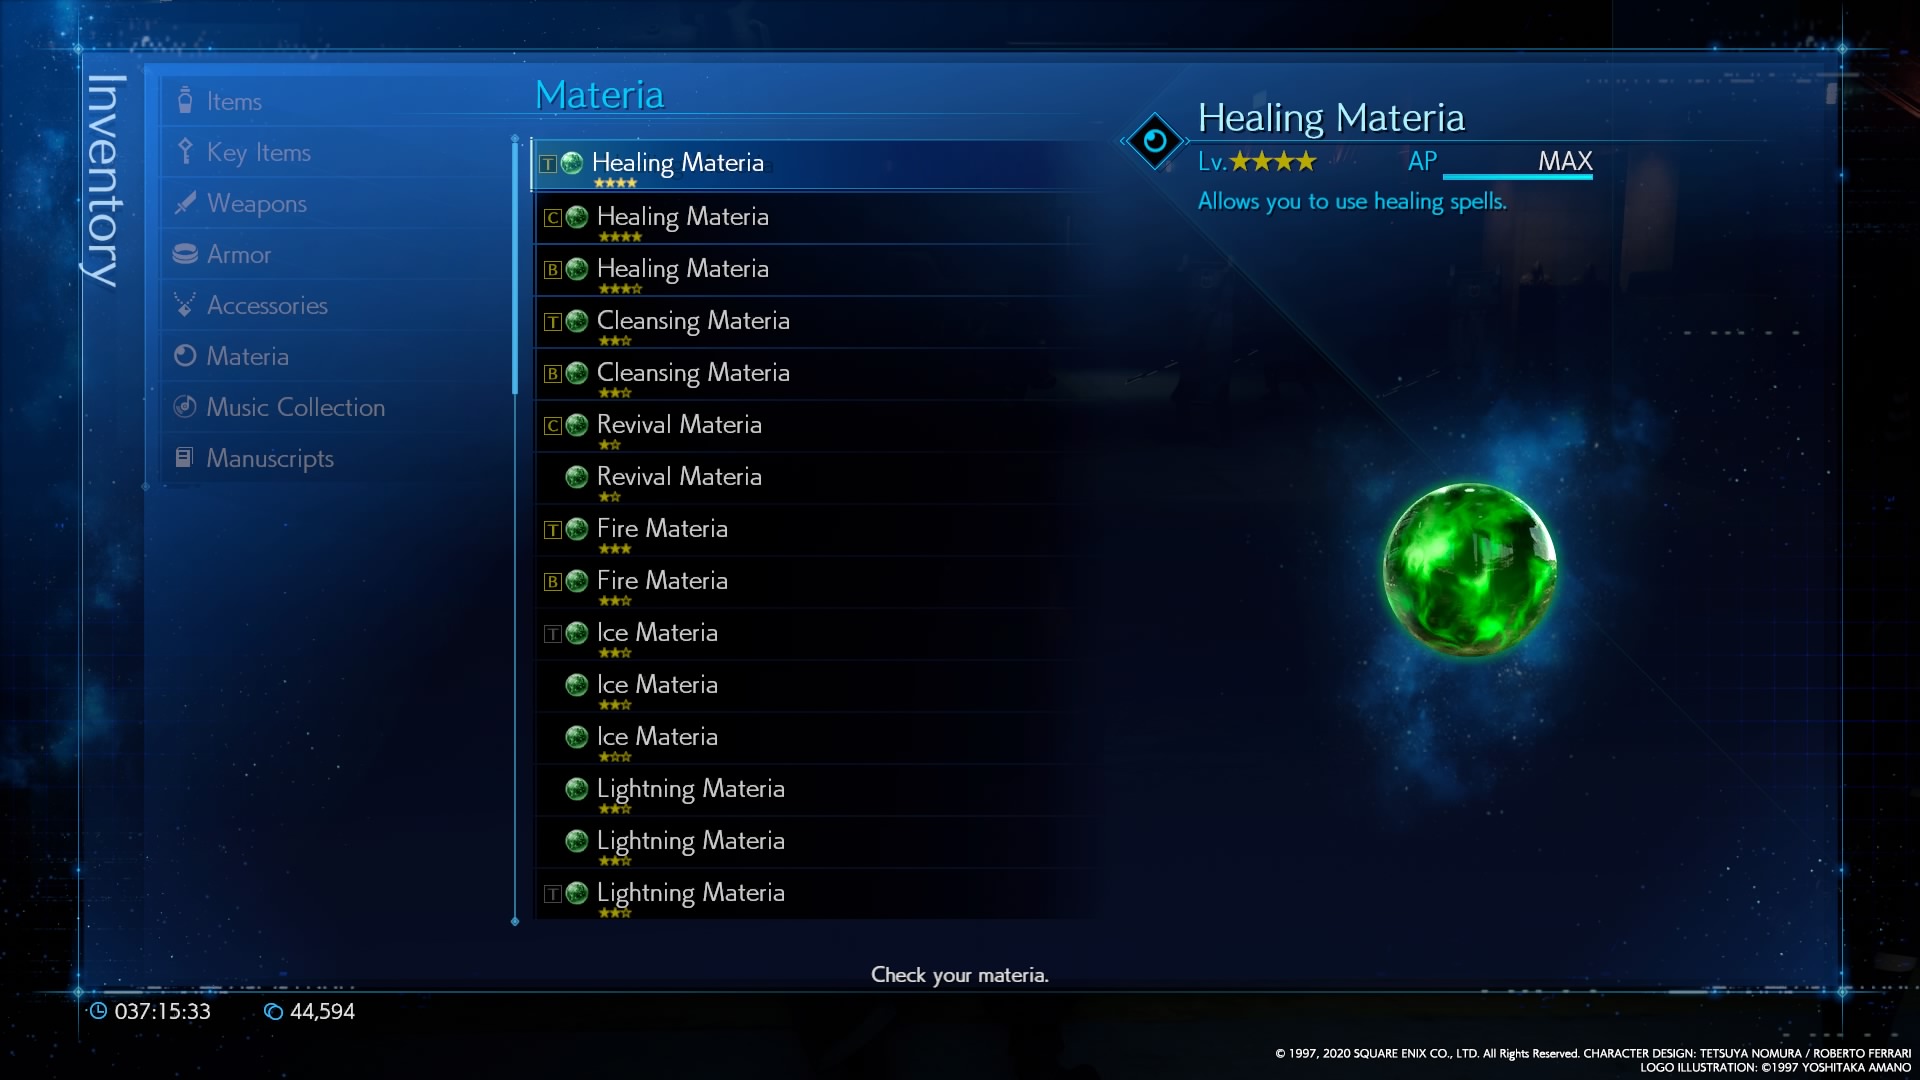
Healing: Allows you to use healing spells.
Location: You find this auto-equipped on Barret from the start of the game. One will also be given in Chapter 2 as part of the story. You can also buy more after you have access to the Sector 7 item shop.
Revival: Allows you to use revival spells.
Location: This one is found in Chapter 4 when you're following Jessie after a fight. You can also buy more from shops later on.
Barrier: Allows you to use defensive spells.
Location: Picked up automatically at the end of Chapter 4. You can also find one in Wall Market, over on the west side.
Binding: Allows you to use disruptive spells.
Location: This one is found in the Sector 6 Slums, near the second mechanical arm.
Subversion: Allows you to use subversive spells
Location: Dropped from the first boss in Chapter 11.
Time: Allows you to use time magic.
Location: This is found on the floor next to a console you need to interact with as part of the story in Chapter 17.
Poison: Allows you to use toxin-related spells.
Location: This one can be bought from vending machines after Chapter 5. It can also be looted from the Sewers in Chapter 14.
Cleansing: Allows you to use curative spells.
Location: Buy this from the shops after the 'Rat Problem' quest in Chapter 3.
Command
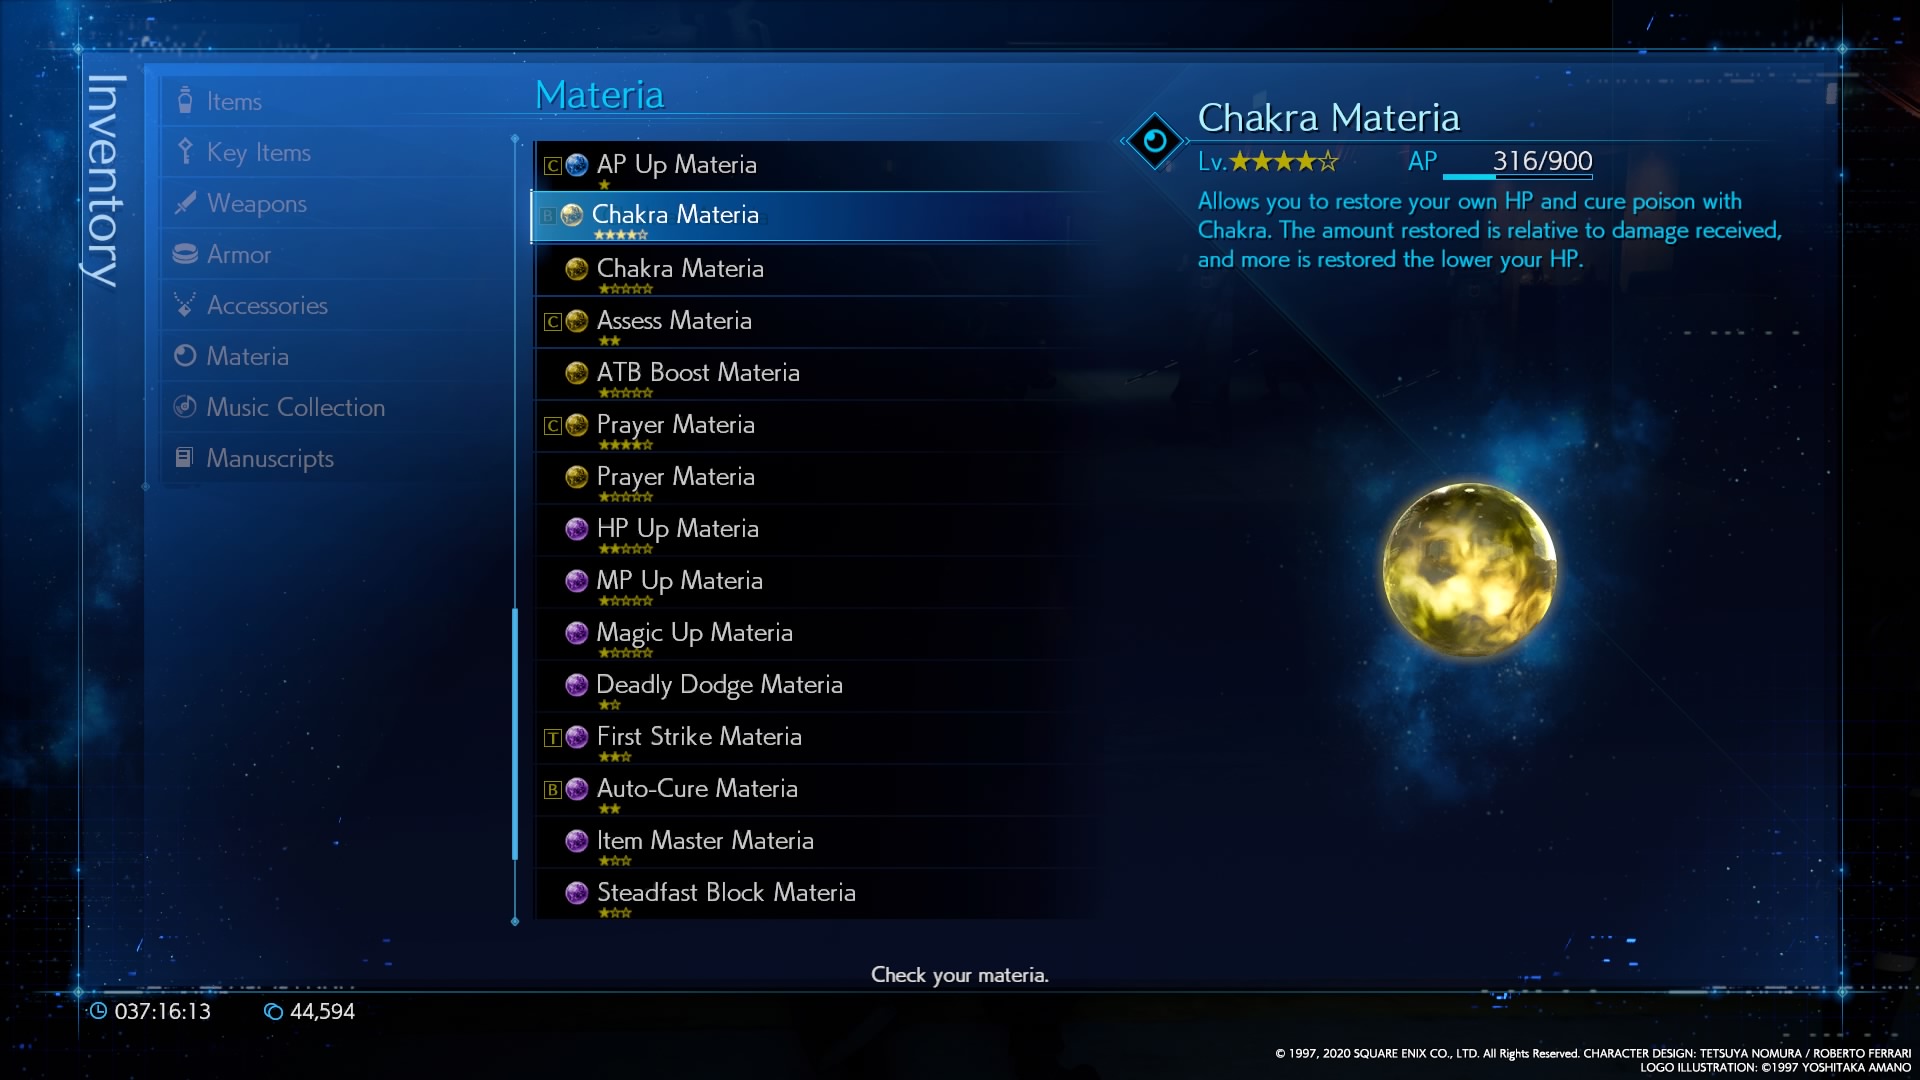
Chakra: Allows you to restore your own HP and cure poison with Chakra. The amount restored is relative to damage received, and more is restored the lower your HP.
Location: You find this auto-equipped on Tifa from the start of the game. It's also found in the Sector 5 church in Chapter 8 and in the basement of Corneo's mansion in Chapter 14.
Assess: Allows you to use Assess.
Location: Get from Chadley in Chapter 3. More are available from him after completing his Chadley's Report quest.
Prayer: Allows you to restore the party's HP with Pray.
Location: You find this auto-equipped on Aerith from the start of the game. It's also given during Corneo's Secret Stash quest in Chapter 14.
Steal: Allows you to steal.
Location: You can buy this from Chadley after completing Battle Intel Report 7.
ATB Boost: Doubles ATB when activated. Cannot be used continuously.
Location: You can buy this from Chadley after completing Battle Intel Report 4.
Enemy Skill: Gives you a chance to learn certain enemy techniques that you've endured and use them as abilities. These abilities can only be used when the Materia is set to your equipment.
Location: You can buy this from Chadley after completing Battle Intel Report 16.
Support
Elemental: When linked with another Materia, infuses your attacks with a linked element OR gives you resistance/immunity to a linked element.
Location: This can be found in both Chapter 6 and Chapter 14. The first is down a ladder in the Sector 4 Plate; the second is in the Urban Advancement district if you've finished Mireille's quests.
Magnify: Allows you to expand the range of spells with the linked materia.
Location: Found in the Sector 6 Slums when you do the third arm puzzle.
Warding: Grants resistance to the linked materia's status ailment. Works with poison, time, bind, and subversion material.
Location: This one is found in the Sewers in Chapter 10 and again in the Sector 7 Underground Lab in Chapter 13.
Synergy: Allows an ally to follow the leader's attack command with an attack from linked materia. Works with fire, ice, lightning, and poison materia.
Location: You can buy this from Chadley after finishing the Battle Intel Report 9.
HP Absorption: Allows you to recover HP when unleashing an attack of the linked materia's type. Works with fire, ice, lightning, wind, poison, enemy skill, deadly dodge, and parry materia.
Location: You can buy this from Chadley after finishing the Battle Intel Report 19.
MP Absorption: Allows you to recover MP when unleashing an attack of the linked materia's type. Works with fire, ice, lightning, wind, and poison materia.
Location: You can buy this from Chadley after finishing the Battle Intel Report 18.
Pedometer: May do something after taking a number of steps with it set.
Location: Find this in Chapter 4, near Aerith's house.
AP Up: Increases amount of AP earned for linked materia.
Location: Take 5000 steps with the Pedometer materia equipped.
Complete
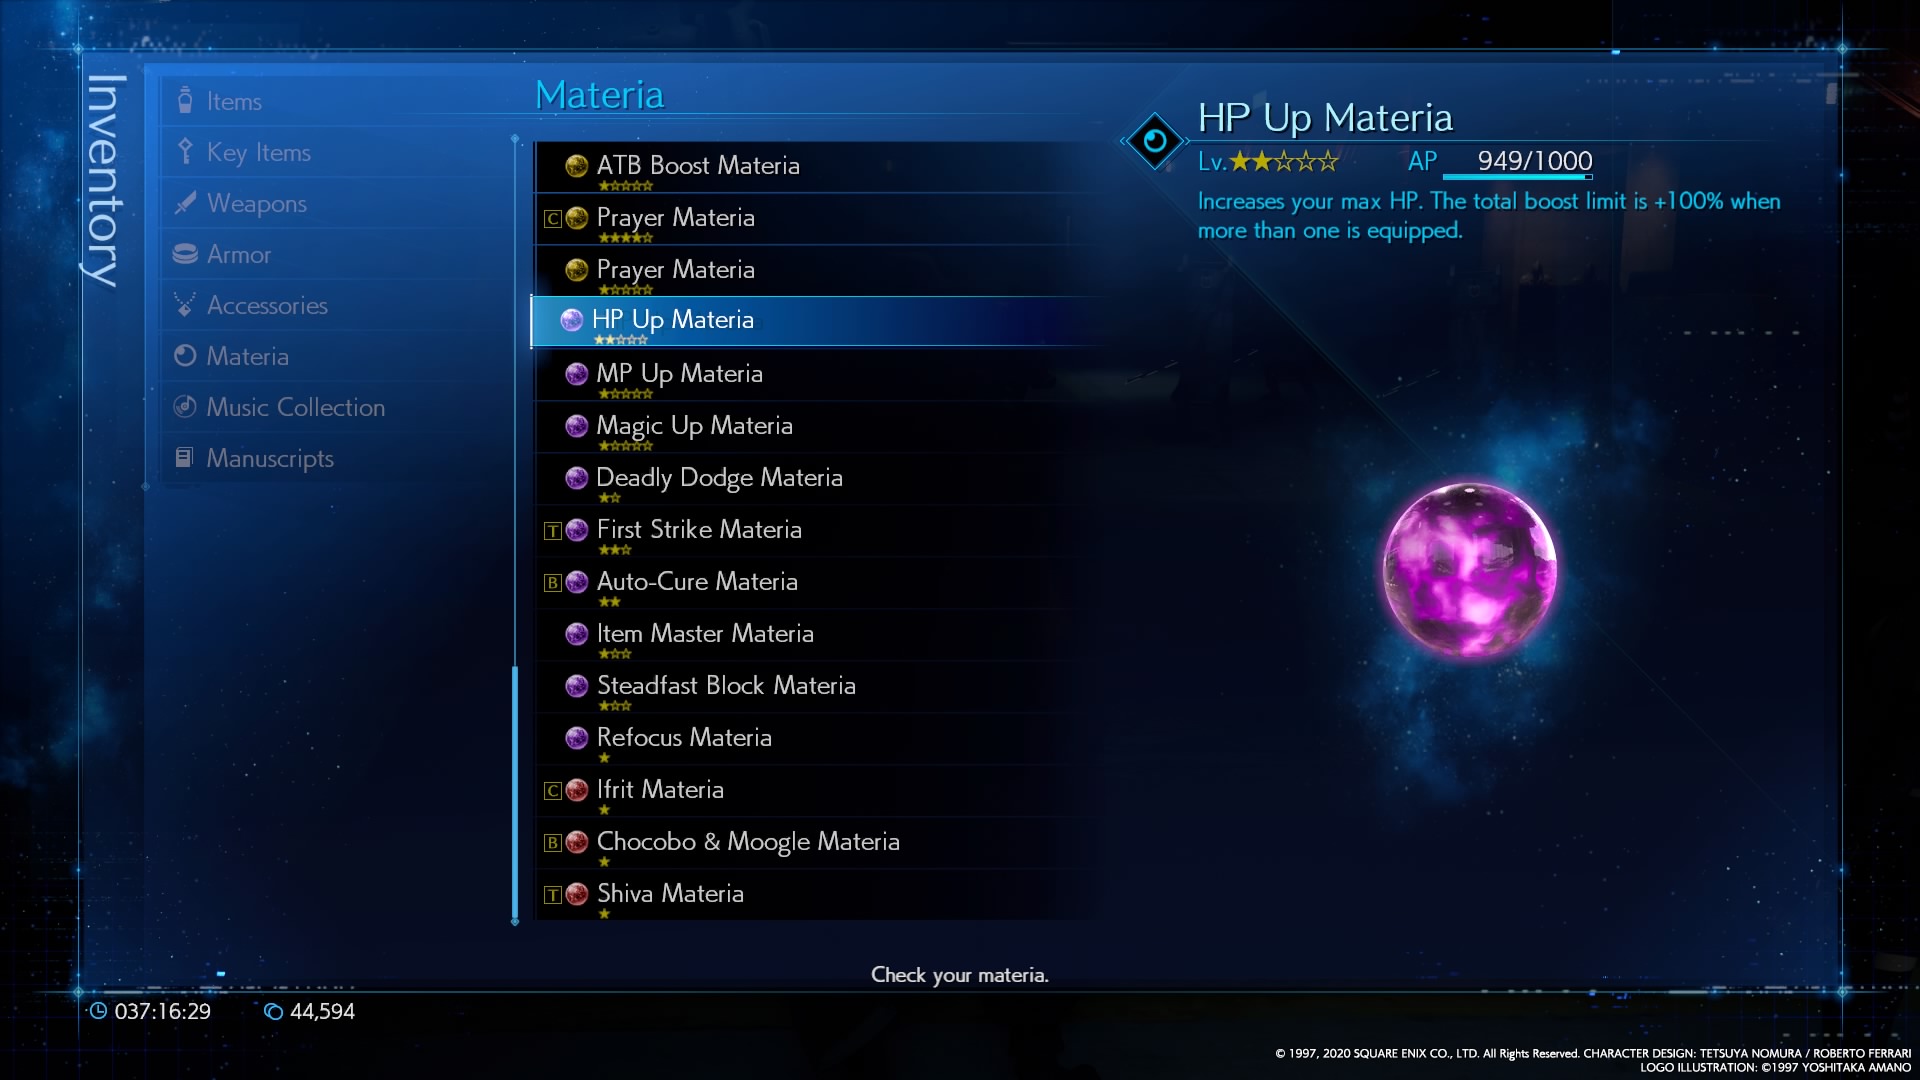
HP Up: Increases your max HP. The total boost limit is +100% when more than one is equipped.
Location: Find this materia in Upper Sector 8 and at the Train Graveyard.
MP Up: Increases your max MP. The total boost limit is +100% when more than one is equipped.
Location: This one is first available in Chapter 3 when you kill 50 enemies and talk to Katie in the Sector 7 Slums. It's also found in Chapter 8 by Aerith's house.
Magic Up: Increases your magic attack power. The total boost limit is +199% when more than one is equipped.
Location: Find this one in Chapter 7 in Mako Reactor 5. You'll need to access the waste recovery room to find it.
Luck Up: Increases your luck. The total boost limit is +100% when more than one is equipped.
Location: You can get this as a reward in Chapter 4. Wedge will hand it over if you got first place in darts earlier in the game.
EXP Up: Increases the amount of EXP you earn in battle.
Location: This is a reward for completing the 'Three-person Team vs Ragbag' Combat Sim Challenge in Chapter 16.
Gil Up: Increases the amount of Gil you earn in battle.
Location: This is a reward for completing the 'Two-person Team vs High Flyers' Combat Sim Challenge in Chapter 16.
Deadly Dodge: Attack command will do area damage immediately after dodging.
Location: Found in Upper Sector 8, during the escape in Chapter 2. You can also buy more from shops later on.
Parry: Guards against enemy attacks and allows you to quickly unleash your next move.
Location: Buy this from Chadley after finishing Battle Intel Report 12.
First Strike: Increases how full the ATB gauge is at the start of battle.
Location: Buy this from Chadley after finishing Battle Intel Report 3.
Auto-Cure: Casts Cure on severely injured allies up to a set number of times. Will not activate if the character does not have enough ATB charges and MP, or the player is controlling the character.
Location: This is unlocked with Chadley's introductory quest. You can buy it from him once you've completed Battle Intel Report 1.
Item Master: Increases the effectiveness of items used in battle.
Location: You can buy this from Chadley once you've completed Battle Intel Report 11.
ATB Assist: Slightly fills teammates' ATB gauges when ATB commands are used back-to-back.
Location: You can buy this from Chadley once you've completed Battle Intel Report 13.
ATB Stagger: Increases ATB when staggering an enemy.
Location: You can buy this from Chadley once you've completed Battle Intel Report 14.
Provoke: Automatically uses Provoke to temporarily draw the enemy's attention when teammates are severely injured. Ineffective against powerful enemies. Will not activate if the player is controlling the character.
Location: You can buy this from Chadley once you've completed Battle Intel Report 8.
Steadfast Block: Further decreases enemy damage and fills the ATB gauge faster when guarding.
Location: You can buy this from Chadley once you've completed Battle Intel Report 6.
Skill Master: Slightly fills the ATB gauge when multiple ATB commands are performed.
Location: You can buy this from Chadley once you've completed Battle Intel Report 17.
Refocus: Allows you to use the Refocus limit break. Can only be used once per battle.
Location: You find this auto-equipped on Aerith from the start of the game.
Summon
Ifrit: Allows you to summon Ifrit.
Location: Obtained from Jessie at the end of Chapter 3.
Shiva: Allows you to summon Shiva.
Location: You can get this from Chadley once you've completed Battle Intel Report 5.
Chocobo & Moogle: Allows you to summon a chocobo and moogle.
Location: Found during Chapter 6 in an optional area behind large fans. You can turn off the fans once the power is restored to reach it.
Fat Chocobo: Allows you to summon a Fat Chocobo.
Location: You can get this from Chadley once you've completed Battle Intel Report 10.
Leviathan: Allows you to summon Leviathan.
Location: You can get this from Chadley once you've completed Battle Intel Report 15.
Bahamut: Allows you to summon Bahamut.
Location: You can get this from Chadley once you've completed Battle Intel Report 20.

Sarah started as a freelance writer in 2018, writing for PCGamesN, TechRadar, GamingBible, Red Bull Gaming and more. In 2021, she was offered a full-time position on the PC Gamer team where she takes every possible opportunity to talk about World of Warcraft and Elden Ring. When not writing guides, most of her spare time is spent in Azeroth—though she's quite partial to JRPGs too. One of her fondest hopes is to one day play through the ending of Final Fantasy X without breaking down into a sobbing heap. She probably has more wolves in Valheim than you.

 Join The Club


