Eight techniques everyone should know for Rainbow Six Siege
Basic-but-essential skills players of all skill levels can use to win more rounds in Siege.
The world of Rainbow Six Siege is full of strategies and mechanics that aren’t immediately obvious when you start playing, so we’ve gathered seven common techniques seen in the game to help new players better understand Siege’s layers and layers of complexity. These are eight techniques that all players should know.
Nitro cells
The nitro cell is one of the most powerful gadgets in Siege. This big chunk of C4 can be tossed across a room to explode for crazy high damage. Finding yourself anywhere near one when it goes off is an instant or near death. But to learn how to utilize the nitro cell to its max potential, it’s important to think vertically.
In Siege, many floors and ceilings are partially destructible, meaning that destroying them will expose holes in the floor that can be shot through. Well, this can also be applied to nitro cells. This technique can be used with any defender that carries a nitro cell, but the classic example comes from Pulse. Wait and watch your prey on the heartbeat scanner and spring the trap once they’ve stepped inside. This also works great when a Valkyrie camera is positioned to watch the area above your explosive trap. Whenever it works, it’s the best feeling in the world.
Mira’s Black Mirrors
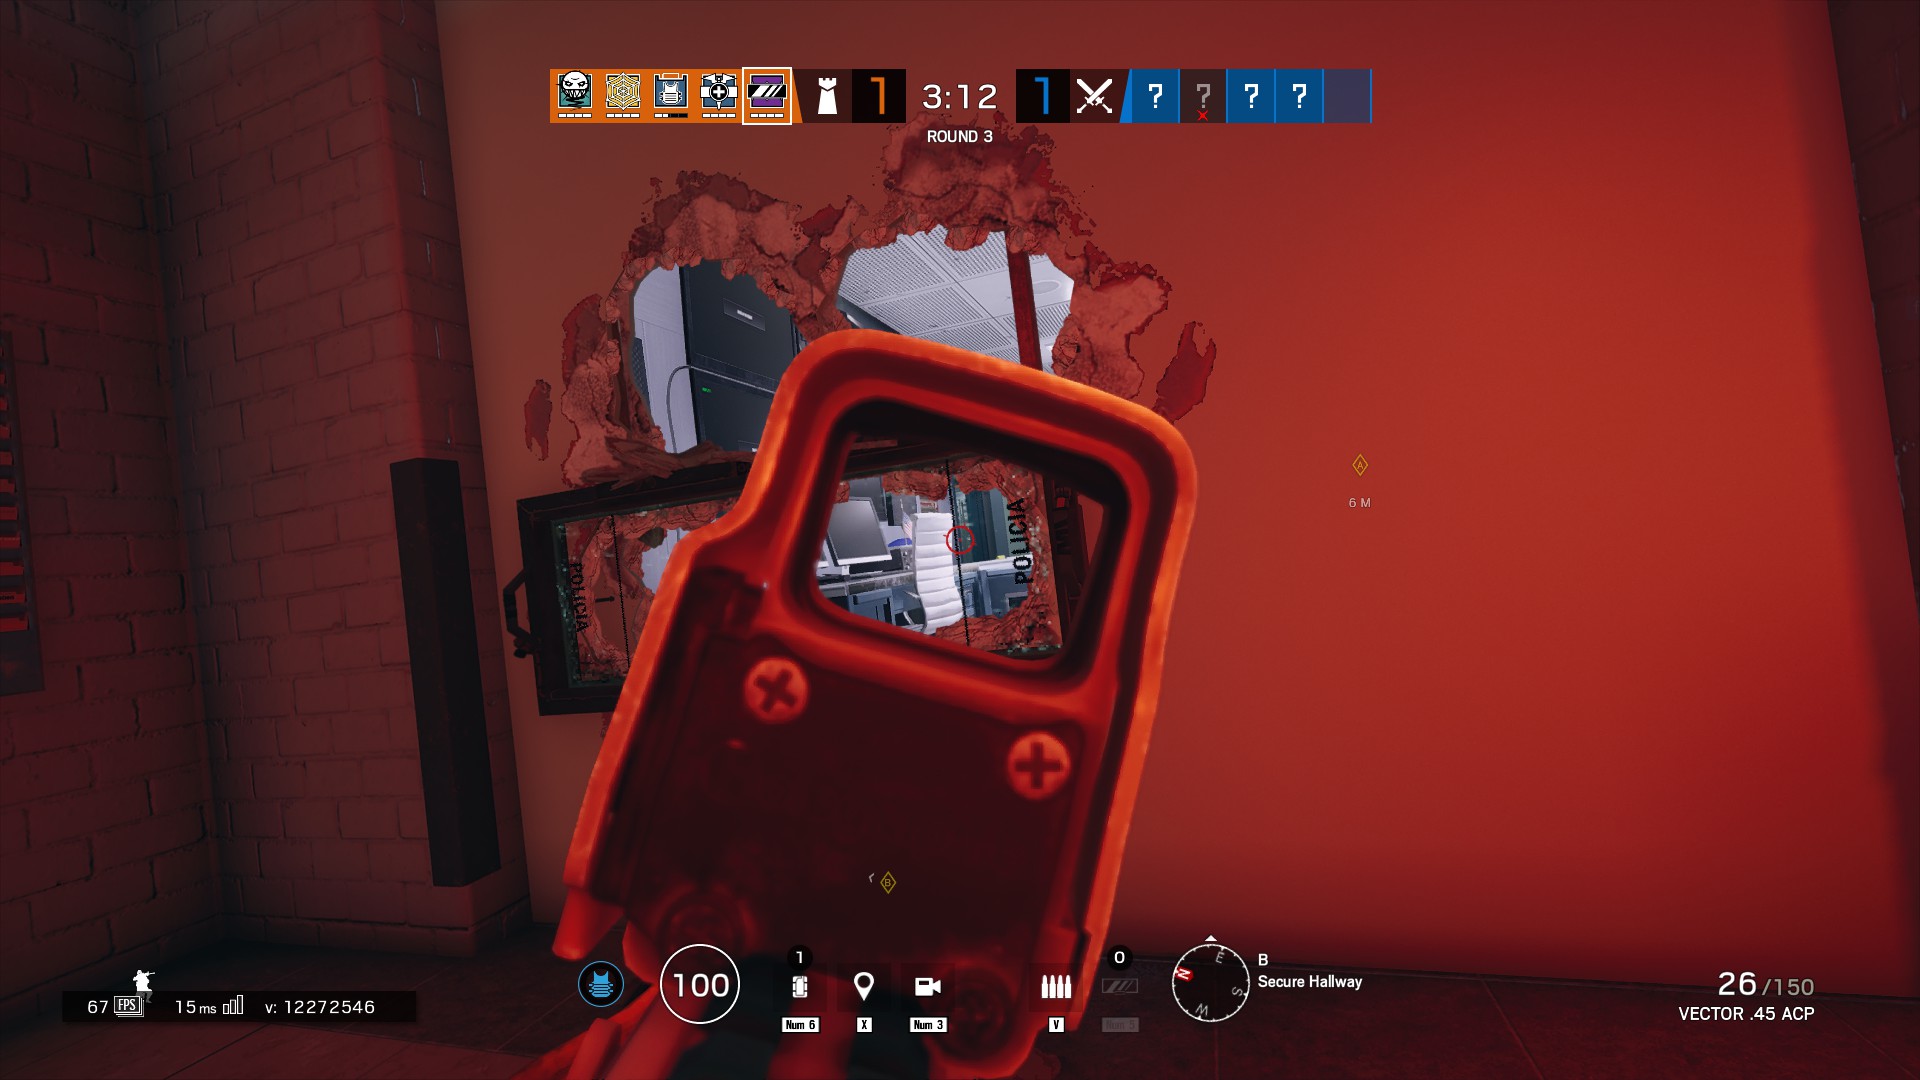
When utilized correctly, Mira’s Black Mirrors can mean the difference between a good and amazing defense. These one-way windows are completely bulletproof and can be deployed on any wall. On a completely reinforced wall, the Black Mirror is an excellent way to provide your team with callouts, but players have developed a few strategies to make them especially troublesome for the attackers.
The idea is to either place the Black Mirror on a reinforced wall adjacent to a soft wall, or onto a soft wall itself. When you spot an enemy through the mirror, you can quickly step over to the soft wall and fire through the wall to take them down. Another deadly version of this strategy can be applied by placing the mirror at crouch level on a soft wall. While you’re crouching behind it, the mirror will act like a shield for most of your body. And when you’re ready to strike someone in the next room, stand right up and open fire. Black Mirror strats can take a little getting used to, but the results are devastating in the right hands.
Keep up to date with the most important stories and the best deals, as picked by the PC Gamer team.
Murder holes
One of the most classic strategies in Siege uses the game’s unique destruction system to create small “murder holes” and get cheeky angles on your enemies. Though, years now into the game’s life, most players are wise to this typical trick. Seeing a random hole in a wall is usually a sign that someone is behind it, and it can give an easy kill to your enemy.
To truly use murder holes to your advantage, you’ll have to be clever. Try busting a bunch of holes into the same wall will make the enemy guess which one you’re sitting behind. Break the wall at different heights and take your shot as soon as you see your prey. Don’t peak from the same place several times in a row and reposition yourself if you miss too many shots. Shooting out even smaller holes with a pistol will create a near-invisible hole from afar that’s perfect for watching a very specific angle. Pull this off, and you’ve got yourself an easy kill.
Claymores
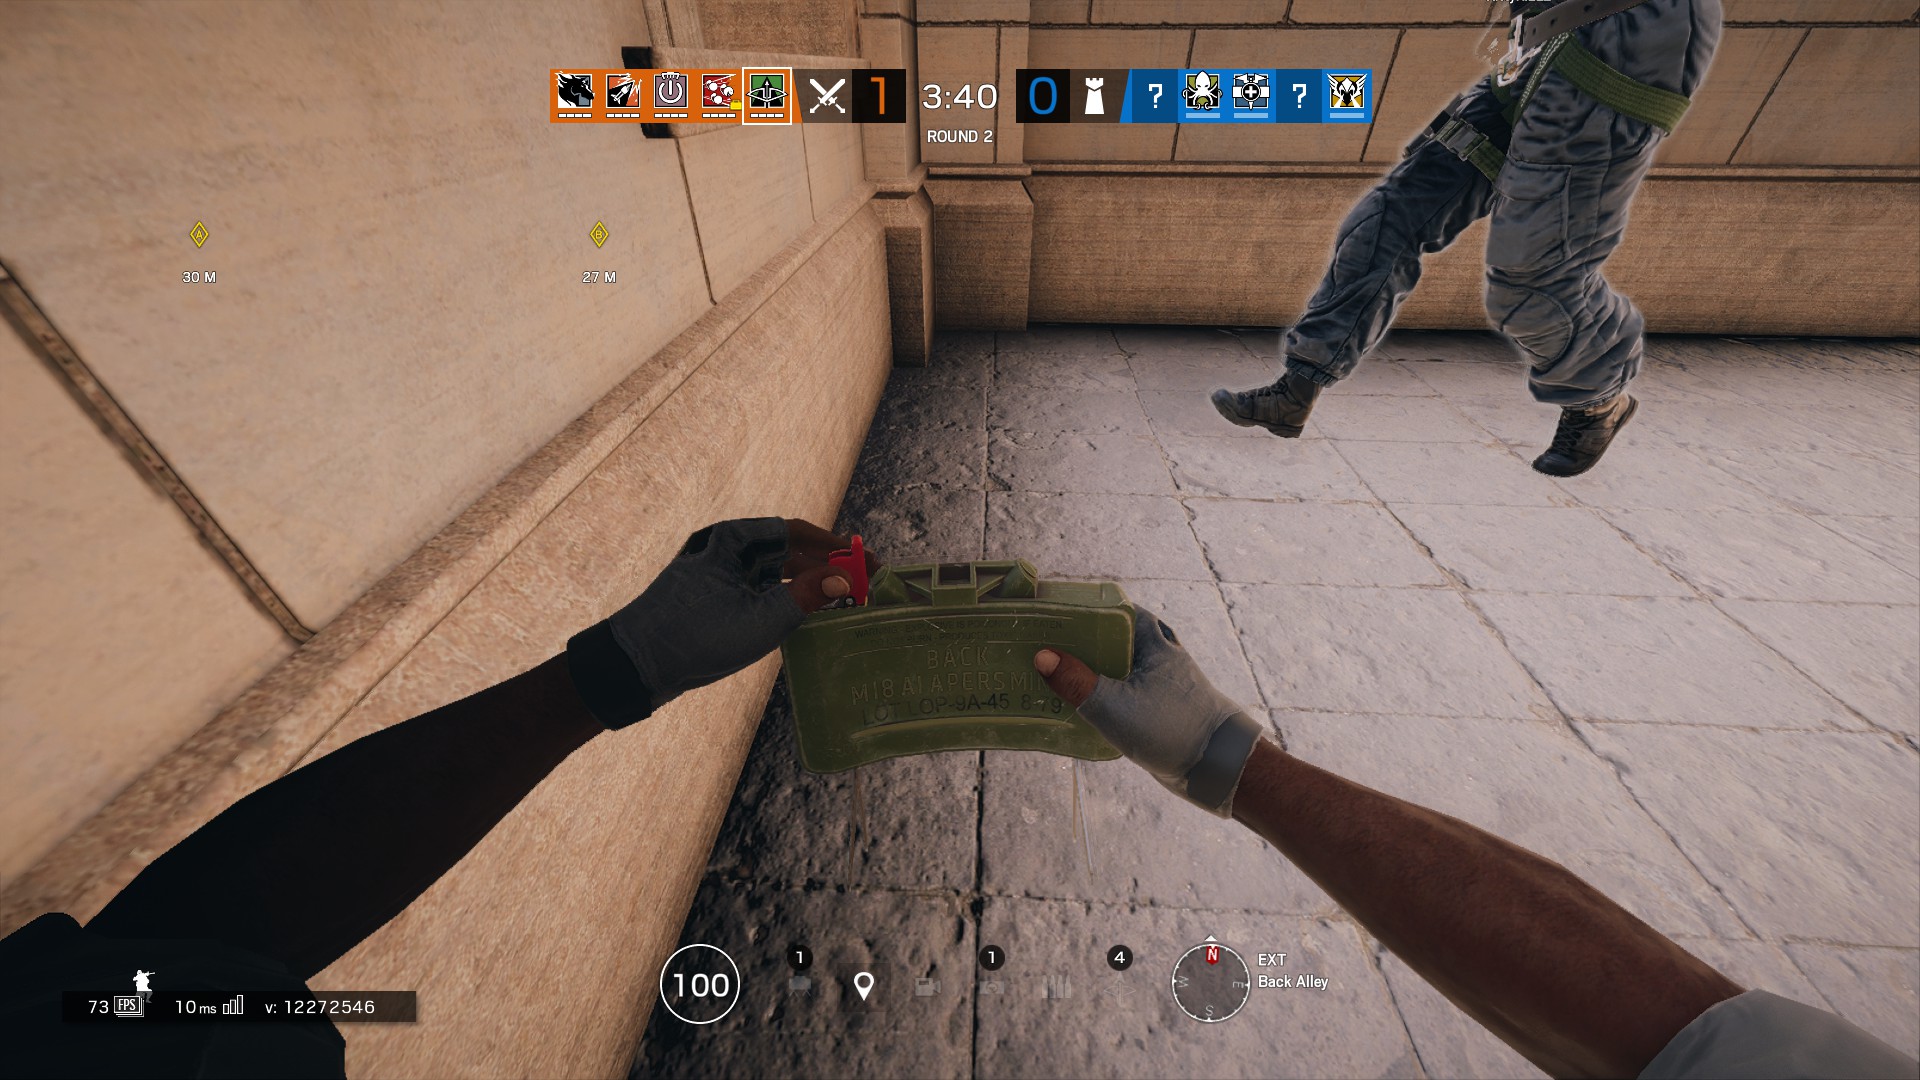
Claymores in Siege are a lot less forgiving than the ones found in many other first-person shooters out there. Step through one of its lasers for even a brief moment, and you’re toast.
Using a claymore effectively is all about anticipating your enemy’s next move. In most cases, a claymore can be easily destroyed by any defender who’s paying attention, so the goal is to hide them in places where they can’t be countered so easily. The best use for claymores are as punishment for defenders that decide to hop out of a window and flank your team. Place the claymore parallel to the window so that the lasers will catch anyone that hops out. Even if the enemy hears you place the trap, there’s not much they can do about it. They’re likely to give up on running out from that direction.
Alternatively, claymores can be used in a more devious way to pull off a sneaky kill on defenders. Placing a claymore pointed towards a drone hole will beam its lasers through the hole and into the room on the other side. If a defender steps through it, the claymore will still deliver its full damage and net you a kill. Claymores are also useful for holding an objective for your team while the defusing ticks down or area is secured. In the chaos of an objective being captured, defenders are likely to throw caution to the wind and rush in to contest you. Use these moments to plant more obvious claymores that will be overlooked.
Smoke grenades
The smoke grenade is one of the most versatile tools you’ll find in Siege. It’s not a flashy gadget meant for busting down doors or scoring kills, but it’s an important assist tool that is important for a well-rounded attacking team. The most popular way to use them is on the Bomb mode, where they can be deployed in a room to cover your team while they plant the defuser. The smoke cloud will completely hinder sight at its center, so position them to cover a wide area of the room and keep the defenders guessing when they try to fire blindly into the haze.
The more general use for them is to blind your enemies to a direction in any situation. Filling a dangerous hallway with smoke can often be the advantage needed to even the odds. When capturing the objective on Secure Area, cover the most vulnerable doors or windows with smoke to make the defenders’ last-ditch efforts that much harder. If you have a Glaz on your team, considering lending your smokes towards his area, since his rifle scope can see right through it.
Using destruction to hear more
When anchoring on defense, sound is the first line of defense that will warn you to an oncoming threat. Siege’s sound system is a complicated one allows players to hear most things going on in the match if they’re listening. Players have figured out that sound volume is calculated by how much sits between you and the sound, be it walls or objects. So when reinforcing a wall, you’re actually creating a second layer of wall that muffles the sound a bit.
But you can easily get around this, as long as you have any operator with a shotgun or impact grenades. Before reinforcing an important wall, make a few holes in it. This will make sounds happening on the other side much easier to hear, which can often make a world of difference. Some walls even have a soft area at the top that the metal reinforcements don’t cover. Blasting holes through will create some of the same sound benefit, but aware that attackers can use this to toss grenades into your room unimpeded.
Advanced drone deployment
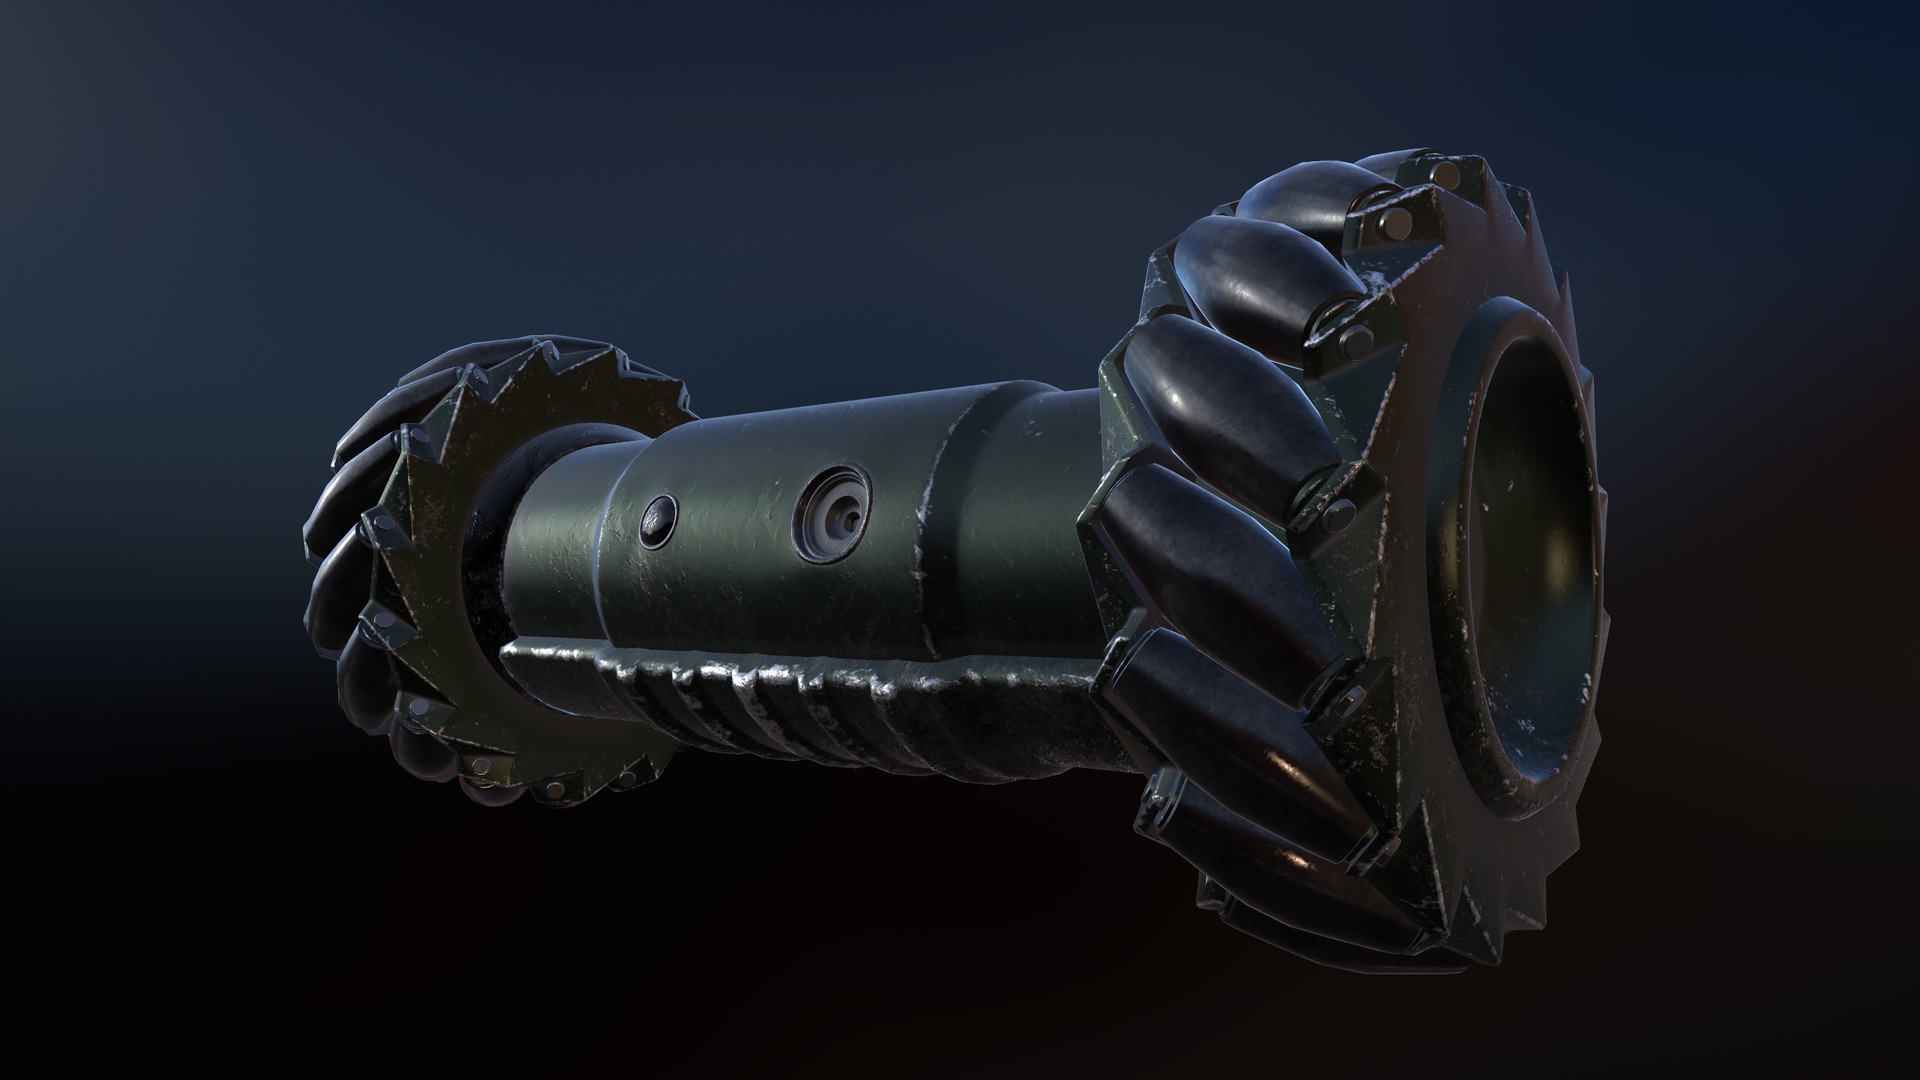
Advanced drone deployment is a feature that was only recently introduced in Siege. After turning on the setting in your options, advanced drone deployment allows you to toss out your drone without immediately assuming control of it. In a tense situation, this can be useful to quickly set a drone down for dead teammates to watch, but it can also be used to trick enemies.
When you know an enemy is nearby, try tossing out a drone as bait. After hearing the drone, the enemy might assume you’re vulnerable and move in for attack. That’s when you strike, lying in wait.
The one-hit door and window vault
Movement in Siege is all about making sure there’s enough room for your body to fit through. This is true when making a hole in a wall with any character. It doesn’t matter where it is, if there’s an opening big enough for the body, you can crawl, walk, or vault right through.
Funny enough, this principle also applies to barricaded doors and windows. The most common strategy for attackers is to melee a barricade twice. After the second hit, there’s usually a big enough opening to vault in. But, there’s a trick to pull this off with only one hit, and mastering it could help you speed up your infiltrations.
The goal is to melee the door or window near the middle of the yellow X. If you aim just to the right or left, you will break three wood boards, creating a big enough gap to vault through immediately. This one takes a lot of practice to hit consistently, so keep at it.
Wrap up
These tips don’t cover everything you’ll see from teammates and enemies alike in Siege, but they should help you better take advantage of your surroundings no matter what operator you’re playing.
This article was supported by Ubisoft. Read more about supported content on PC Gamer.

Morgan has been writing for PC Gamer since 2018, first as a freelancer and currently as a staff writer. He has also appeared on Polygon, Kotaku, Fanbyte, and PCGamesN. Before freelancing, he spent most of high school and all of college writing at small gaming sites that didn't pay him. He's very happy to have a real job now. Morgan is a beat writer following the latest and greatest shooters and the communities that play them. He also writes general news, reviews, features, the occasional guide, and bad jokes in Slack. Twist his arm, and he'll even write about a boring strategy game. Please don't, though.
