How to get Henry Cavill's Witcher armor in The Witcher 3
A new quest unlocks an alternative wolf armor set for Geralt.
Keep up to date with the most important stories and the best deals, as picked by the PC Gamer team.
You are now subscribed
Your newsletter sign-up was successful
Want to add more newsletters?
Join the club
Get full access to premium articles, exclusive features and a growing list of member rewards.
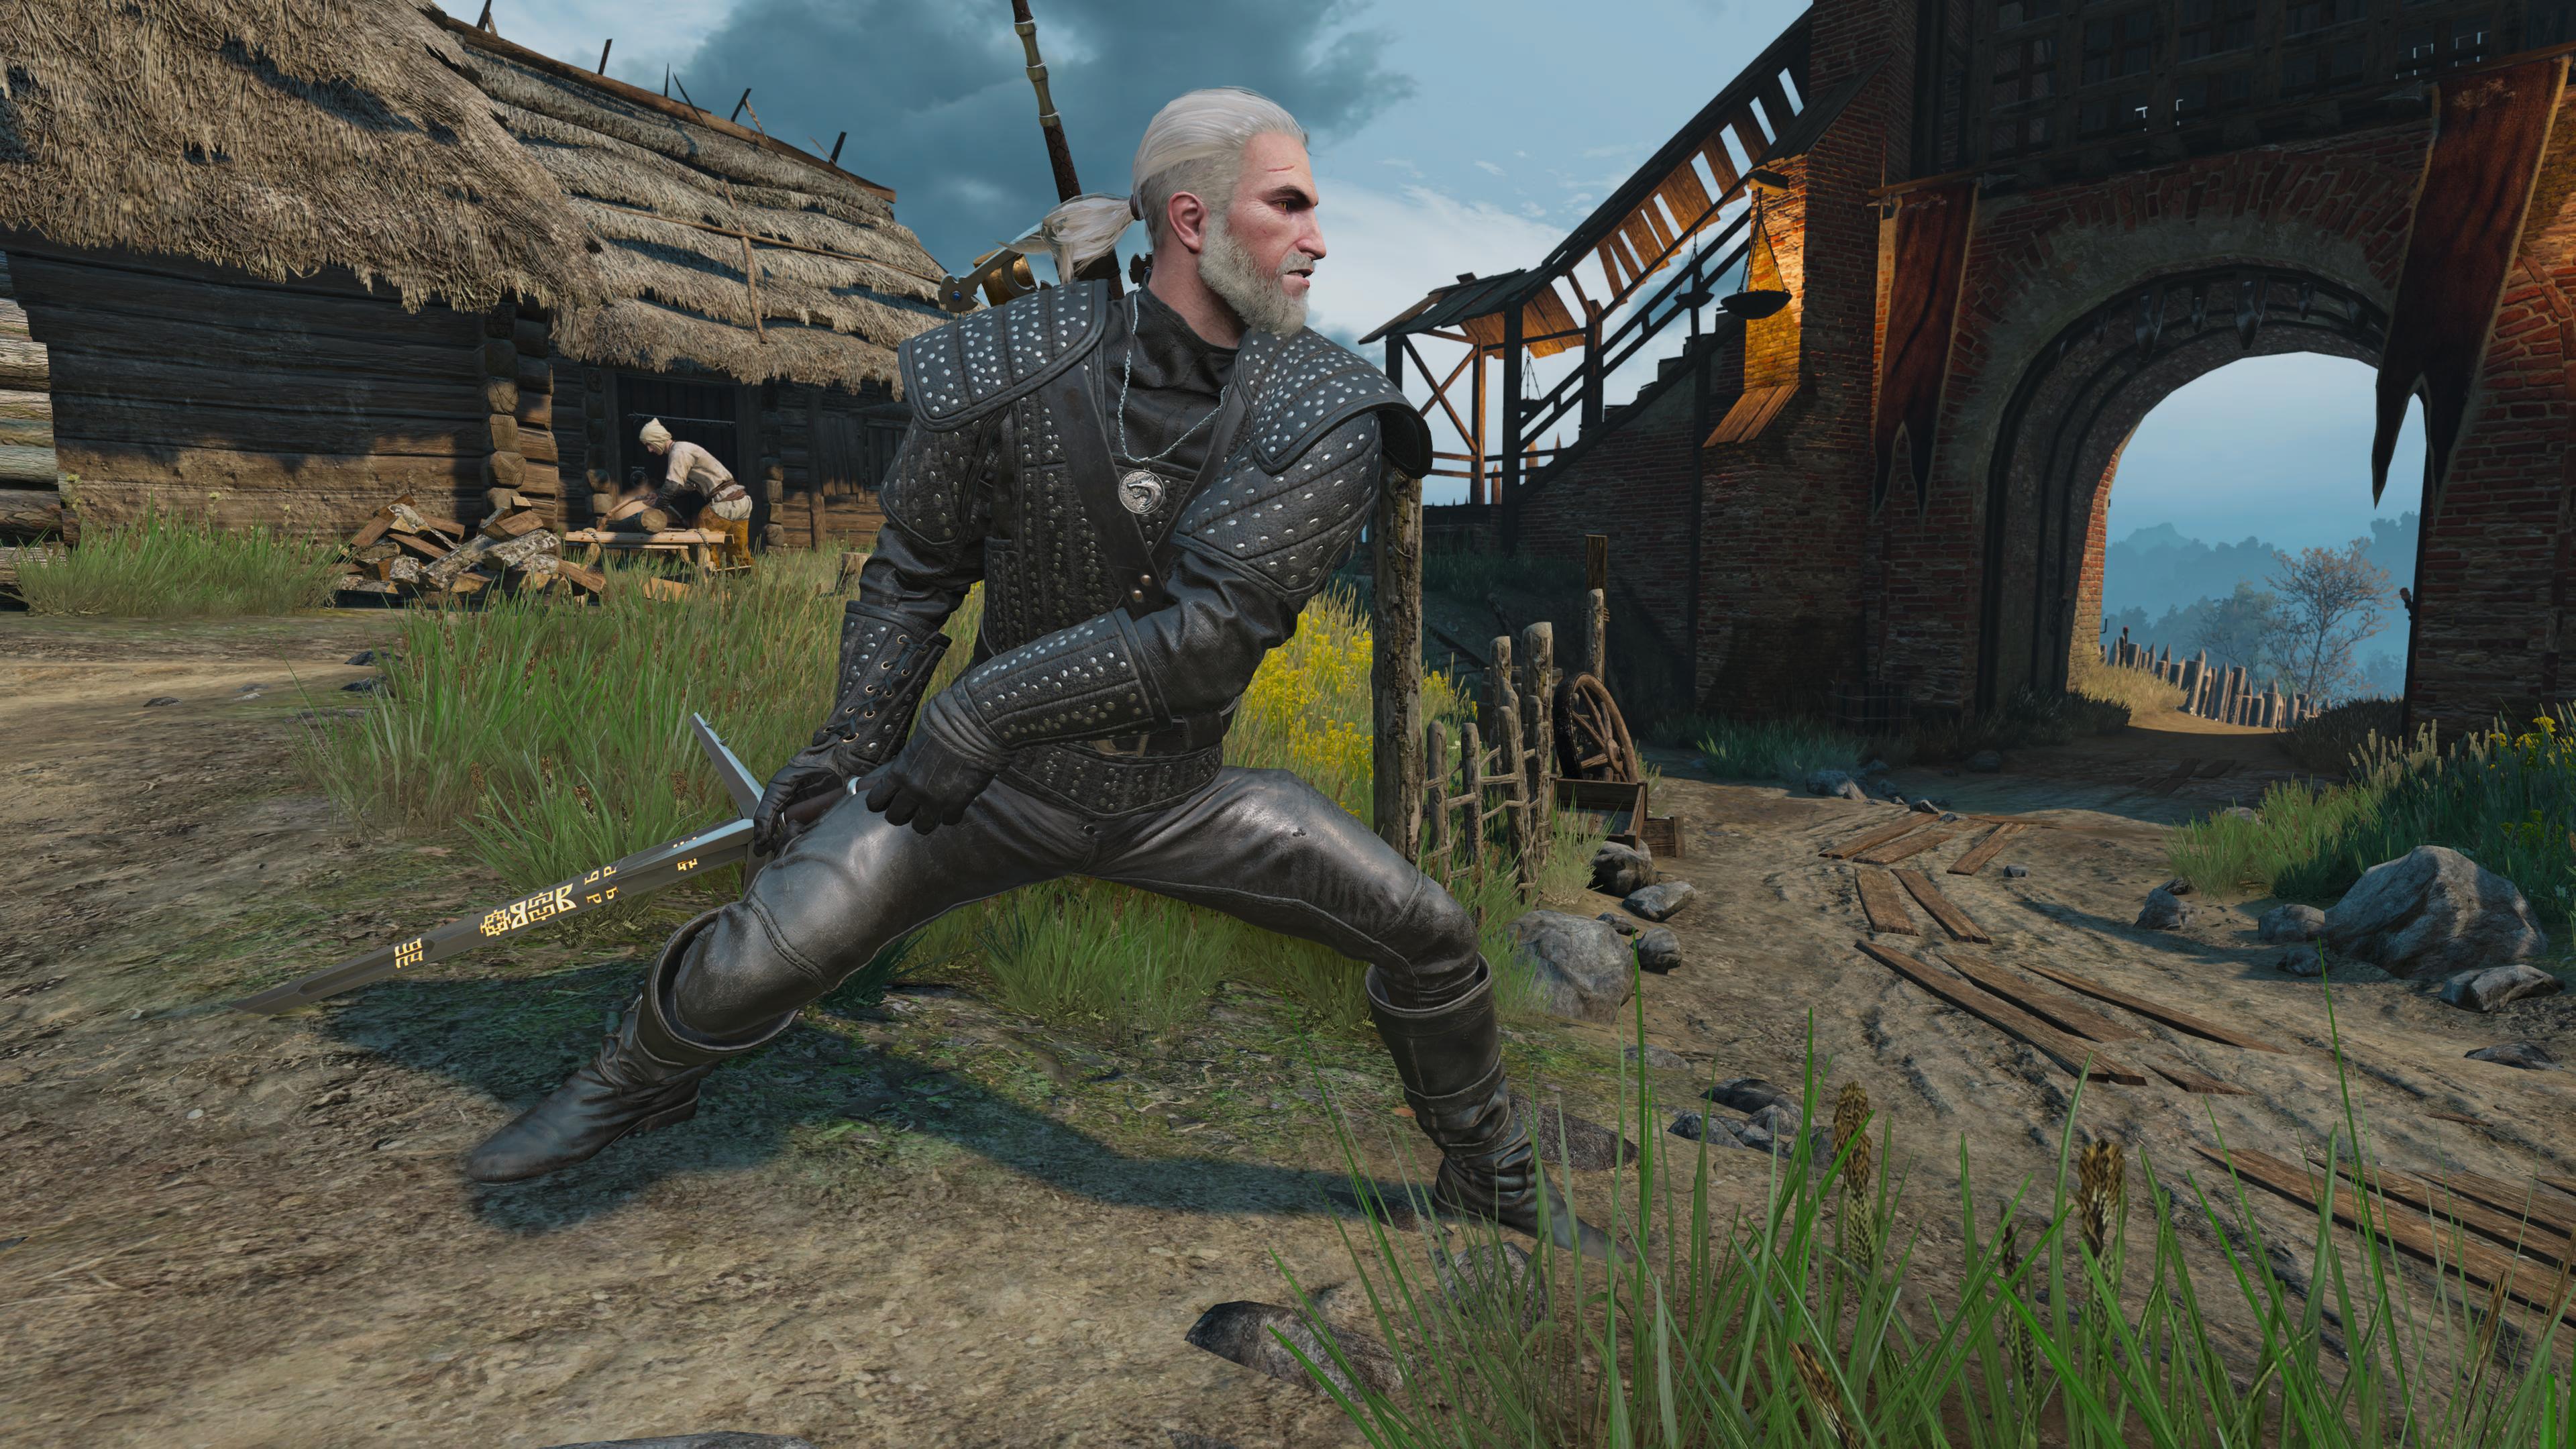
The Witcher 3: Complete Edition is now out in the wild (hunt) and there's a new armor set for you to chase down: The Forgotten Wolf set, aka the armor set worn by Henry Cavill's Geralt in the Netflix series. Of course, Netflix has recast Cavill as Geralt for season 4, so maybe we'll see a new armor set in the show and the game in the future. For now, let's take a look at where you can find the quest that leads to finding the Forgotten Wolf armor.
How to find the Forgotten Wolf armor
You'll want to be at least level 7 before you attempt this quest and it wouldn't be a bad idea to make sure you've put some points into Quen and Yrden, your fast and slow sword attacks, and a passive ability that heals you slowly over time after eating food. You'll also want to make sure you have the recipes for a few potions like Swallow, Thunderbolt, and White Honey, and come prepared with a few armor and weapon repair kits, as this fight is a tricky one. It would also be beneficial to complete Keira Metz storyline first, as the lamp she gives you for highlighting spirits is pretty useful for the lore around this quest.
In the Eternal Fire's Shadow

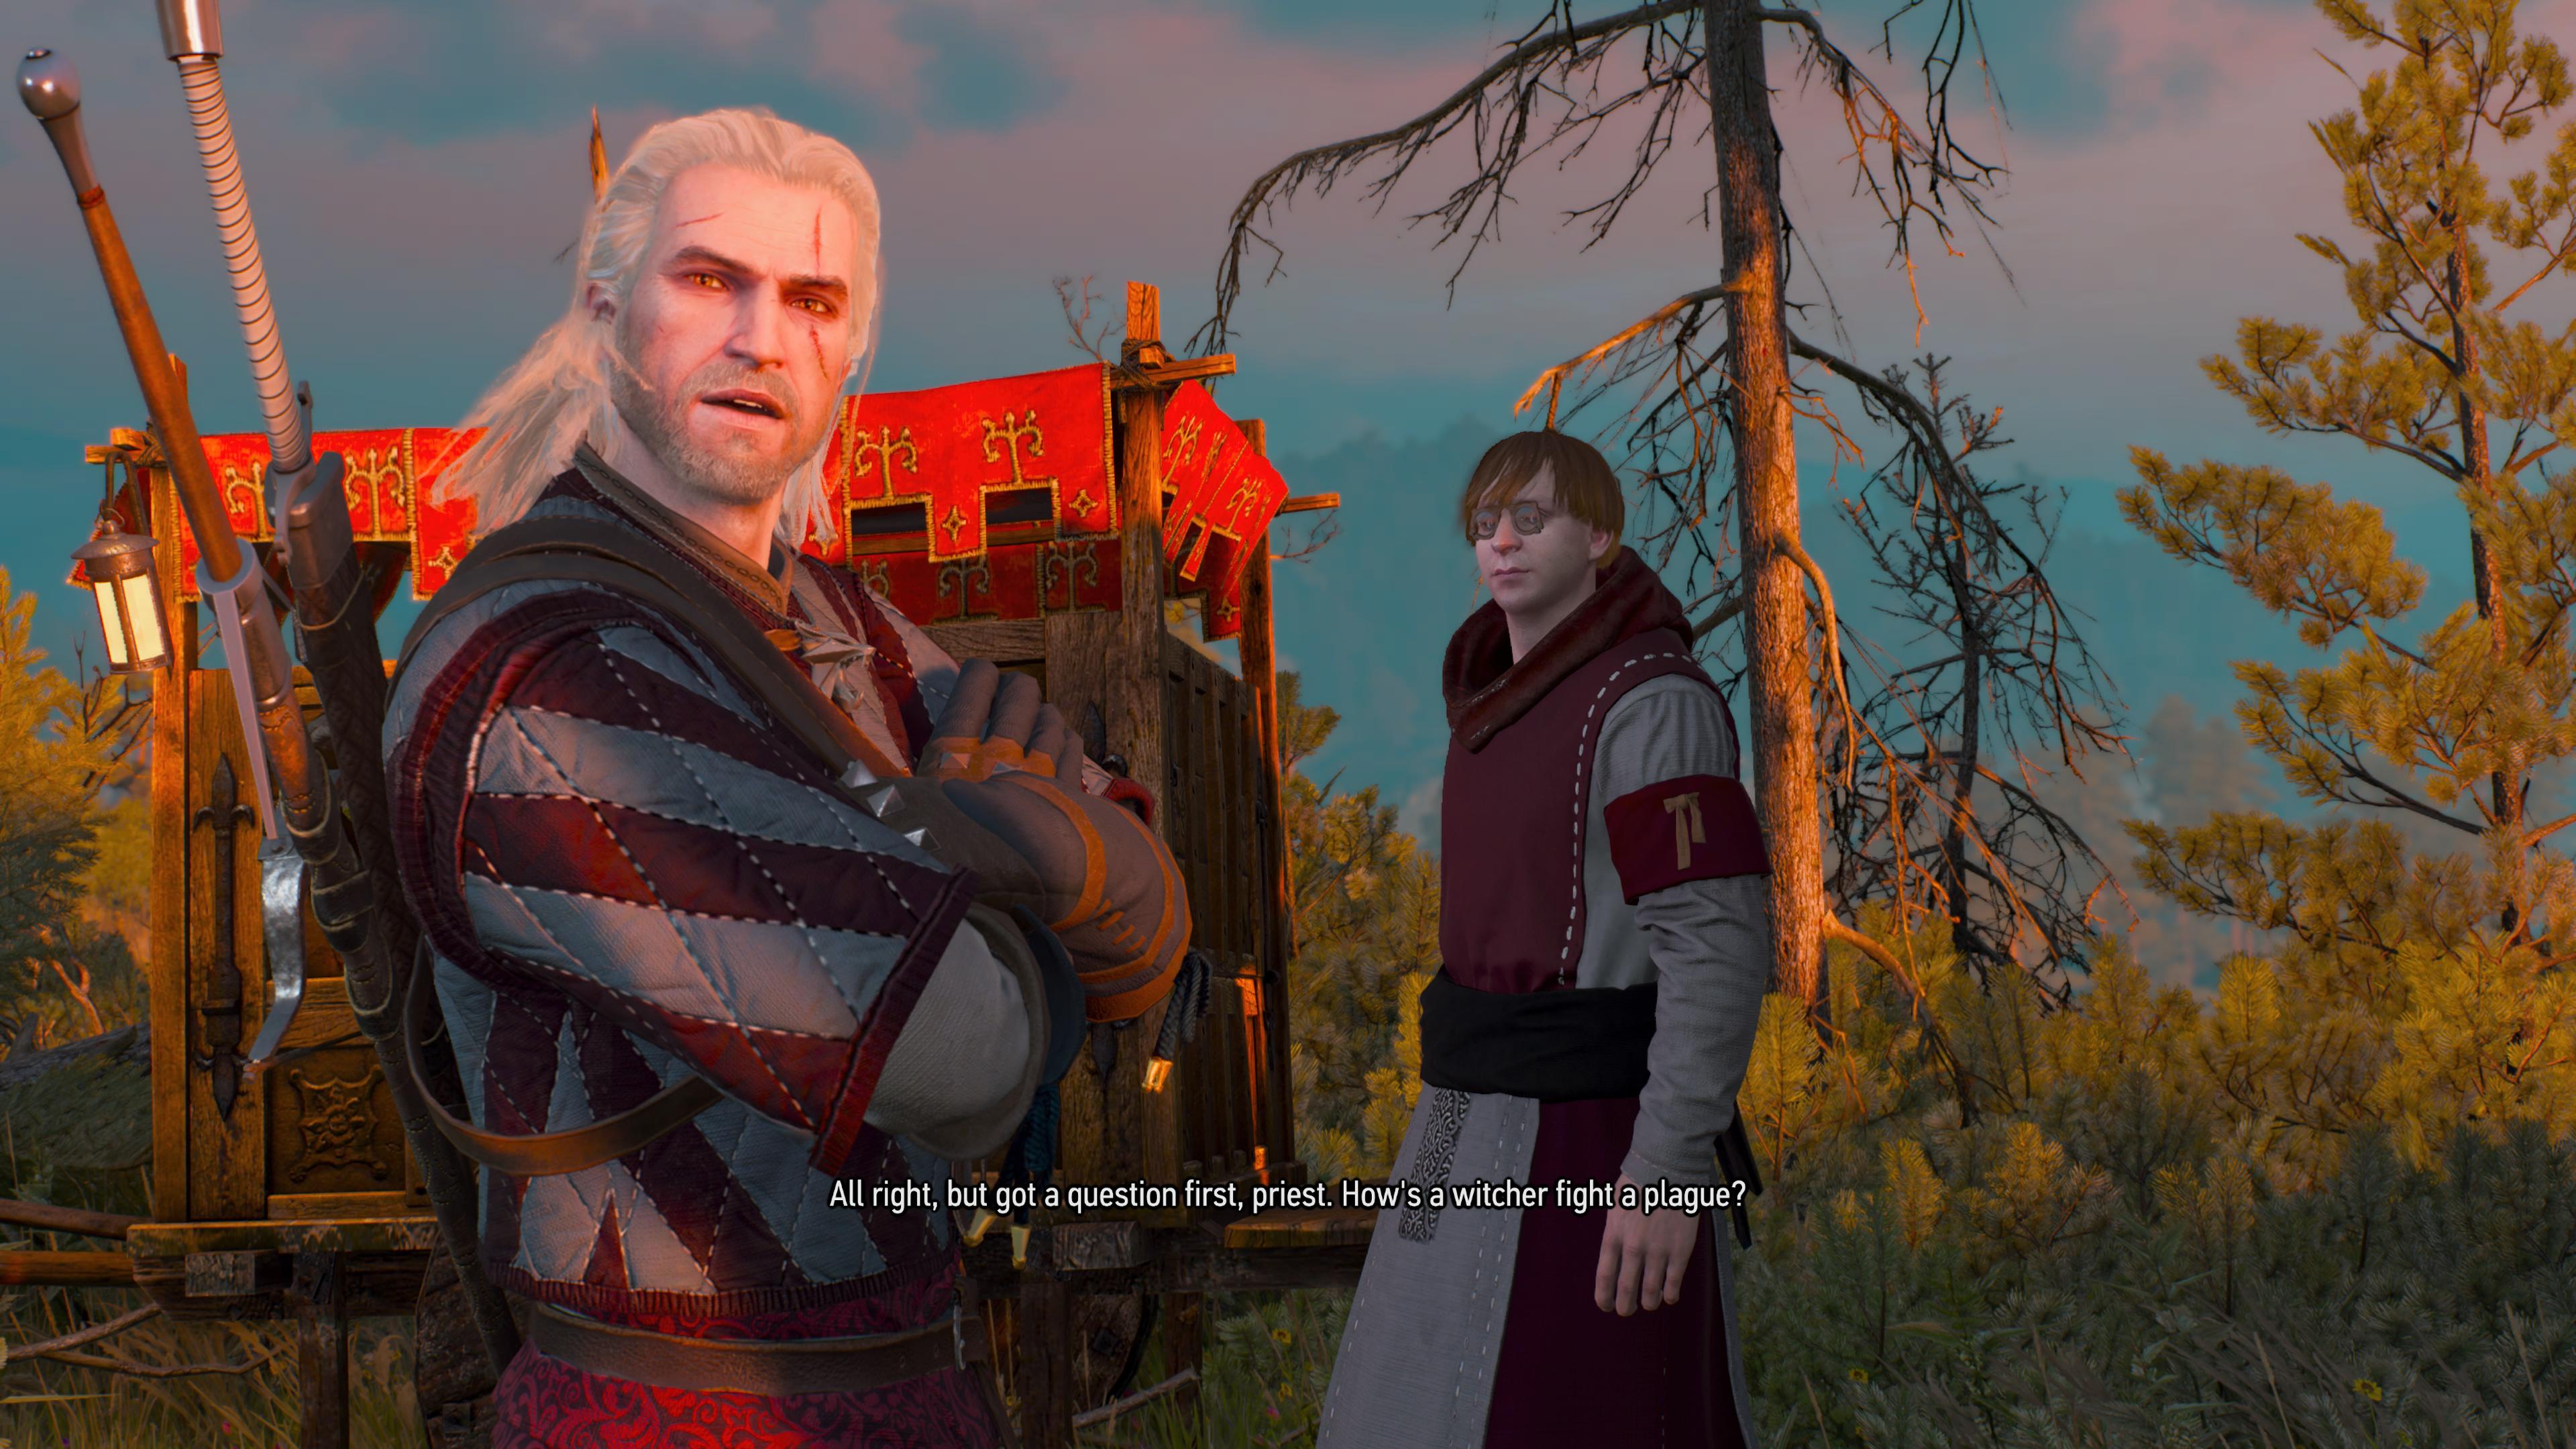
The quest you're looking for is In the Eternal Fire's Shadow, which can be found at the Devil's Pit, east of Mulbrydale. You'll meet a young deacon outside of the pit who asks for your help in clearing the caves of a spirit—a cave system that, until now, was deliberately inaccessible. The area has been repurposed for this questline.
Article continues belowYou'll need to clear the area of bandits, who are around level 9, before heading to the large double doors leading to the cave system. You'll want to make sure you toggle the quest direction to "search the mine" and use your Witcher senses regularly to find all the clues.
Where to find Reinald's letters
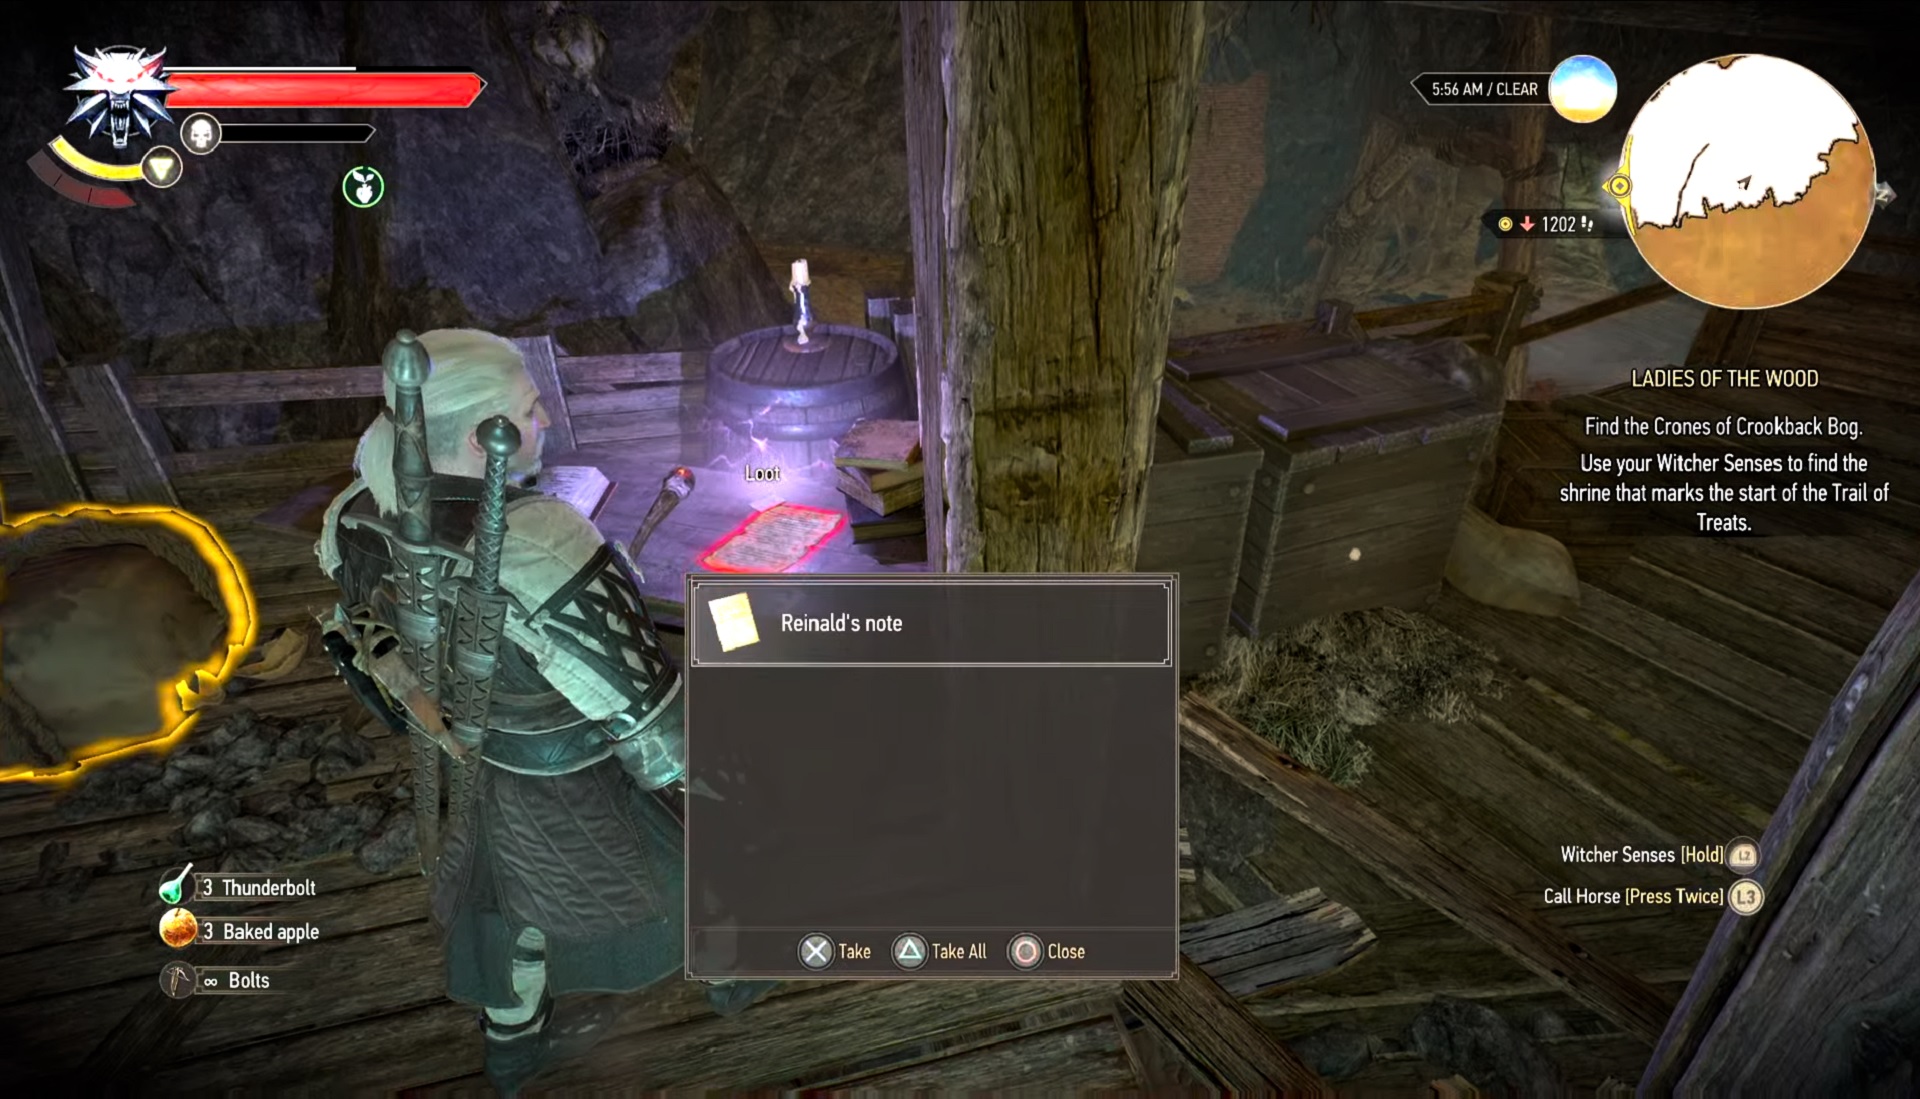
You're looking for letters from an individual called Reinald who, it becomes clear, was a witcher. When you first enter the cave, climb the ledge and carry on for a few seconds until you see some stairs to your right before the closed door. Head up the stairs to find Reinald's first note and a Greater Glyph of Yrden. Head back down to find another note stabbed into the door. Almost immediately after passing through the doors, you'll find a Wolf school insignia on the left—an insignia that Geralt will remark is old, very old. Just past this insignia is a doorway that you can use Keira's lamp on to reveal the goings-on of some individuals who have since passed.
Explore the area, then head down the stairs and the path will fork in two. Head to the right, away from the wolf insignia on the ground. There will be a dead end to the right, so keep going forward. You'll enter a room with docile plague victims and Geralt will remark that he might have missed something. Exit through the other door and climb up the platforms to find the fifth letter pinned to the door. Do not go through the door. Optionally, you can leave this step for now and come back to it after finding the other four letters.
Go back to where the path split in two with the wolf insignias. Keep to the left and use your witcher senses to find more wolf insignia on the path before you. Ignore the mysterious voice telling you where to go for now—you're off to explore. Keep going and cross the bridge to find Reinald's third letter and another glyph. If you double back and spin around, you'll see there's a platform you can jump up to, so head up there next to find some more loot.
Keep up to date with the most important stories and the best deals, as picked by the PC Gamer team.
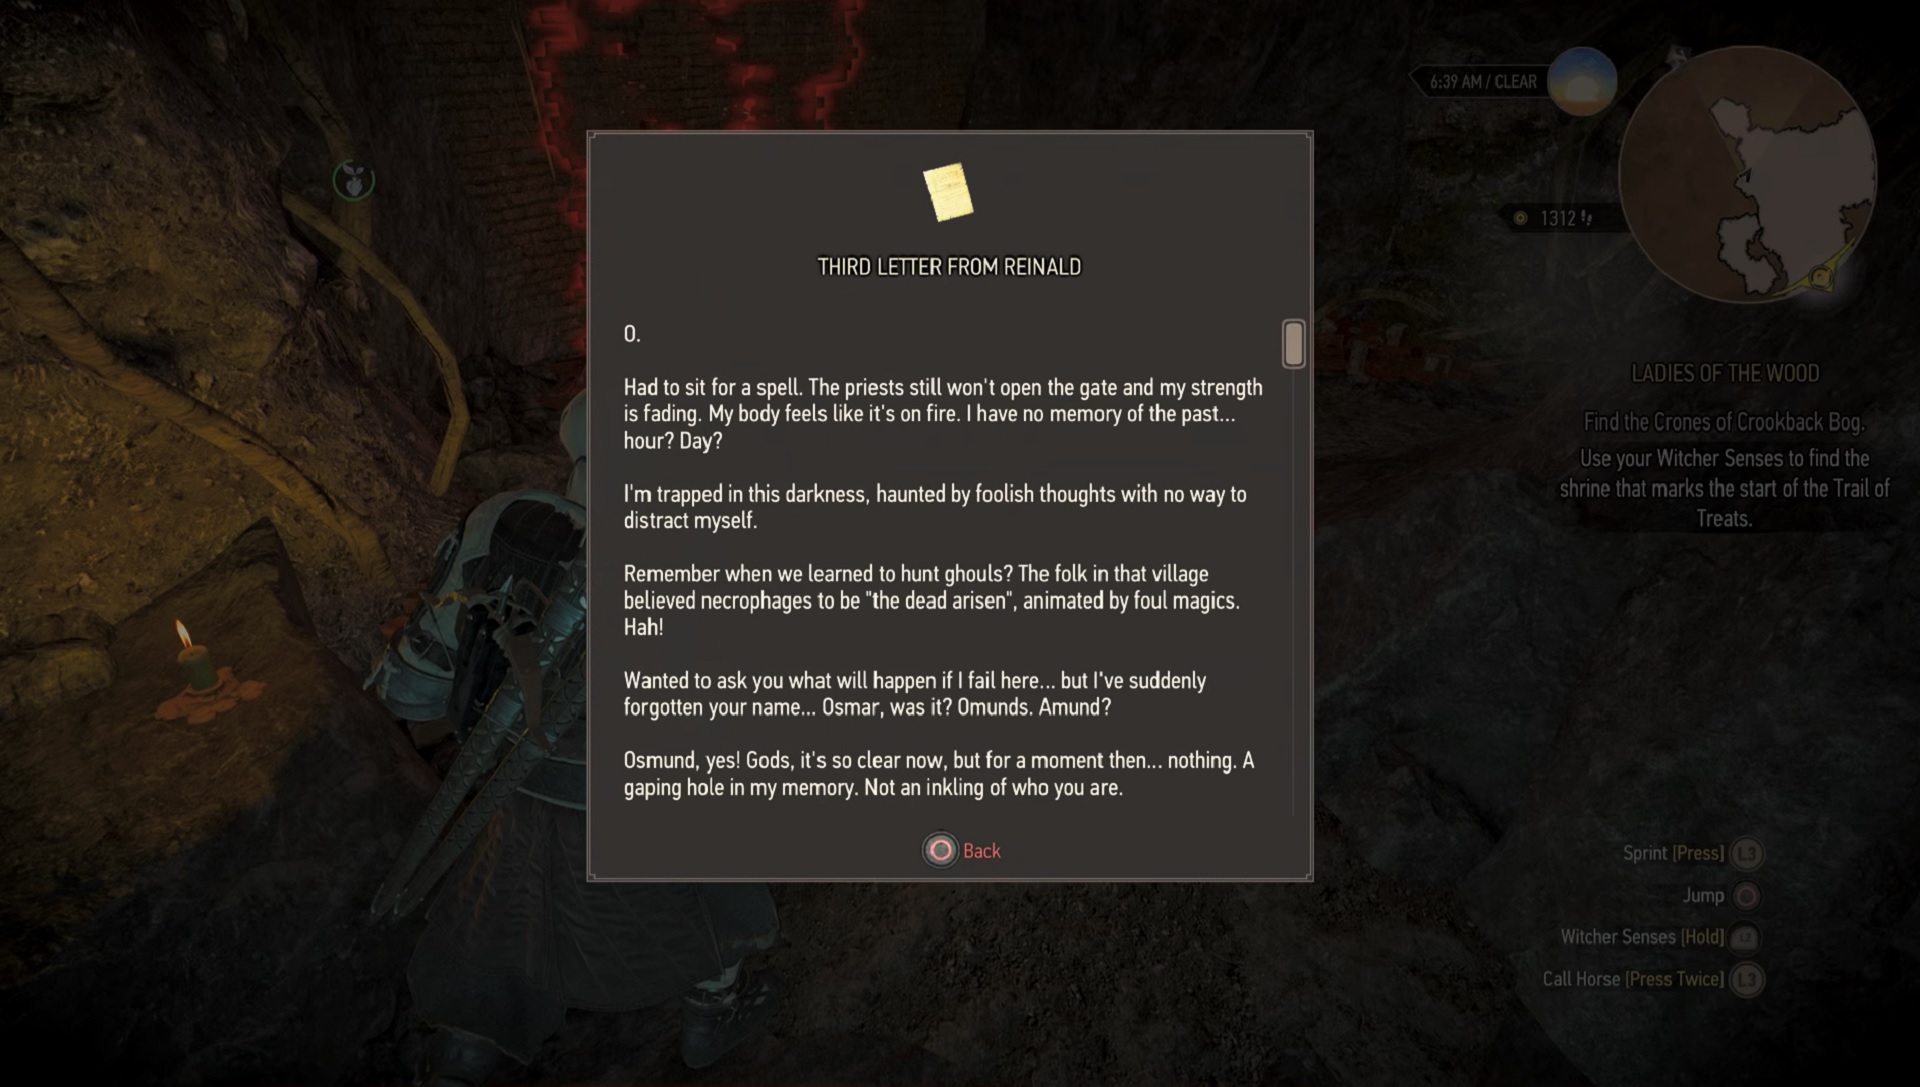
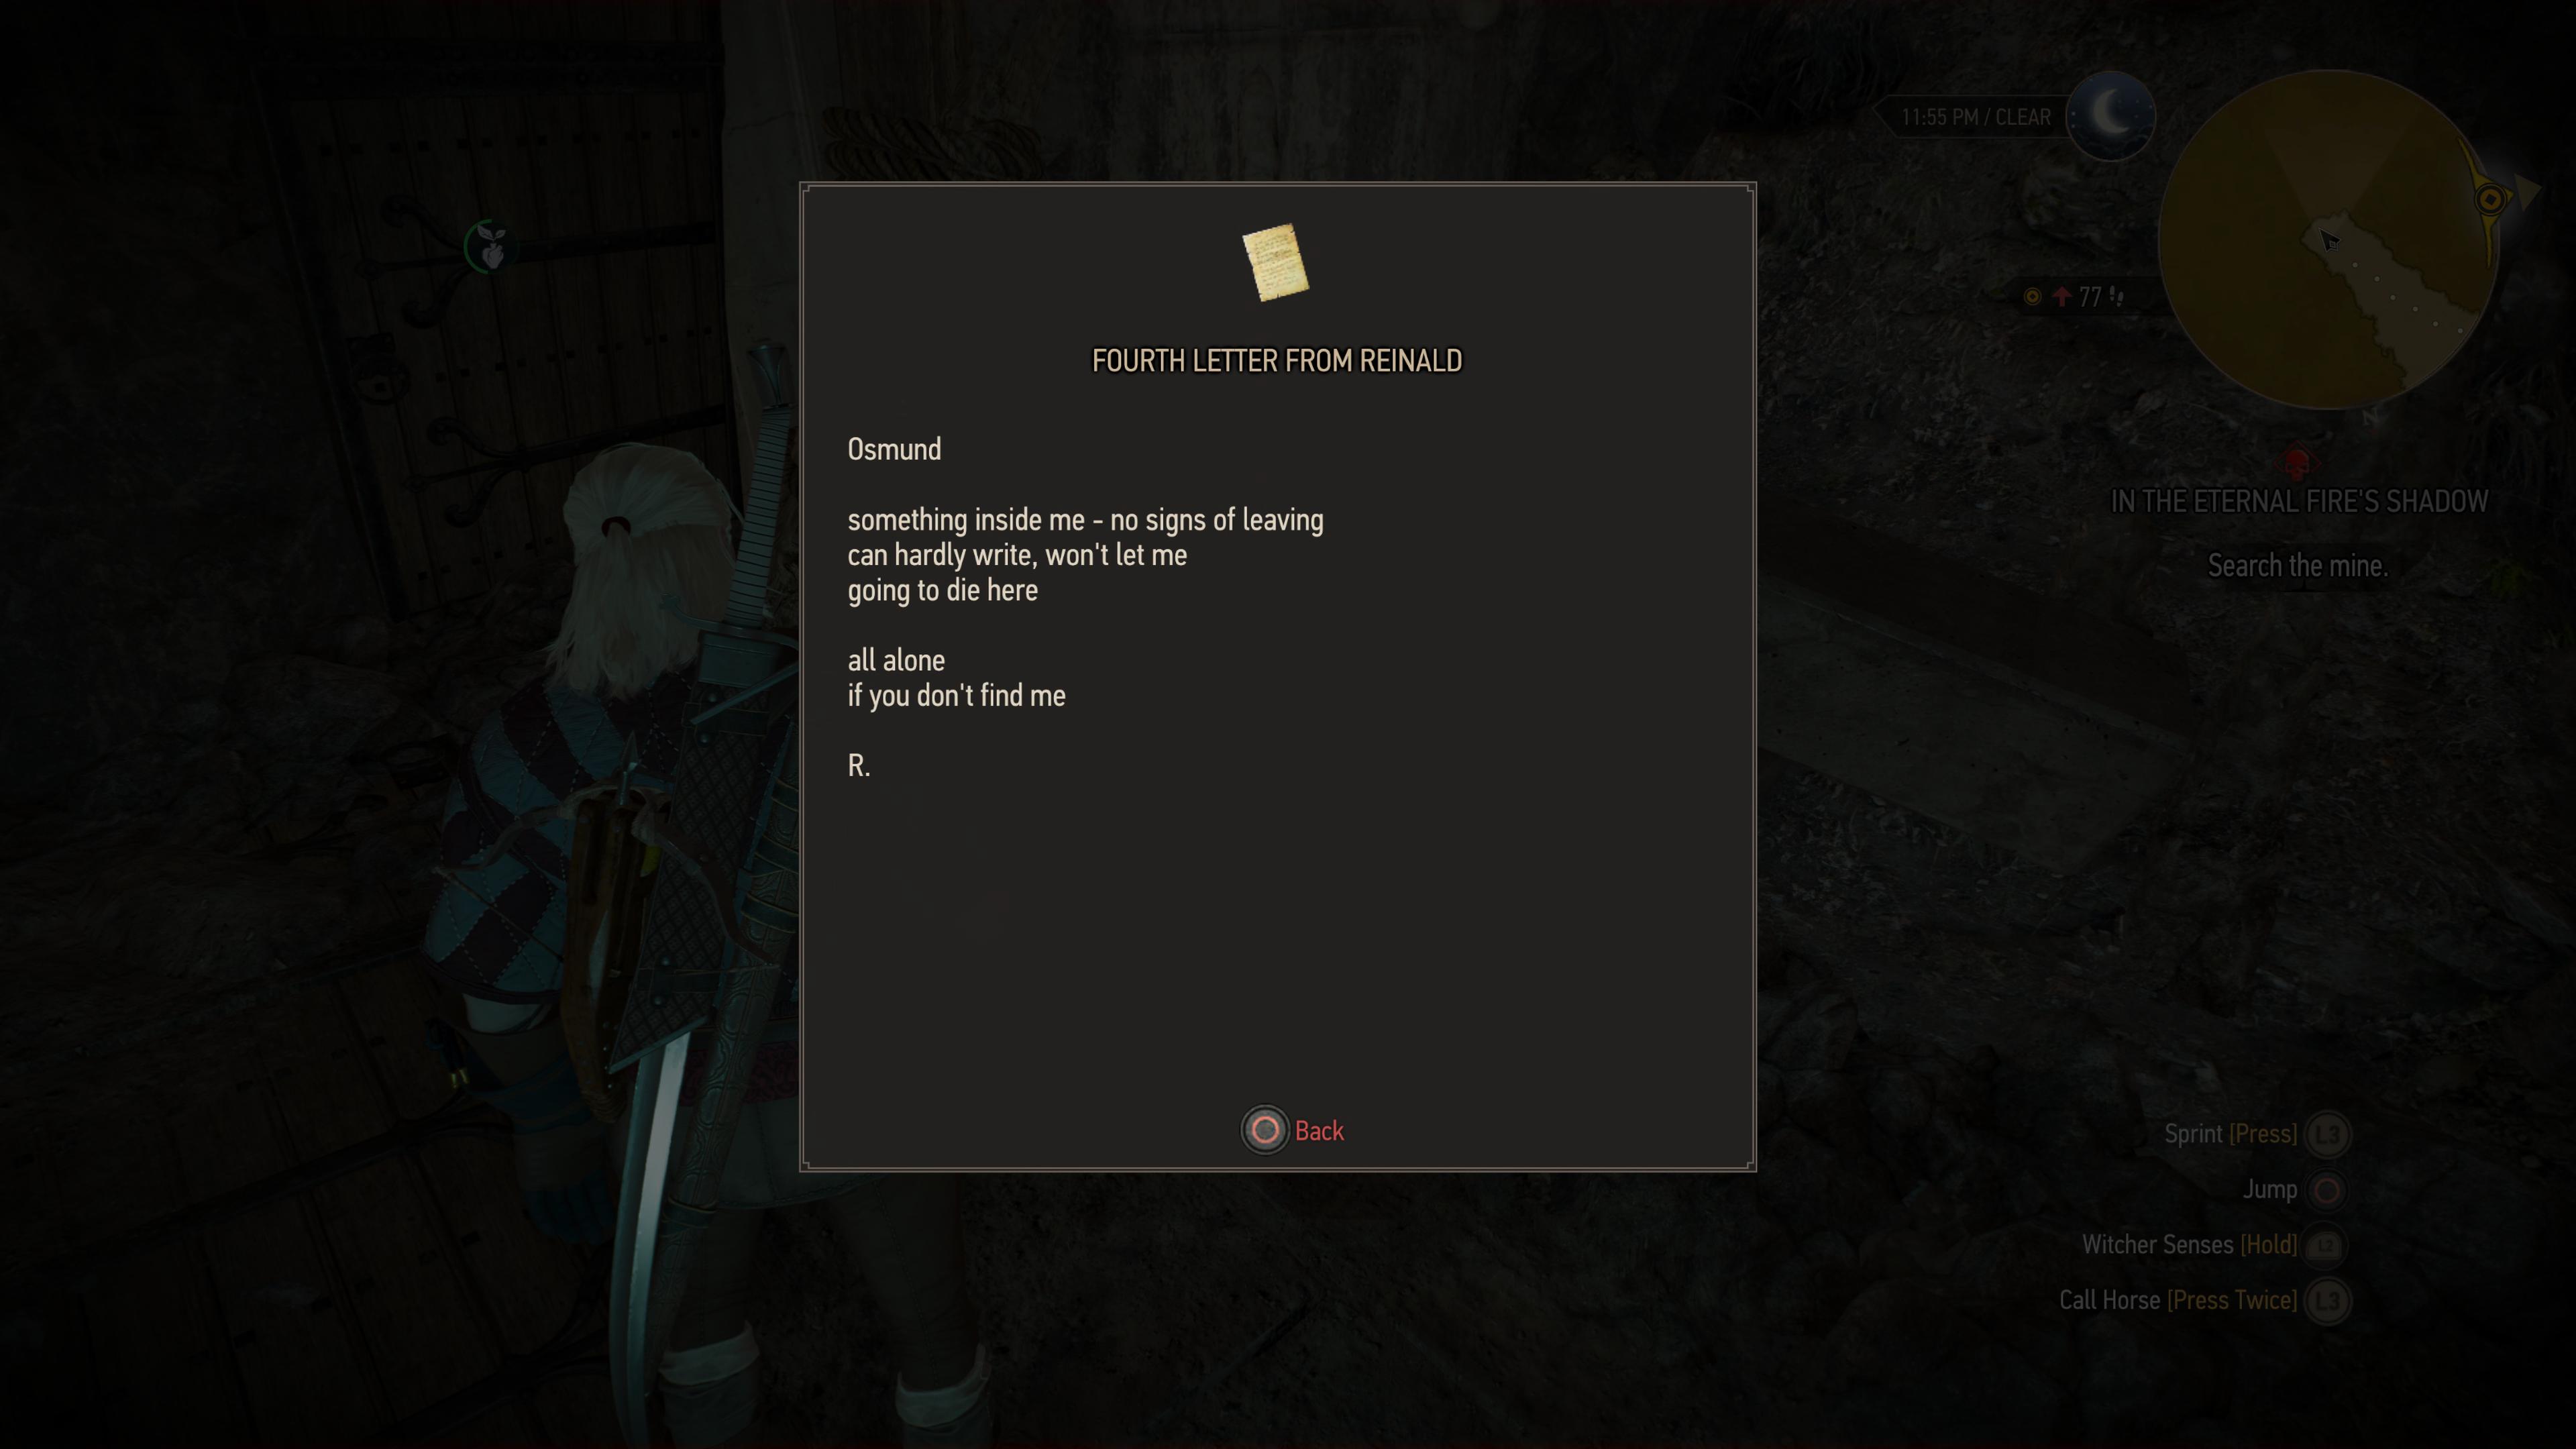
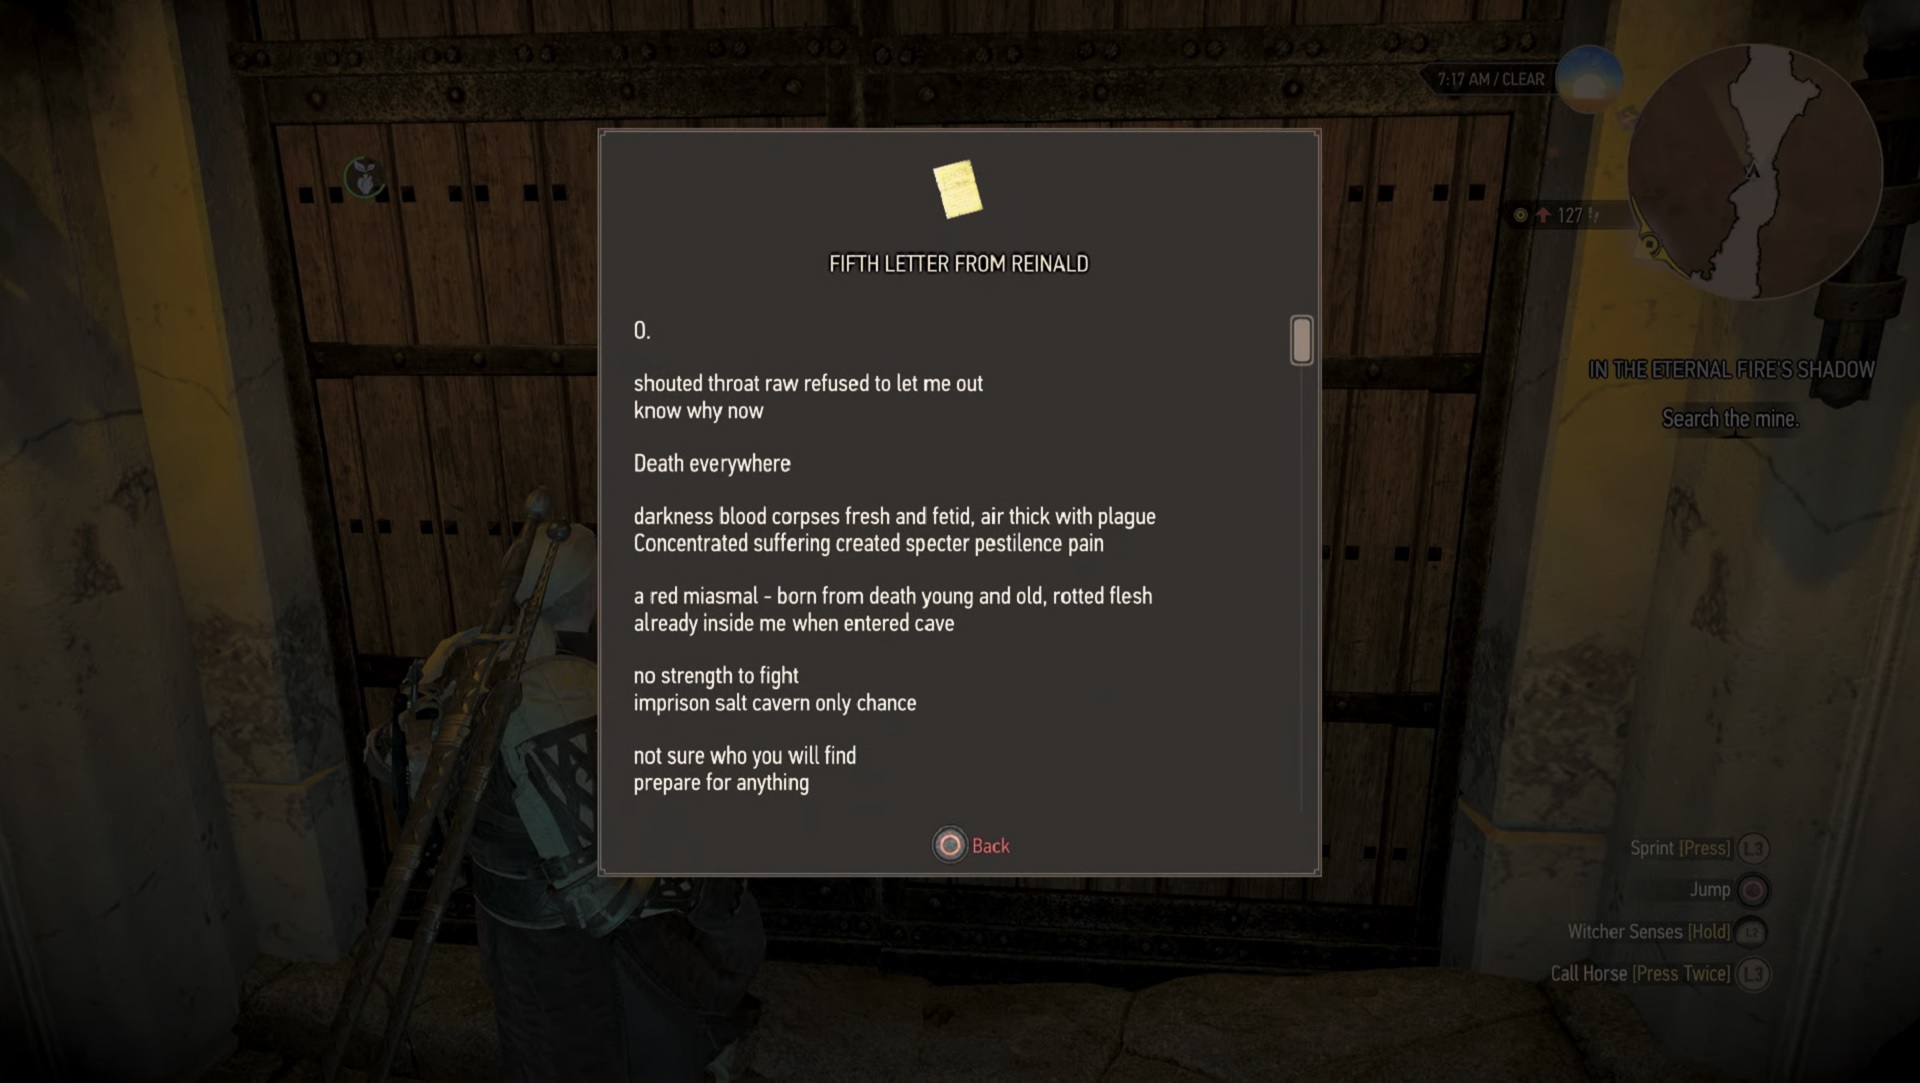
Jump down into the shallow pool below and go under the bridge, sticking to the right, to find another doorway with a witcher insignia. You'll find a plague victim here, which you'll fight later on. Keep going into the pit and go through the door at the back left of the room to find a climbable wall and another Yrden glyph and insignia—it's here that Geralt makes the connection that Reinald may have been a witcher.
Leap across the gap to a lab to find the Forgotten Priest's Testament and head through the door on the left. Jump across the broken bridge to the left and keep to the left path to find Reinald's fourth letter and another glyph. Double back to the fork and take the right and you'll find yourself overlooking a pit. Save here and meditate to refill bombs and potions, and make sure you repair armor and weapons and equip Quen and Yrden glyphs and runes—you're going to need them.
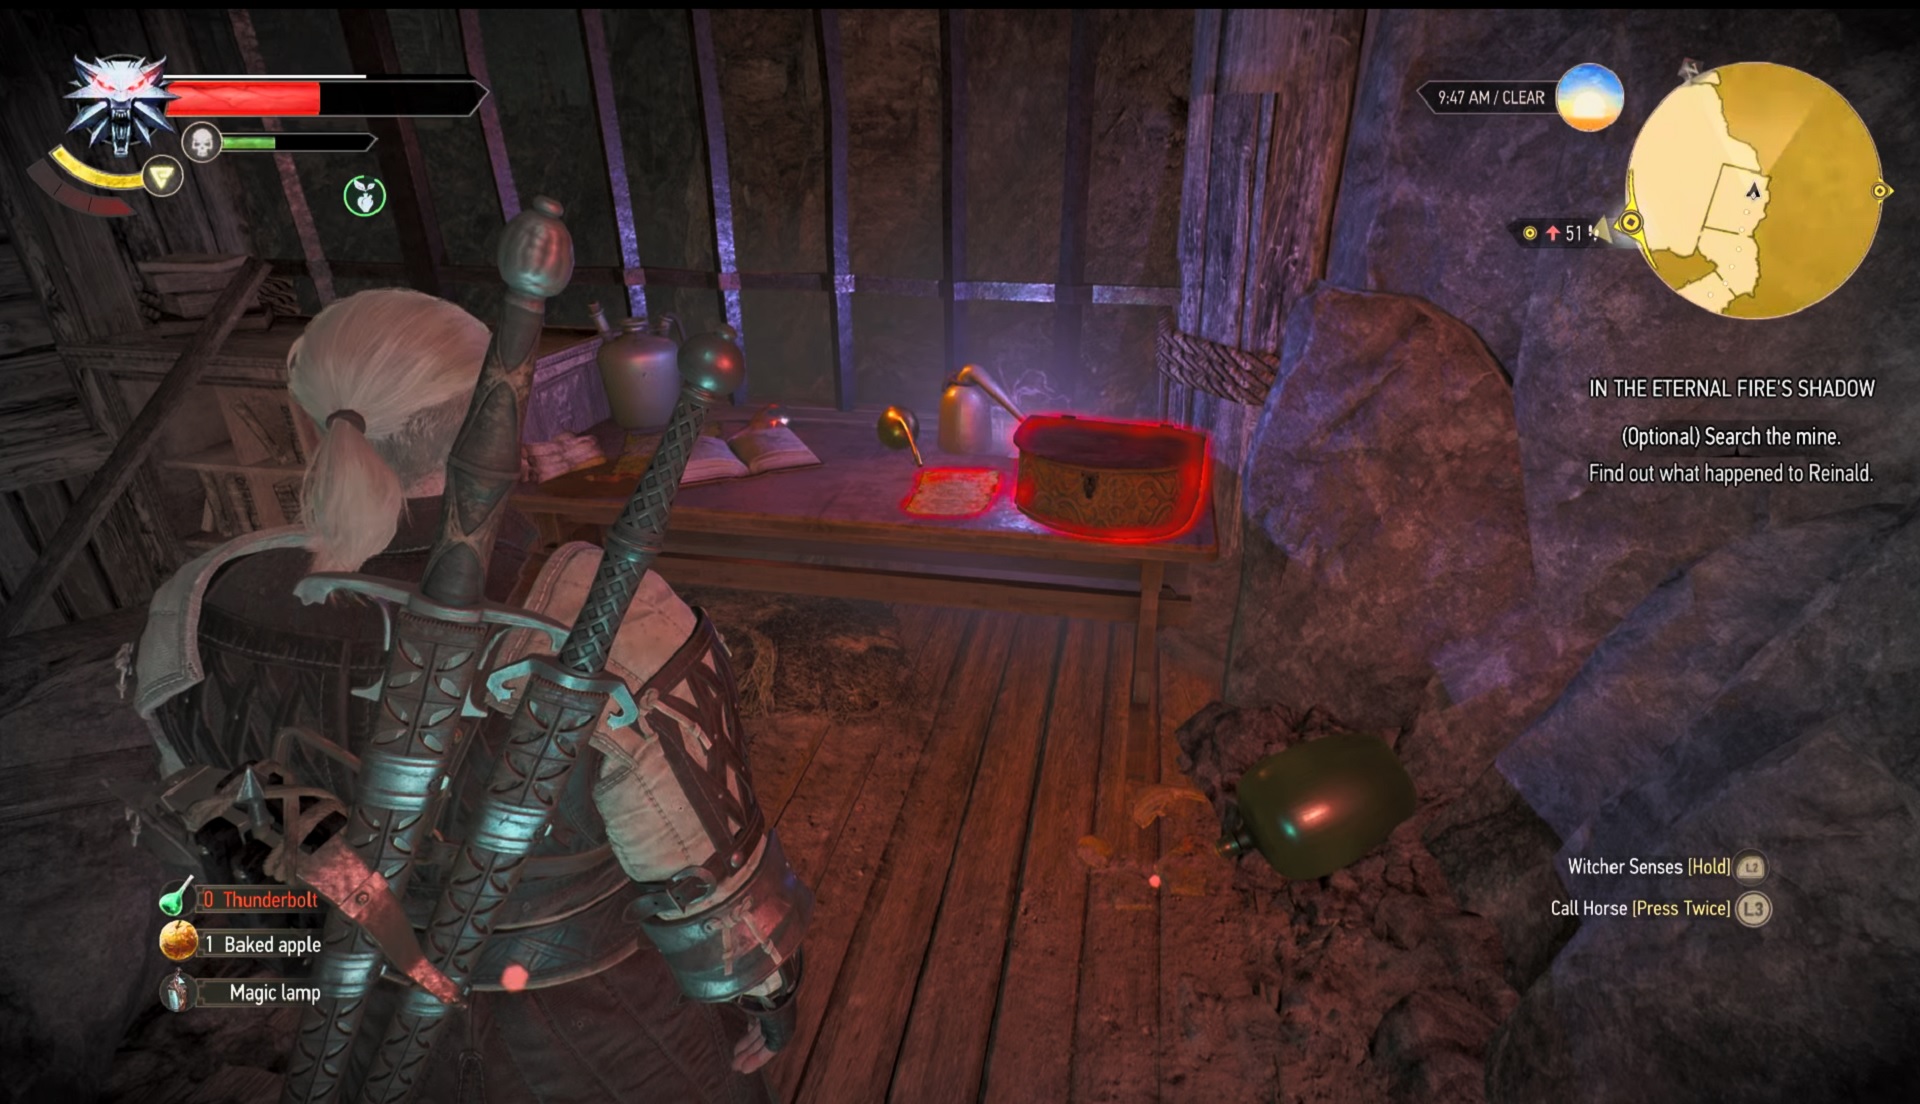
It's here that you'll fight the plague victims, and you'll be fighting them four against one. They can rush you and deplete your health pretty quickly, so make sure you use Quen as regularly as you can alongside Thunderbolt to really deal some damage. After the fight is over, you'll see a shack with a witcher insignia. Climb up the wall to the right to find Reinald's chambers and you'll find his second letter and how to make Reinald's Philter. You need Dwarven Spirit, celandine (a flower) and the ingredients of this chest to make it.
Once you've made the potion, repair your gear and make sure you have enough potions to hand as you'll be fighting more plague victims during the next section. Again, use Quen, attack-boosting potions, and keep your distance in between shield bursts.
How to defeat the Red Miasmal
Once they're defeated, follow the path until you reach a set of stairs leading to a chamber. Again, save here, repair stuff, and meditate to replenish items if you're playing on a lower difficulty. Below, you'll see a chamber where you find Reinald trapped in salt stalagmites. Use Aard to free him and you'll trigger a very cool cutscene.
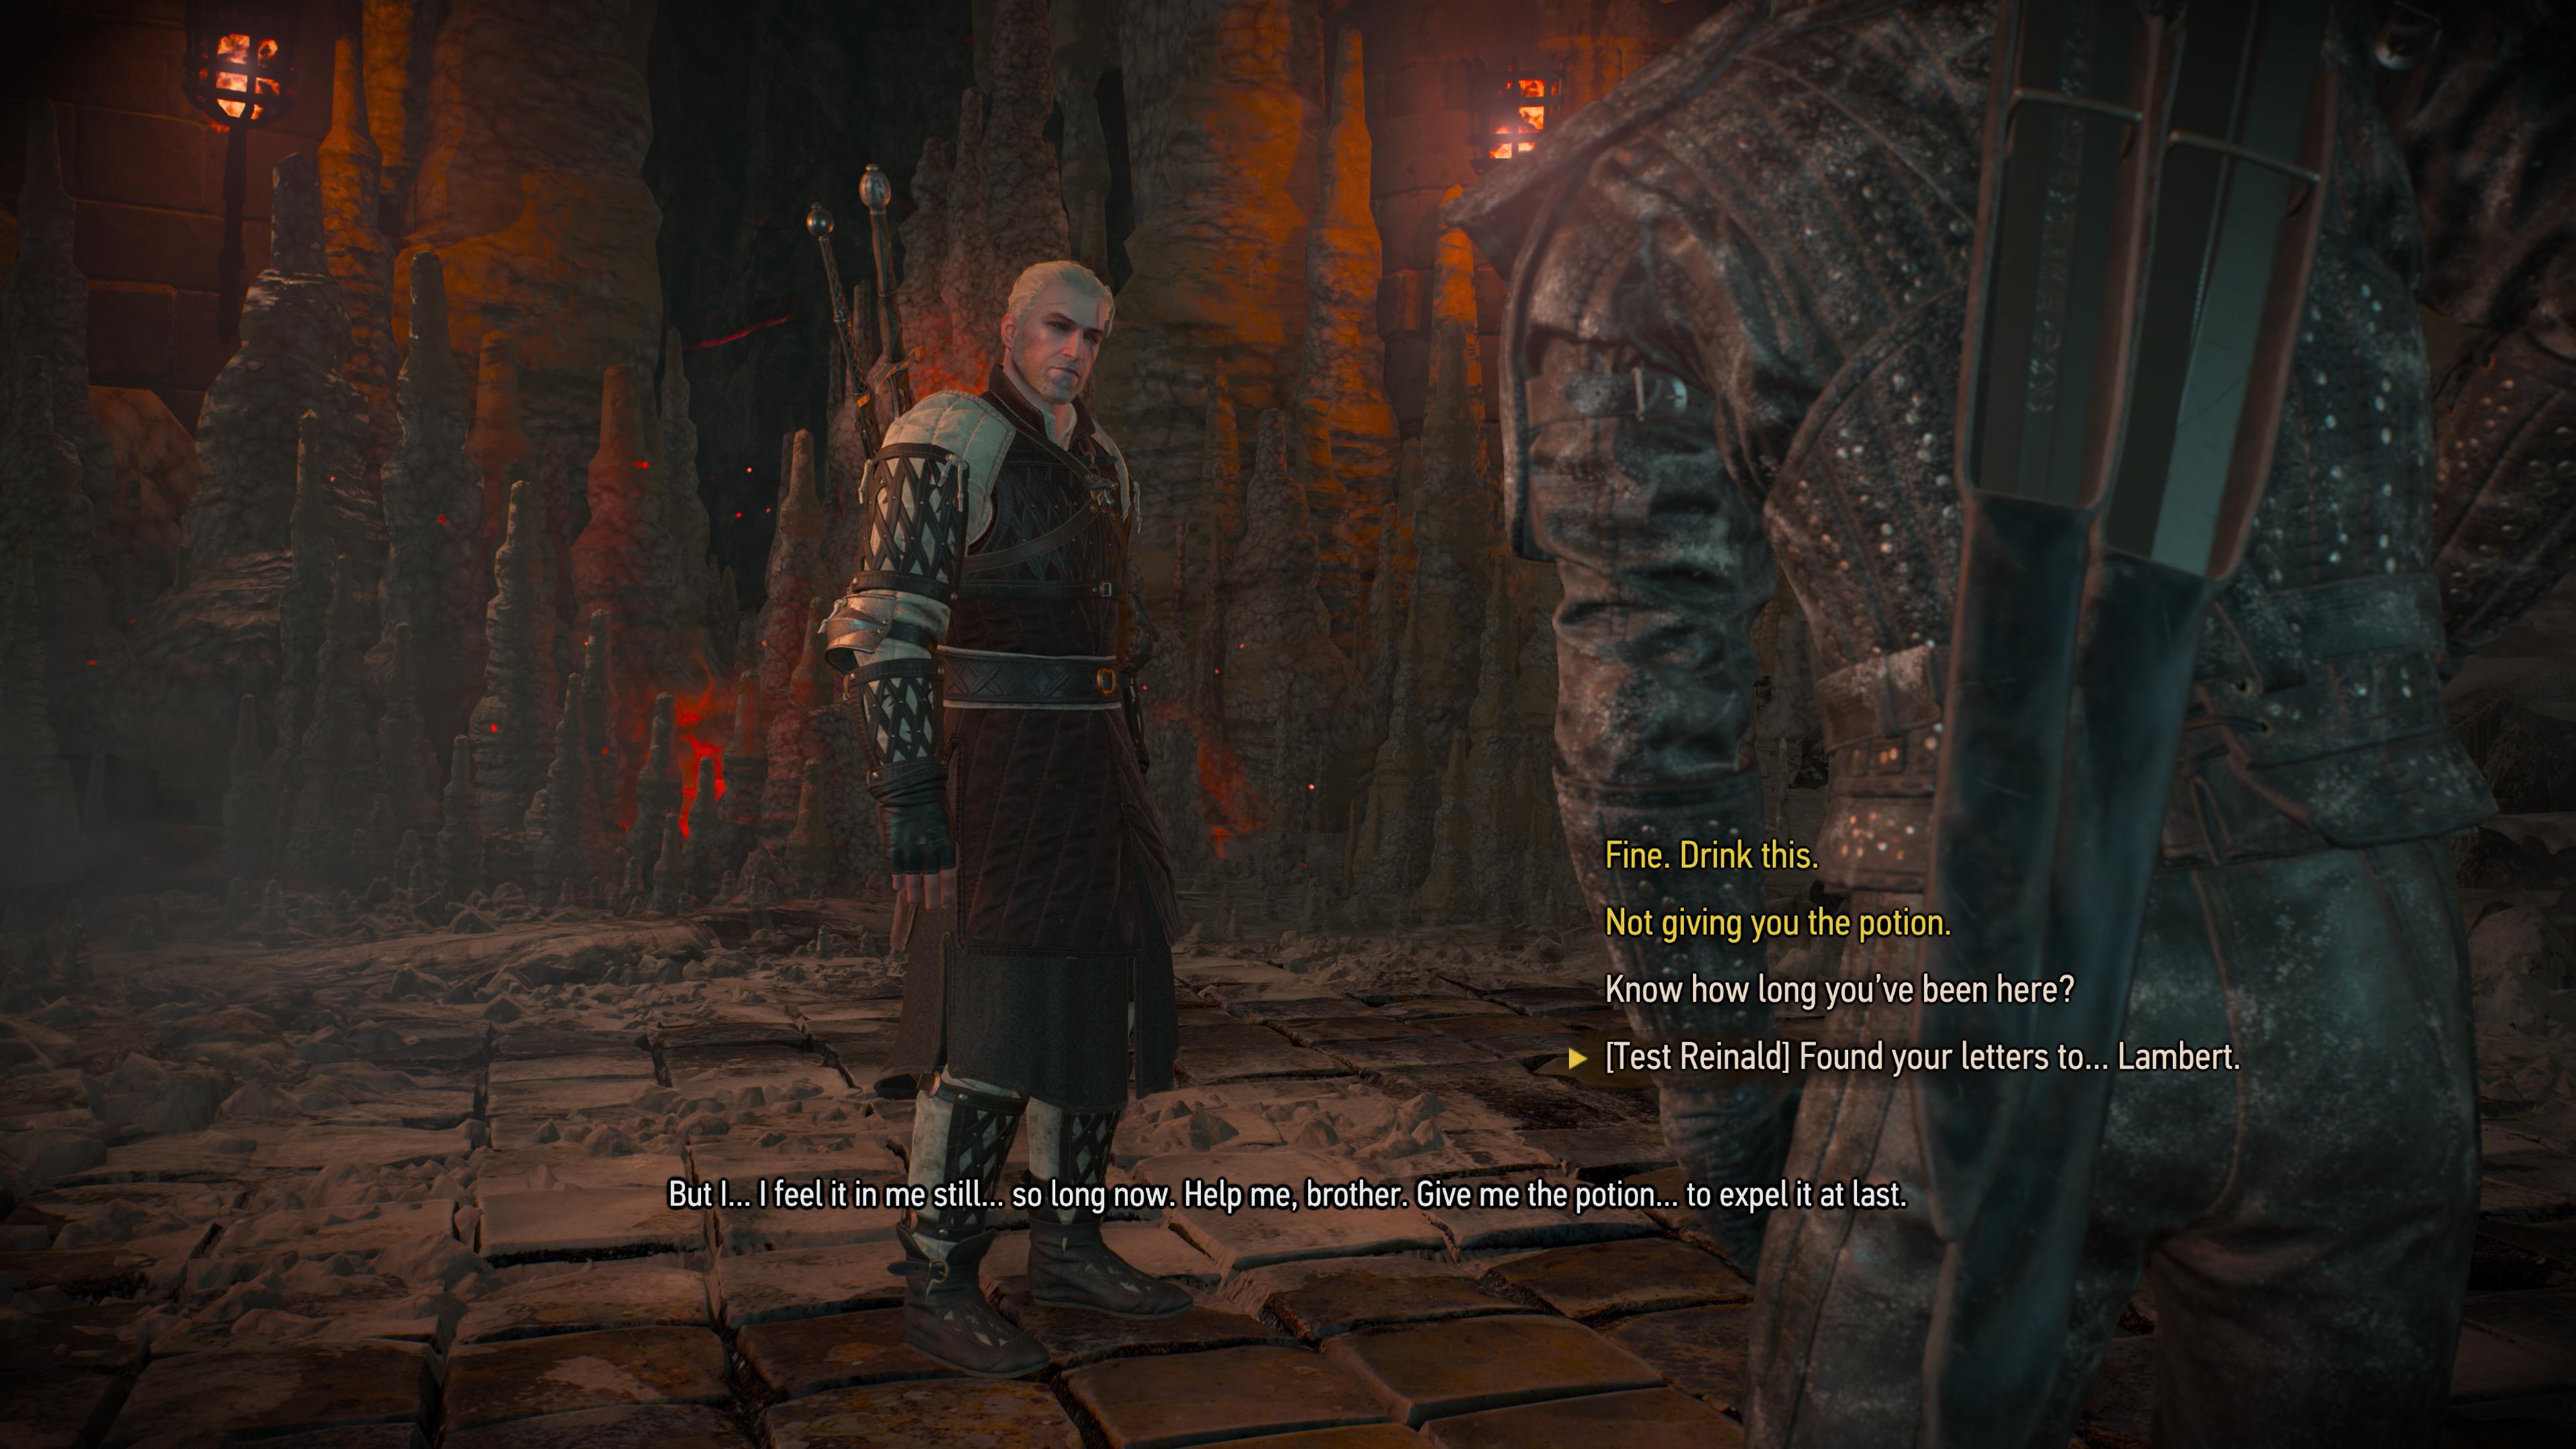
Obviously, Reinald is possessed by the Red Miasmal. You can test him and use false information to figure it out, as the Red Miasmal isn't totally aware of the letters he wrote, and you'll then be faced with two choices: give 'Reinald' the potion or keep it for yourself. If you give it to Reinald, he'll slap it out of your hands, so that's a big waste.
The potion gives you a buff against fighting the Red Miasmal so the obvious answer here is to keep the potion for yourself, and Geralt automatically drinks it. It really bumps your toxicity levels up so make sure you have some White Honey handy to counter it. The Red Miasmal becomes enraged, and the fight between witchers begins. Reinald has three health segments and he's just as quick as you are. You'll want to throw down Yrden to slow him down and look out for his Quen—a red sphere will glow around him when it's active and if you get too close it'll explode.
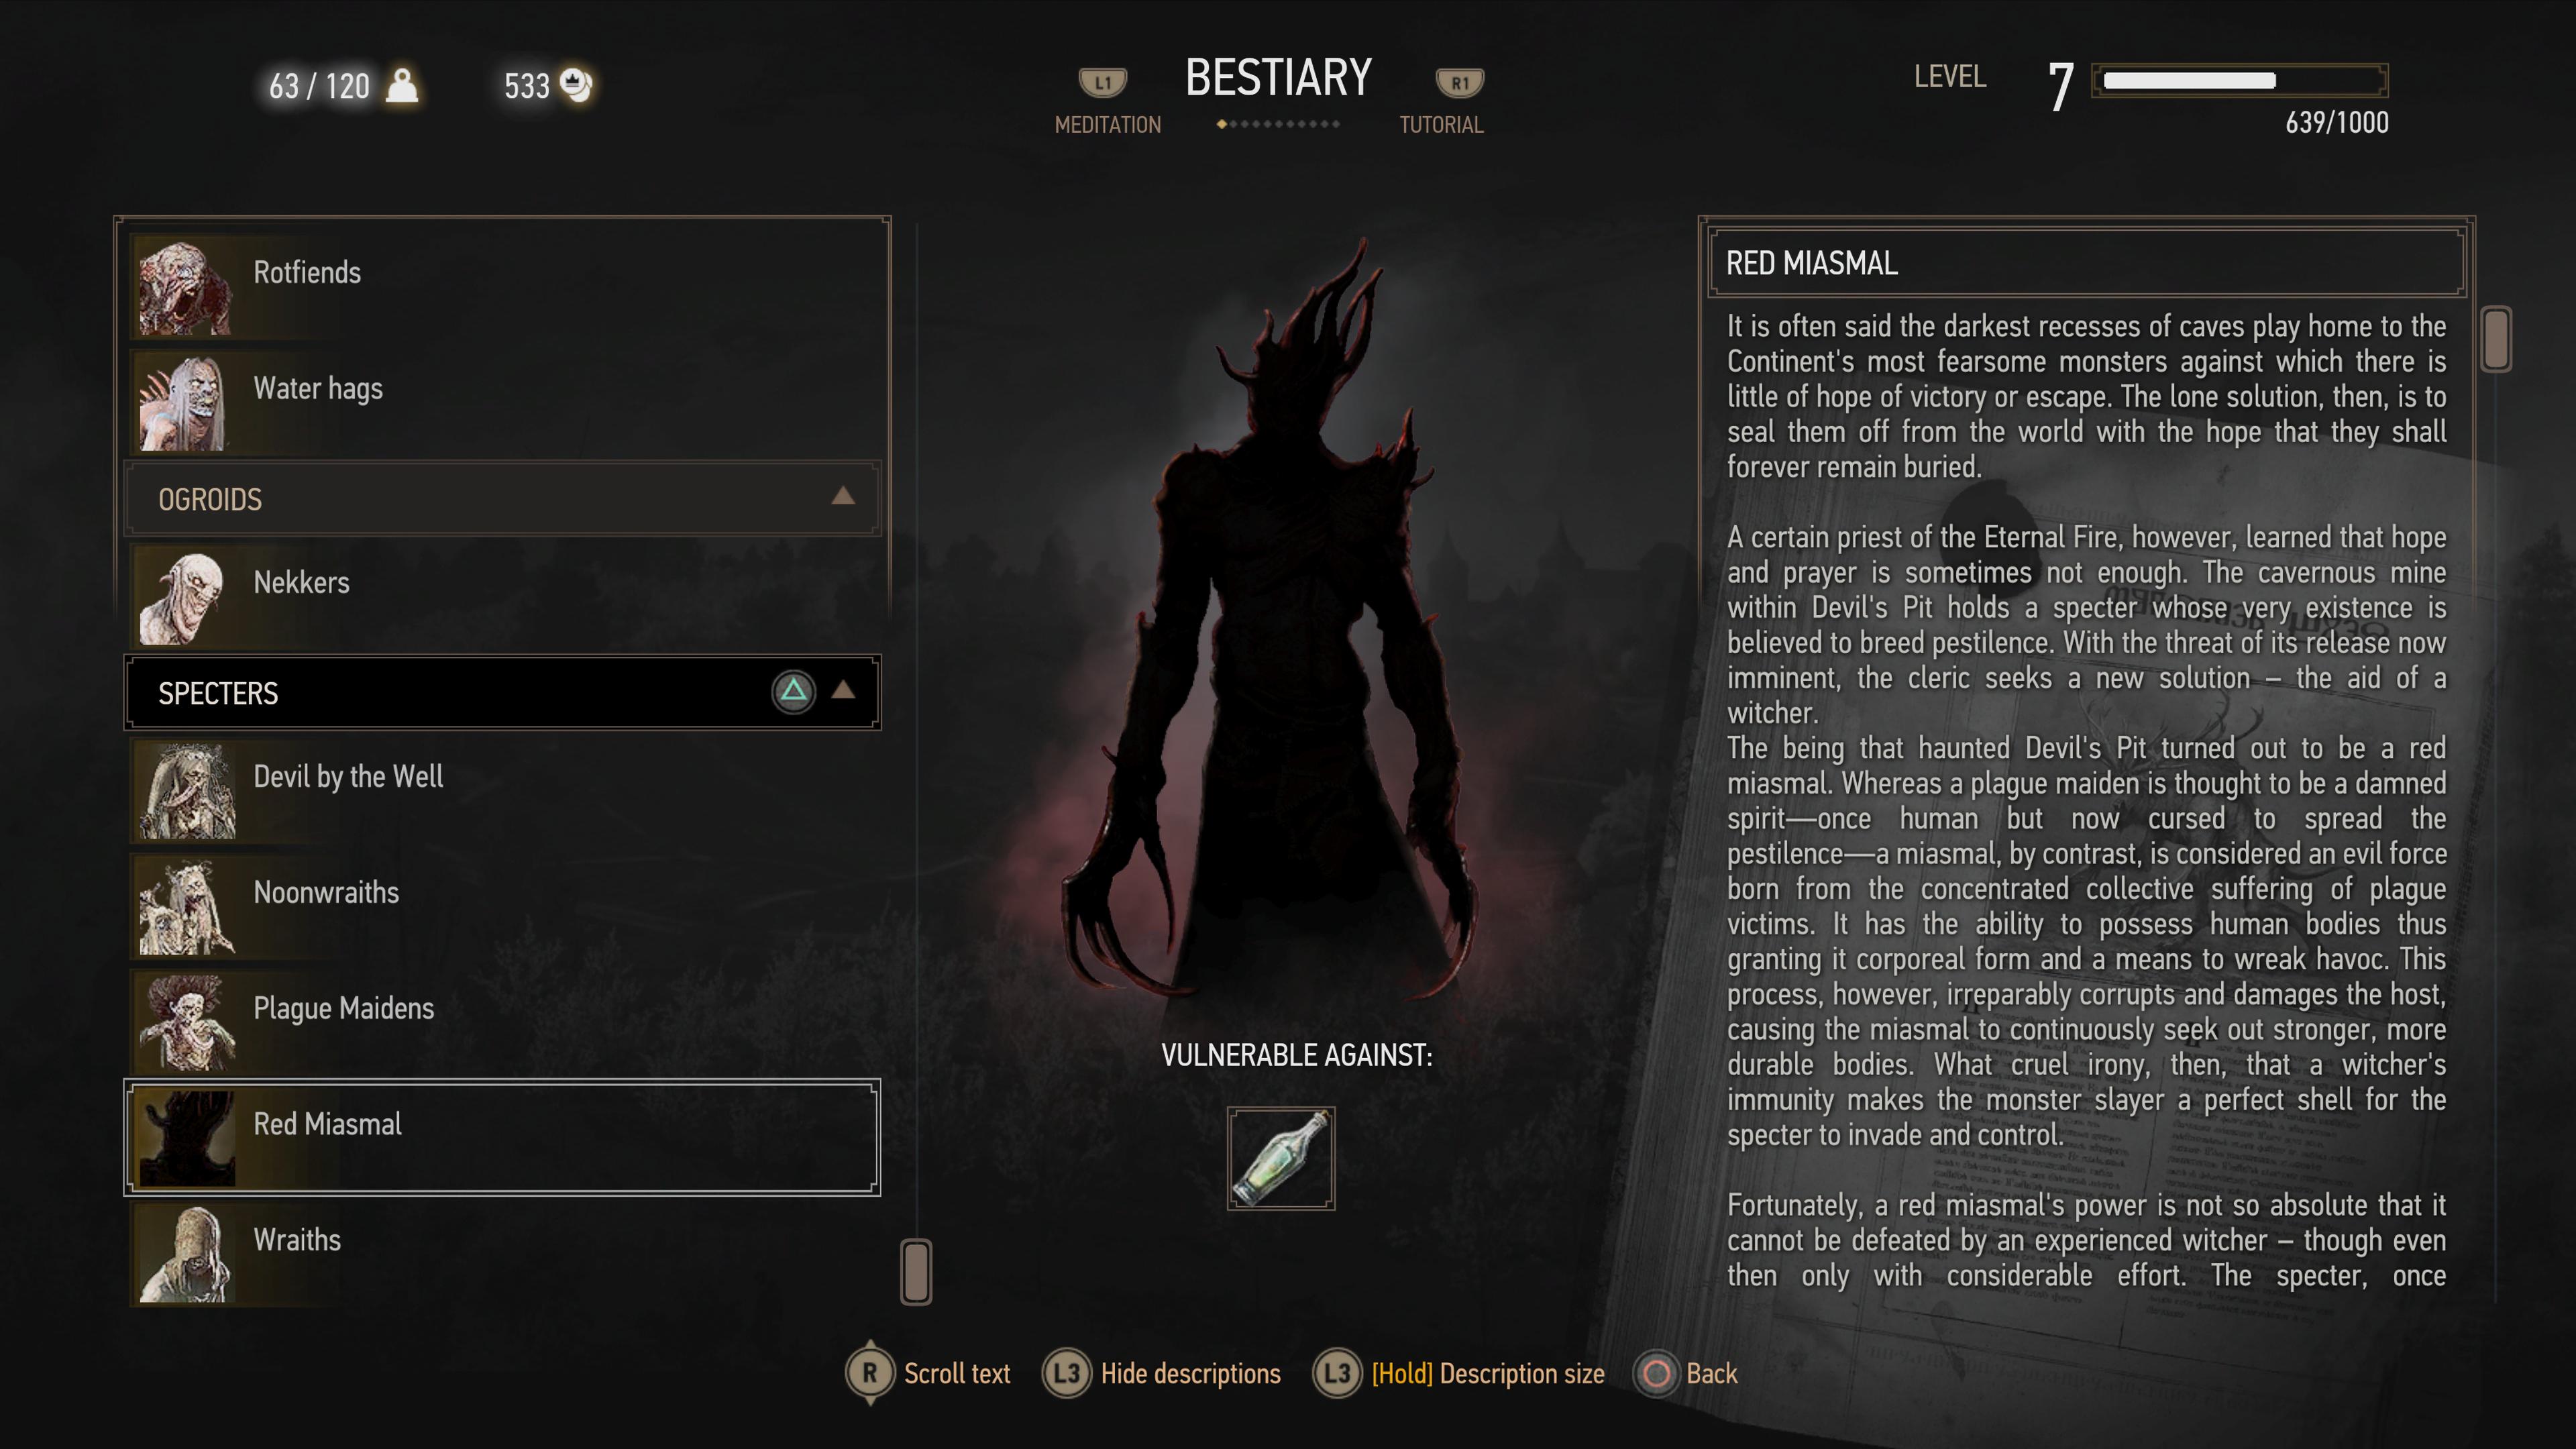
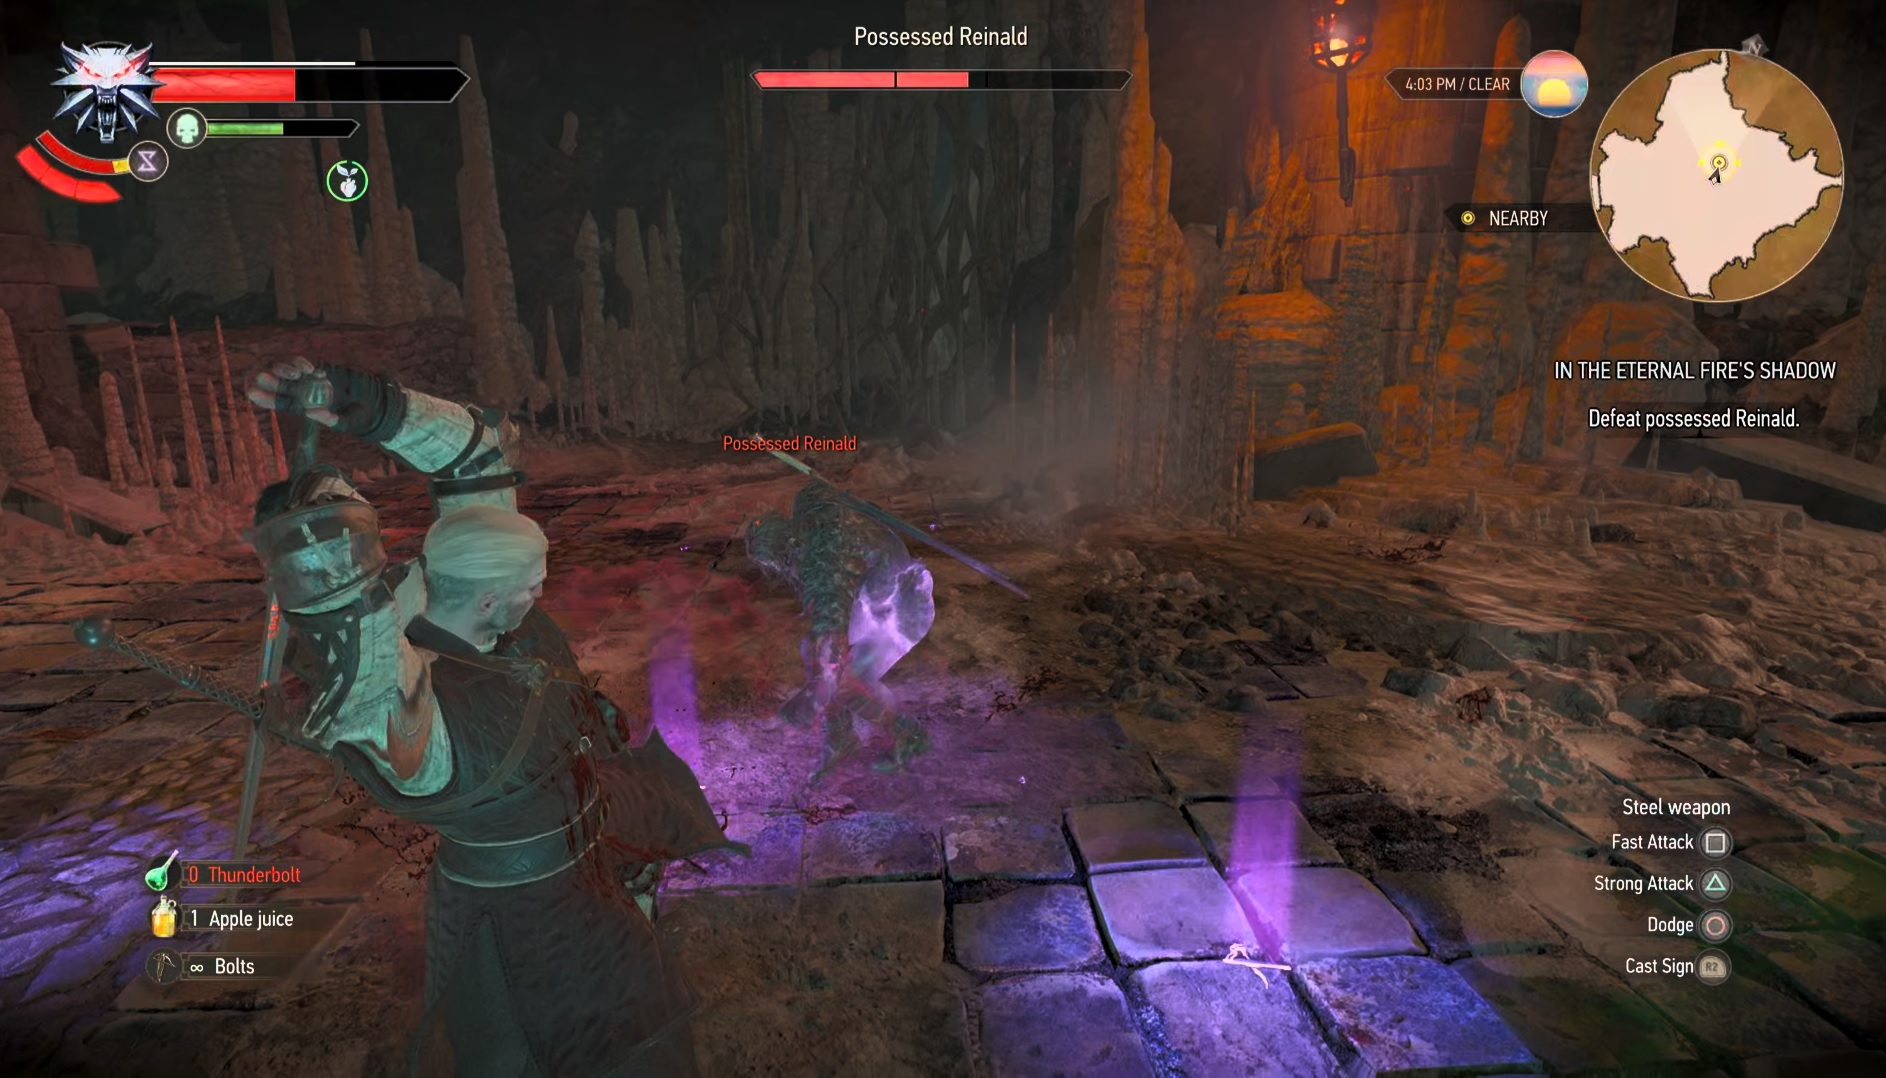
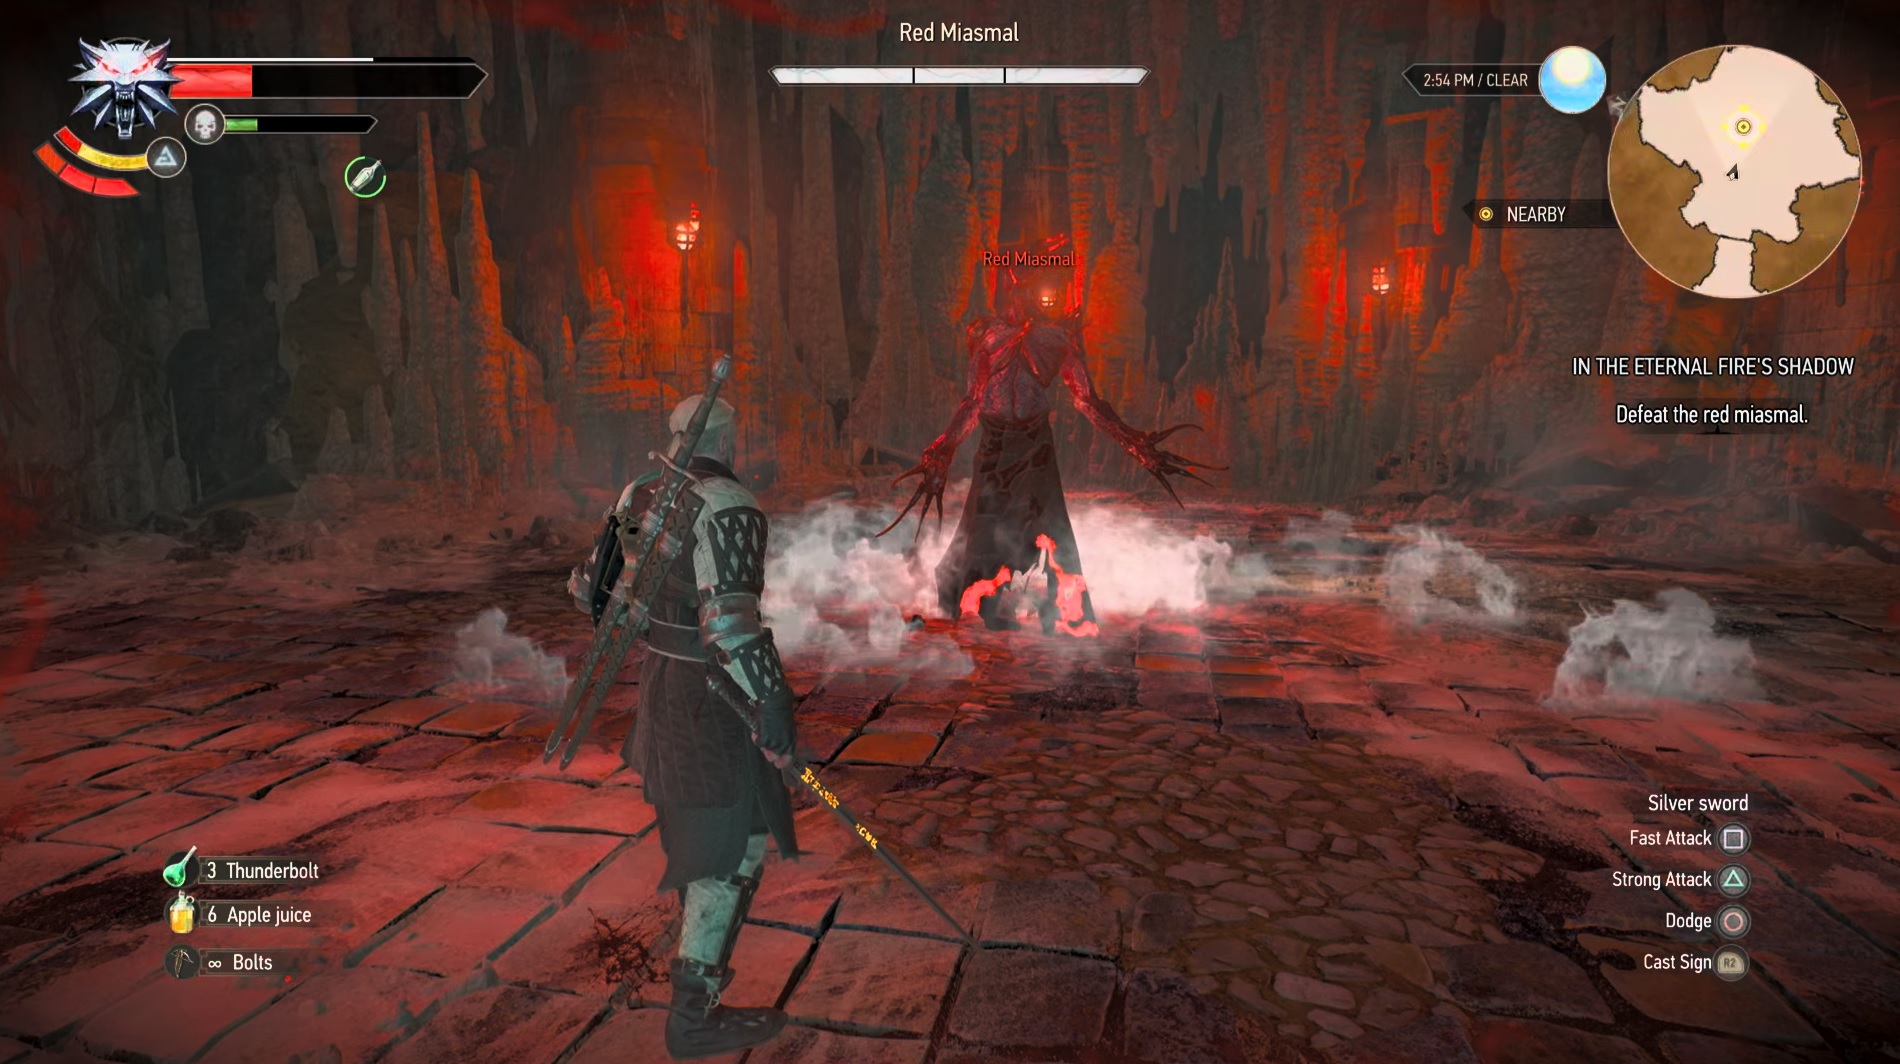
To defeat him, you'll need to get some key hits with your sword in, but your signs play the bigger part. Make sure you protect yourself with Quen, then lay down Yrden. Once he's in the circle, hit him with Aard to take massive chunks off his health and drive the Red Miasmal from his body. His health can regenerate, so you need to try and get this fight done as quickly as you can with this combo. Having the Tawny Owl potion to hand to quickly regain stamina would be a good idea.
Once Reinald is defeated, a cutscene will begin that sees you expel the Red Miasmal from his body and his corpse will drop to the ground. The next stage of the fight begins after the Red Miasmal itself and, fortunately, this fight is more straightforward. The Red Miasmal is worse than any Pesta or Wraith you've encountered so far. It's the embodiment of pure evil as opposed to a person left suffering from a curse or ill fortune.
Using the same tactics as before, you'll want to get as many hits in against the Red Miasmal as you can, watching out for its melee swipes. It also has an Igni-like attack, but it is pretty slow-moving and it's obvious when it's about to attack. It can teleport, so just make sure you dodge away if it appears beside you. It'll summon a few waves of plague victims but they aren't as aggressive as the ones from earlier, so you can focus on the Red Miasmal for the most part. Killing it gets rid of the plague victims anyway, so don't worry if there are a few lurkers toward the end of the fight.
Deciding Reinald's fate
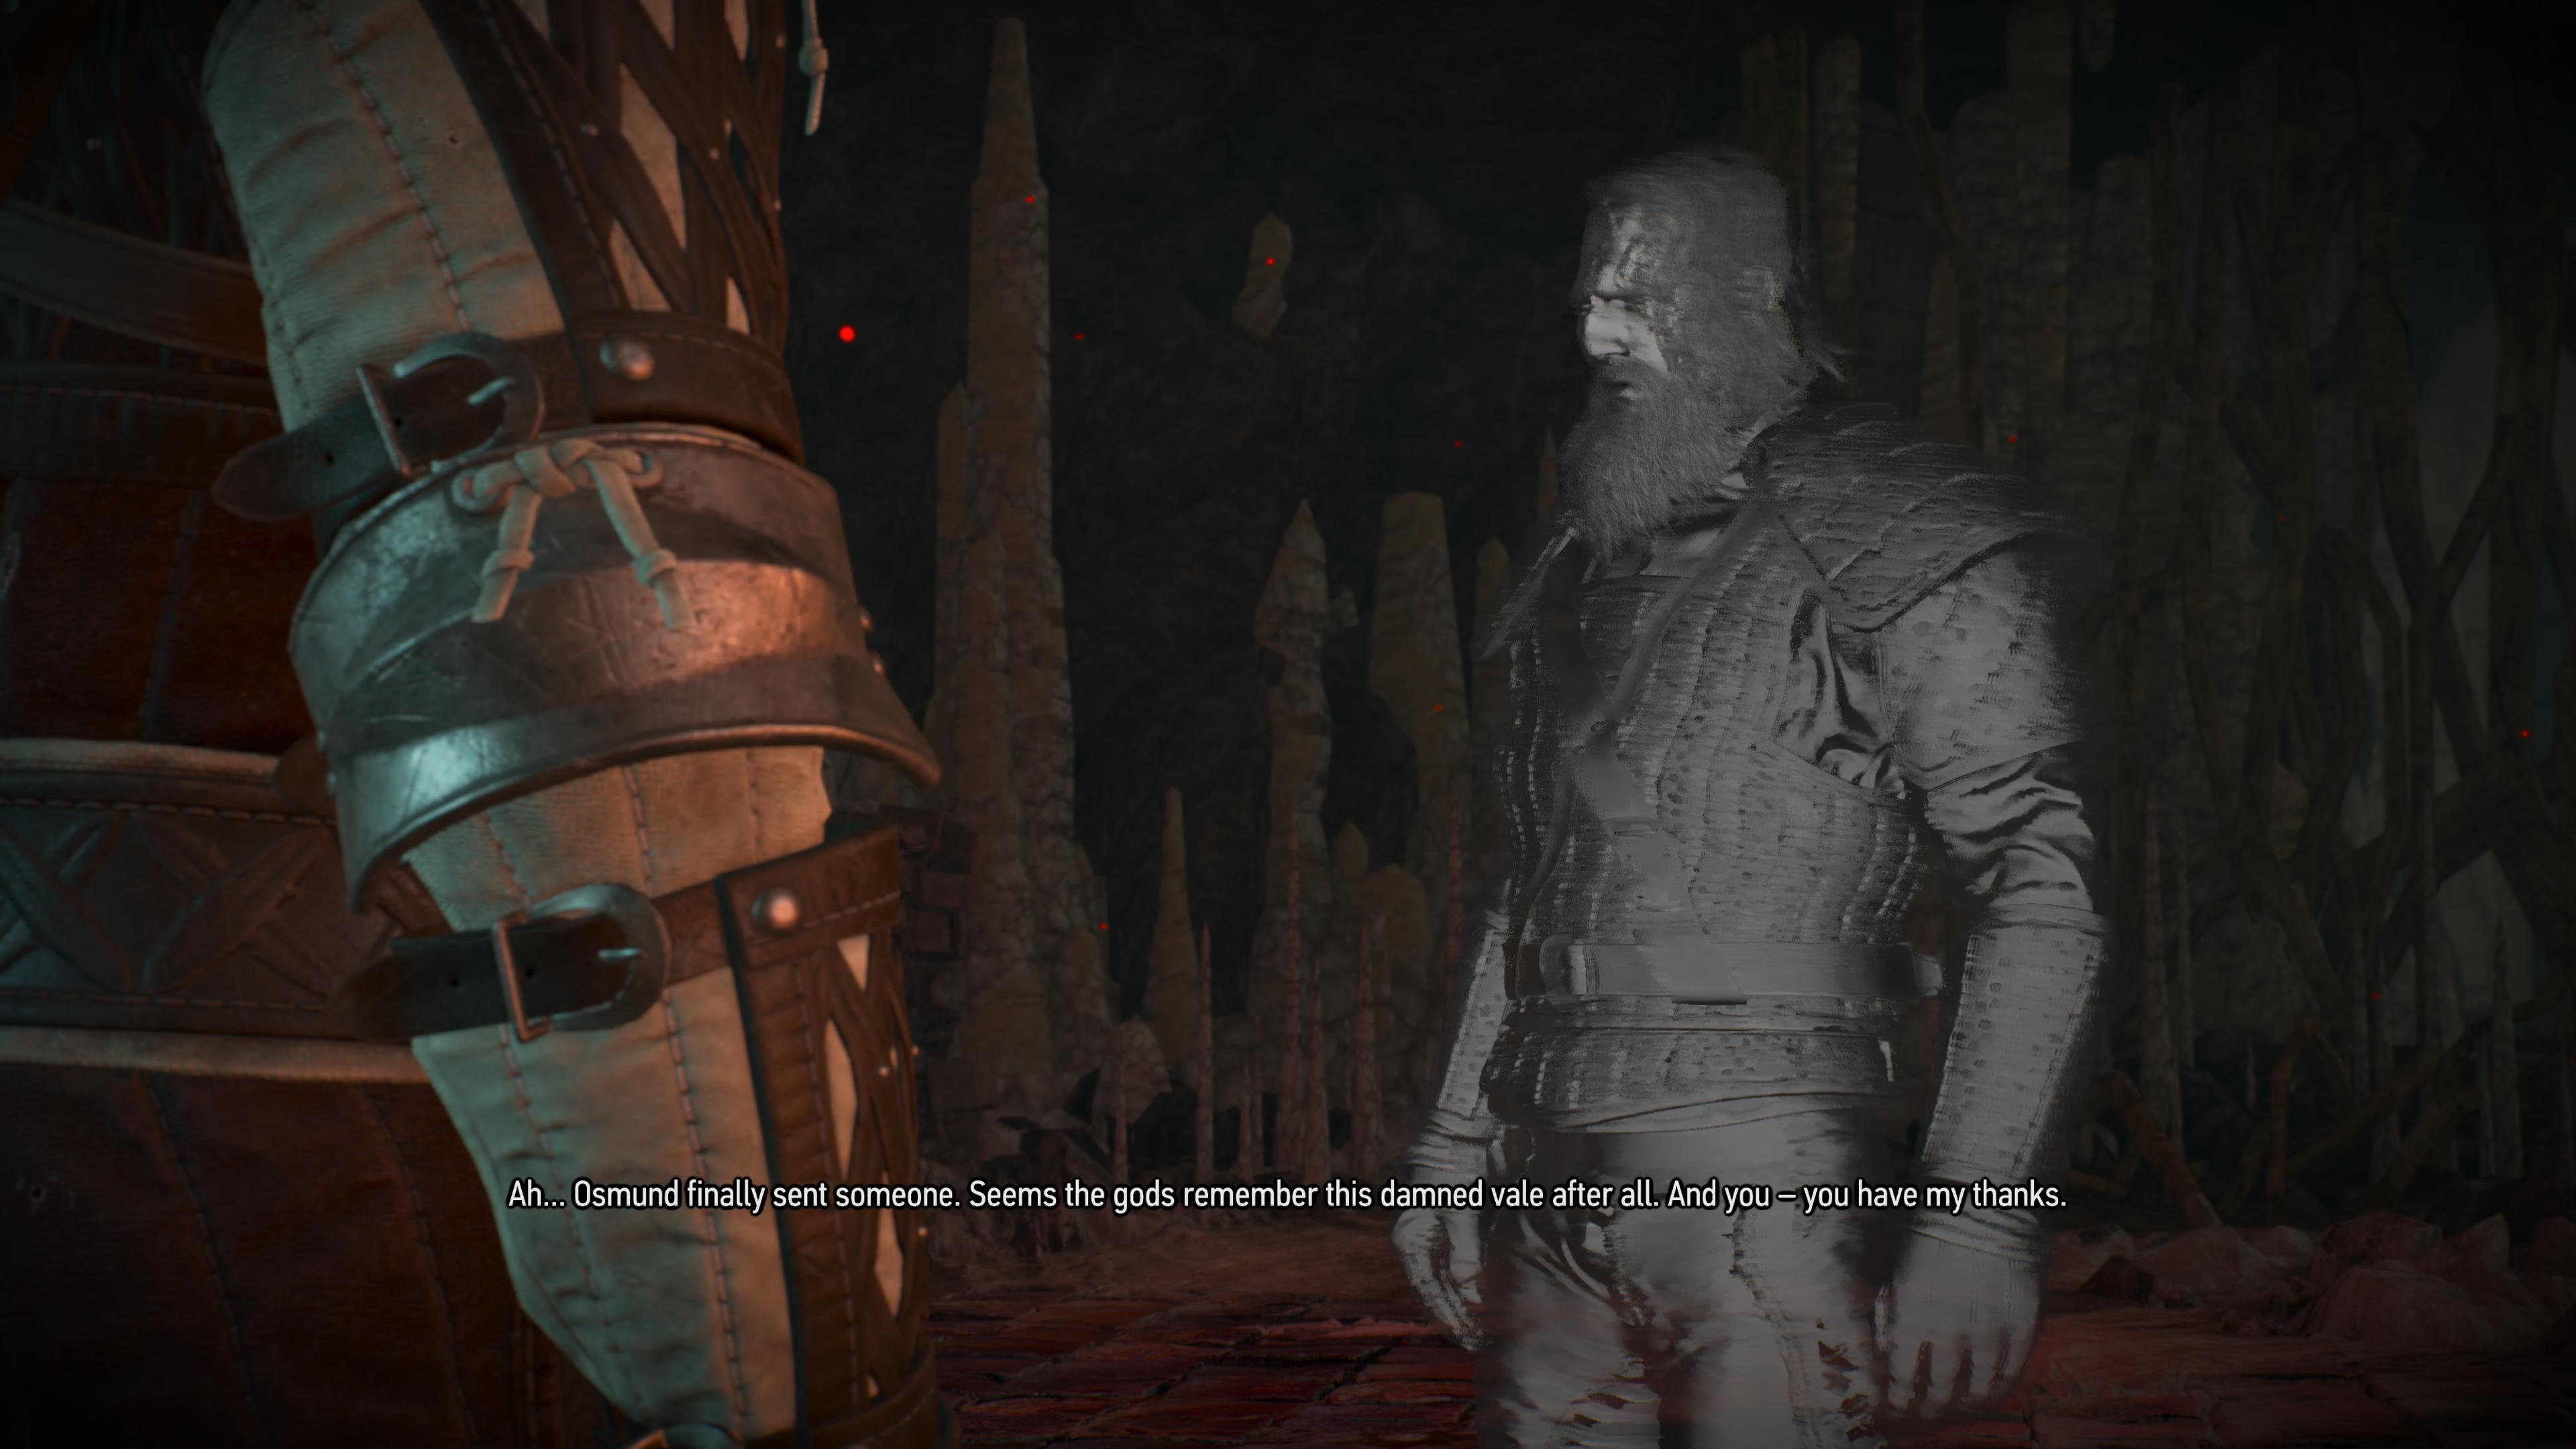
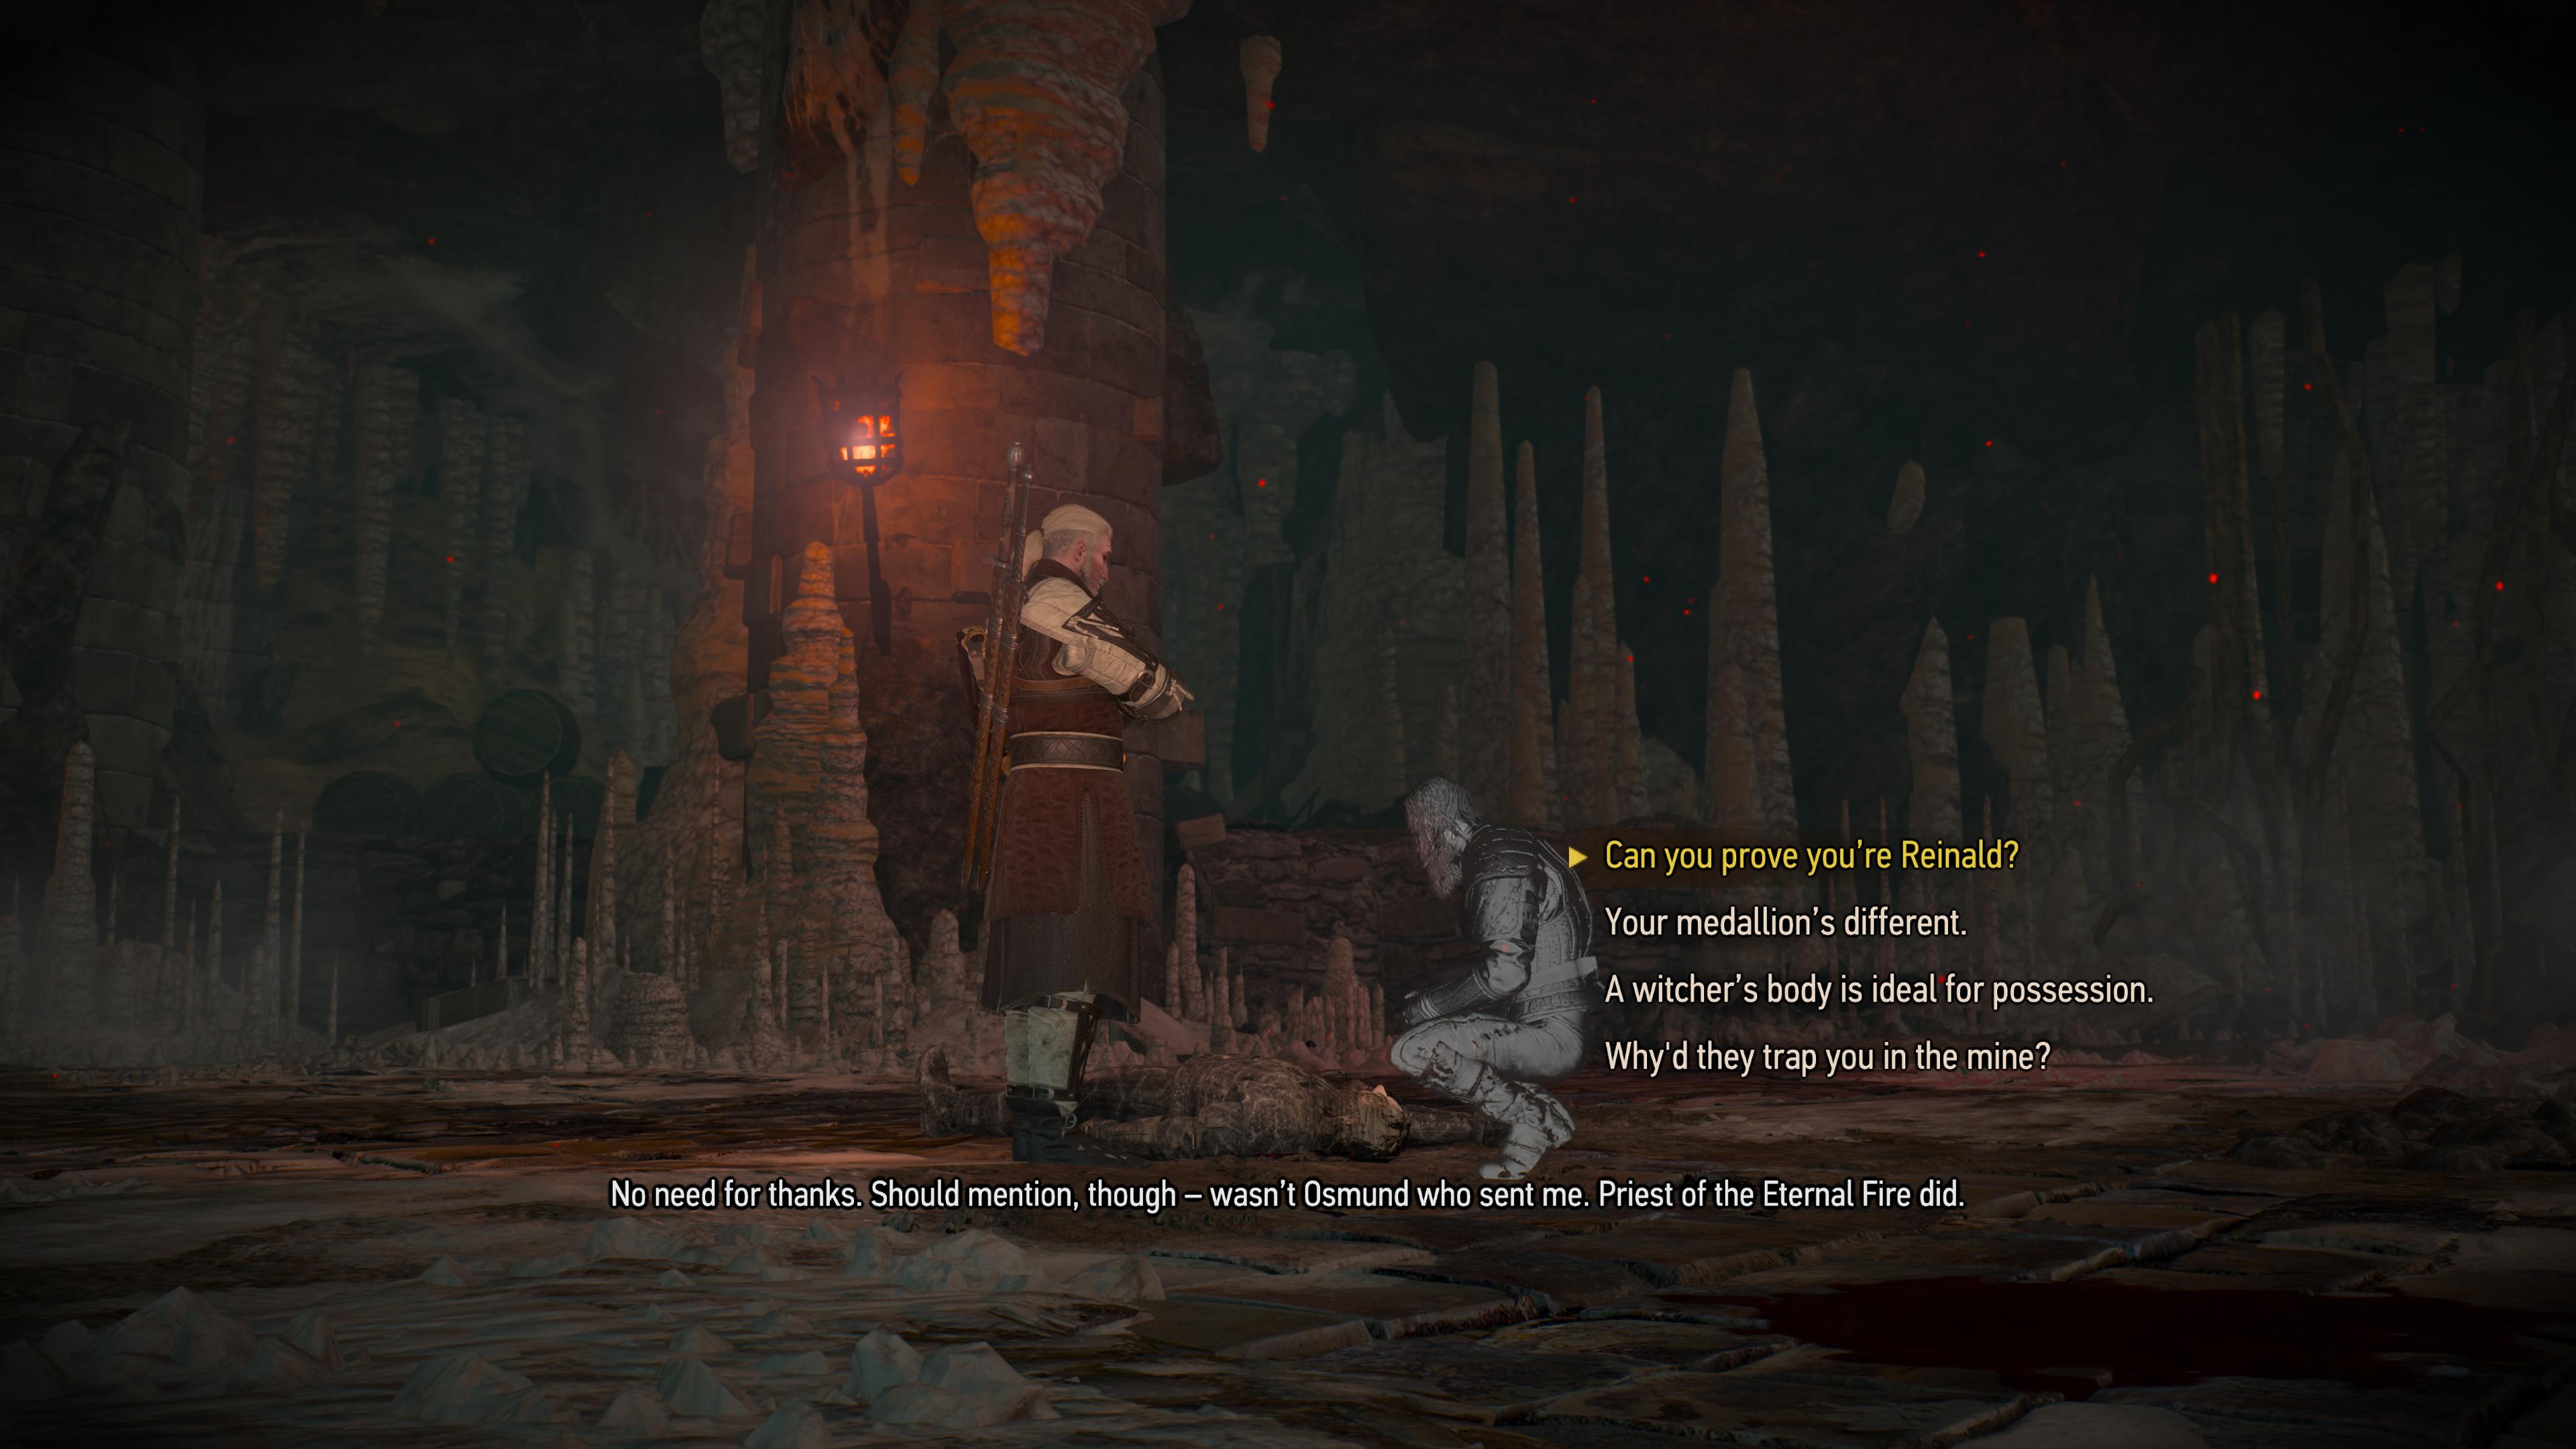
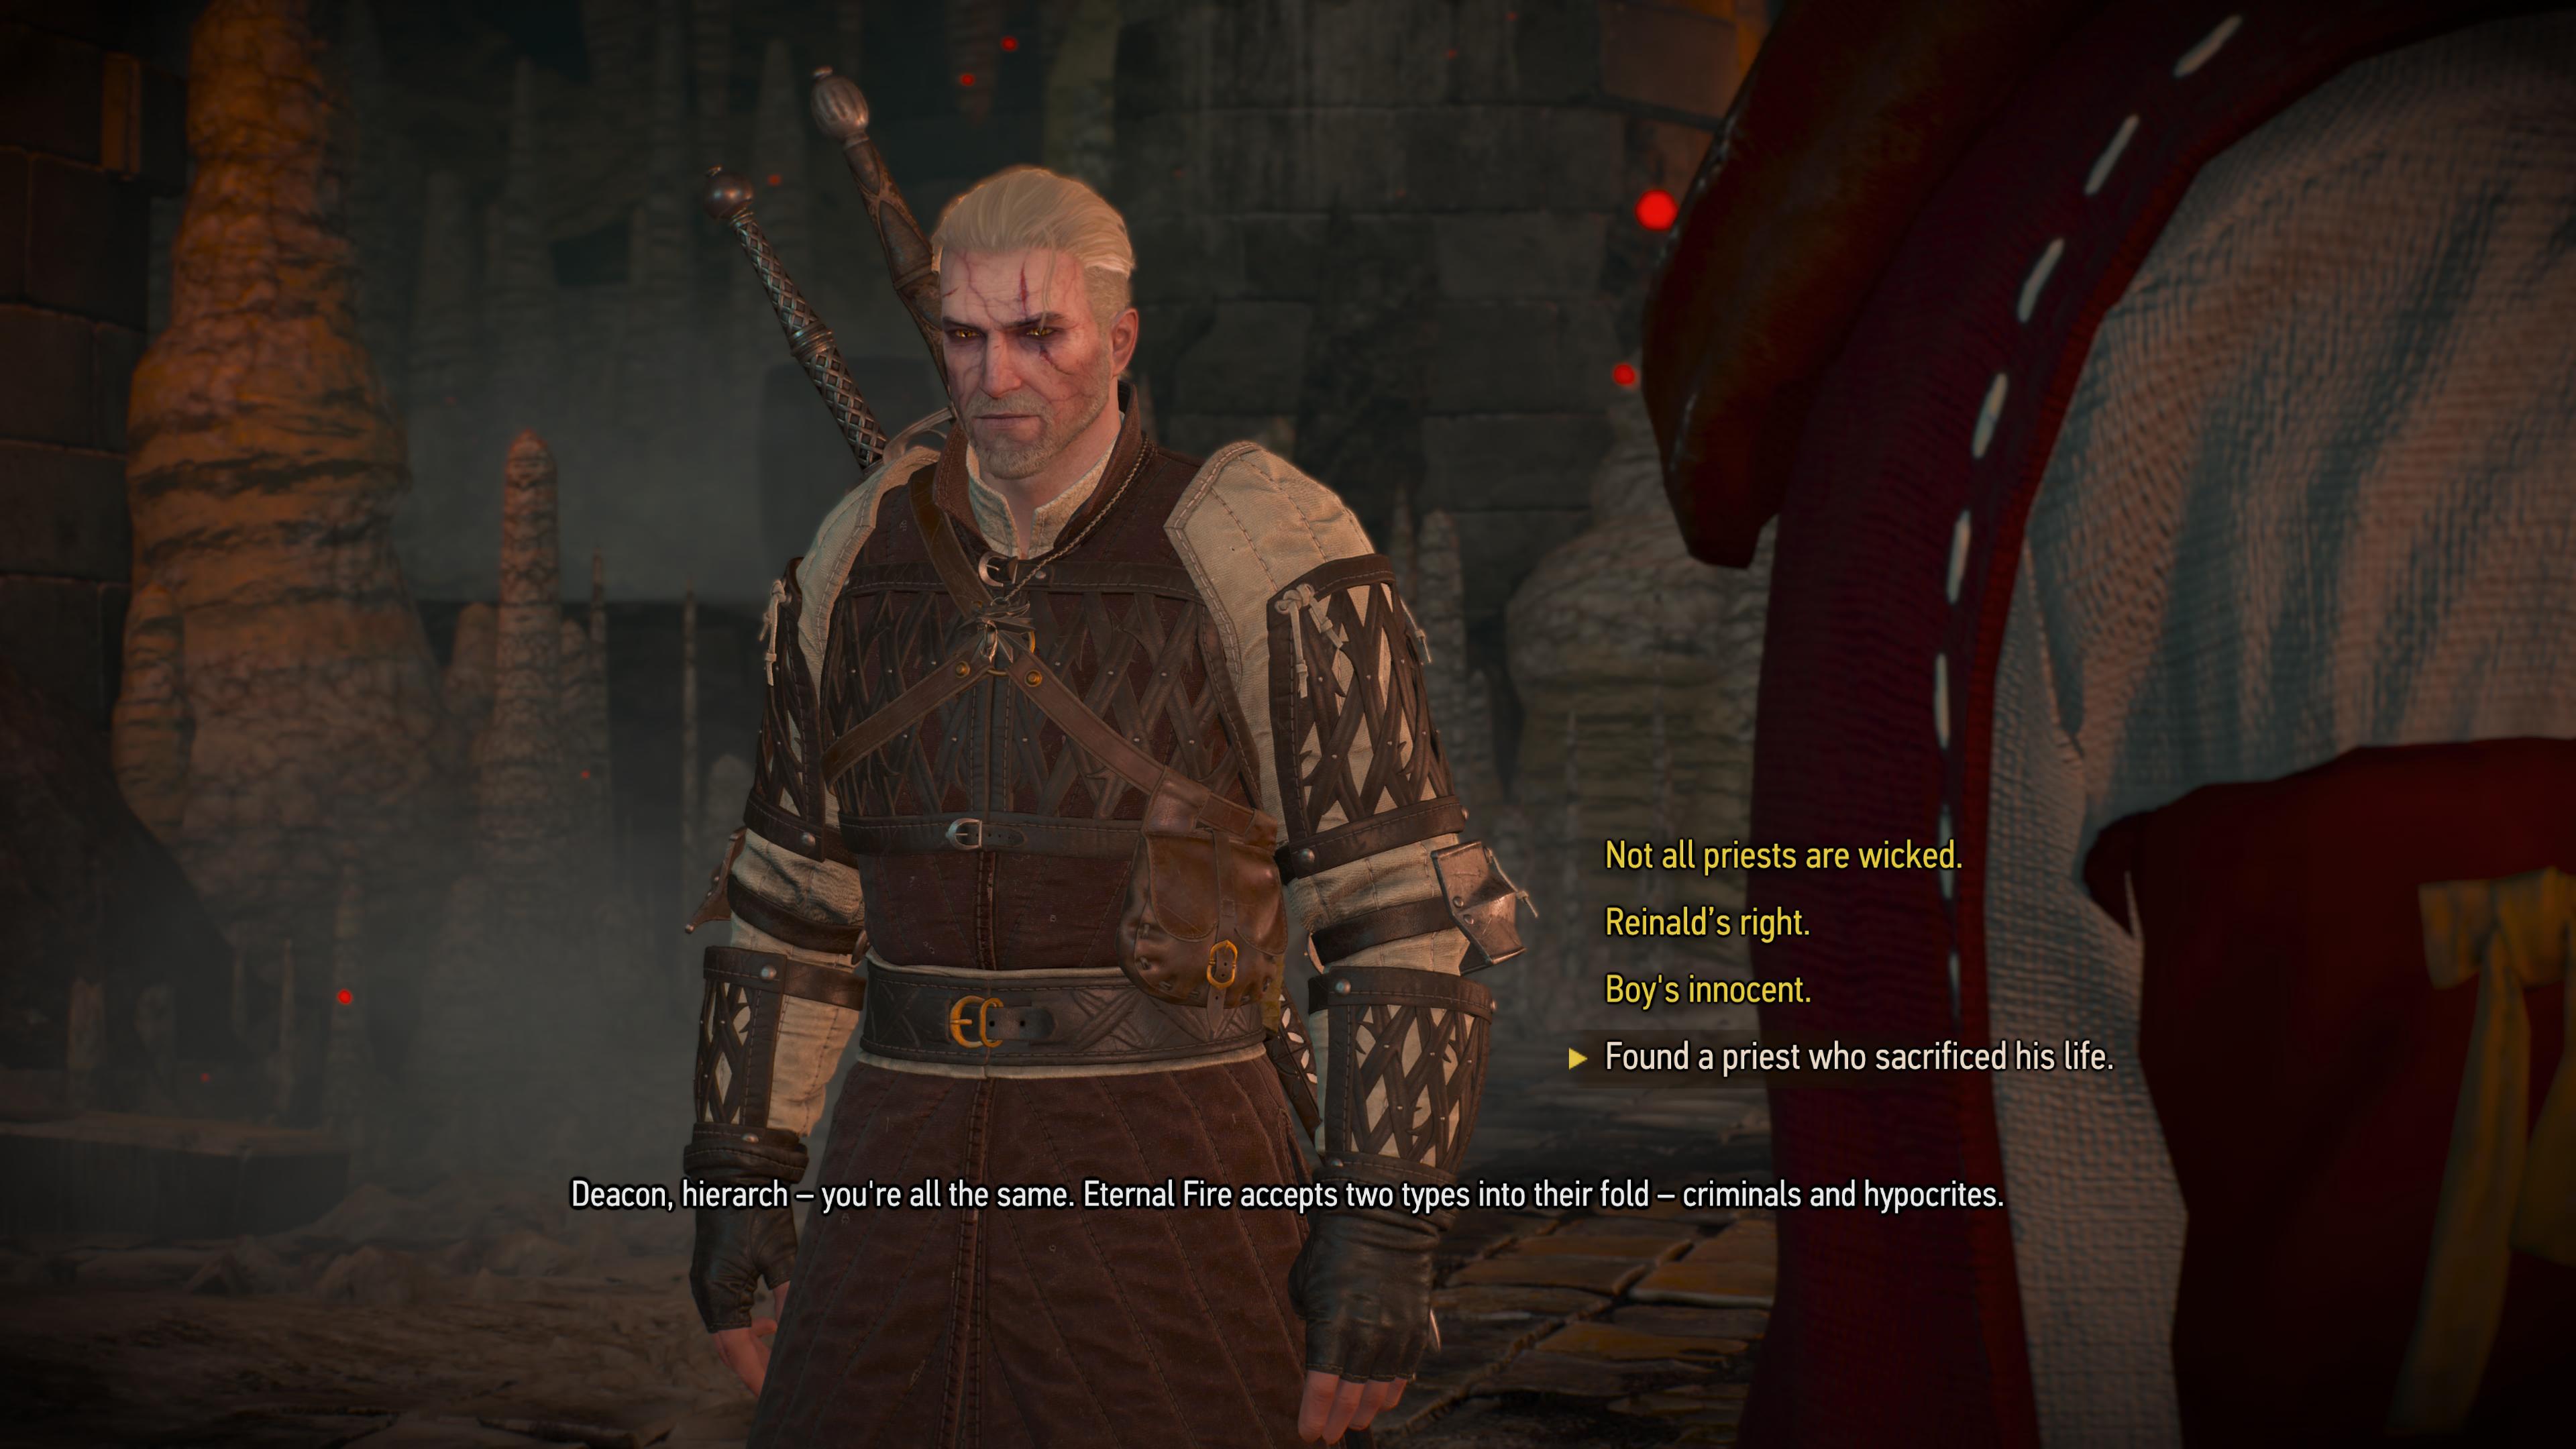
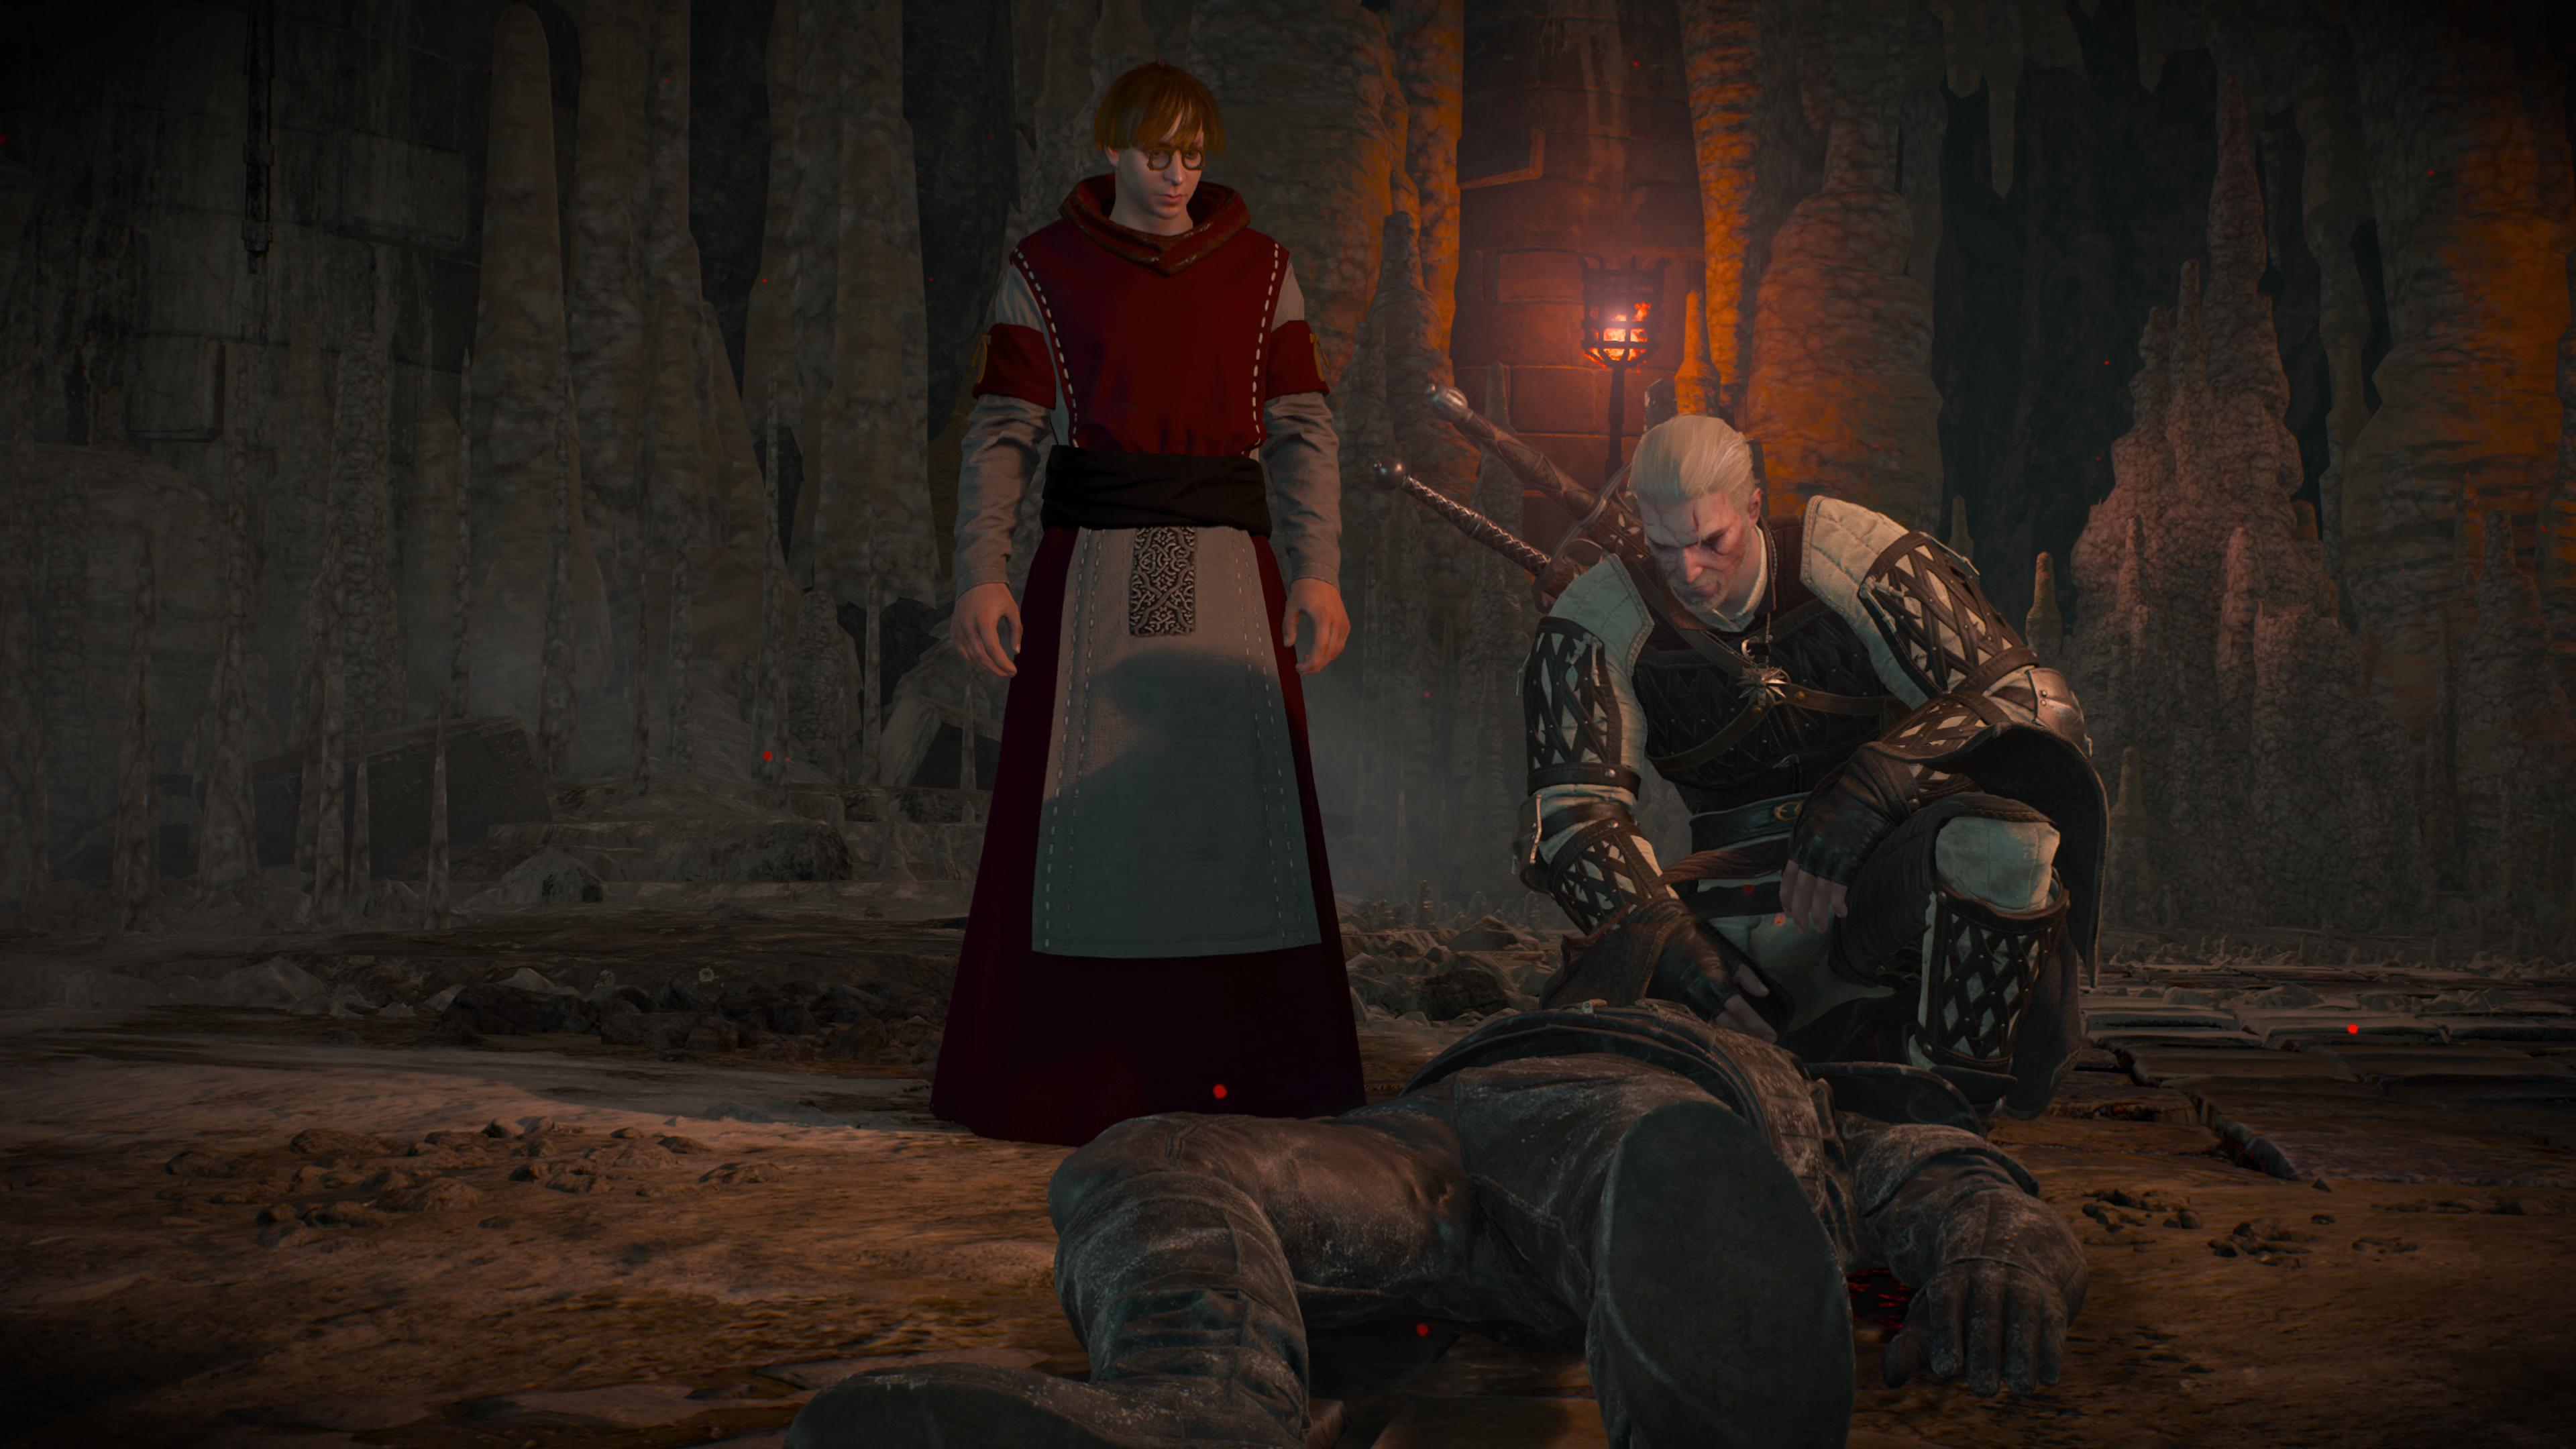
Once the Red Miasmal is killed, you'll be able to have a chat with Reinald's ghost. You can speak to him about that strange medallion and armor set he's wearing. He'll tell you that he designed and forged his medallion himself, like all witchers at Kaer Morhen, and forged the armor himself as a prototype for Wolf school armor. Geralt is somewhat doubtful at first as his medallion was given to him by his mentor—again, as is the norm at Kaer Morhen. It then transpires that poor Reinald has been down here for over 300 years, which understandably makes him a little irate, but he'll tell you to retrieve the armor diagrams from his tunic.
Then comes the fate of Reinald's corpse and how to let his spirit ascend peacefully. To get the best ending, you must explore all of the white text dialogue choices before choosing the following yellow text.
Reinald wants to chat with the young deacon, whereas Geralt suggests burning him on a pyre, which forever condemns his soul. To get the best ending for this quest, retrieve the deacon and stick to the morally grey options during the conversation, as witchers should. The choices you should pick are:
- Not all priests are wicked
- Don't need a church to do good, priest
Afterward, Reinald will depart and the deacon will question his own future. You can now craft the base Forgotten Wolf armor once you reach level 20. There are enhanced diagrams to find, but you'll need to have unlocked and visited Kaer Morhen to access them.
Forgotten Wolf armor diagrams
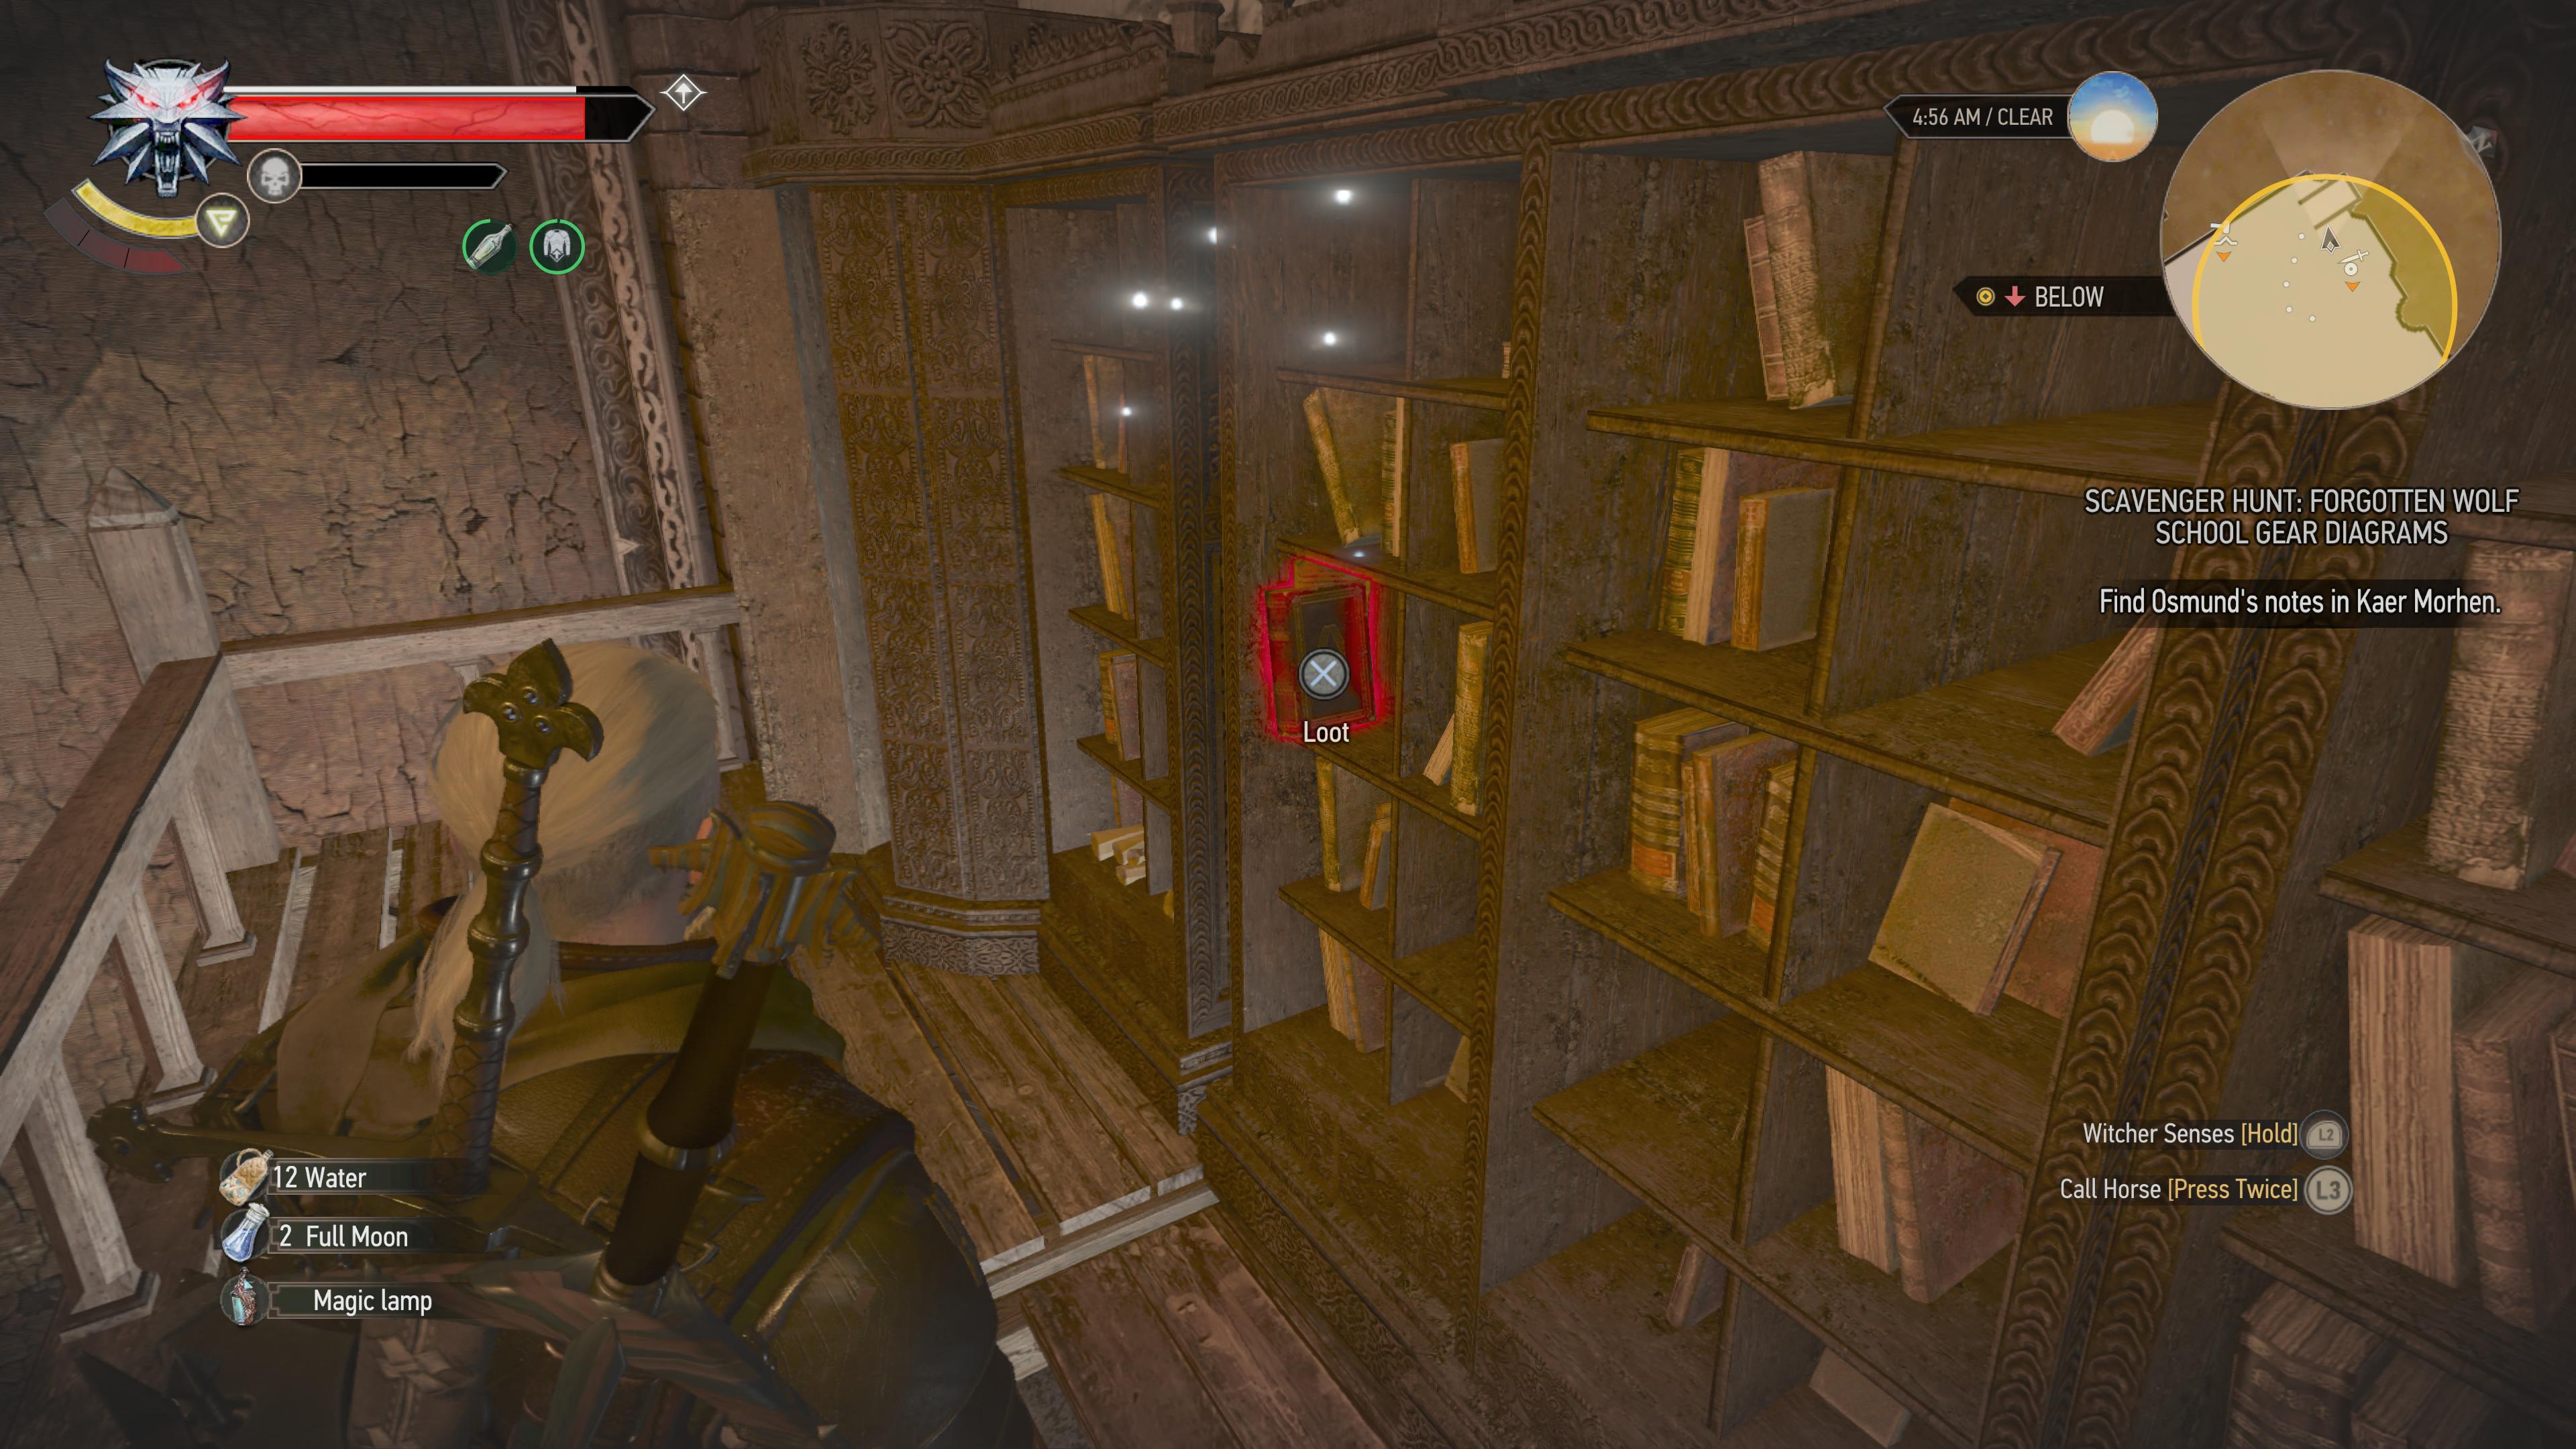
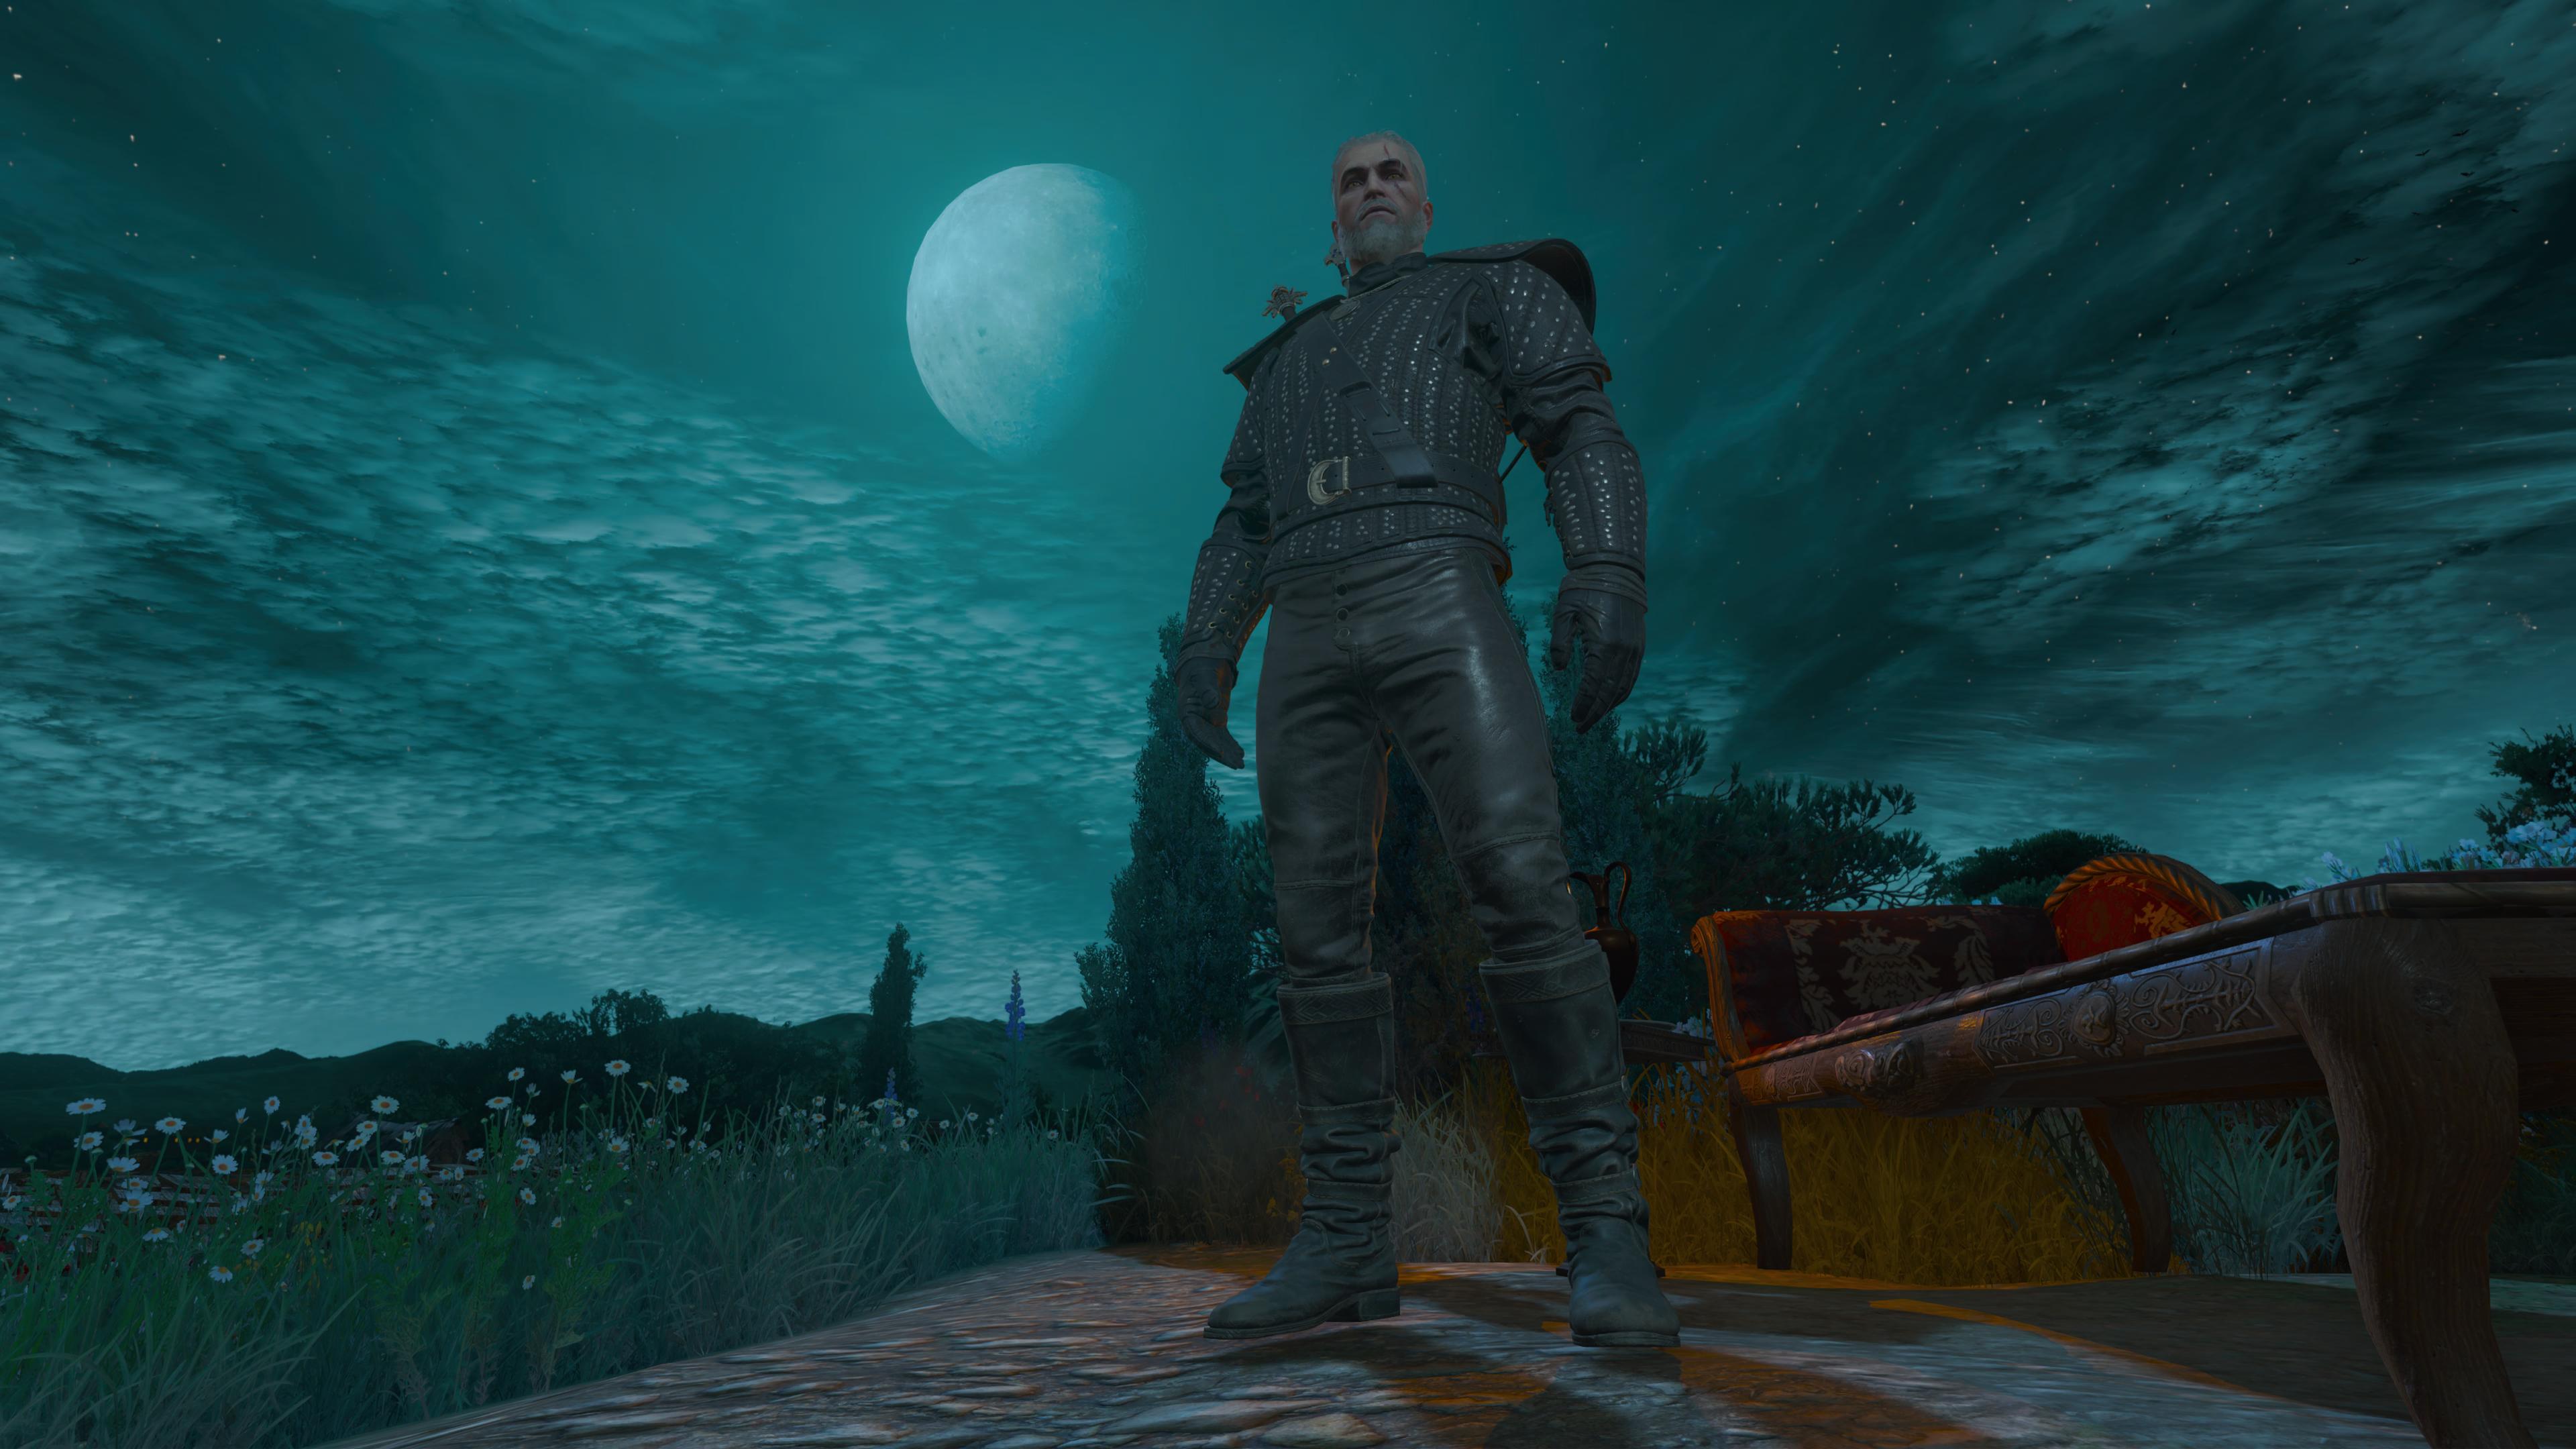
Once you're level 20 and can wear the armor, head to Kaer Morhen. You're heading for the area close to your stash, specifically a little corner of the main hall with lots of books. Climb the ladder to find two notes: one from Osmund and one from Vesemir. You'll now be able to craft the complete armor set.
The first three games Lauren played on PC were Star Wars: X-Wing, Zoo Tycoon and Barbie Fashion Designer, which explains her love of all things space, strategy and aesthetically pleasing. Lauren recently took over as PC Gamer's Guides Editor after three years of writing many dozens of Destiny 2 guides at VG247, as well as casually trying to shoehorn in The Witcher 3 articles wherever possible. When she's not trying to force everyone to play as a Warlock in Destiny 2, Lauren is either mastering her SEO abilities to help smash the competition, or patting one of her red sons.

 Join The Club


