10 tips to get started in Lords of the Fallen
Feeling a touch of the Umbral blues? We've got you.
- Do not skimp on Vitality (no seriously)
- How wither damage works
- How to use the Umbral Lamp
- Vestige Seeds are important
- Make sure to upgrade your Sanguinax
- Don't sleep on ranged attacks and magic
- Beware the ambush
- Farming Vigor? Use the Umbral
- Visit Skyrest to talk to NPCs often
- If you're stuck, check your journal
Lords of the Fallen takes after its soulslike inspirations in a lot of ways—including some sneakily-hidden game mechanics that can throw even genre vets through a loop. There are also new dimensions to wrap your head around—two of them, to be specific. Lords of the Fallen has two worlds, the Axiom and the Umbral, which the player commutes between often. There's also a new mechanic called wither, where you can rip people's spirits out of their bodies. It's a whole thing.
I reviewed the game, and I've sunk about thirty hours into it, so I'm here to help you get your Umbral sea legs sturdy. I've gathered a whole host of tips alongside our guide writer Sean Martin to help you get through those growing pains.
Do not skimp on Vitality (no seriously)
This isn't big news to those who know the genre, but it really bears repeating with Lords of the Fallen. There are several points in the game where enemy damage ramps up suddenly and without warning. Even sitting on around 35 vitality, I hit an endgame area where enemies chunked off half my health.
Granted, you can dump Vitality if you're a masochist who likes one-shot runs—do what you want, I'm not your dad! But be forewarned: vitality is the most important stat in the game. You'll also want a bit of Endurance, as well as points in whichever stats your chosen weapons use (you can find this out in the "Equipment" screen, under "Rune Slots").
How wither damage works
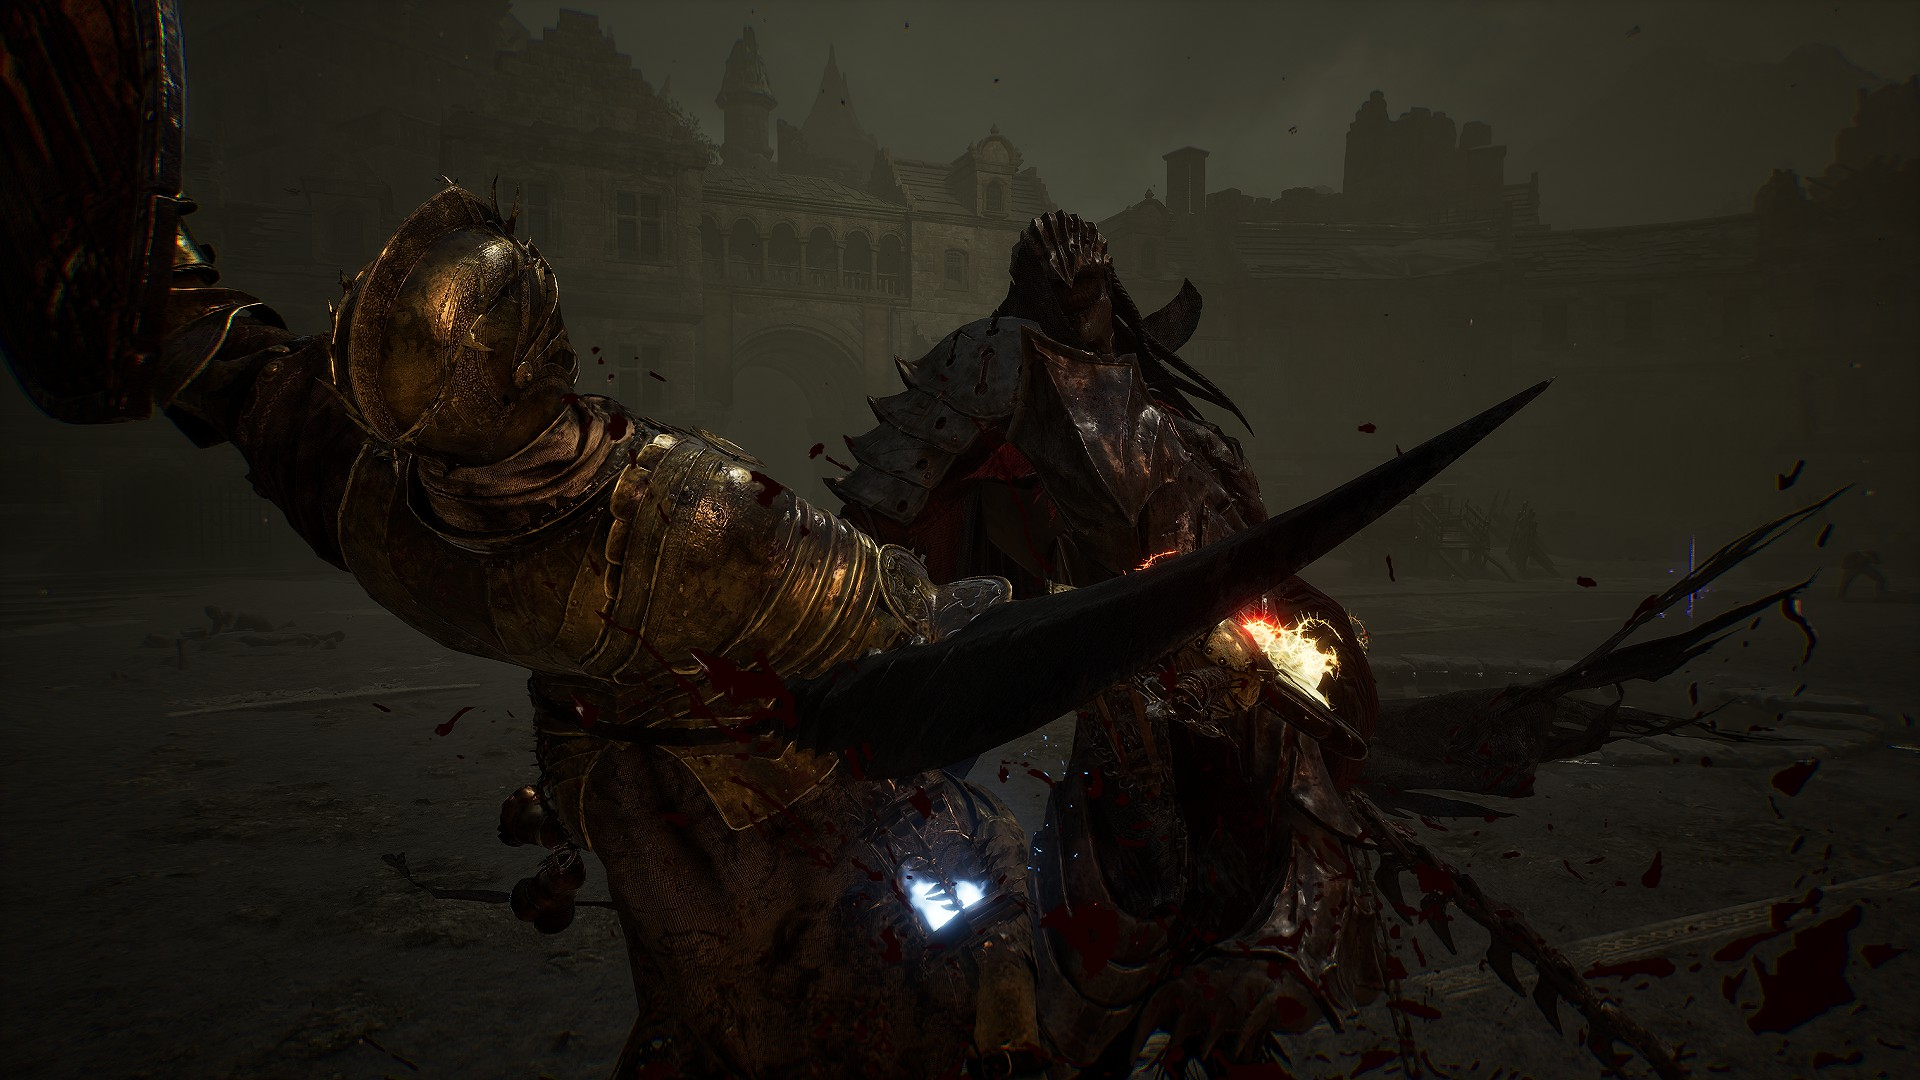
Wither damage, what is it? If you've played Bloodborne before, you might think you've got Wither damage all figured out. You'd be wrong—sort of.
Wither damage can be gained from a few sources. Healing while you're in the Umbral, travelling to the Umbral, taking direct Wither damage from enemies, or blocking without parrying (you still do get a little wither damage, it's just far less).
Similar to Bloodborne's rally mechanic, hitting enemies will heal your withered health. Here's the key difference, though—if you take any unblocked damage, any at all, all of your withered health is gone. Wither damage itself can't kill you, but if your entire bar is withered and you take a hit? You're done.
Keep up to date with the most important stories and the best deals, as picked by the PC Gamer team.
You'll want to stay aggressive to keep your withered health to a minimum. Blocking can be a useful tool, especially against slow-swinging bosses, but you'll also want to aim for parries. Not only will this set your foes up for deadly counter-attacks, but it'll also keep your withered damage low.
How to use the Umbral Lamp
The Umbral lamp is super important, so you should get used to using it. Here's a quick crash course on what it can do. To use any of these options, you'll need to swap to your lamp, then hold it up like you're prepping a ranged attack (left ctrl on keyboard and mouse, left trigger on controllers).
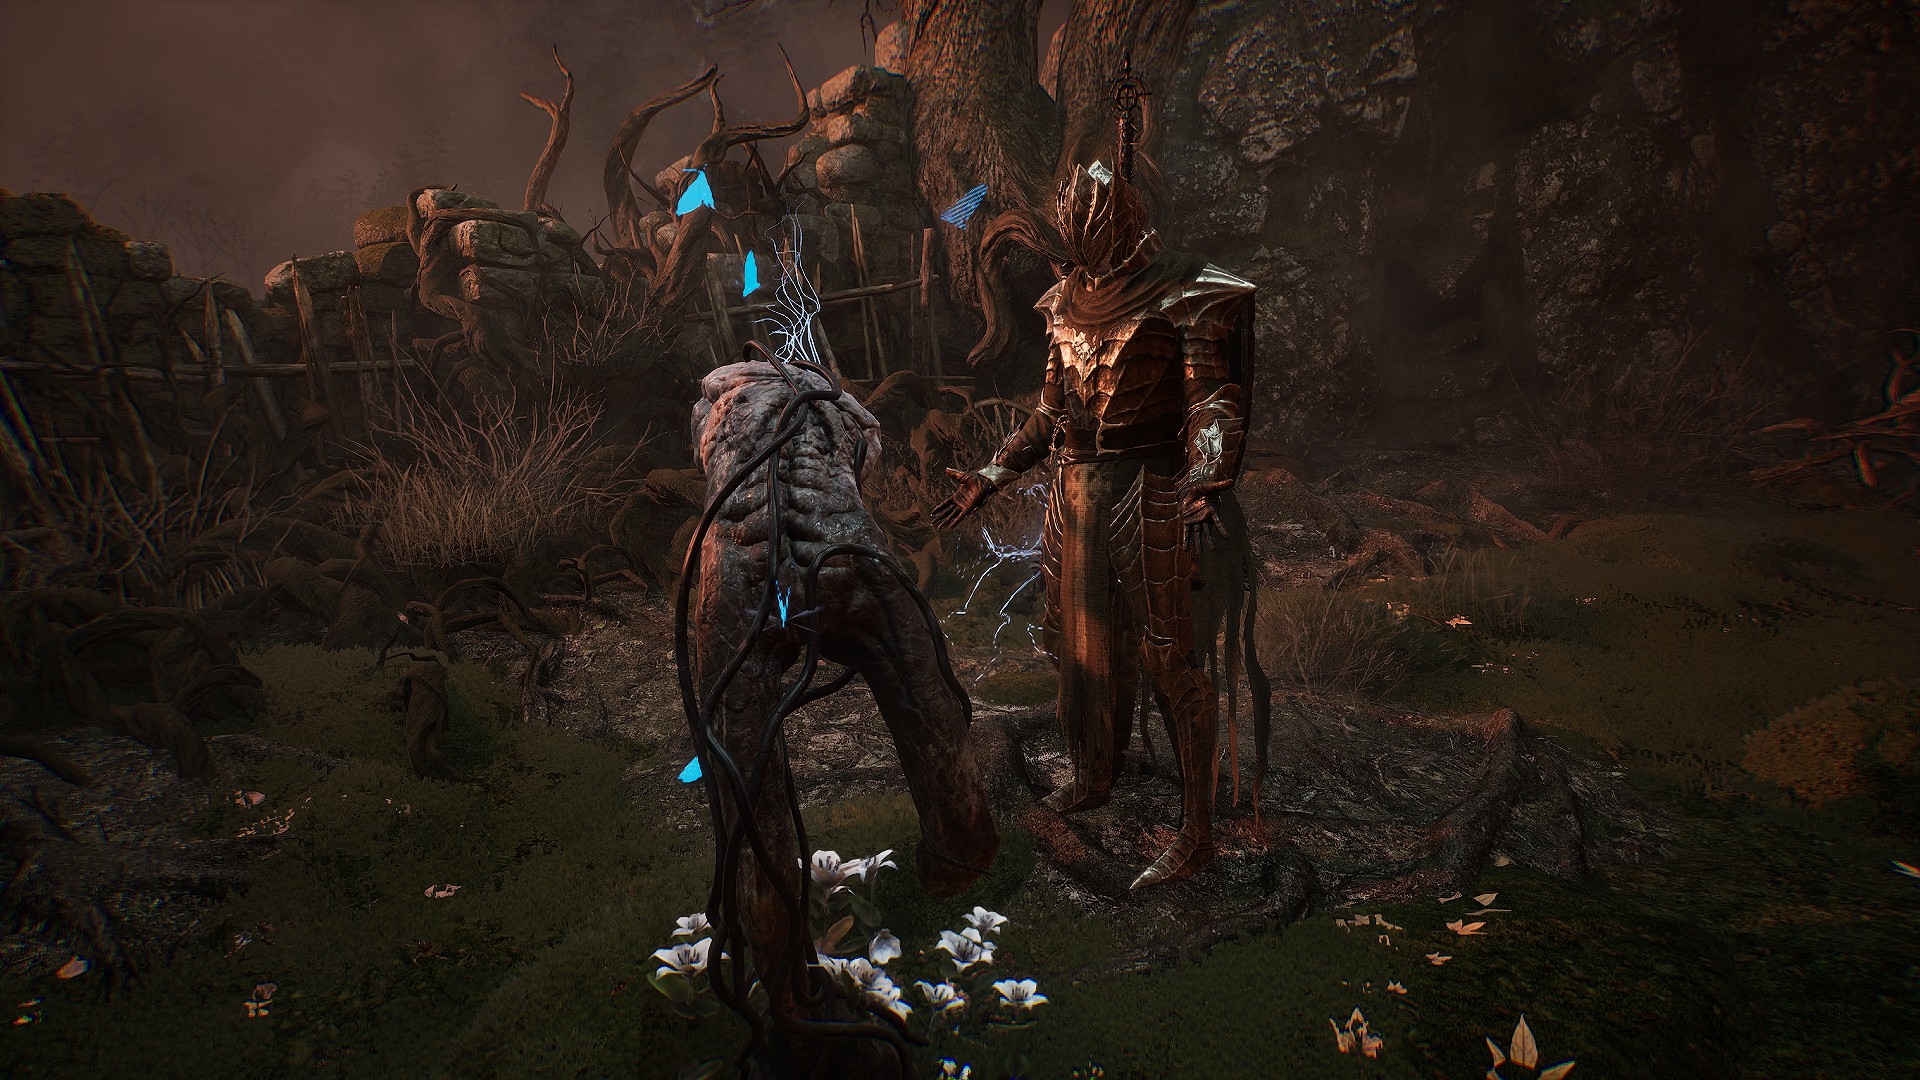
Holding up your lamp allows you, first and foremost, to peer into the Umbral. This is key for exploration—you'll often find doors that don't exist in Axiom, or platforms to walk across. You'll often find key items in the Umbral realm, such as the Bowl of Revelations at the bottom of Pilgrim's Perch—which you need to get boss weapons, spells, and armour.
Anything you can see with your lamp held, you can interact with—though be warned, if an Umbral enemy attacks you, they'll drag you kicking and screaming to the bone zone with them. If you want to cross over fully, you can hold down the use item button to make the jump. Doing so does make you vulnerable to death as if you'd died in Axiom, though, so be careful.
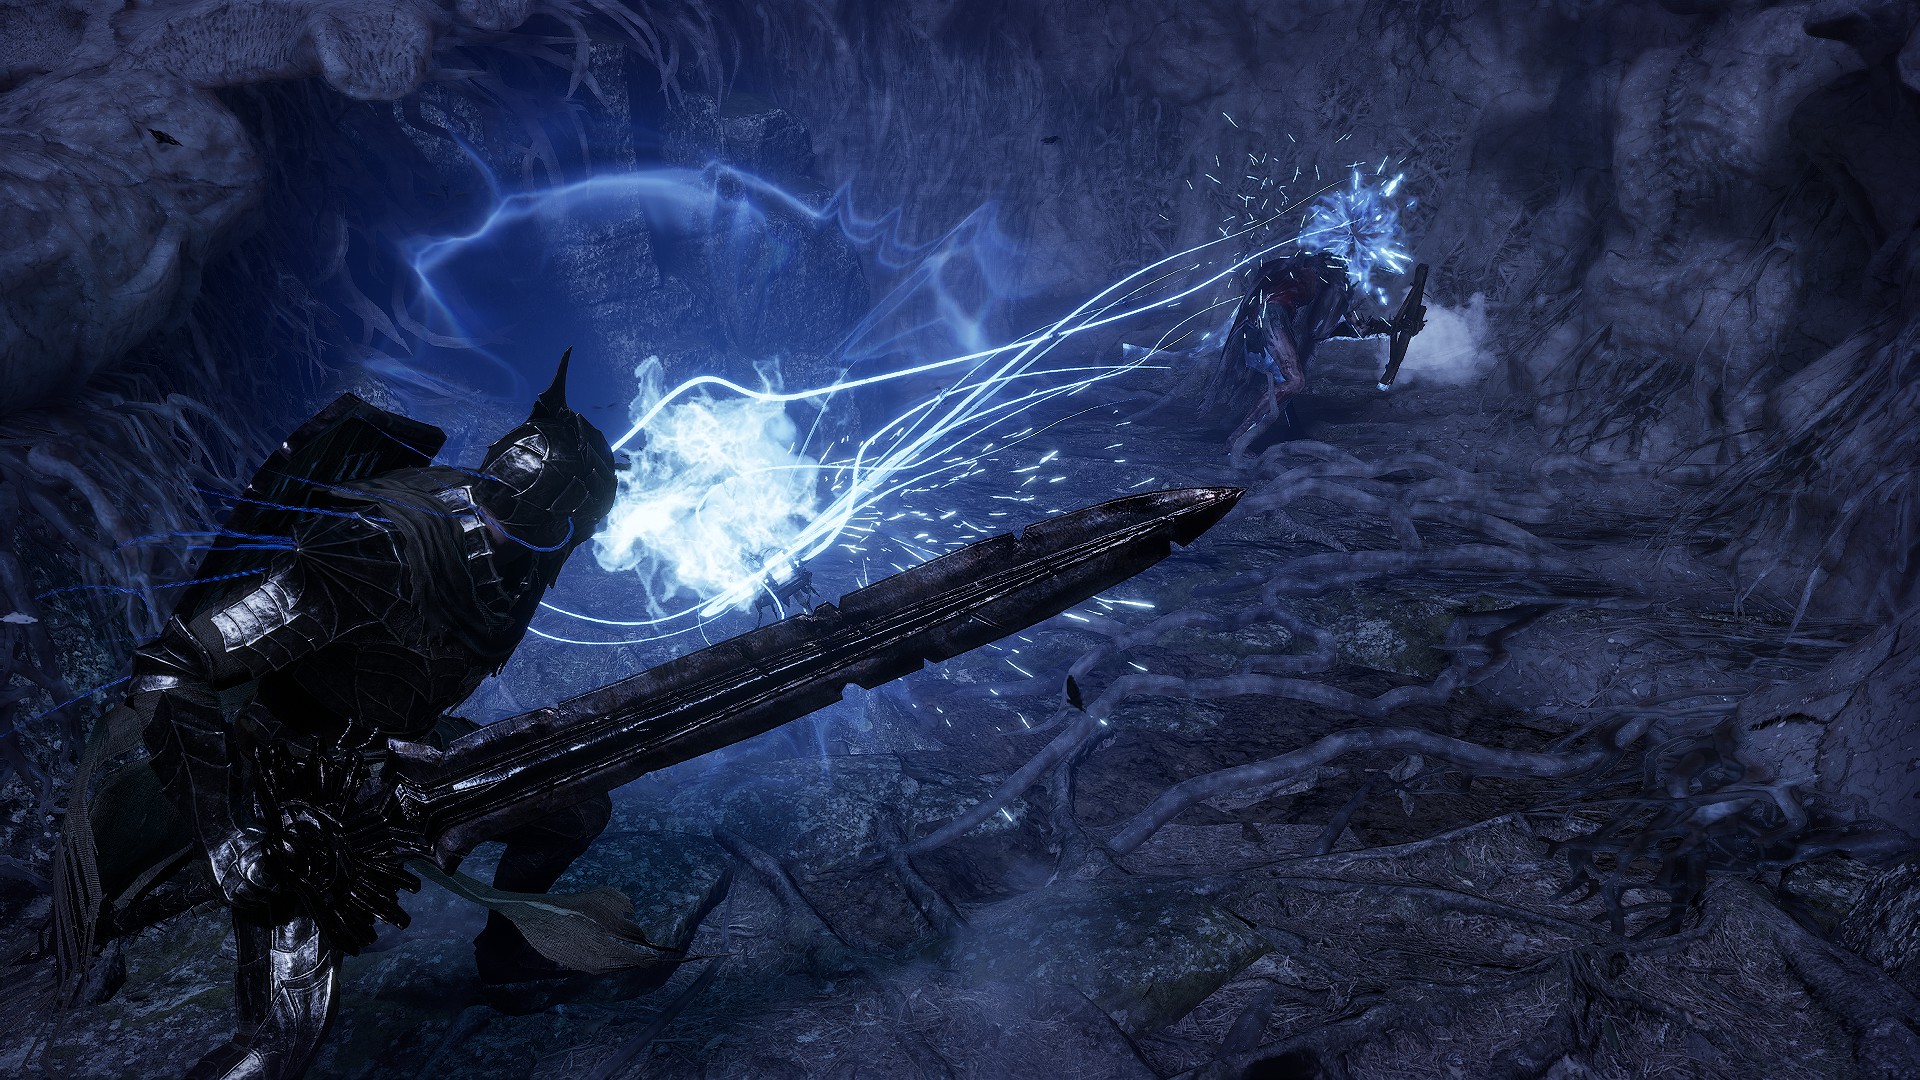
You can also Soulflay enemies by locking onto them, then using a heavy attack. This requires a Soulflay charge (just under your HP, endurance, and ammunition/mana). This rips out their soul, allowing you to attack it to apply Wither damage. Or, you can input a direction while soul flaying to push your target in a specific direction—great for knocking troublesome foes off ledges.
You'll also want to Soulflay stuff in the Umbral to open Umbral chests, pull out platforms, that sort of thing. Doing so doesn't require a charge, and the targeting pip will grow some Lovecraftian tentacles to let you know you can soulflay it.
Lastly, and crucially, you can hold down your light attack to start hoovering things up, ghostbusters style. Doing this to enemies will net you some vigor, but it's mainly used to get rid of Umbral parasites. These things usually latch onto enemies, making them harder (or sometimes impossible) to kill, but they're also really important in boss fights—popping them can provide benefits for you, or rob your enemy of buffs. You can also get more charges for your Soulflay ability by hoovering up those zits you see dotted around the Umbral.
Vestige Seeds are important
Vestige Seeds are a must-have. A vestige is a resting point, like a bonfire in the Dark Souls games—but Lords of the Fallen has two types: permanent vestiges (which last forever but are few and far between) and umbral flowerbeds, where you can plant Vestige Seeds to create your own.
You can only have one up at a time, and planting one will consume a seed. You can get more in a few ways:
- Most bosses drop a Vestige Seed.
- Certain Umbral enemies can drop Vestige Seeds, such as those freaky moth zombies, and the cloaked reapers.
- You can buy seeds from Molhu at Skyrest Bridge for 2,500 vigor a pop.
I cannot emphasise how important it is to have at least one or two of these kicking about in your bag at all times. Those main vestiges are super rare, and flowerbeds are sometimes deceptively placed near main checkpoints, so it's very easy to waste one.
Oh, and don't plant a seed in the flowerbeds that appear after you kill bosses. Just run back to the one you likely planted nearby, and save your boss freebie for further exploration.
Make sure to upgrade your Sanguinax
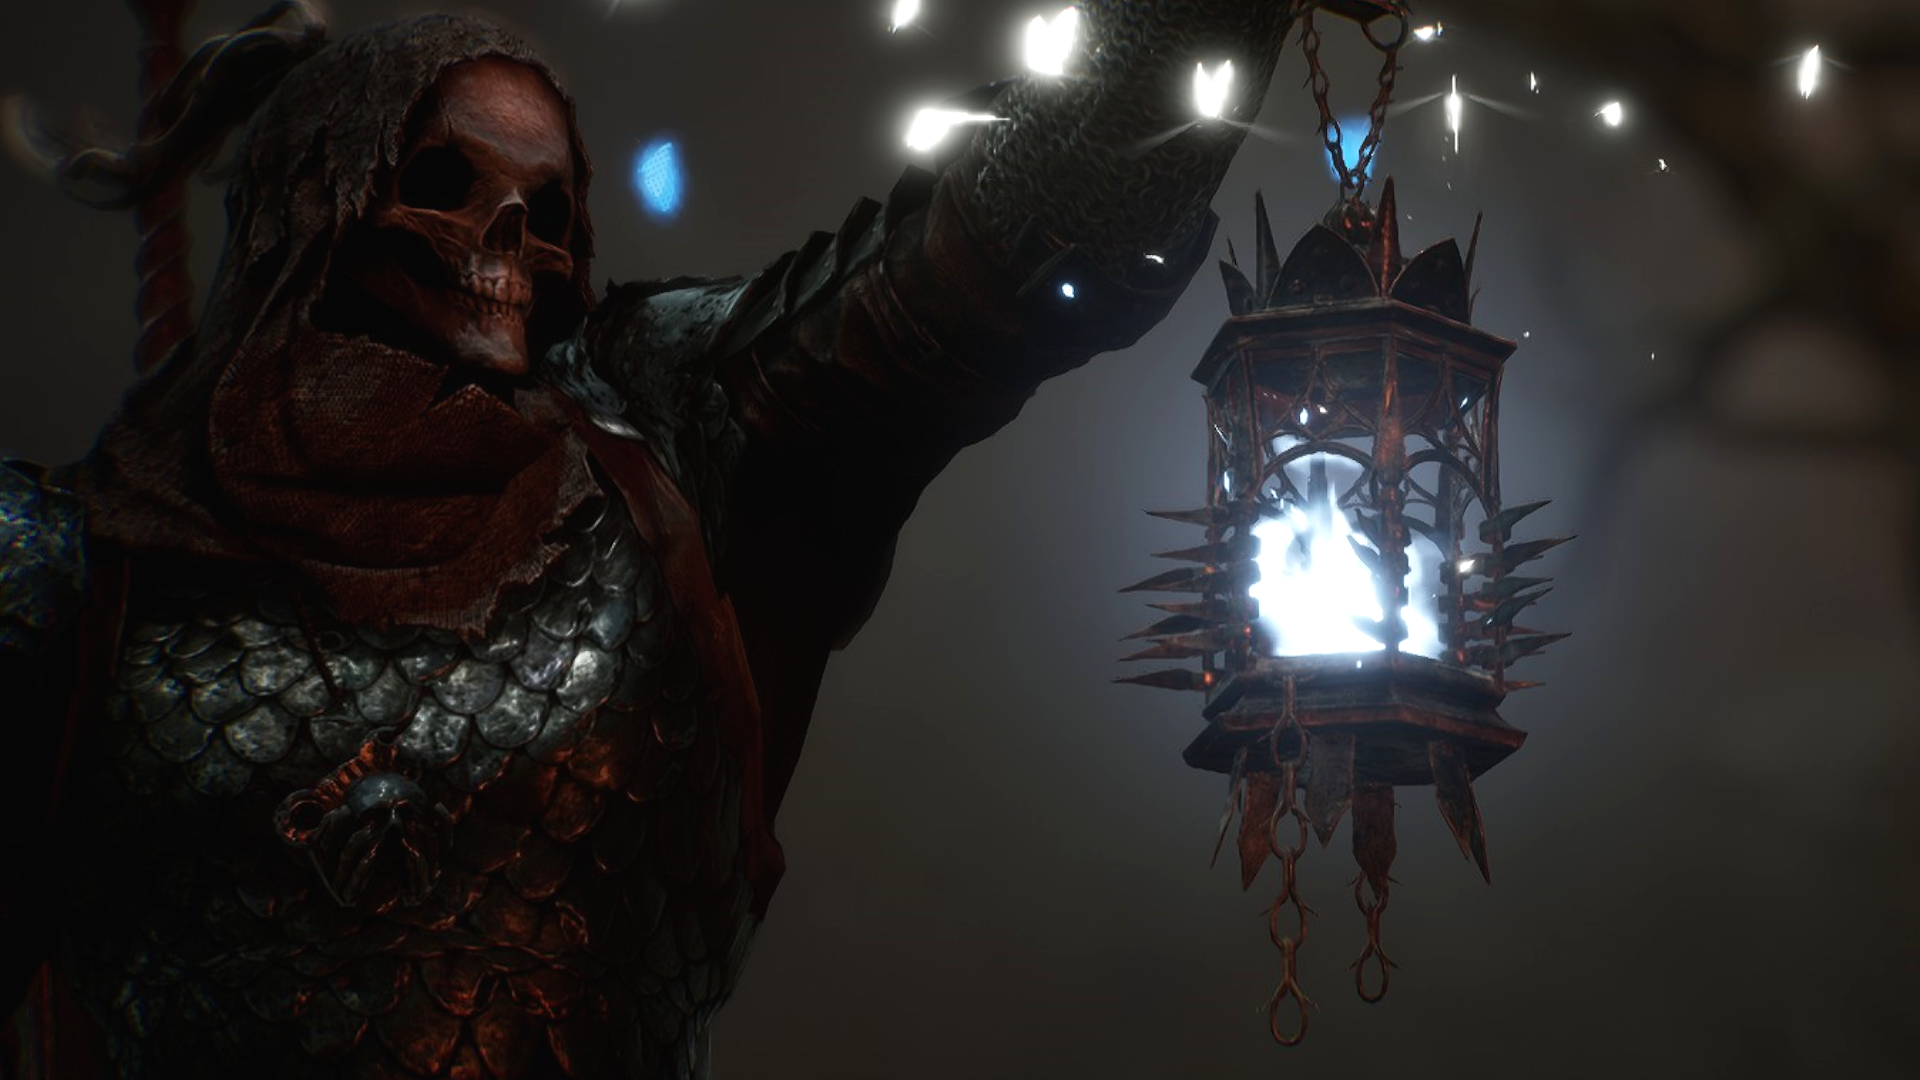
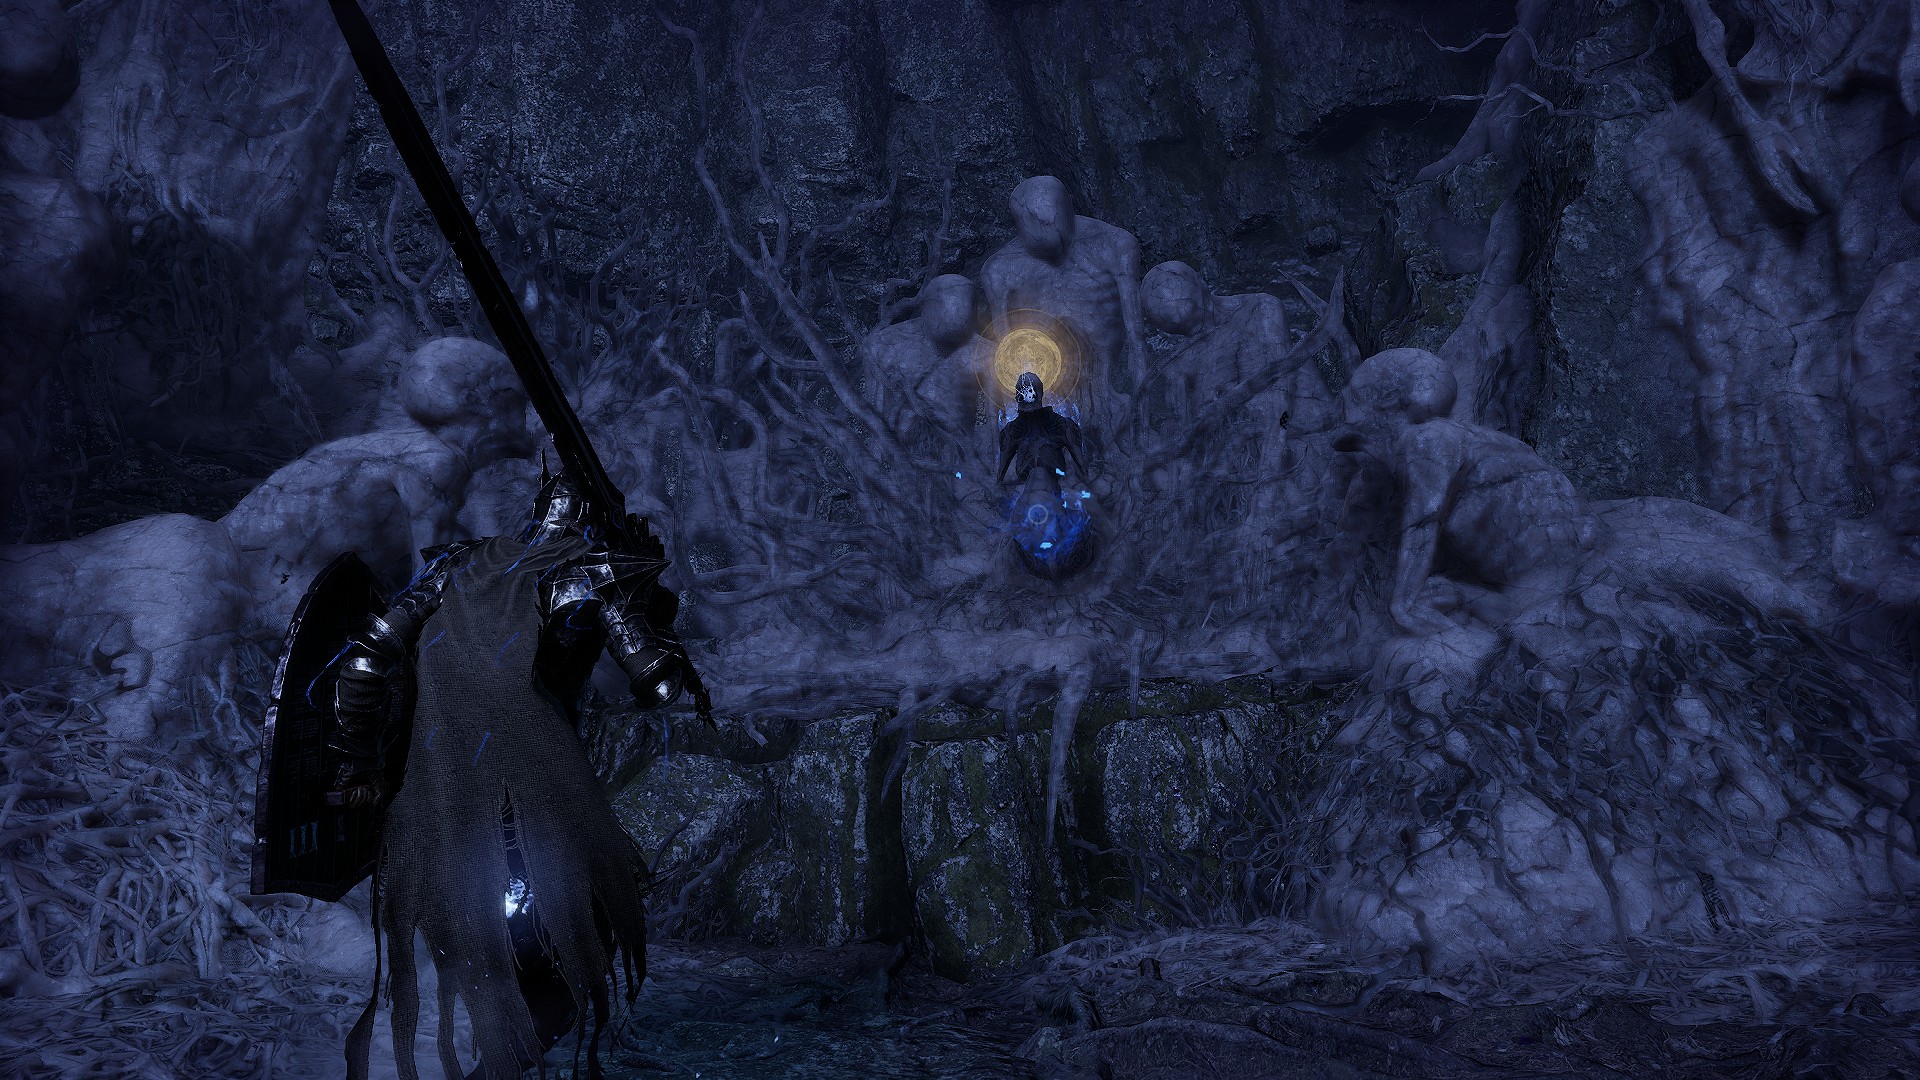
You can upgrade your main healing item, the Sanguinax, at Skyrest once you've beaten Pieta, She of Blessed Renewal. Doing so requires Saintly Quintessences, however. These can be found exploring the world, particularly in certain Umbral Soulflay chests. You can tell whether a chest like this has a Quintessence in it by the holy saint's halo around its head (shown above).
If you're still stuck for healing, check your bag for briostones. These consumables drop like candy from enemies, allowing you to shrug off chip damage without burning precious Sanguinax charges.
Don't sleep on ranged attacks and magic
Lords of the Fallen wants you to use your ranged options. A lot of weapons can whittle down an enemy's stagger bar while they're out of reach—but they can also be used to pull troublesome foes away from the pack, luring them to more manageable locations. This becomes crucial later on since the game's keen to swarm you with bad guys.
Magic is also extremely powerful. My personal favourite spell from this playthrough was Sanctify, which helped me shrug off a lot of enemy status effects—though you'll likely find your faves based on your preferred casting flavour. Moreover, the game gives you a lot of consumable ammunition pouches and mana crystals to make use of—all of which go to waste if you never lock 'n' load from time to time.
Beware the ambush
Lords of the Fallen has ambushes. A lot of them. During your journeys through Mournstead, you'll likely develop the same internal rules as I did—those boxes look smashable? There's definitely a dude behind them. Could there be an archer here? There is one.
To avoid these, you can either use ranged attacks or magic to lure enemies into less deadly areas—or, if one's giving you trouble, just grab a Vestige Seed and sprint past them. Your character moves very quickly, outpacing most enemies, and chances are high you'll bump into an Umbral flowerbed to give yourself a new checkpoint eventually.
What's more, approaching these ambush points from the other side is often far easier, allowing you to explore the area at a less migraine-inducing pace.
Farming Vigor? Use the Umbral
As is the case with most soulslike games, you'll sometimes hit points where you need to grind. Luckily, the Umbral's here for you—far from being an unwelcoming Lovecraftian nightmare, the Umbral is actually one of the best ways to get vigor. Those shambling zombies drop a fair chunk, and they'll spawn in great numbers at certain spots. I used two Umbral grinding spots in my playthrough:
- Early game, the Vestige of Chabui (located just after Skyrest) is a good spot. Travel to the Umbral, kill everything in sight, then do a quick jaunt up the stairs to your immediate left. Run back to the Vestige, rinse and repeat.
- Mid-to-late game, the Vestige of Lost Burescu (located at the bottom of a deep chasm, just before a boss door) is a great boon. The flowerbeds just before the boss room here have a whole horde of zombies that are easy to gather up and melt with magic.
It should be noted that you don't want to linger in the Umbral for too long, since doing so summons fiercer beasties to contend with. Still, if you're doing these loops in rapid succession you shouldn't be having an issue.
Visit Skyrest to talk to NPCs often
If you're keeping tabs on character quests, you'll want to make routine pilgrimages to your base at Skyrest Bridge. Doing so lets you turn in items, but it'll also often give you key clues to your next location in the form of notes—and sometimes they'll just straight up give you keys. You can tell when you have an item to give an NPC by the moth symbol next to their dialogue option.
If you're stuck, check your journal
At the start of most areas, you'll likely find a map. These maps show up in the journal portion of your inventory screen, containing hints on where to go next. More than once during my playthrough, I'd find myself stumped, only to check my journal and find a clue or hint to steer me back on the path. They'll also often show you how to reach beacons to cleanse, something that's key for the game's story path.

Harvey's history with games started when he first begged his parents for a World of Warcraft subscription aged 12, though he's since been cursed with Final Fantasy 14-brain and a huge crush on G'raha Tia. He made his start as a freelancer, writing for websites like Techradar, The Escapist, Dicebreaker, The Gamer, Into the Spine—and of course, PC Gamer. He'll sink his teeth into anything that looks interesting, though he has a soft spot for RPGs, soulslikes, roguelikes, deckbuilders, MMOs, and weird indie titles. He also plays a shelf load of TTRPGs in his offline time. Don't ask him what his favourite system is, he has too many.
- Sean MartinSenior Guides Writer

 Join The Club


