Tips for playing Rainbow Six Siege’s newest operators
Grim Sky’s new operators are unlike any op we’ve seen before, so let’s talk about the best way to play them.
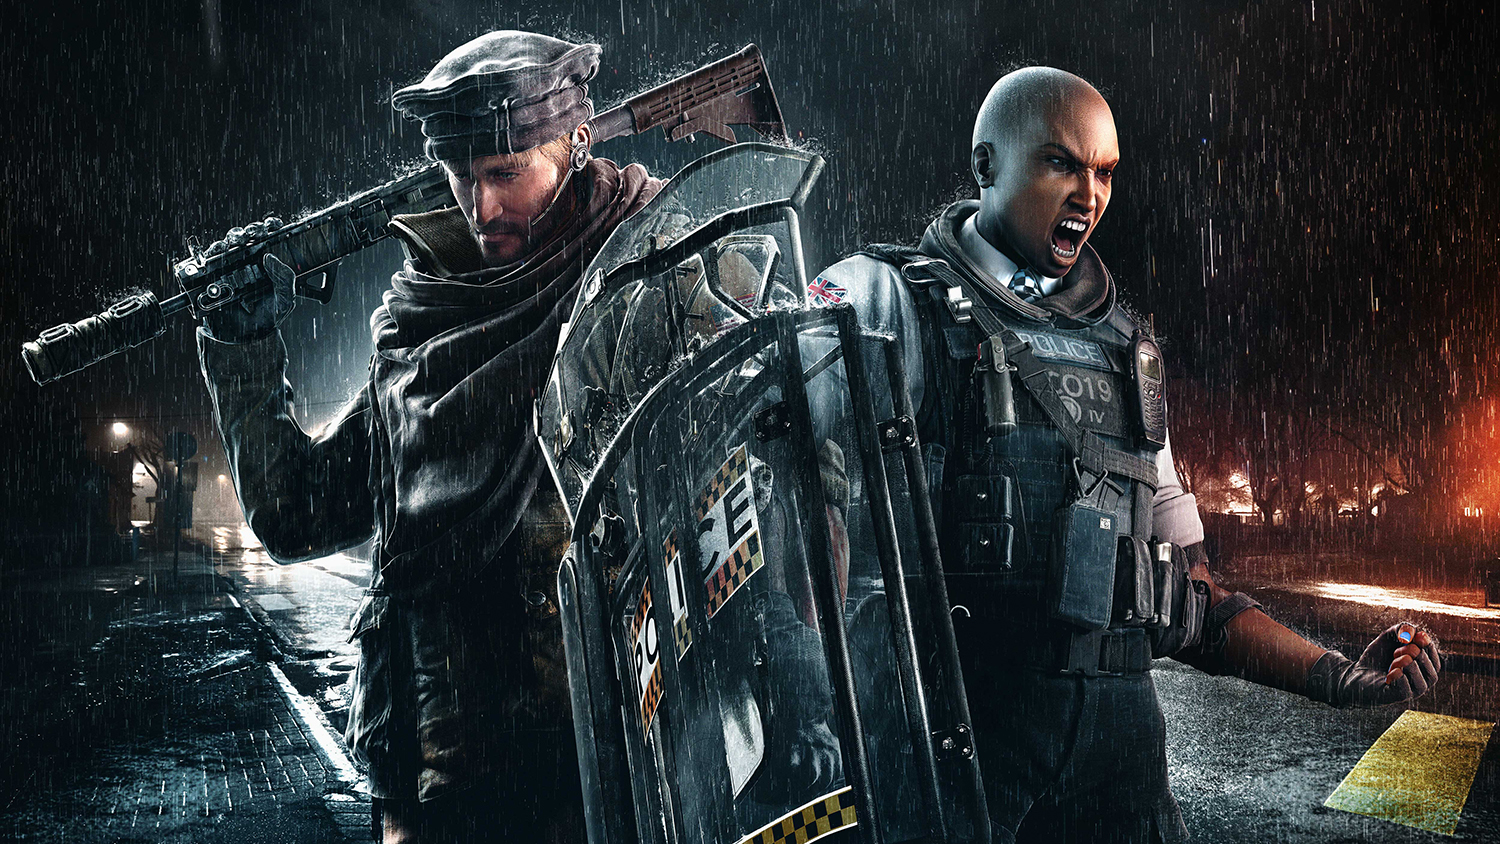
Rainbow Six Siege’s Operation Grim Sky is officially out, which means there's some stuff to learn about the new operators and how their gadgets change things for Siege's older characters. Maverick and Clash are already proving to be transformative. Their kits are unique and strong, but strange enough that they require their own steep learning curve.
Maverick
Play him like a lone wolf
There’s no doubt that Maverick can work well when supporting the rest of your team, but he excels as a lone wolf. As a three-speed with an aggressive set of weapons, he’s great for quickly pushing to a sneaky position to best utilize his quiet blow torch. The goal here is to open sightlines onto objectives without the enemies noticing. Part of this is also avoiding the most obvious places to attack from.
Article continues belowDon't treat him as just another Hibana or Thermite—the best time for Maverick to strike is amongst the chaos of conflicts happening elsewhere on the map, when the last thing anchors are worrying about is the reinforced wall behind them.
Cut the wall above your body
I’ve seen plenty of Mavericks (myself included) quickly killed off by making the same mistake: cutting out sightlines and holes with their head front-and-center behind the hole. There are much, much safer ways to open a wall without painting a big target on your head.
The blow torch has a very limited range, but it’s long enough to do your handiwork without putting yourself in immediate danger. Consider crouching or going prone and then cutting upwards at a wall. Avoid cutting a single small hole unless you’re sure nobody will notice, because like with any murder hole, this is the surest way for you to get quickly headshot. Instead, cut out larger holes or longer lines to add some maneuverability and make the enemy wonder where you’re aiming.
Keep up to date with the most important stories and the best deals, as picked by the PC Gamer team.

Consider a suppressor
With almost any other operator, it’s hard to recommend a suppressor. Sure, it makes each shot feel like you’re dropping baddies like James Bond, but the lowered damage and increased recoil usually outweigh the benefits. But in Maverick’s case, those benefits might be exactly what you need.
I've already mentioned how Maverick can excel as a stealthy operator that flanks the enemy from unexpected angles, but with a typical weapon loadout, your cover is quickly blown after a few shots fired. One of the best tools a player uses to quickly react to gunfire is the threat indicator, that white arrow that indicates where bullets are coming from when offscreen. But with a suppressor equipped, your bullets won’t activate the indicator for enemies. So, when attacking from an unexpected murder hole, a quieter and less visible weapon means the defenders will take even longer to pinpoint your location, or sometimes fail altogether. It’s enough of an advantage that it may just be worth the damage drop.
Drone before cutting
As players get more used to Maverick’s bag of tricks, you can bet that they’ll be keeping a keen eye out for new cuts in objective walls. Because of this, you may find yourself getting flanked or countered when a defender sees your cutting in progress. Droning is generally a great idea for approaching any objective, but getting a quick layout of the enemy positions can be crucial for Maverick, so you know which walls to avoid and where you can exploit a lack of attention. This will also make your cutting more efficient, as you can cut only where you know you’ll be able to spot an enemy.
Clash
Never roam alone
Clash’s shield grants her the unique ability to wander around or outside the map with relative safety. She’s great for scouting the map and letting allies know where the attack is coming from, but be wary of being alone for too long. If a few attackers do catch up to you, you don’t have many options. Since your shield isn’t quite as sturdy as Monty’s, a melee hit while extended will knock away the shield long enough get a few shots in on your body and legs. Sure, you can slow them down, but only for a few moments. To avoid catastrophe, pair with another teammate when roaming around to capitalize on your callouts and slowdown abilities.
When it's just you left, ditch the shield
This connects to the previous point, but it’s something important to understand about Clash in general. When you’re alone, her shield becomes a complete hindrance. It’s not the same situation as Monty, where some luck and clever timing could let him turn the tides of an uneven fight. Clash has no defense against melee with her shield out, so it will always be a bad idea when going up alone. Before the enemy gets close, you must switch to your weapon.
At this point, Clash essentially becomes a normal operator, but thankfully, her kit is pretty good for self-defense. Her two-shot burst machine pistol is pinpoint accurate and easy to control, and her impact grenades can ensure that you have rotation options. And when you’re not holding the shield, it becomes a bulletproof shield protecting your back.
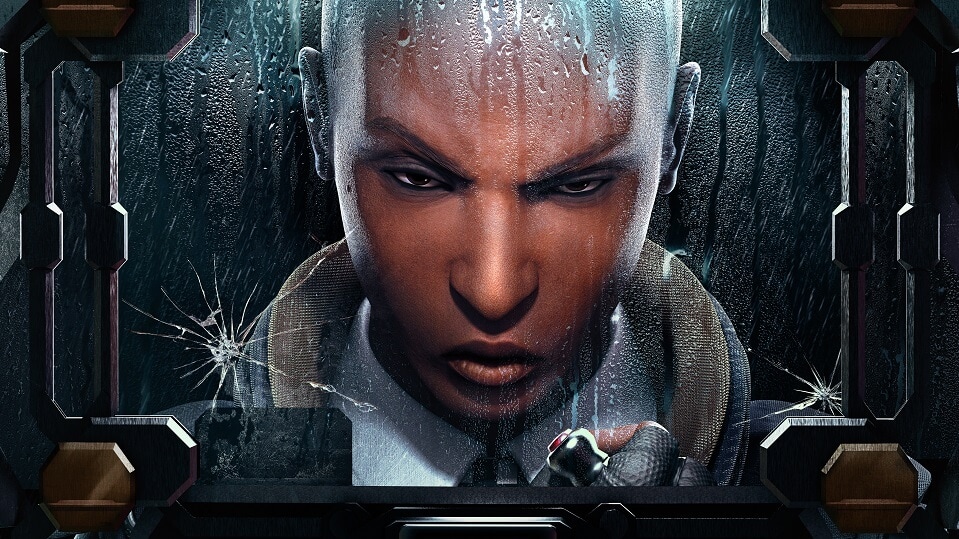
You can slow multiple enemies at once.
Clash’s shield doesn’t give great feedback for when it’s working. When an enemy is being shocked, you can notice they’re moving slower and see some burst of electricity on their body, but it’s still somewhat unclear without any feedback from the crosshair. But even though it’s not immediately obvious, the taser shield has a surprisingly long range of about 12 meters and can entrap several enemies at once. This means that Clash can essentially take over an entire hallway for the brief time she can zap them, which can be very powerful when your team is there to back you up. The slowdown or damage isn’t applied for teammates, so don’t be shy about using it around them.
When allies are trying to shoot around you, don't move.
Veteran Monty players know this well, but it’s worth repeating for those dipping their toes into shield ops with Grim Sky. Think of yourself as a mobile piece of cover for your allies. Staying mobile and calling out enemy positions is important, but in a tight space and tense gunfights, the shield op is better off planting their feet in a good spot to provide cover while minimizing the risk of being teamkilled. This strategy can work especially well for Clash, since her shield is almost completely transparent. Standing still essentially creates a Mira window where you stand, where allies can line up shots and then have you step aside to take them down.
Morgan has been writing for PC Gamer since 2018, first as a freelancer and currently as a staff writer. He has also appeared on Polygon, Kotaku, Fanbyte, and PCGamesN. Before freelancing, he spent most of high school and all of college writing at small gaming sites that didn't pay him. He's very happy to have a real job now. Morgan is a beat writer following the latest and greatest shooters and the communities that play them. He also writes general news, reviews, features, the occasional guide, and bad jokes in Slack. Twist his arm, and he'll even write about a boring strategy game. Please don't, though.
 Join The Club


