Get the most out of GTA 5’s video editor
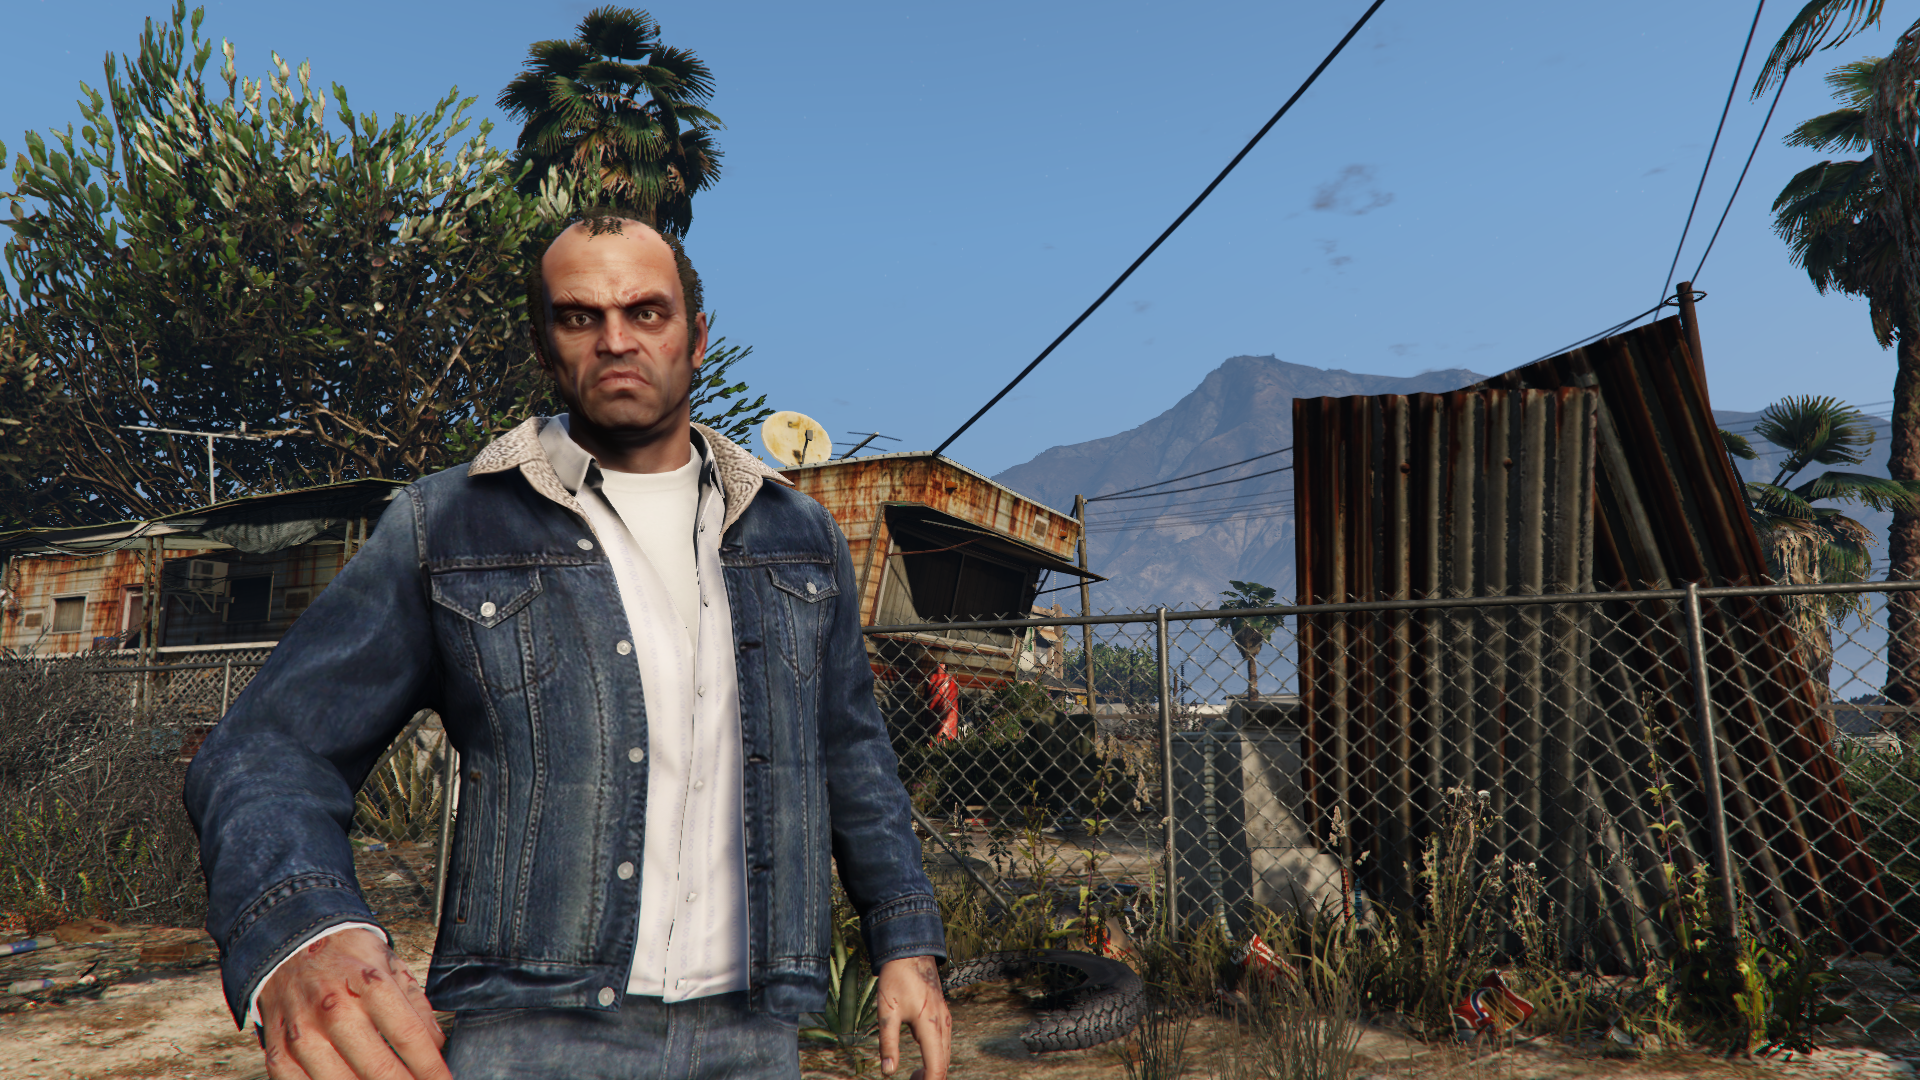
You’re probably knee-deep in GTA 5’s story and multiplayer, but it’s worth taking some time out to play with the PC exclusive Rockstar Editor.
This amazingly powerful tool transforms Los Santos and Blaine County into a huge movie set, letting you create virtually any kind of film you can imagine—then upload it to YouTube in HD at 60fps.
It’s a really fun mode, and of the 30 hours I’ve played of the game so far, at least a quarter has been spent in it. But how does it work? Well, let me tell you.
- GTA 5 cheats: Every cheat code and vehicle spawn
- GTA 5 mods: The best visual and gameplay tweaks
Recording footage
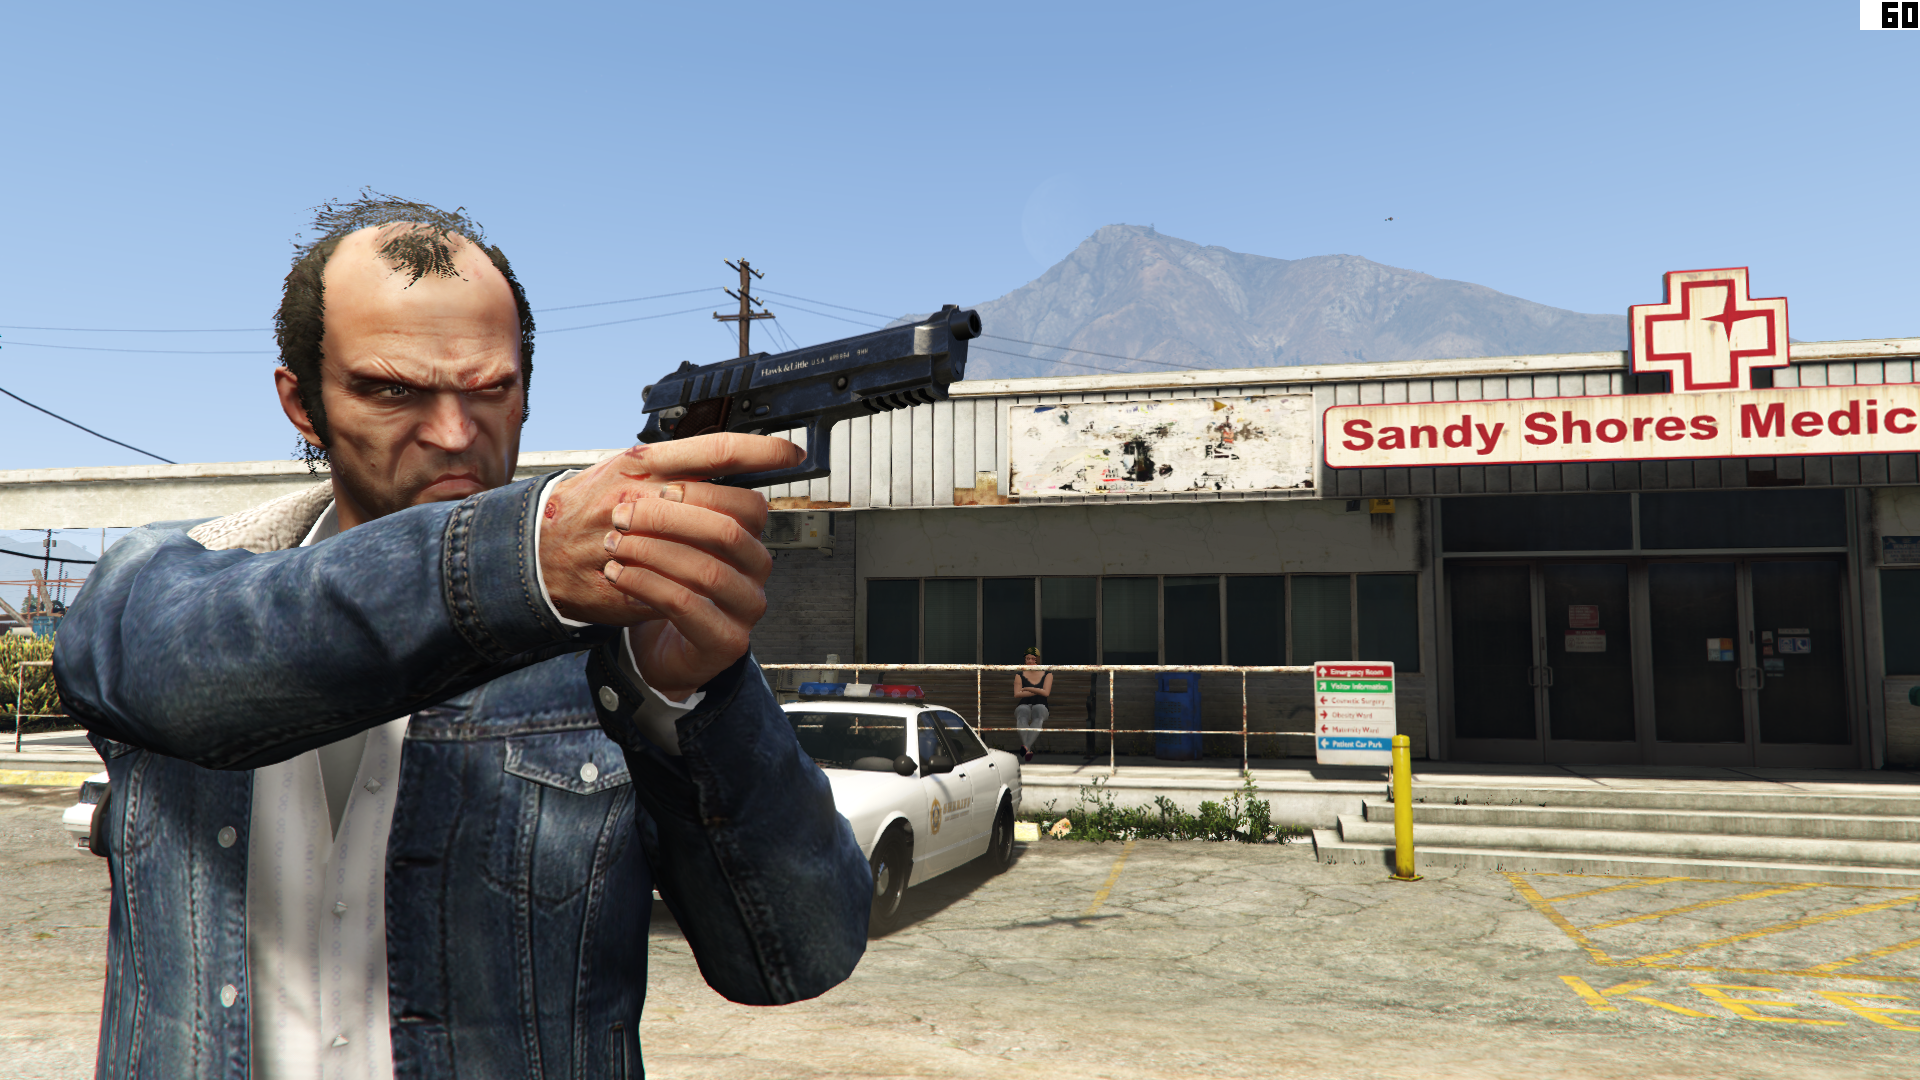
You can record footage at any time by pressing ALT+F1, including during missions and in multiplayer. A minute and a half of footage uses about 100mb of hard drive space. The game doesn’t record a flat video; instead, it creates a 3D snapshot of the action you can edit later.
Loading clips
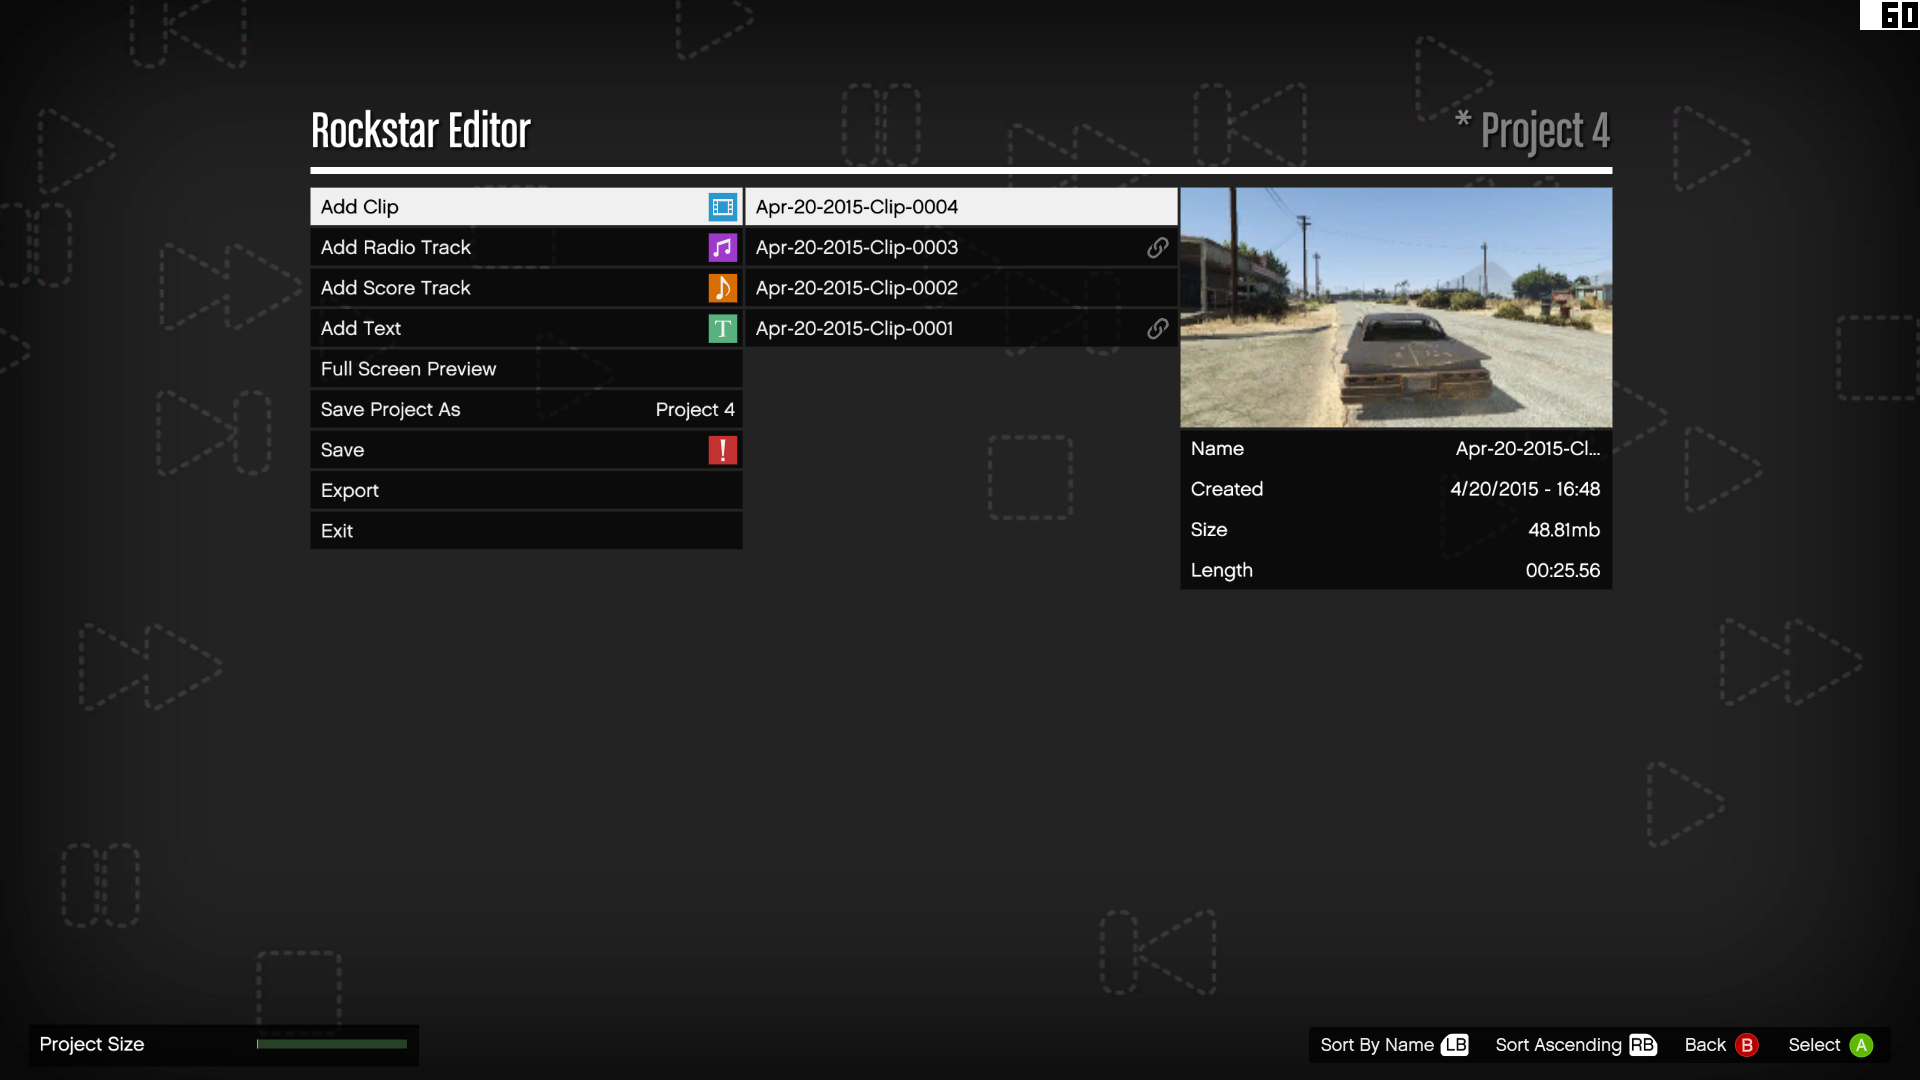
Load a clip and you’ll see its thumbnail sitting on your video timeline. This should be familiar to anyone who’s used a program like Adobe Premiere. Clips can be picked up and dropped elsewhere on the timeline or deleted if necessary. Click on a clip, then select the edit option to load up your footage and enter editing mode.
Adding markers
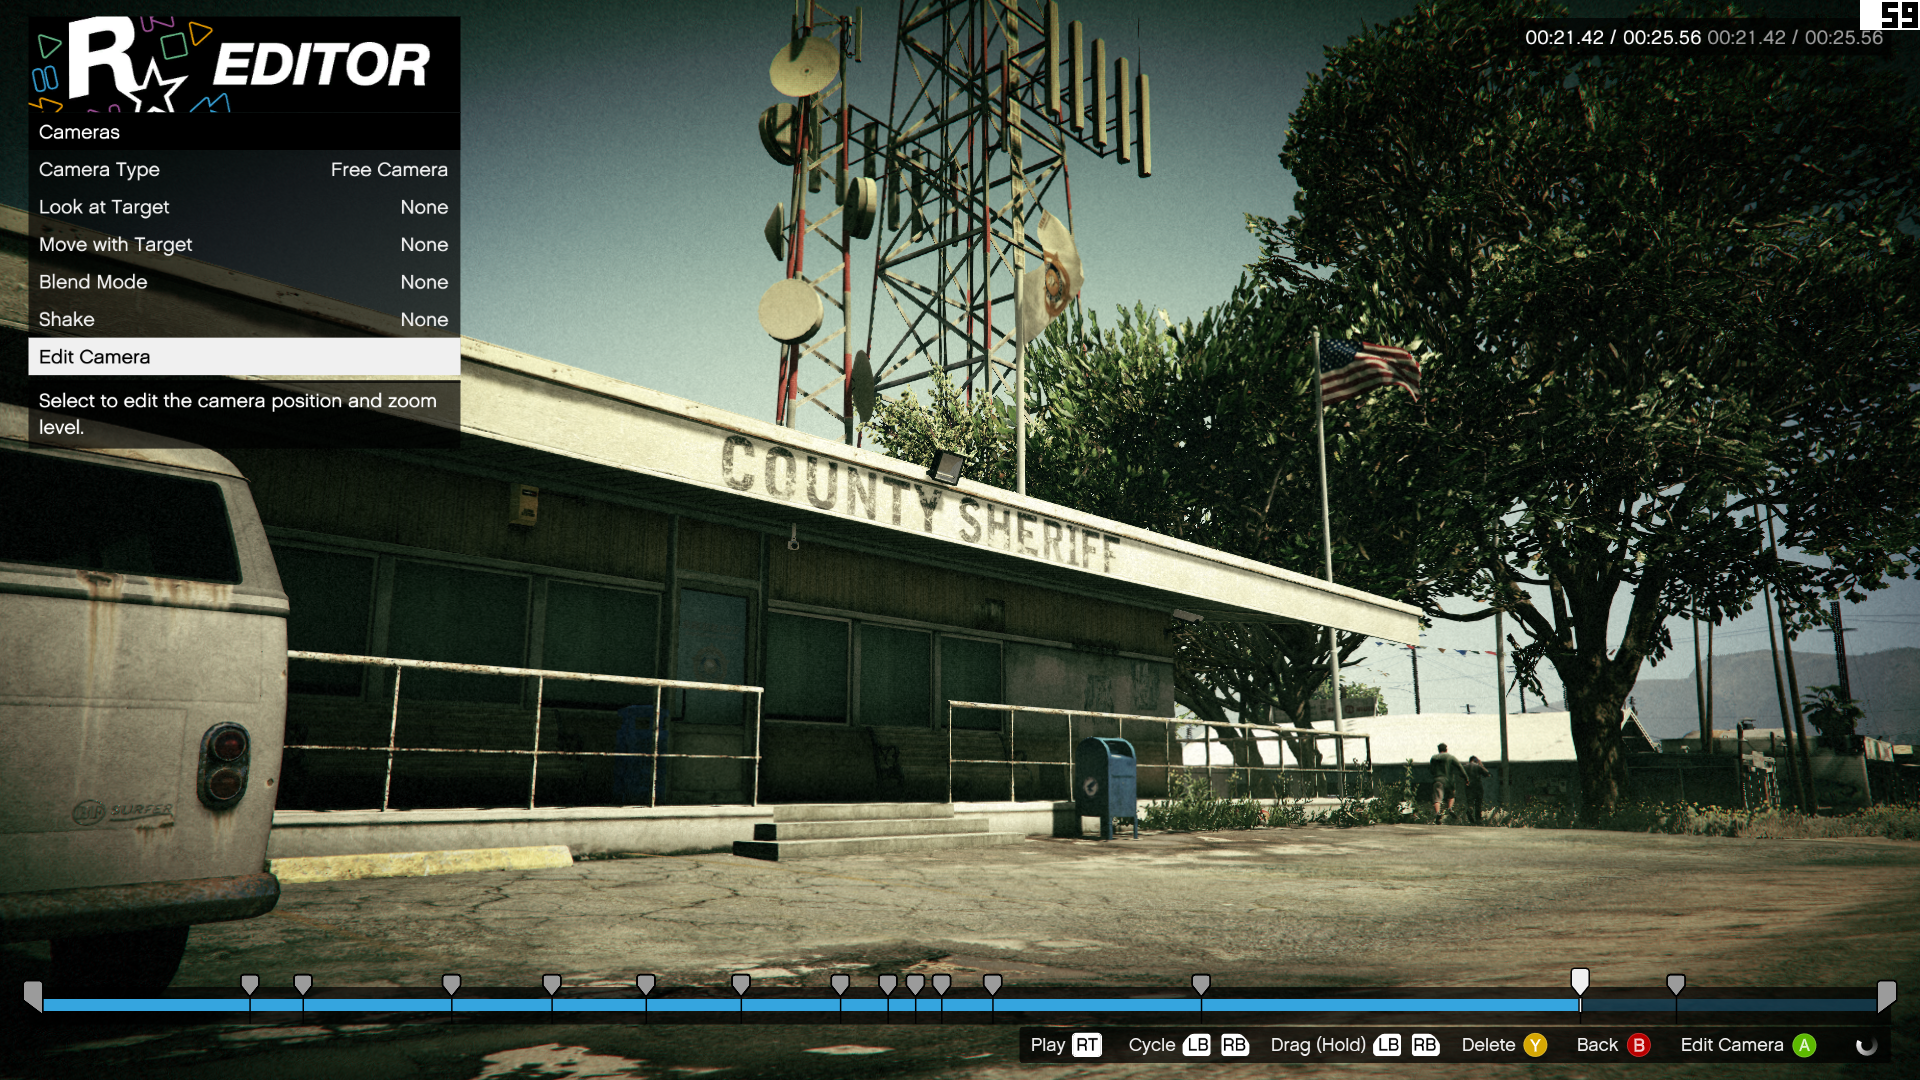
Press M to add a marker to your clip’s timeline. This means any changes you make to the clip will occur from that moment in the video onward: until the end, or until the next marker. You can click and drag the marker with the mouse. Remember to press the save key (F5) every time you change something, or you'll lose your edits.
Edit the camera
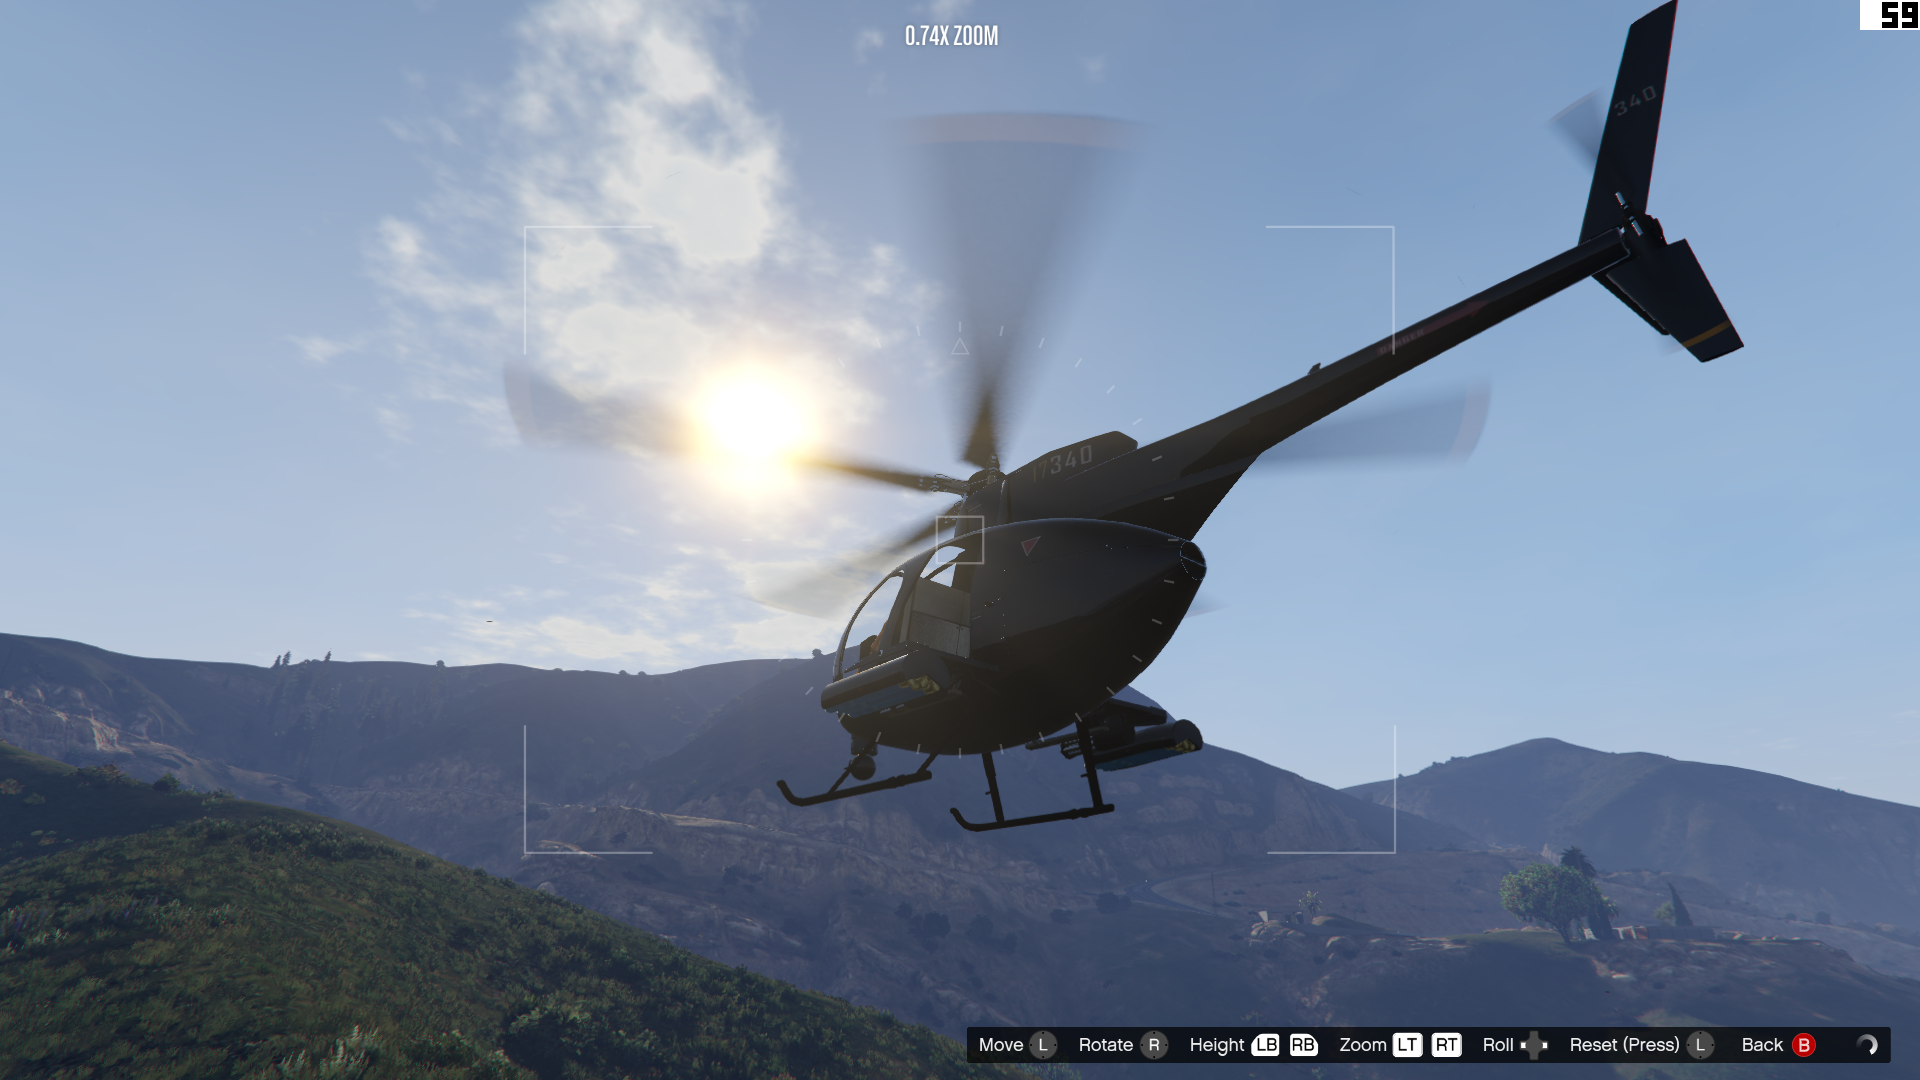
There are several camera types. The game camera mirrors your camera from when you recorded the clip. Preset front/rear/right/left are self-explanatory. But it’s the free camera where the real power lies. Click ‘edit camera’ and you can move around freely, within a generous boundary.
If you want the camera to move, select ‘move with target’ and select a target: the player, or nearby NPCs. Then the camera will follow them as they walk/drive. To create tracking shots, use the ‘move with target’ option, then use the free camera and point it away from the target. This works especially well with a helicopter.
You can press H while editing/playing a video to hide the HUD. This is great for taking screenshots.
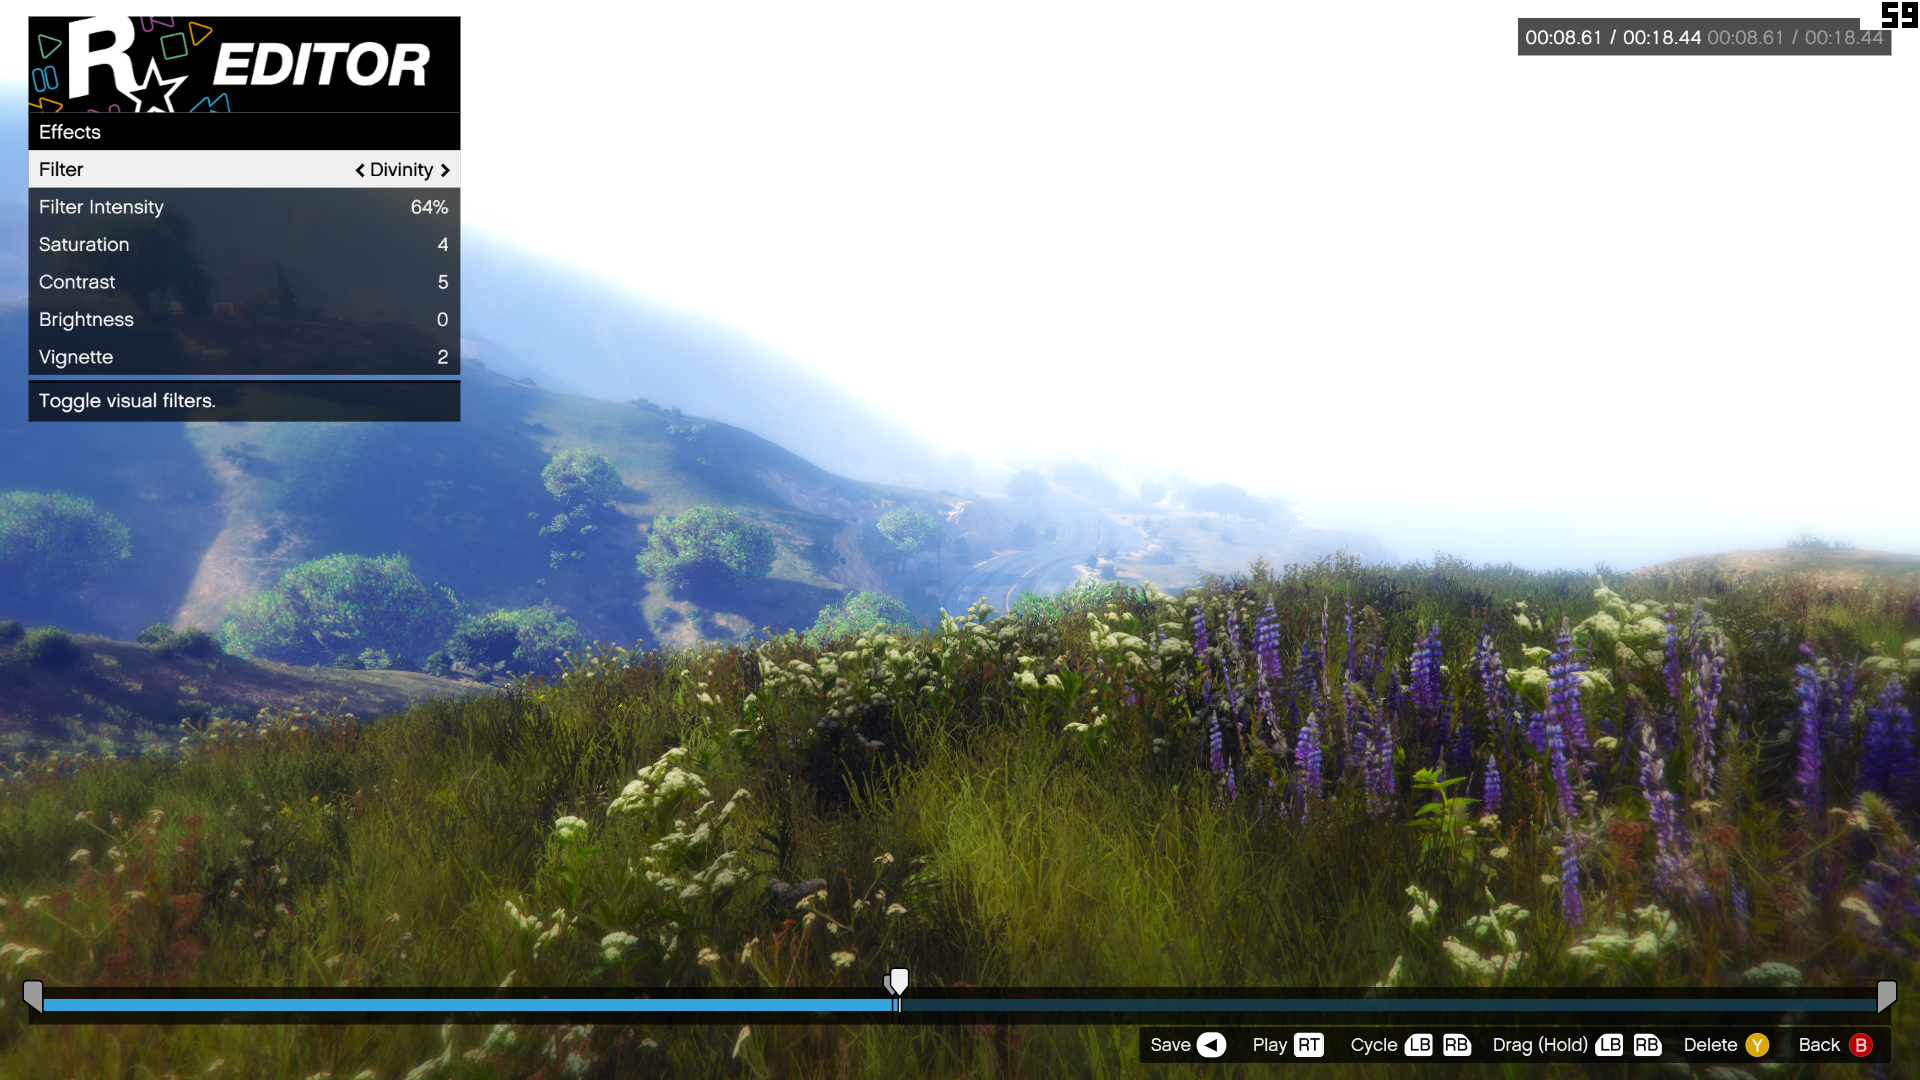
Add effects
There are dozens of filters, which are great for creating a specific mood. ‘Night Moves’ looks stunning at night, giving the city lights a realistic, hazy look. ‘Normandy’ adds a washed-out vintage feel to your clips. You can adjust the intensity of the filter, as well as the brightness, contrast, and the severity of the vignette effect.
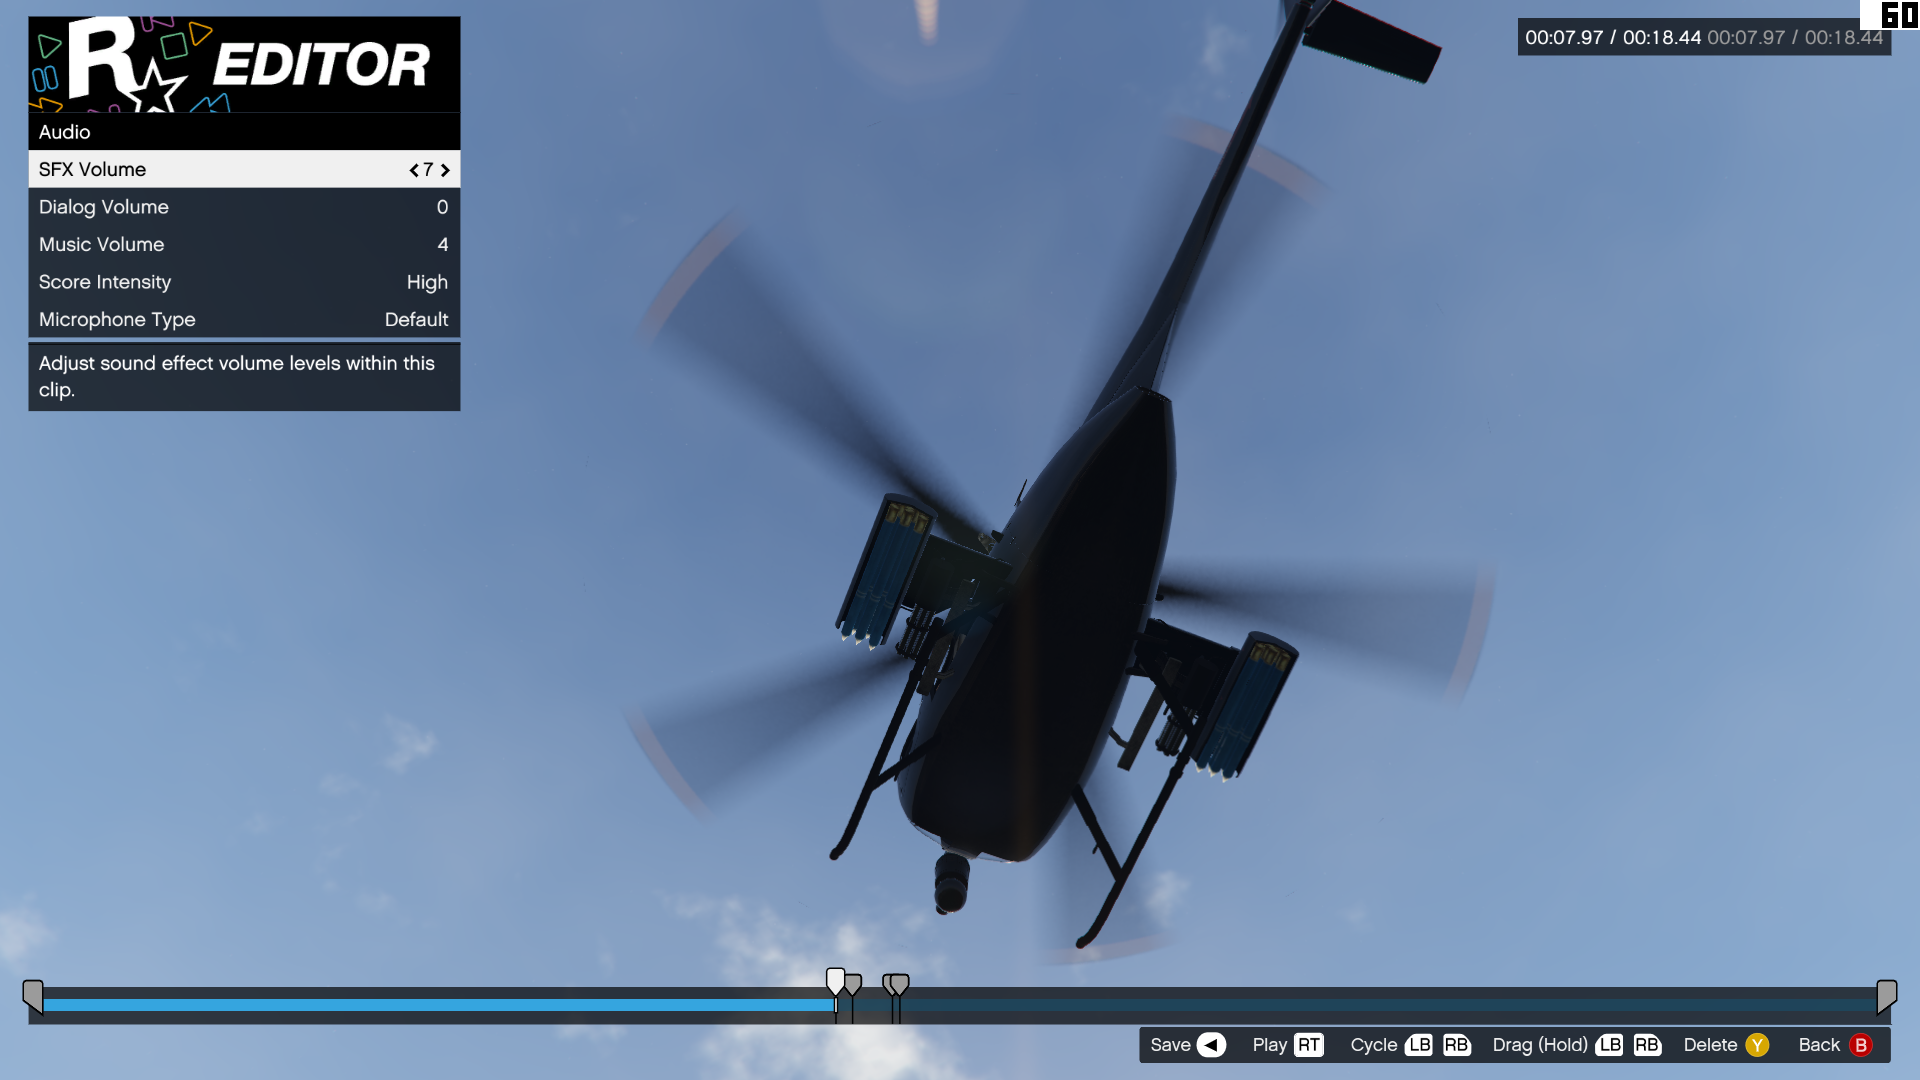
Tweak the audio
You can fine tune the audio of a clip, adjusting the volume of the SFX, dialogue, and music independently. Or even increase the intensity of the music if you’ve selected a track from the score section. This gives you a lot of control over the sound of your movie, letting you increase the drama, or add moments of quiet calm.
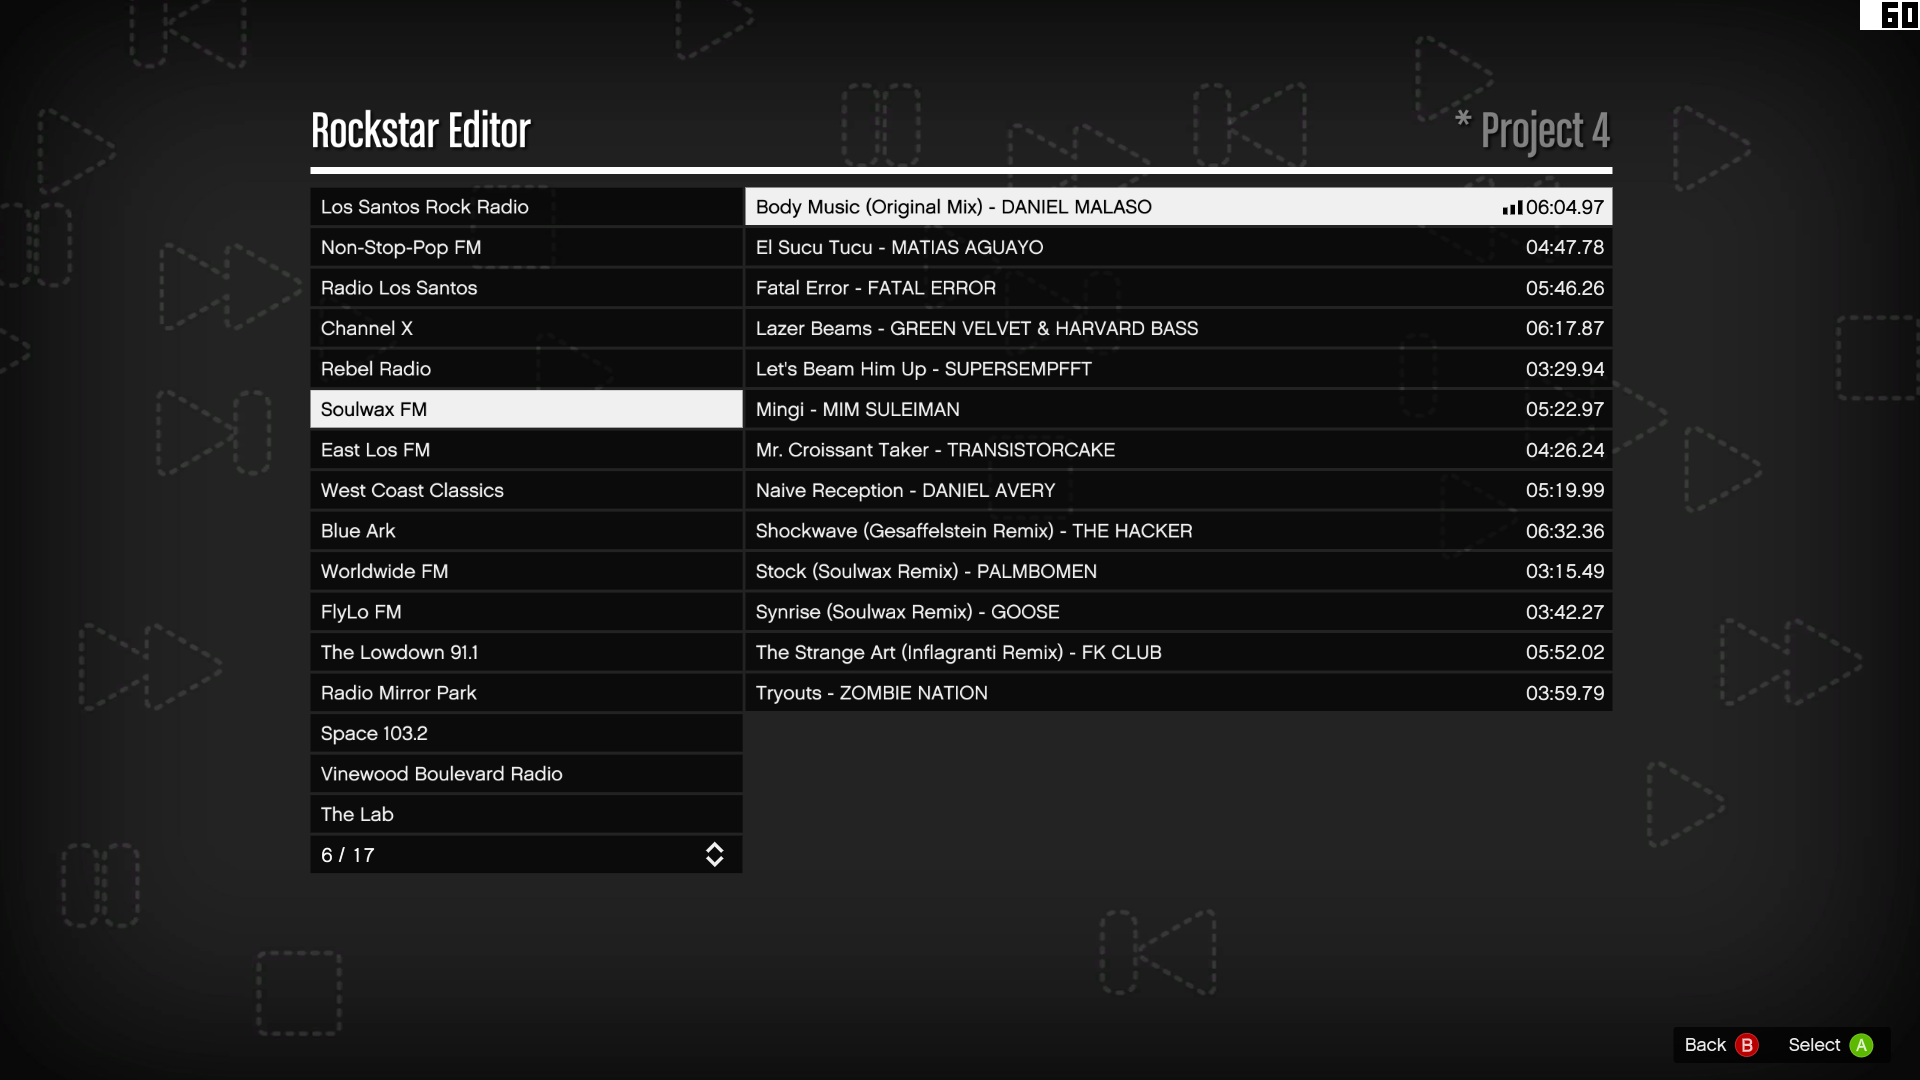
Add music
There are two kinds of music you can add to your clip: radio and score. Radio presents a limited selection of tracks from the game’s radio stations. Sadly not every track is available, probably due to licensing issues. Score is music from the game, with adjustable intensity.
Annoyingly, videos using the radio tracks on offer are being flagged for copyright on YouTube.
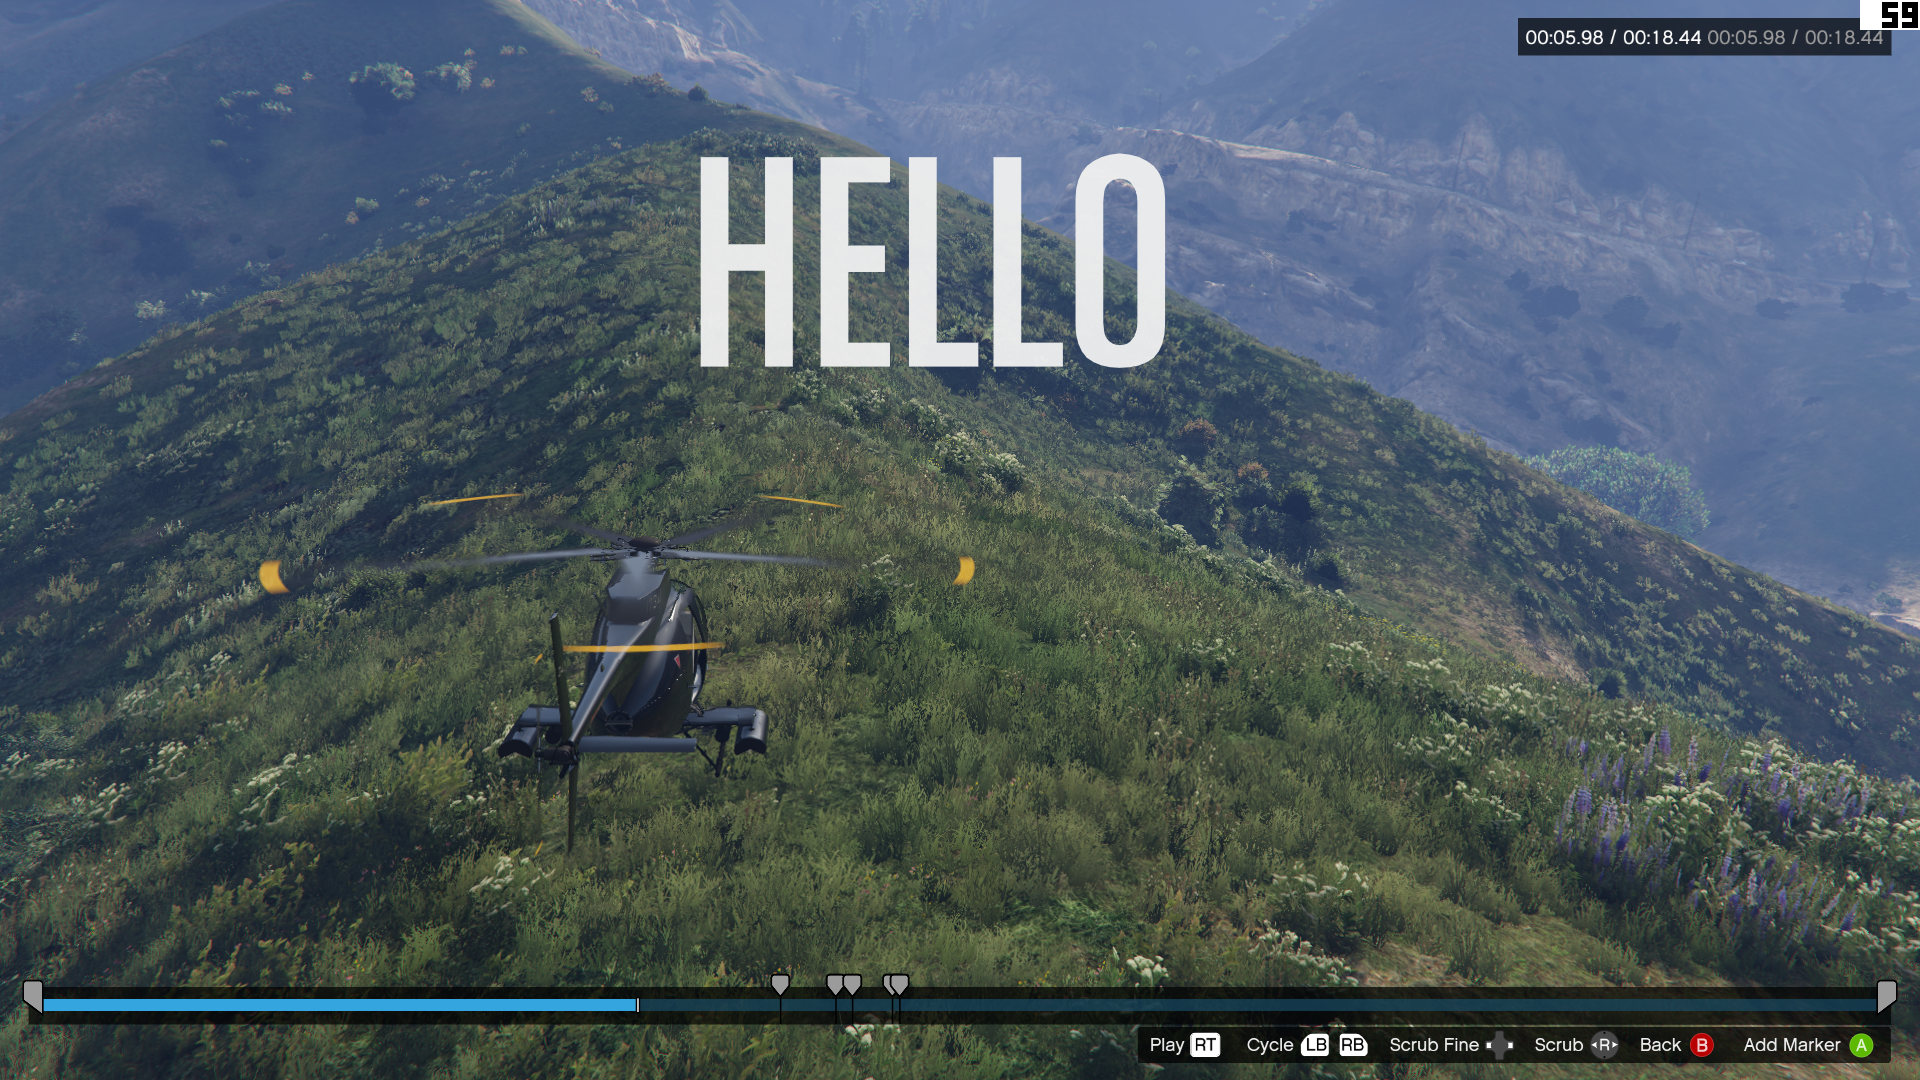
Add text
You can add text to any clip, setting its position, size, font, opacity, and how long it appears on the screen. This is useful for making a title card for your film, or maybe subtitles for dialogue.
Transitions
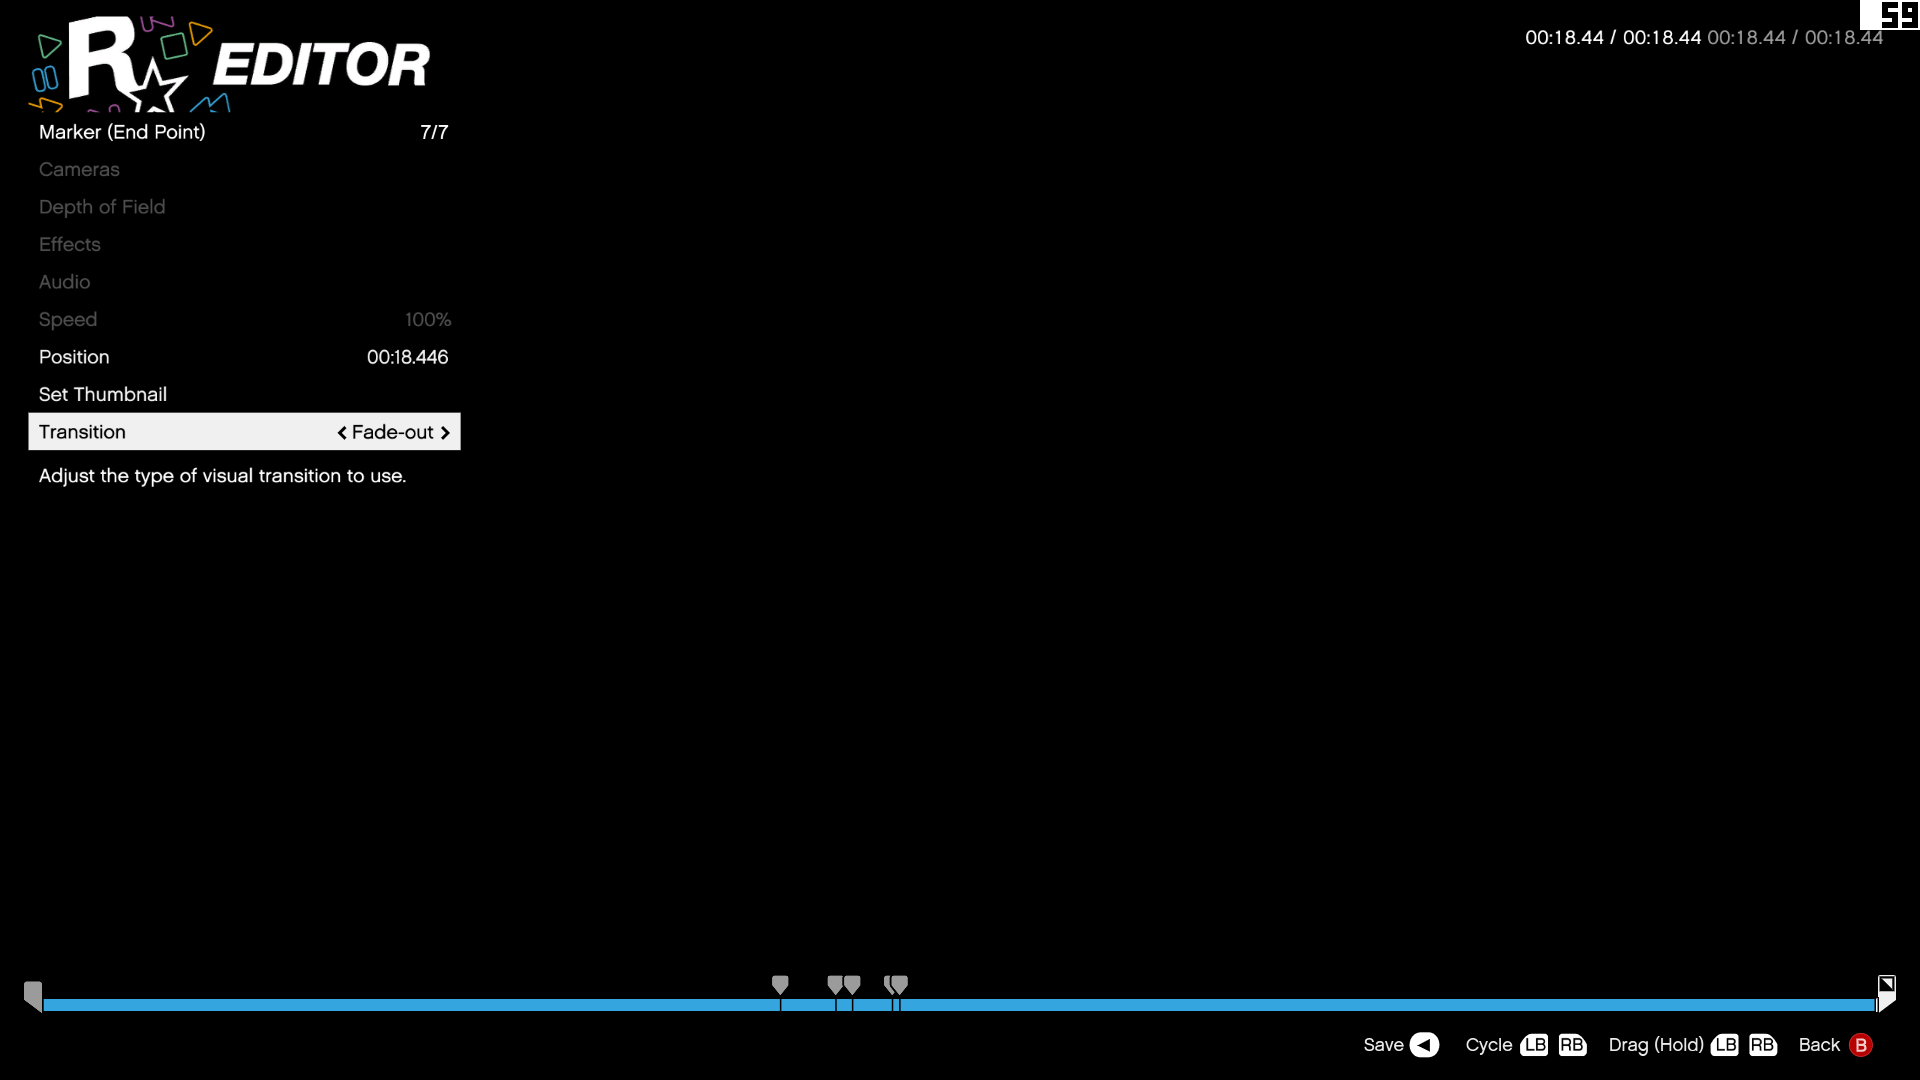
Scroll to the beginning or end of a clip in the editor and you can add a fade-in or a fade-out to bookend your film.
Preview your film
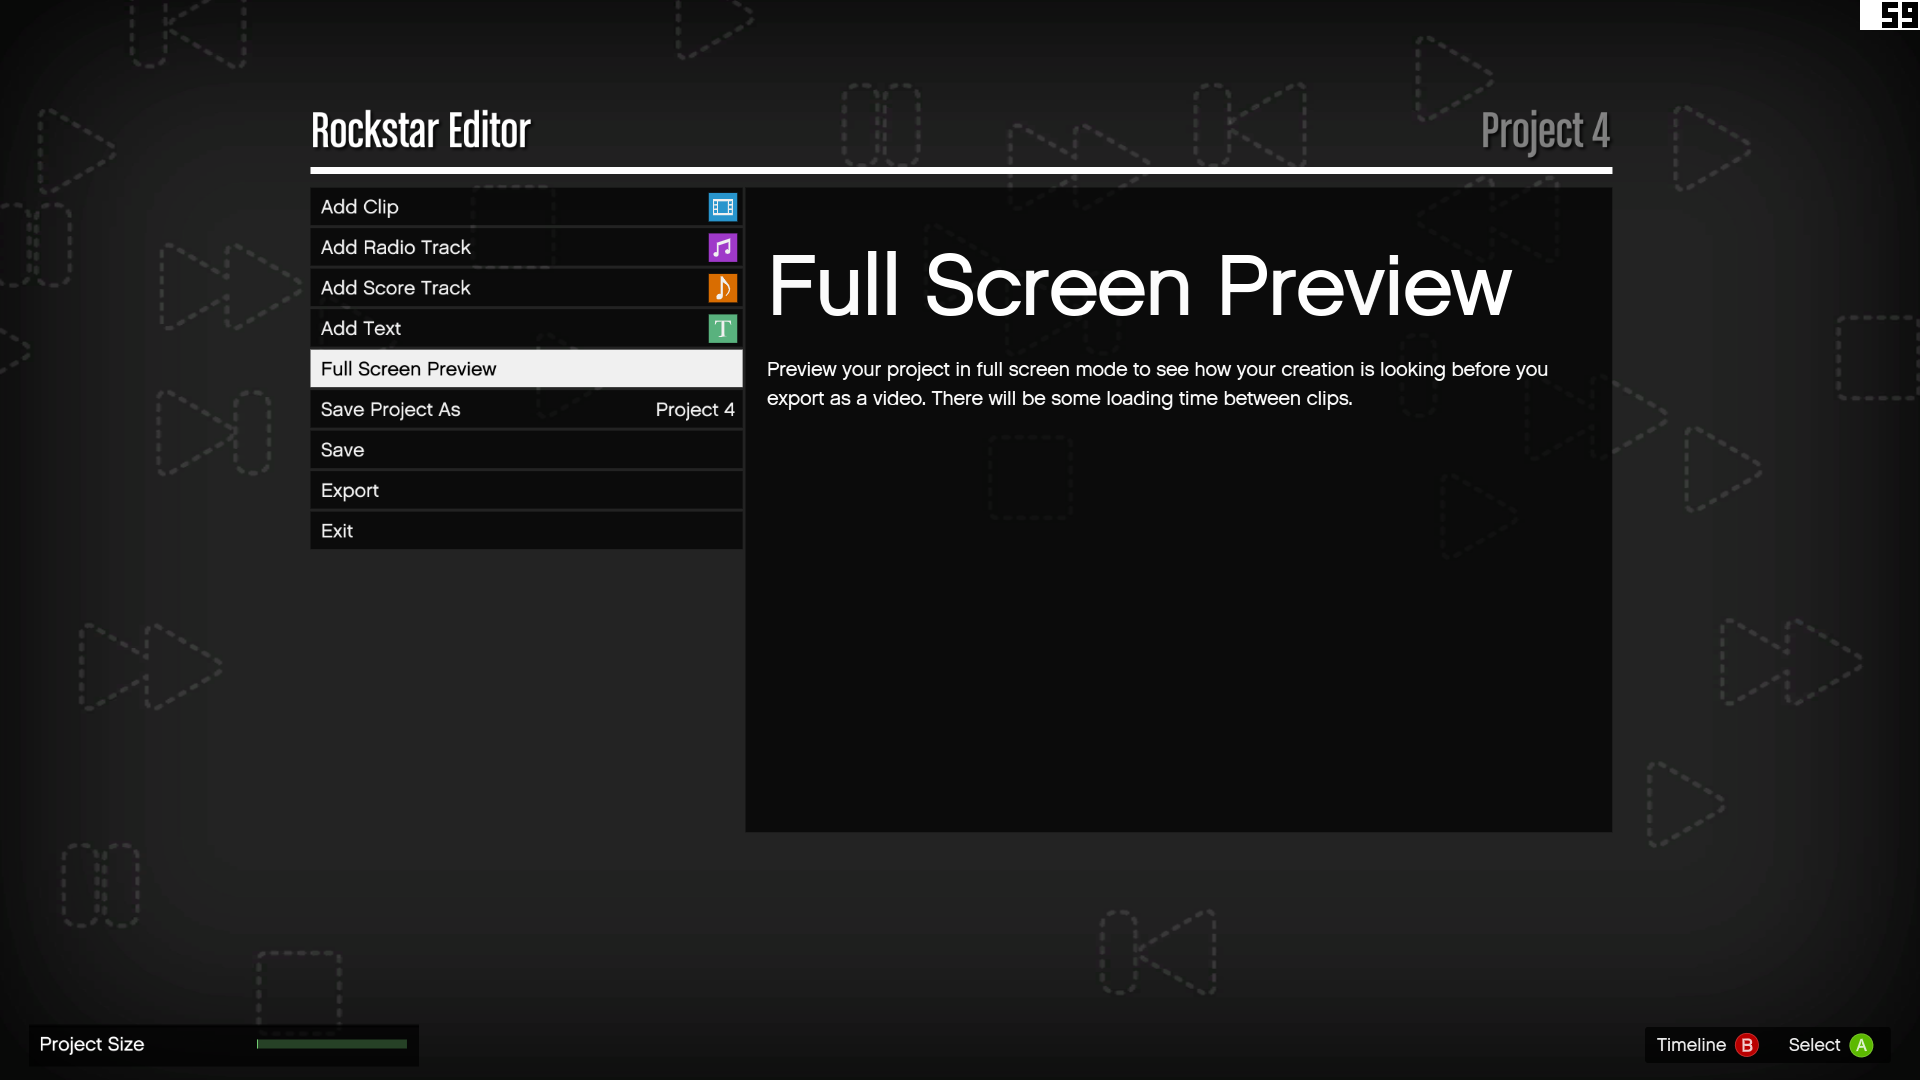
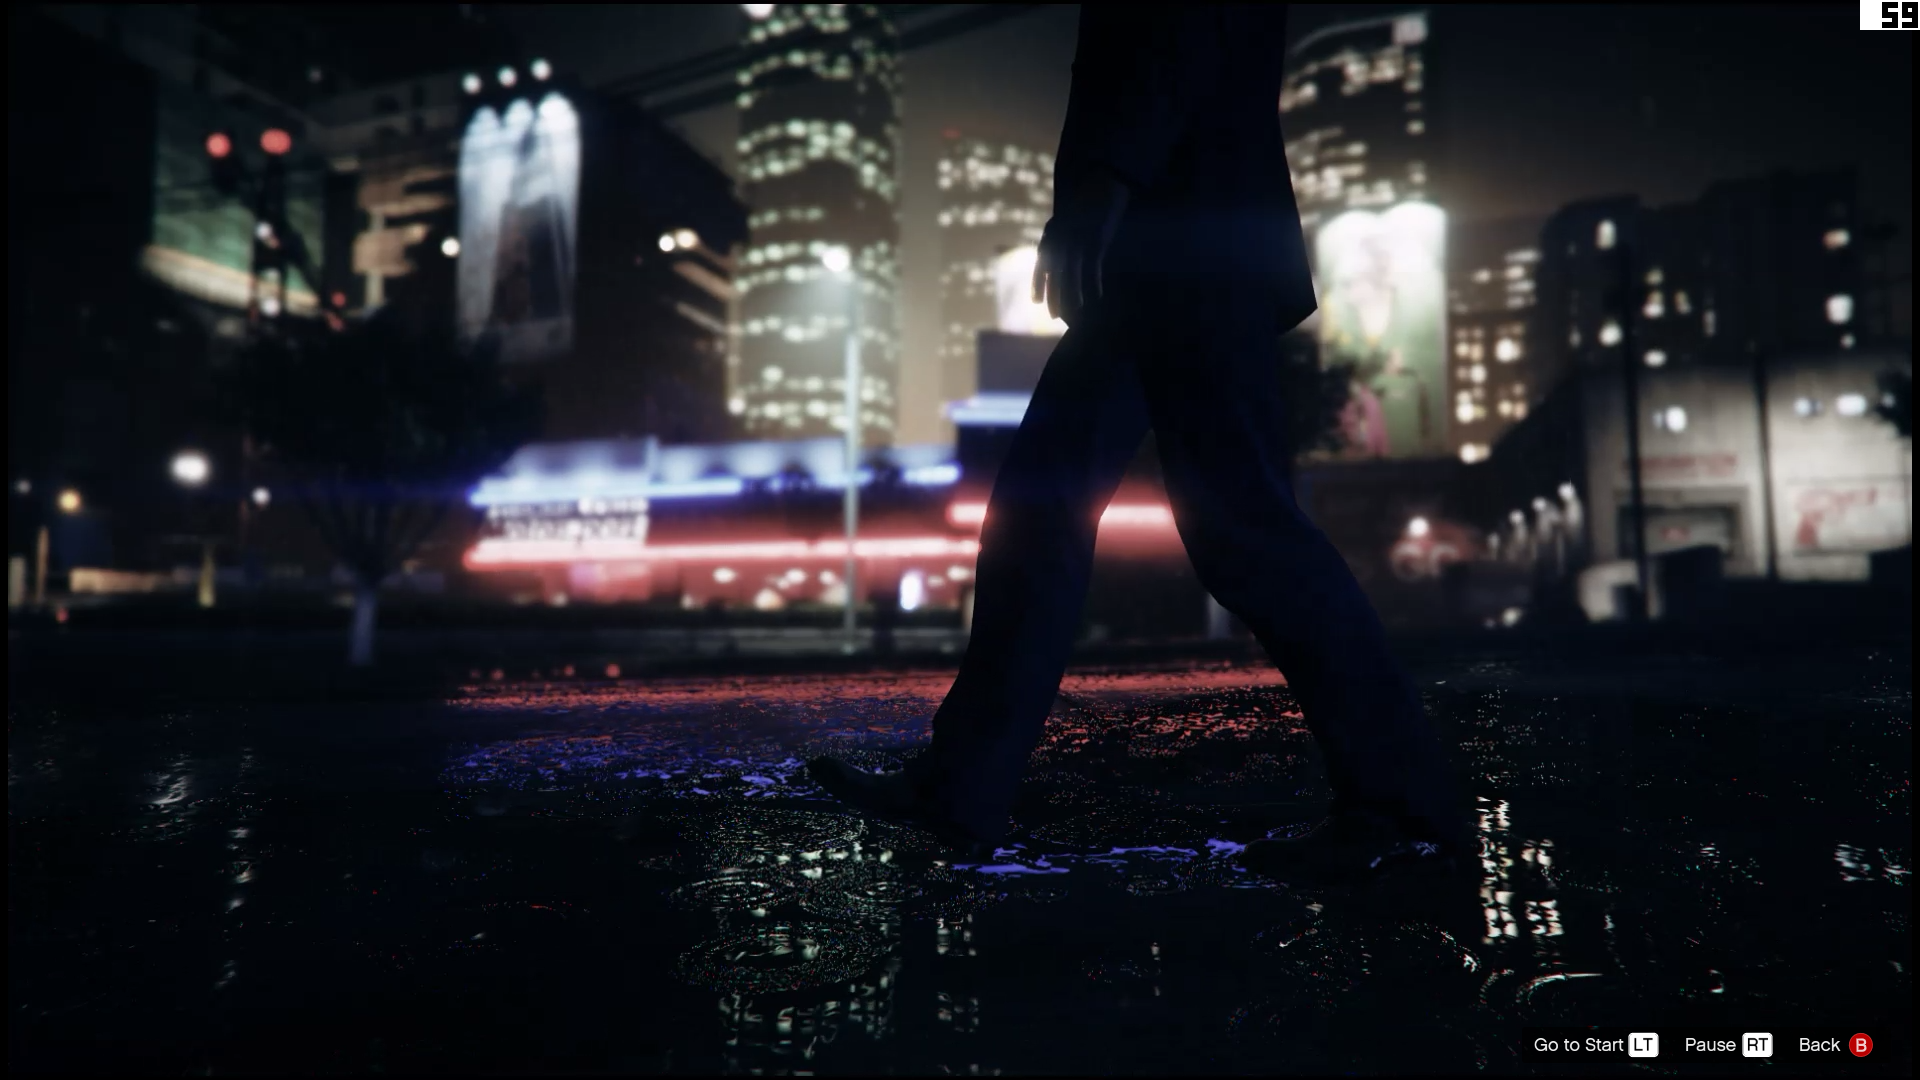
Once you’ve created an edit you’re happy with, you can load a fullscreen preview. If your clips were recorded far apart in the game world, there’ll be a short loading pause between clips. Obviously these won’t be in the final cut.
Upload it to YouTube
When you’re ready to share your film with the world, click export. You can set the frame rate here (60fps is best, obviously) and the quality setting. The time it takes to render depends on the length and complexity of your film.
Then go to the video gallery, select your film, then ‘upload to YouTube’. You’ll need to link your Google account to your Rockstar Social Club account, which happens automatically through Steam's web browser. You just need to log in.
If you want your video to be uploaded as unlisted or private, there’s a setting under Rockstar Editor in the game options.
Director mode
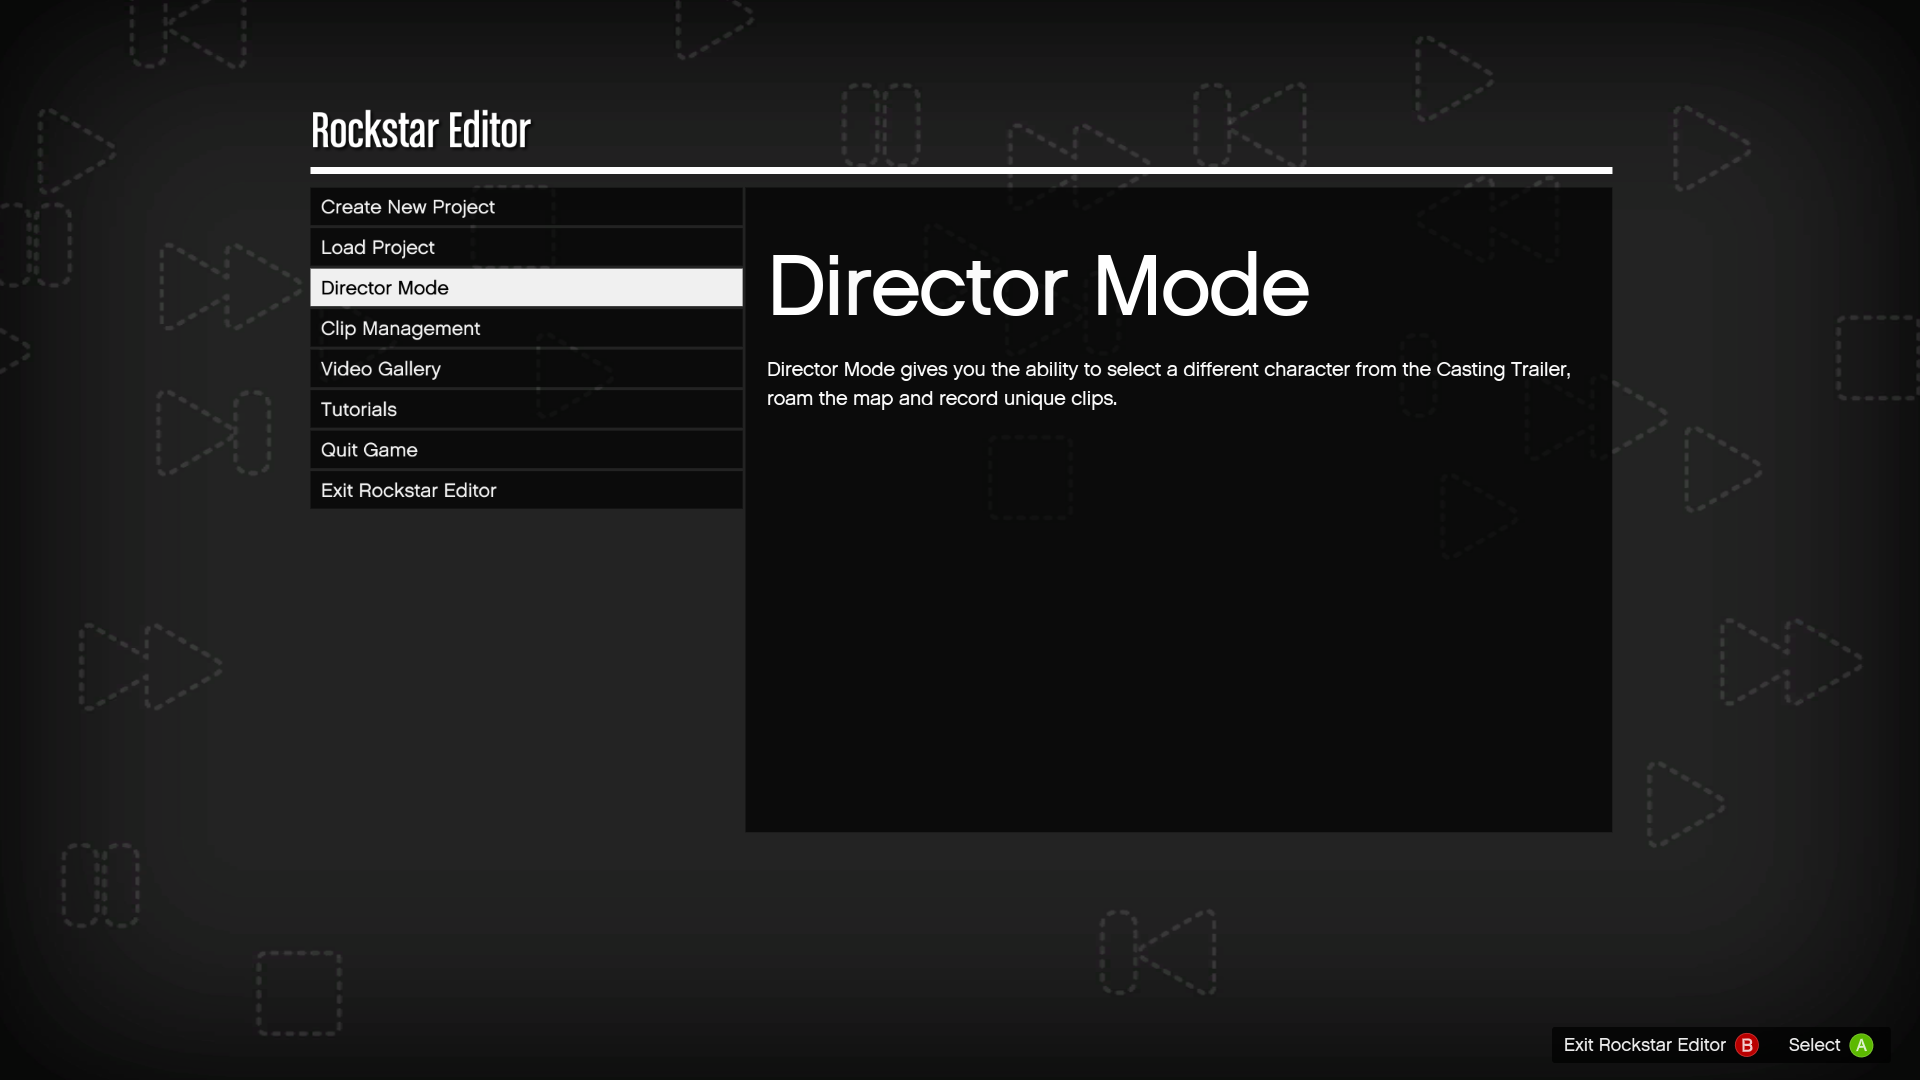
This mode gives you even more control over your scenes. To access it, start the story, make sure you’re not in a car, then select Director Mode from the Rockstar Editor tab on the game menu. As you play through V’s story, you’ll unlock characters that can be used as ‘actors’ in your Rockstar Editor films. You can even unlock animals. Animals!
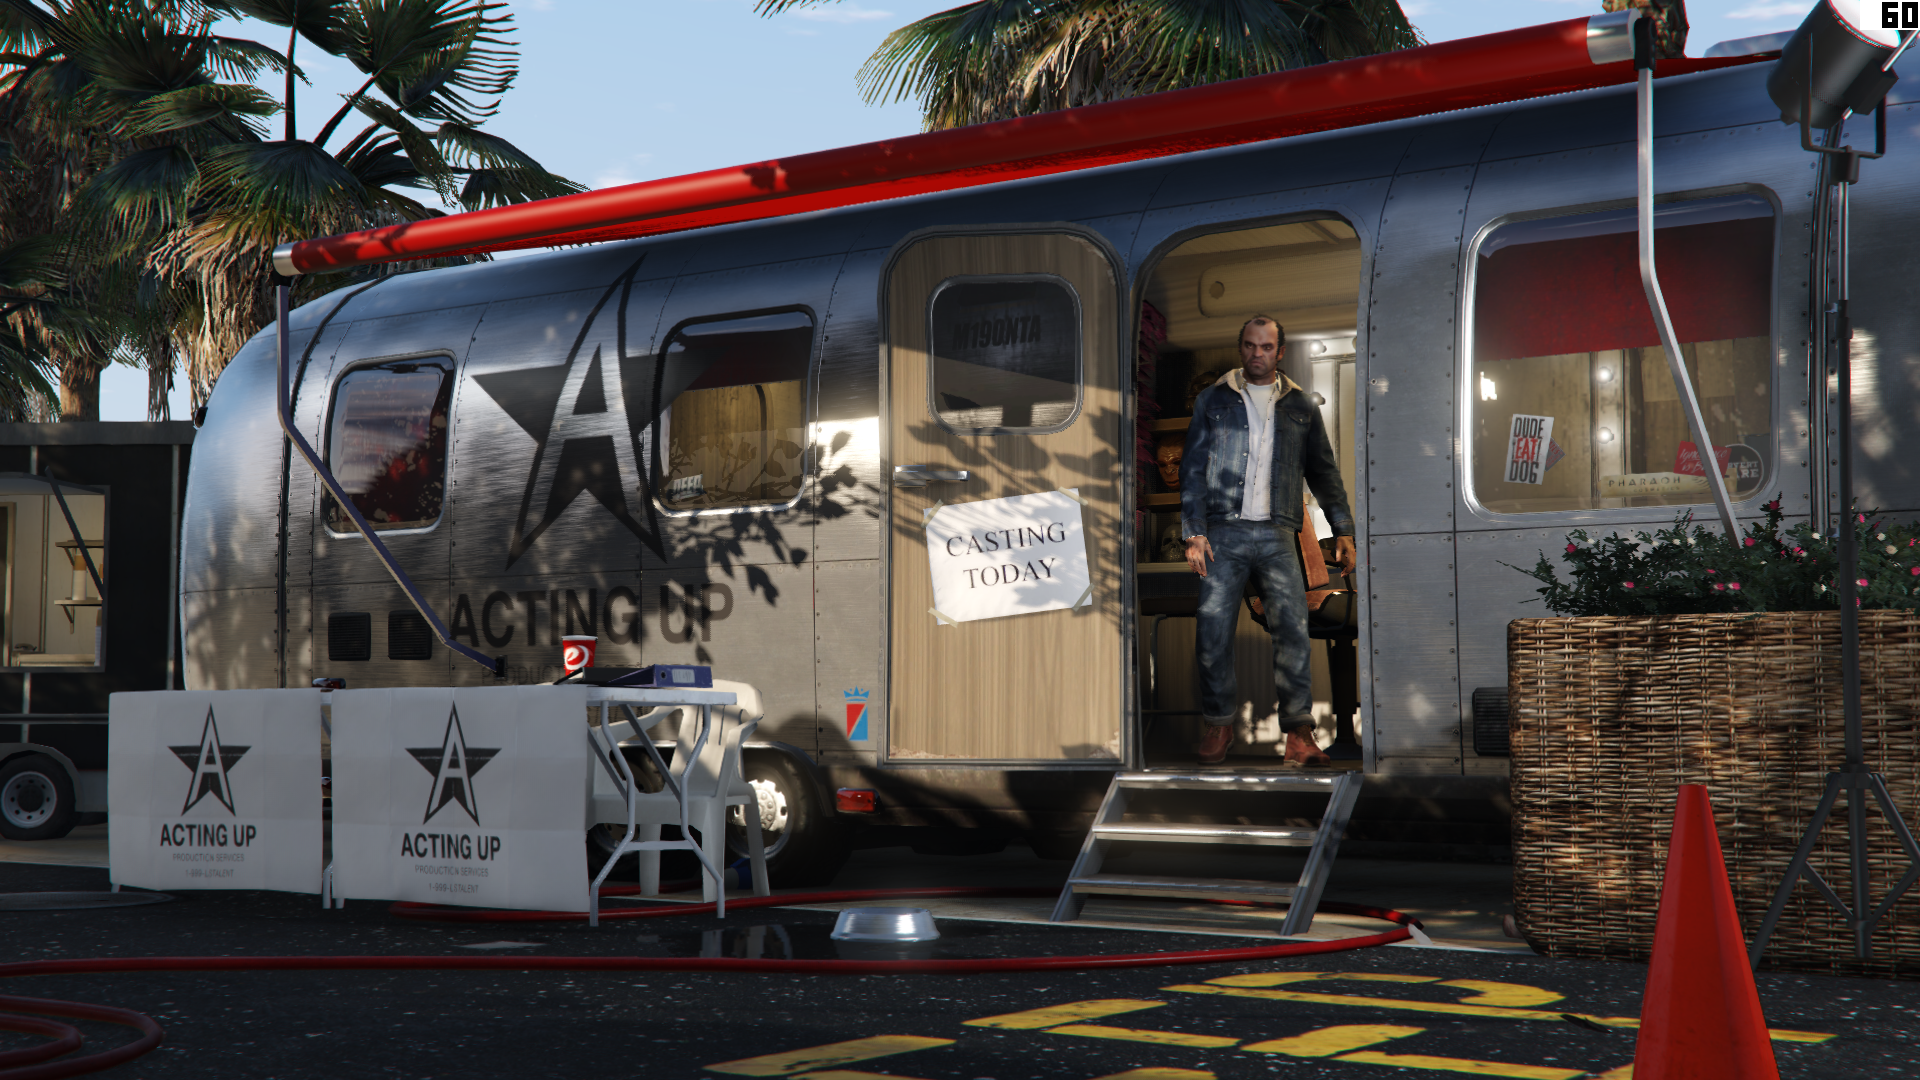
Choose an actor
There are loads of actors to choose from, in a number of categories: office drones, military, hipsters, beach bums, etc. Select a character and you’ll be in control of them, and can use them to record footage without having to have Franklin, Trevor, Michael, or your multiplayer character in the scene: although you can use all of them too.
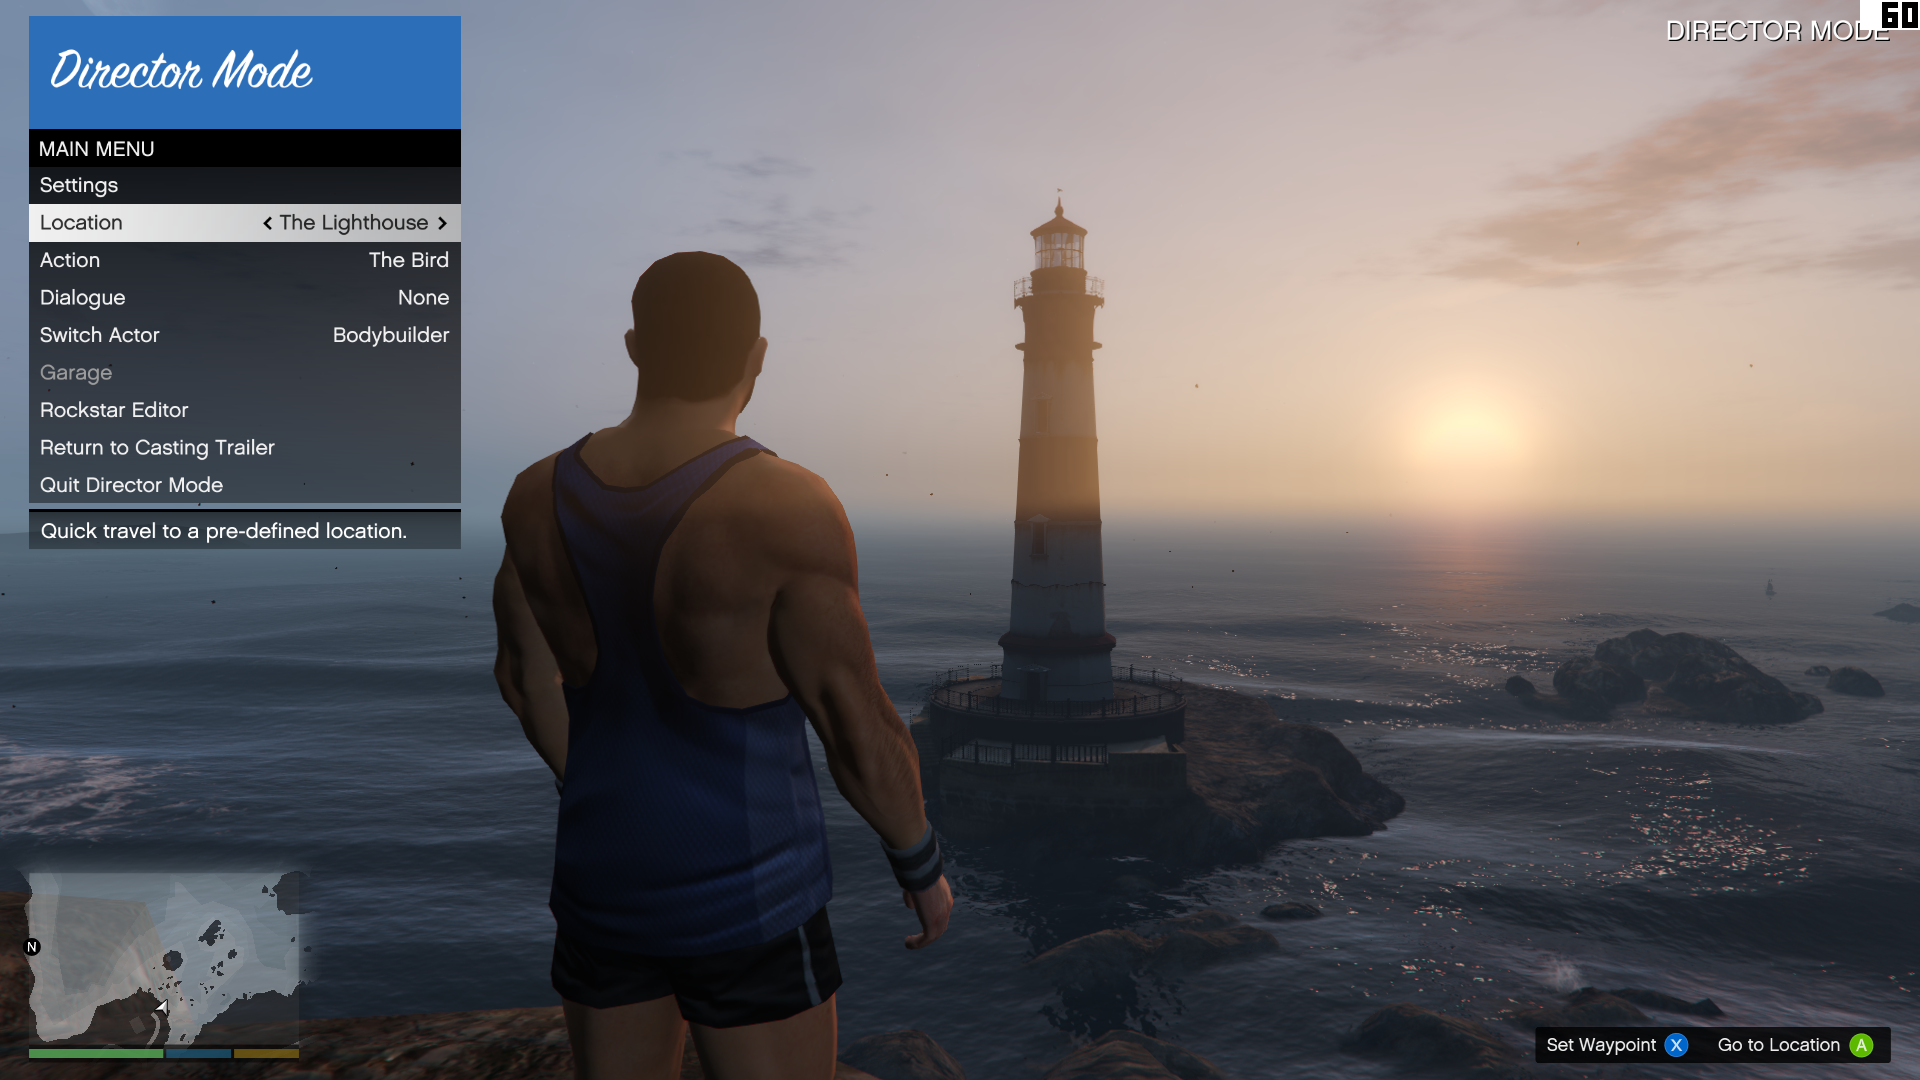
Choose a location
There’s a varied selection of pre-defined locations you can instantly teleport to, including Fort Zancudo, the peak of Mt. Chiliad, and downtown Los Santos. You can set your own locations too if you find somewhere suitable for a scene and want to quickly return later.
If you need quick access to a helicopter for tracking shots or fast travel, the Zancudo shortcut is handy. There’s a whole selection of aircraft here. Make sure you disable ‘restricted areas’ and ‘wanted level’ so you can wander in and nick a vehicle without anyone trying to arrest/murder you.
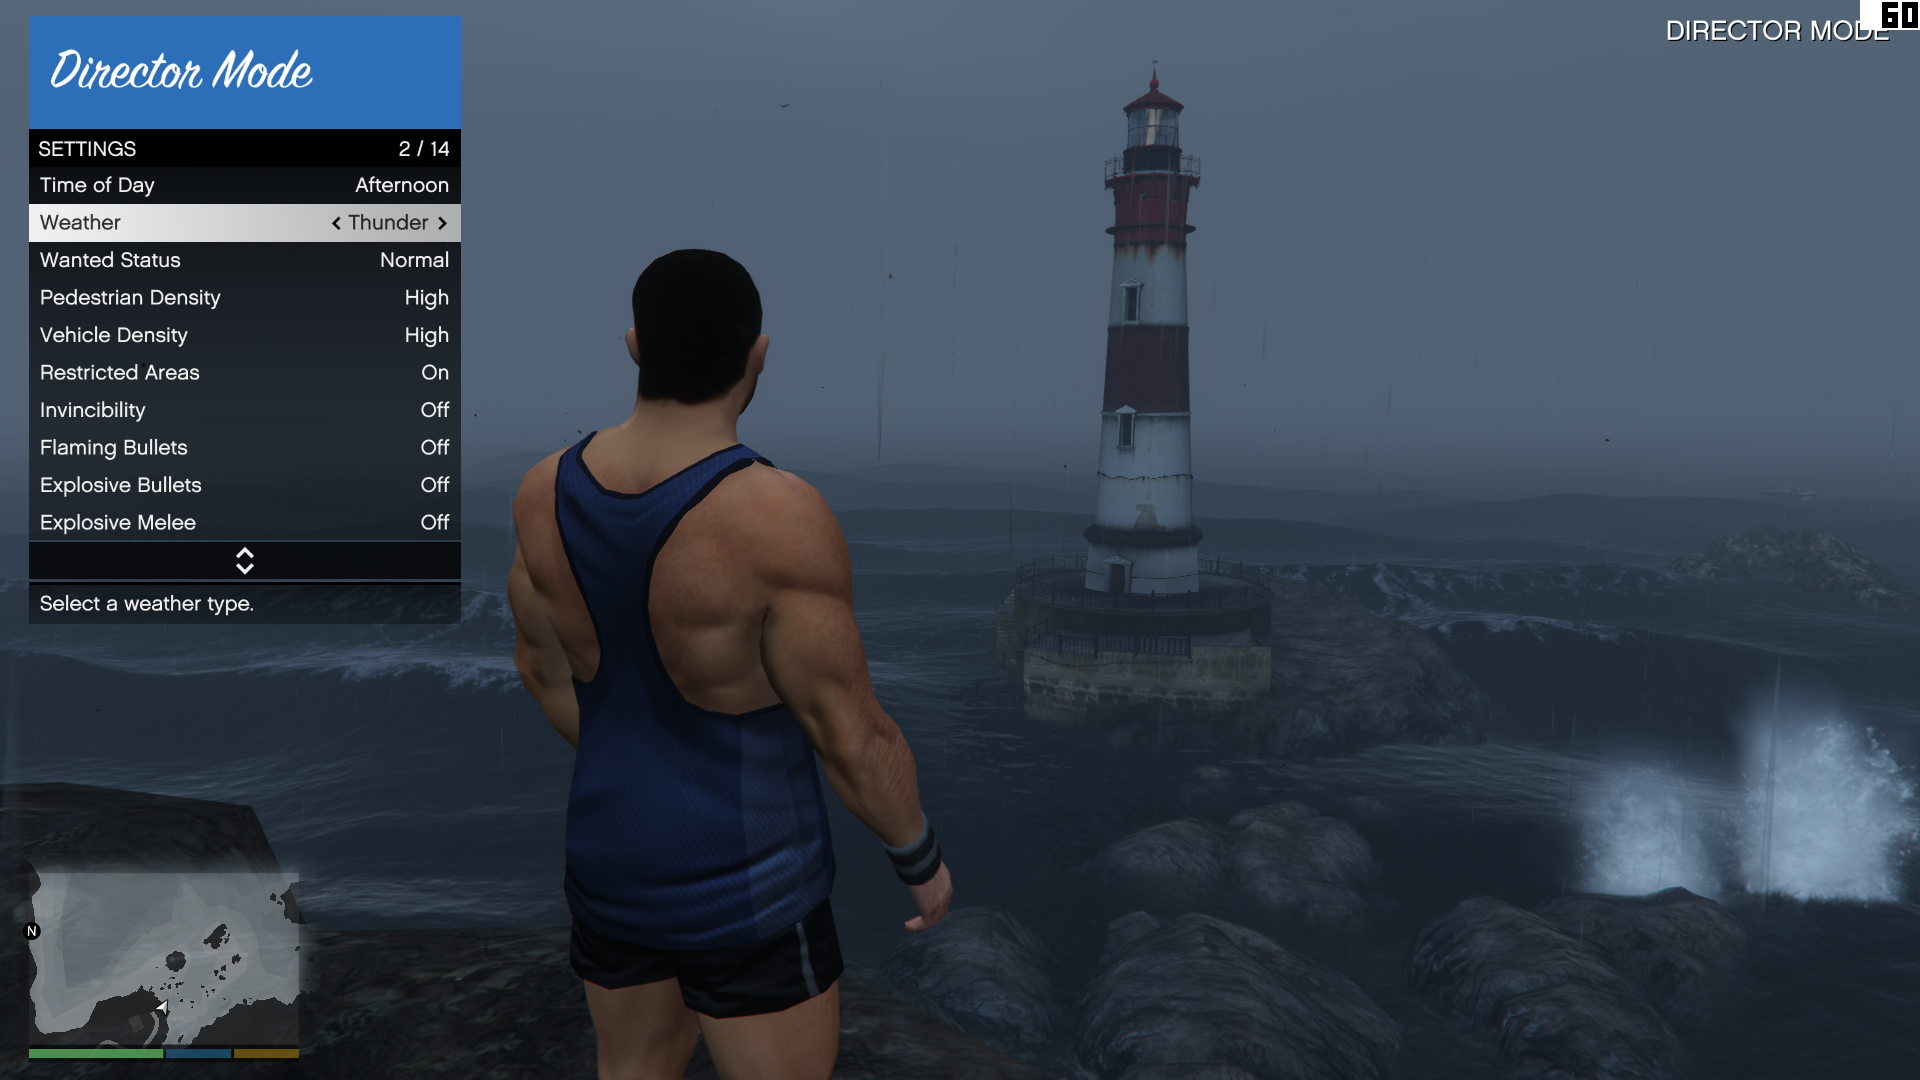
Adjust the scene
The time of day and weather can be changed. For the time of day you can select a series of presets, or fine tune to get a specific type of lighting. Weather effects will last forever until you switch to another one. The rain effects are especially impressive. Try using the 'Night Moves' filter at night in the middle of the city during a storm. It looks amazing.
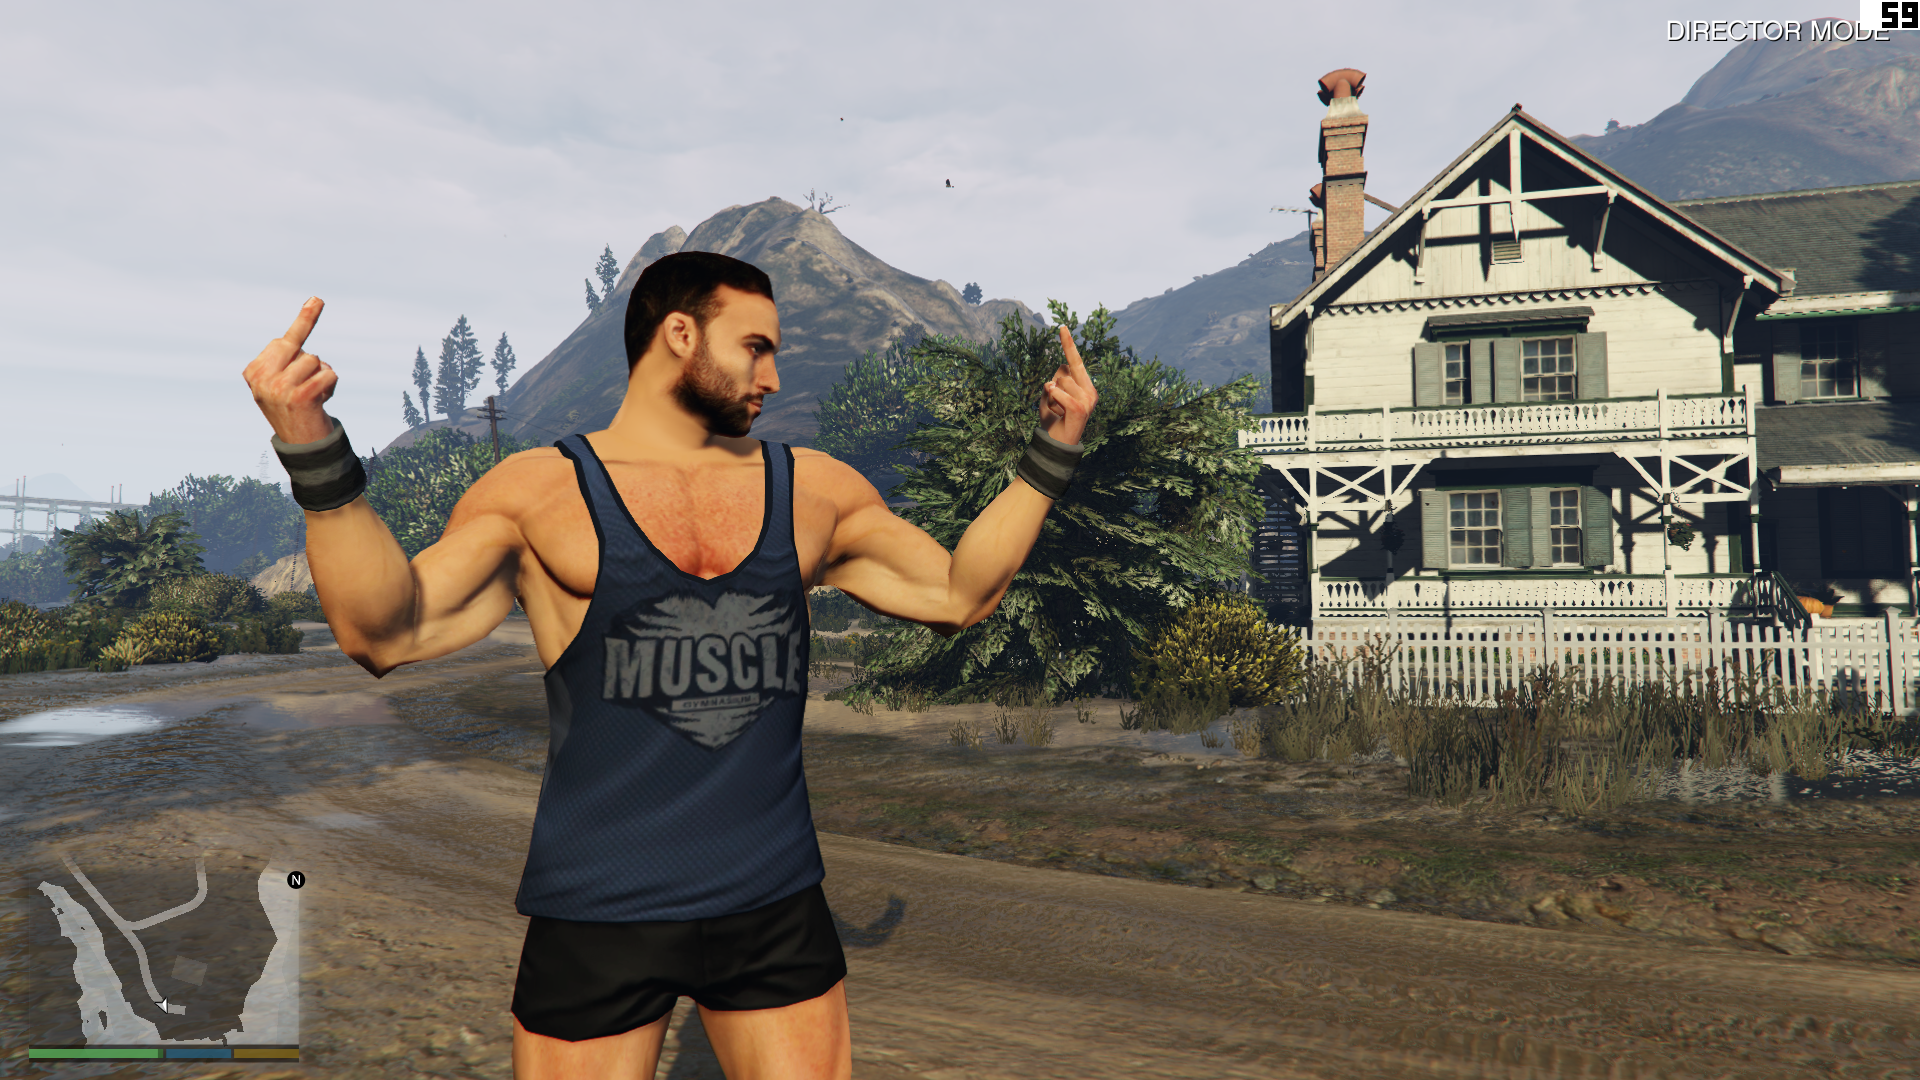
Actions and dialogue
Actions like flipping the bird, giving a thumbs up, or humping the air can be applied to your characters in Director Mode, letting you ‘act’ in scenes. Characters also have a selection of simple dialogue: things like yes and no, insults, and various levels of distress.
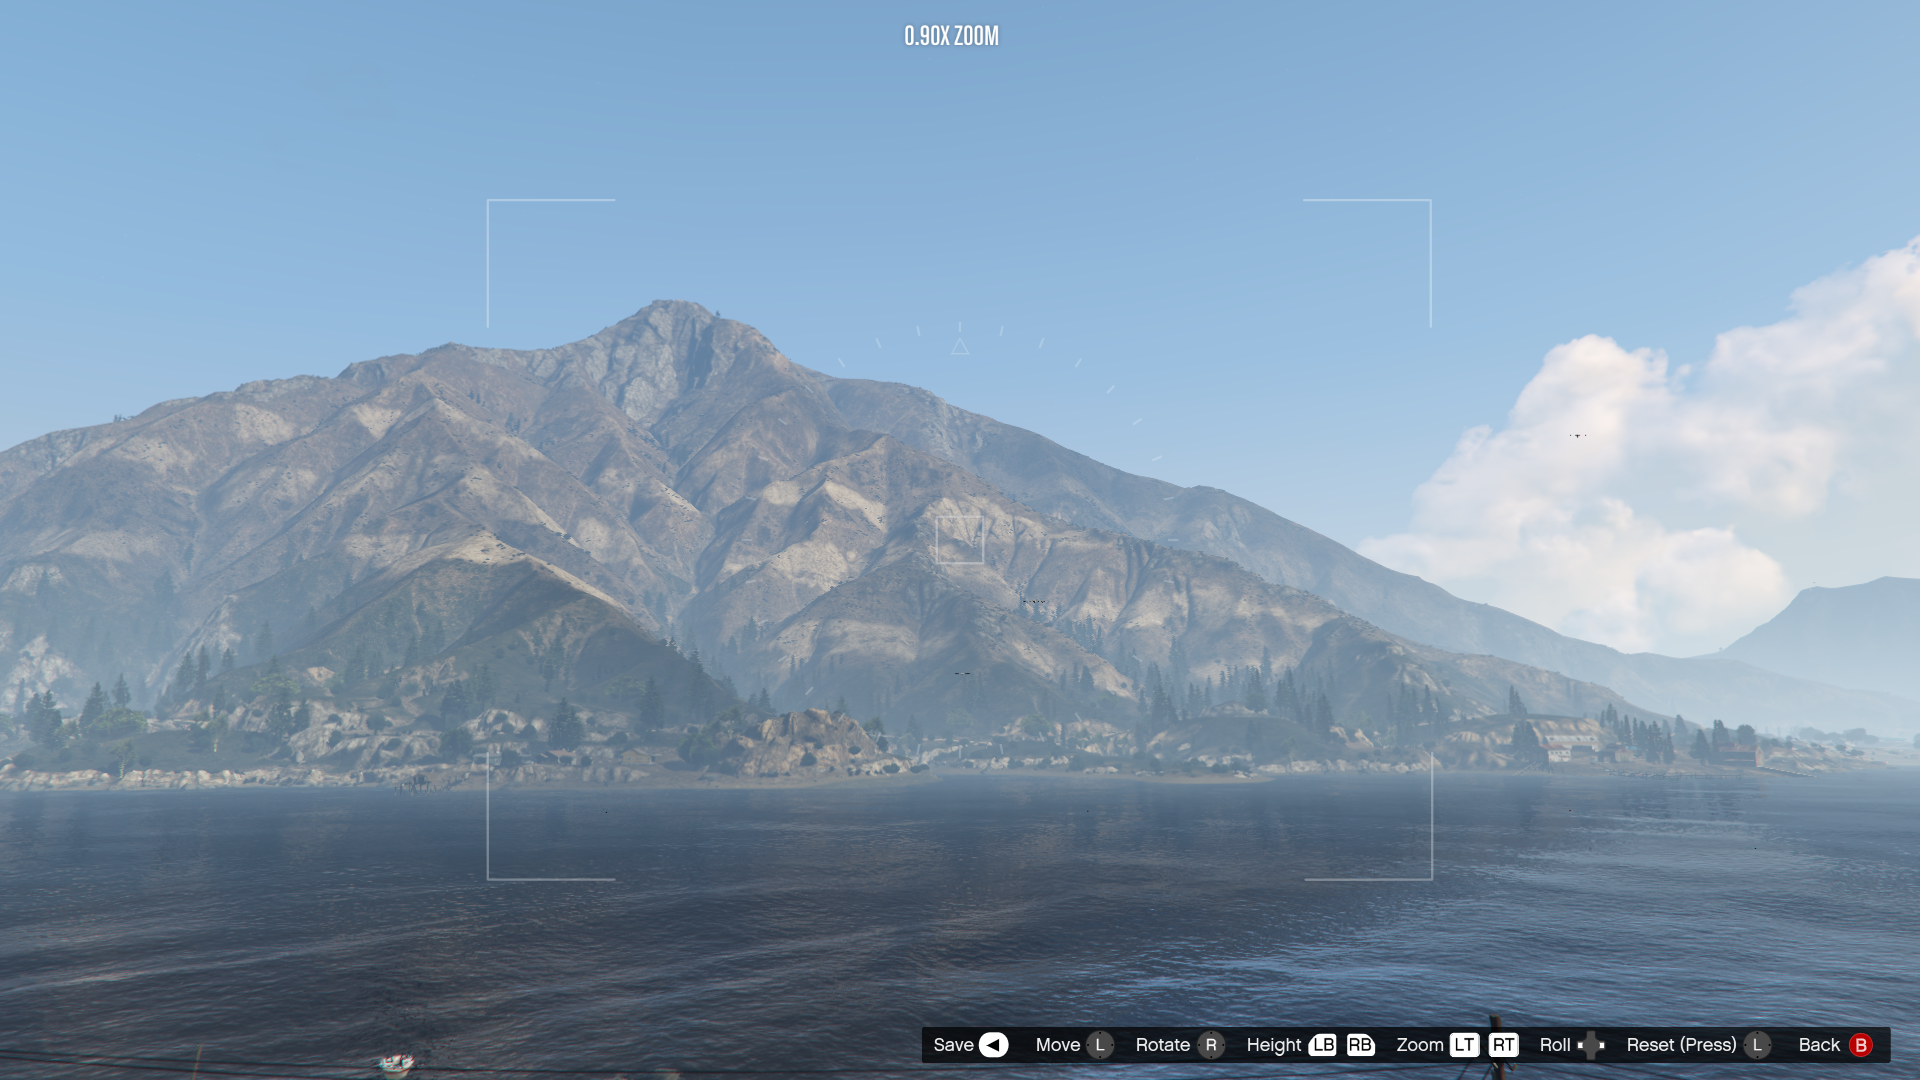
Share your videos
So, those are the basics. There’s a lot more you’ll learn by just using the editor. It only took me an hour or so to get to grips with it.
Have you made any films of your own? Share your links in the comments below. Go on, wow us with your directorial skills. Here's one of mine.

If it’s set in space, Andy will probably write about it. He loves sci-fi, adventure games, taking screenshots, Twin Peaks, weird sims, Alien: Isolation, and anything with a good story.
