How to get Wish-Keeper and its catalysts in Destiny 2
Unlock the new exotic quest to get a special strand bow.
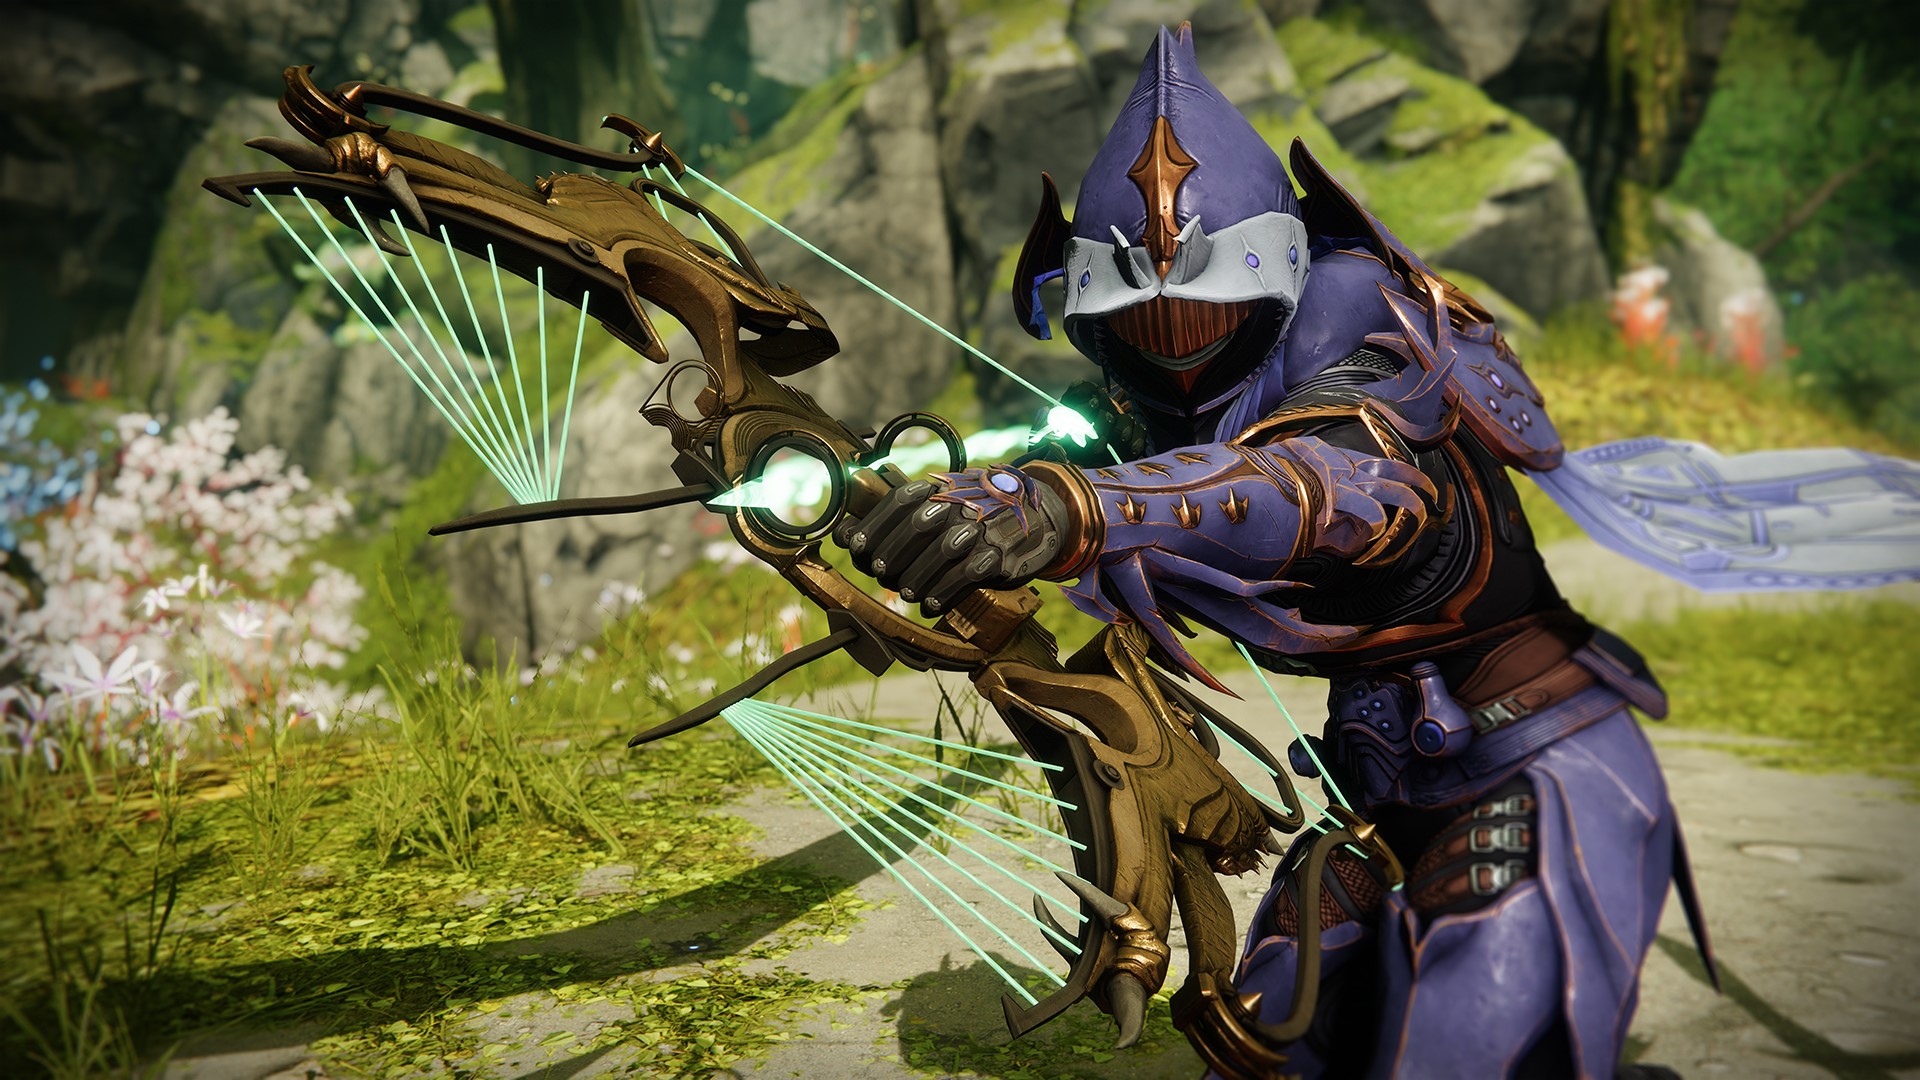
The new Wish-Keeper exotic bow in Destiny 2 is a pretty cool weapon concept wise. Just like Verglas Curve from the Season of Defiance, Wish-Keeper continues the trend of bows that tie heavily into elemental subclasses. It builds energy on precision hits and final blows before unleashing a Snareweaver arrow that can suspend enemies.
Though suspend isn't quite as good as it was, you'd usually need to use an ability like a Drengr’s Lash barricade, Ensnaring Slam dive, or a Shackle grenade in order to activate the effect, so getting it as part of a weapon adds a fair bit of subclass versatility. If this sounds like your kind of bow, here's how to get Wish-Keeper for yourself, plus its intrinsic upgrades and catalysts.
How to get Wish-Keeper
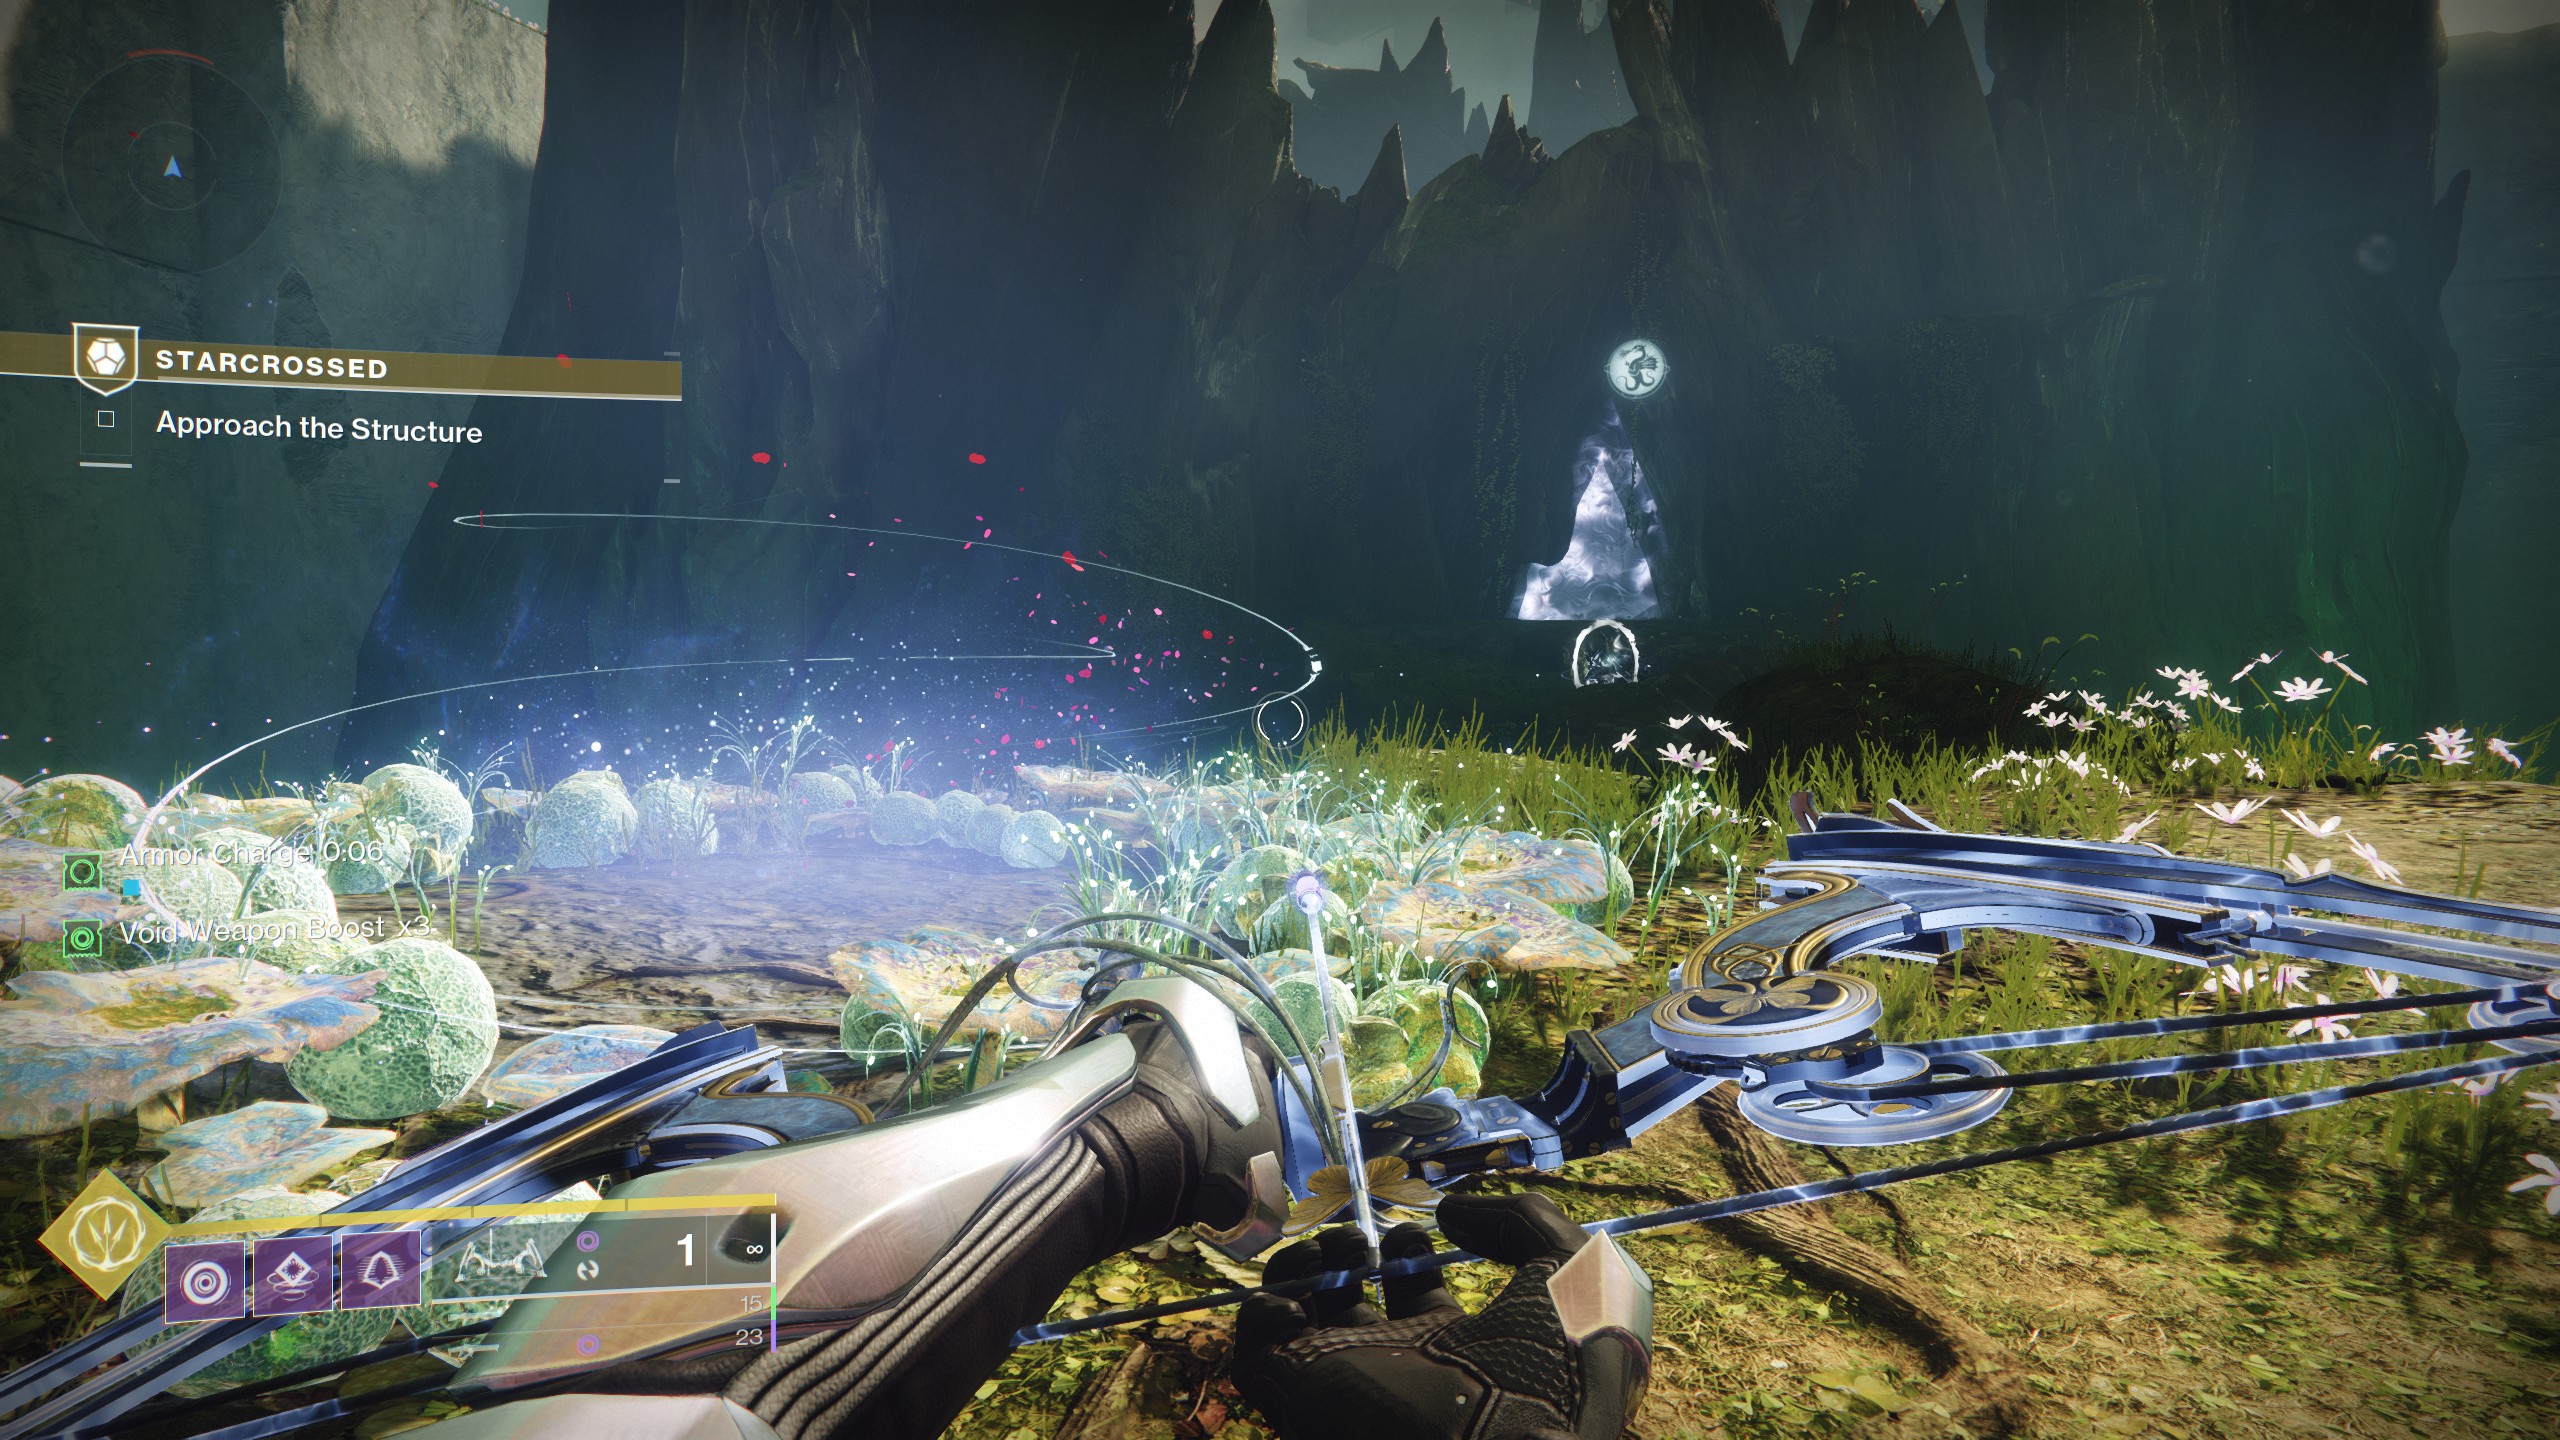
To earn the new exotic strand bow in Destiny 2 you need to complete the Starcrossed exotic mission, and that first means unlocking it. This mission appears as part of week four's Season of the Wish questline. First, you'll have to complete the Apophasis mission in which Riven's Egg gets stolen, but after that, you'll unlock Starcrossed in the HELM, where you can select and start it.
This mission sees you venture into the Black Garden, where you'll have to acquire a variety of buffs by stepping into pools to complete its encounters:
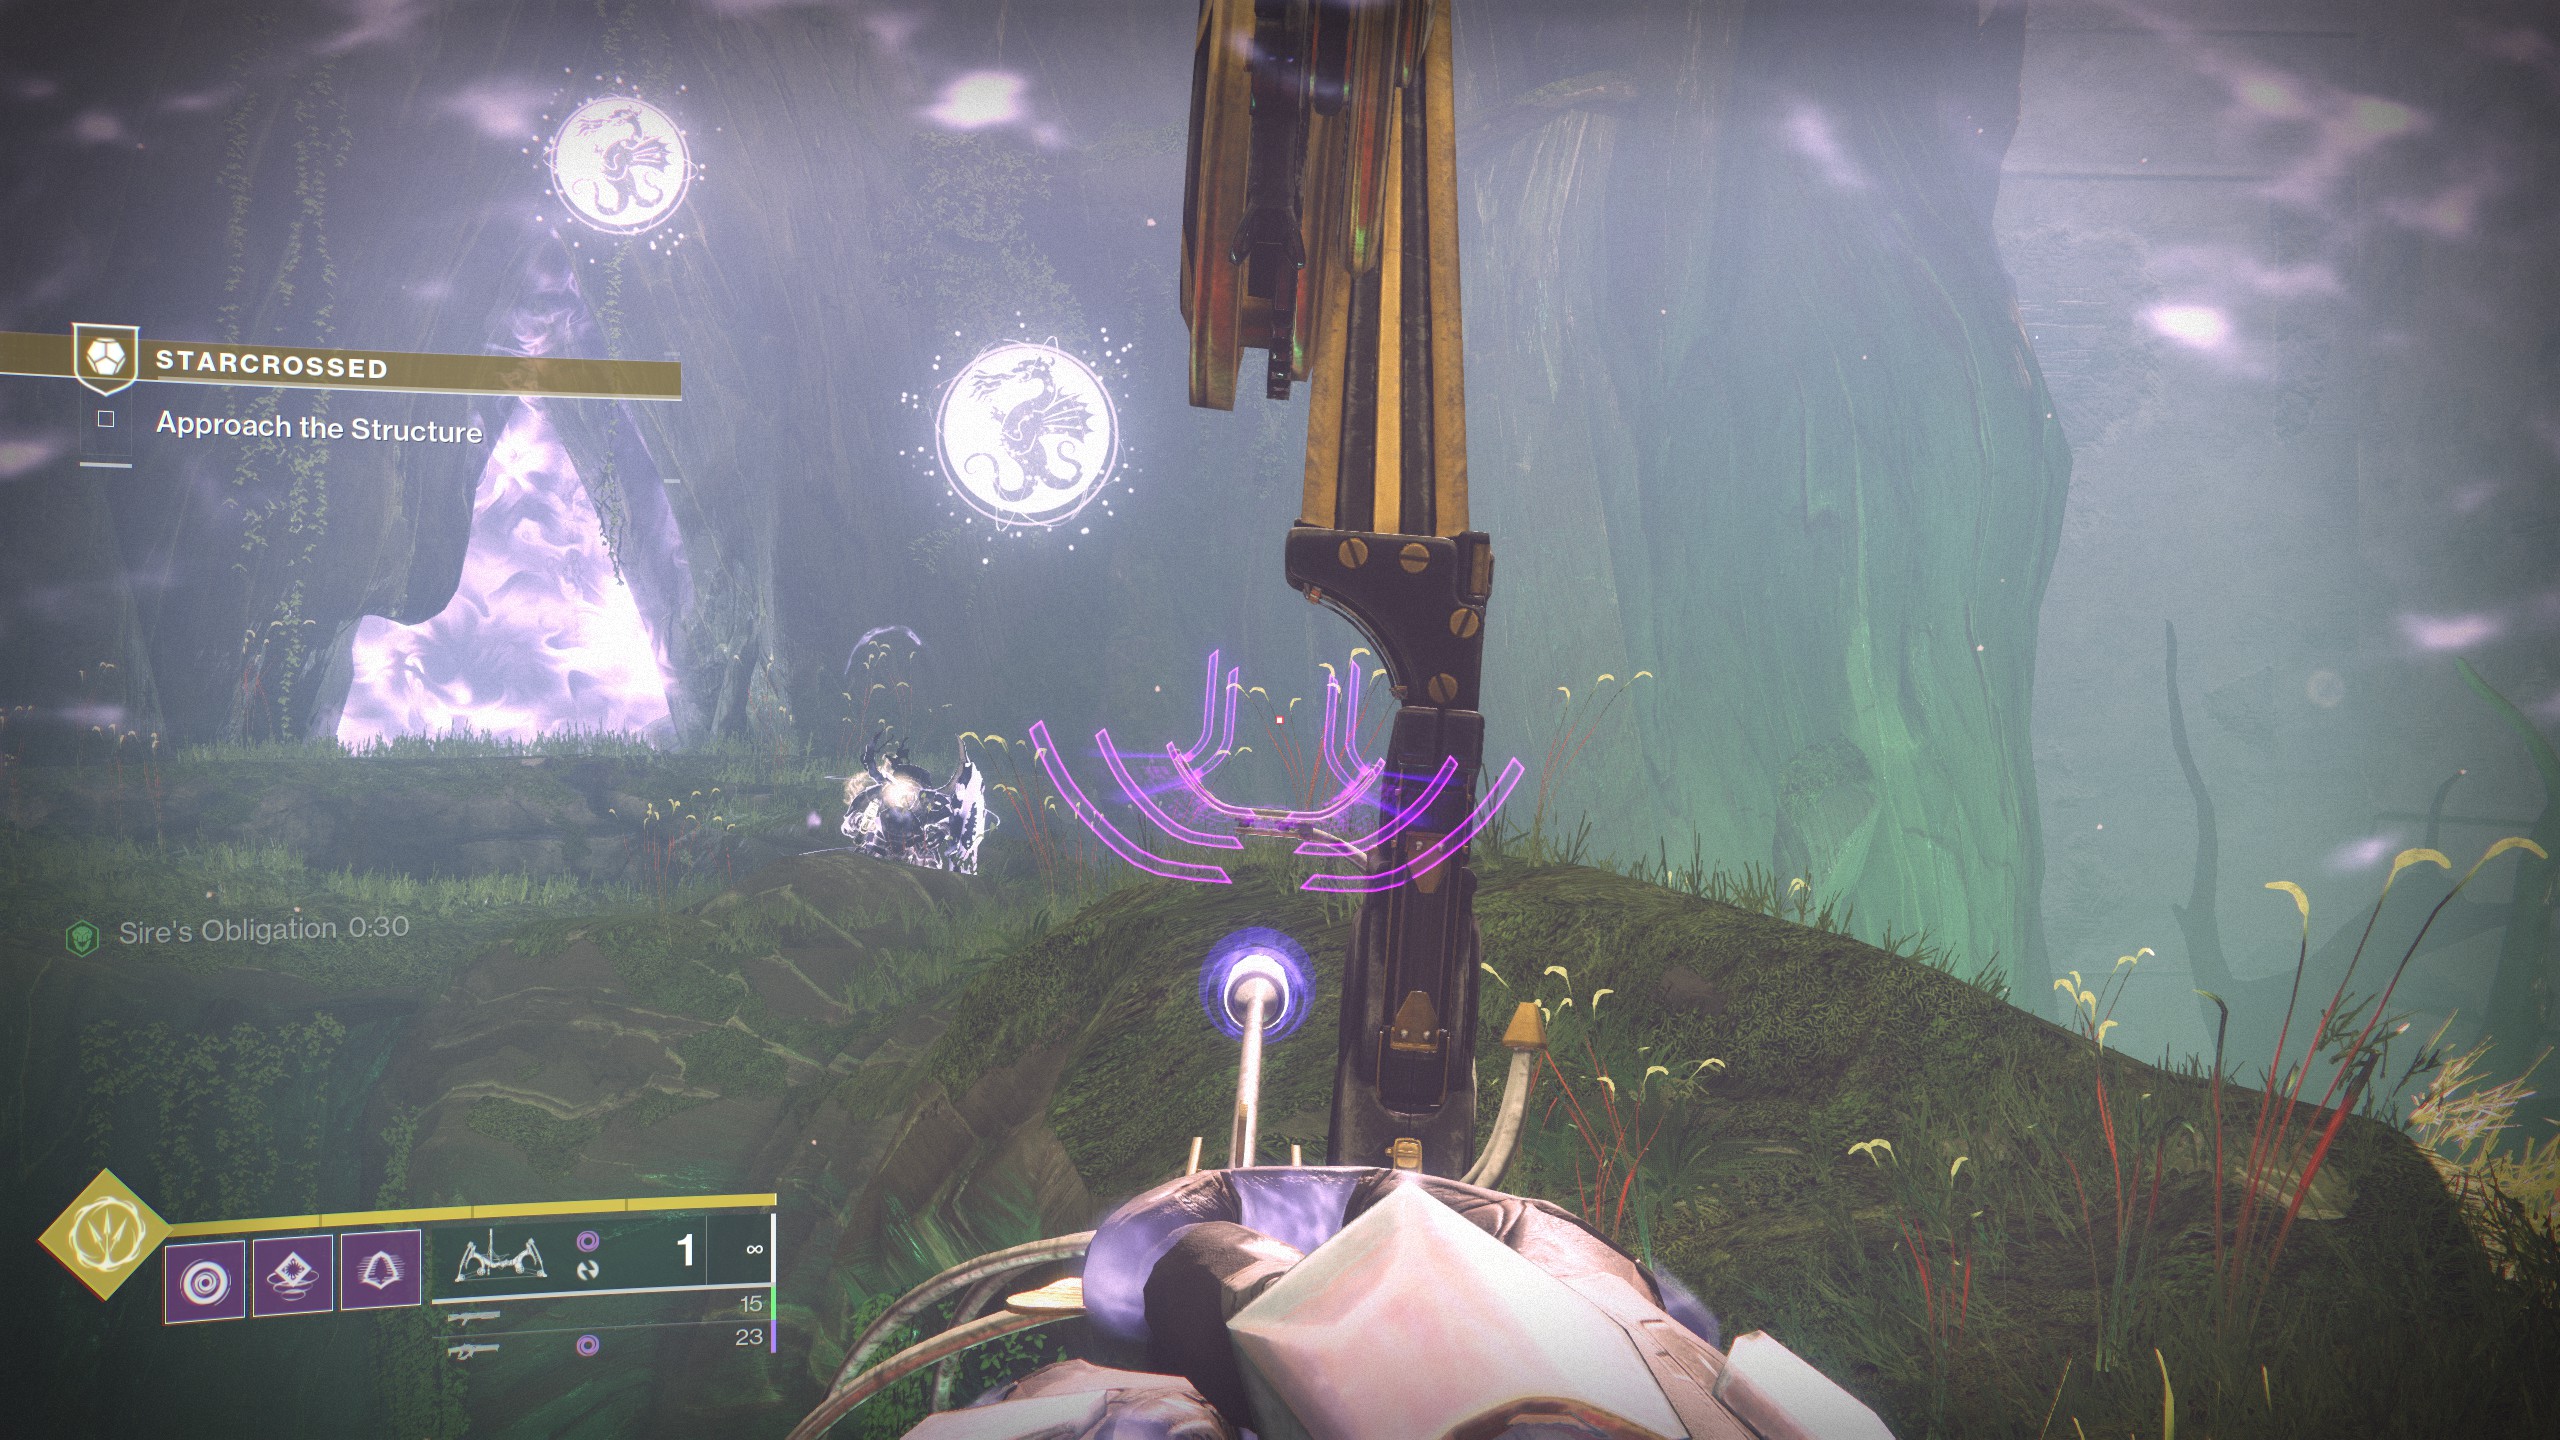
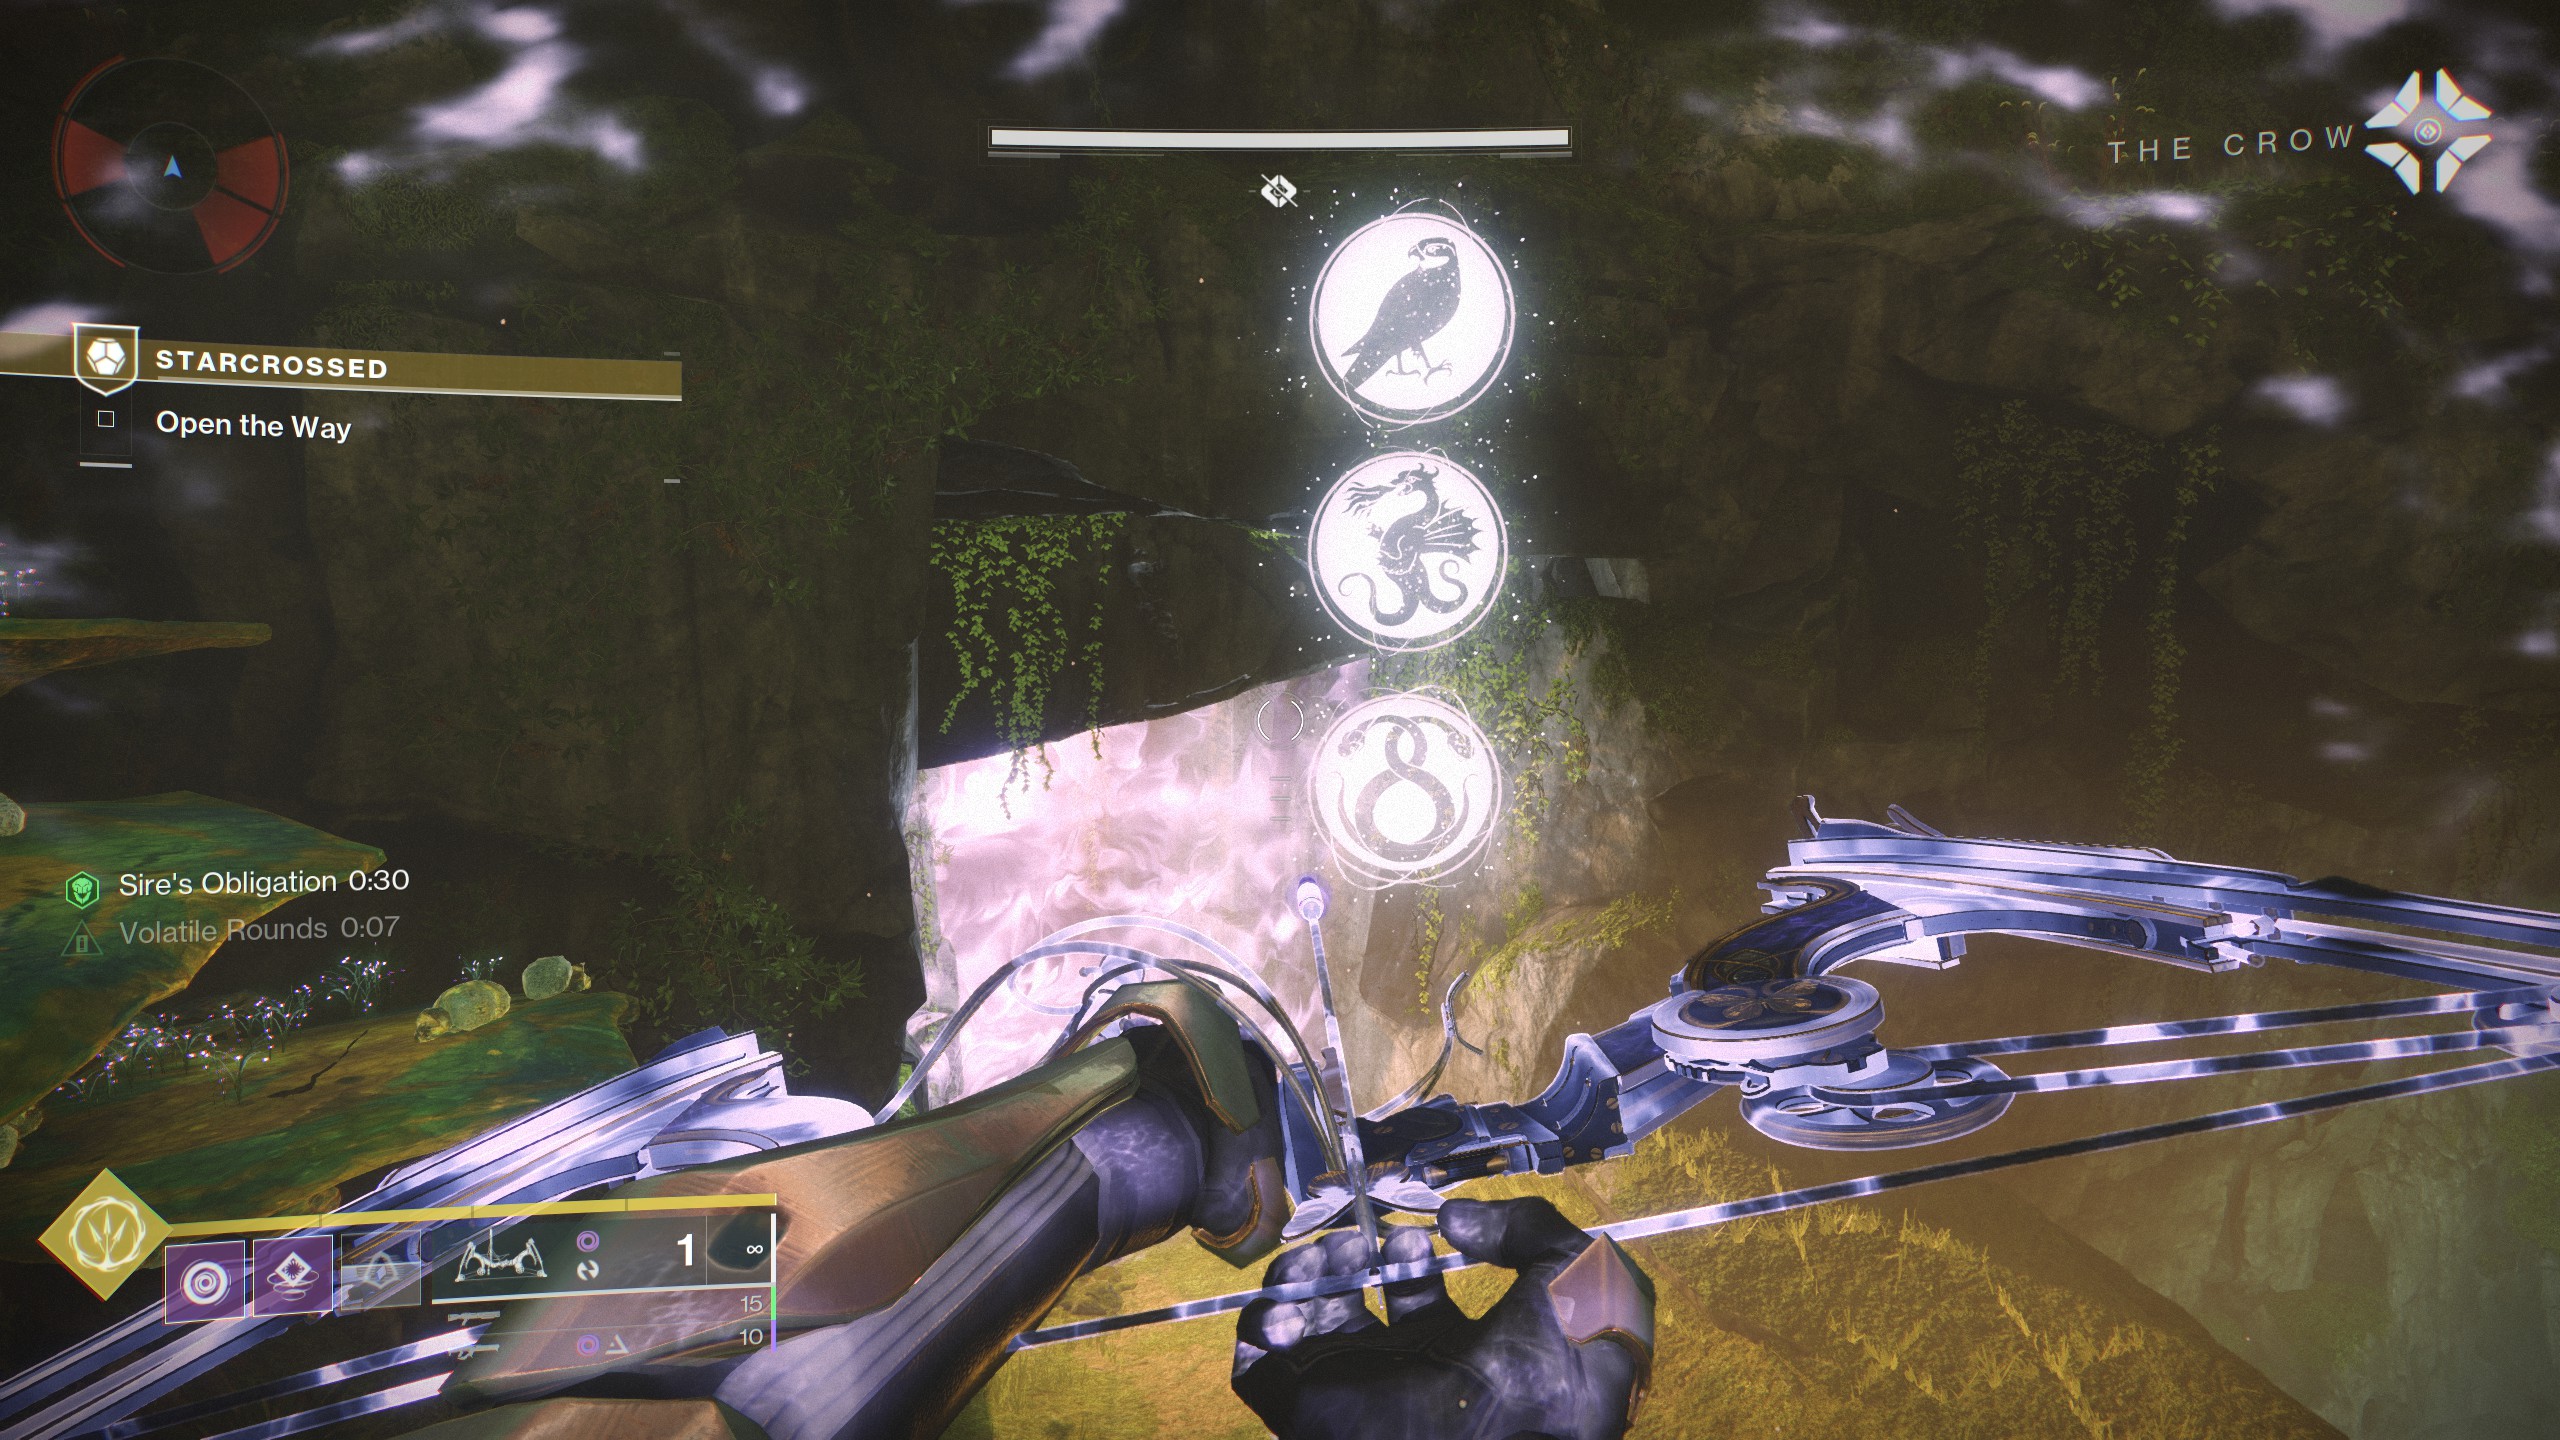
- Blue pools give you the Sire's Obligation buff—this lets you damage the immune Obdurate Phalanx enemies and see any symbols floating above them. In the first encounter, you'll want to examine the three symbols by the locked gate, then kill the phalanxes in that order, going top-to-bottom based on the symbol floating above each.
- Red pools give you the Dam's Gift buff. This lets you travel into the red misted areas without taking continuous damage. In the second encounter, you'll need to use this to defeat the Gatekeeper Wyvern's in each red area and then activate the node near to each to unlock the gate.
- The final buff, Crowned by Dragons, comes from acquiring both of the previous buffs at the same time, and will let you damage the final boss: Akardon, The Pitiless Mind. Make sure to keep re-upping your buff by stepping into the pools so you don't start taking damage when it runs out.
Once you've completed all encounters, you can open the chest and grab a red-border version of the Wish-Keeper bow. Make sure to extract the pattern so you can craft it in future—in case you ever somehow dismantle this one. Otherwise you can just reshape this bow when adding new intrinsics and catalysts to it.
Wish Keeper catalysts
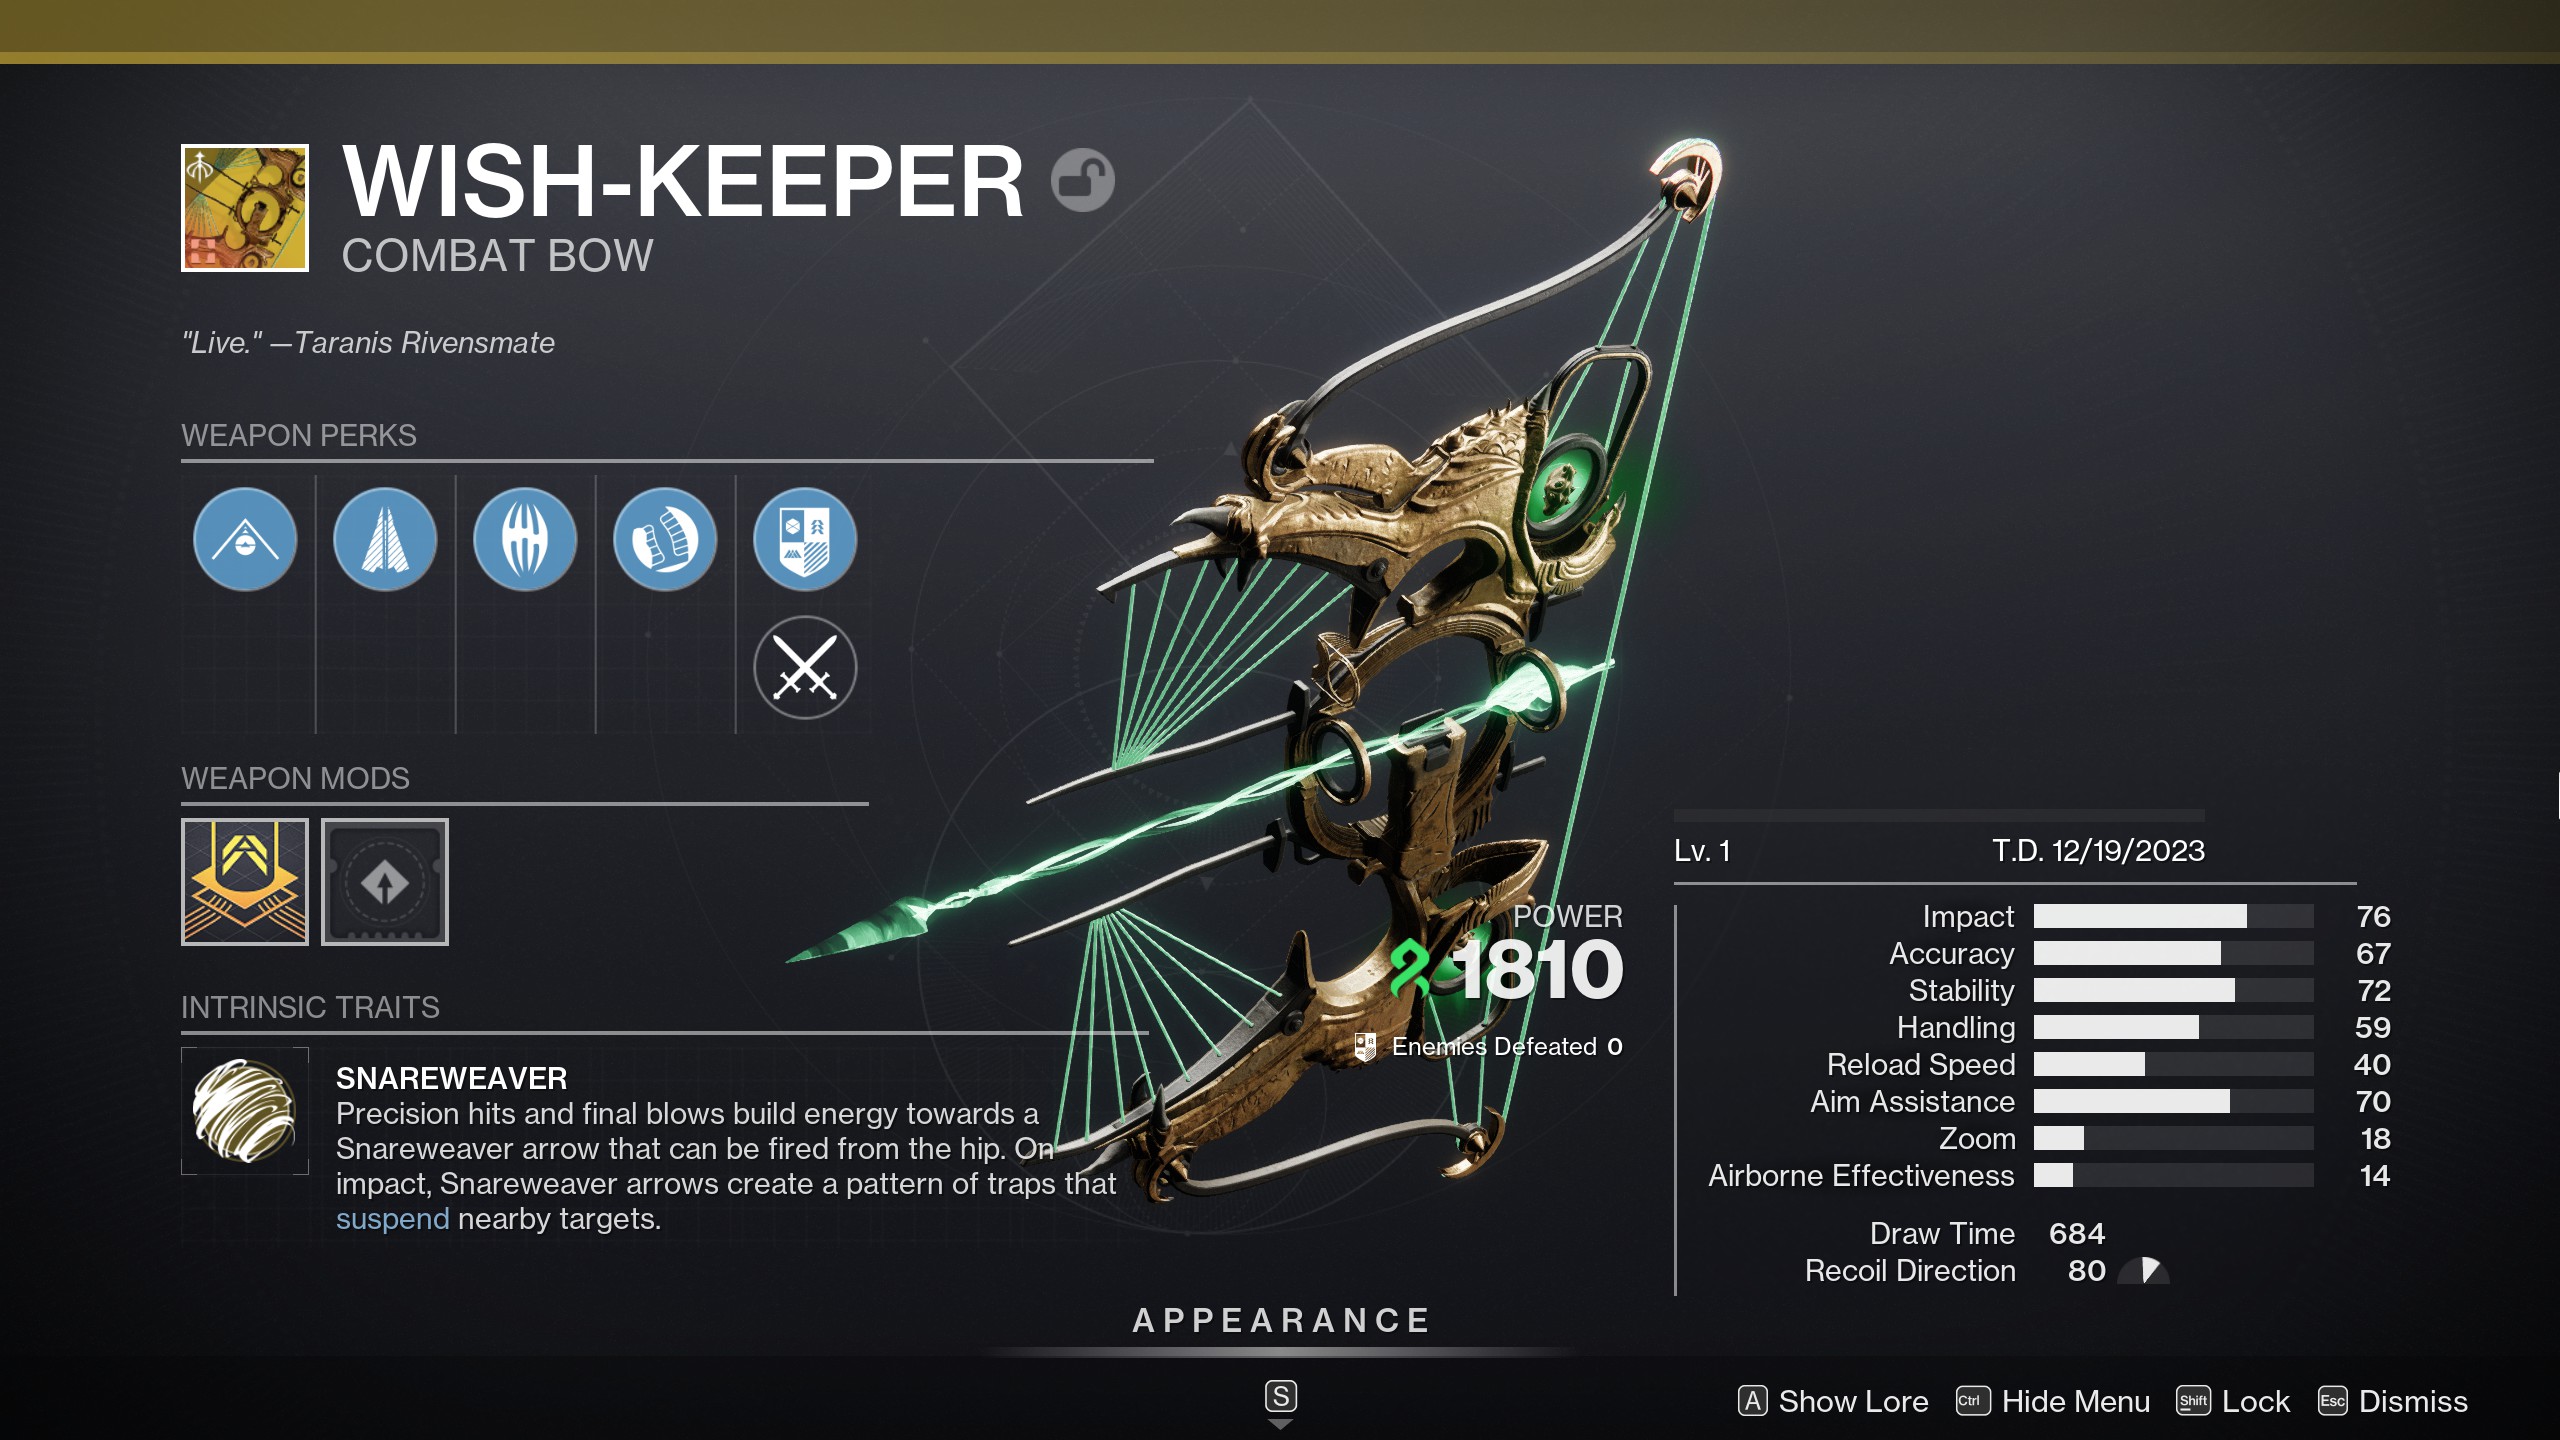
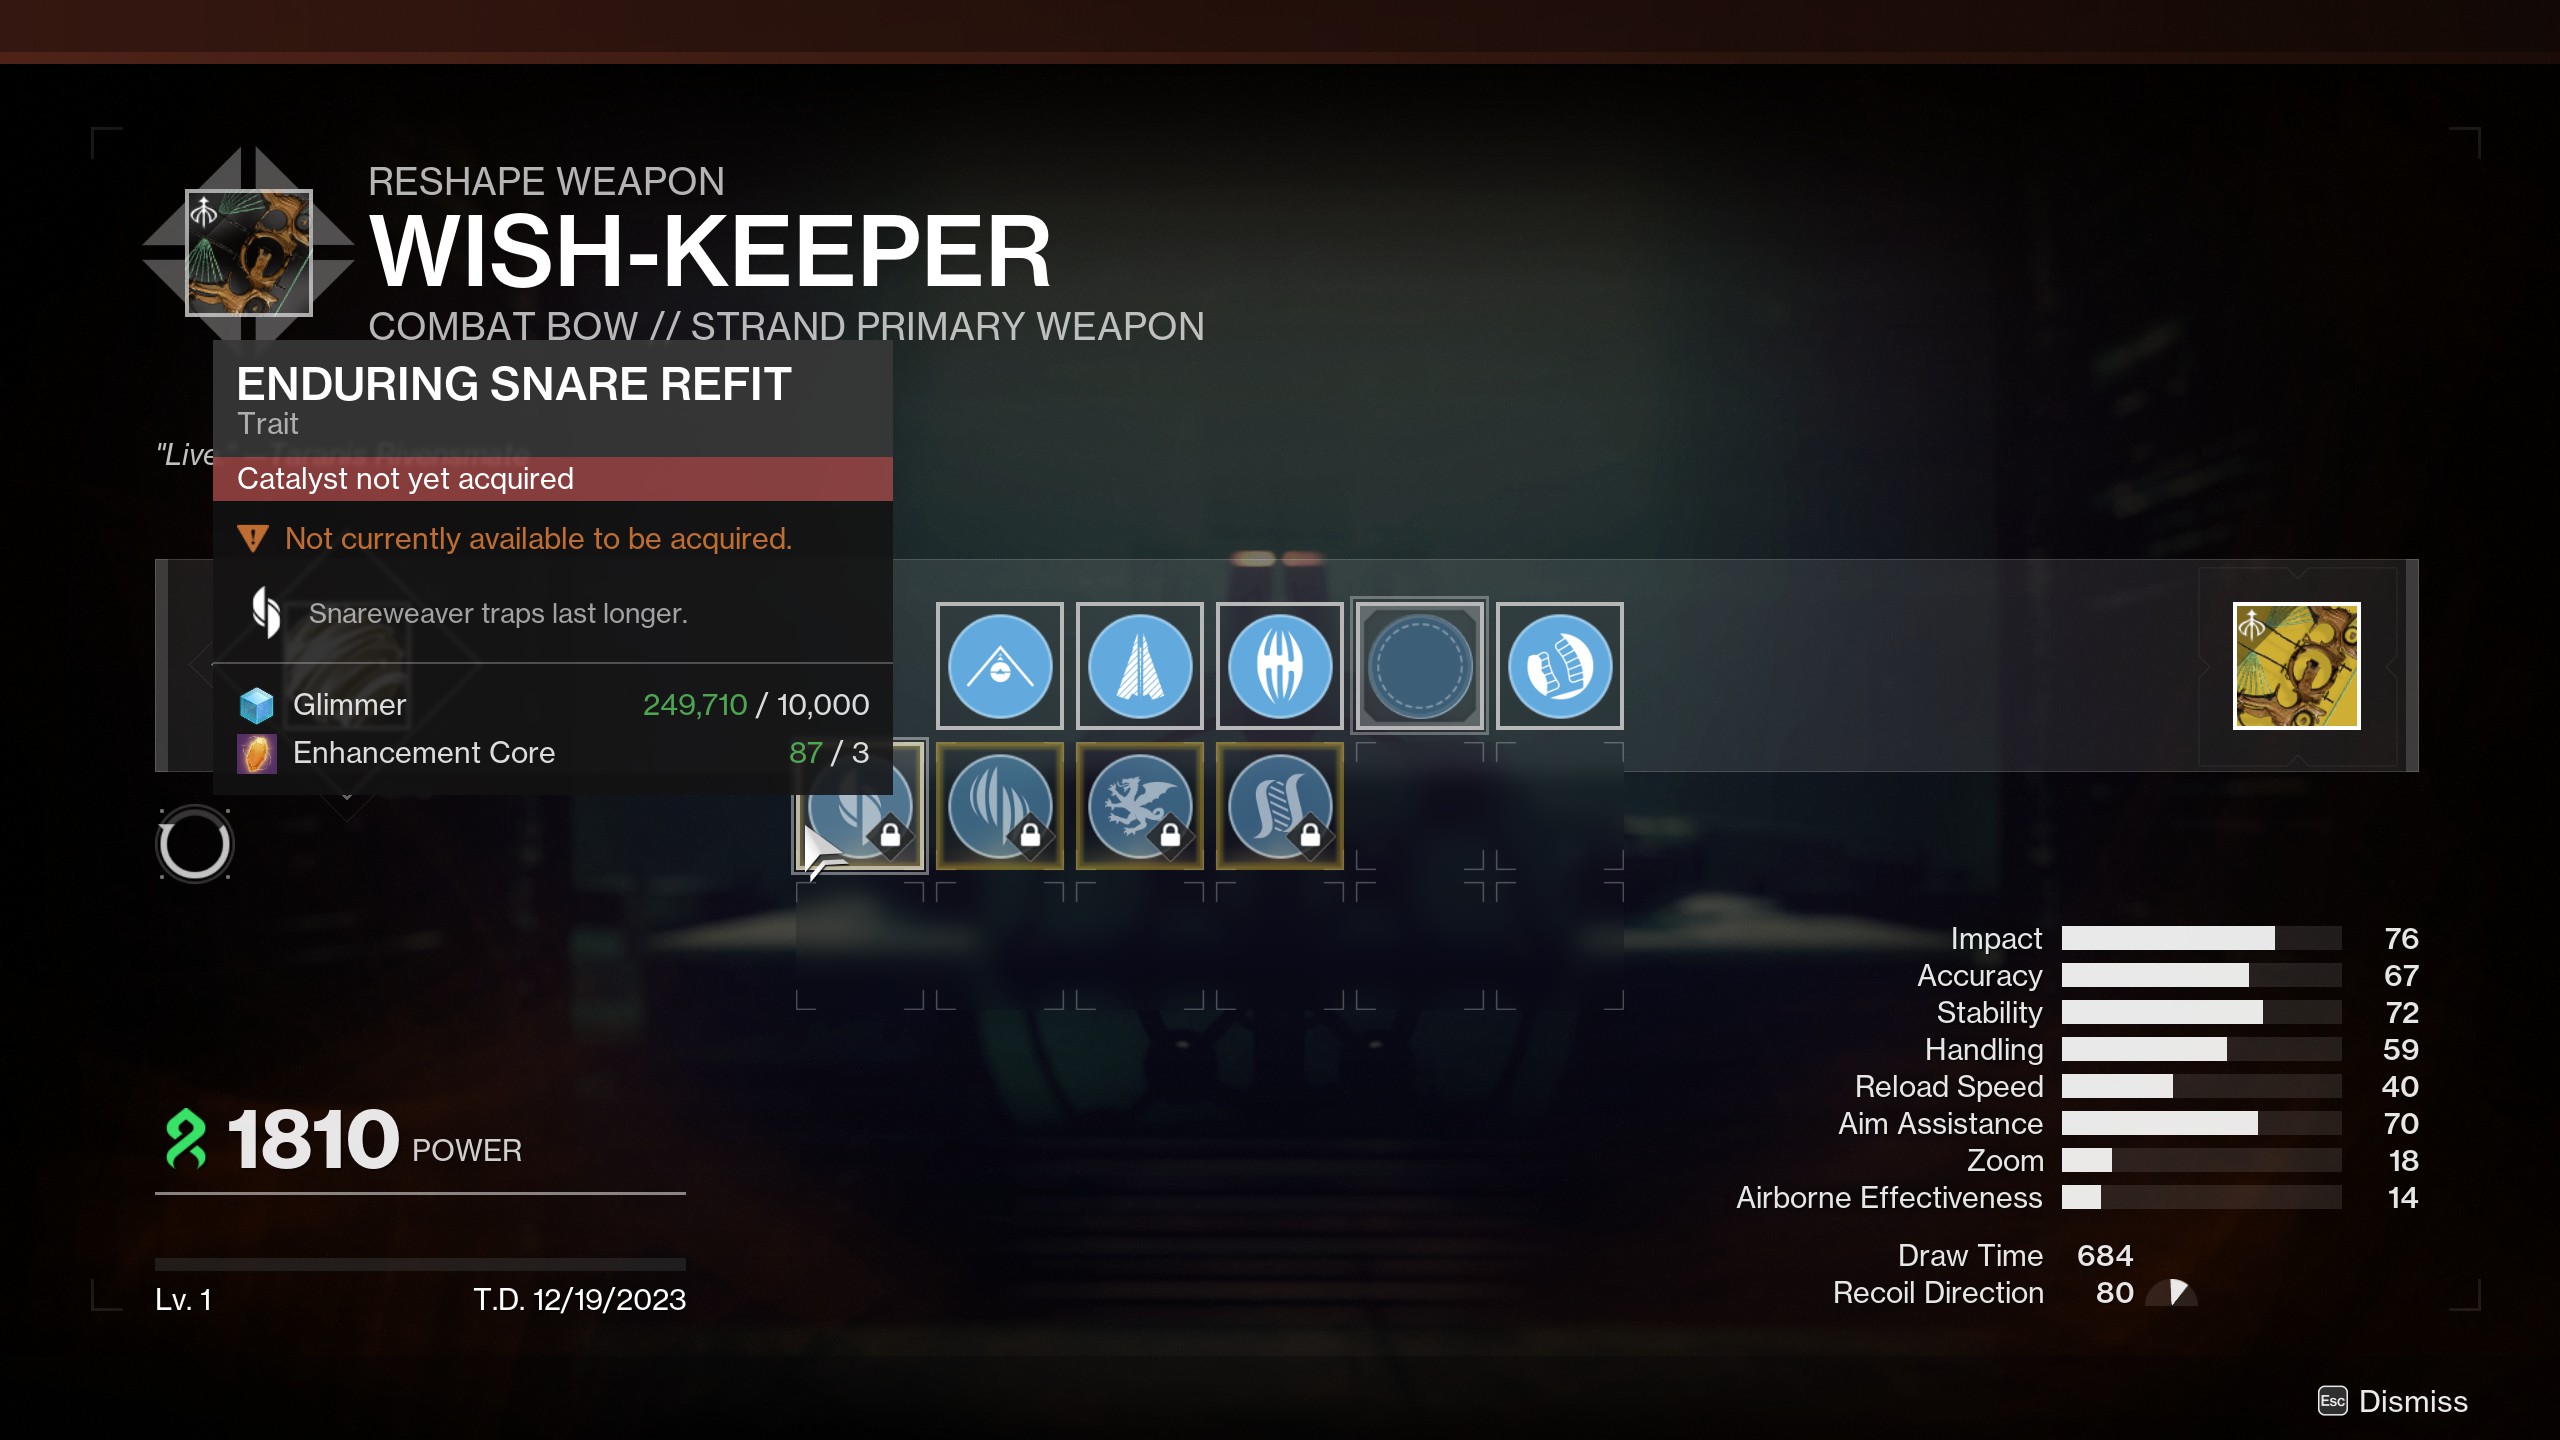
To get all four catalysts for Wish-Keeper, you're going to need to complete the Constellation quests that you get from Mara once you've finished Starcrossed and acquired the exotic bow. The good news is that these quests are pretty simple, requiring you to locate a Constellation, shoot it with Wish-Keeper, collect it, and then complete Starcrossed on Legend difficulty to earn the catalyst itself.
Here are Wish-Keeper's four catalysts:
Keep up to date with the most important stories and the best deals, as picked by the PC Gamer team.
- Enduring Snare Refit: Snareweaver Traps last longer.
- Multi-Threaded Snare Refit: Snareweaver Traps can now suspend more targets.
- Vorpal Weapon Refit: Extra damage to bosses, vehicles, and Guardians with super active.
- Hatchling Refit: Precision or rapid final blows have a chance to spawn a Threadling.
And here's where to find each Constellation for its specific catalyst.
Constellation: Tower (Enduring Snare Refit)
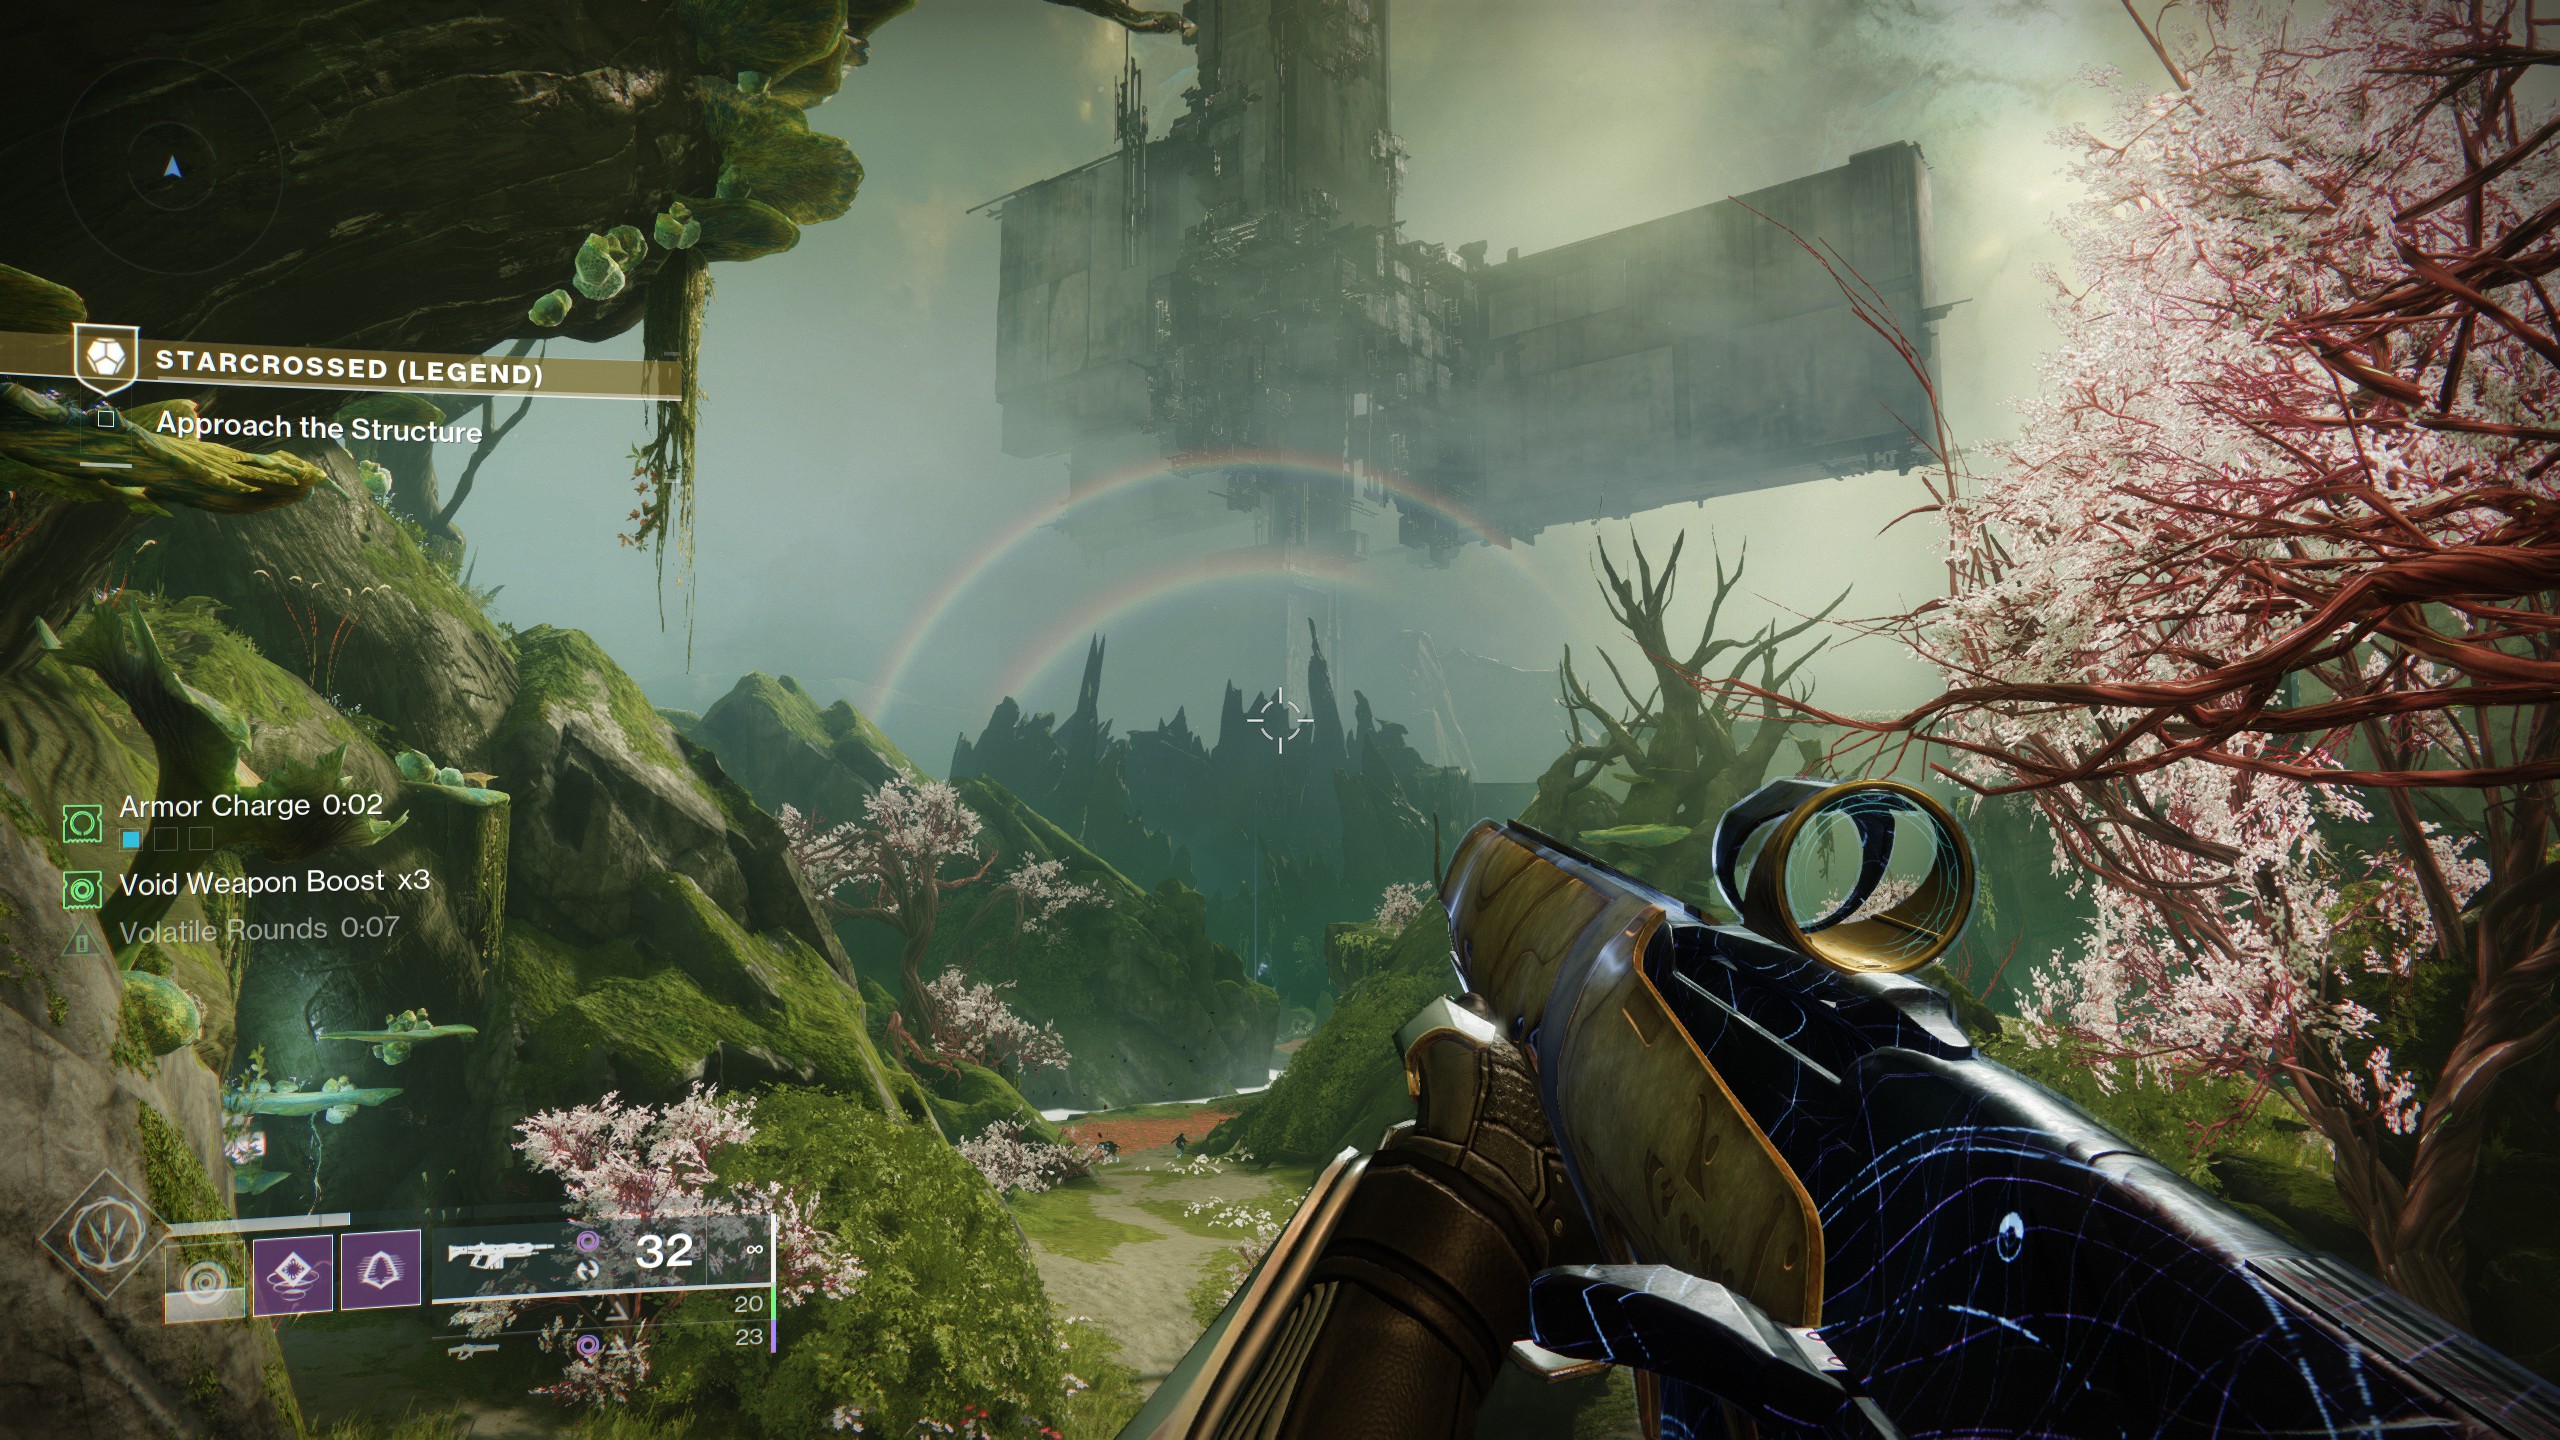
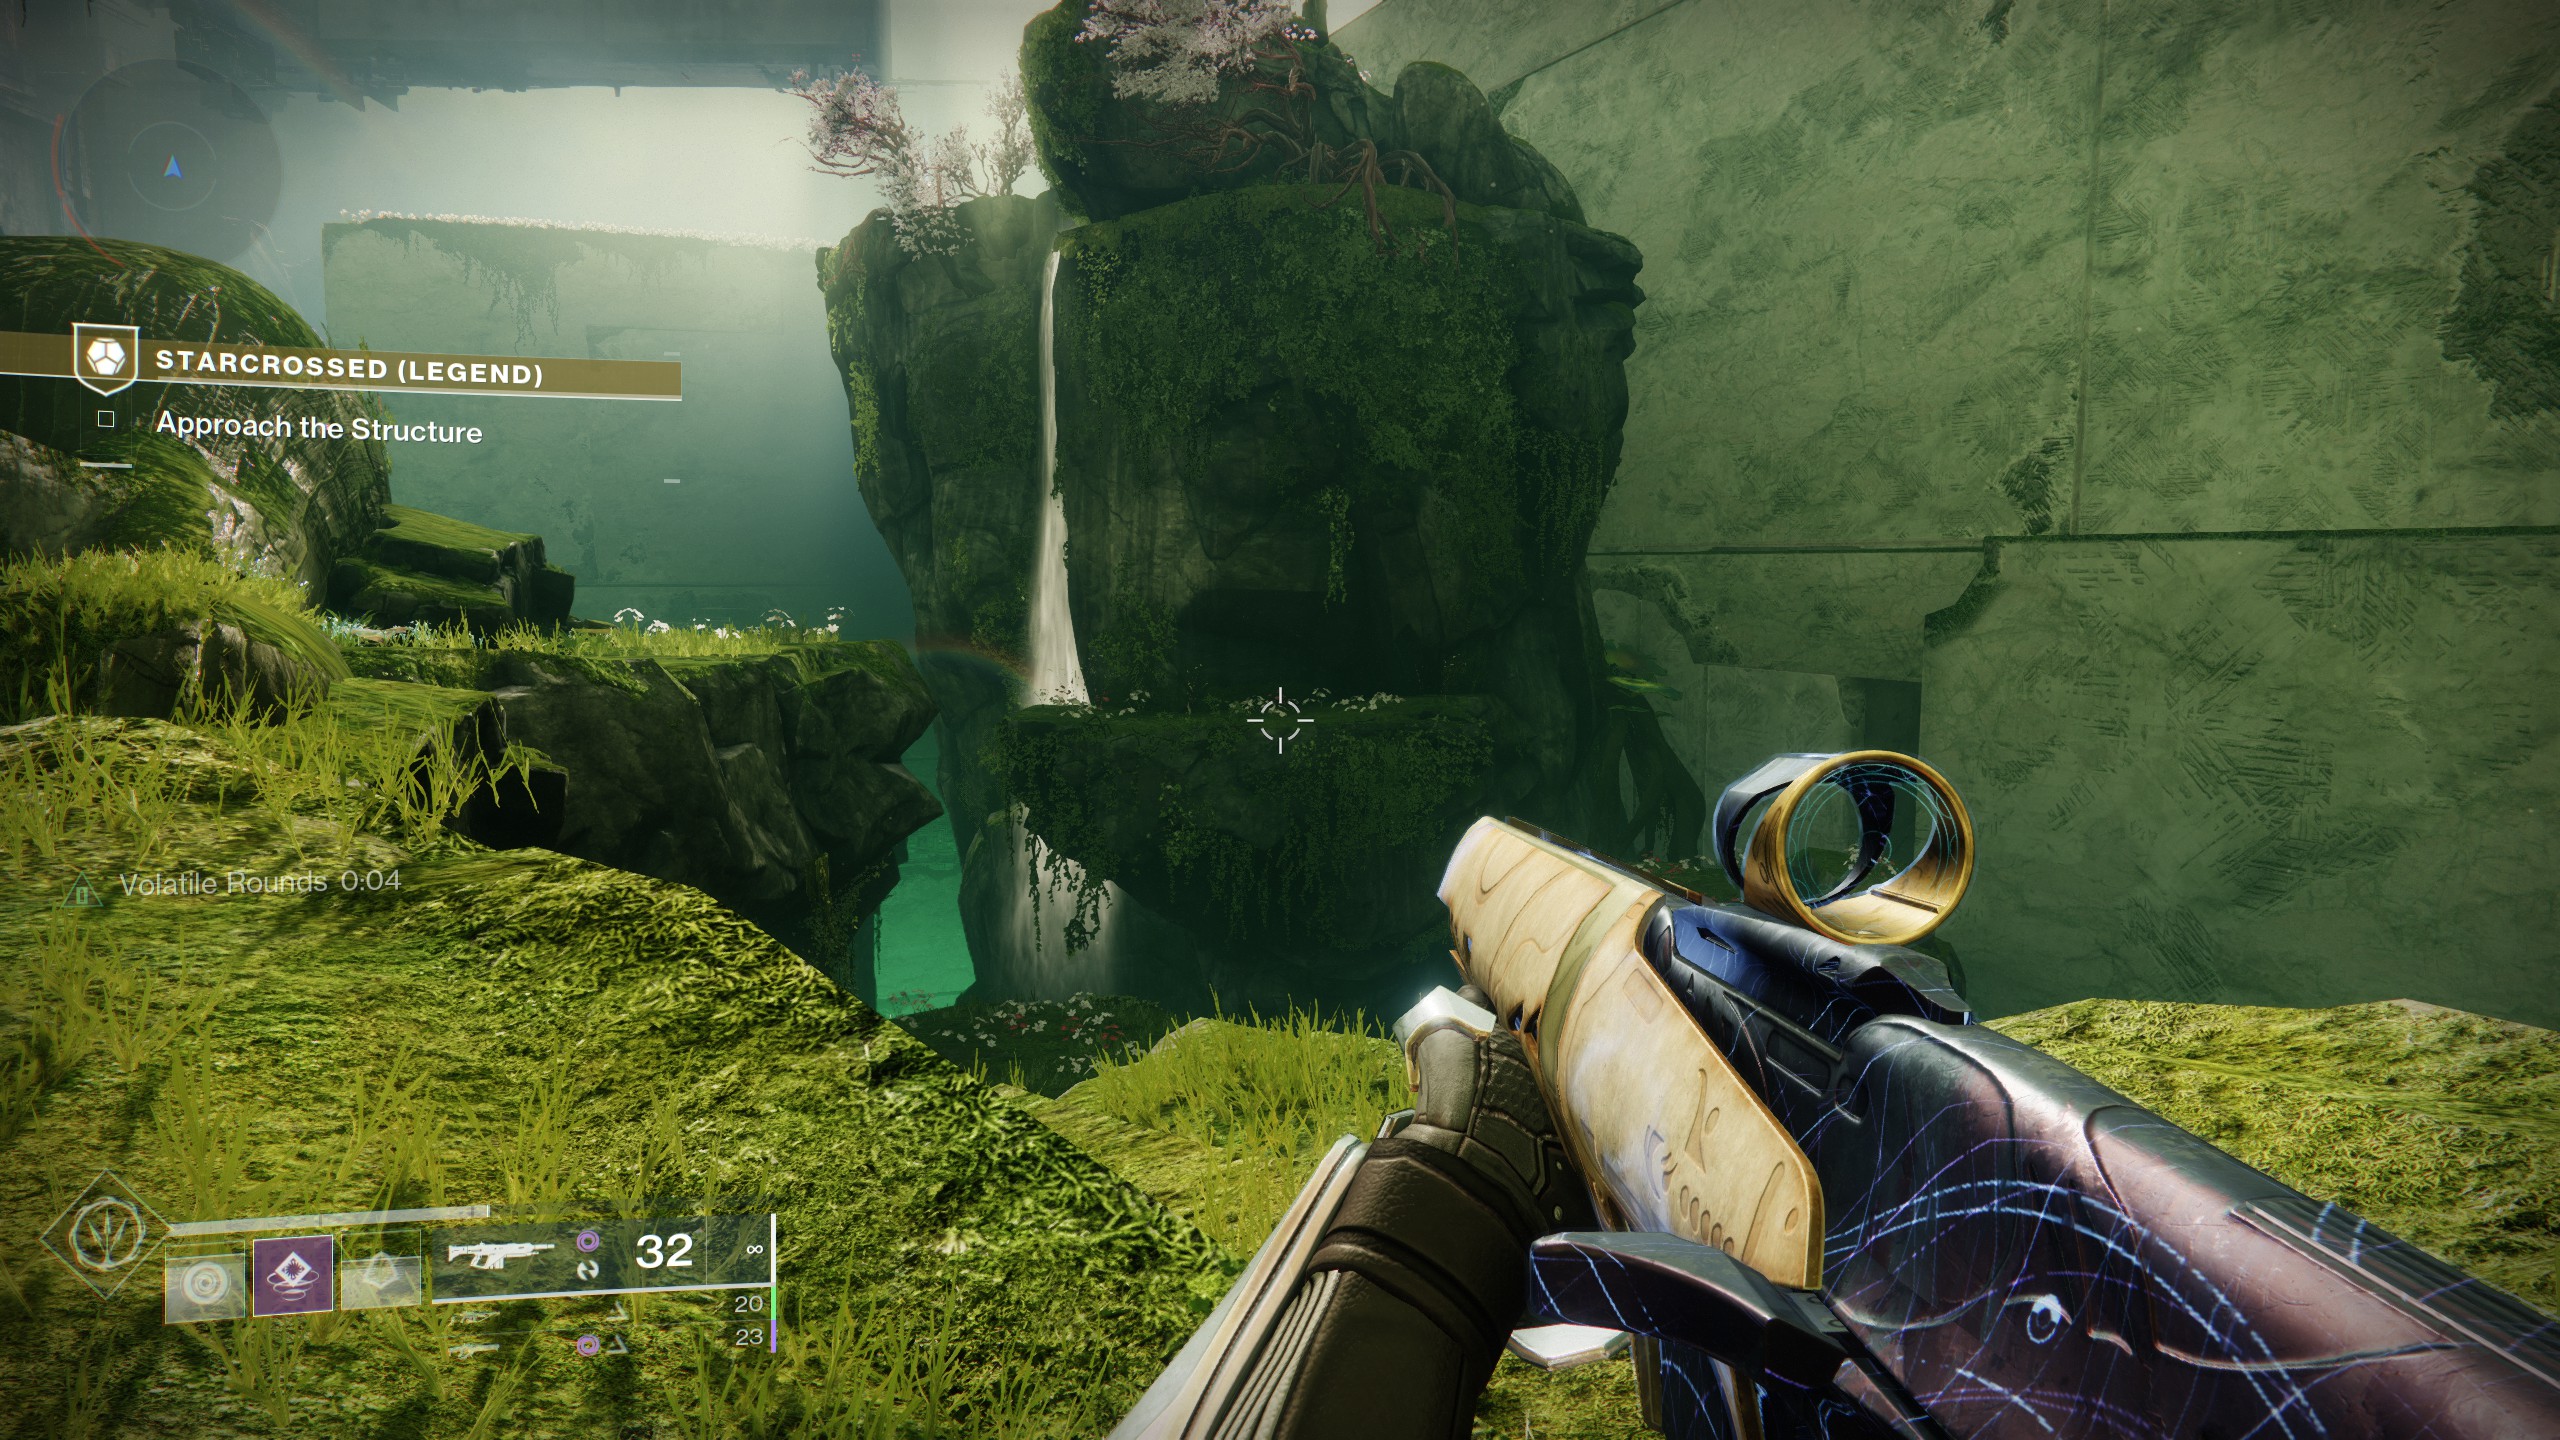
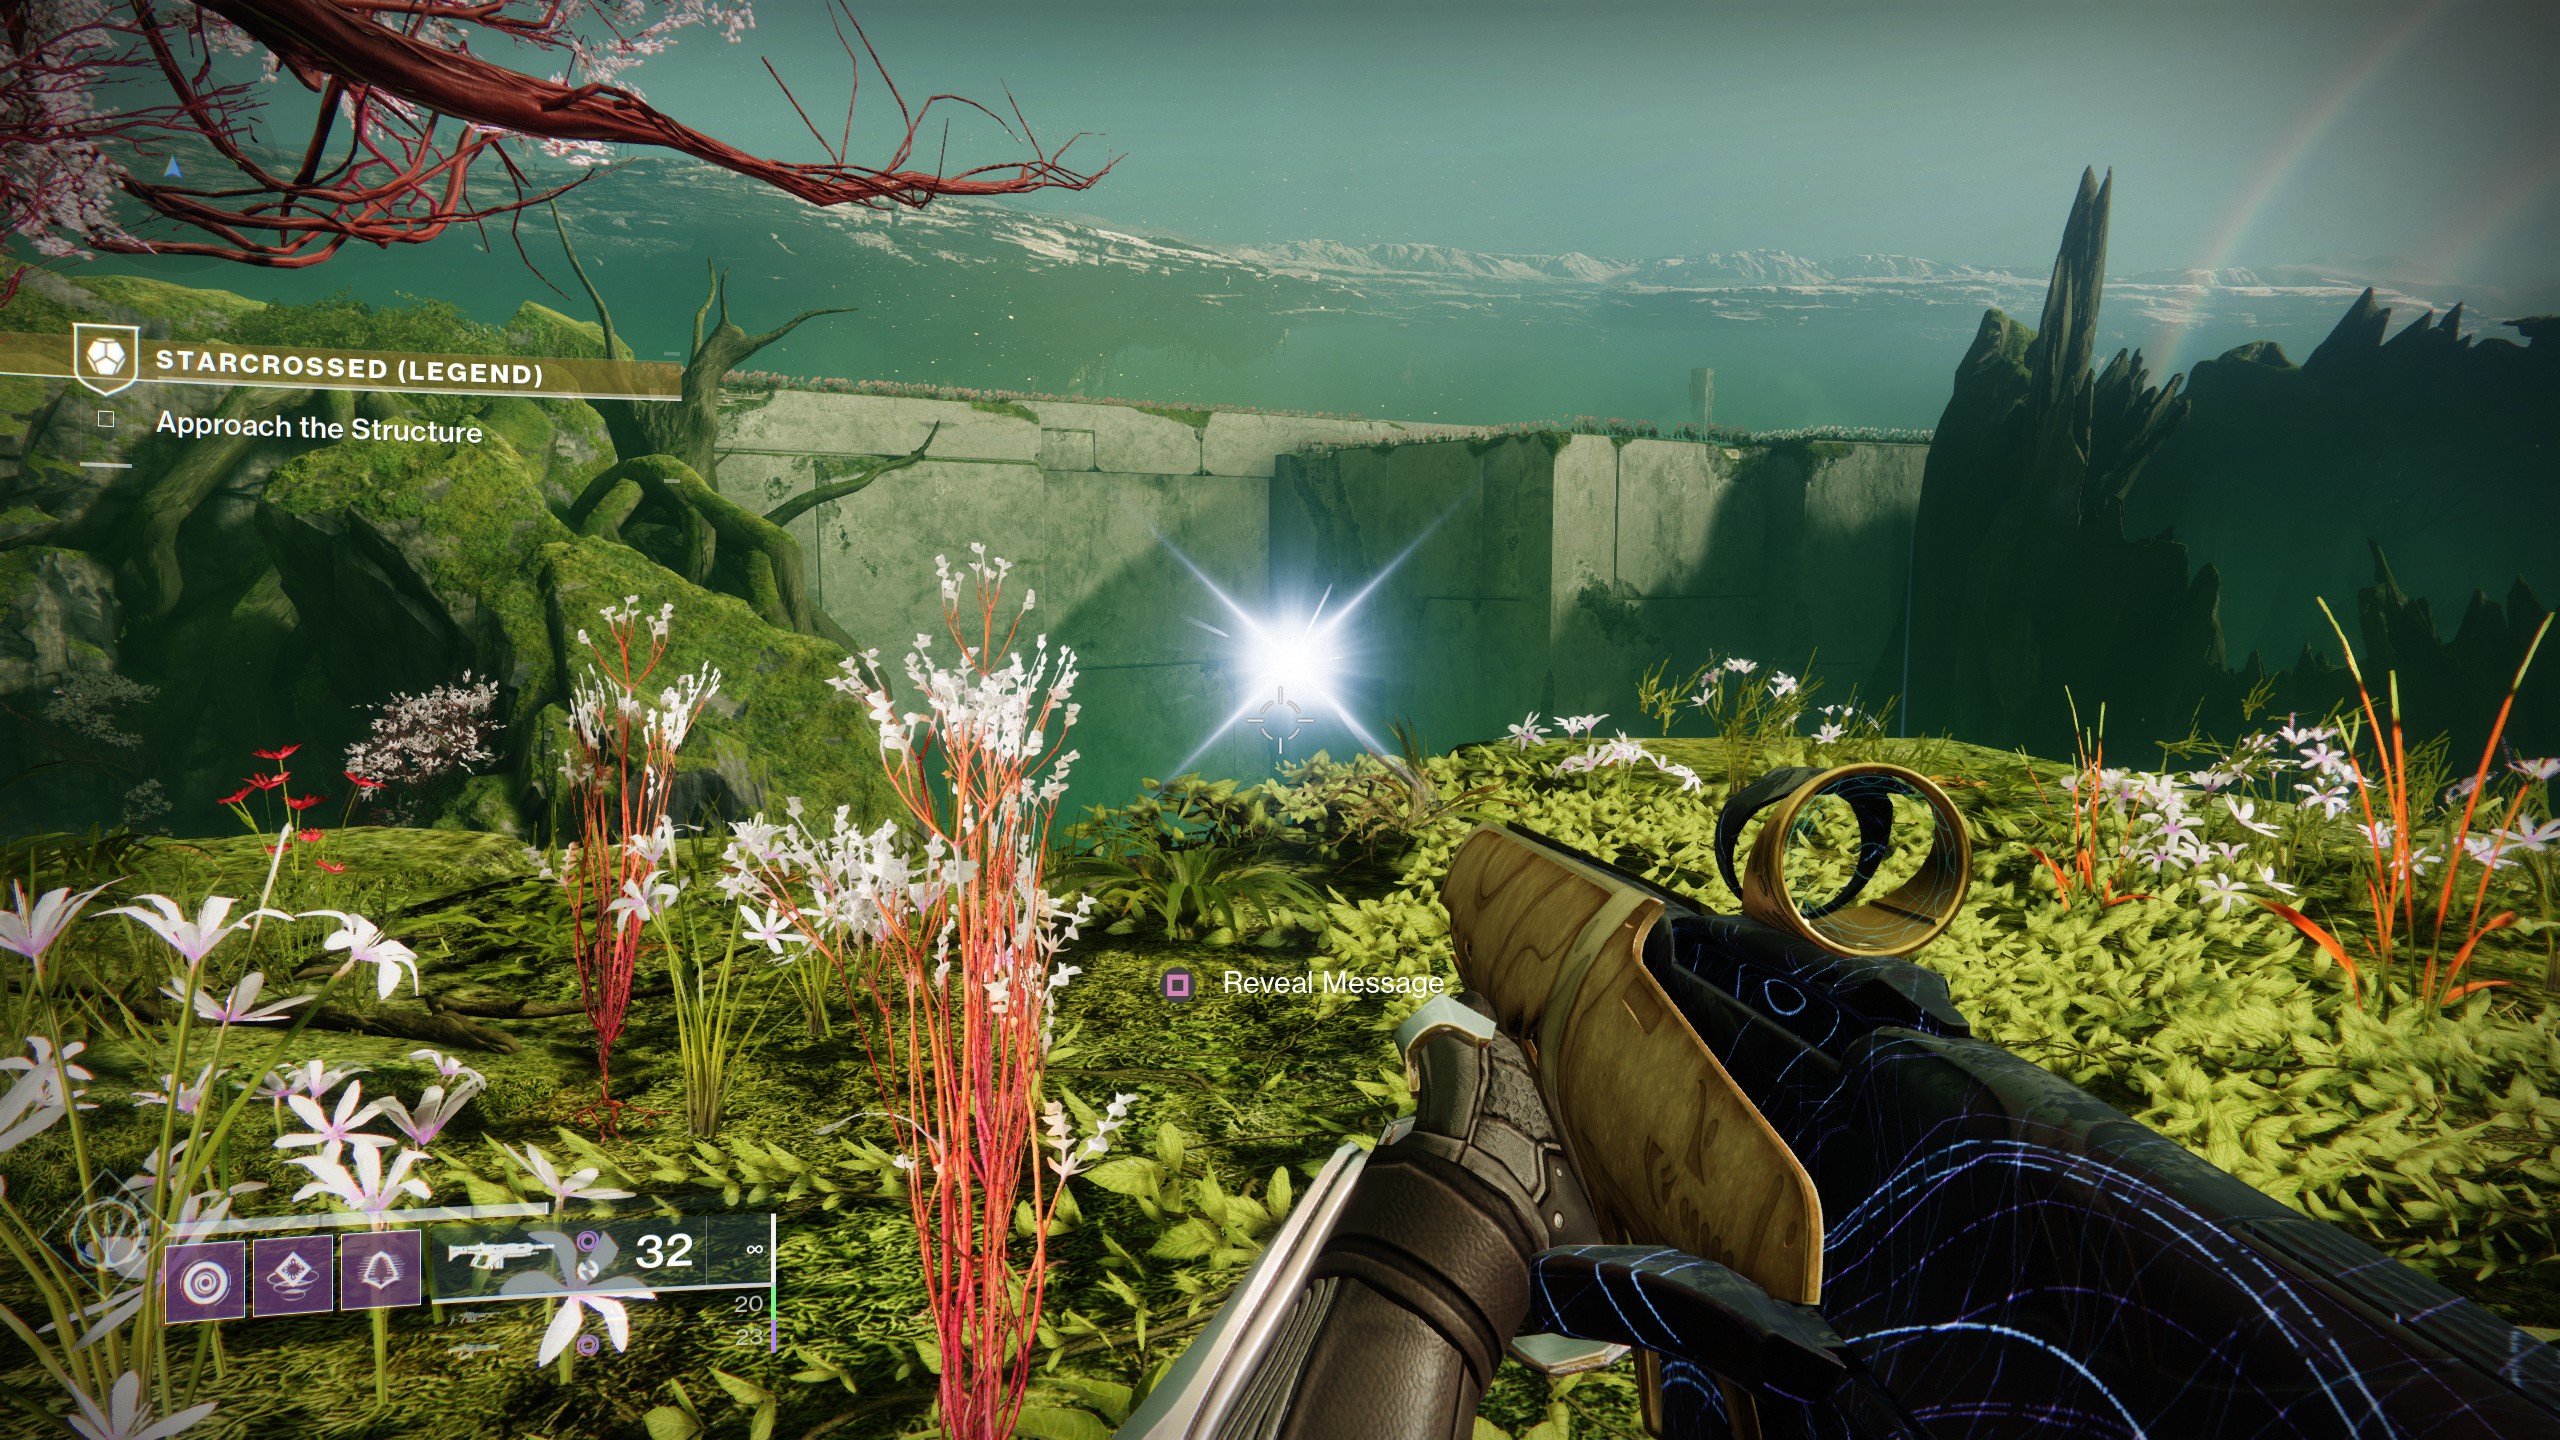
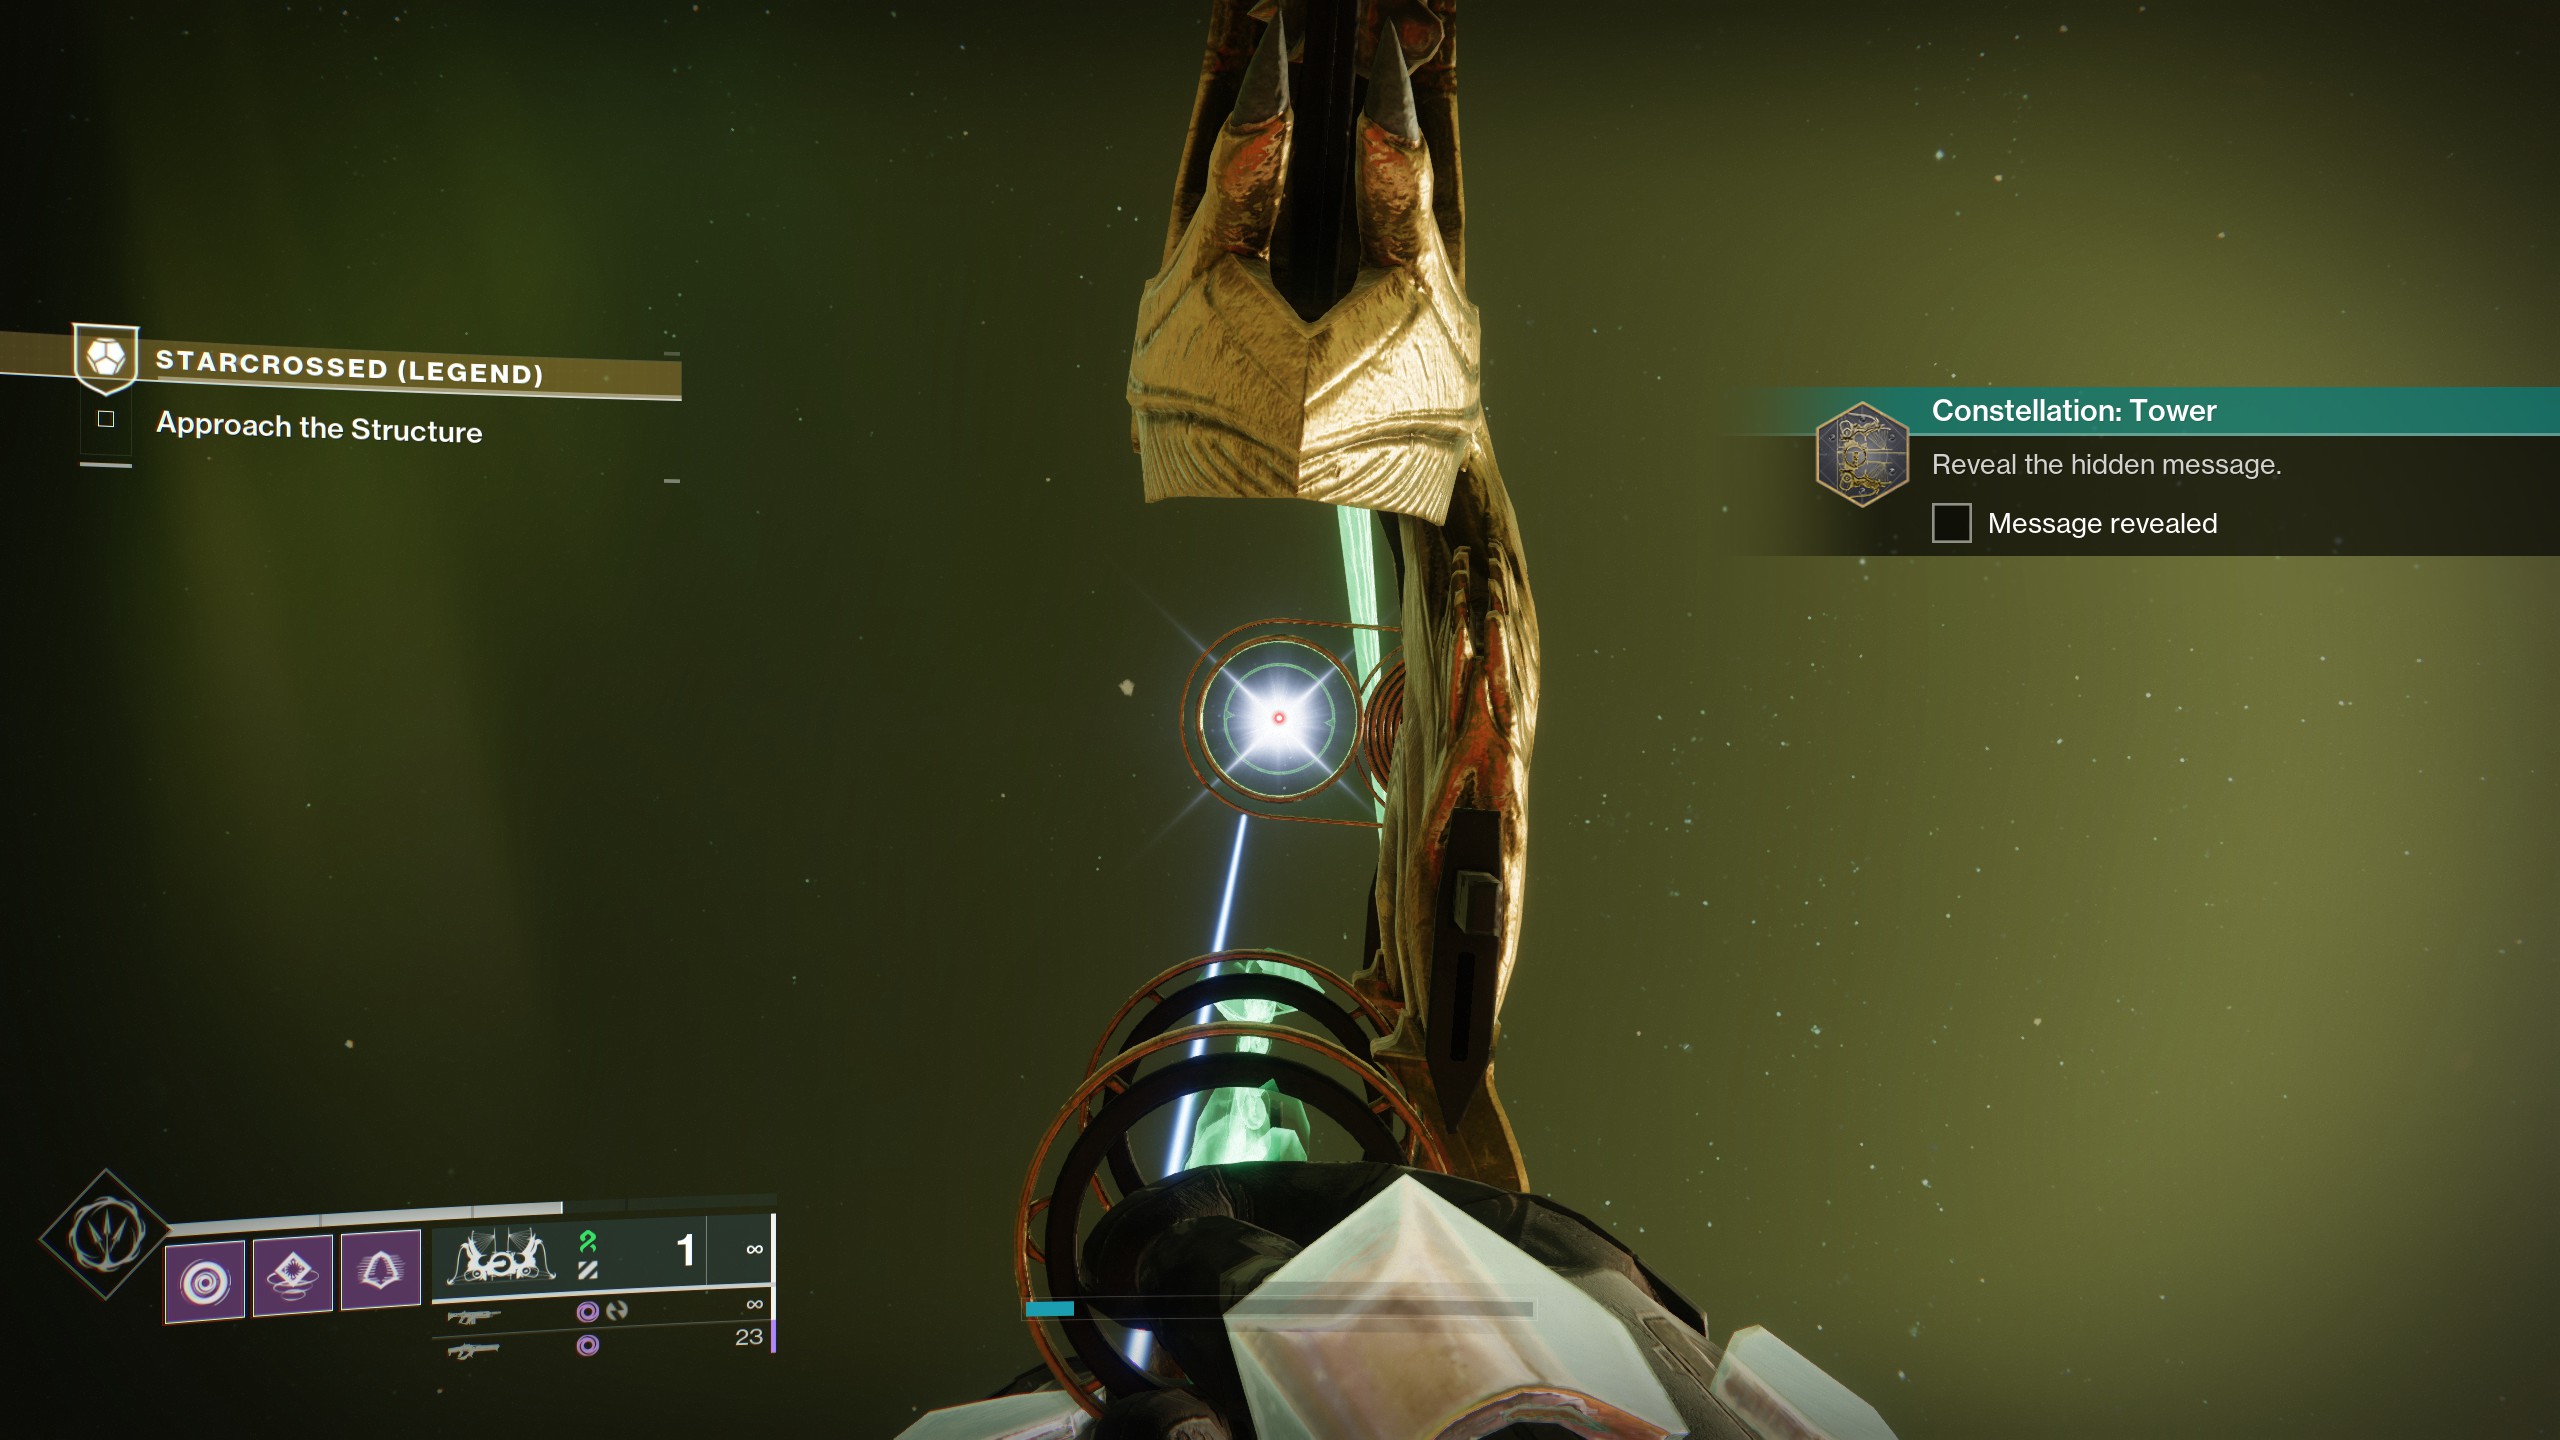
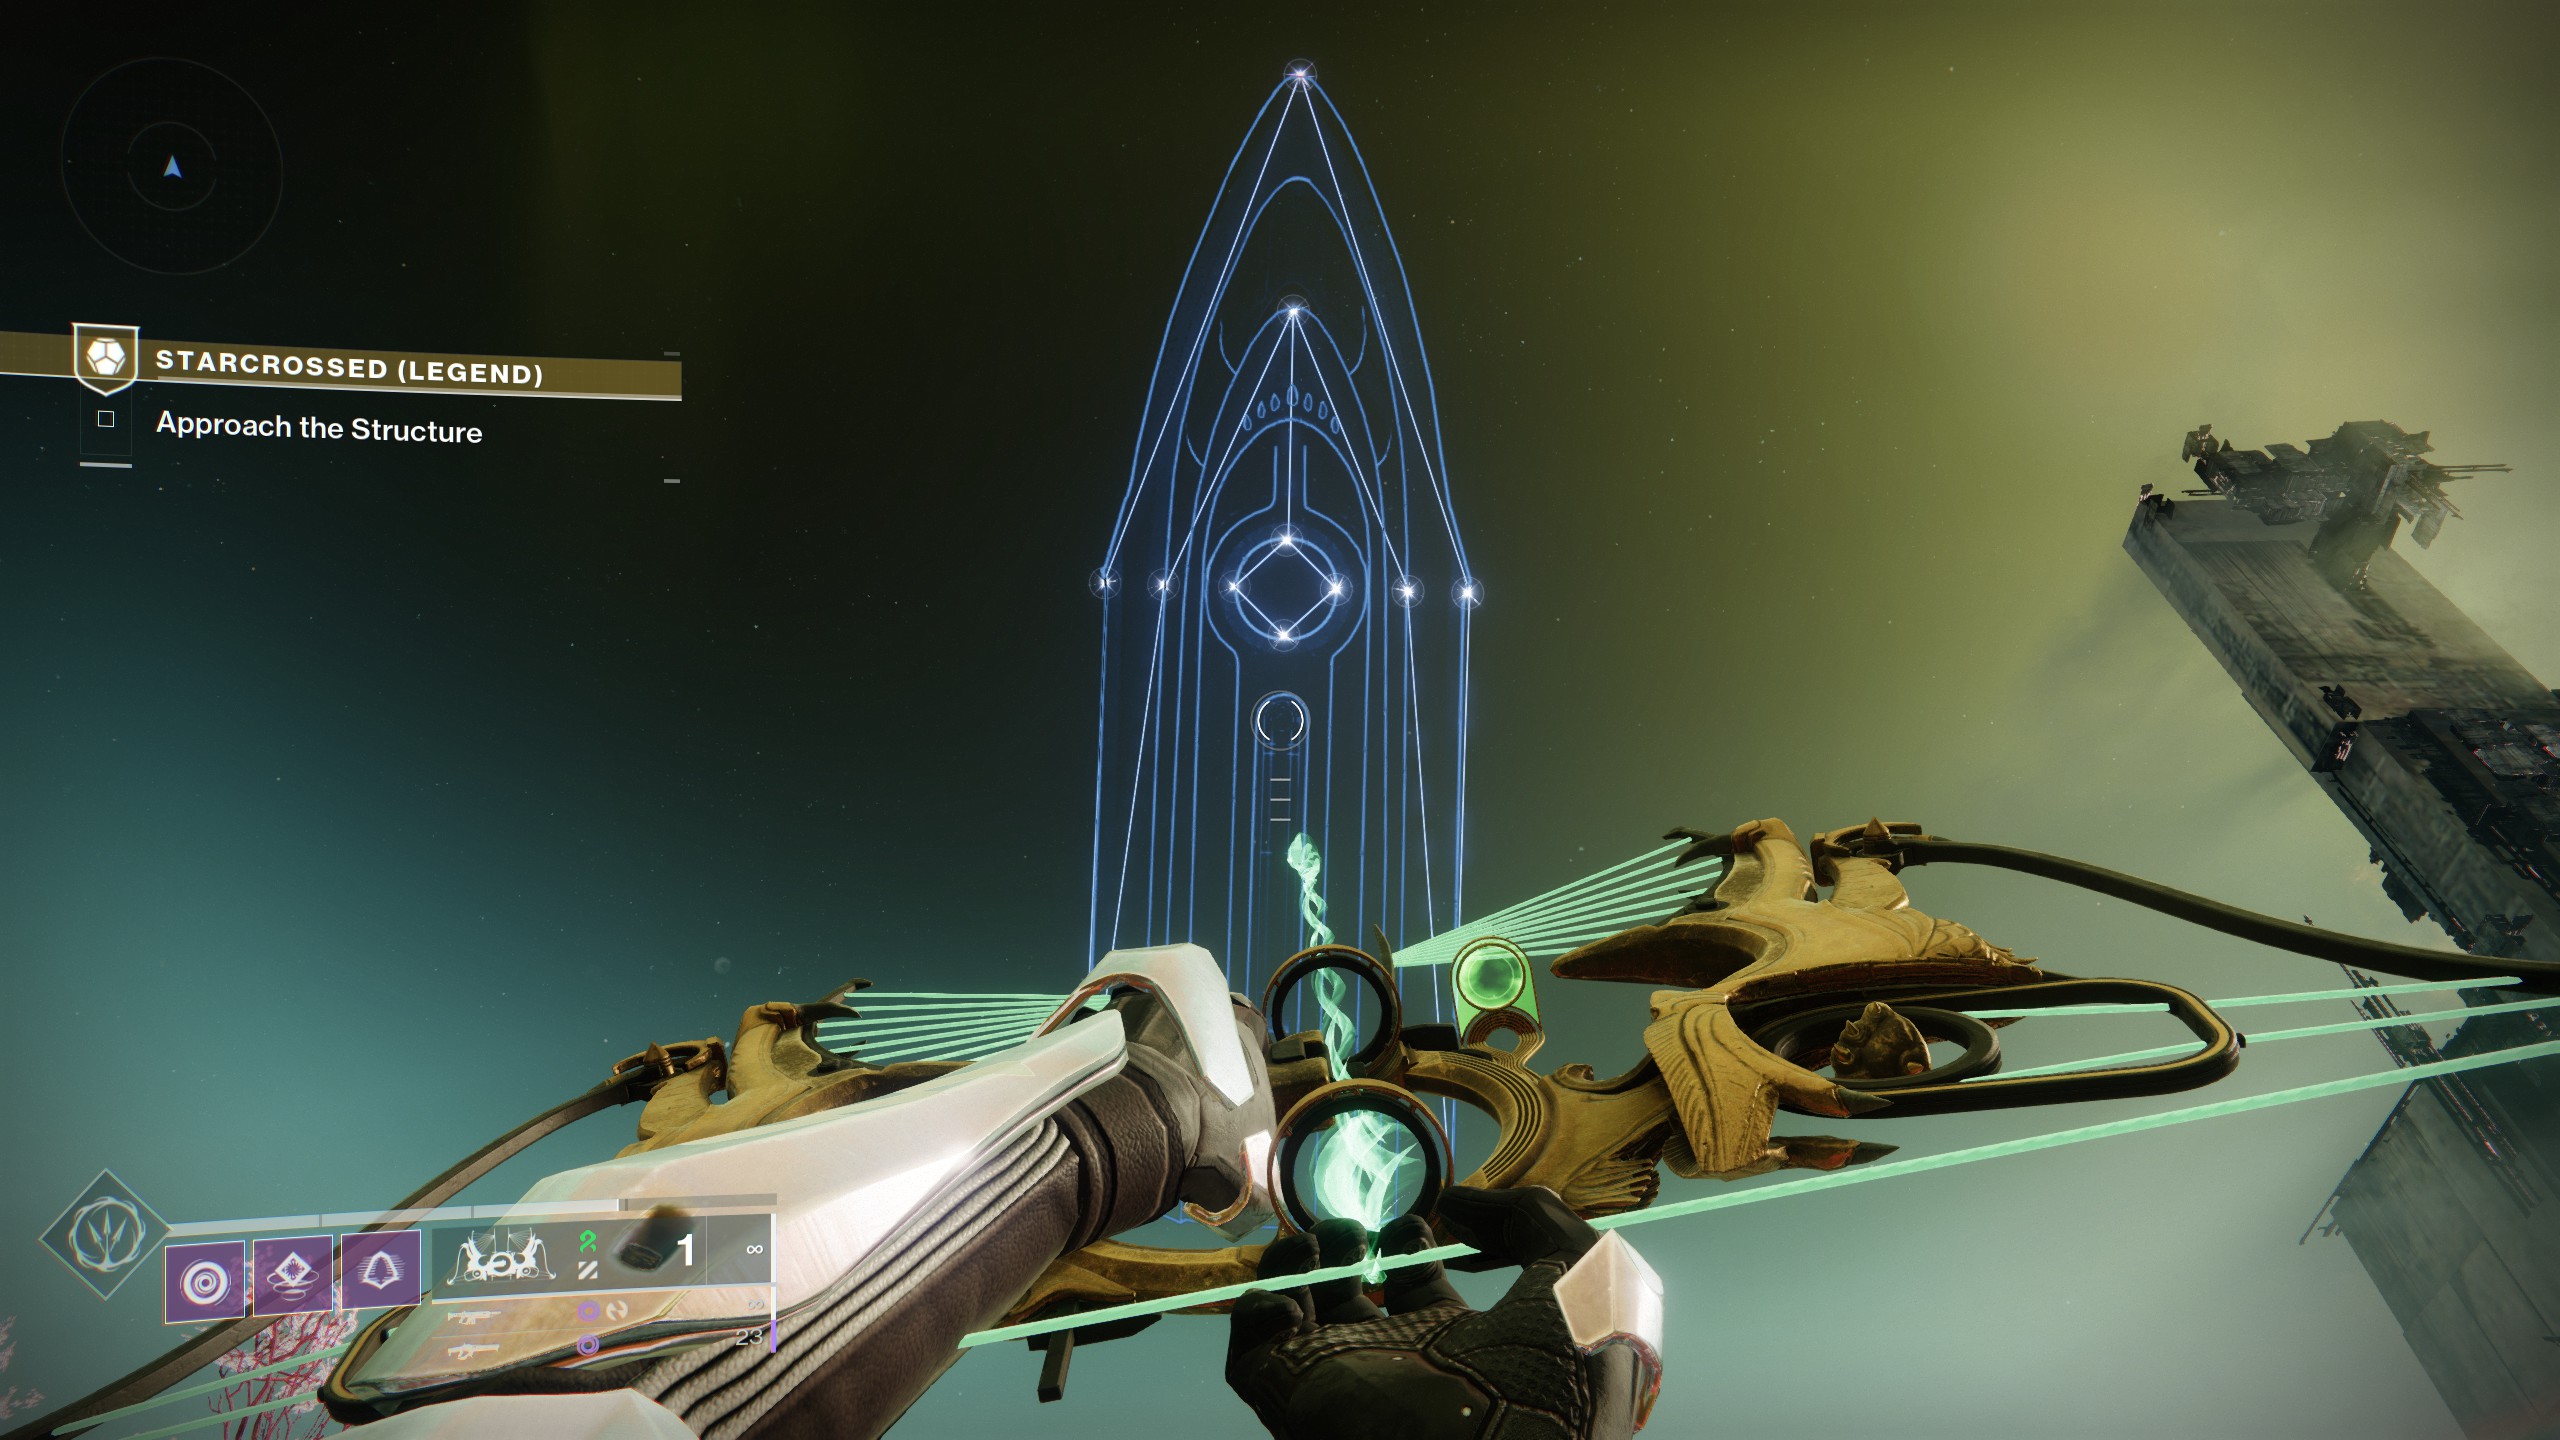
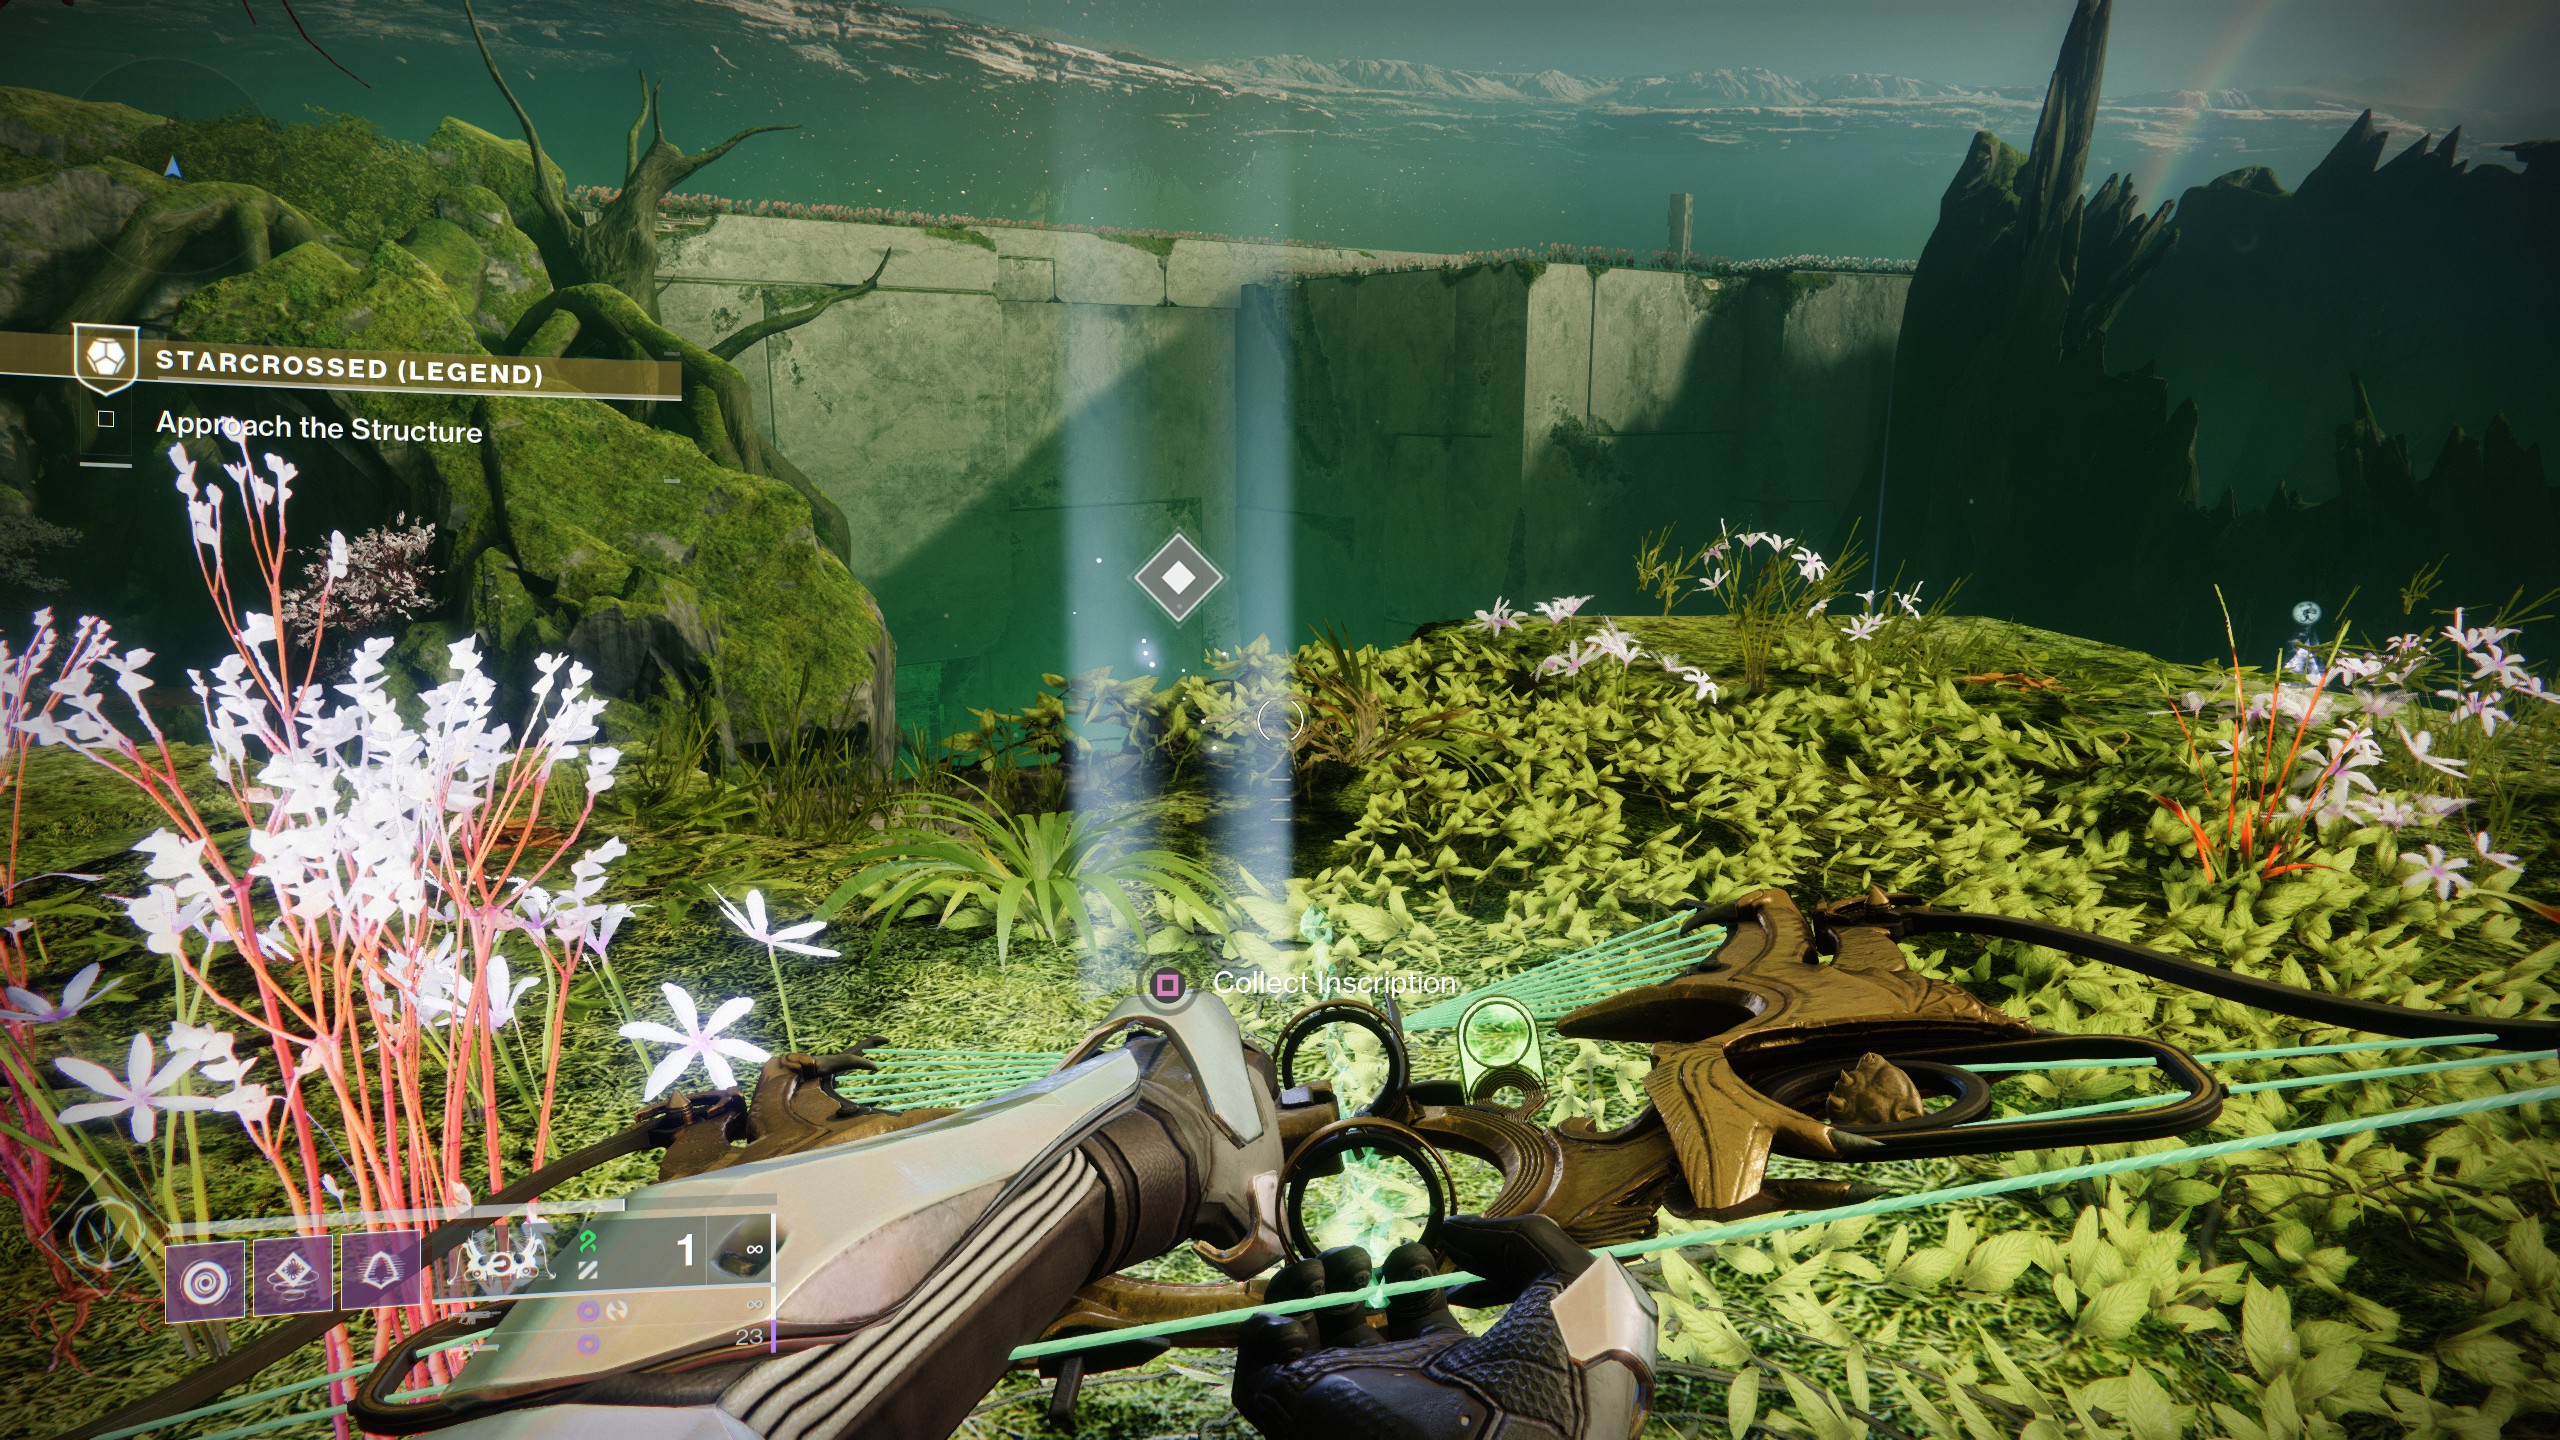
The first Constellation, Tower, is located in the Legend version of the Starcrossed mission. Since you'll need the bow to shoot it, make sure Wish-Keeper is available in your inventory for this:
- After you've made your way through the jumping section with the lily pads at the beginning of Starcrossed, you'll come out onto a grassy path leading towards a towering vex structure in the distance.
- Head right until you spot a rocky outcrop with a waterfall.
- Climb to the top using the lily pads behind it.
- Activate the glowing light that says "Reveal Message".
- Shoot the glowing stars above you with Wish-Keeper until the shape is formed.
- Collect the inscription from where the glowing light was.
Now you just need to complete a Legend difficulty run of Starcrossed to earn the Enduring Snare Refit catalyst. You can also back out and complete it later without having to shoot all those stars again.
Constellation: Lock (Multi-Threaded Snare Refit)
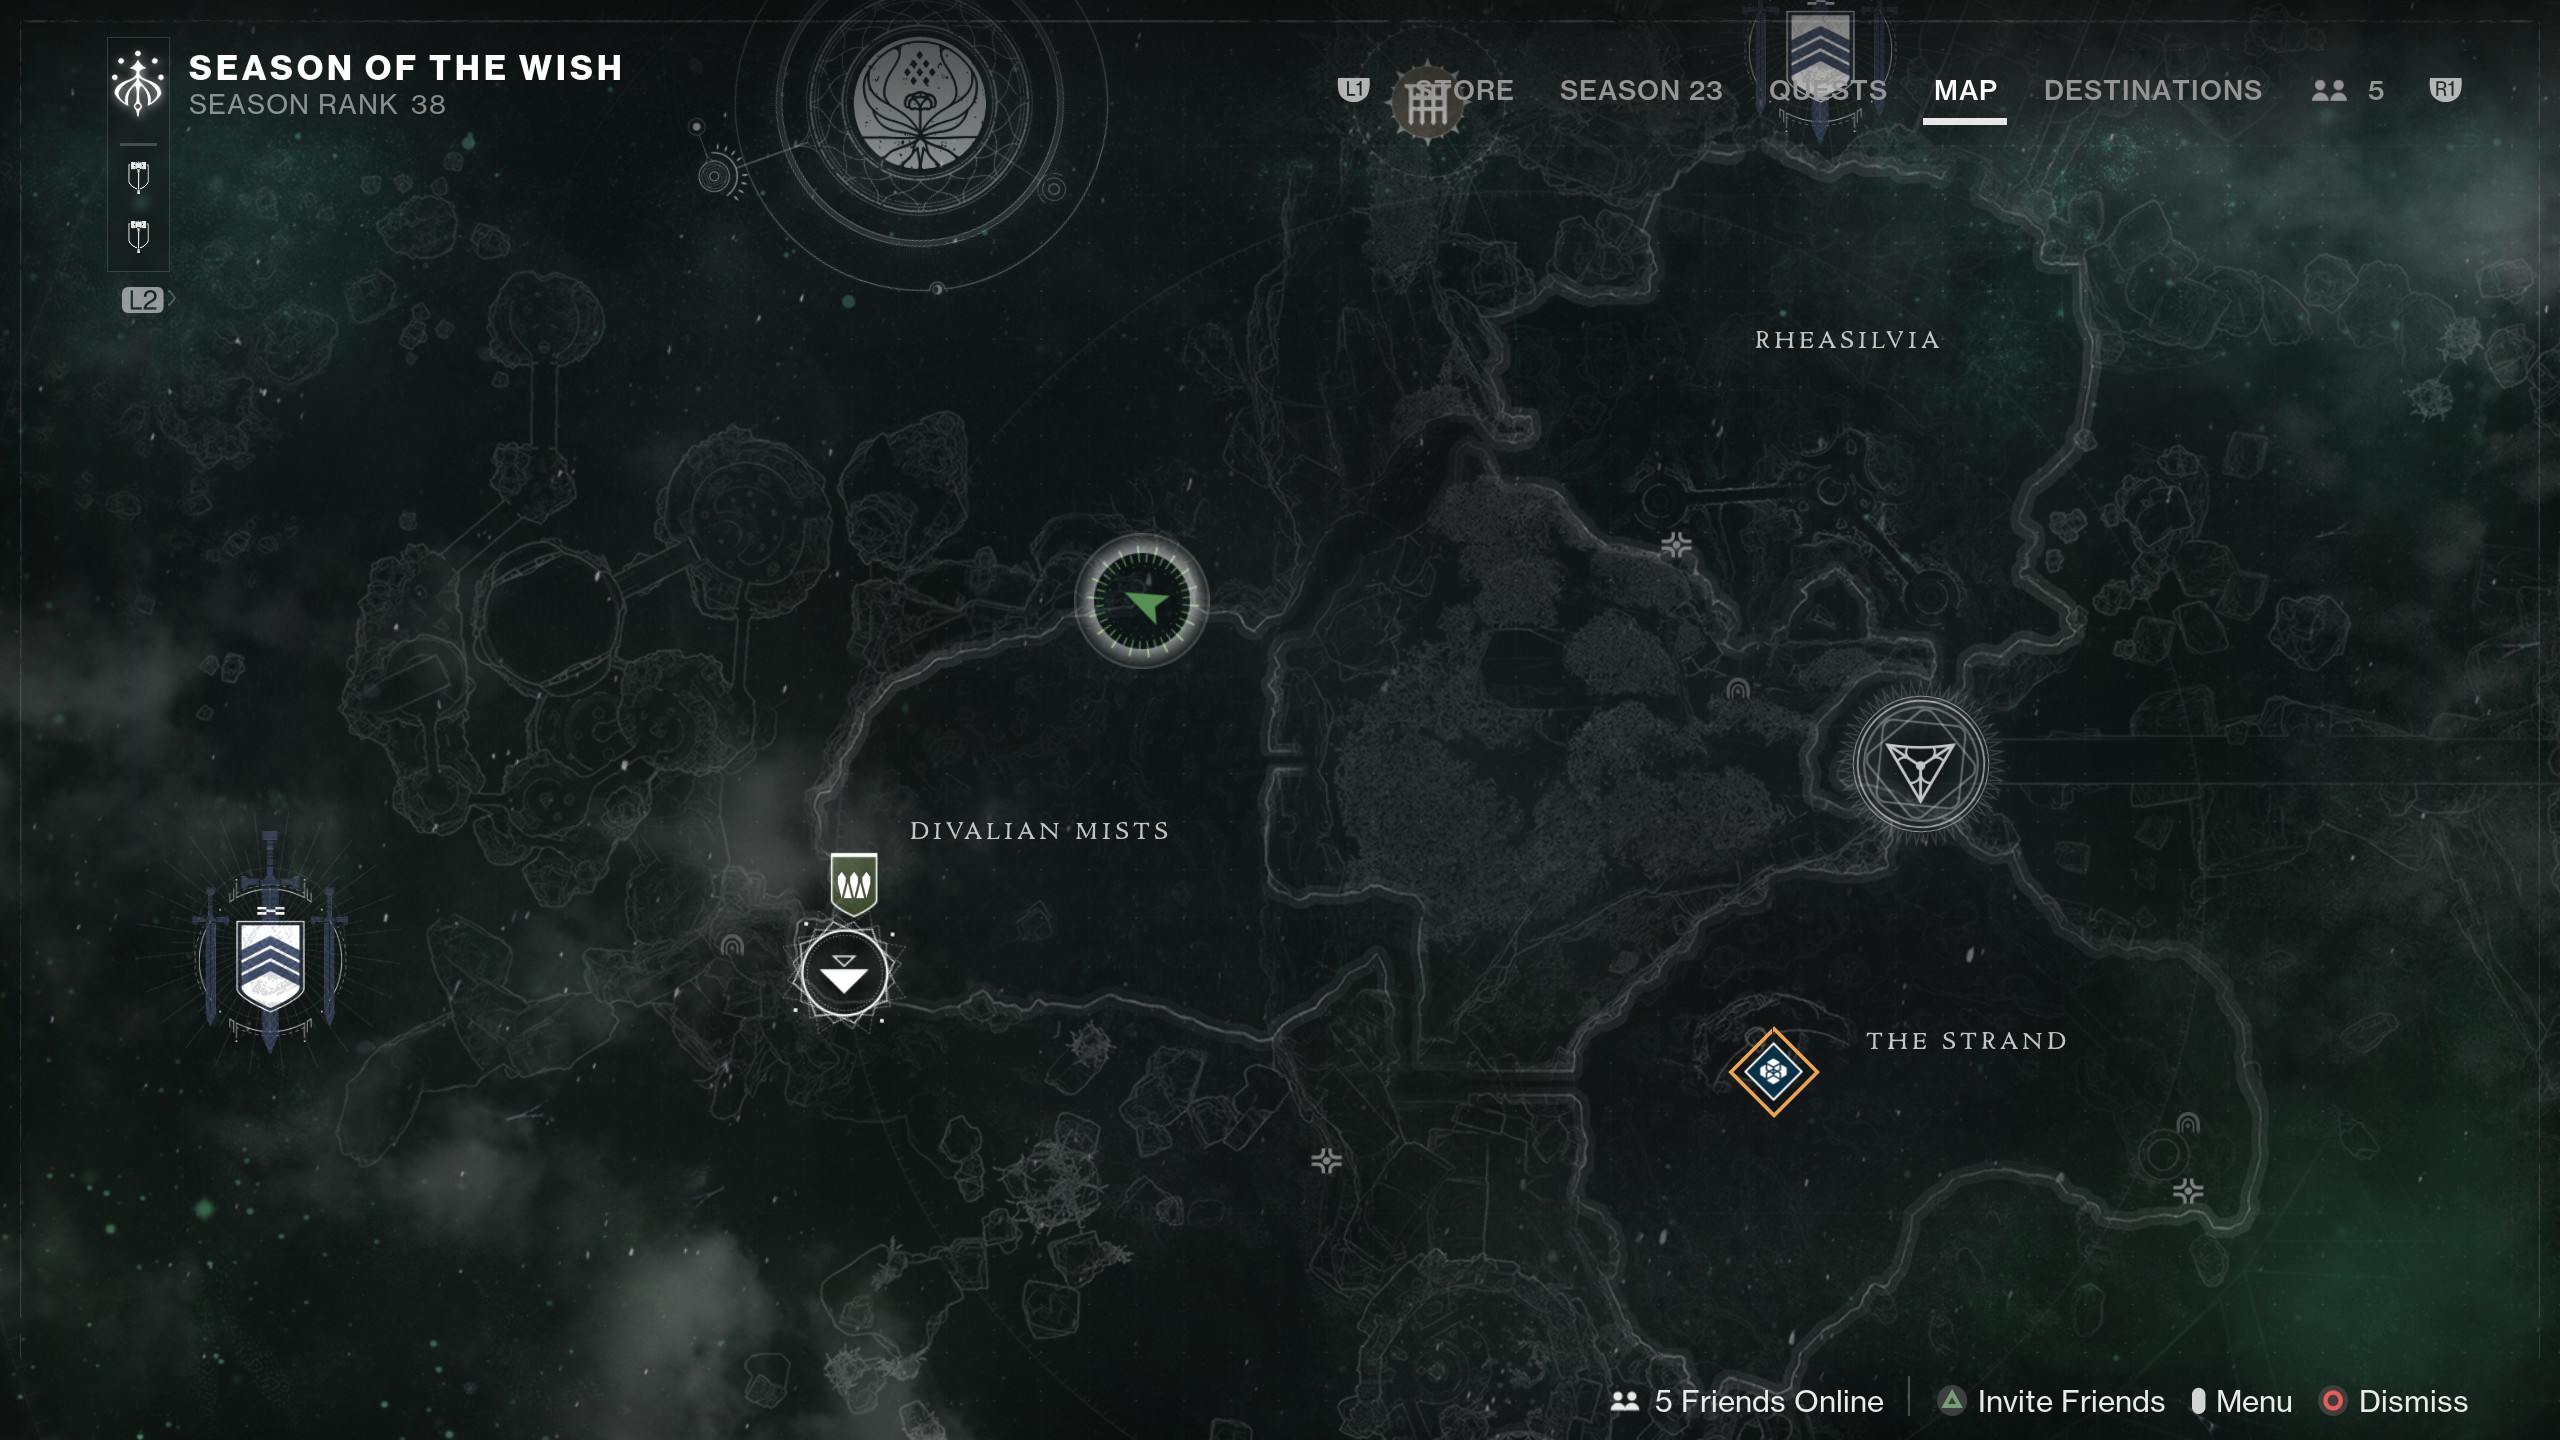
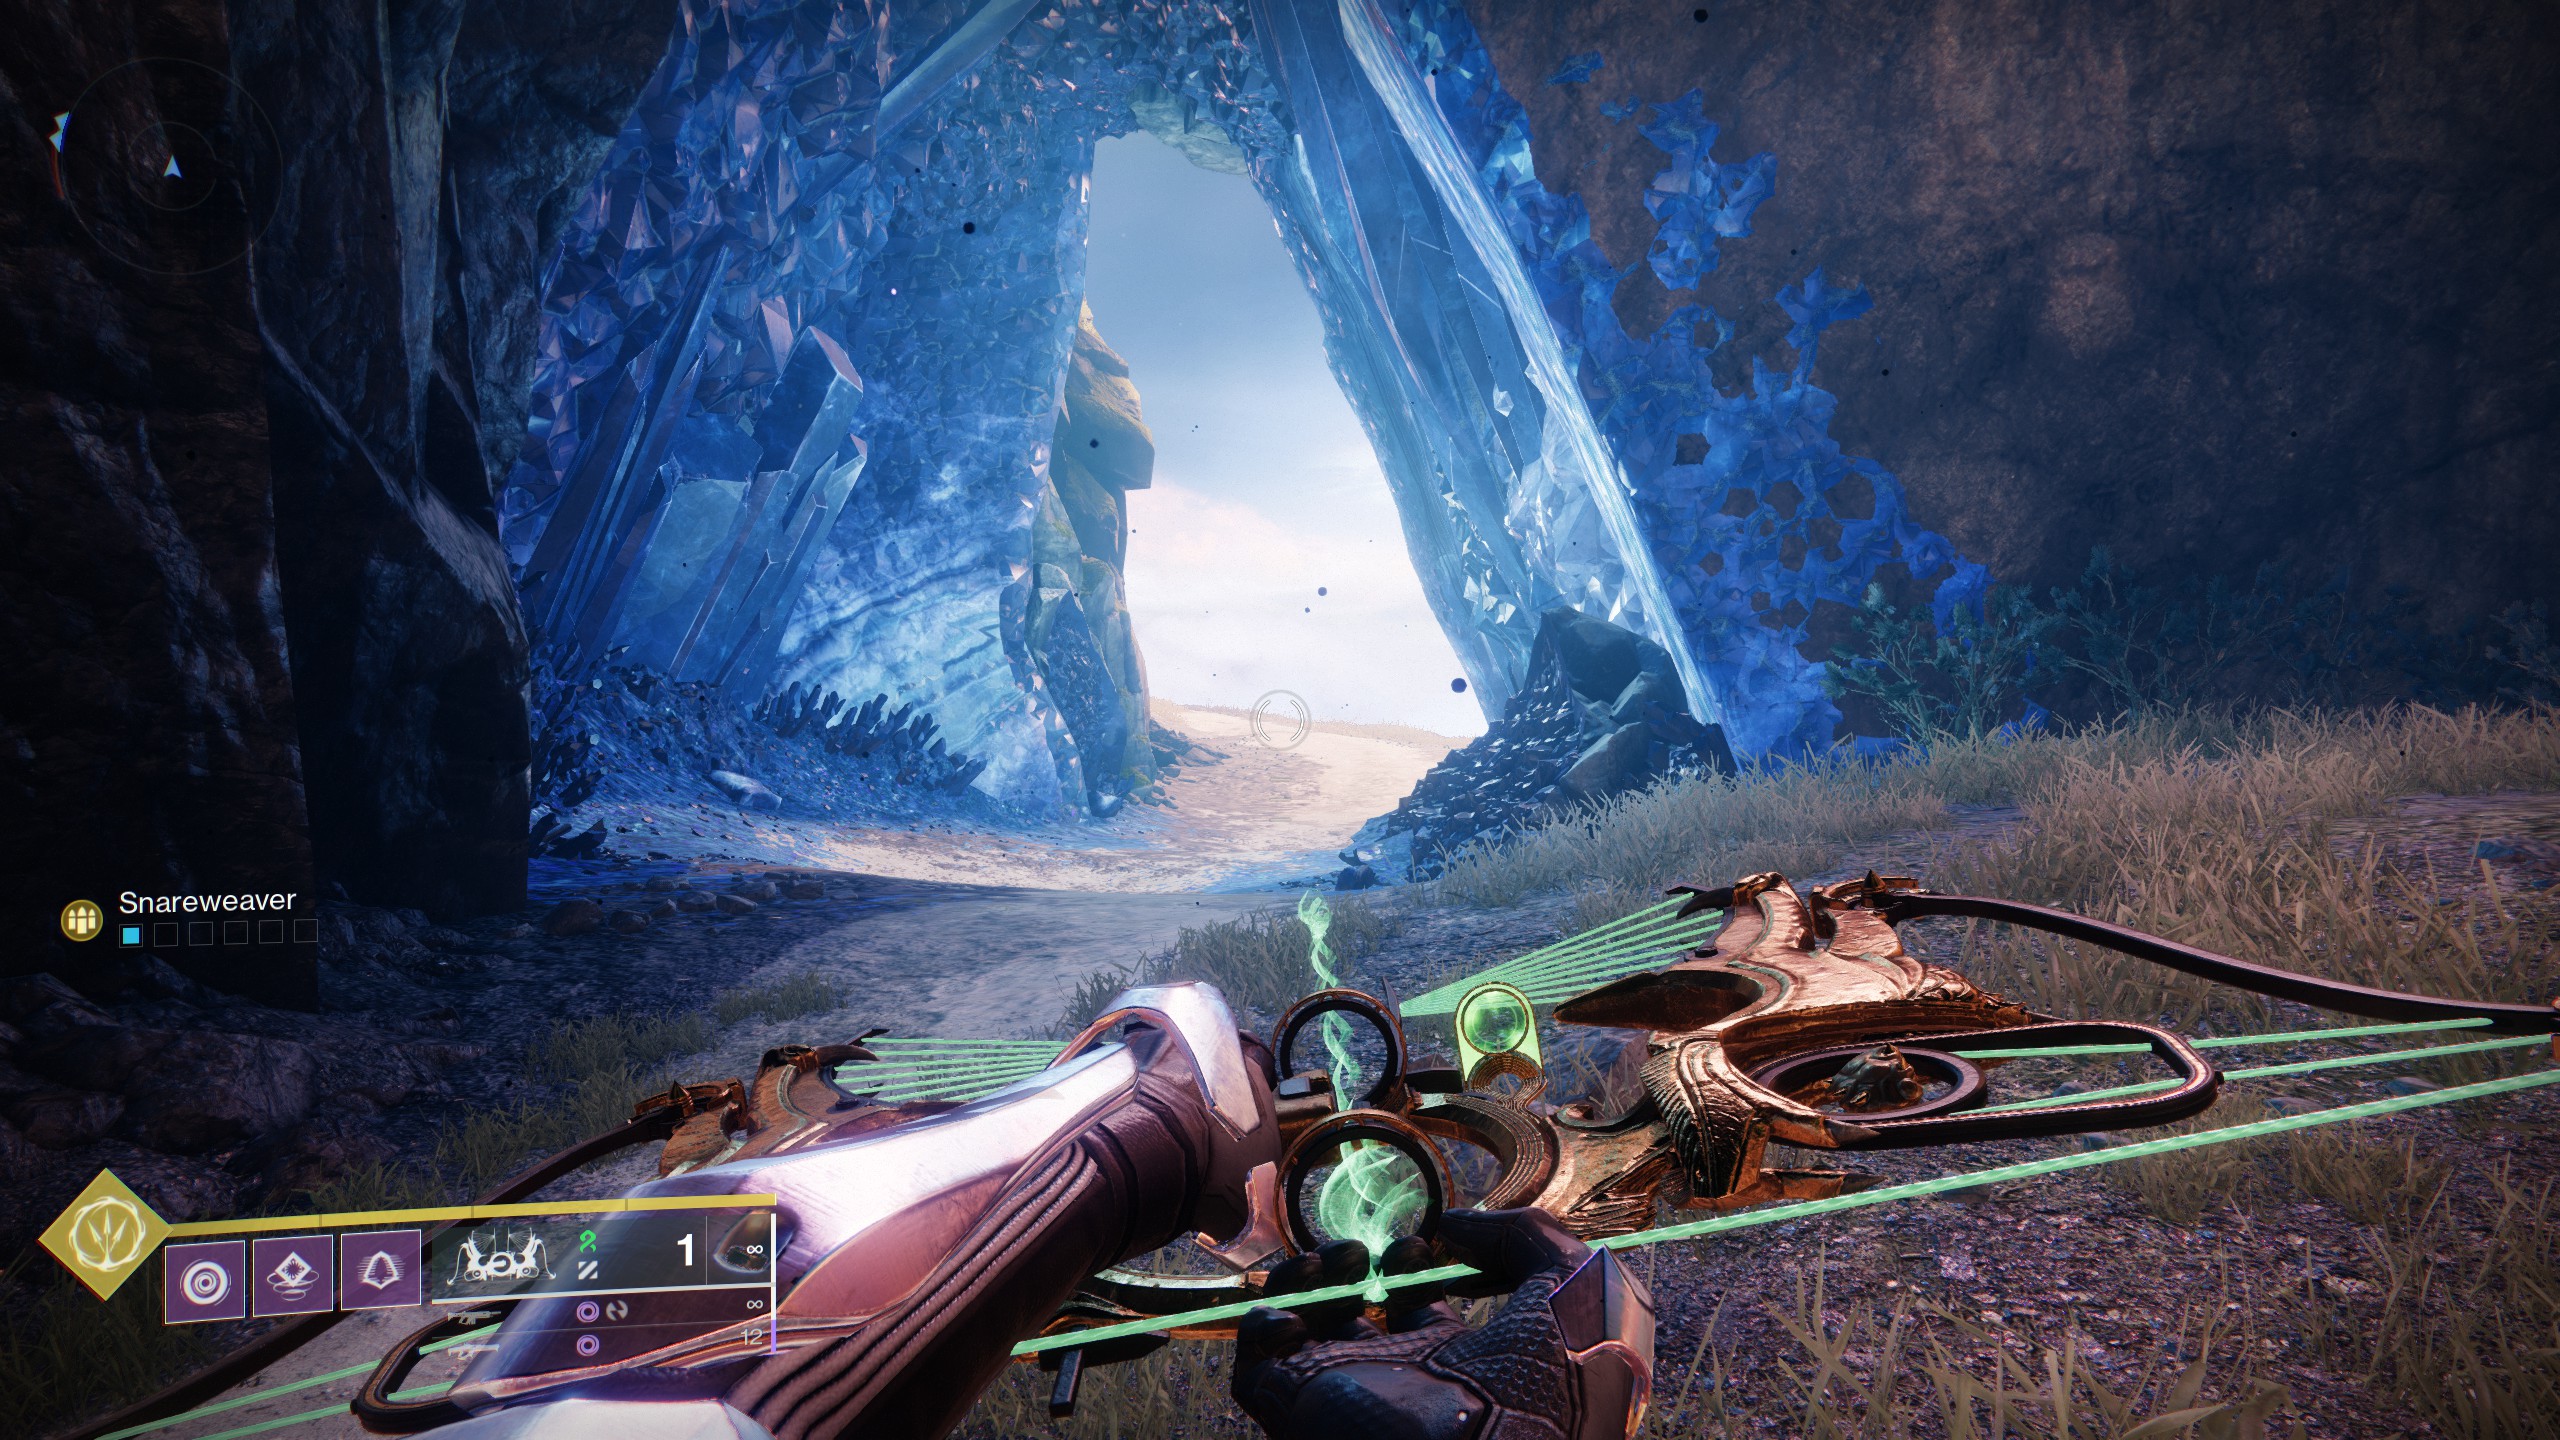
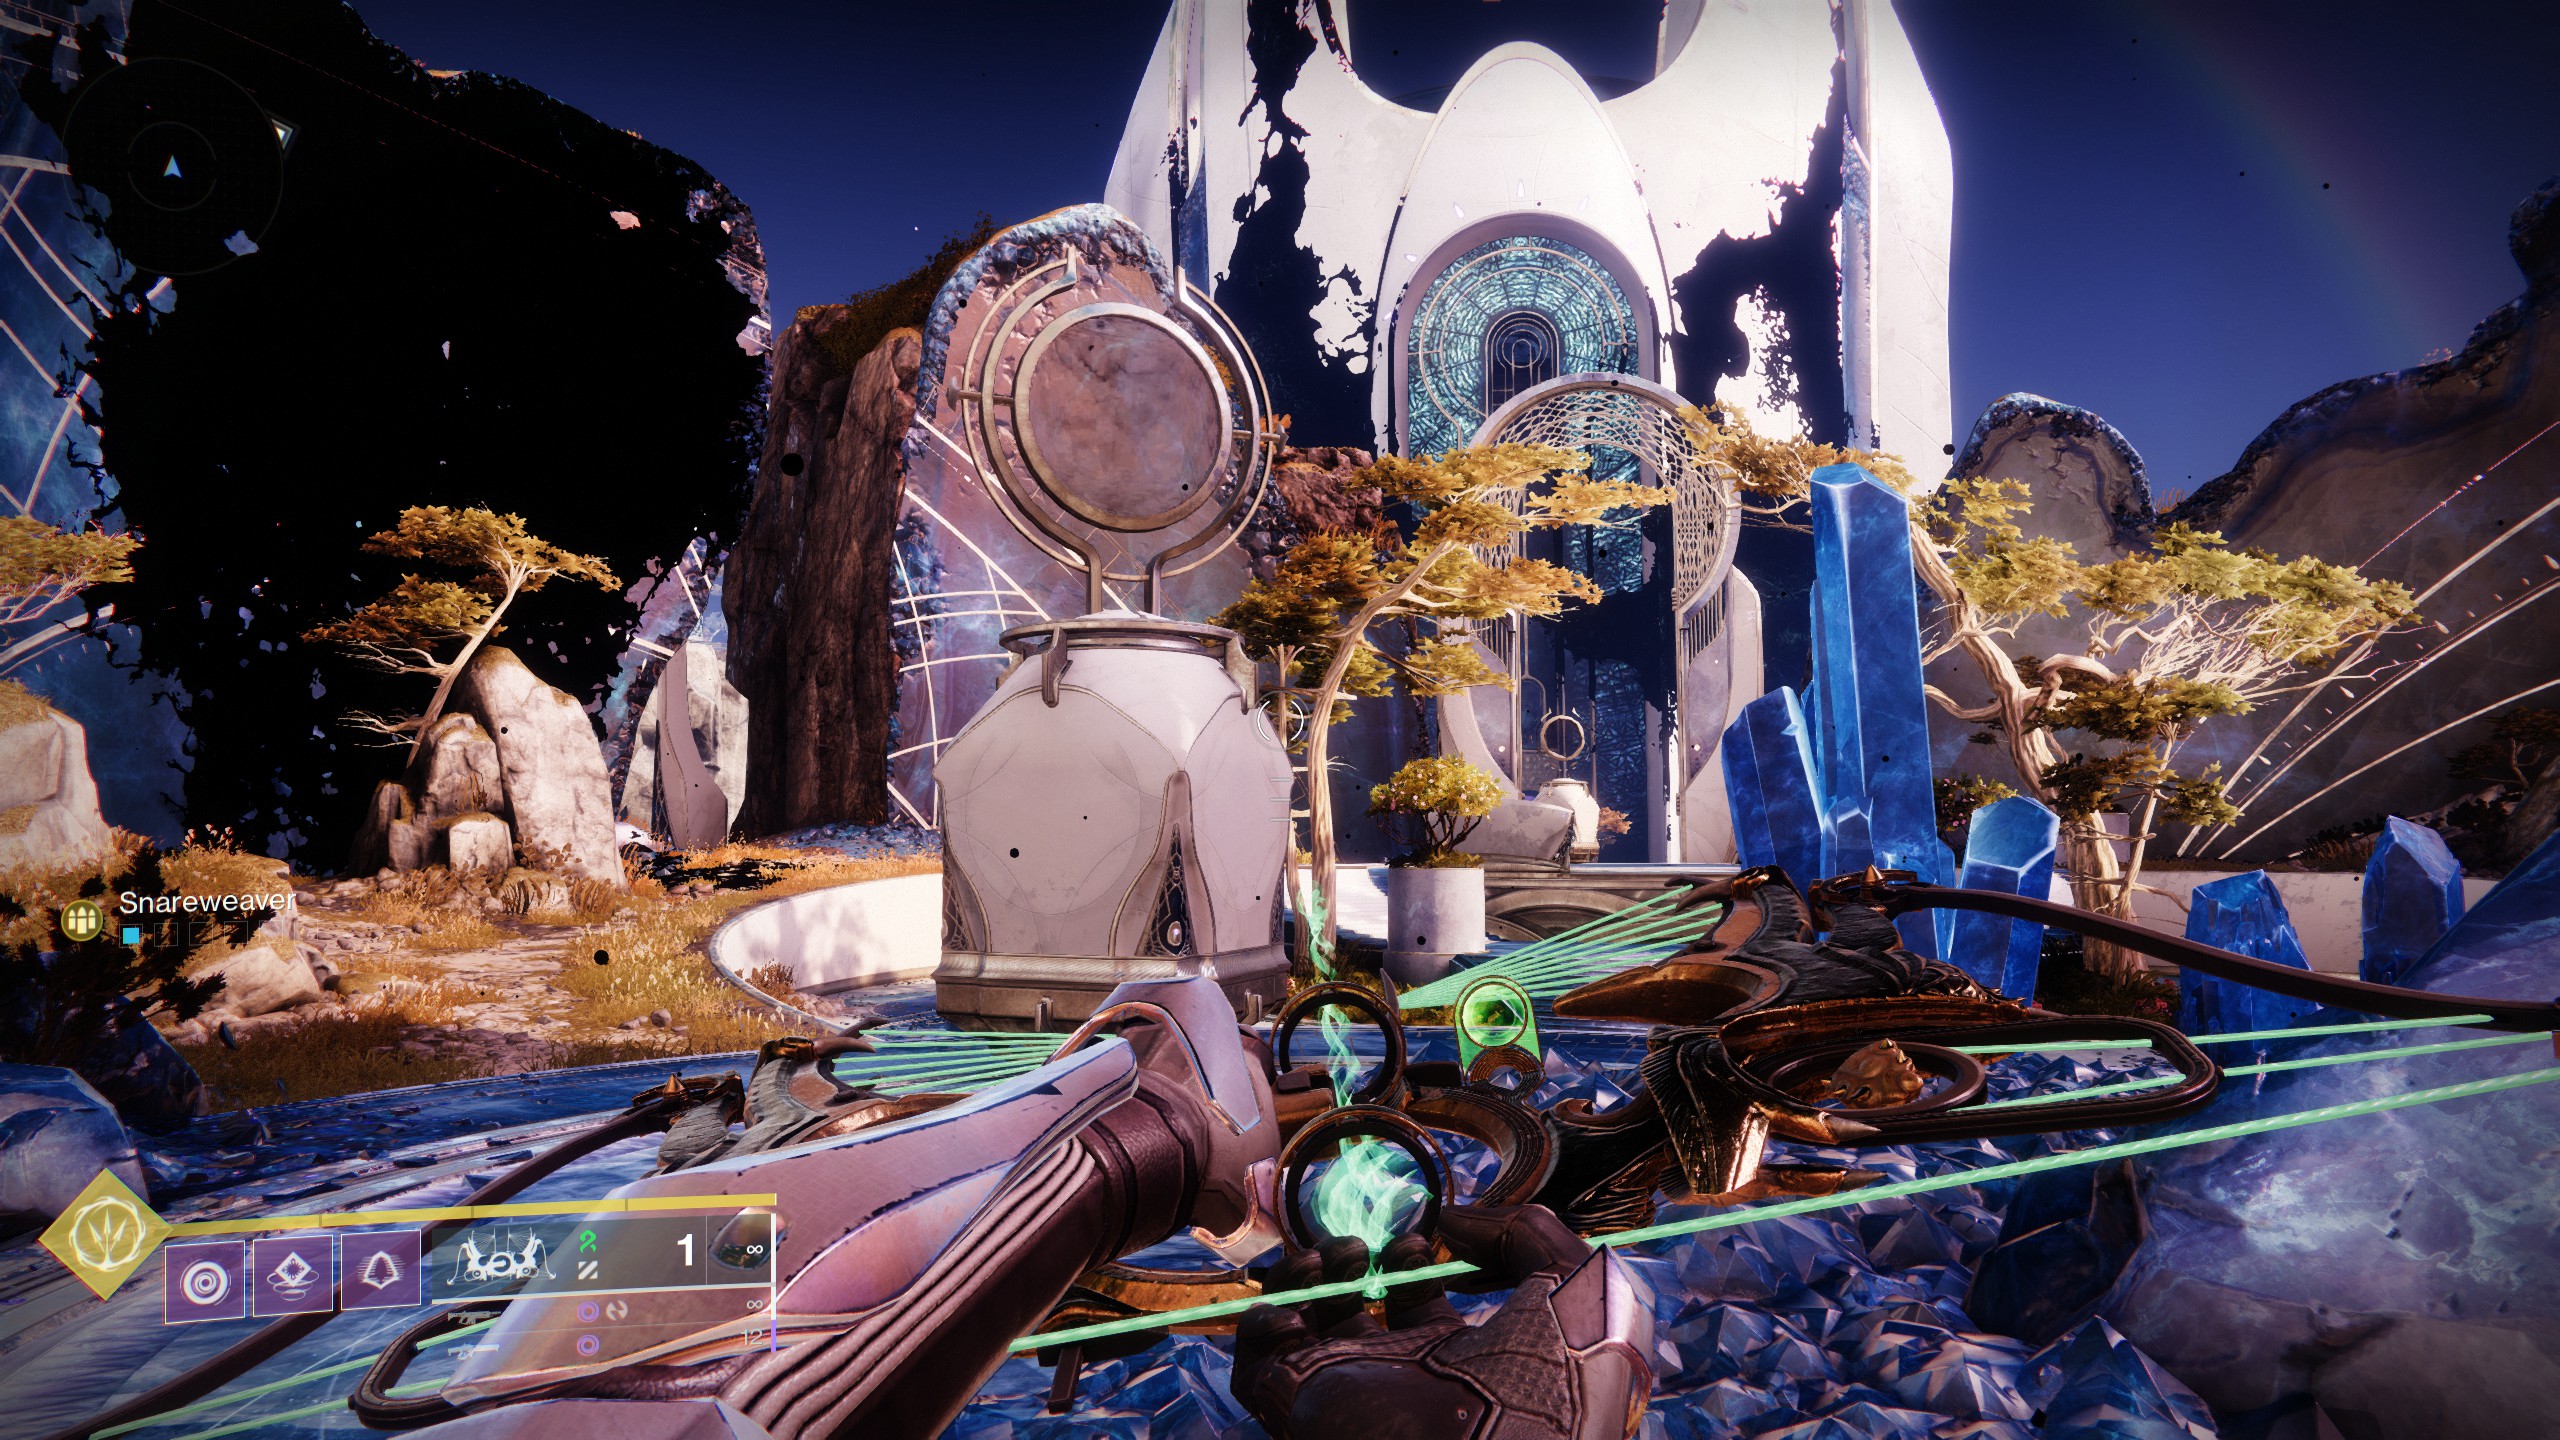
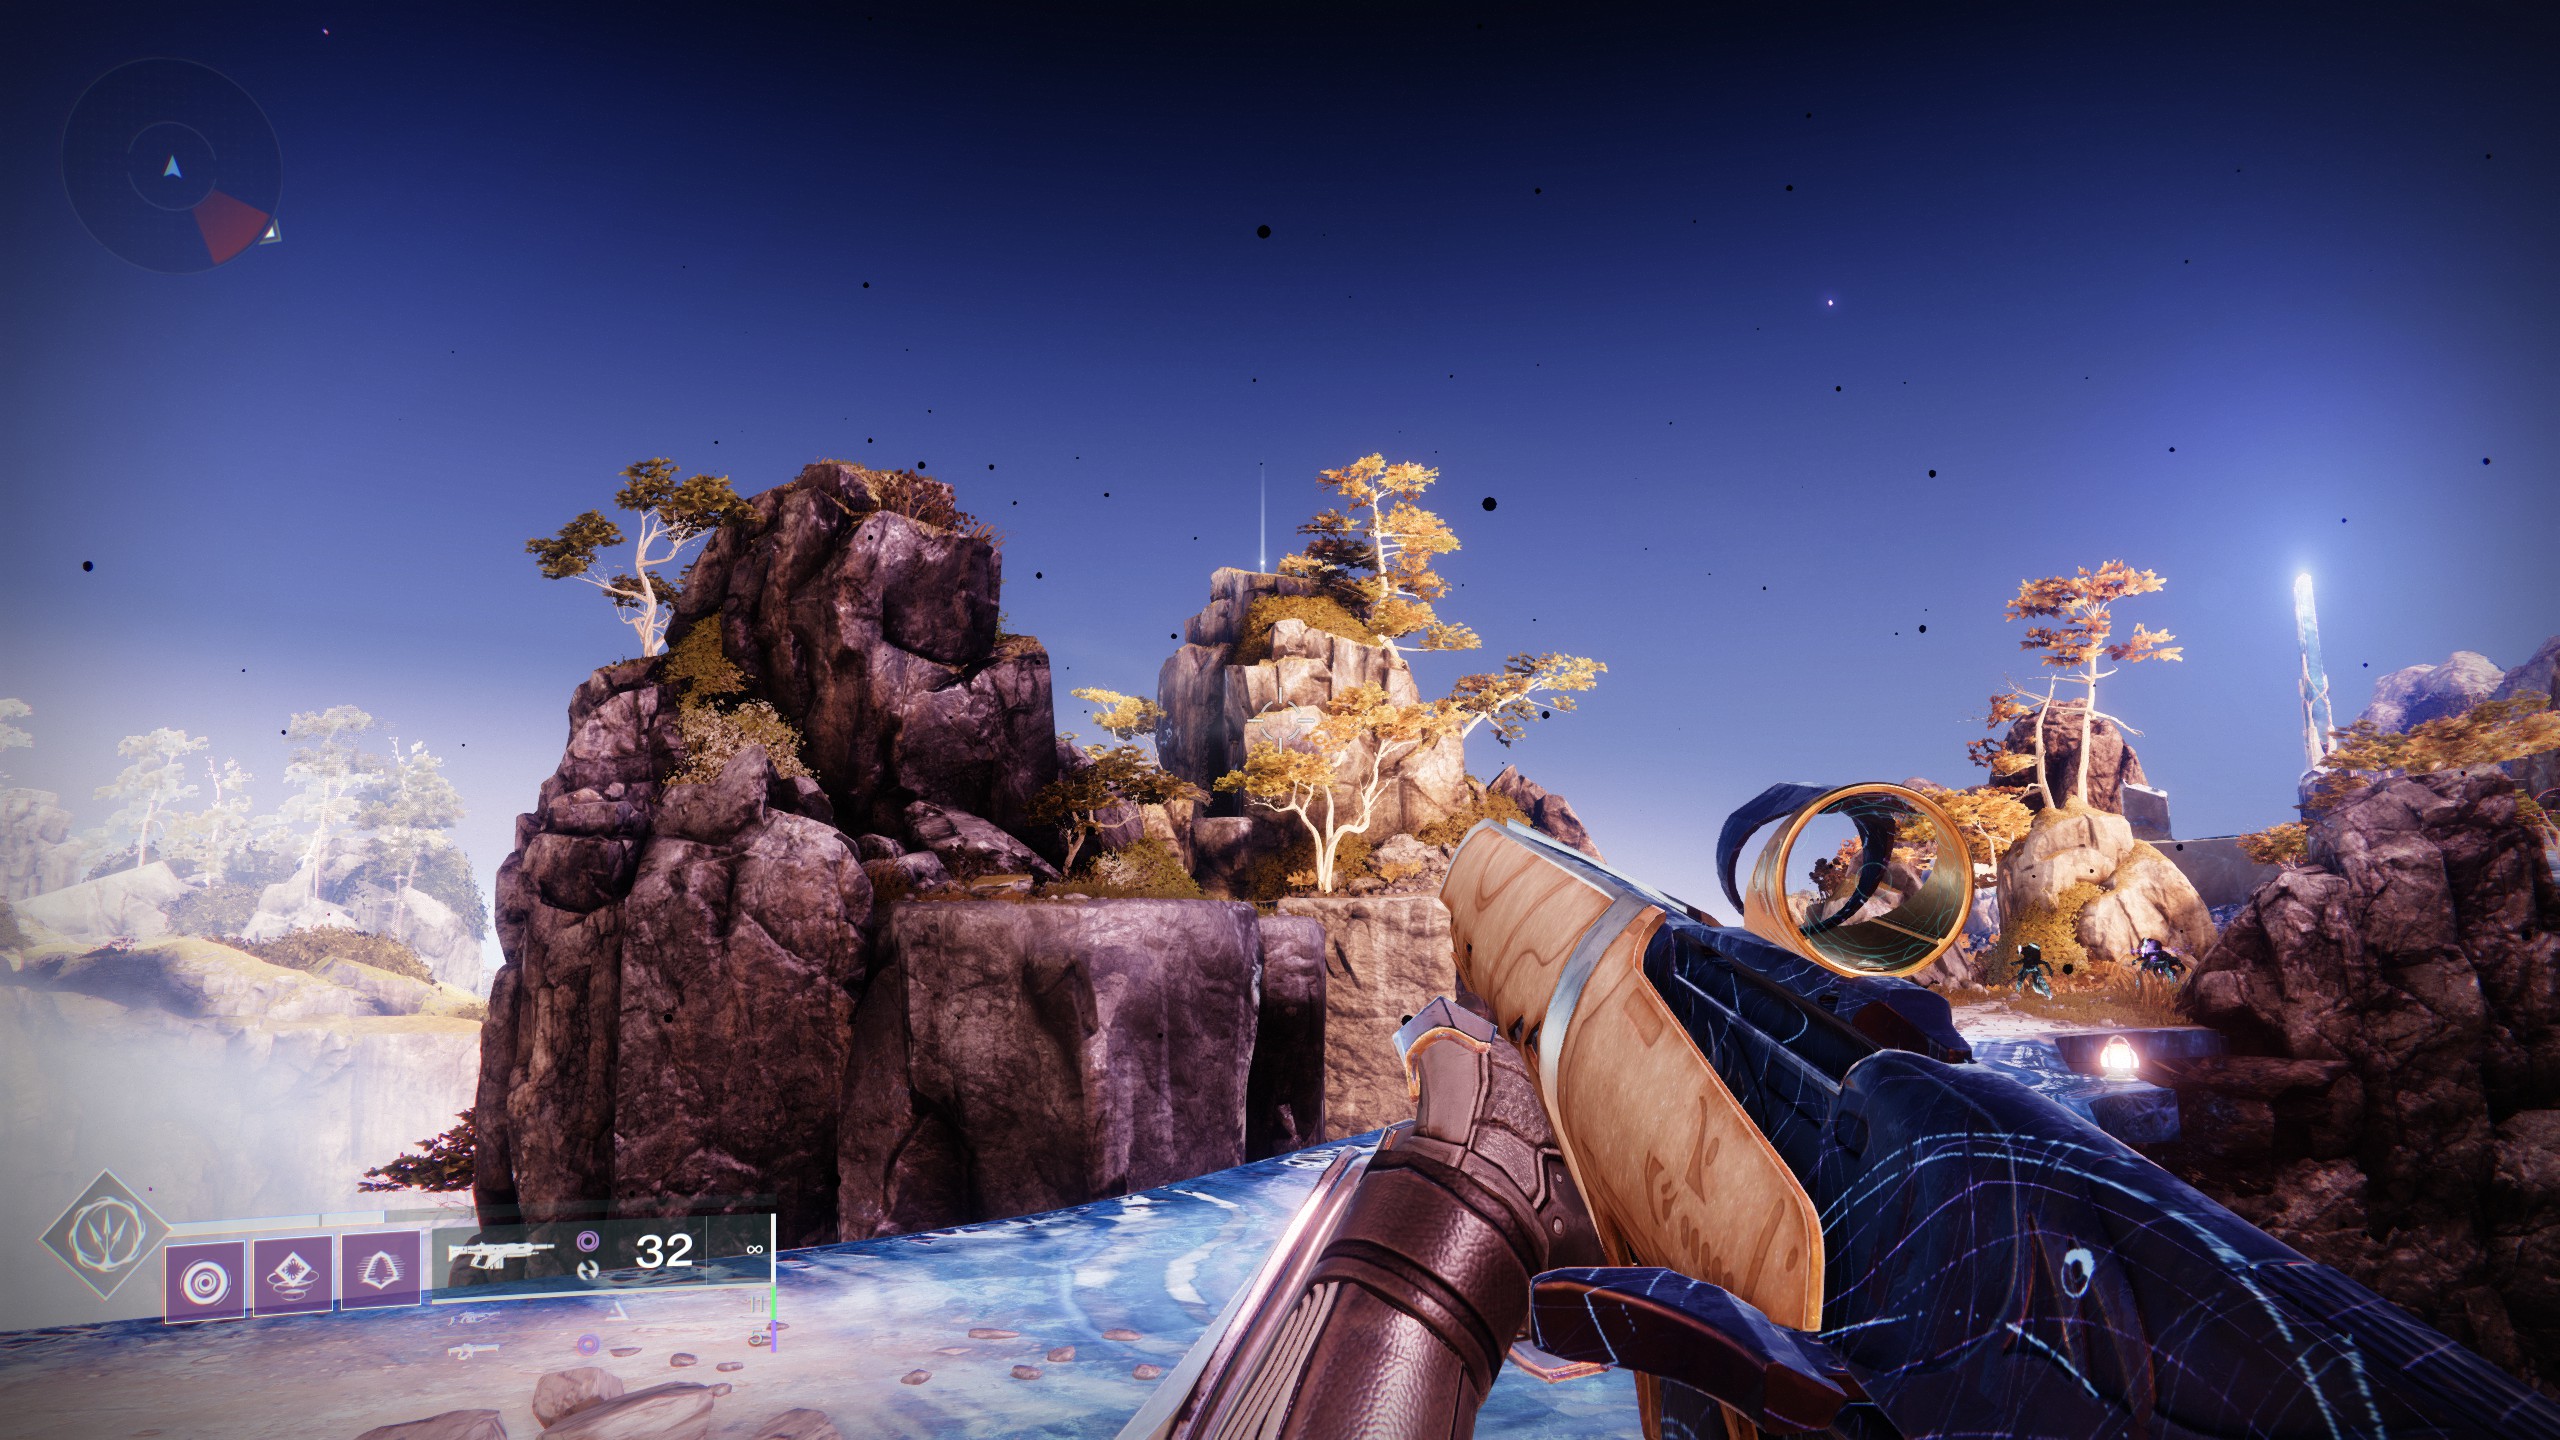
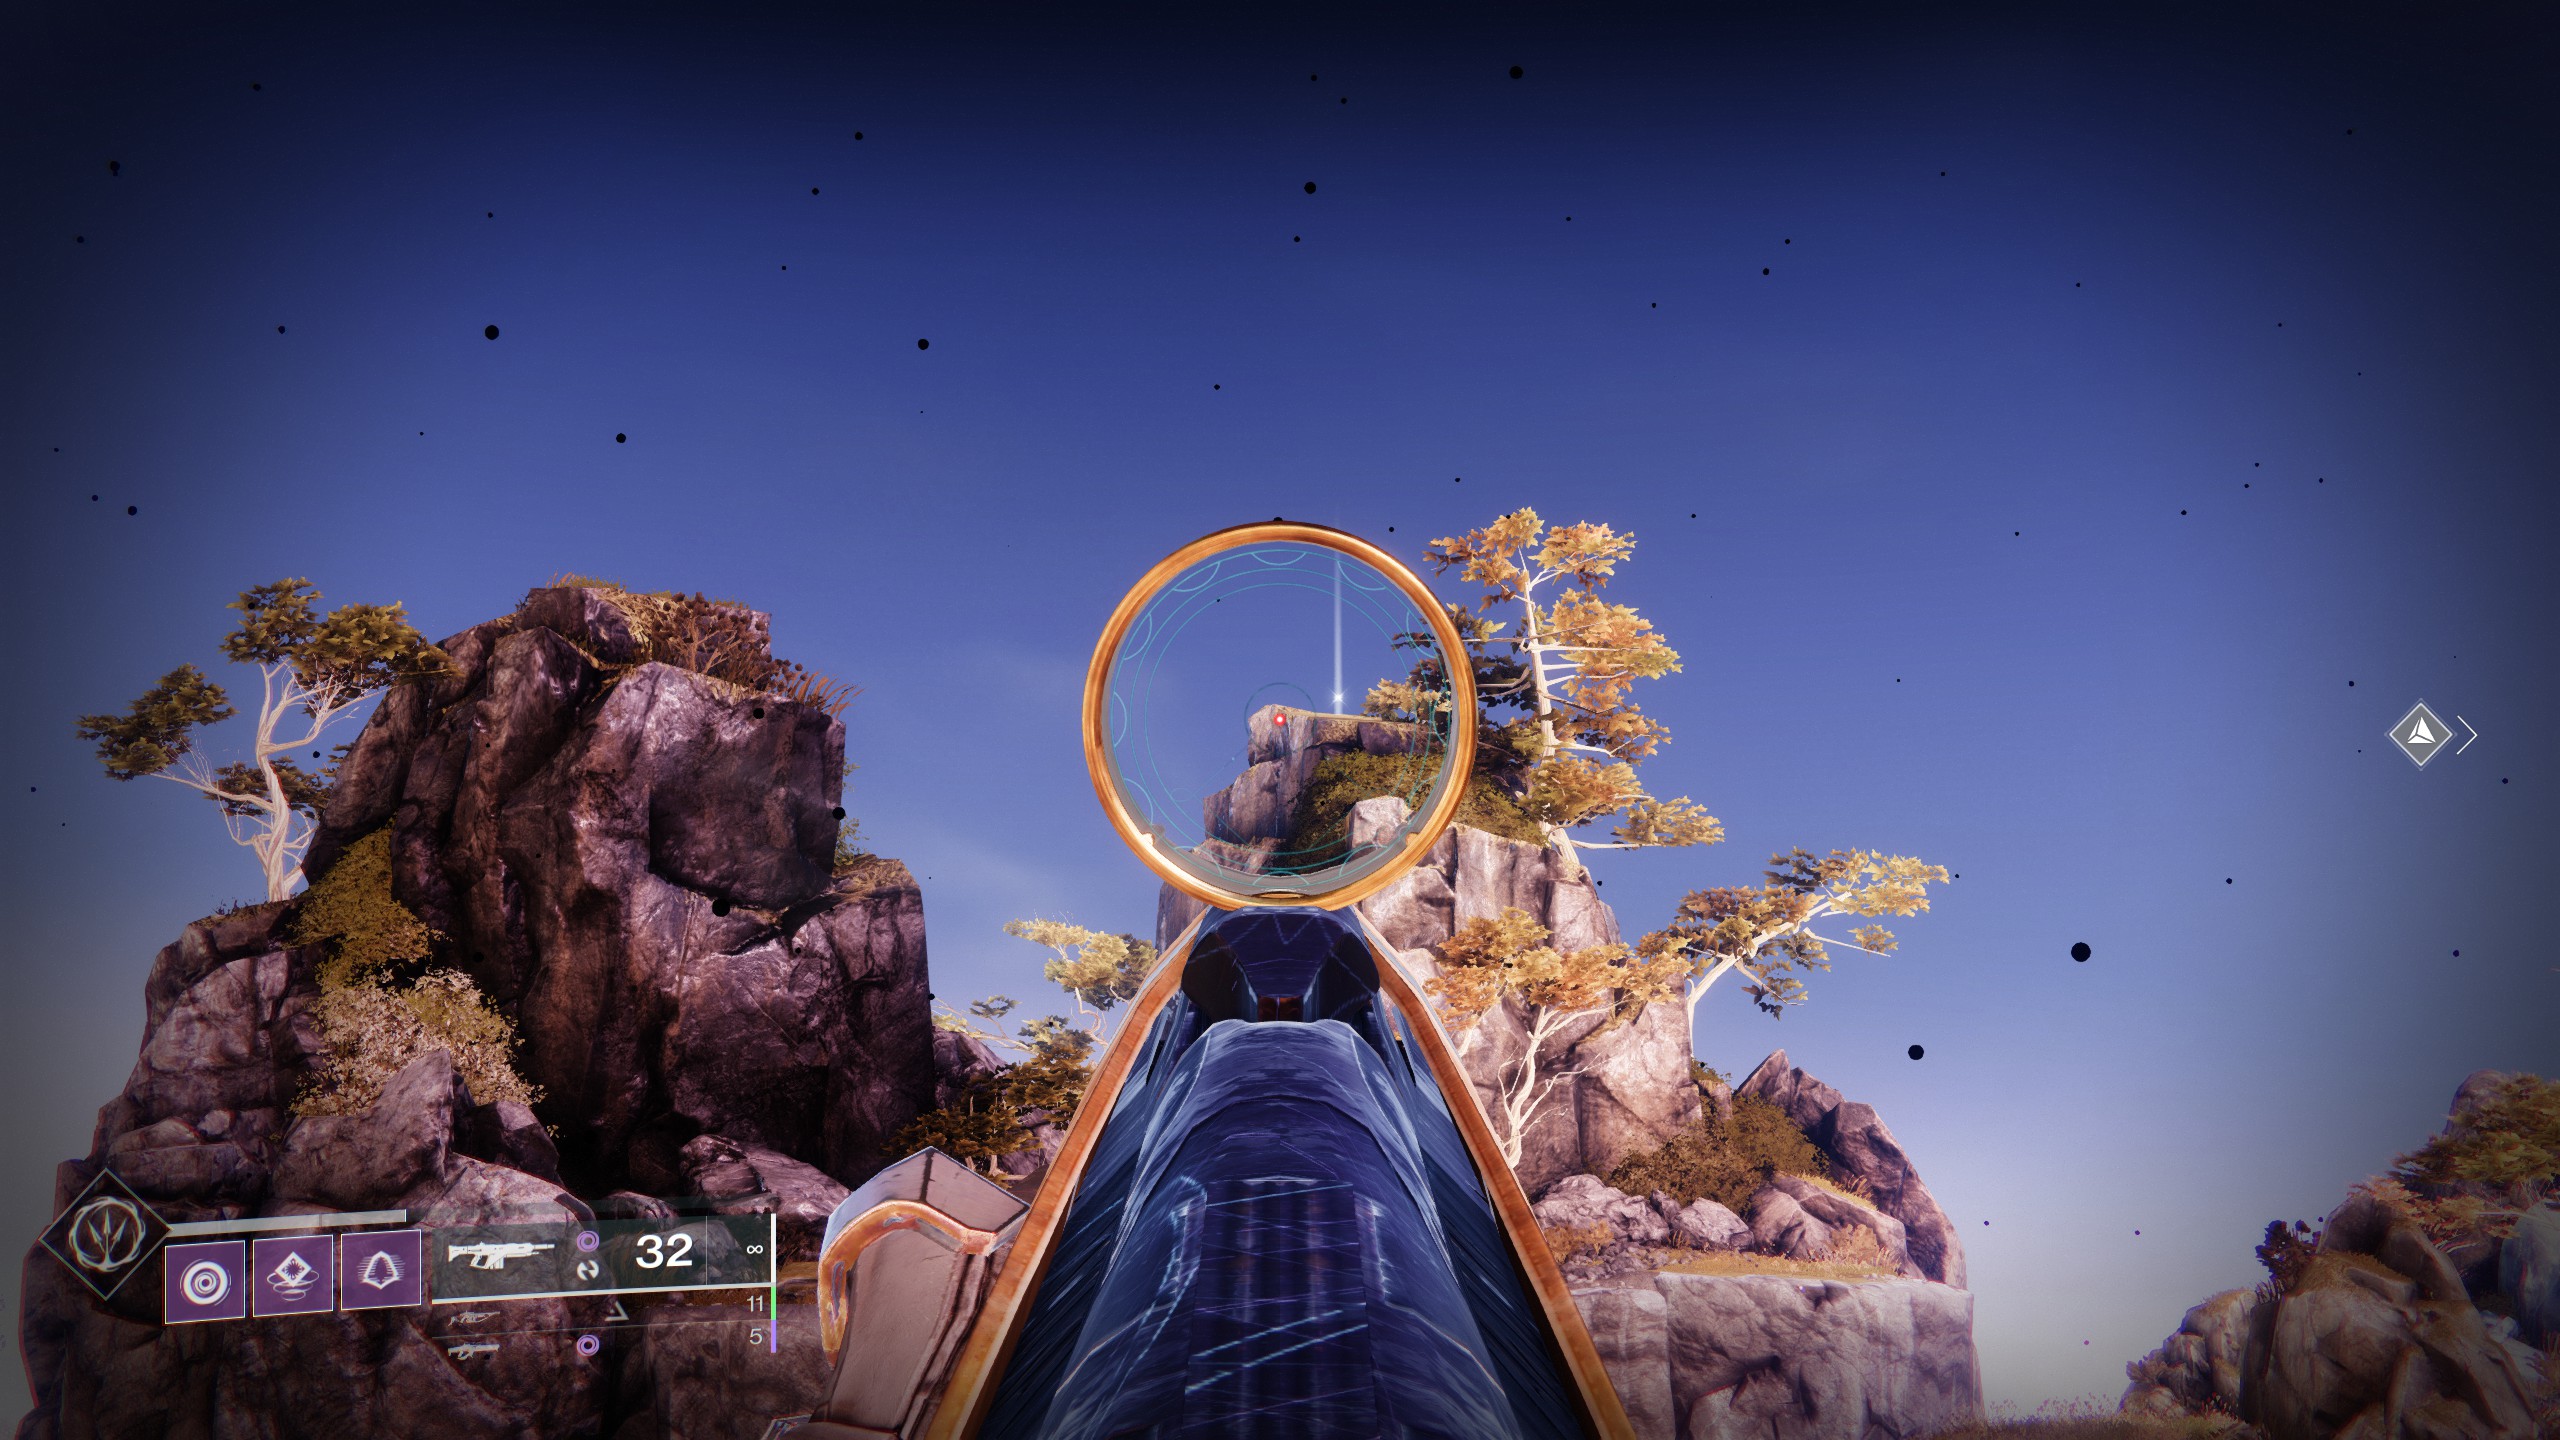
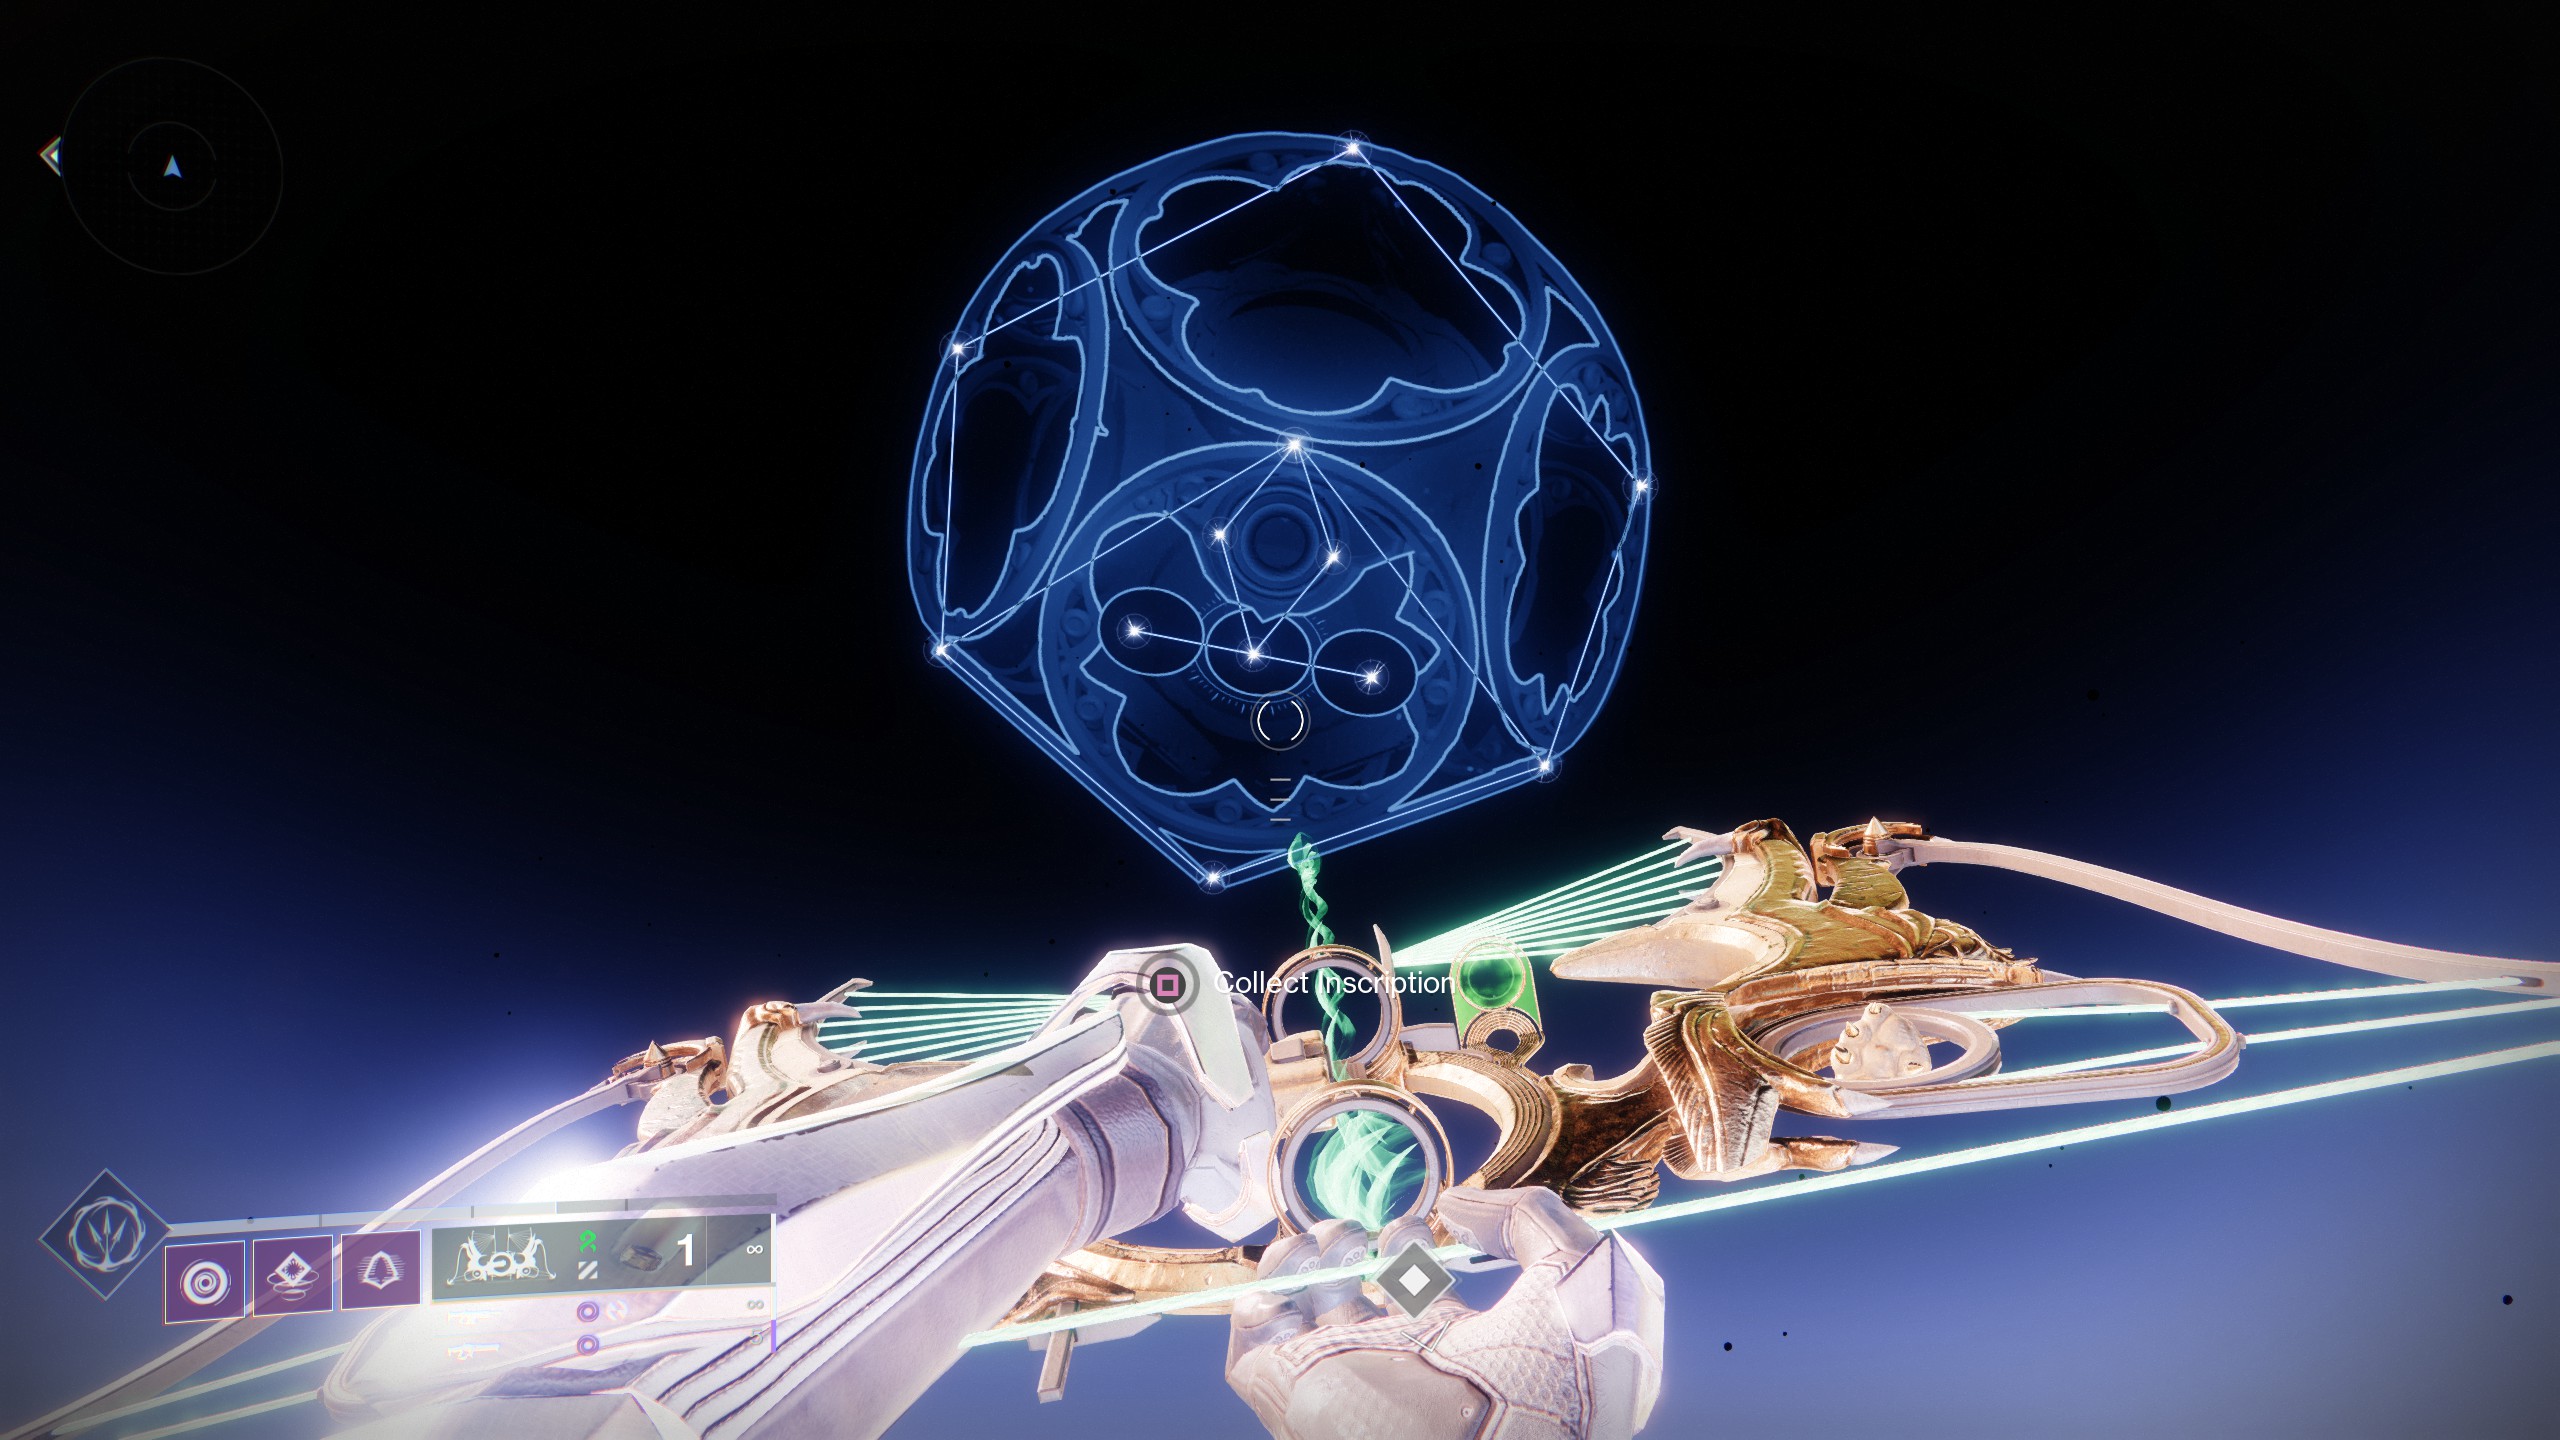
The second Constellation, Lock, is in the Dreaming City in the Spine of Keres area. As ever, bring Wish-Keeper so you can shoot the stars and collect the inscription.
Here's where to find it:
- Access the Spine of Keres in the north-east of the Divalian Mists via the path leading through the cliff.
- When you enter the circular courtyard with the white observatory building directly in front of you, head left across the bridge and continue climbing.
- Just before the second bridge you come to, look up to your left to spot the glowing Constellation point on top of a rocky outcrop.
- Jump up, reveal the message, shoot the Constellation in the sky with Wish-Keeper, and collect the inscription.
As with Constellation: Tower, now you just need to complete a Legend run Starcrossed and you'll get the Multi-Threaded Snare Refit catalyst.

Sean's first PC games were Full Throttle and Total Annihilation and his taste has stayed much the same since. When not scouring games for secrets or bashing his head against puzzles, you'll find him revisiting old Total War campaigns, agonizing over his Destiny 2 fit, or still trying to finish the Horus Heresy. Sean has also written for EDGE, Eurogamer, PCGamesN, Wireframe, EGMNOW, and Inverse.
