6 essential tips for playing Warhammer: Vermintide 2
Everything you need to know to survive Fatshark's brutal co-op looter.

Warhammer: Vermintide 2 is not an easy game. Even on the lowest difficulty, the Rotblood raiders and hordes of Skaven will happily carve you into pieces. Between the esoteric equipment system and surprisingly deep combat, there's a lot to master before you'll be confidently decapitating clan rats and chaos warriors.
If you're looking to find each mission's hidden tomes and grimoires, we have that covered in a second guide. If you're new to Vermintide 2, definitely check that out and memorize each location. Tomes and grimoires make each level slightly more challenging but also increase the quality of loot you get at the end of each mission—something you absolutely need.
For everything else, read on.
Key tips
You can block and revive at the same time
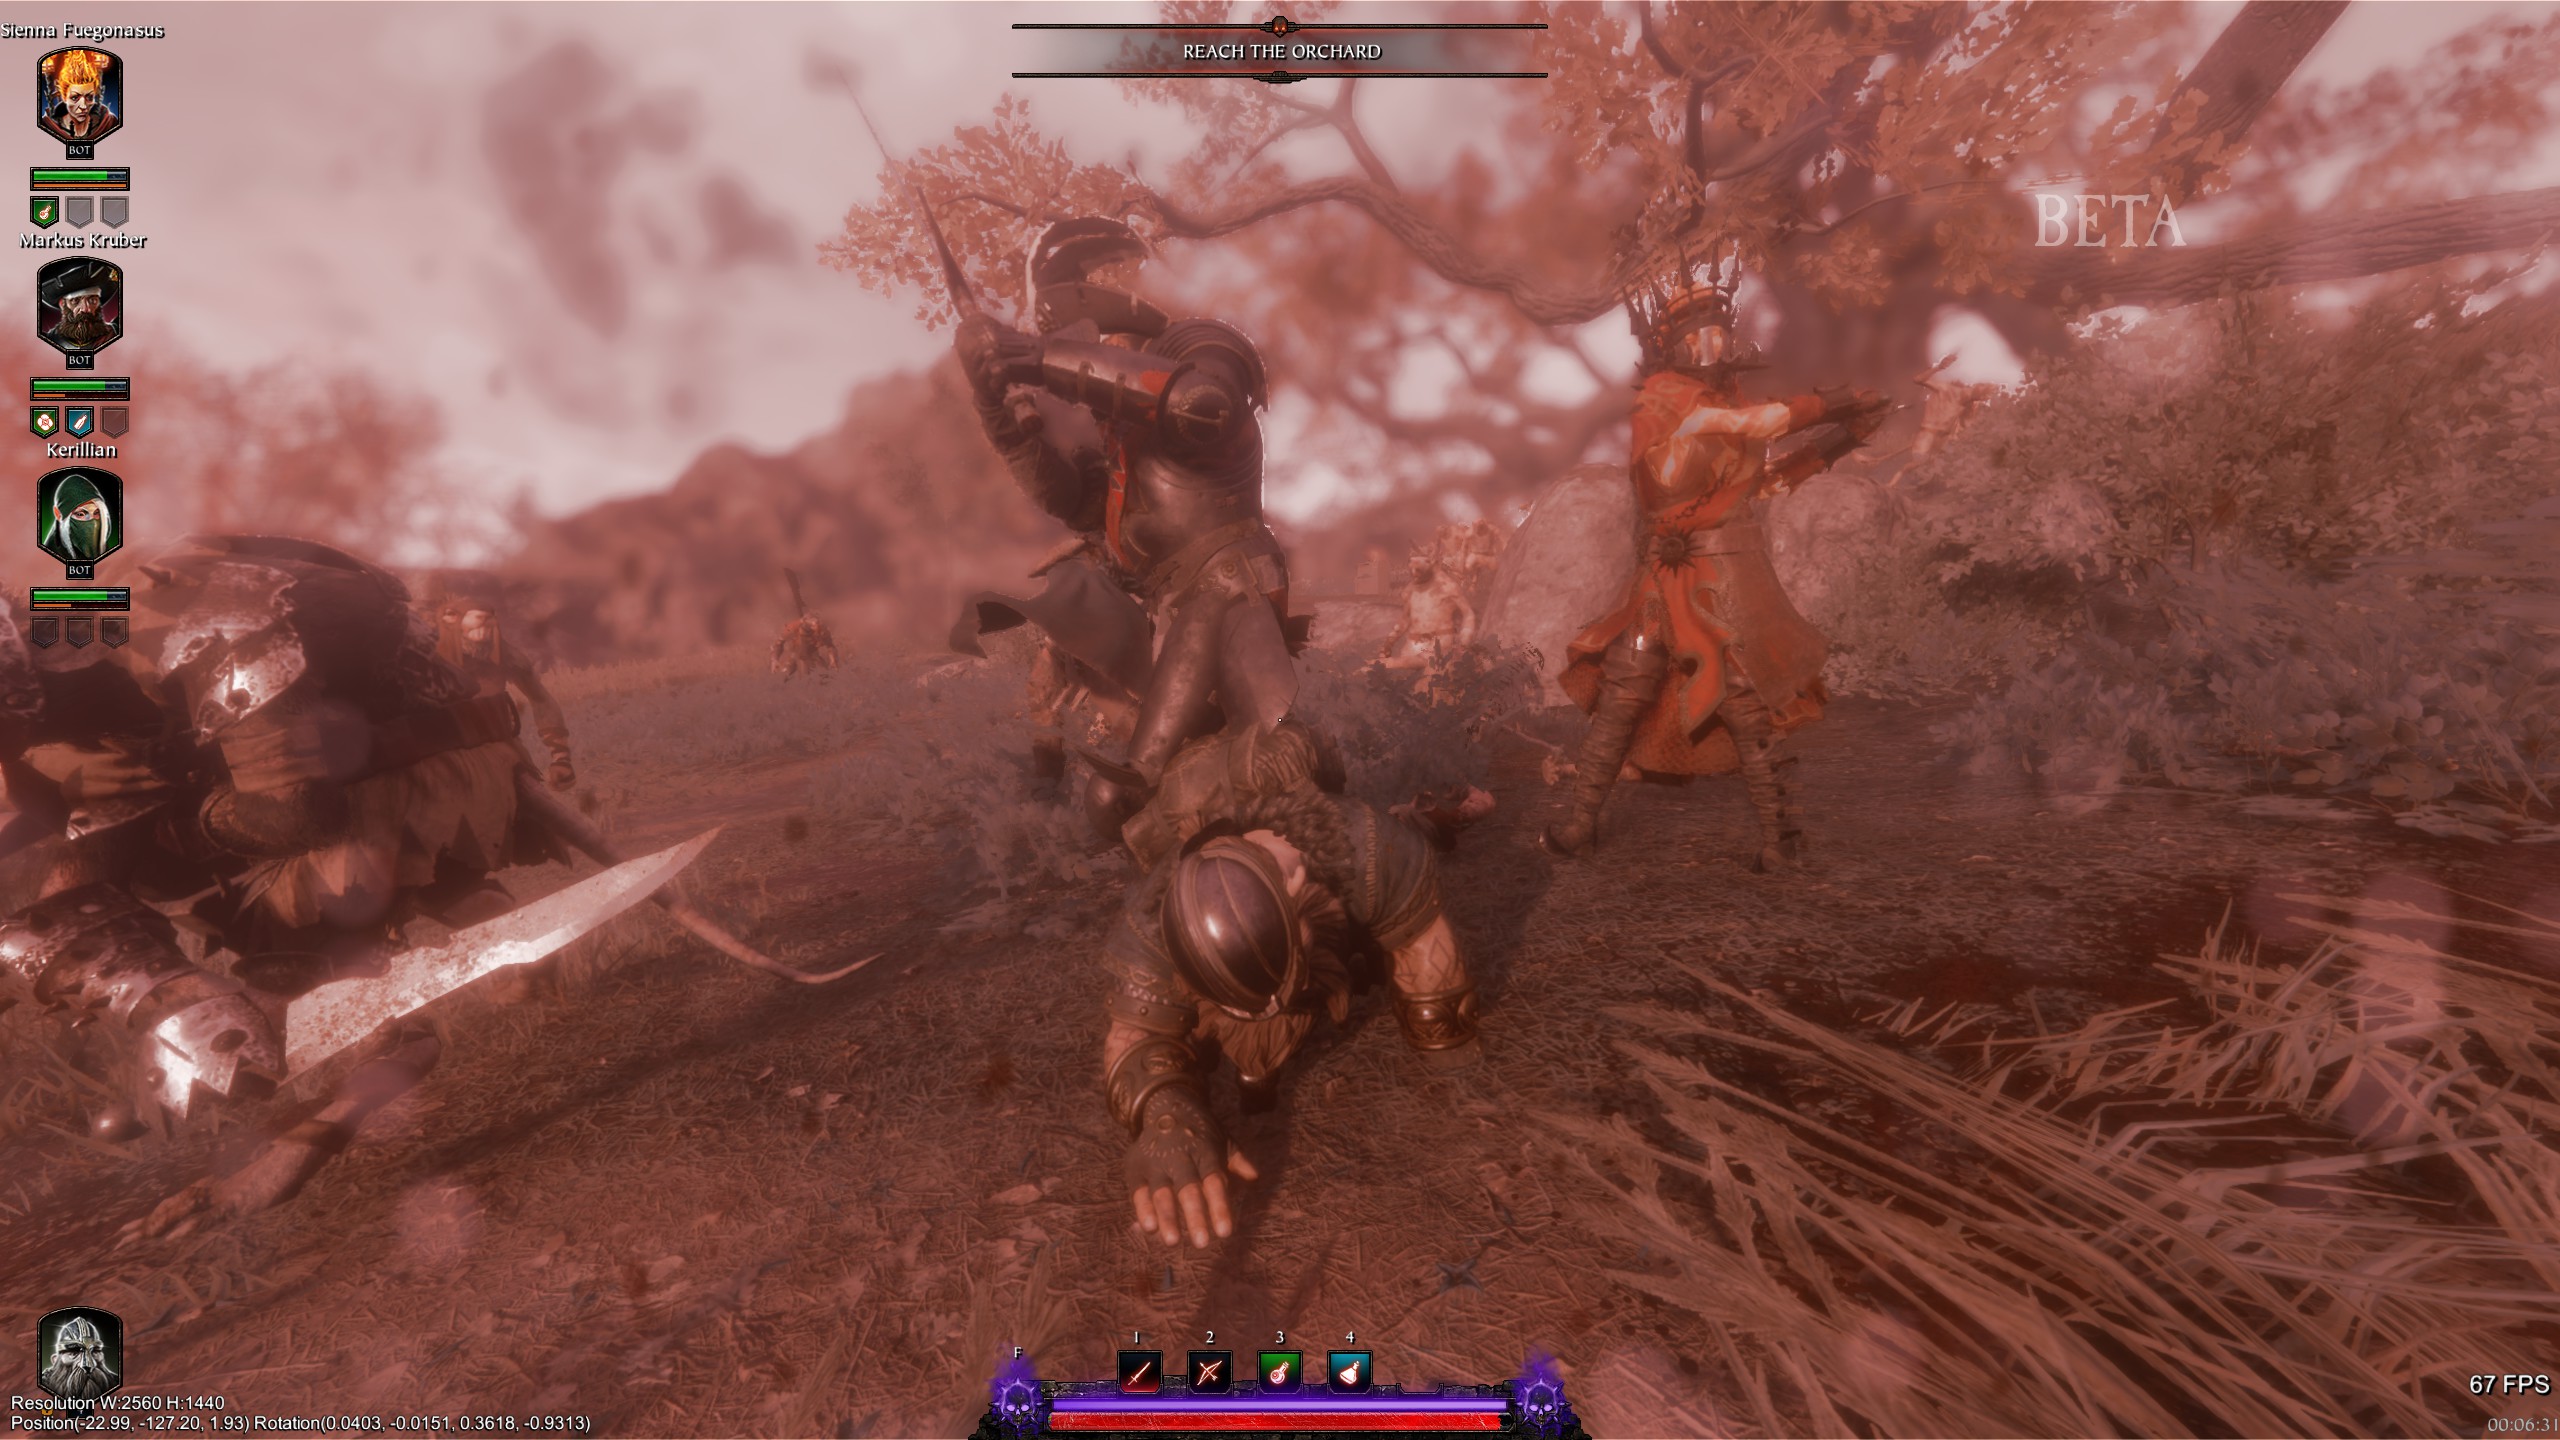
One of the biggest mistakes we see from new players is trying to revive an ally when enemies are near or, potentially worse, trying to kill the enemies first before reviving. But if you block while holding the revive key on a downed player, your block stamina will appear on-screen and prevent enemy attacks from disrupting the revive as long as your stamina can manage. Make it a habit and with those extra few seconds you'll prevent some unnecessary team wipes.
Blocking prevents incoming damage from 360 degrees
But you will use more stamina if you block attacks from outside of your weapons' range. To find out what that range is, take a look at its tool tip in the inventory menu and you'll see a blue shield in the top right corner. That shield represents you facing forward, and the highlighted part of the circle is your blocking and pushing angle. The wider it is, like with shields, the more you'll optimal block and push range is.
Understand how health potions and medical supplies work
Unless you're playing a character with passive health regen like Kerillian, health will be in short supply on missions—especially at higher difficulties. Using your health potions and medical supplies wisely is key to surviving the gauntlet and earning yourself some sweet loot. Health potions heal 50 percent of your health and medical supplies will heal 75 percent, so try not to overheal. Both items also reset the number of times you can be downed before instantly dying. On recruit, you can be knocked down three times without consuming a health potion or medical supplies. If you're downed again, you'll die instantly and have to be rescued later. Each level of difficult drops that number by one, meaning on Veteran you'll only go down once before dying instantly.
Take the time to grab tomes and grimoires on each mission
As we already said, tomes and grimoires are crucial if you want to get the highest quality loot on a mission. Tomes provide a smaller boost to loot quality and experience points, but they also occupy your healing item slot. The good news is that you can put them down to pick up a healing item and pick them up again after you've used it. Grimoires, however, cannot be put down once they've been picked up. If you die while holding one, it disappears. Grimoires provide a big boost to loot quality and experience points, but they also take up a utility potion slot and reduce the team's health by 33 percent for each grimoire—which can be lessened with the curse resistance stat found on some items.
Keep up to date with the most important stories and the best deals, as picked by the PC Gamer team.

You can turn player silhouettes to 'Always on'
Unless you and your three teammates are excellent communicators, keeping tabs on one another can be tough. Warhammer's gritty environments don't make it easy to distinguish friendly silhouettes from a sea of rats, so consider heading to the Gameplay menu and turning the Character Outline value from On (which only highlights friendlies when an object is separating you) to Always On. The soft green outlines aren't a major distraction, and when things get busy you'll be happy to know where your teammates are.
Don't attack recklessly—block and push to create openings first
With a horde of enemies before you, your initial instinct might be to hack away at these walls of meat. Doing so, however, will only open yourself up to getting attacked, and trust us, you don't want that. If you find yourself surrounded or facing one such wall of enemies, be sure to block and push before getting some swings in. This will stagger the majority of enemies around you, minimizing the poking threat. Pushing uses up stamina (represented as shield icons when holding block), but it's a great way to give yourself some space. Even better, some weapons push harder than others which can knock enemies over instead of simply staggering them.
Positioning is everything
When the Rotblood and Skaven hordes come a'rushing, don't fight them out in the open where you'll quickly be surrounded and turned into a bloody paste. Put your back to a wall or create an opening to retreat to safer ground. Positioning is everything in Vermintide 2, and knowing where to be at the right time can make a ton of difference. If you're a tank like Bardin's Ironbreaker class, try to position enemies in chokepoints like doorways and use your block or drakegun to stagger enemies while more delicate damager-dealers mop them up.
Other stuff to know
Consider assigning your dodge to its own key
By default jump and dodge are assigned to the spacebar, which is awkward fit for some players. Pressing a directional key while thumbing the spacebar with the same hand isn't the coziest configuration—and if you time it wrong you'll just end up jumping like a dummy. Consider assigning an extra mouse button the duty of dodging. Luckily, the keybinding options allow you to pull the commands apart and give them their own buttons.
Power attacks penetrate armor
And so do regular attacks from weapons with a piercing stat. You can check the bottom of a weapon's tooltip when hovering over it in the inventory to see what kind of attack style it has. When you attack and see a red shield pop up over your cursor, that means your attacks are doing negligible damage. Either charge up a power attack or try striking a weak spot (like the head of a Chaos Warrior). Just be sure to practice a bit: power attacks don't require holding the button until the wind-up animation finishes. There's a sweet spot that makes them relatively quick to pull off.

Don't mess with crafting until the endgame
Feel free to salvage all of your old gear, but we'd recommend waiting until you're a much higher level before you mess around with crafting. Like chests, crafting rewards you with items at or slightly above your hero power level. Early on, that means you'll quickly replace those crafted items. Instead, save those resources when upgrades are few and far between and you're looking to fine tune the traits of your weapon.
Save commendation chests for when you're a much higher level
If you can resist the urge to open them, the commendation chests you get each time you level up are best opened once you've reached the high 200s in terms of hero power. Unlike the chests you get from beating missions of a specific difficulty, commendation chests top out at items with 300 hero power—that can be a huge boost to help you climb over the endgame grind.
You can give allies potions and medical supplies by equipping the item and right clicking while targeting them
With medical supplies, this will actually let you heal them which is nice if they're busy slaughtering enemies and you have second to spare. Either way, don't be a greedy Garrett and hog all the healing supplies.
Press 'T' (by default) to highlight special enemies for your team
Another useful way to help out your team is by marking targets of interest. Special enemies like Ratling Gunners or Blightstormers (which cast those annoying tornadoes) often hide off in the distance and are hard to spot. If you see one, marking it for a ranged character to quickly dispatch will save the party a lot of grief.
Know which kind of bomb is best for which situation
The round bombs do awesome damage to bosses and should mostly be saved for those scenarios (unless you've already killed a boss earlier in the mission). Meanwhile, save your incendiary bombs, which look like pyramids, for when the hordes rush you. Incendiary bombs do low damage to bosses, but will really help thin out a thick group of attacking enemies.
Drink a potion of strength before hurling a bomb
Yup, potions of strength don't just affect your melee damage but any damage that your character does over the next few seconds. If you have one and a bomb and you encounter a boss monster, chug the potion first. The extra damage really helps.
With over 7 years of experience with in-depth feature reporting, Steven's mission is to chronicle the fascinating ways that games intersect our lives. Whether it's colossal in-game wars in an MMO, or long-haul truckers who turn to games to protect them from the loneliness of the open road, Steven tries to unearth PC gaming's greatest untold stories. His love of PC gaming started extremely early. Without money to spend, he spent an entire day watching the progress bar on a 25mb download of the Heroes of Might and Magic 2 demo that he then played for at least a hundred hours. It was a good demo.


