How To: Use Your Windows 7 Upgrade Disk On a Fresh PC
Anyone who tried to install their upgrade version of Windows 7 to a fresh drive was treated to a cruel wake up call. Not when they installed the OS, not even after they installed all their applications, but when the time came to activate. The deal with upgrade media is simple, an existing, and activated copy of Windows must exist on the hard drive prior to installation, or be prepared to start over. To make matters worse, the activation warning doesn't even give you a phone number to call and appeal you're case. The good news is you’re not dead in the water, that is, as long as you're comfortable making a few simple registry edits.
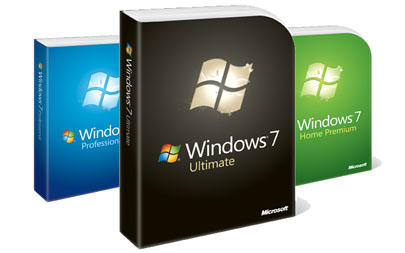
This guide will give you tips on all the upgrading scenarios, and even teach you how to use your upgrade DVD to perform a clean install on a fresh system with no prior OS. We show you how to turn the tables on the dreaded activation error code 0xC004F061: "The Software Licensing Service determined that this specified product key can only be used for upgrade, not for clean installations."
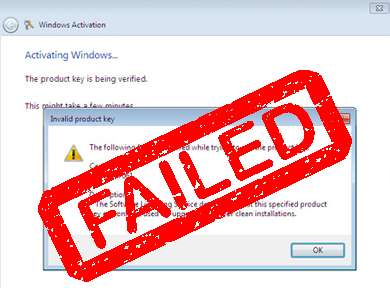
First, lets quickly review what you can do with the upgrade disk, and how you should approach each upgrade scenario.
Vista Specific Upgrades
Scenario 1
You’re doing an in-place upgrade from the same edition of Vista to the same edition of Windows 7. For example, Windows Vista Home Premium to Windows 7 Home Premium, Windows Vista Ultimate to Windows 7 Ultimate, etc.
Next Steps
Just pop in your upgrade DVD while in Vista and follow the prompts, this one is drop dead simple! Activation should go off without a hitch.
Scenario 2
You're upgrading your copy of Windows Vista to a different edition of Windows 7. For example, Vista Ultimate to Windows 7 Home Premium, or Vista Business to Windows 7 Ultimate.
Next Steps
You will need to boot from the CD and perform a clean install. Do not format your drive using any program other than the Windows installer, or you will be forced to perform the registry hack listed below in order to activate.
Keep up to date with the most important stories and the best deals, as picked by the PC Gamer team.
If you install Windows 7 to the same drive that Vista is currently located on without formatting, the contents will be moved to Windows.old that you can sift through or delete later.
Clean Install / Fresh Install
Scenario 3
You’re doing a clean install of Windows 7, and Windows Vista, Windows XP, or Windows 2000 is currently installed.
Next Steps
Do not format your drive using anything other than the Windows installer. Simply boot from the CD and either format the drive when given the option, or install to the same drive which will create a Windows.old folder with your previous data.
Scenario 4
You have a freshly built system with a totally blank or formatted hard drive.
Next Steps
You could install a previous version of Windows, activate it, then go ahead and install Windows 7 using one of the scenarios listed above which some call “The Double Install Method”, or you could follow the steps on the next page to trick the activation service into thinking it found a previous version.

