Conquer Heroes of the Storm's Towers of Doom
Comebacks are always possible on this unique map.
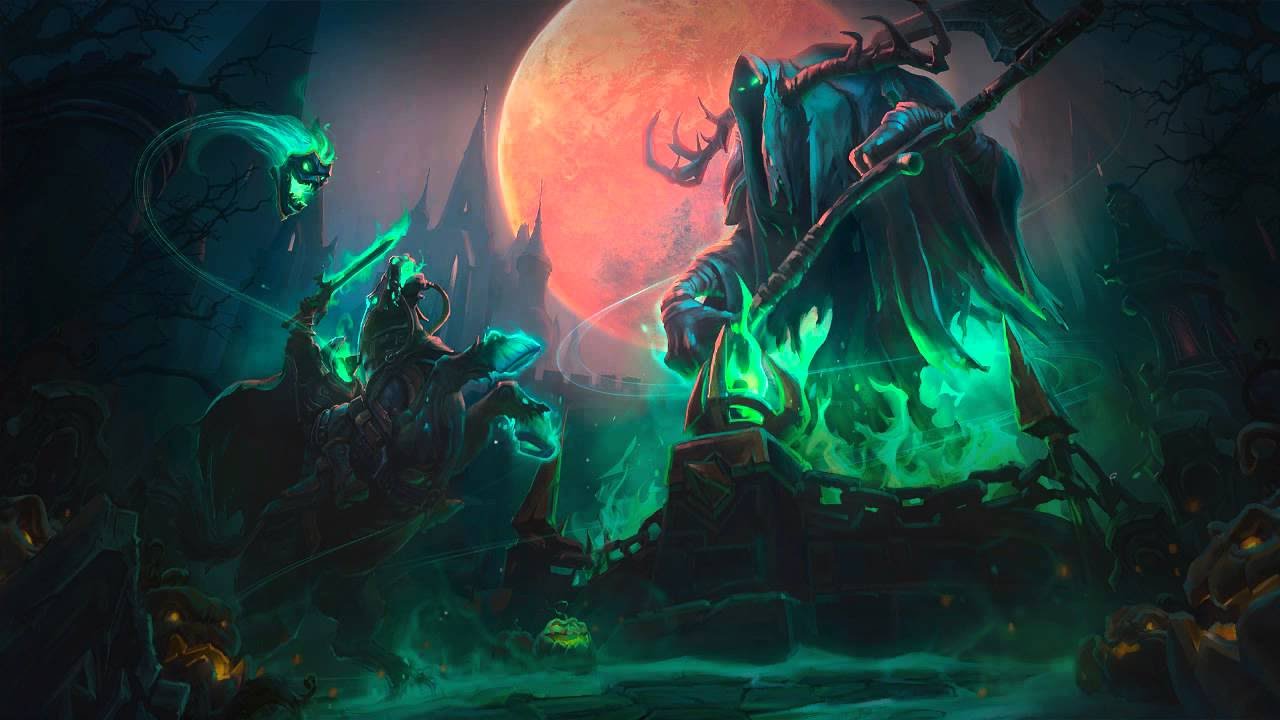
You’ve read our guides to every other map in Heroes of the Storm, mastered Dragon Shire, controlled the Sky Temple, and looted the Tomb of the Spider Queen. But there’s one map that’s unlike any of the others, one that demands a whole new approach: Towers of Doom. Unlike every other map, and unlike every other game in the same genre, the aim is not to directly attack the enemy’s core. Instead, your structures will be the ones doing the damage.
Towers of Doom features three lanes, spread out to form a medium-sized map. Unlike most maps, though, these lanes only feature one castle for each team, rather than the typical two. These castles are unique, too: destroying an enemy castle doesn’t just raze it forever, but converts it to your team’s control. The more castles you control, the more effective capturing the main objective is. Control all six of the castles, and your core will fire a shot at the enemy core every few seconds until the enemy reclaims a castle. Between the lanes (and below bottom lane) there are altars which periodically activate, triggering the map’s main feature.
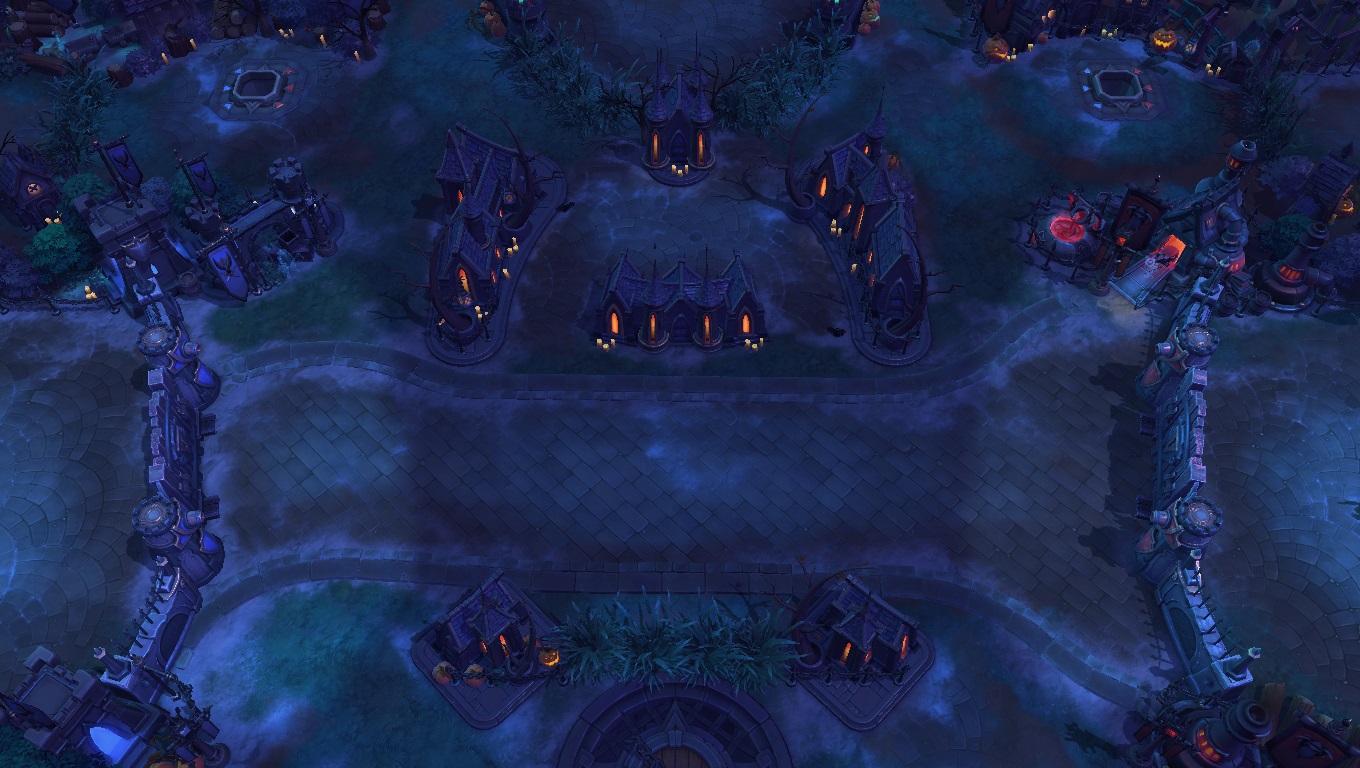
Channel on an altar successfully, and each castle controlled will fire at the enemy’s core. Deal 40 hits and you win. Towers of Doom also features two unique types of mercenary, Sappers, which travel down a lane and explode on structures, and the Headless Horseman, who will deal 4 damage to the enemy core if captured by your team.
Choosing your hero
While there’s certainly a benefit to sieging structures on Towers of Doom, as it both provides a forward structure to fall back to when getting aggressive and makes the altars more valuable, every lane is prone to ambushes. It’s possible to have success with heroes like Sgt. Hammer who can siege incredibly well, but a smart enemy will take advantage of your lack of mobility. It’s far too risky to siege enemy structures when you can always be flanked, and not worth it.
This is why sieging characters are typically ignored on this map, the focus being on teamfighting. If you do need to take down structures, the Sappers typically do a good enough job. Focus on a composition that can tussle for a long time, as it’s not uncommon for teams to spend a long time fighting over altars.
In fact, this is a map where having two supports is often beneficial. Otherwise, focus on having a team that works well together in a fight - big meat shields to keep the enemy at bay with high damage-dealing heroes sat behind them.
Laning
Depending on your team, you’ll want to move into lanes as either 1-3-1 or 1-2-2 groups, from top to bottom. The top lane will just about always be solo, while the bottom lane can be solo if you’ve got a second hero who can hold their own. It’s typically beneficial to have three heroes staying middle, as this means they’ll be set up for the first altar activation, but keeping a second hero bottom can help prevent ambushes.
Keep up to date with the most important stories and the best deals, as picked by the PC Gamer team.
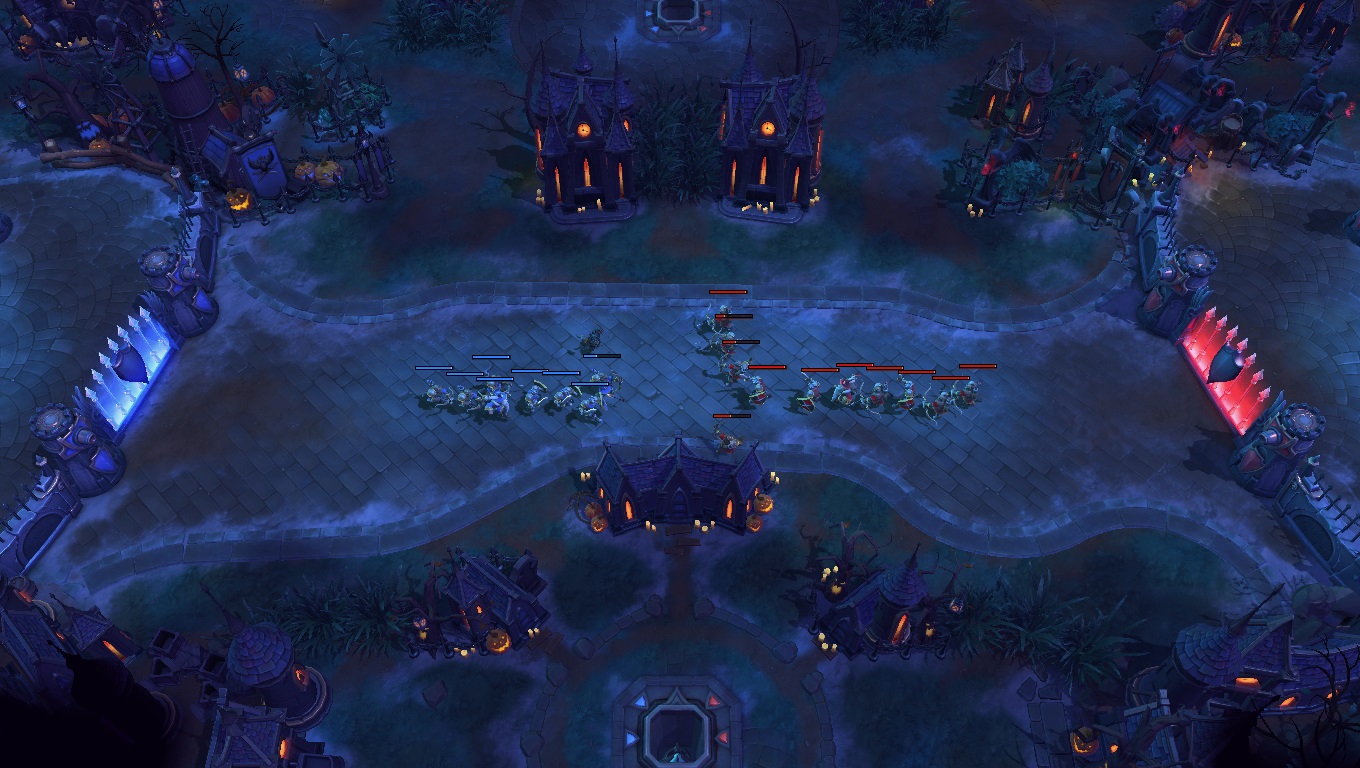
At around the two minute mark the first wave of altars will activate: the two towards the top, and the central altar. Be aware of enemy movements around this time. They might either move to ambush you around the altars, or be vulnerable to ambushes themselves.
The altars rise
Altars activate in waves, with the first wave always being the three top and middle altars, while all other waves except the fifth will have one or two altars active. One team will always come out of this phase with a slight advantage, but the emphasis here is on slight. Unlike every other map, capturing an objective offers no experience reward or map control. Despite one team always capturing at least one more altar than the other, the minimal advantage gained dictates how this phase is played.
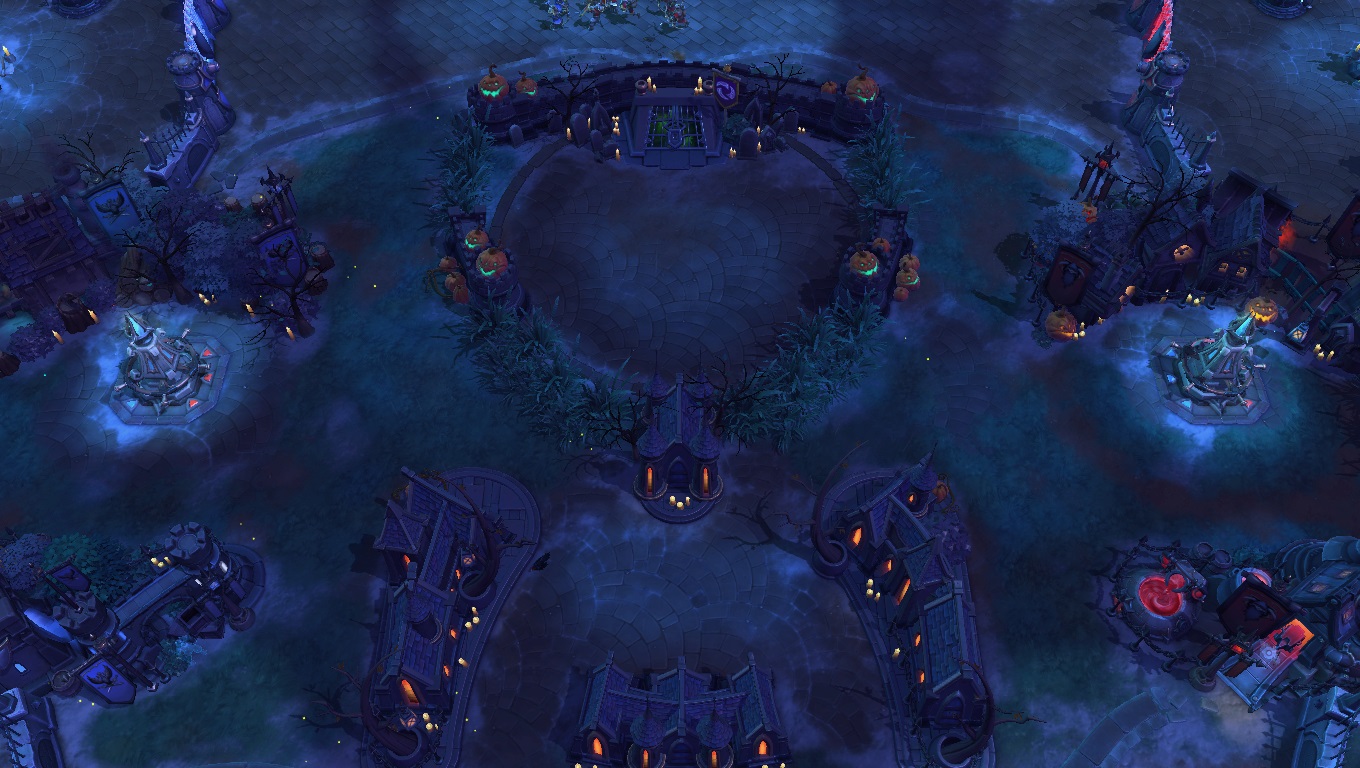
There are two main choices to make here: do you take the top altar on your side of the map safely, committing as little as possible to the objective in favour of lane experience, or do you take both your top altar and contest the middle altar, to get another four hits on the opponent’s core? It’s nigh impossible to capture all three, and attacking the top altar on the enemy’s side without a significant lead is risky.
If you have a strong teamfight advantage, consider contesting the middle altar. If you have a hero with a global range or incredibly fast mount - Dehaka, Falstad, Brightwing - try to take your top altar with them and have them join the fight at the middle altar for a numbers advantage. If not, cut your losses, and take your own altar. You won’t be put far behind, and you won’t risk the enemy snowballing into a lead.
Bombarding the core
With each wave of altars, you’ll have opportunities to capture them and whittle away the enemy core. Knowing when to back off is important - you’re not losing any experience by not capturing an objective, and the experienced gained by ignoring them can give your team a fighting chance next time. Even if your core is brought to a single hitpoint, it’s still possible to come back. Never commit to a last stand at an objective unless the enemy’s success would mean the destruction of your core.
Twelve minutes into the game, a one-way shortcut will open up for each team to transport themselves from their base into the centre of the battlefield. Don’t use this unless you have vision of the enemy team and it’s a safe area - it’s easy to get caught out by your opponents as you jump through.
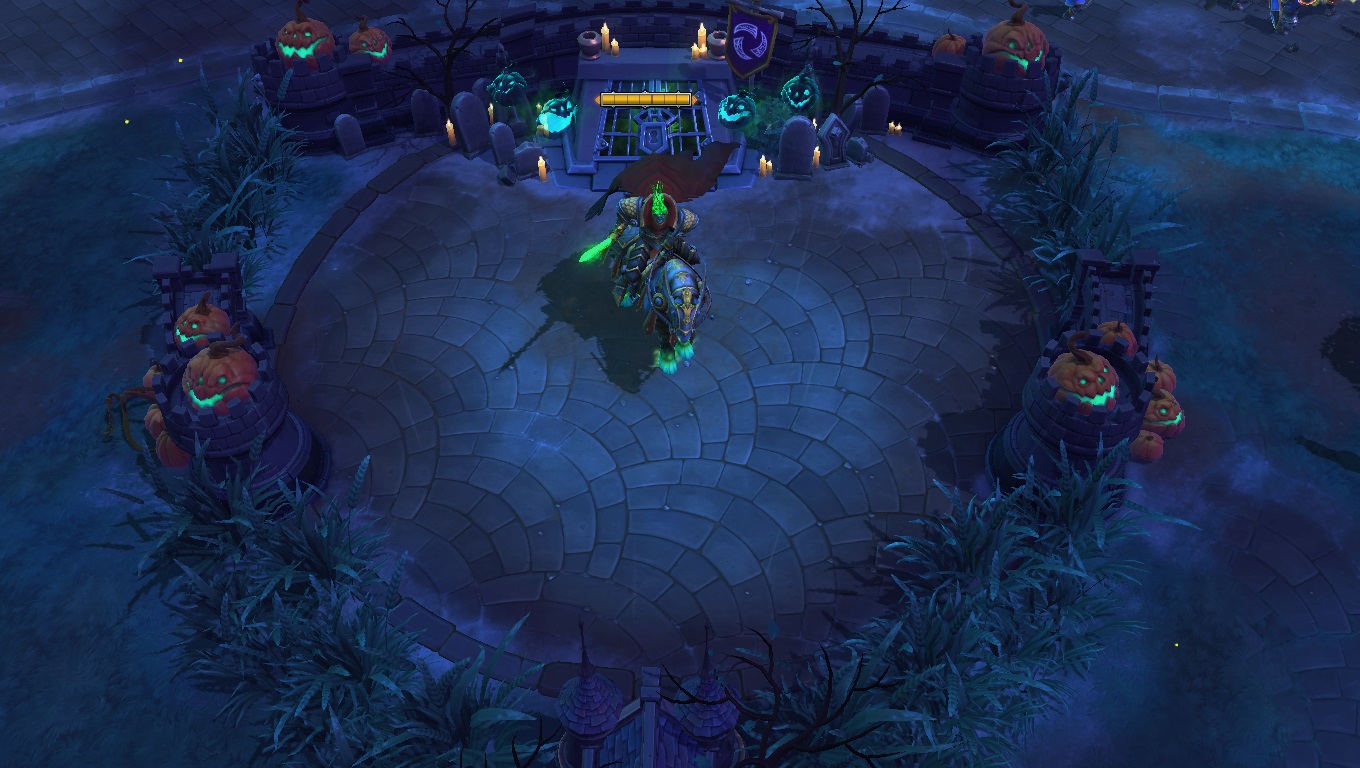
The Headless Horseman deals damage equal to a percentage of your max health, and then some more. Even the strongest of heroes can struggle against him, make sure your team fights him together.
Don’t forget to use the mercenaries where possible: unlike other mercenaries, the Sappers don’t need time to do chunks of damage to structures, and are often best guarded when they approach a lane. On top of that, if a Sapper makes it all the way to the other end of the map, it will launch itself at the enemy core, each Sapper dealing a single point of damage. It’s not much, but defending a march of Sappers can be a game-winning play. The Headless Horseman is similar, and will often be best used as a final burst of damage.
Closing out
Never give up on Towers of Doom. Even if your core is on five health while the enemy’s is at forty, the map doesn’t lend itself towards huge experience advantages, and there’s always a way back if you know when to retreat.
Unless you do have a massive advantage, it’s not worth trying to capture all of the enemy castles, as, while they act as a forward defense, it’s incredibly difficult to maintain control of four, let alone all six. Instead, if you’re ahead, control the centre of the map and trade objectives equally. If you’ve got a lead on core health, taking objectives equally is a surefire way to win. Remember your possible game winning moves: the Headless Horseman, capturing altars, and escorting Sappers.
It’s cliché, but don’t let an early lost battle dishearten you: it will typically take ten altar captures to destroy an enemy core, you’ll have a lot of time to come back. That applies to all maps, though: you can cut your losses, and sometimes you should. There’s always time to come back, especially on Towers of Doom.
Find all of our other Heroes of the Storm map guides below:
Dragon Shire guide
Garden of Terror guide
Cursed Hollow guide
Blackheart’s Bay guide
Sky Temple guide
Tomb of the Spider Queen guide
Battlefield of Eternity guide
Infernal Shrine guide

