How to beat the 12 bosses of WoW's Ny'alotha, The Waking City raid
Use this walkthrough to bone up between bosses.
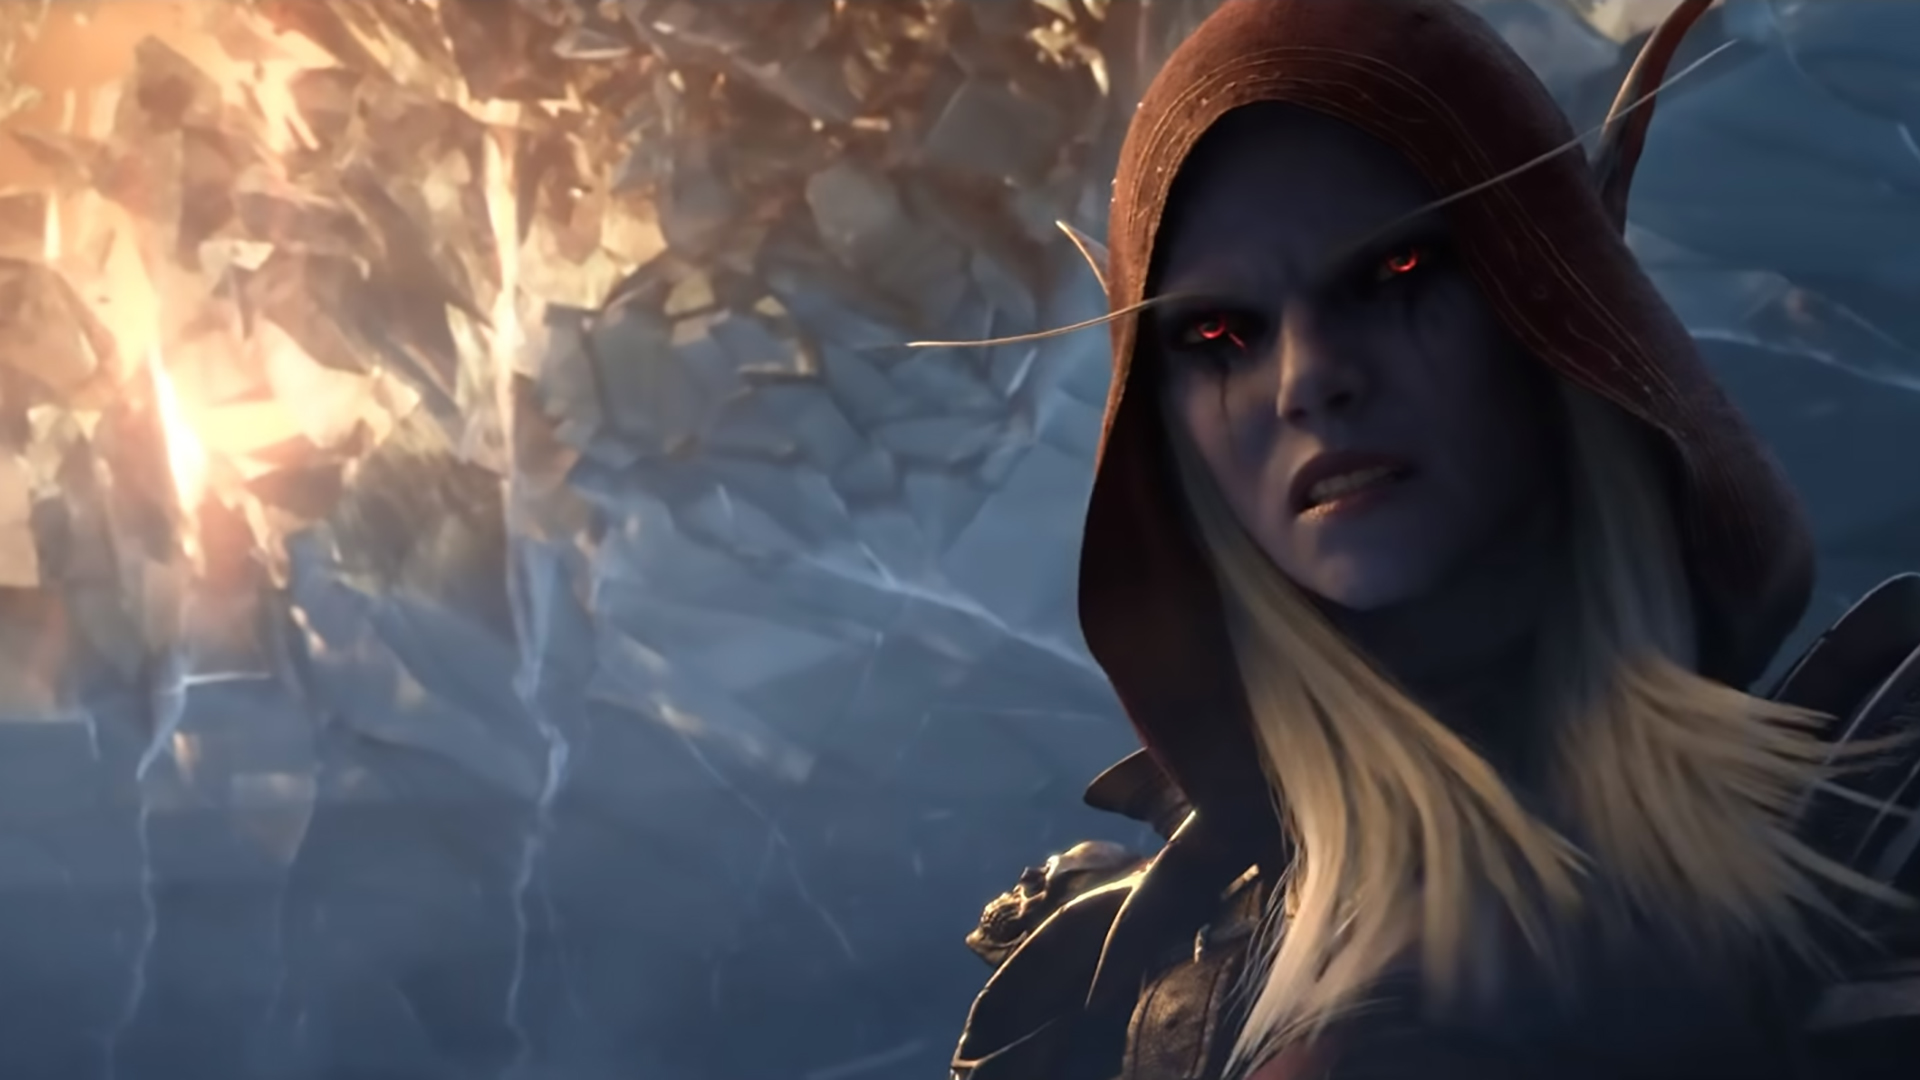
Everything we know about World of Warcraft: Shadowlands, the ambitious new expansion for World of Warcraft.
Looking for a WoW 8.3. raid guide? Ny’alotha, the Waking City, is the new large-group raid instance in World of Warcraft, and it's opens to players on Normal and Heroic difficulty now, with Looking for Raid and Mythic difficulties following afterwards.
The raid is enormous, with a whopping dozen bosses standing in the way of anyone trying to blaze through it quickly. Do you have time to watch long videos on all the fights? No way. Read this TL;DR World of Warcraft 8.3 raid guide instead, with bite-sized chunks you can digest while you hop from boss to boss.
Unless otherwise noted in this guide, patches, swirls, and areas on the ground that look bad, probably are. Rule #1 in WoW raiding, and life: avoid standing in fire.
Article continues belowWrathion, the Black Emperor
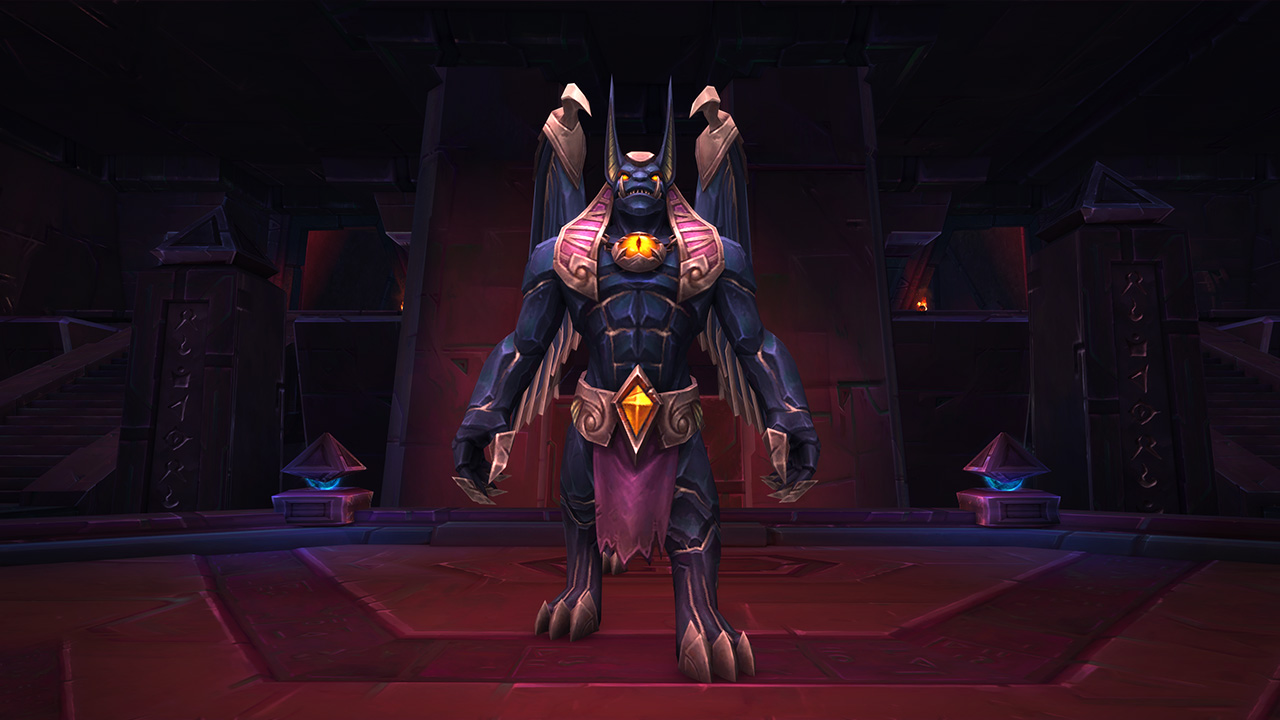
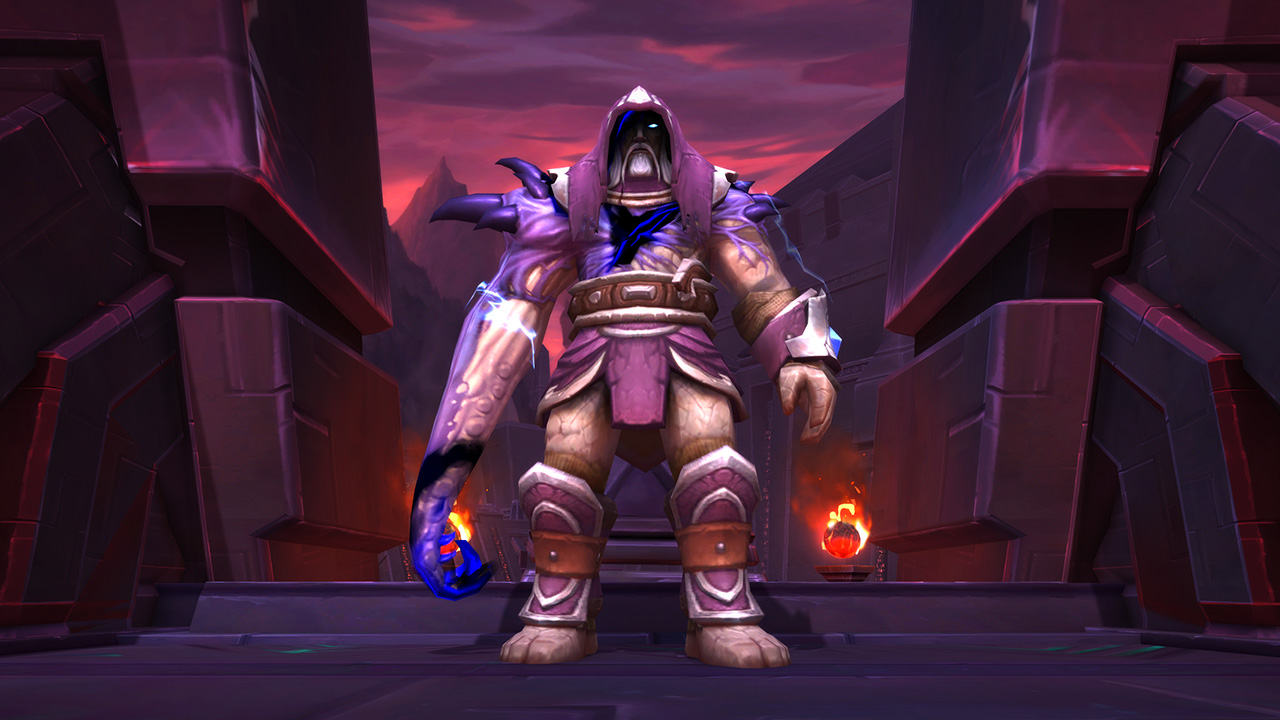
The fight with Wrathion has two alternating phases: one where you fight him, and another against his adds.
In the first phase, fire breath comes out the front, tail swipes from the back. Tanks must swap due to an armor debuff. During Gale Blast, back away from the boss and spread out. If you get Incineration, run it out of the raid. Burning Cataclysm blows up a large portion of the chamber, so move to the safe side.
When facing his adds, scales will fall, which three players can catch and run over Crackling Shards to instantly destroy them. Those that aren’t killed with scales must be killed normally. Each time a Shard is destroyed, it hurts the scale carrier.
In Heroic, Ashwalker Assassins move, and need to be exposed by players with AOE abilities and picked up by your tanks.
Keep up to date with the most important stories and the best deals, as picked by the PC Gamer team.
Maut
Maut is another two-phase fight. Phase two begins when he reaches 100 mana and phase one returns when his mana shield is broken.
In phase one, run away from Dark Manifestation areas that pull you in. If you get Devour Magic, run about 20 yards out of the raid (but not too far). Tanks swap due to a debuff, and the tank not on the boss should take the Dark Manifestation adds. They should be tanked 20 yards away from the boss and near a Devoured Abyss void zone, into which the tank can drag them to interrupt their Dark Offering cast. Kill the adds fast. Everyone in the raid must step into a Devoured Abyss when Maut casts Stygian Annihilation, but don’t be there when phase one ends.
On phase two, everyone must damage Maut’s mana shield; you have 80 seconds to break it. Players with Drain Essence get out of the raid and then get dispelled. Ranged players pick up Forbidden Ritual balls as quickly as possible, then hurry back to the raid to share a buff.
The Prophet Skitra
Another boss, another two-phase scrap. In the first you kill Skitra and adds. In the second—triggered at every 20 percent health chunk removed—you’re transported into one of two realms and must pick the real Skitra to kill from five copies. The phases get more difficult due to stacking debuffs, so save heroism or bloodlust for the final 20 percent.
In phase one, Skitra makes copies of players, who should move out of the raid, mostly because the copies explode. Move away from them, then kill them after the explosion. Another tank swap-forcing debuff happens now.
On Heroic mode, random Images spawn and move across the room, which need to be crowd controlled to make breaks in their line, then killed as soon as they take damage.
In phase two, you’ll be transported and see five copies of Skitra start taking high damage. Each half of the raid sees four of them in different locations from each other. The only copy in the same place for both groups is the one you must kill, which ends the phase. Use floor-based raid markers, which both groups can see, to identify the one add that both groups see on a marker.
Dark Inquisitor Xanesh
This is a single-phase fight with a tank-swap debuff mechanic, which knocks them back. Occasionally three void zones spawn and must be soaked. The players who stand in them get Voidwoken and do no damage for its 40 second duration. Avoid other ground effects and don’t fall off the edge of the room.
When a void orb spawns, Voidwoken-afflicted players 'kick' it (by touching it while facing the direction they want it to go) to avoid Queen Azshara, ritual obelisks, and the edge of the chamber, until they can dunk into a void portal, where it’ll disappear. They are then debuffed so they can’t be 'kickers' again.
The inquisitor occasionally casts Soul Flay, and everyone in the raid (including tanks and the boss) should move away from those player copies. Azshara occasionally does room-wide pulses of damage. On Heroic, don’t get too close to the obelisks, and Voidwoken players must alternate kicking the ball to avoid killing themselves with a debuff.
The Hivemind
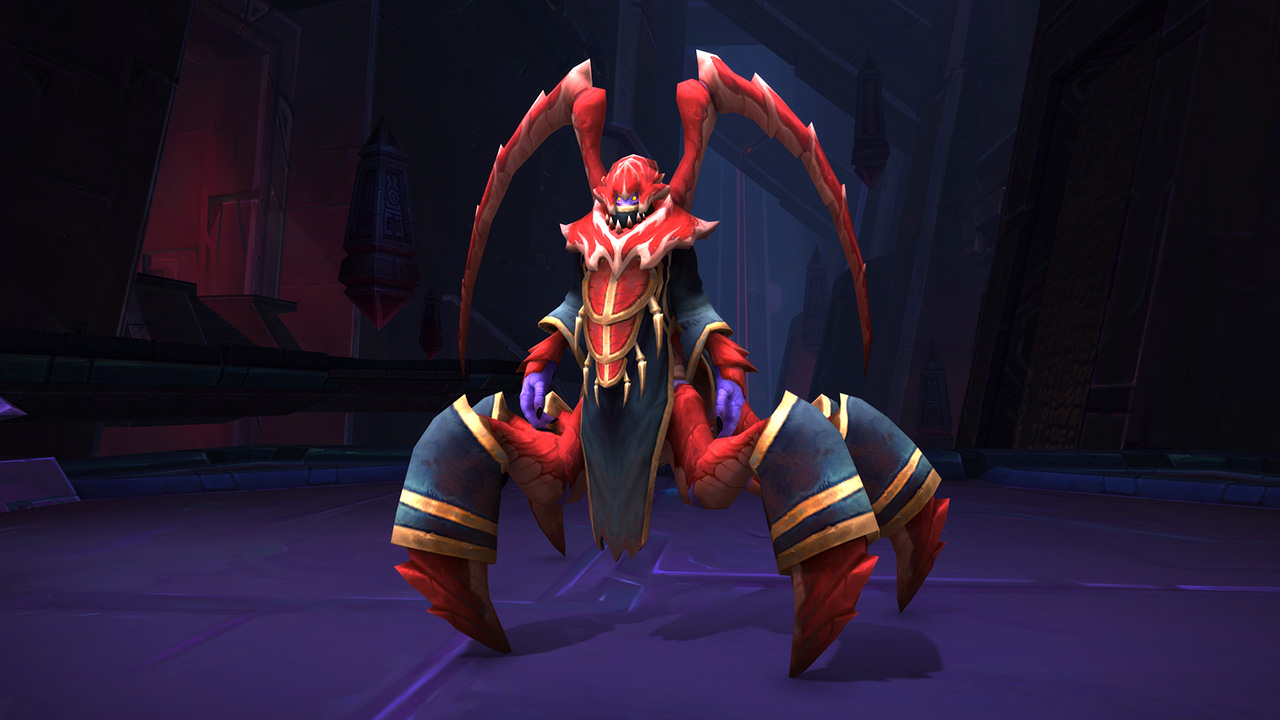
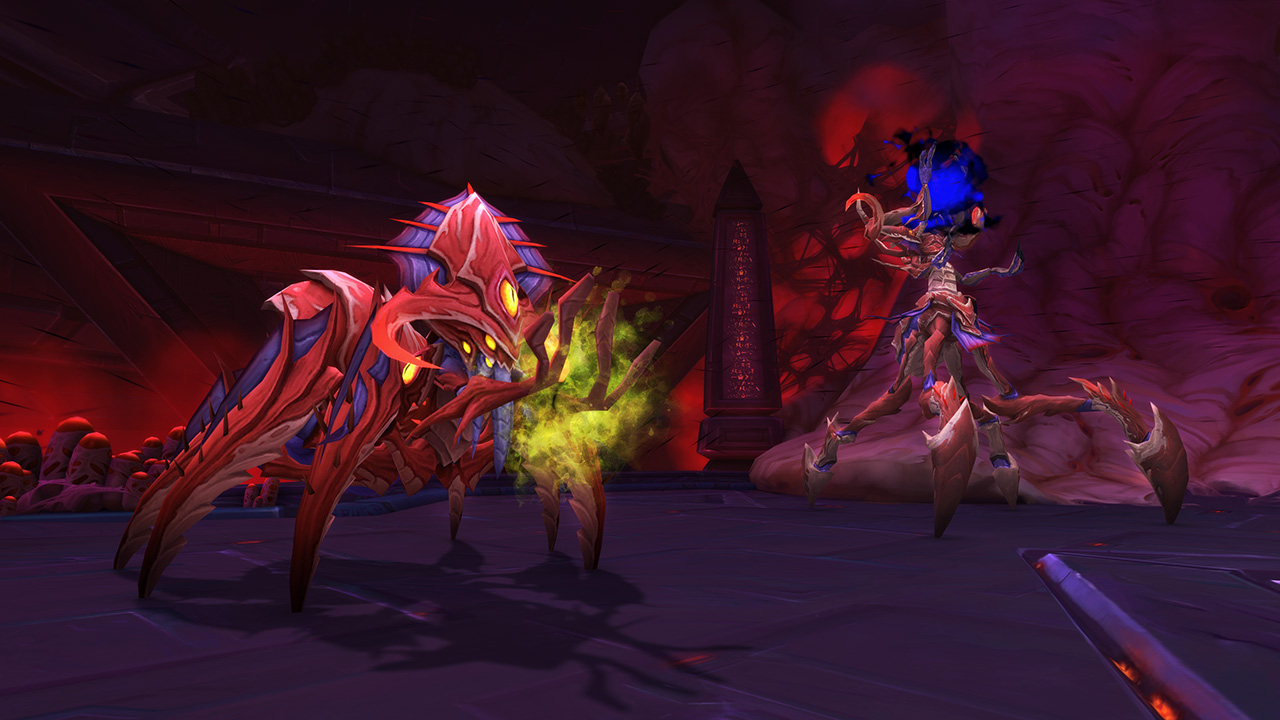
The two bosses, Ka'zir and Tek'ris, must die within ten seconds of each other. They swap being active throughout the fight, and one tank takes each. Periodically Aqir Ravagers spawn and should be picked up by a tank. Players should kill all adds first, focusing on Kazir’s empowered adds (which must be killed within 20 seconds) and Ravagers.
When Tek’ris is active, stack them together. Tek’ris should be pointed away from the raid and the tank should step out of the Nullification frontal cone. When Ka’zir is active, the bosses must be 20 yards apart, and low-health adds regenerate, so kill them quickly.
Throughout the fight, Ka’zir’s Mind Numbing Nova casts must be interrupted. Players should generally stack, except for getting out of the way of Ka’zir’s rolling acidic adds and spreading for Tek’ris’ Echoing Void cast.
Shad’har the Insatiable
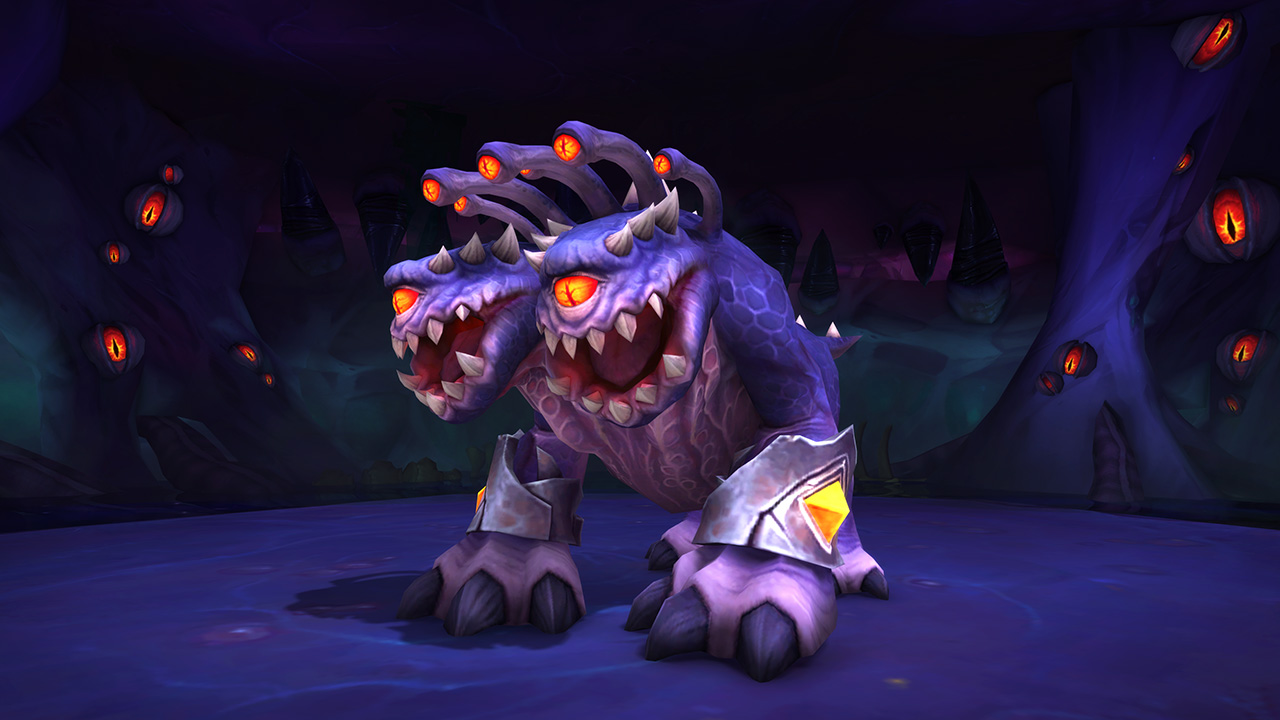
Shad’har is a three-phase fight with a tank swap mechanic. Stay out of the water (don’t let the boss touch it either), and players with the Living Miasma debuff should get out of the raid so the add explodes on them away from the group.
In phase one, dodge Umbral Eruption bolts and move when he targets a player with his breath. In phase two, stack behind the boss, with a few ranged players soaking Entropic Buildup orbs. In phrase three, kite the boss around the edge of the room to avoid the puddles of Bubbling Overflow that spawn under players.
Shad’har goes into a frenzy at 30 percent health, doing more damage.
Drest’agath
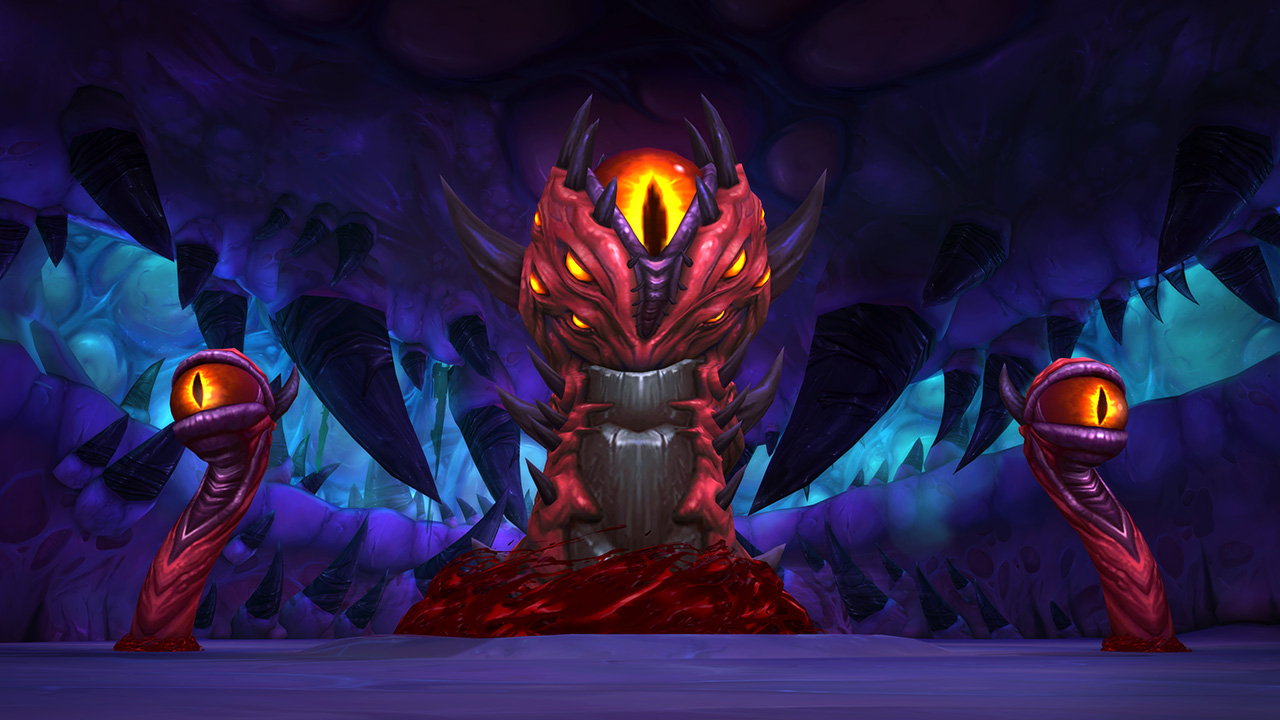
This is a single-phase fight with a bunch of tentacles, but watch for the boss' regular self healing. Fight the tentacles, then touch the orbs left behind to get a buff that prevents any damage they do for 30 seconds from being healed up by Drest'agath. On Heroic difficulty, this buff is followed by a debuff, so you can’t get it again for 90 seconds.
Tanks get a Volatile Seed debuff that sees them swap, and the debuffed tank should arrange to explode on adds. Avoid adds casting Entropic Crush and avoid Drest’s Void Glare. If you get Mutterings of Insanity, get out of the raid.
Adds should always be killed first. Spread loosely when fighting them and avoid standing in anything that looks dangerous, because it is. Interrupt Mind Flay.
Vexiona
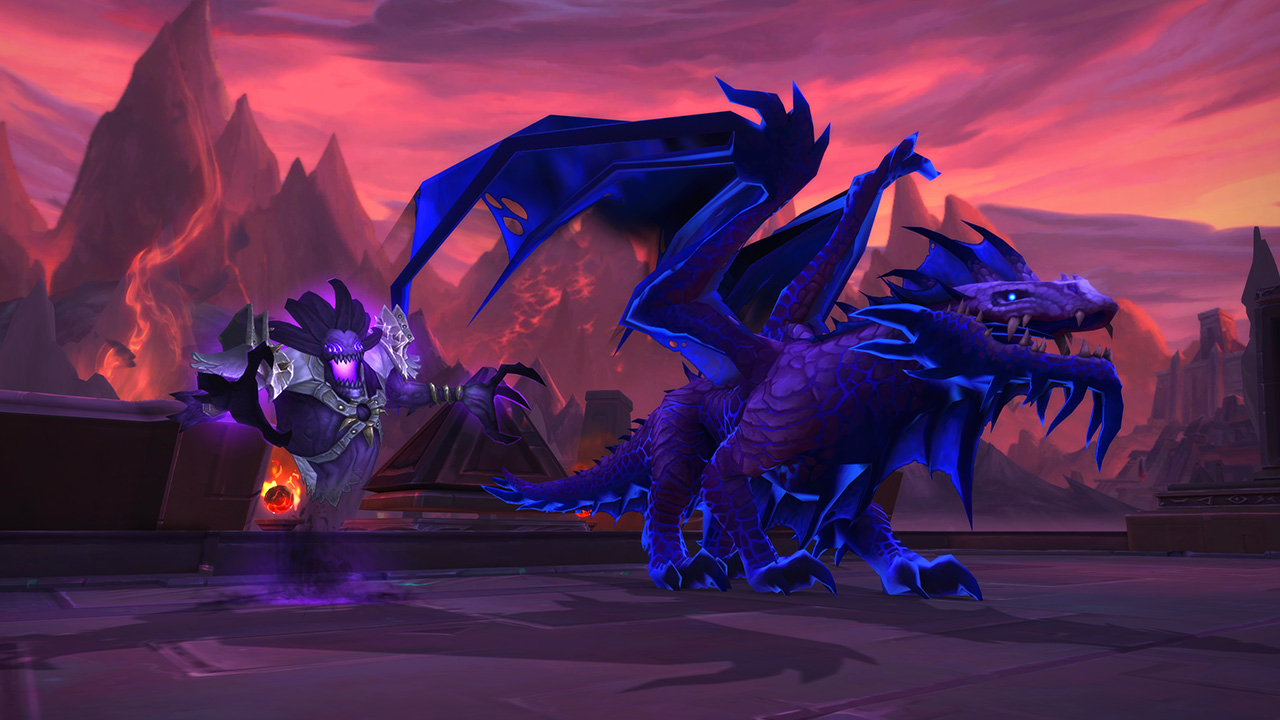
This is a three-phase fight; phases one and two alternate, and phase three starts at 40 percent health lopped off and ends when Vexiona dies, or the raid does. Kill all adds first.
One tank picks up Vexiona (facing her away from the raid) and one picks up the Void Ascendant, which should be facing Fanatical Cultists (but not the raid) when it does its annihilation cast. The Ascendant tank should be dispelled once during that cast.
Cultists should be near Vexiona for cleave. Tanks periodically swap to manage corruption debuff. When the Ascendant dies, the tank with highest corruption stacks picks up the orb left behind, cleansing them.
In phase one, Healers should keep Vexiona’s tank at full (or as close as possible) during Despair to limit raid-wide damage. The raid should spread out by ten yards and players with Encroaching Shadows should get out to drop their void zones. Interrupt Spellbound Ritualists’ Void Bolt.
In phase two, stay out of the line of fire from Vexiona (she’s airborne.) Continue to spread out. In phase three, stack up. Run out as a group when she casts Heart of Darkness. If you have Encroaching Shadows, get out of the raid, drop the void zone, and return immediately.
Ra-den the Despoiled
Ra-den has two phases with a tank swap debuff. The second phase starts at 40 percent health taken.
In phase one, stack up. Essence of Vita and Essence of Void orbs will spawn and move toward Ra-den. The raid must alternate which one is killed; he will be empowered by the other.
During Vita empowerment, players will rotate being furthest away from the boss (and will be six yards from other players.) The boss debuffs that player, and the player at the other end will be targeted next.
During Void empowerment he’ll put a healing shield on the raid, which must be healed through. A bouncing Unstable Void must be soaked by different players (as with the Vita mechanic, you can’t repeat). Whichever way the player is facing is where the orb will bounce next.
In phase two, avoid standing in void zones, and if you’re linked to another player, run away to break the link. Tanks should swap on Decaying Strike, and healers should let them get as low as reasonably possible until the debuff expires, then heal them.
Void Hunter adds (as with the other adds) should be picked up by the tank, and players must share or immune the damage from Void Collapse, which also leaves a healing debuff.
Il’gynoth, Corruption Reborn
This is a two-phase fight, and tanks should swap after Eye of N’Zoth. In the first phase, tanks should point the Eye of N’Zoth beam away from players, and players should kite the Corrupter’s Gaze beams out to the edges of the room.
In the second phase, you’ll be killing his organs (yum). At least two people—preferably low damage players like tanks and healers—need to interrupt the Pumping Blood ability for the two organs not being killed.
The raid should stack up and choose one to kill. Uninterrupted Pumping Blood spawns adds that should be killed quickly. Raid members with the Cursed Blood debuff should move out of the raid and spread. Killing an organ heals the others fully and ends the phase, returning to phase one.
On Heroic Difficulty, Touch of the Corrupter charms players, who must be damaged by ranged players to 30 percent health so they don’t spread the charm.
Carapace of N’Zoth
This is a three-phase encounter with individual Sanity bars that players must protect. Players who hit zero become Servants of N’Zoth and must be silenced and killed quickly. You regain sanity by standing next to Wrathion or using your extra action button. Tanks should swap when their Black Scar debuff drops.
In phase one avoid the slam of a giant Growth-Covered Tentacle, then climb up on it to kill Horrific Hemorrhages. After it despawns, crowd control and kill Adaptive Antigen adds. Stand ten yards from your squad if you're targeted with Madness Bomb.
In phase two, you will clear both paths of Mycellial Cysts and Synthesis Growths, then jump down to engage the boss, while avoiding his beam casts. Heal to full sanity with Wrathion before the boss hits 40 percent health, which triggers phase three.
Here you’ll dodge slam zones, spread out by at least ten yards to avoid spreading the Insanity Bomb debuff, and pick up the Fragments of Sanity after breaking through an Adaptive Membrane on one of the mobs, which is the only way to restore your Sanity in this phase.
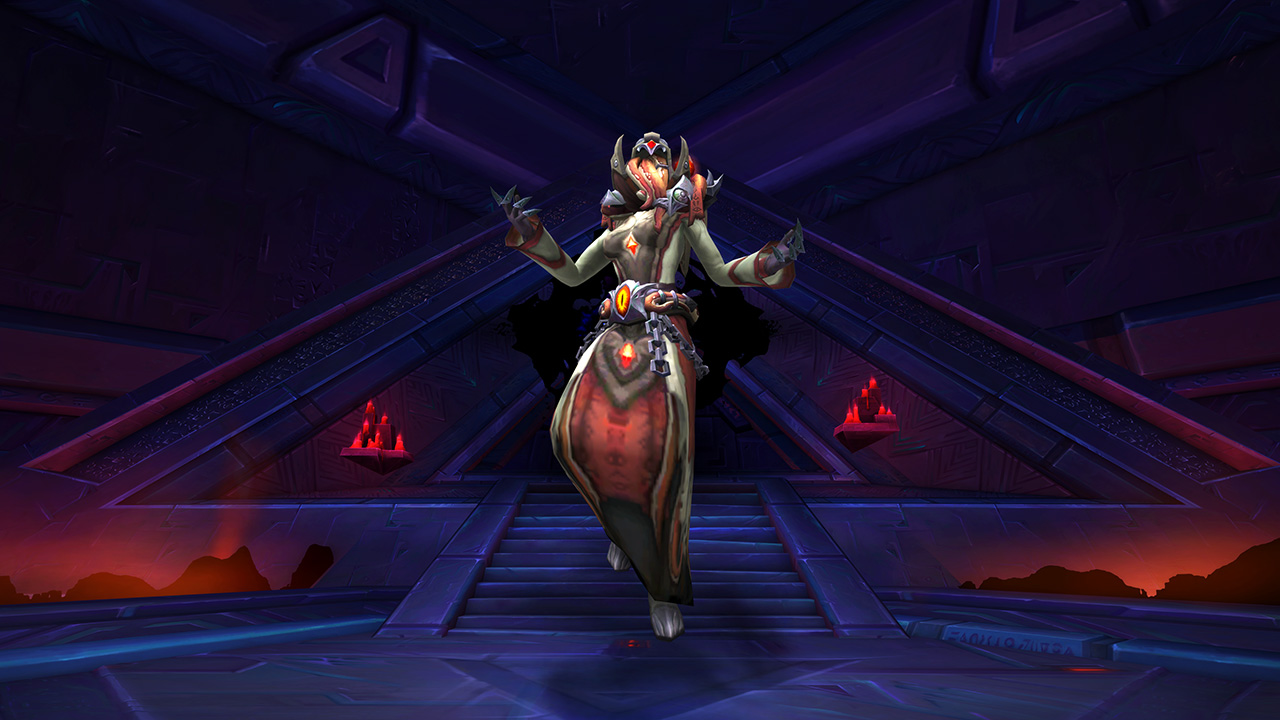
There will also be a Gaze of Madness add casting Breed Madness. Do not interrupt this cast, but do target and execute the add. The boss should be tanked next to it, as it does damage to the boss when it dies. Avoid the Eternal Darkness sphere.
N’Zoth, the Corruptor
The Sanity mechanic from the last encounter continues here; players who hit zero turn into Servants of N’Zoth during this three-phase battle. Once again, an extra action button will help you restore your sanity.
In phase one, the Mind Realm, tanks must position Psychus near Exposed Synapses. As the raid damages the Synapses, the adds apply a stacking-damage debuff on the boss. Stay five yards apart from each member of your team, and tanks should drag Psychus around the edge of the room so the puddles he drops are in good places. Go back to your floating body where you entered when he dies and click it to exit the realm.
In phase two, clear Corrupted Neurons to attack the boss. Spread out for the Paranoia cast, and the pairs of paranoid players stack on each other. Tank and kill the Basher tentacles, and interrupt Corrupted Minds. Avoid falling viscera when a tentacle dies.
Send half the raid through the Mindgate to counter the Mind Realm, dodging red circles and standing still as much as possible when Azshara casts Tread Lightly. Move either close to the boss or to the edge of the room when Mindgrasp is about to be cast.
In phase three, Paranoia and Mindgrasp continue. If you get the Anguish debuff, drop your puddle at the edge of the room. Avoid Stupifying Glare blast. High sanity players should group around Thought Harvester adds, soaking the Harvest Thoughts debuff. (It takes at least five.) This add is a priority to kill.
Heather Newman has reported on games for more than 25 years, with an internationally syndicated column and stories in dozens of magazines. In World of Warcraft, her Mythic Plus dungeon team was No. 1 in all-star points in North America for a number of weeks for slightly cheesy reasons. She scored one measly point against Jonathan “Fatal1ty” Wendel in Unreal Tournament and was, exceedingly briefly, top 50 world in Halo.

 Join The Club


