Forget Nintendo Labo, we built a PC using a cardboard box
Flammable and flimsy as hell, and it required some sharp tools, but it works.
Want something better than a cardboard box? Check out our build guides:
Budget gaming PC
(~$750/£750) - A good entry-level system.
Mid-range gaming PC
(~$1,250/£1,250) - Our recommended build for most gamers.
High-end gaming PC
(~$2,000/£2,000) - Everything a gamer could want.
Extreme gaming PC
(>$3,000/£3,000) - You won the lotto and are going all-in on gaming.
Prefer to buy a prebuilt than building it yourself? Check out our guide to the Best Gaming PCs.
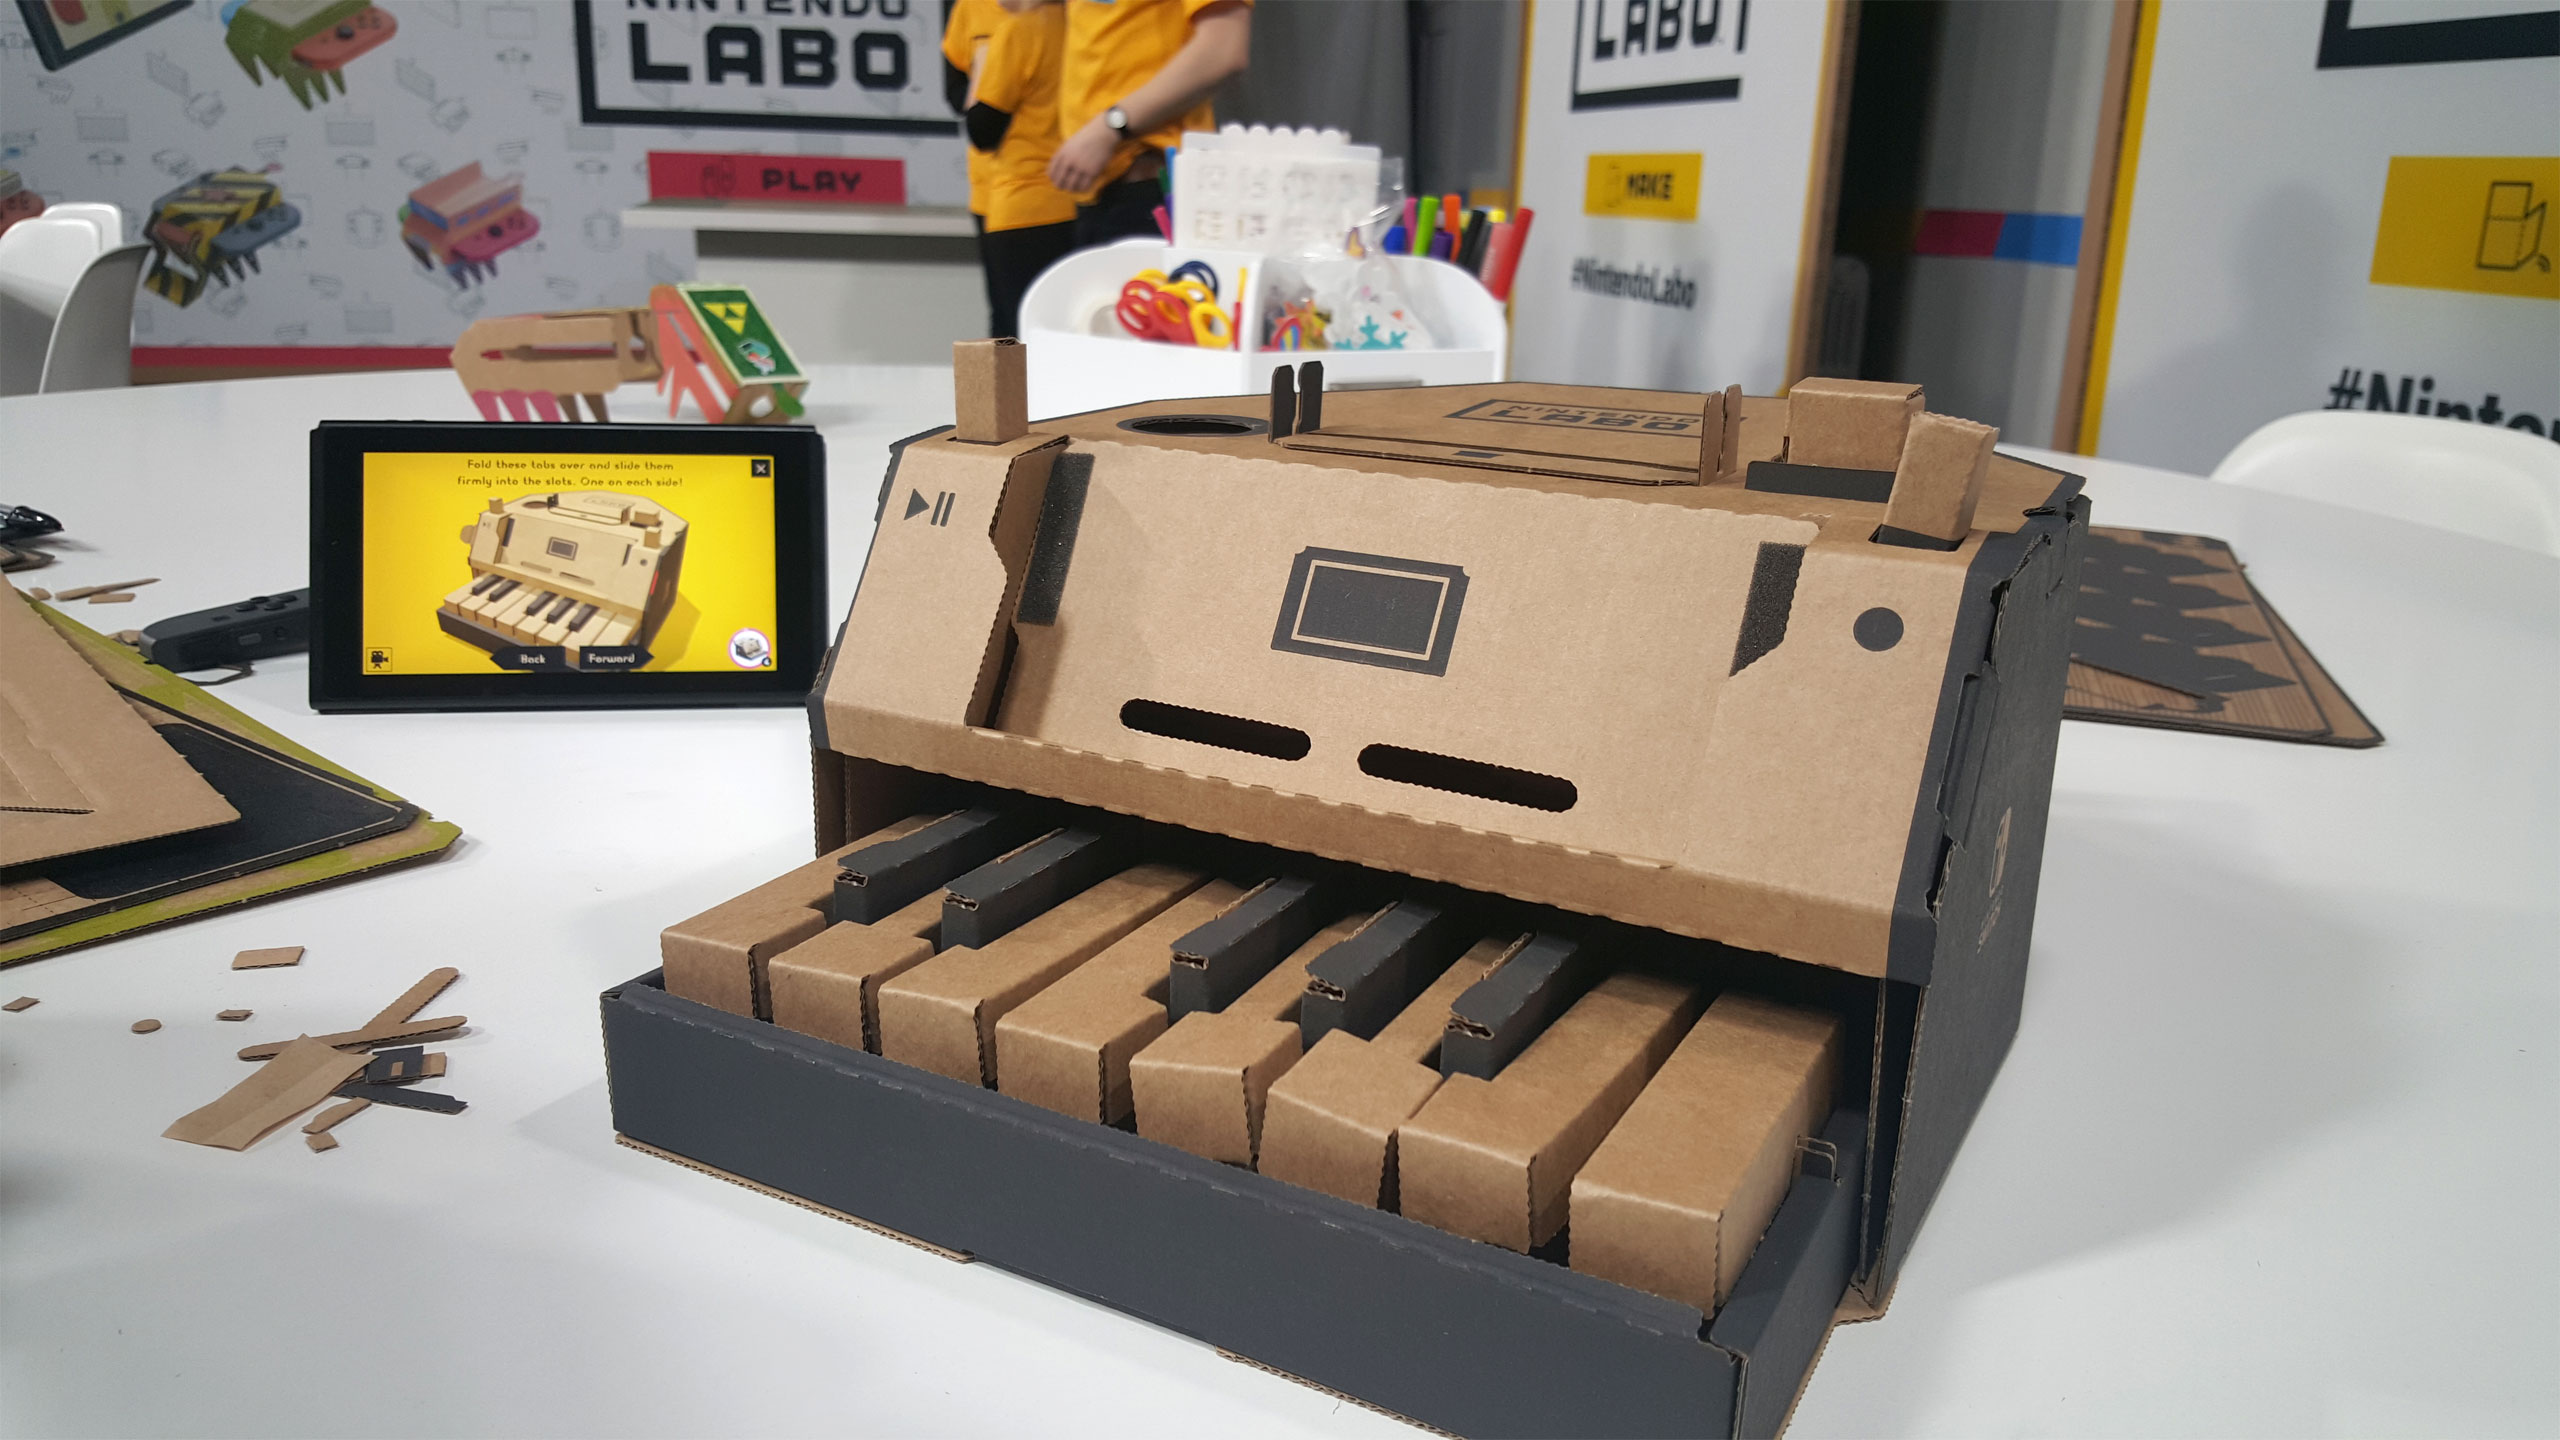
Did you hear about Nintendo Labo? It's a bunch of cardboard pieces that you punch out and fold into educational toys for your entertainment, linked up to your Nintendo Switch. The Variety Kit costs $70 / £60, while the Robot Kit costs $80 / £70.
The kits actually do some pretty neat stuff, and there's more than just cardboard pieces—string, software, sensors, and more. I get that, and I'm not saying you shouldn't buy a Nintendo Labo. Okay, look, maybe I'm feeling a bit jealous of all the fun people are having with Labo, so I took the next logical step and decided to build my own PC out of cardboard.
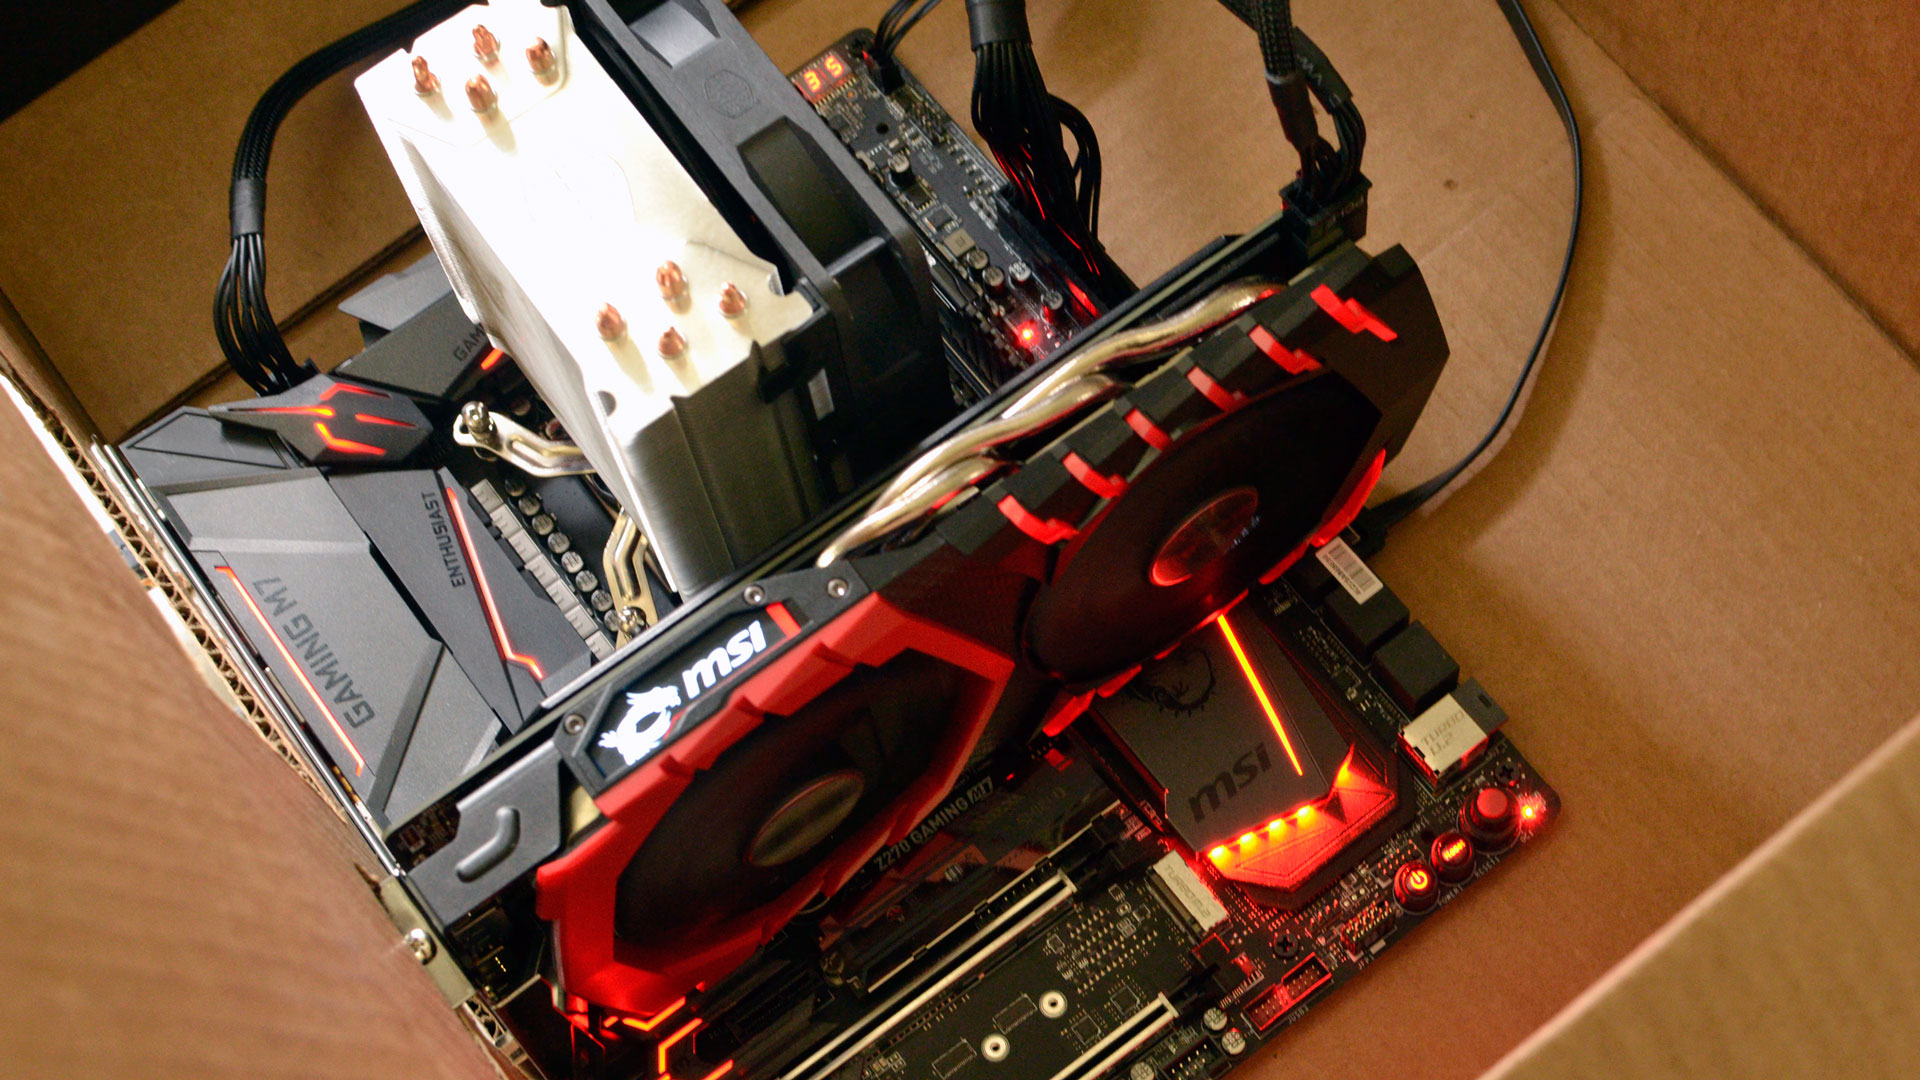
Well, not a complete PC—just like the Labo, you need to add hardware. But I did build a PC case out of cardboard. It totally works, and it's maybe just a little bit ugly. I guess I need one of those Customization Sets. Here's how the process went down.

Step 1: Find a box
You can go big or small. Imagine a tiny box and a mini-ITX board running integrated graphics—I seriously considered putting my Ryzen 3 2200G test system in a tiny box, as it's currently just sitting on top of one. Or you can go whole-hog with a full-size ATX build. I wanted to add a graphics card and still have room for the power supply and other bits, so I opted for the latter. It's a big box with plenty of room.
Step 2: Plan your build
CPU: Core i7-7700K
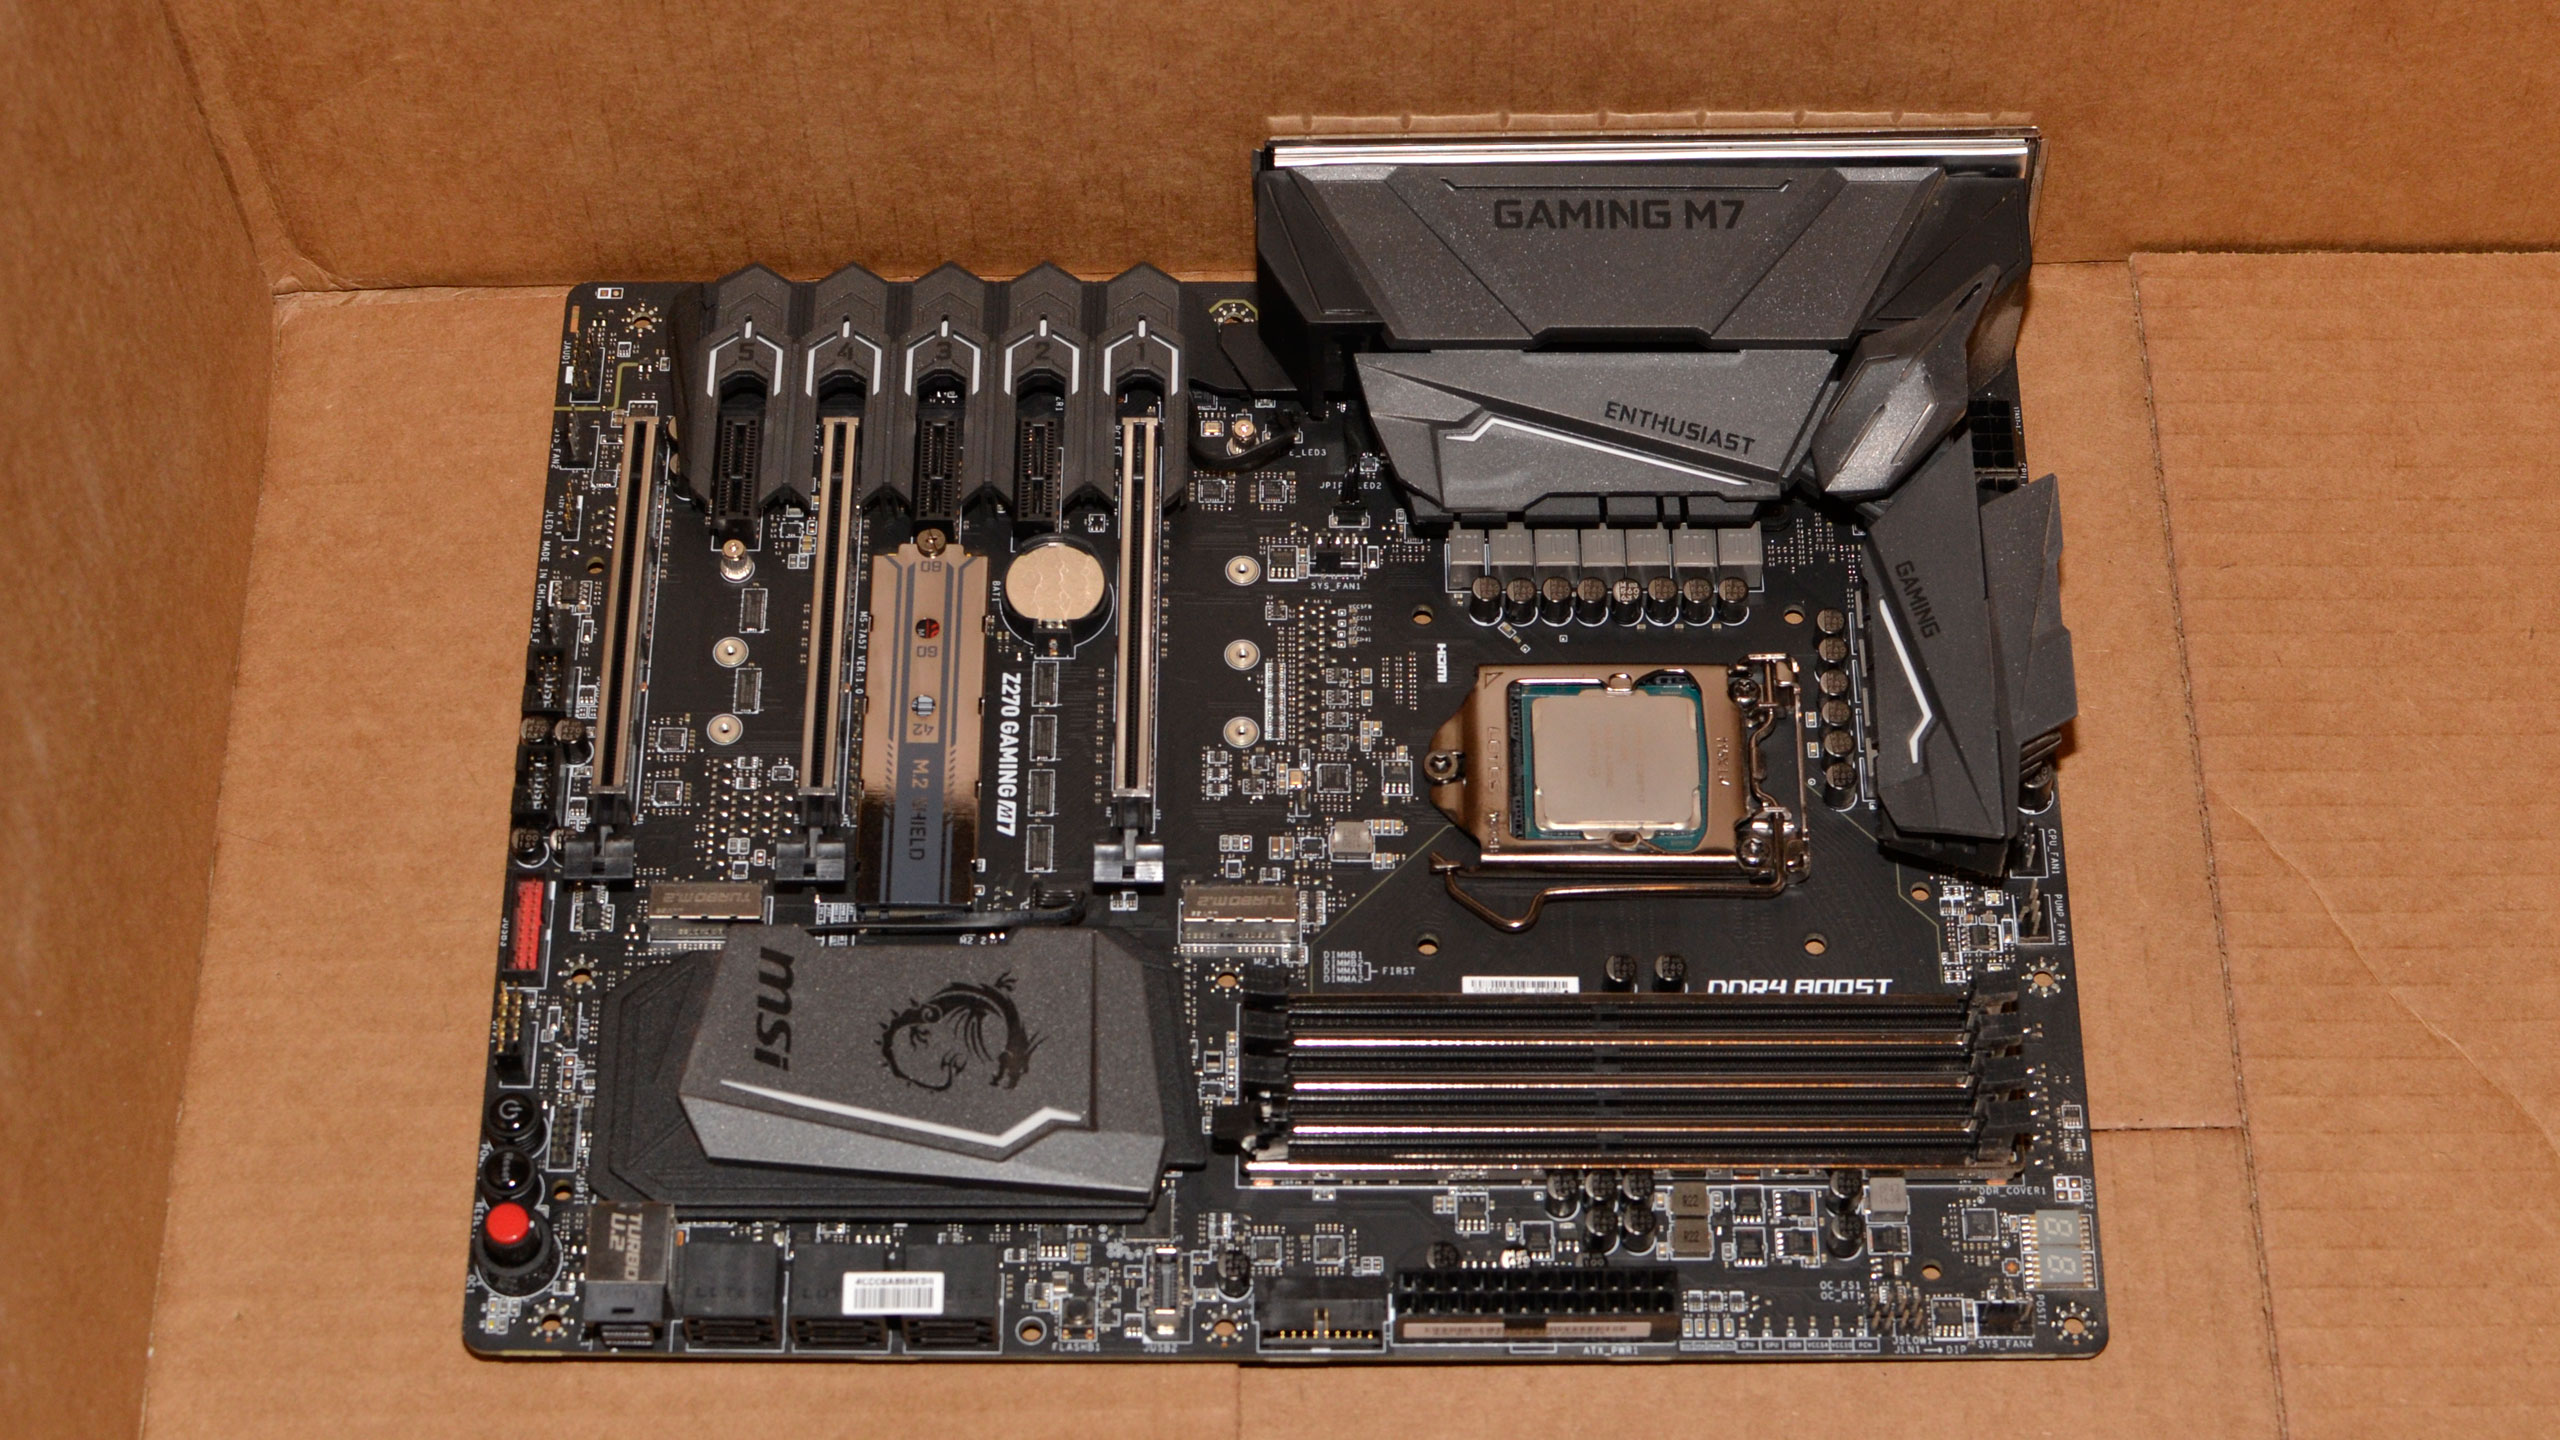
Mobo: MSI Z270 Gaming M7
GPU: MSI RX 580 8GB
RAM: Corsair 16GB DDR4-3200 CL16
OS: Samsung 960 Pro 512GB M.2
Data: Samsung 860 Pro 1TB SATA
PSU: EVGA 450W Bronze
Case: Cardboard box (Free!)
Unlike the Labo, there are no pre-perforated bits in your typical box. But you probably have something available that's free, right? Free is a much better price than $70 or $80!
The PC hardware is a different matter. I picked out some components from my shelves [disclaimer: I have way too much hardware], which you can see in the boxout on the right.
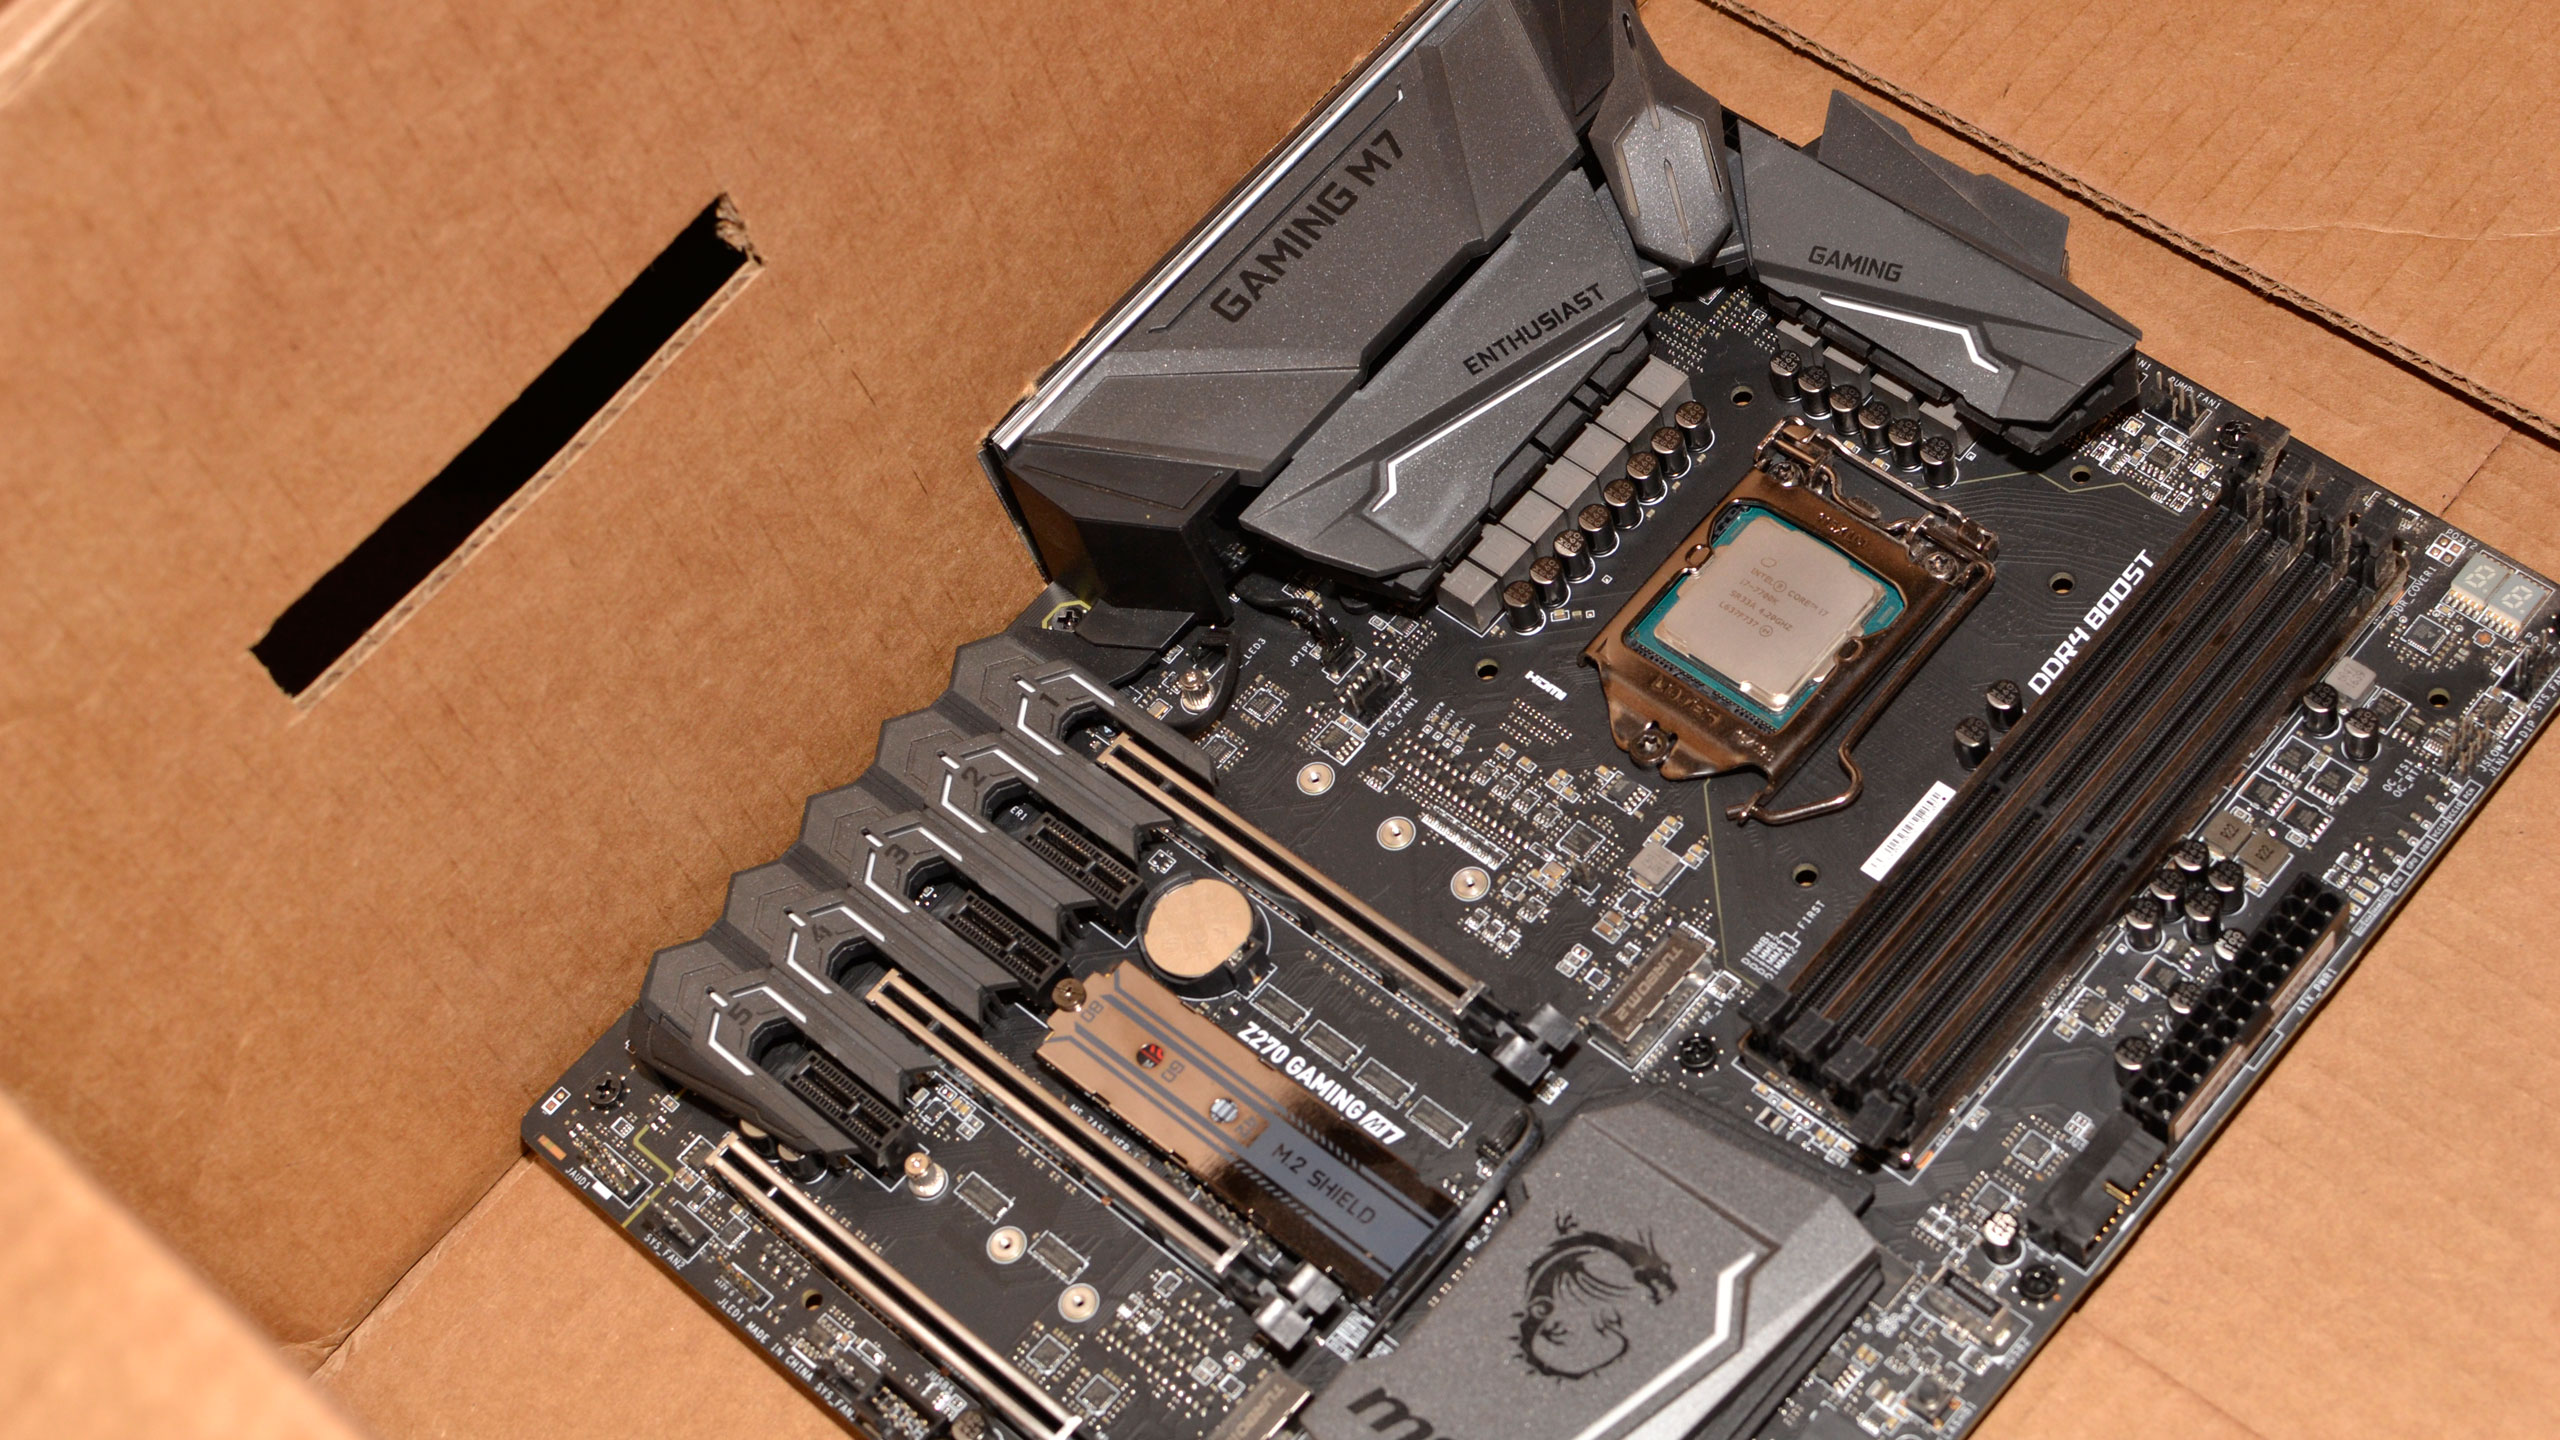
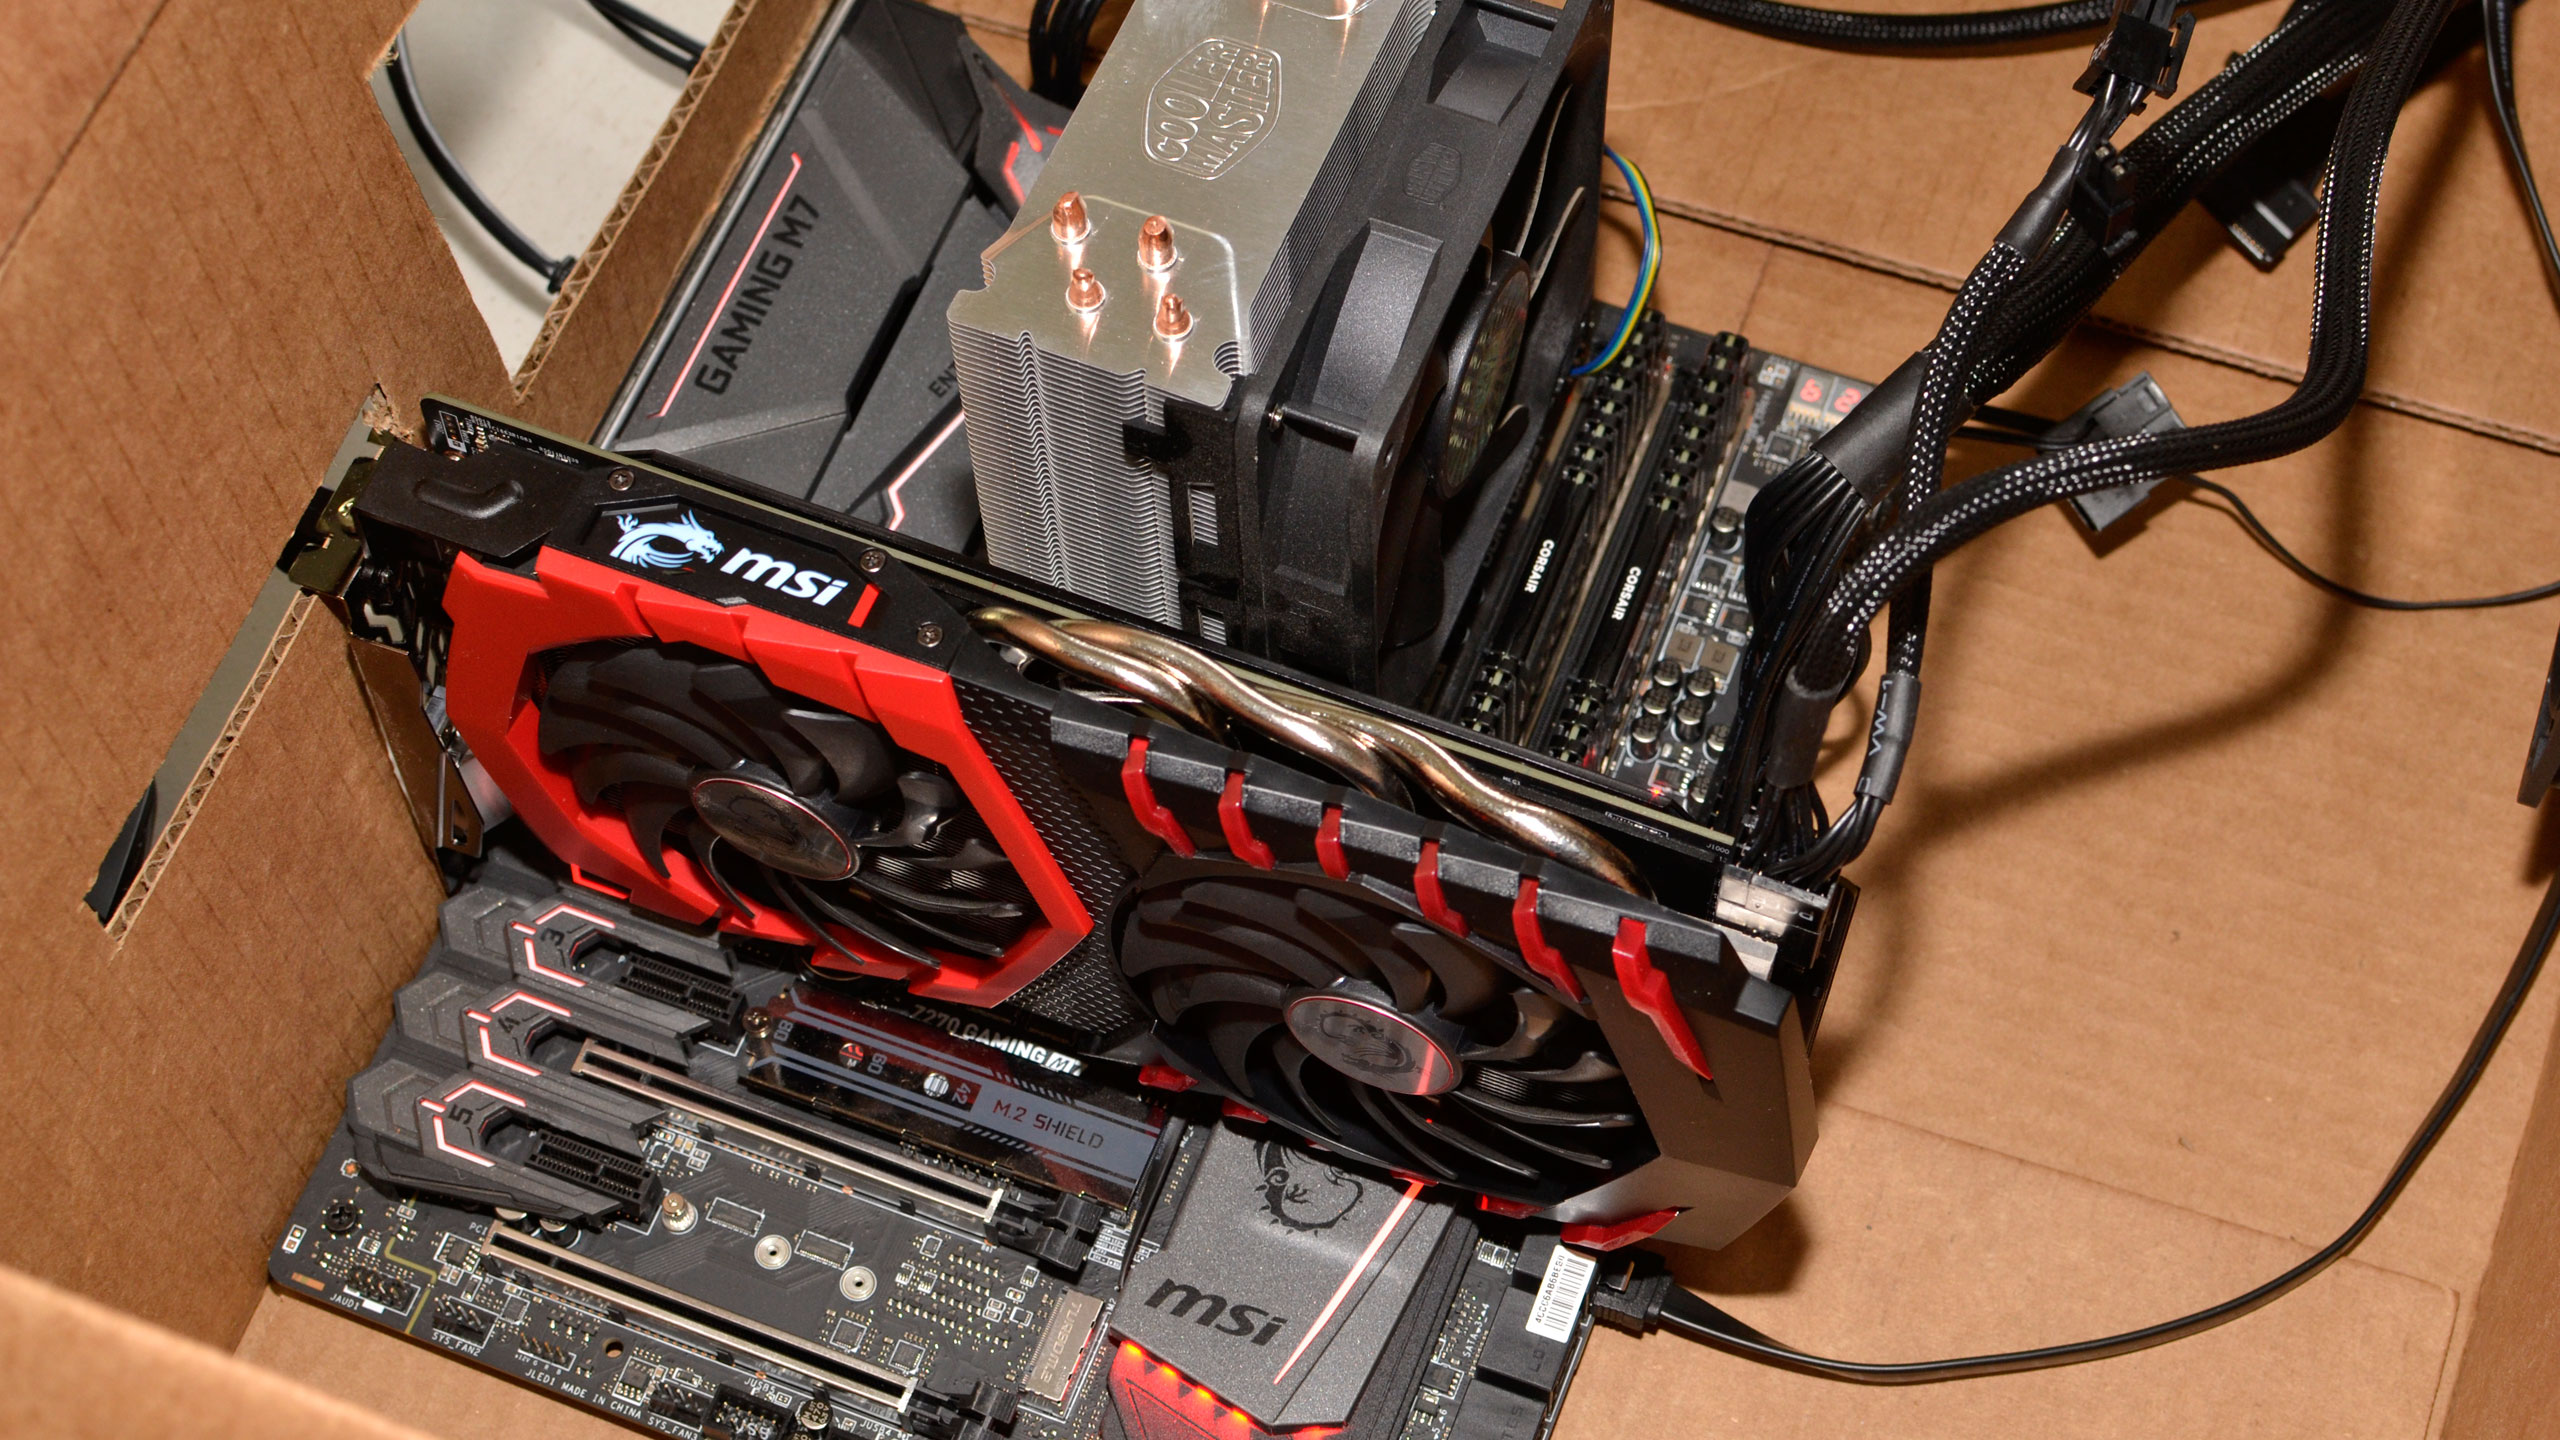
Components and box in hand, it's time to plan things out. Here I've put the MSI Z270 Gaming M7 board into the box for placement purposes, prior to making any cuts. Think about where you want the cables to go, if you're keen on aesthetics and such, and maybe give yourself some wiggle room. Also, you probably want to use a motherboard with onboard power and reset buttons, unless you're planning on adding/making your own.
Keep up to date with the most important stories and the best deals, as picked by the PC Gamer team.
Step 3: Motherboard standoffs
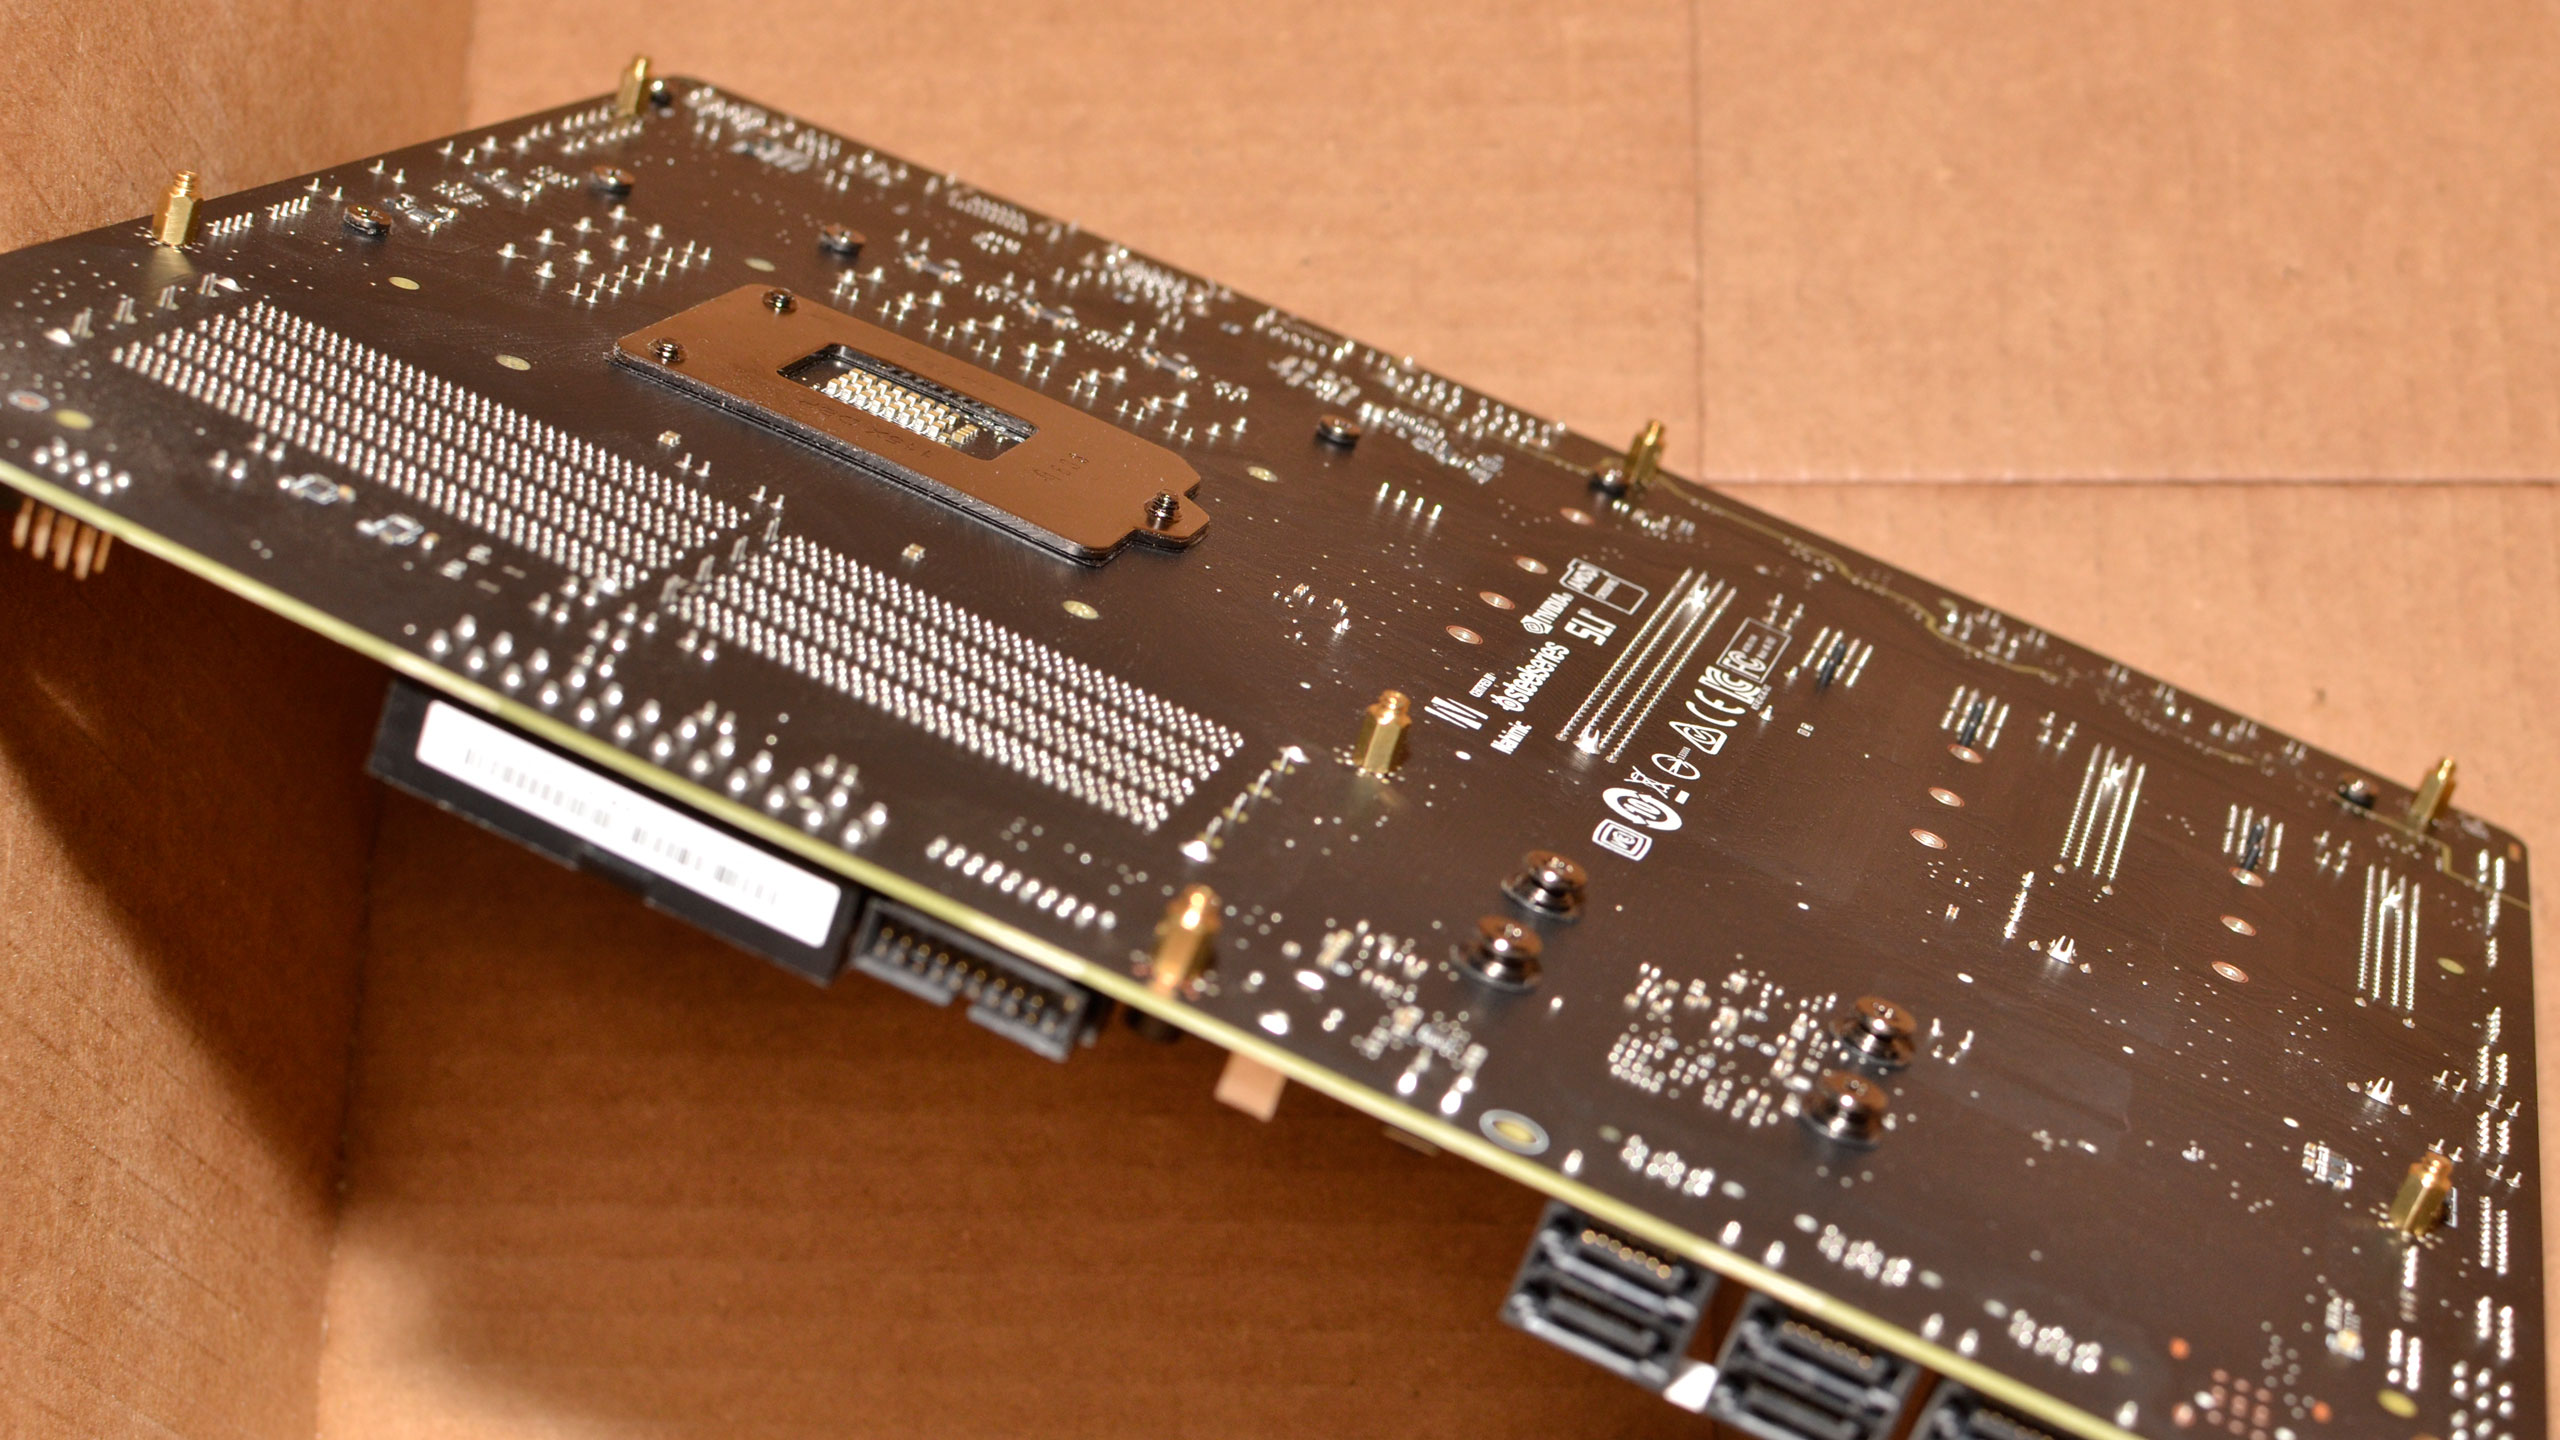
While not strictly necessary, I didn't want my board to easily slide around in the box. I found some extra standoff screws and put all nine of them on the motherboard, and made holes in the bottom of the box for the stands to slip into. Note to self: do not tip the box on its side.
Step 4: Start cutting
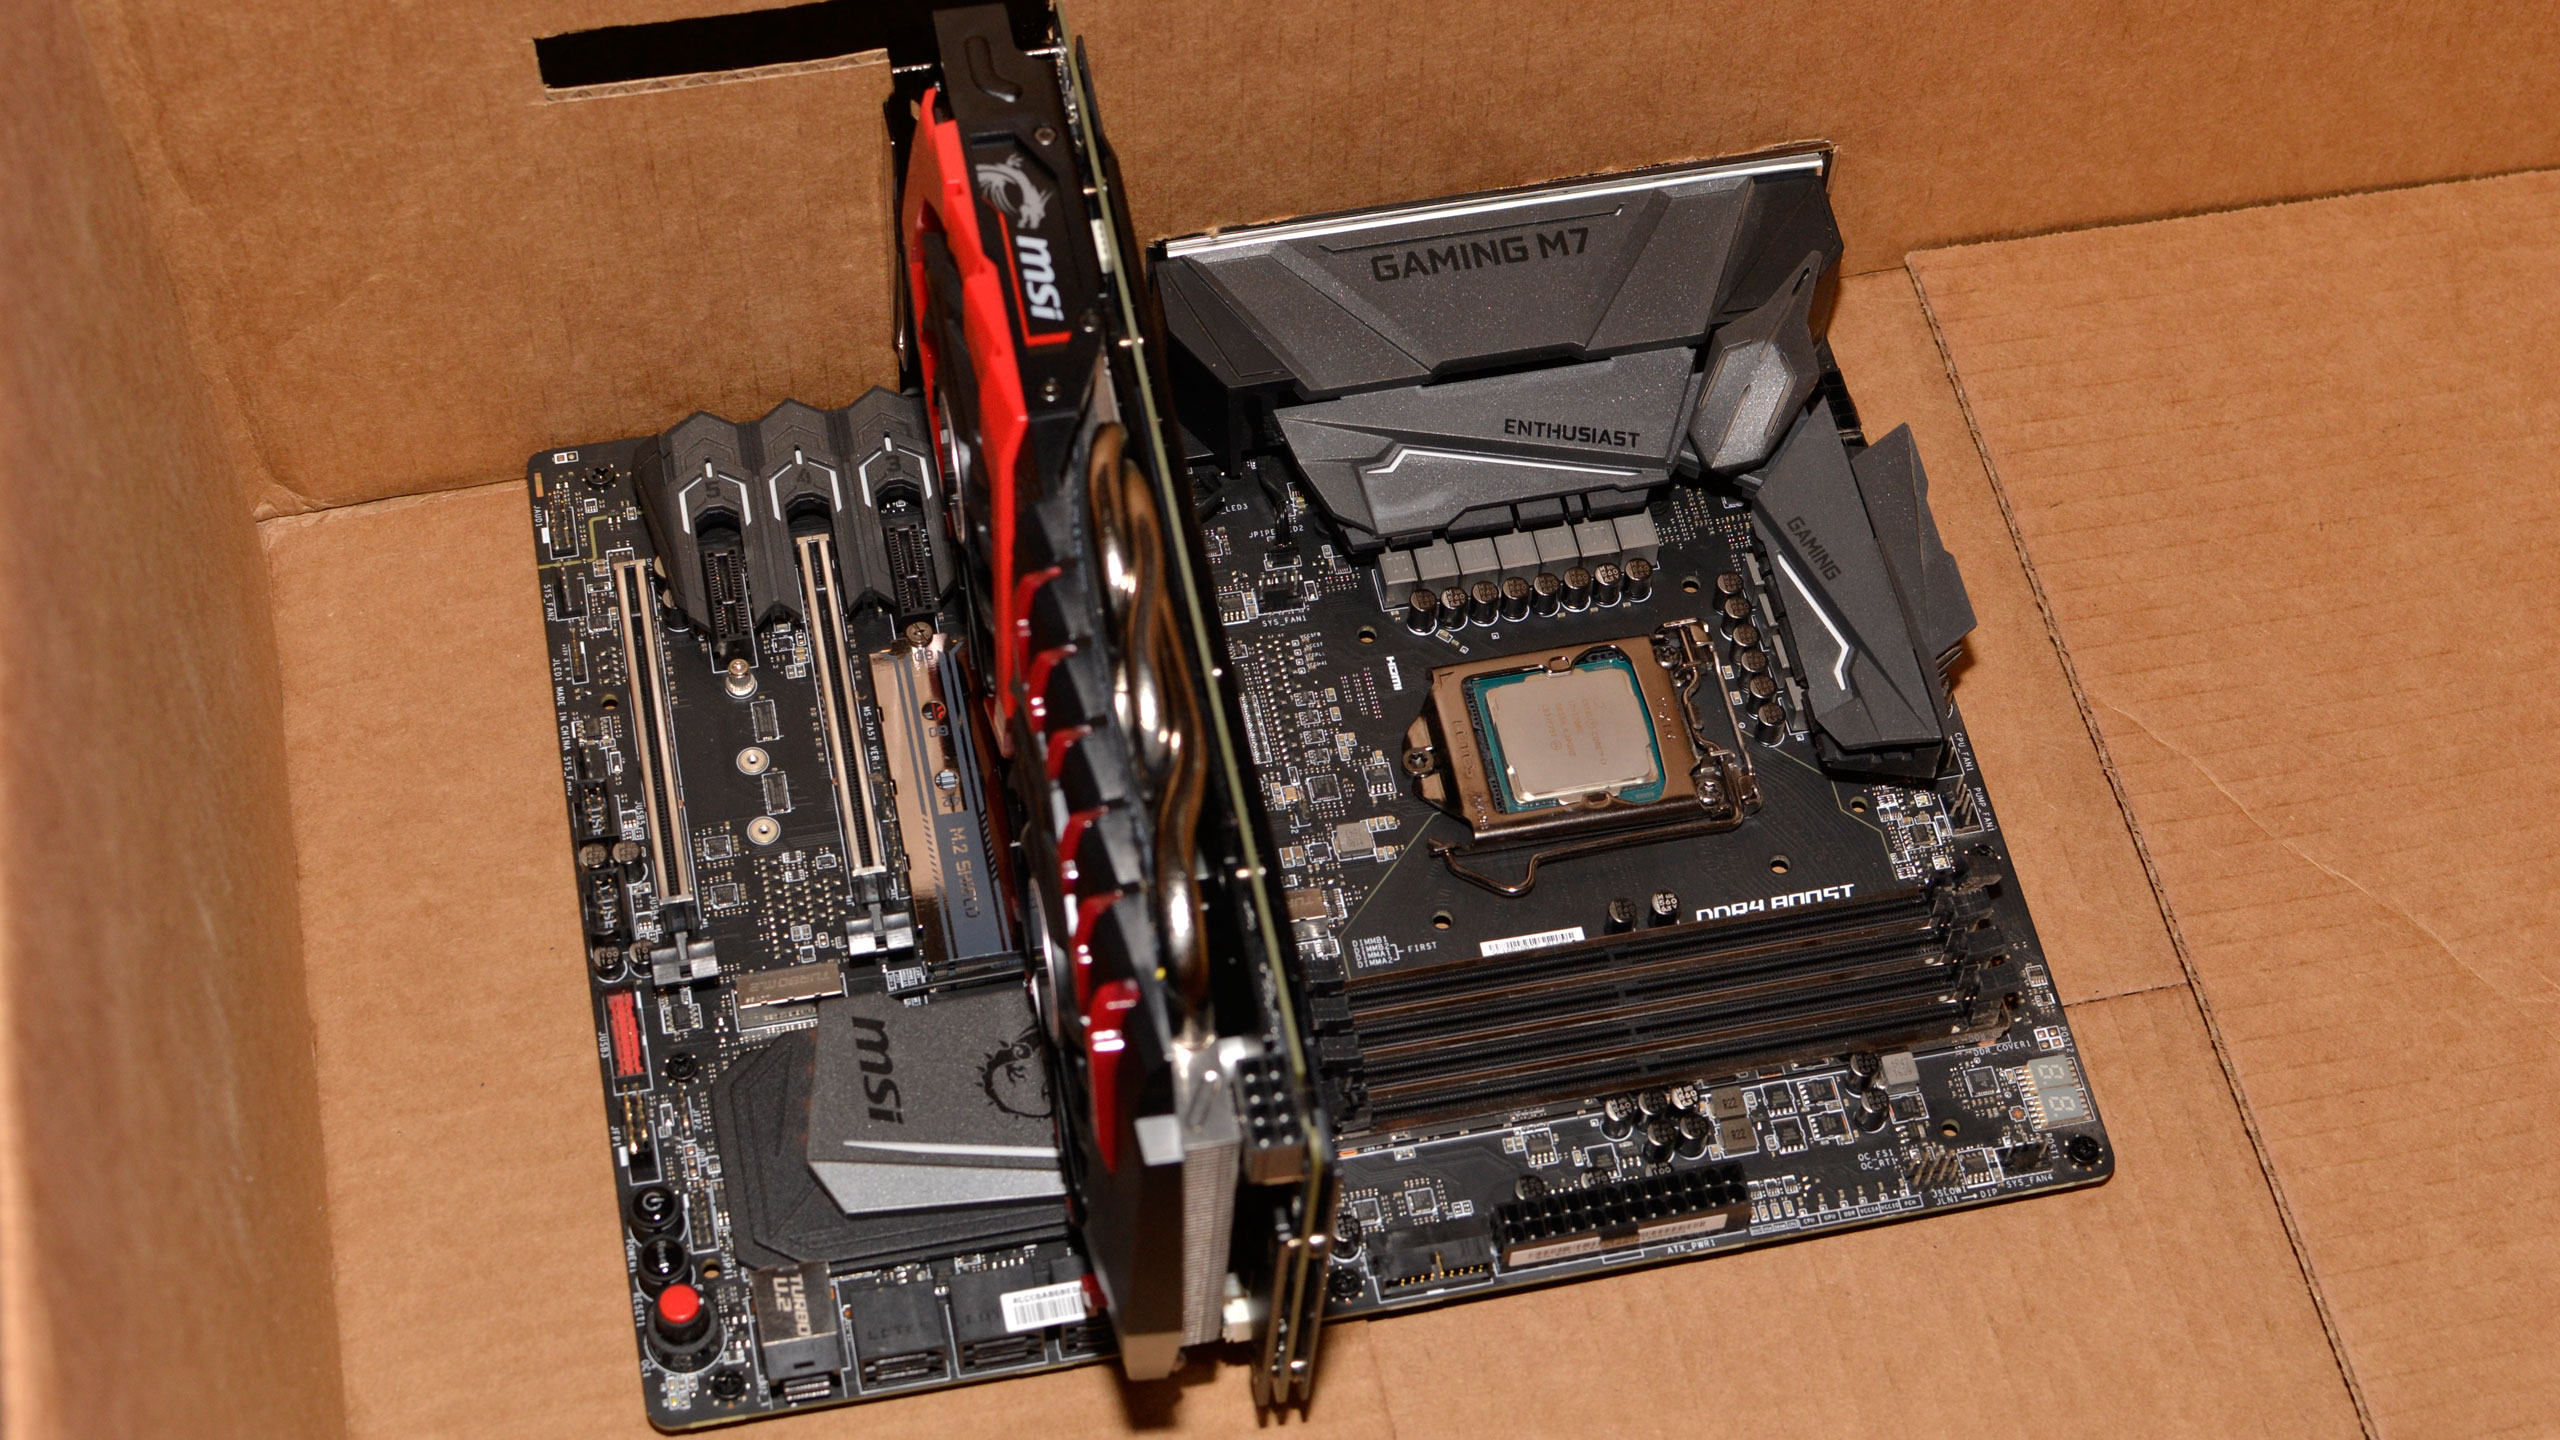
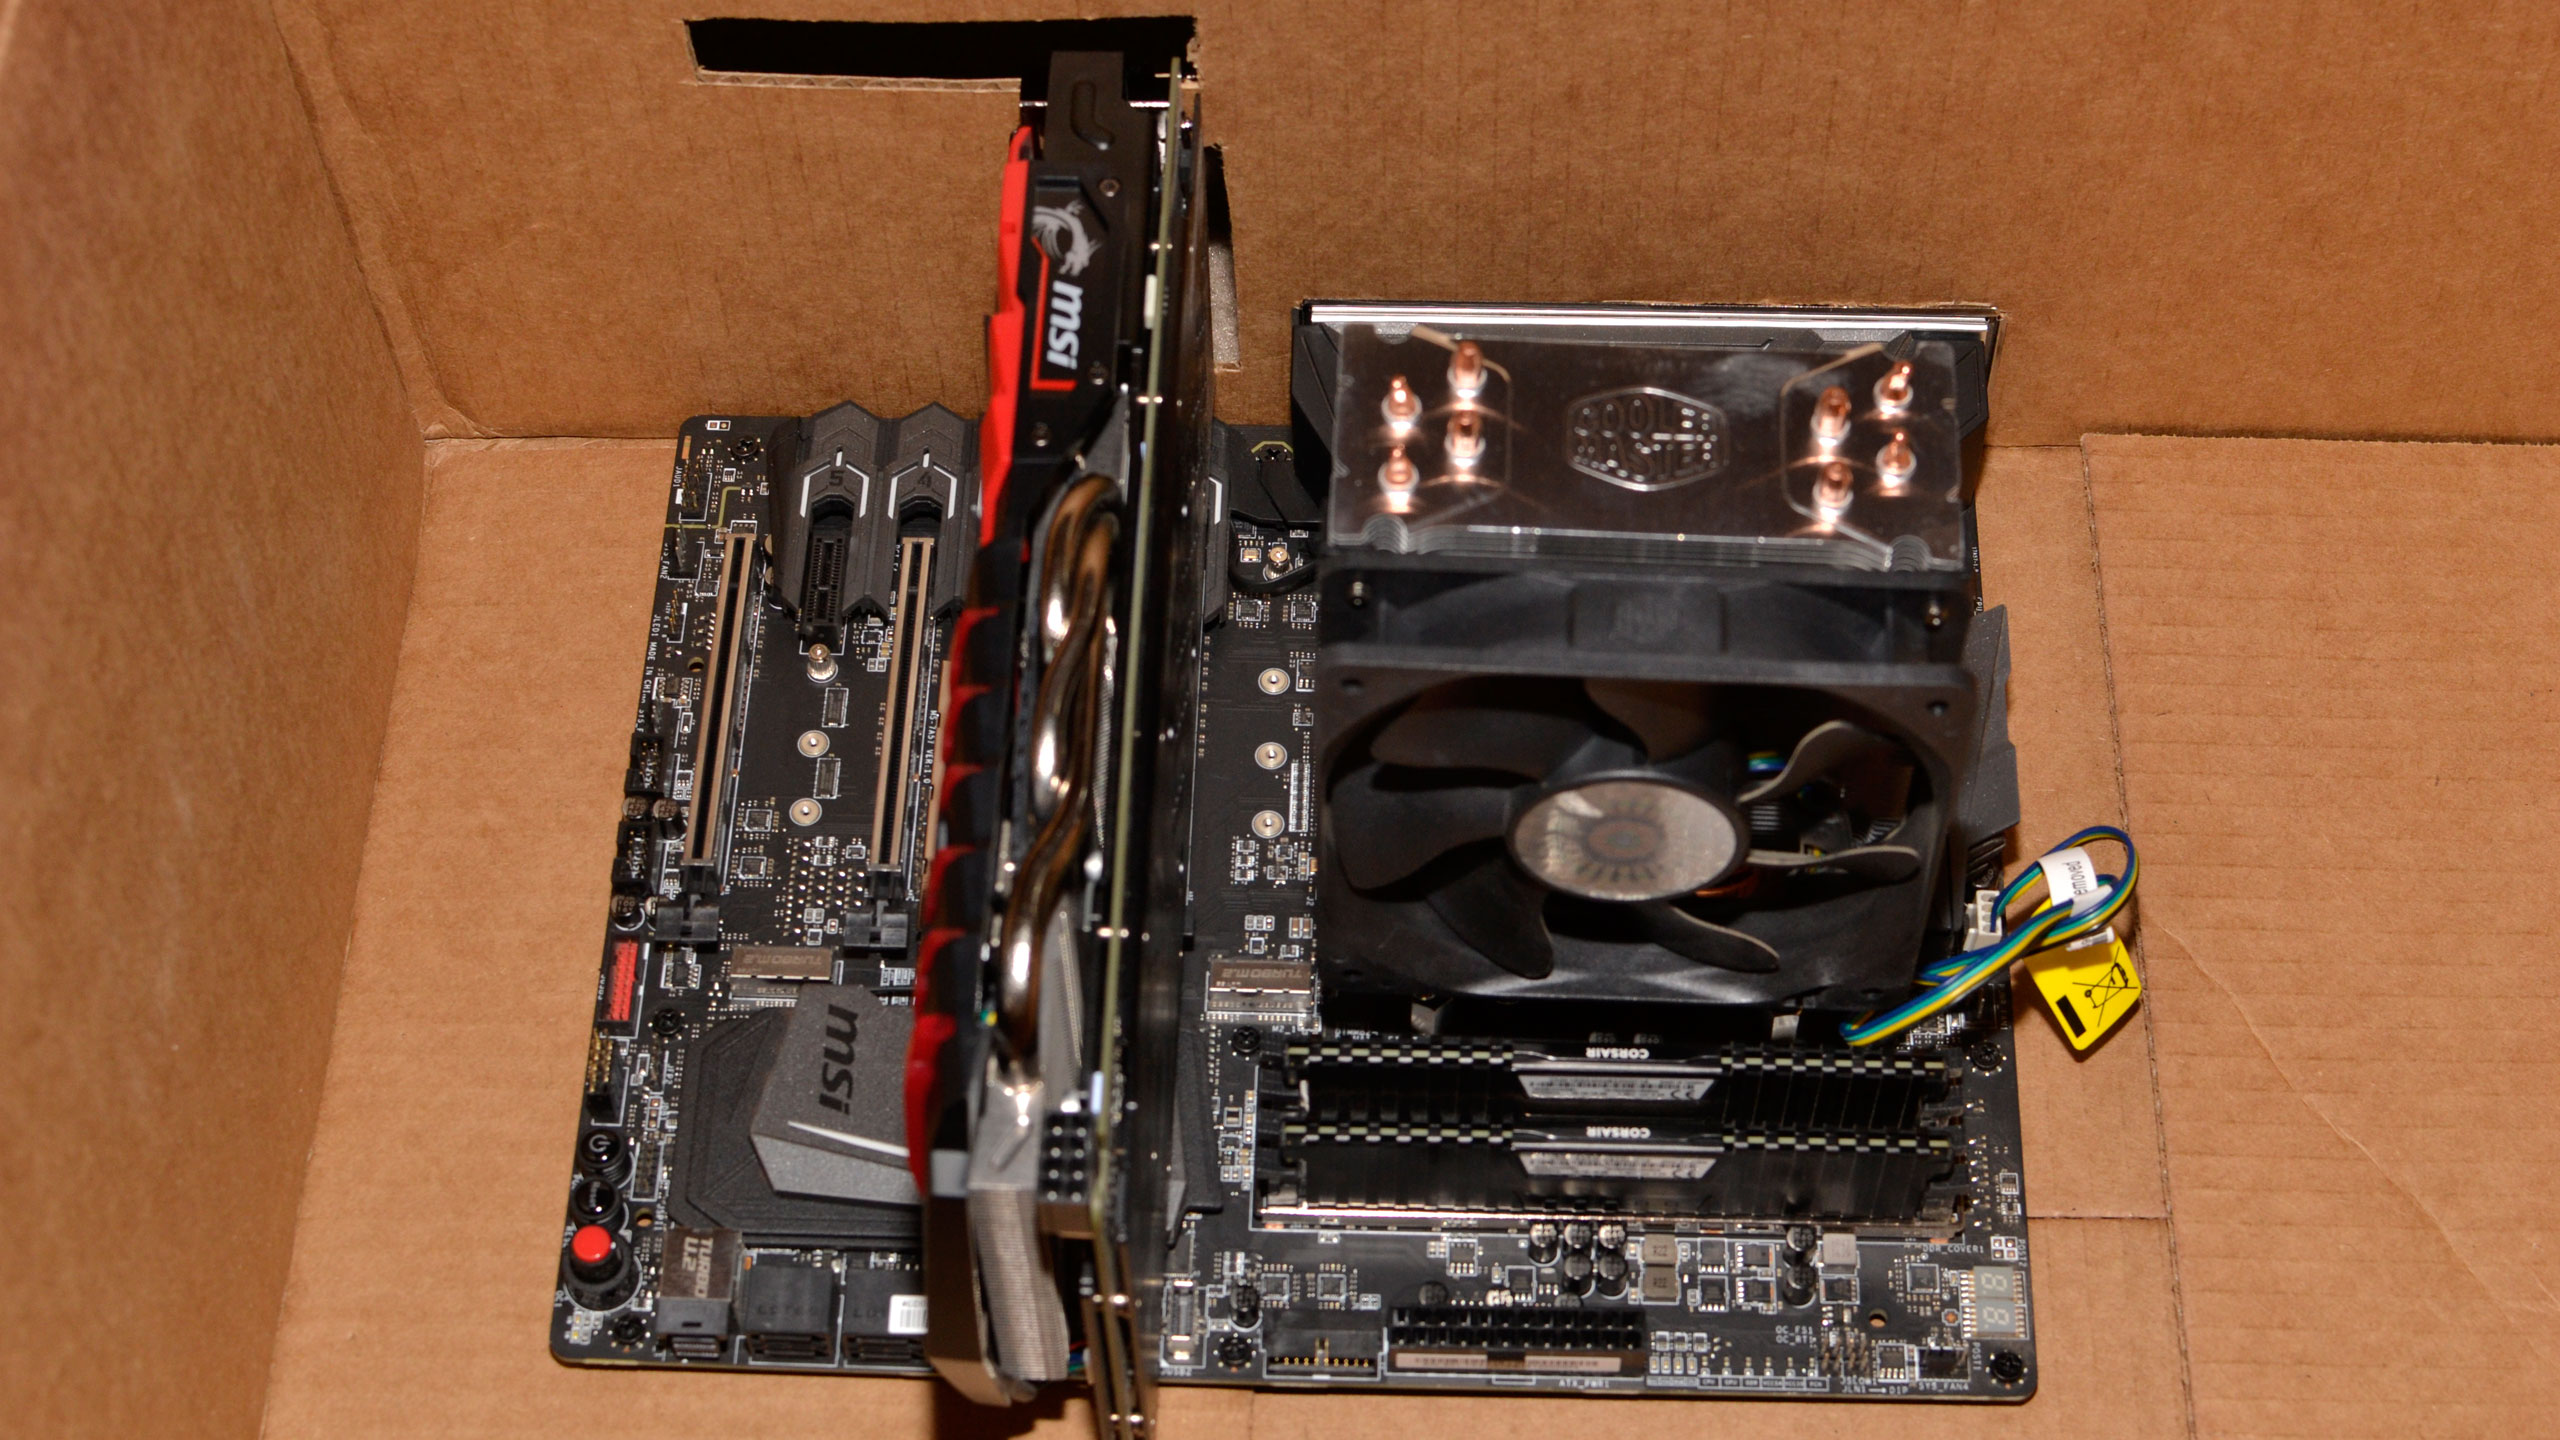
Stands in place, it's time to start cutting. I carefully (not really) marked out spots for the rear IO panel and the PCIe card, just for the GPU right now, and then used a box cutter to pop them out. You could be a lot more precise and end up with a cleaner build than I have, and the rear IO panel in particular should be sized appropriately—too small and the IO plate won't fit, too large and it will fall through. I've also added the CPU cooler and memory.
Step 5: Power it up
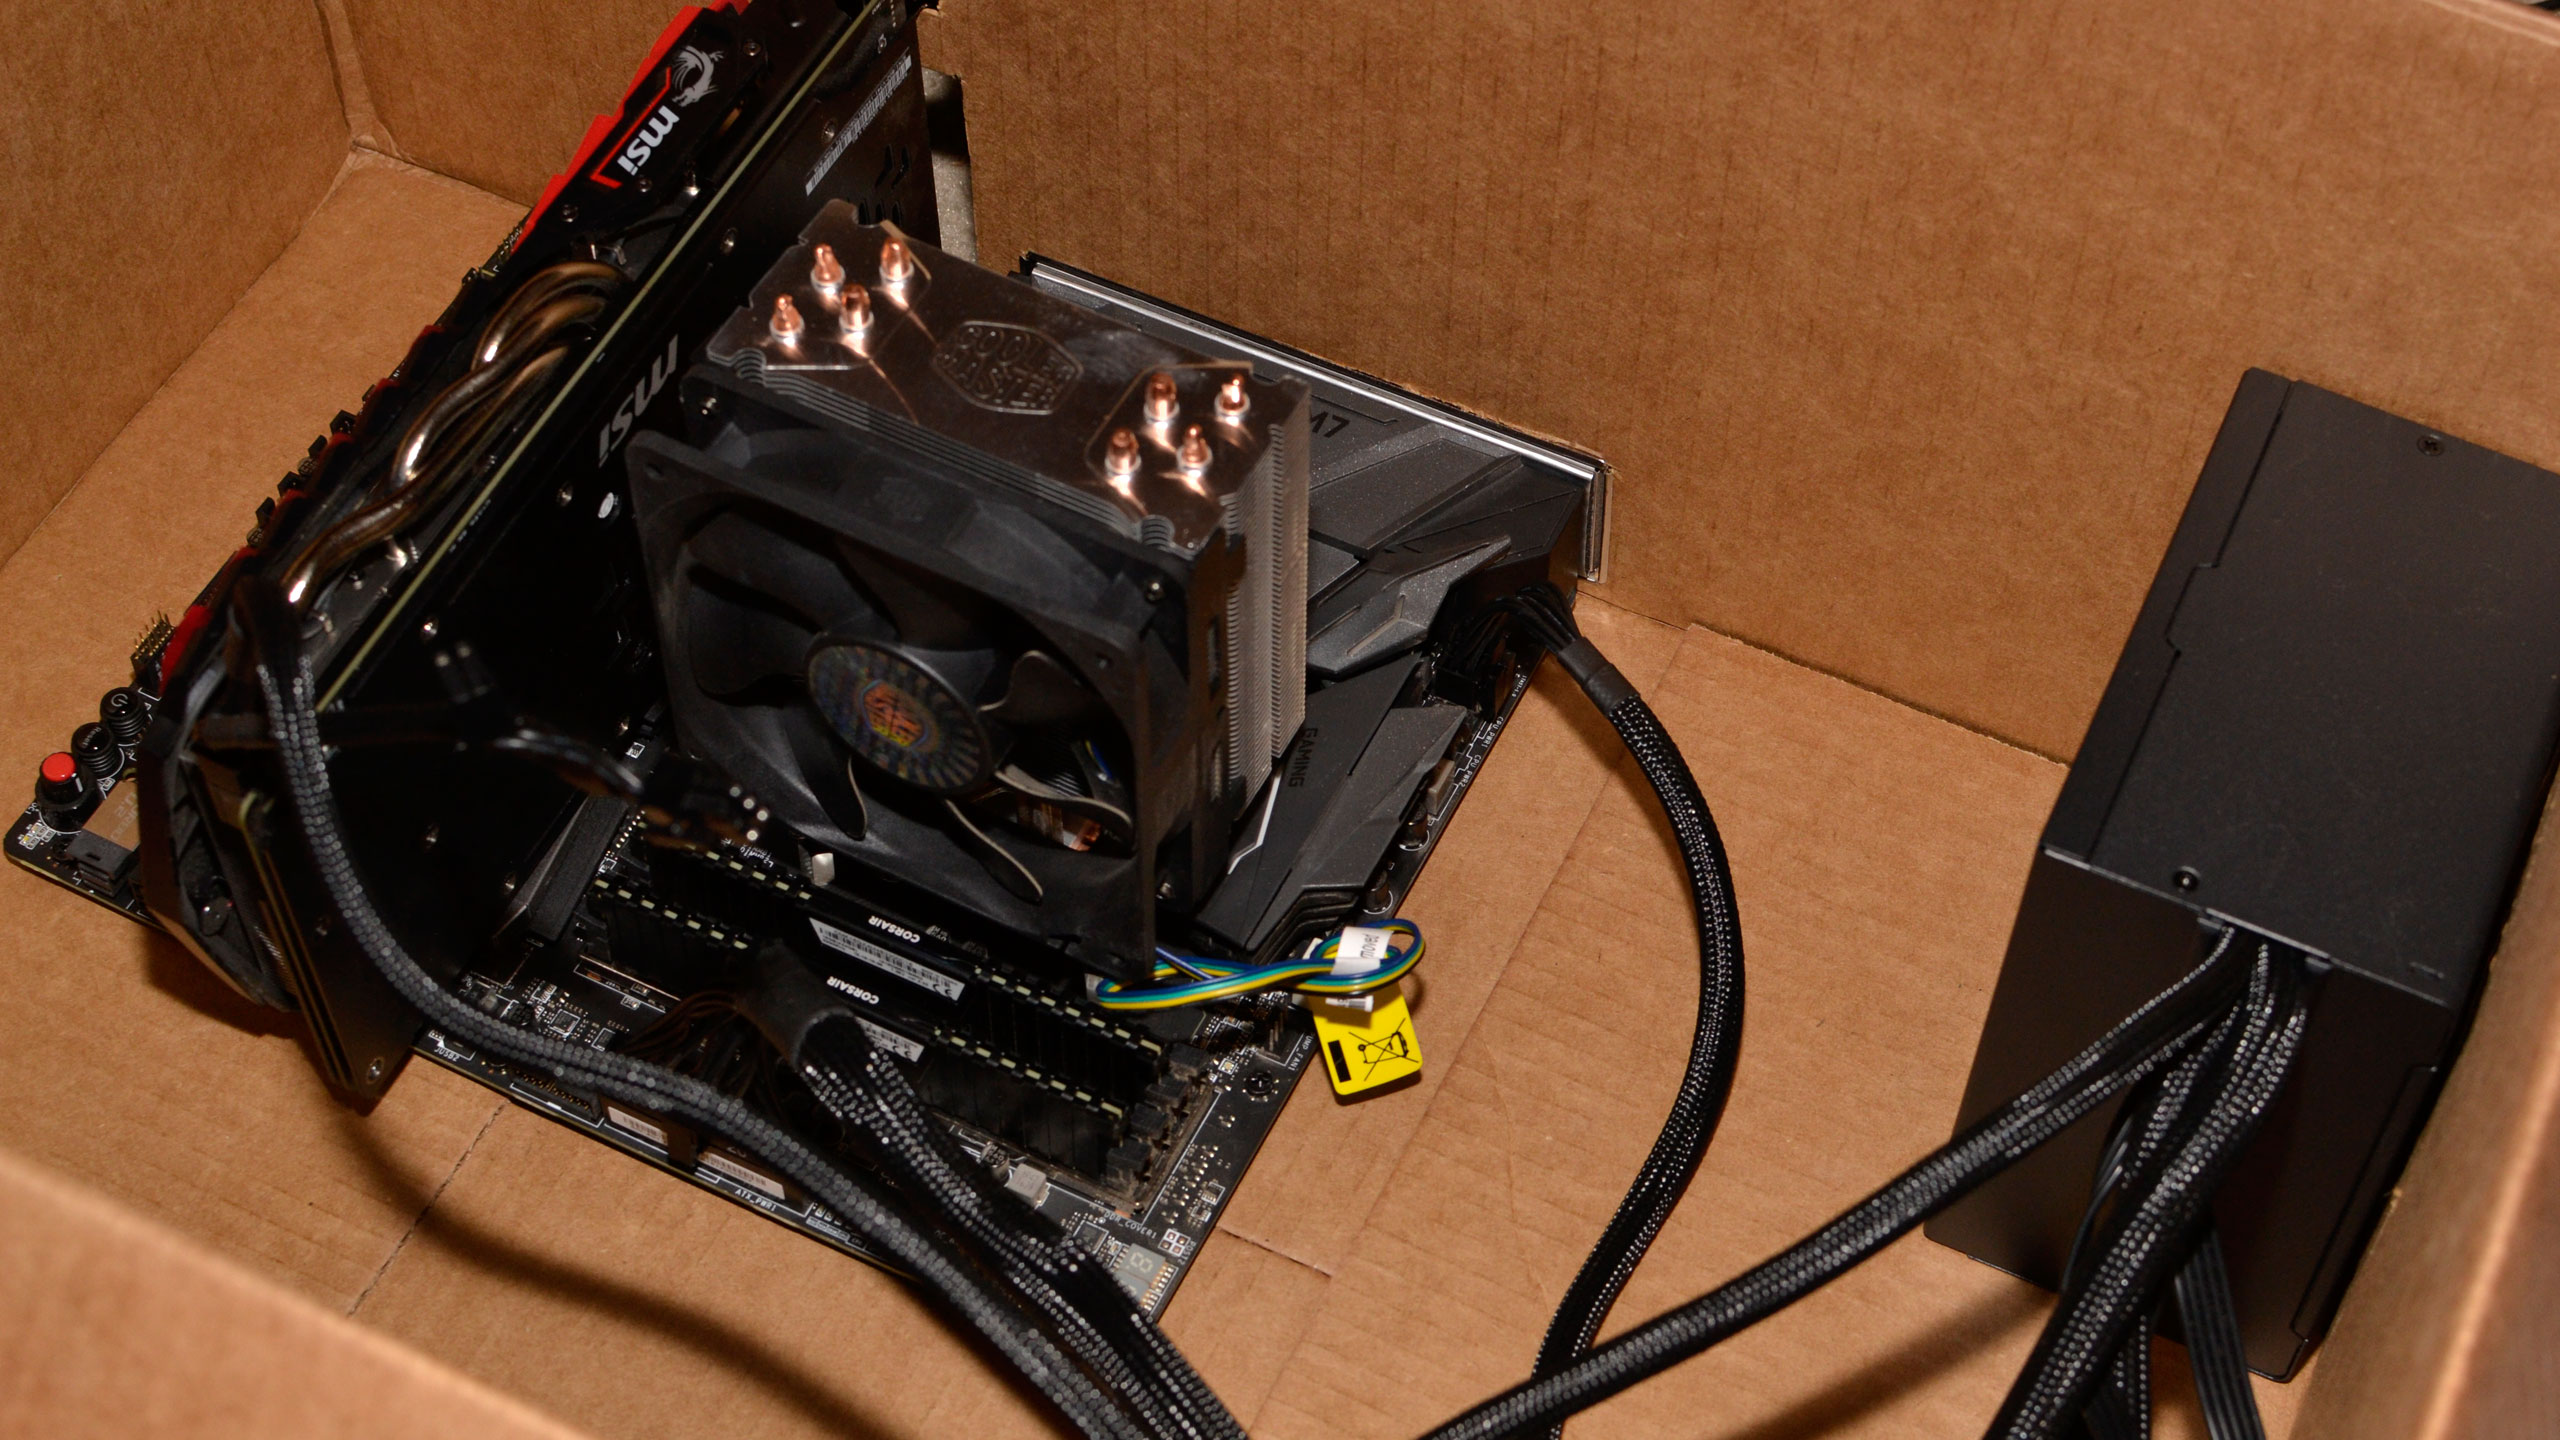
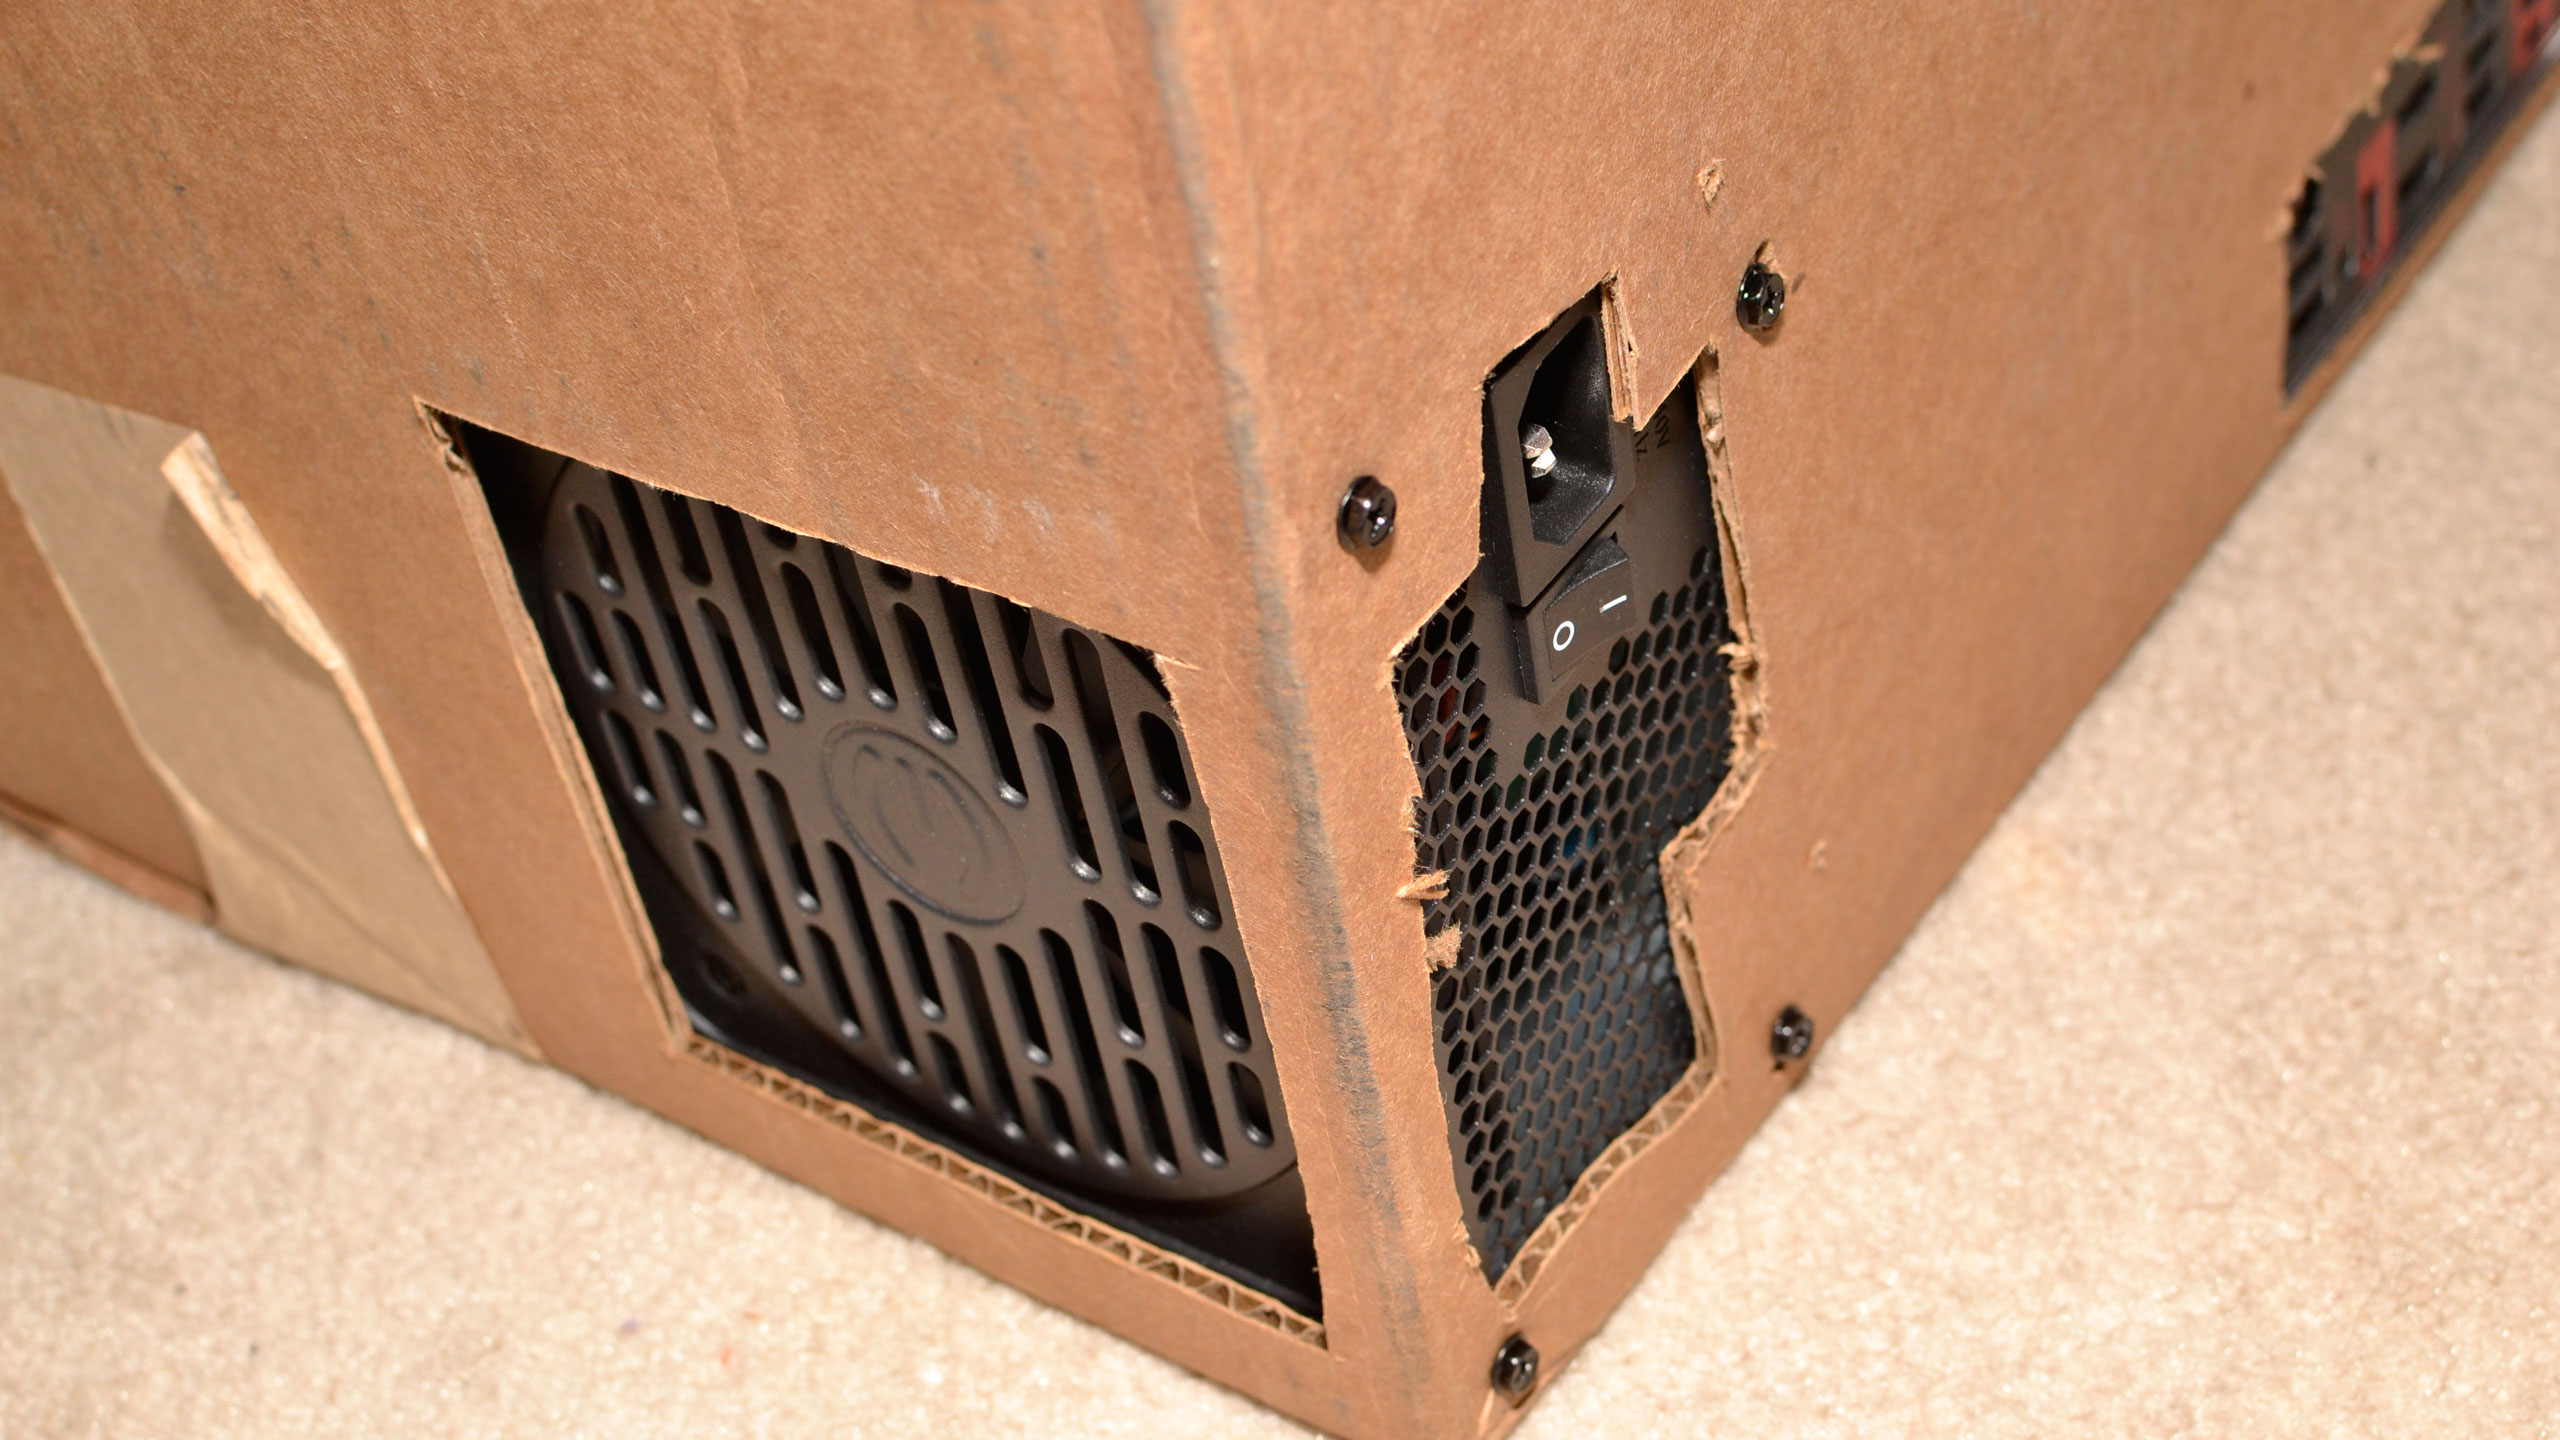
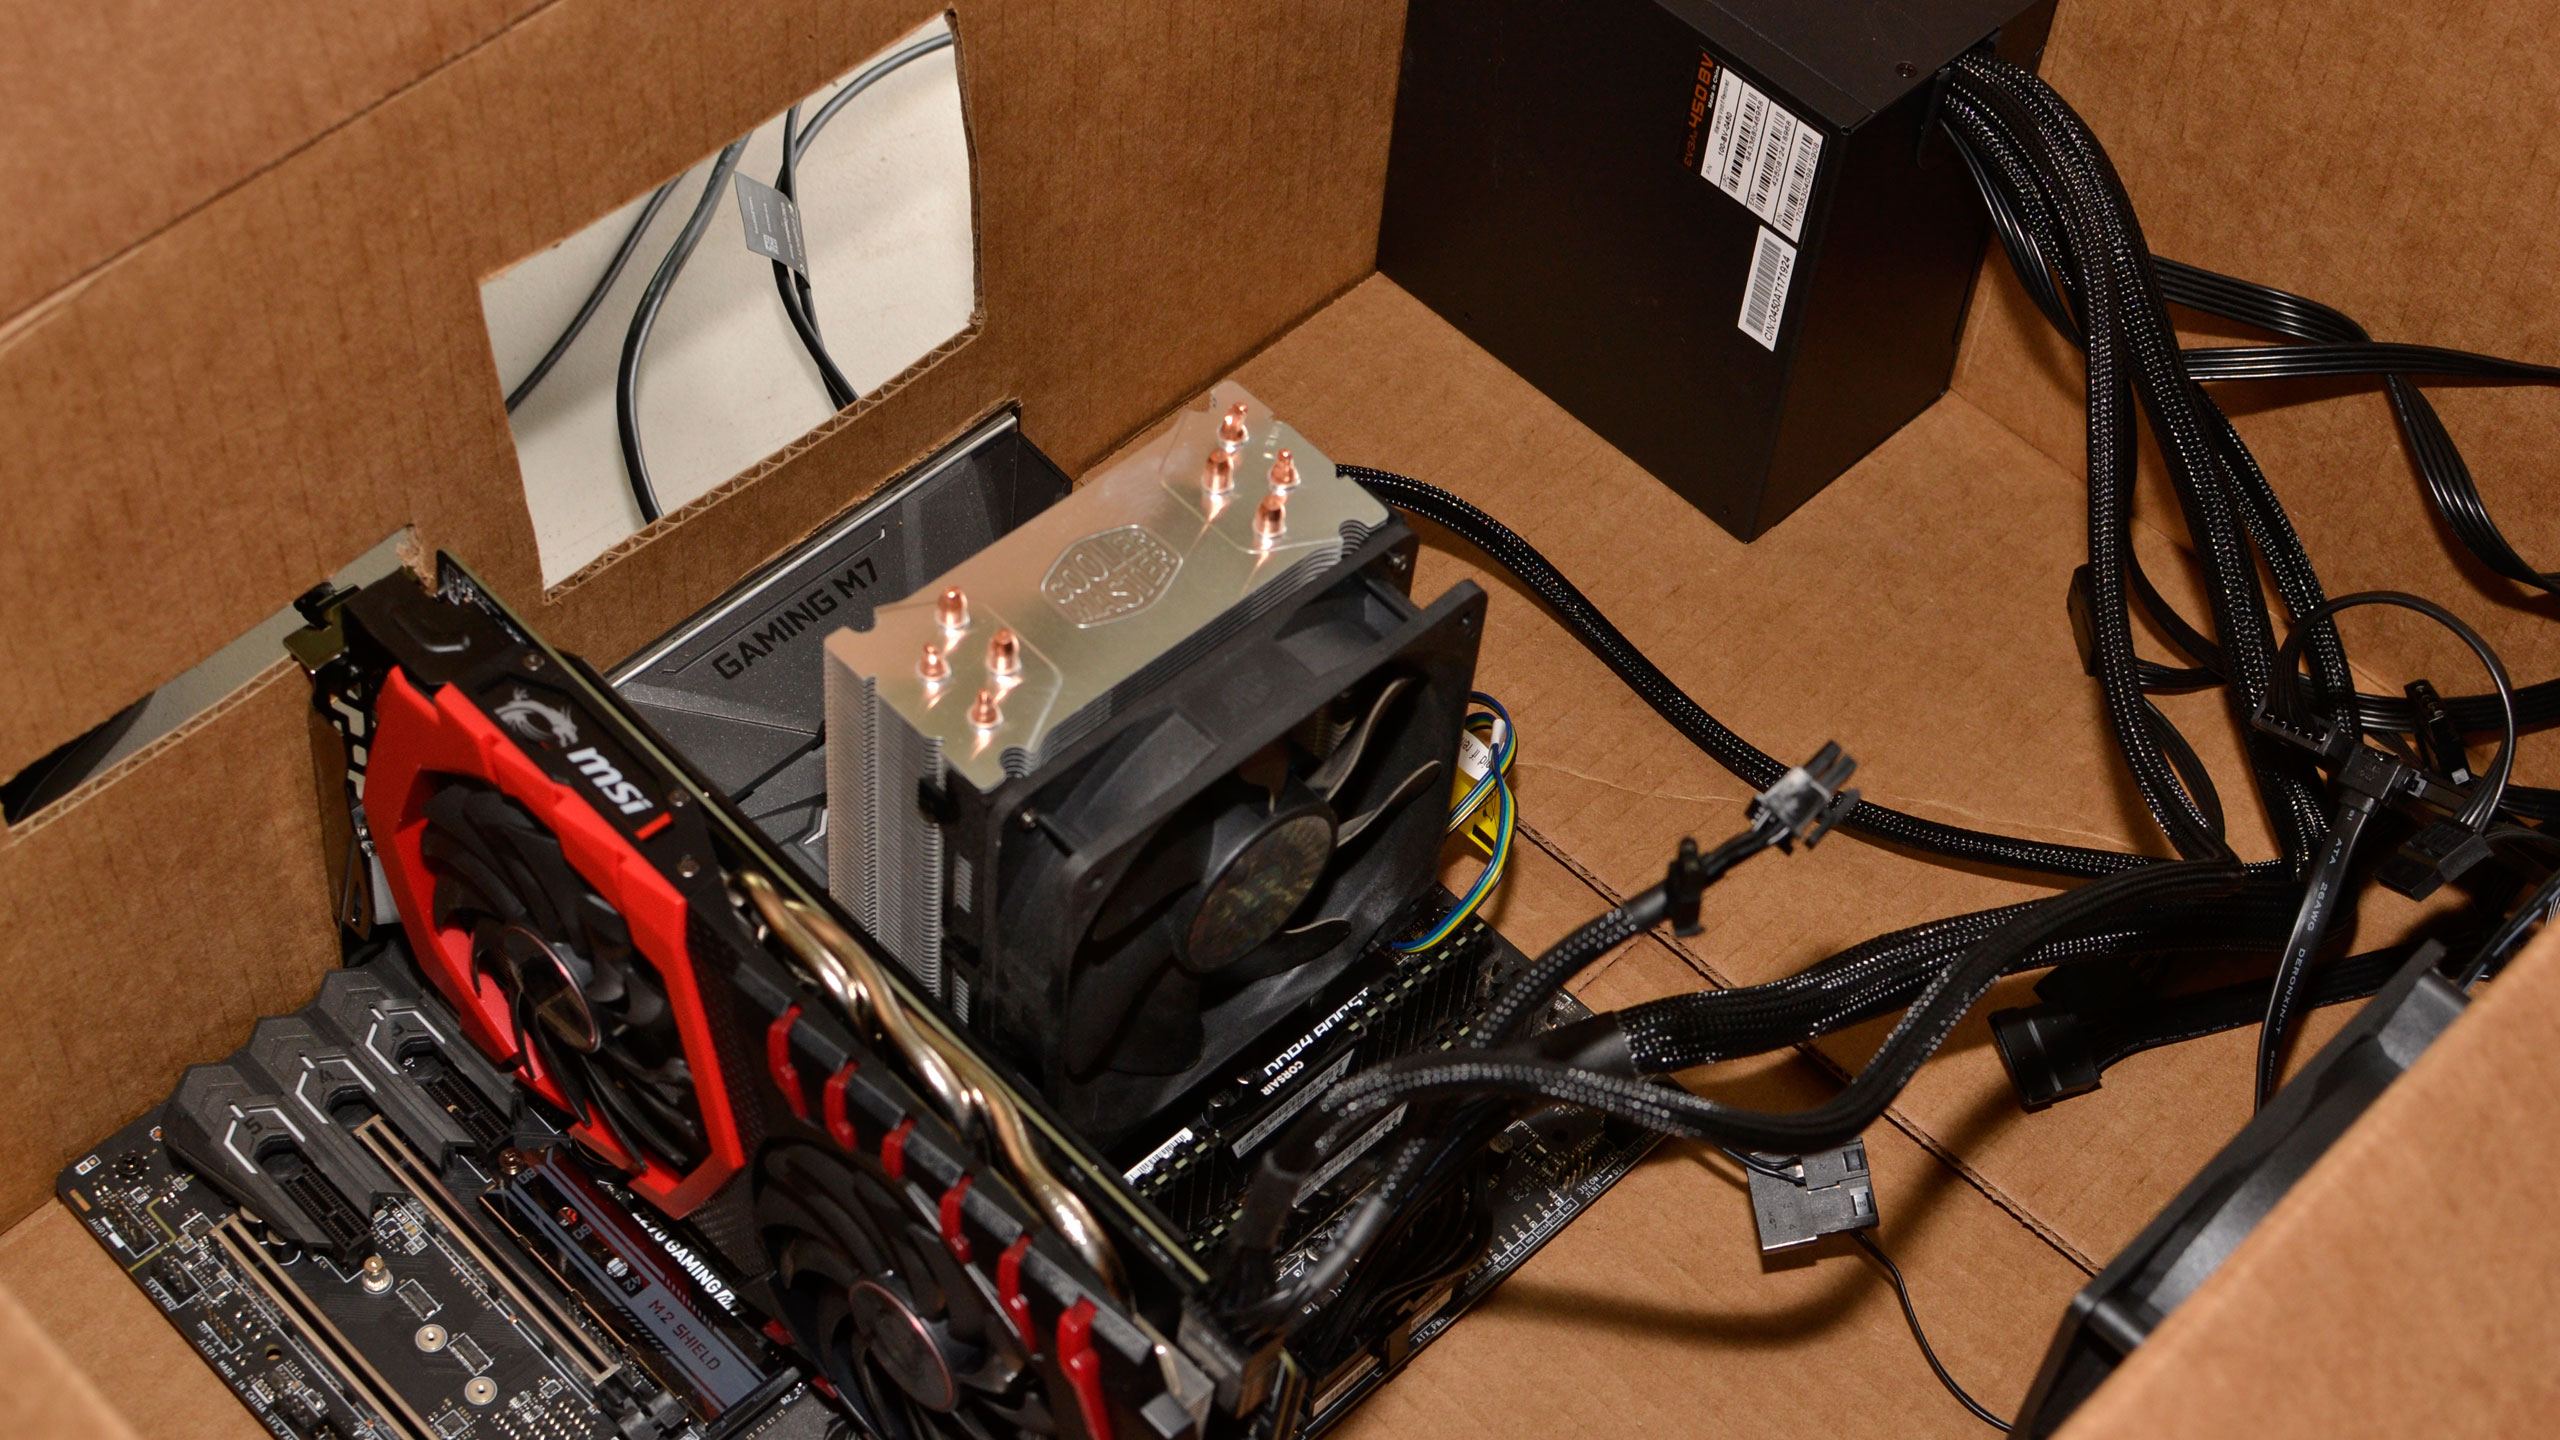
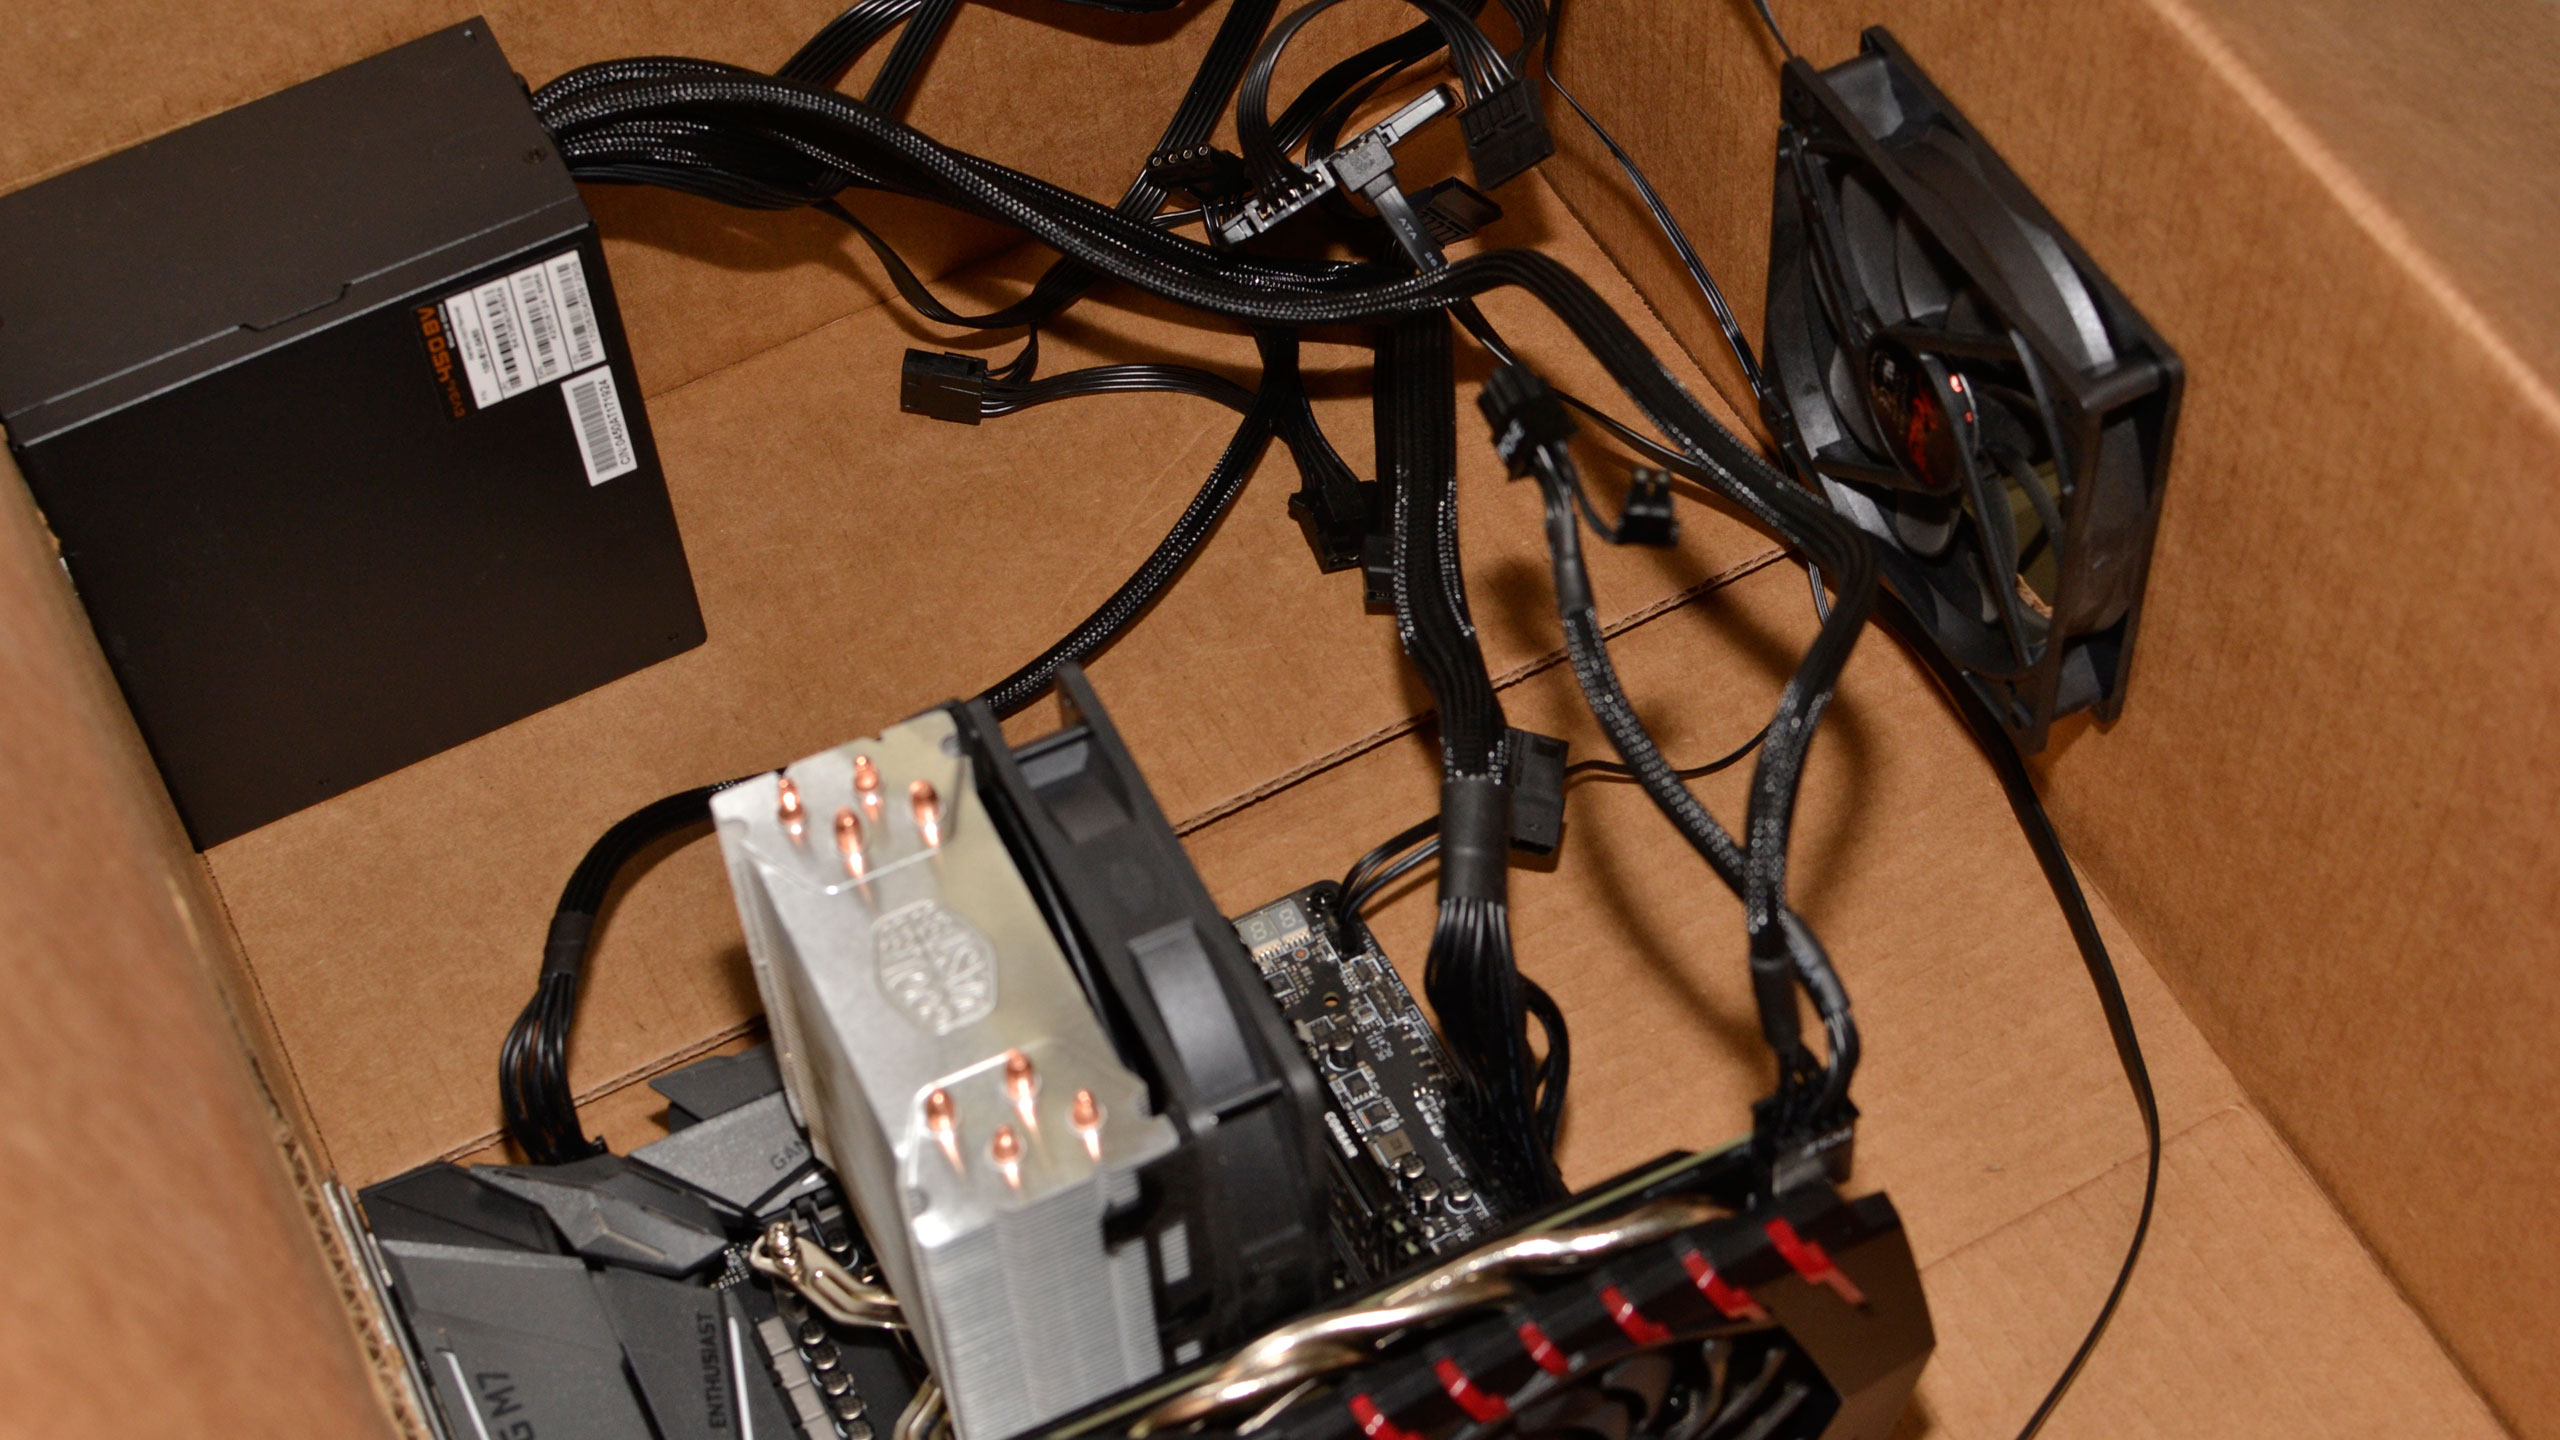
Now it's time to add a power supply. I chose a corner location for ease of access to cooling and exhaust—I don't want the PSU venting into the interior of the box. Then I made more marks and cuts into the box, and eventually got the PSU all situated.
This was probably the trickiest step, because I wanted to use screws to hold the PSU in place. I initially punched holes in the wrong locations, because I had my paper marking the holes reversed. Oops. Getting the small screws through the cardboard and into the appropriate hole on the PSU can also be a bit of a pain. And yes, my cabling needs work.
It's times like this that I gain a better appreciation for everything that goes into making even a cheap PC case. You can't be even 1mm off and still have everything link up properly.
Step 6: Additional ventilation
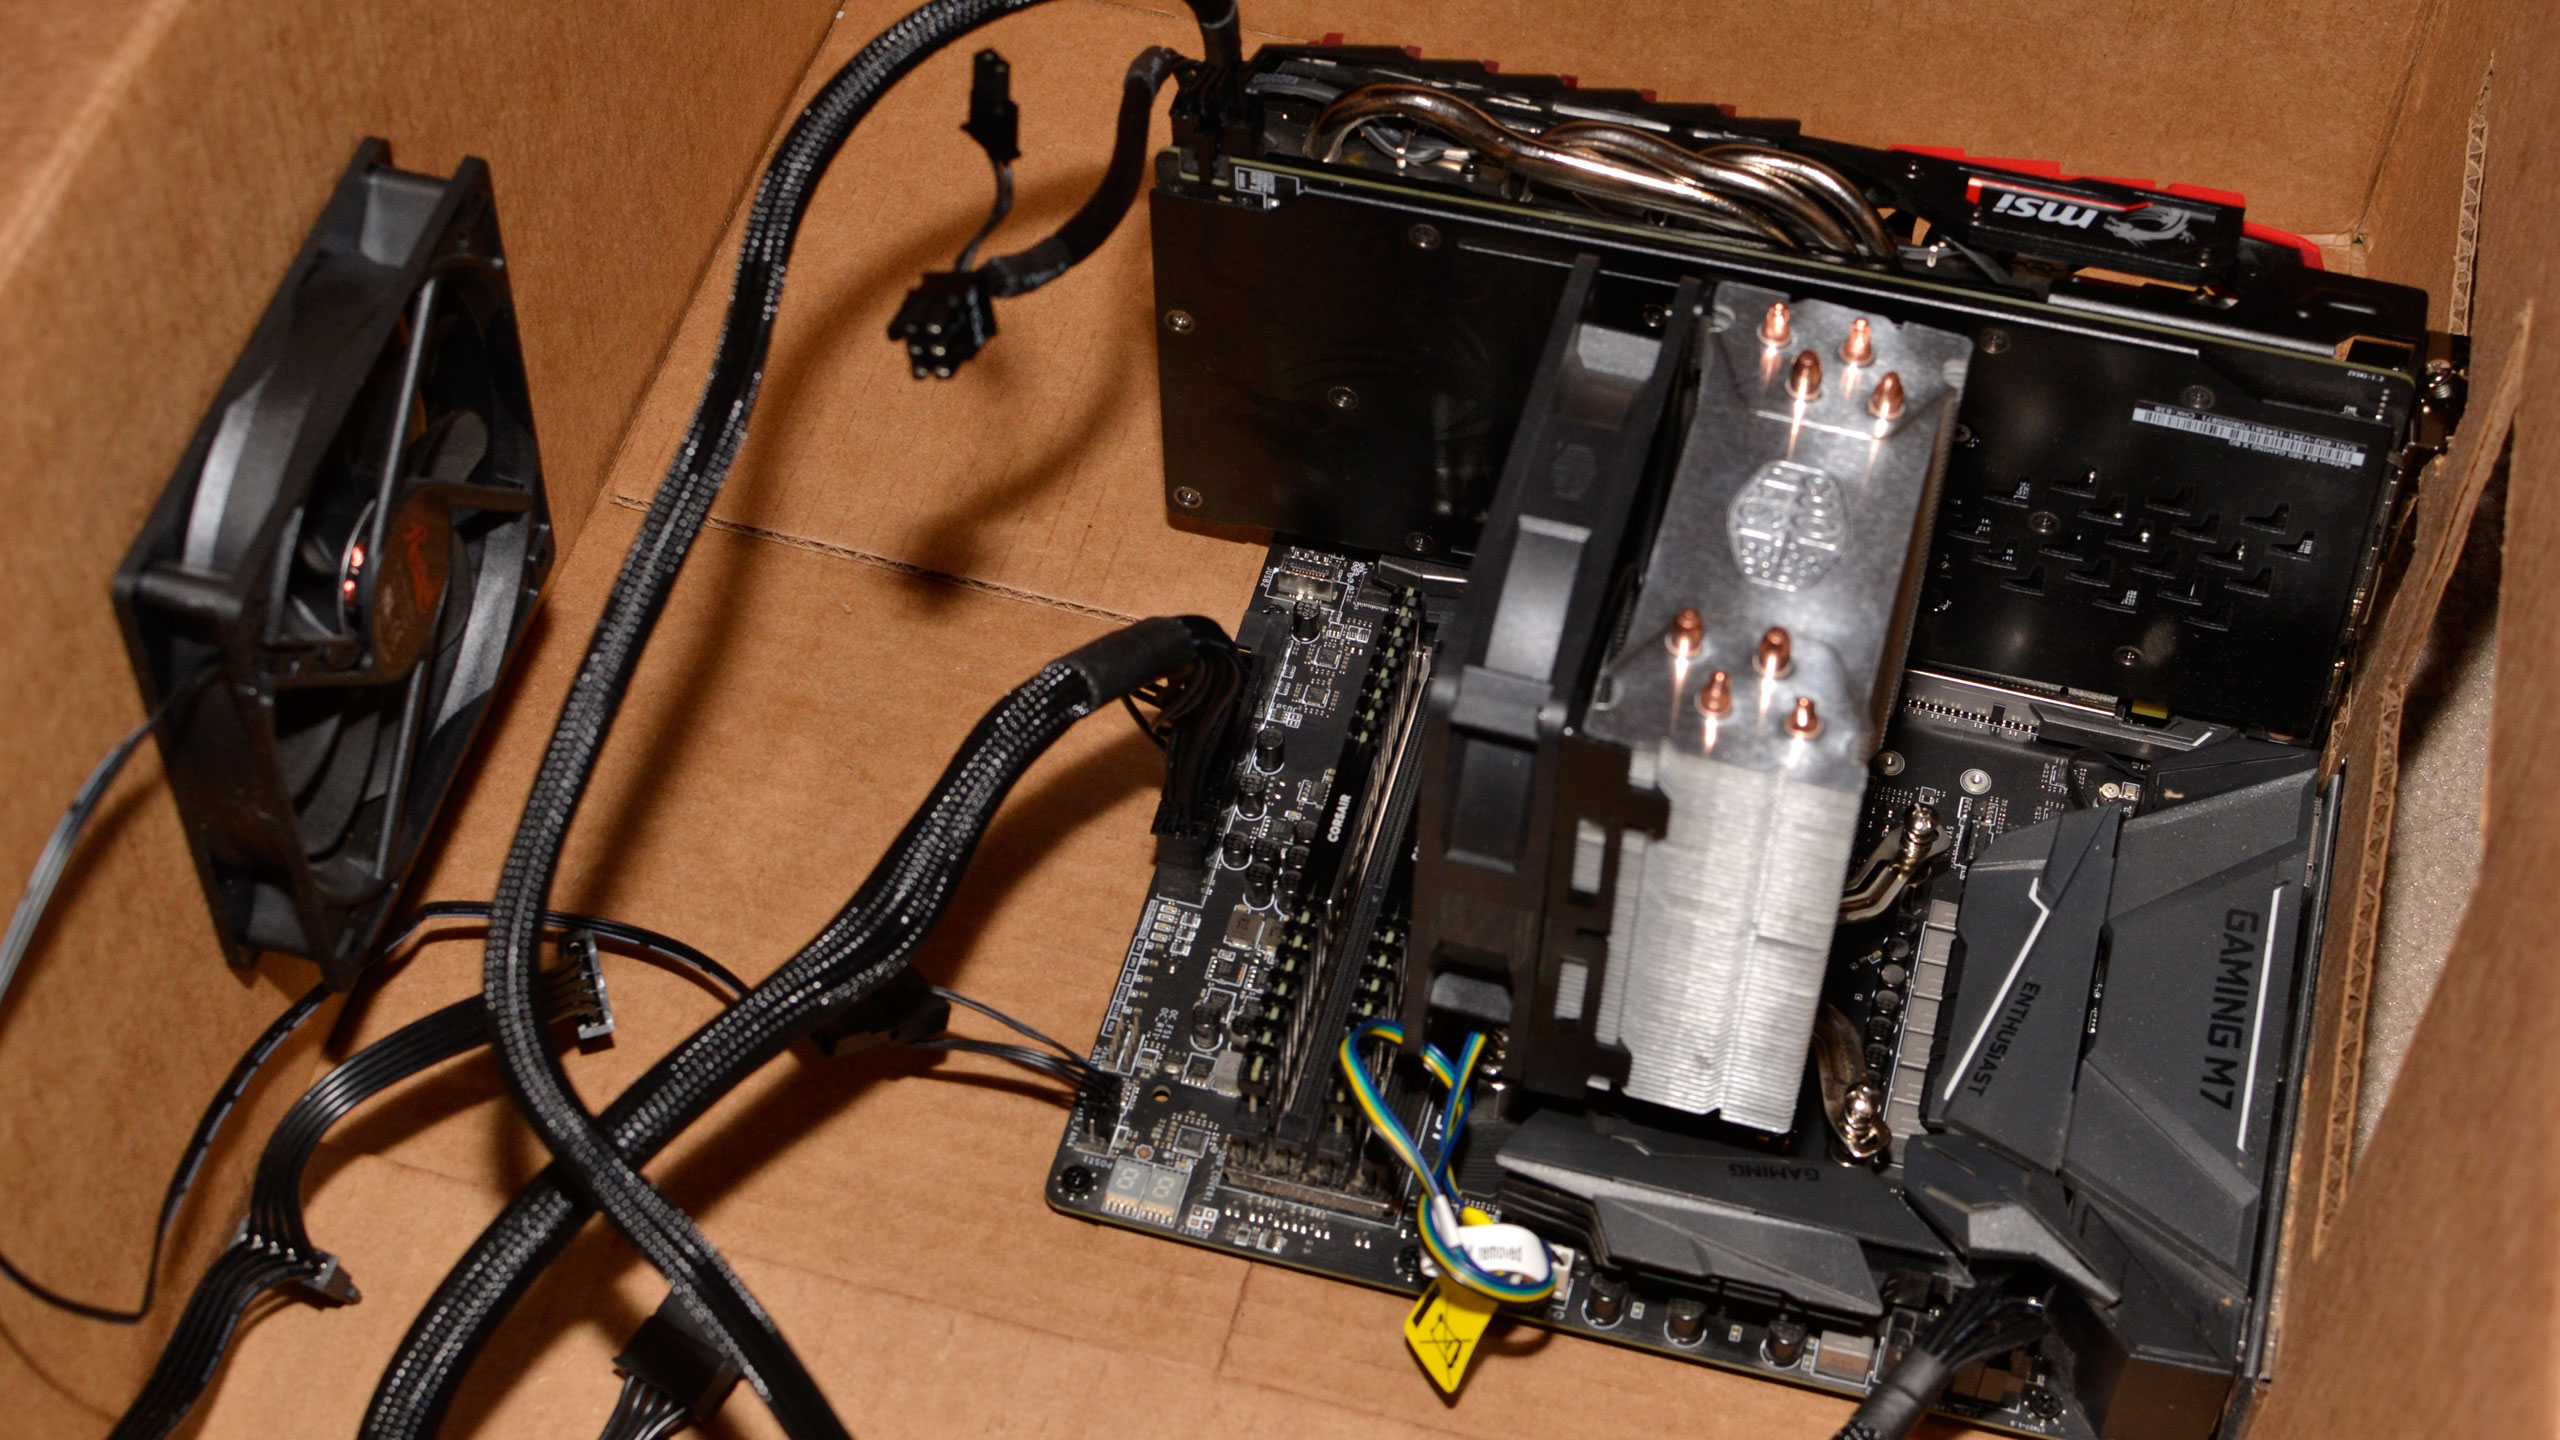
This might not be completely necessary, but cardboard is flammable, and I don't want heat building up inside the box. I cut out a large hole on the back of the box that's roughly in line with the CPU cooler's fan. Then I made another cutout with mounting holes for a 120mm intake fan.
Careful measurements for the fan are required to get it to line up properly. And by careful I mean I stuck the fan against the box and poked a screwdriver through the corner holes and into the cardboard. Job done!
Step 7: Give your PC the boot
Assuming you've survived this far, it's time to power on your PC. I mentioned earlier that it's best to use a motherboard with onboard power/reset buttons, which makes it easy to turn on. If you want to do things the old-fashioned way, find a screw, check your motherboard manual to determine which pins on the front panel header are for the power switch, and carefully short those out with the screw. Yup, this really works!
And it's totally not safe. Years ago, I was doing exactly this with a PC sitting on my floor. I had done it many times, with no problems. But this particular time, after the PC had powered on and I was pulling my hand away, I dropped the screw.
It was probably bad luck, but the screw landed somewhere in the middle of the motherboard and shorted out a critical element. I was greeted with a puff of smoke, an acrid smell, and the eventual discovery that I had killed a thousand dollars' worth of PC equipment. I was literally screwed.
So, yeah: onboard power and reset buttons are great.
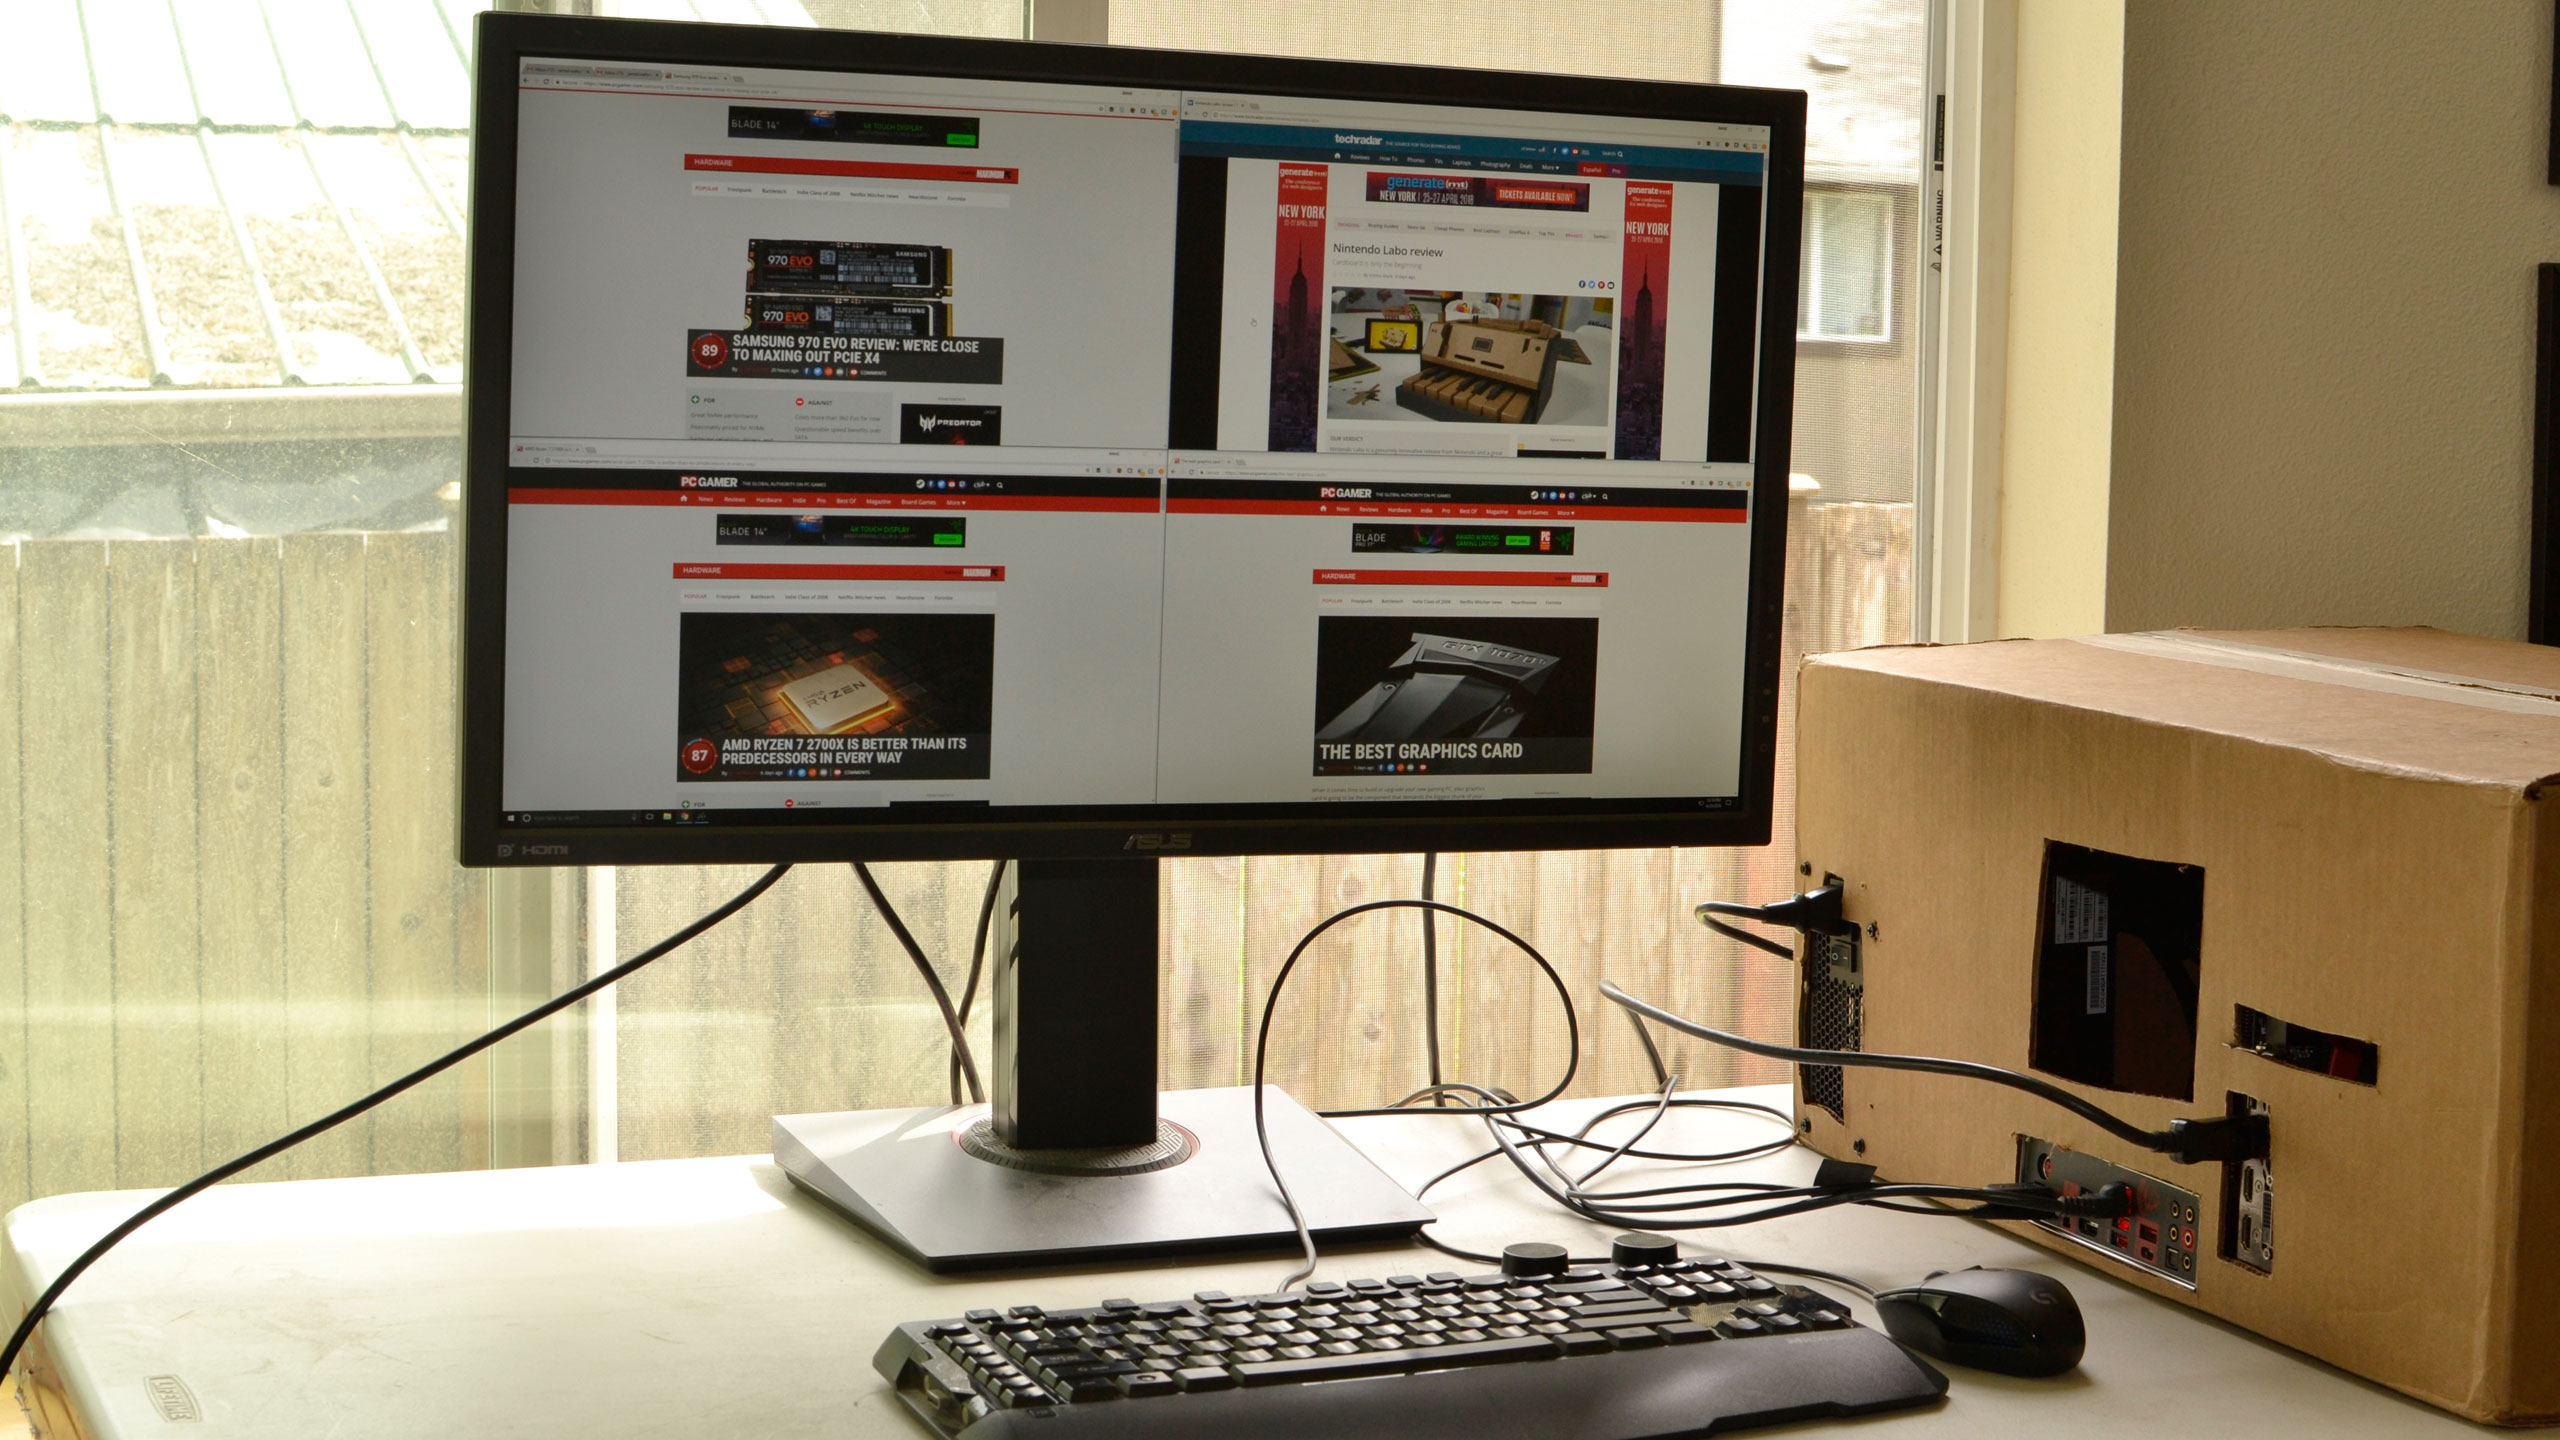
The Cardboard Box of Ultimate Power!
There's something about cardboard that's inherently appealing. I have three children, and for the first several years of life, they were all more interested in the boxes their Christmas and birthday presents arrived in than in the actual toys. Even today, my six- and eight-year-old sons love taking my discarded boxes and turning them into playgrounds for their stuffed animals, Lego, toy cars, and more.
That's part of the appeal of the Labo, and in the process you gain a personal relationship with whatever you create. But building a PC in a box? It's perhaps even more complex.
I'm a bit ashamed to say that it took more than four hours to get everything put together. And I would take a cheap $20 case over this cardboard monstrosity. Even the worst case is likely less of a risk to personal injury as well. I cut myself (badly) on an Antec case six years ago, trying to remove a metal cover blocking access to a 5.25-inch optical drive bay. I'm really proud that I managed to assemble this cardboard PC without ever slicing my hand or finger with the sharp box cutter, or getting a single papercut—it was a definite risk!
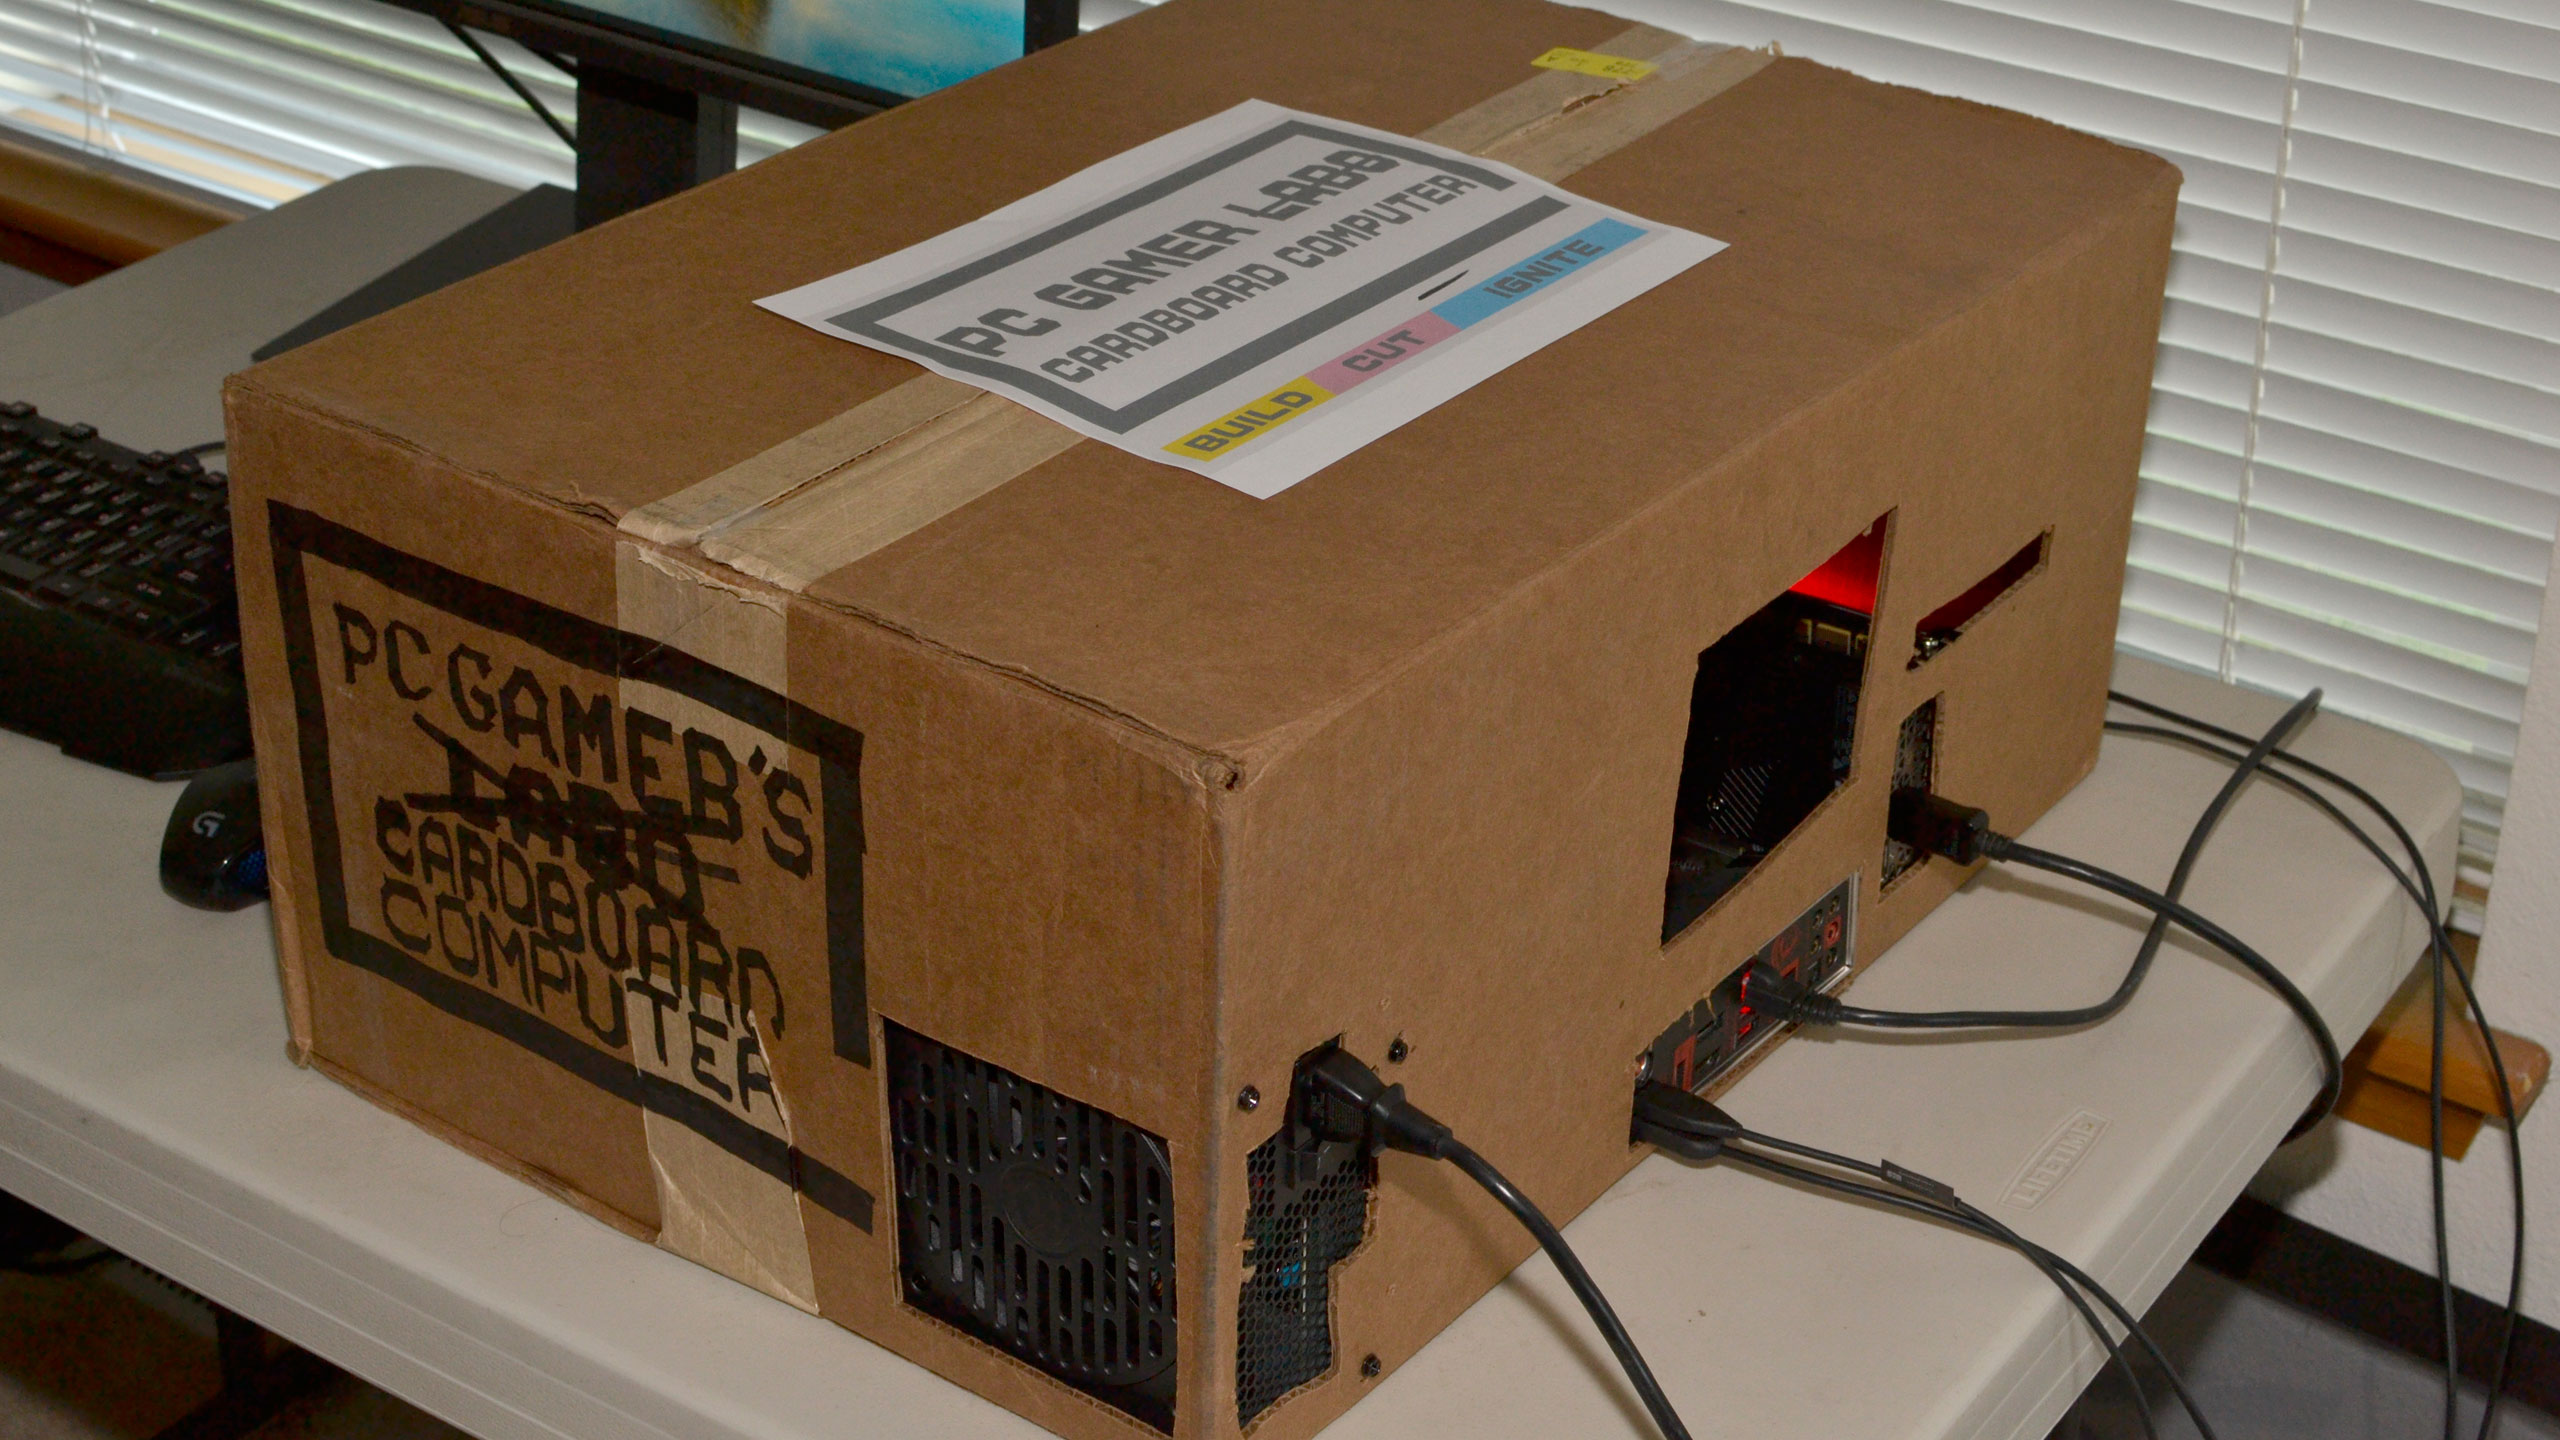
Now that the system is up and running, I'll probably leave it that way for a while. Because, even if it looks stupid, it's my creation, and I'm proud of it. Or something. My wife thinks it's ugly and wants it out of the living room. My boys think it looks like a great place to stow their stuffed animals. This probably isn't going to end well if I leave it powered up.
In the meantime, I have a GTX 1080 Ti I need to swap in so I can run some more CPU benchmarks.
Jarred's love of computers dates back to the dark ages when his dad brought home a DOS 2.3 PC and he left his C-64 behind. He eventually built his first custom PC in 1990 with a 286 12MHz, only to discover it was already woefully outdated when Wing Commander was released a few months later. He holds a BS in Computer Science from Brigham Young University and has been working as a tech journalist since 2004, writing for AnandTech, Maximum PC, and PC Gamer. From the first S3 Virge '3D decelerators' to today's GPUs, Jarred keeps up with all the latest graphics trends and is the one to ask about game performance.
