Dauntless beginner's guide: 9 tips to get you slaying in the Shattered Isles
Here's how to get started in Dauntless.

Dauntless is a free-to-play monster slayer that will have you facing off against a variety of Behemoths in order to farm materials and resources—all so you can craft and upgrade your gear to jump into even bigger and deadlier battles.
The formula will be familiar if you've played Monster Hunter and, while Dauntless is a lot more streamlined, there's plenty to do in and around Ramsgate and the Shattered Isles. Before you head out to bash those Behemoths around with your oversized weapons, have a read of these handy tips to make your first few hours… well, less daunting.
Try out all the weapons
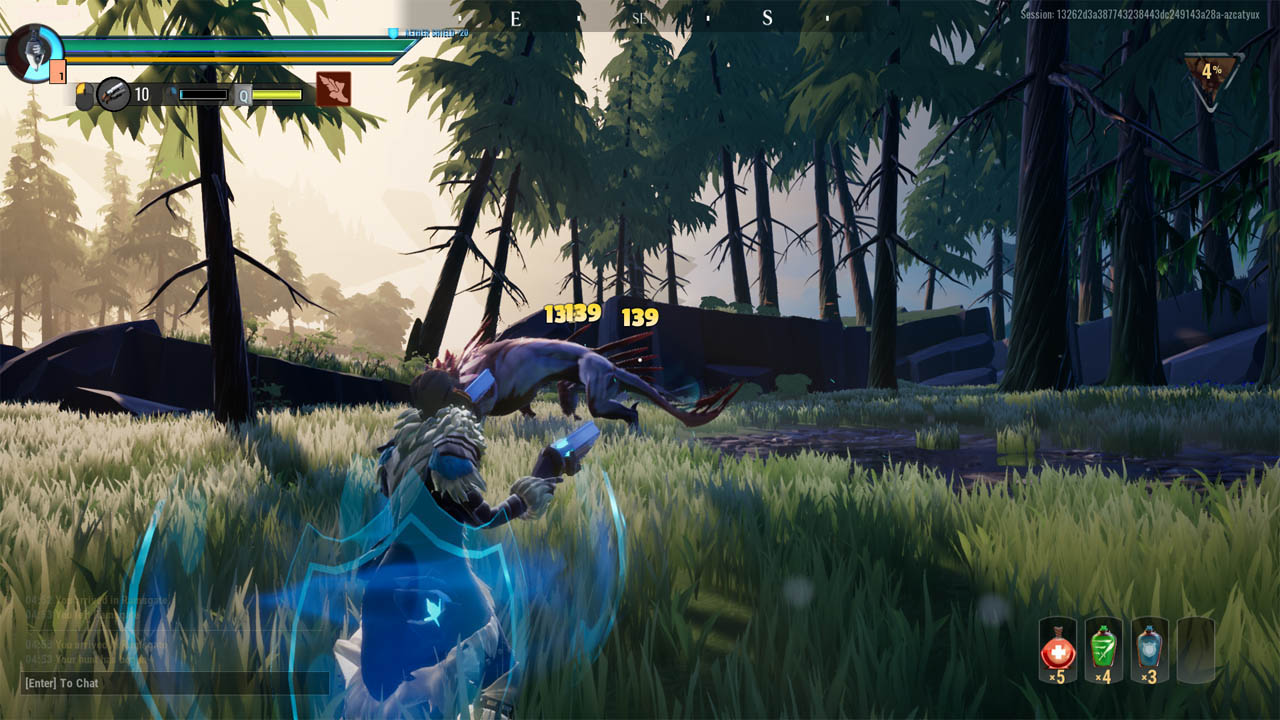
There are various weapons to suit a number of playstyles in Dauntless, and while you may have an idea of what your preferred weapon will be, it's worth giving each of them a go by taking them for a spin on a hunt or two.
Different weapons types have different advantages against certain boss types, so it's worth your while getting comfortable using a few different weapons so you can switch between them when taking on different Behemoths. As an example, hammers are incredibly slow but do a tremendous amount of stagger damage so they'll make a fast-moving Behemoth awkward to take down. They will, however, make short work of a slow-moving, armoured Behemoth—and there's something really satisfying about stagger-locking a Behemoth that had previously been giving you grief.
Certain quests and weekly challenges will require the use of different weapons too so it's worth getting to a basic understanding of how each weapon works, as well as its strengths and weaknesses.
Learn how to dodge and interrupt
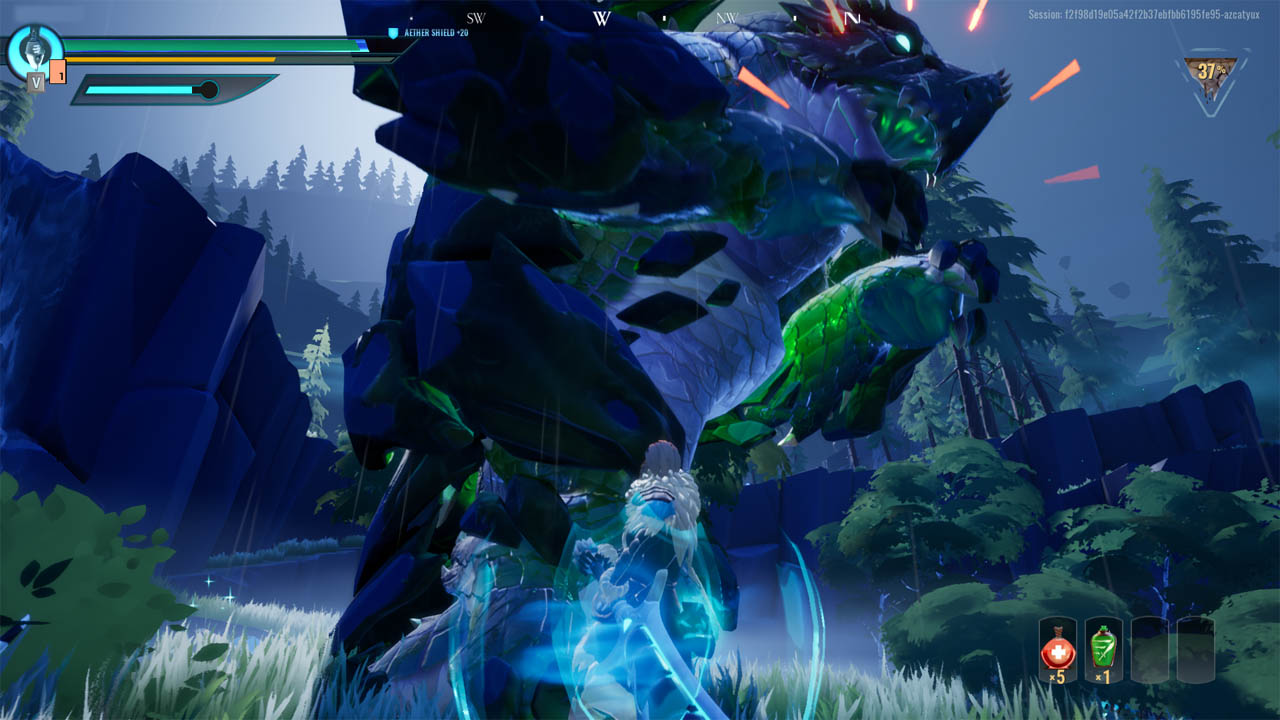
You'll want to learn the basic attack patterns of each Behemoth and react accordingly. Some are slow and relatively easy to read while others will charge around the area, making them seem almost impossible to hit. Dodging clear of the Behemoth can obviously prevent you from taking damage but if you can learn to time a dodge just as the attack is about to land, you can use the short iframe duration to move through an attack, allowing you to stay close and dish out more punishment quickly.
Some moves can be interrupted by landing an attack at the right time from any weapon (except Chain Blades—these will need a specific Cell type equipped). While interrupting isn't strictly necessary, if you have the patience to learn how and when to do it, it could save you and your teammates a lot of hassle—and avoidable damage.
Keep up to date with the most important stories and the best deals, as picked by the PC Gamer team.
Equip Cells on your weapons and armour
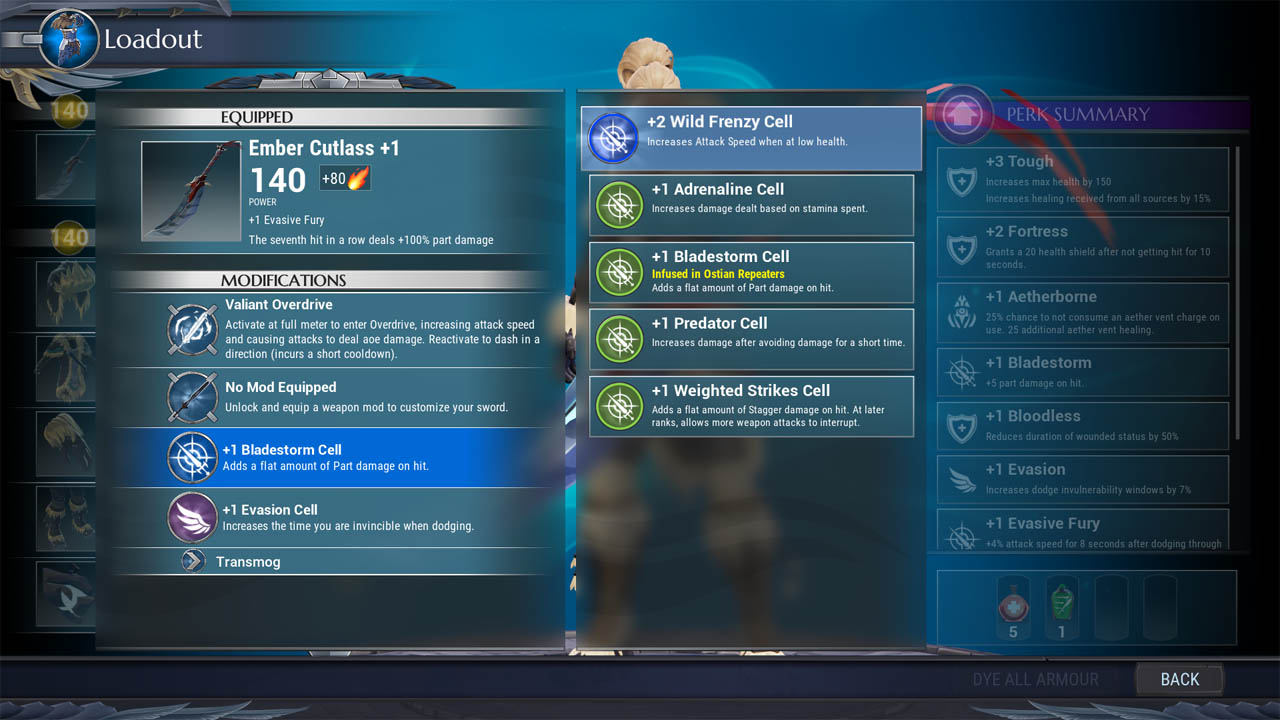
Cells are items that give you 'perks' when socketed into weapons or armour, allowing you to further customise your gear to suit your needs and playstyle. There are a number of different of Cell types from five different categories—Power, Defence, Mobility, Utility or Technique—and they come in uncommon, rare, and epic tiers.
Your primary source for Cells, early on, is from the Cores that are obtained by completing quests and hunts—using one of the Core Breakers in Ramsgate will reveal the Cells contained within, though the specific perks you get from these are random.
It's worth noting that the effects gained from Cells stack, so if you have the same type equipped in two or three pieces of gear, you'll gain the effect of all three—up to a maximum value of +6. As you progress further into the game, you'll also be able to purchase Cells or combine existing ones to increase their tier and make them more powerful.
Make use of the Aether
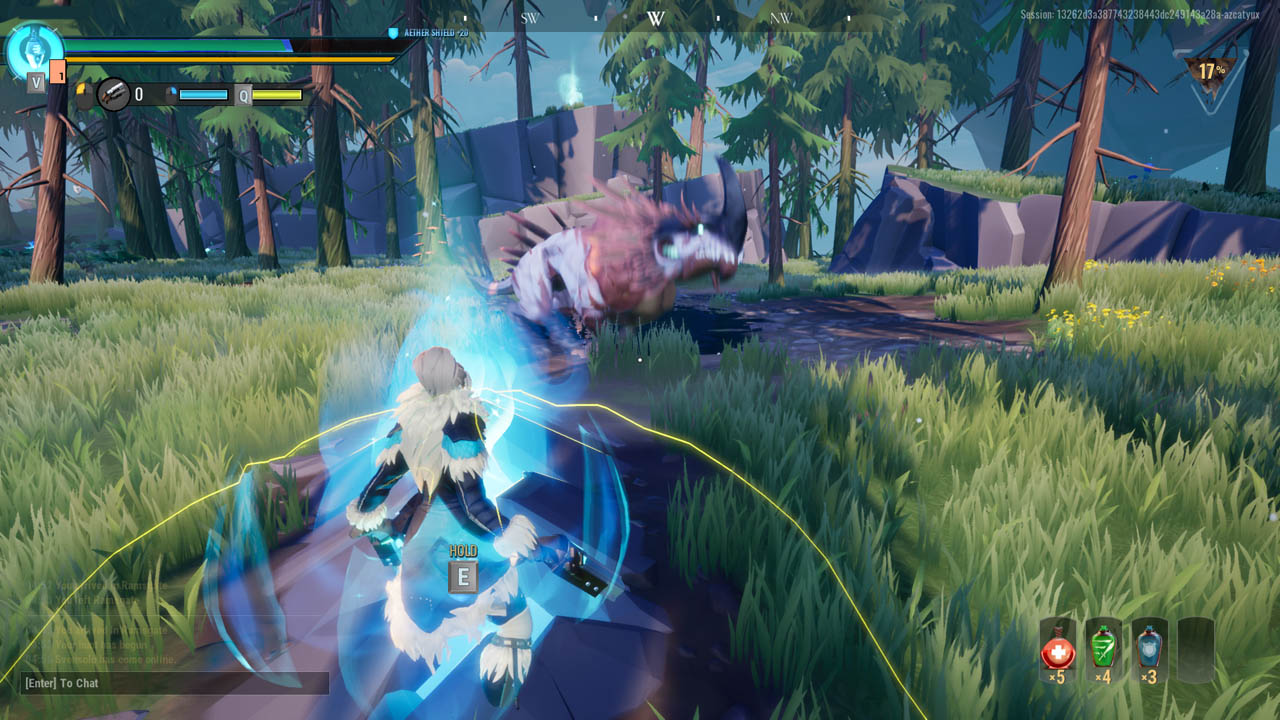
You've probably noticed the orbs of Aether floating about when you're out on a hunt. If you run over them, they give you a short burst of speed which is handy when you've got a big area to search for a lone Behemoth. Aether Lifts are also useful for getting around; these are the small 'fountains' that are dotted around an area. Running into one will launch you high into the air and allow you to reach high cliffs or traverse large chasms.
Probably the most useful though is the Aether Vent that you'll find in the area where you encounter the Behemoth. You can—and should—use these to heal wherever possible and save your health potions for emergencies. You'll need to stand on top of the vent and press and hold 'E' so make sure the boss isn't about to jump on your head before you do so. These vents don't have an endless supply though, so don't leave your teammates short.
Keep an eye on the Danger Meter
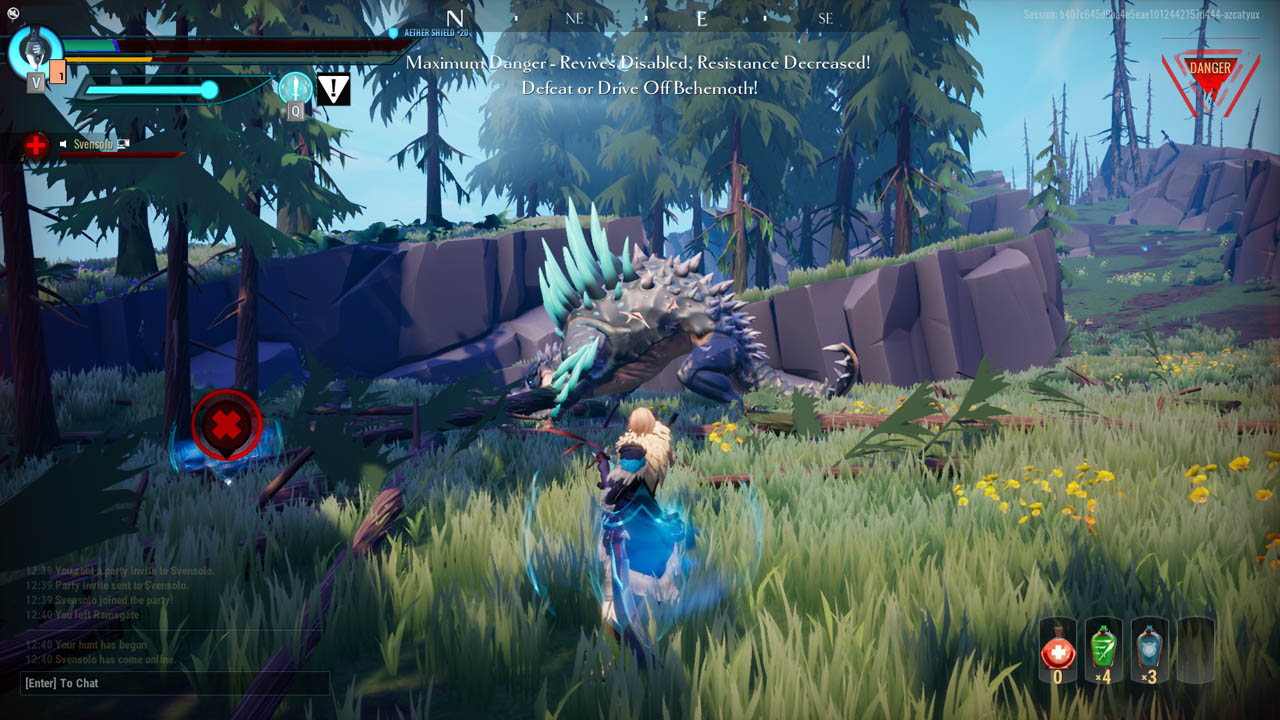
If you've been out on a hunt or two, you may have spotted the number in the top right of your screen and wondered what it was. It's the Danger Meter and it will gradually increase during the hunt. If it reaches 100, it acts as a kind of 'soft enrage' giving the Behemoth increased damage and removing your ability to revive downed teammates. So what can you do about it?
The Danger Meter will automatically increase while a hunt is in progress and there's nothing you can do to stop it. Certain factors will speed it up or slow it down and it's worth being aware of this, especially on some of the trickier hunts where the Danger Meter maxing out can be a real issue.
Taking a lot of damage from a Behemoth seems to speed up the meter's progress slightly, and a teammate that has been KO'd and not revived will also contribute significantly. Conversely, reviving a teammate (not self-reviving—this has no effect) will cause the Danger Meter to drop, as will causing the Behemoth to flee from the area.
Essentially, don't take unnecessary damage, revive teammates quickly, and finish the hunt as fast as you can.
Hunts scale so don't be afraid to go solo
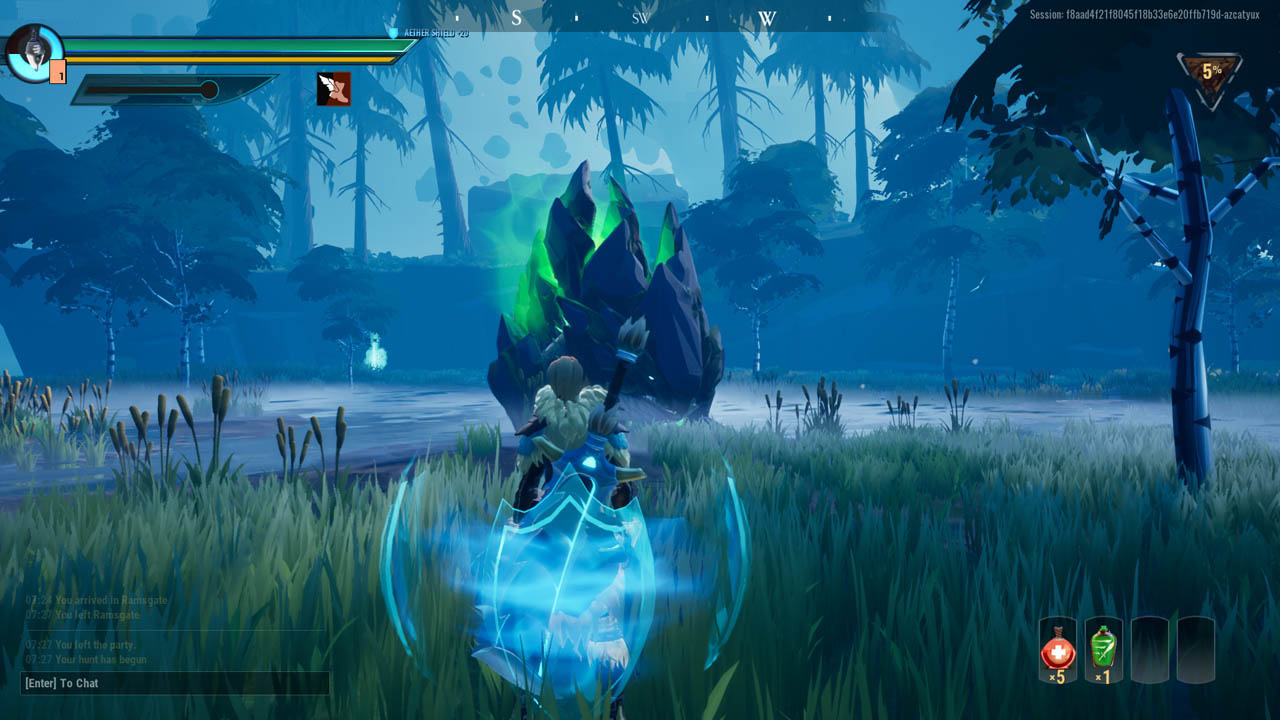
Generally, a full group of four players makes a hunt much easier—a Behemoth focusing another player gives you a chance to get some free hits in, or back away and heal up. But if any of those other players are slacking or not pulling their weight, it can make the hunt much harder than it needs to be.
The Behemoth's health will scale, depending on the number of players on the hunt. So if you constantly find yourself grouped with slayers that go AFK or insist on gathering resources while you're left smacking the Behemoth around, you may want to consider going solo or grouping with just one or two friends. You can do this by selecting 'Private Hunt' option at the bottom of the Map screen.
Hunt around for resources
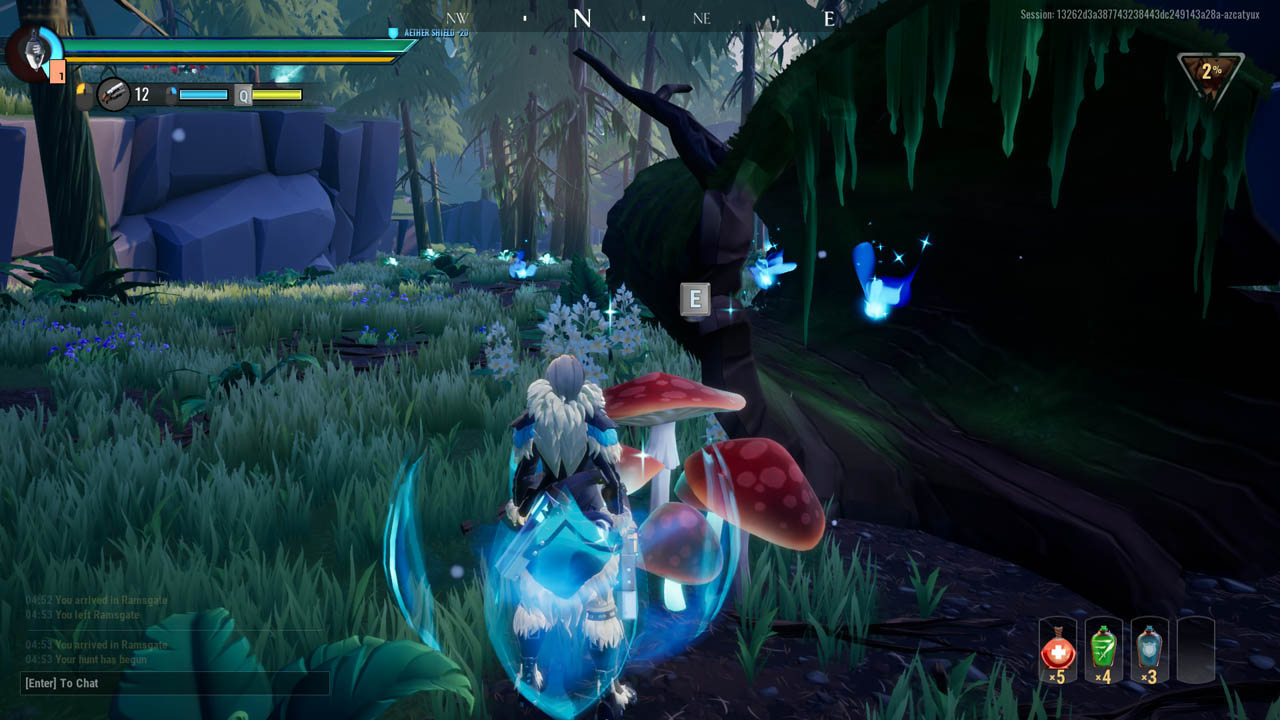
While you'll obtain the majority of the materials you'll need to craft weapons and armour from taking down Behemoths, it's well worth having a quick scout around at the beginning of a hunt for additional resources. There are various different plants to be found and collected and these can be used to craft potions and tonics which can give you an edge if you're struggling to take down a particular Behemoth.
Collecting plant-based resources is instant—simply running over the plant and tapping 'E' will net you your goods—so you really have no excuse for not picking them up. It's also worth looking around on ledges and some of the rocky areas for deposits that will yield either Omnistones or Phoenix Opals, depending on the area you're in. You'll need these if you want to craft grenades and specific tonics.
Farm orbs from Patrols
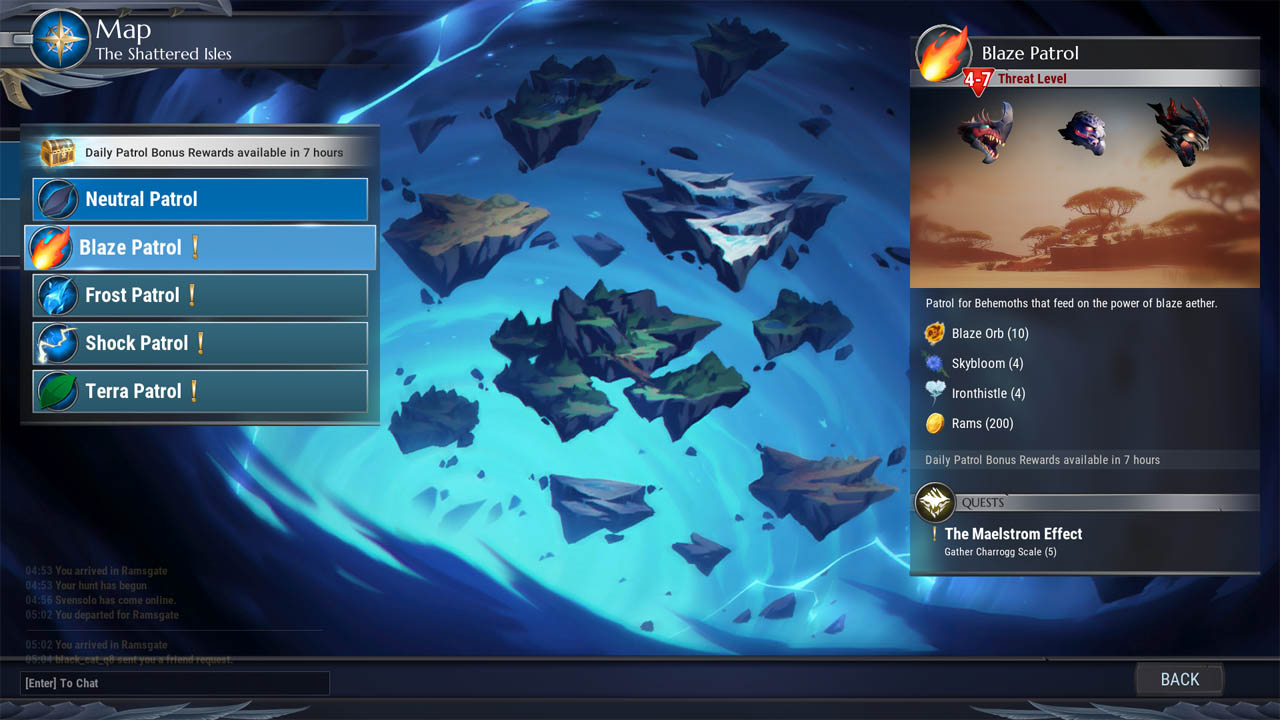
Crafting weapons and gear becomes much easier once you've unlocked Patrols after completing the 'City on the Verge' quest. Orbs are needed to craft and upgrade gear and they come in several different types, each corresponding to the strengths of different weapons and armour sets.
Each Patrol will reward you with ten orbs from the Patrol type you choose—a Blaze Patrol will reward you with ten Blaze Orbs, and so on—and you'll earn an extra ten orbs of that same type from your two daily Patrol bonuses. If you can't log in for a couple of days, don't panic—the Patrol bonuses roll over to the next day and will stack up to a maximum of six.
Pick up Deathmarks every day
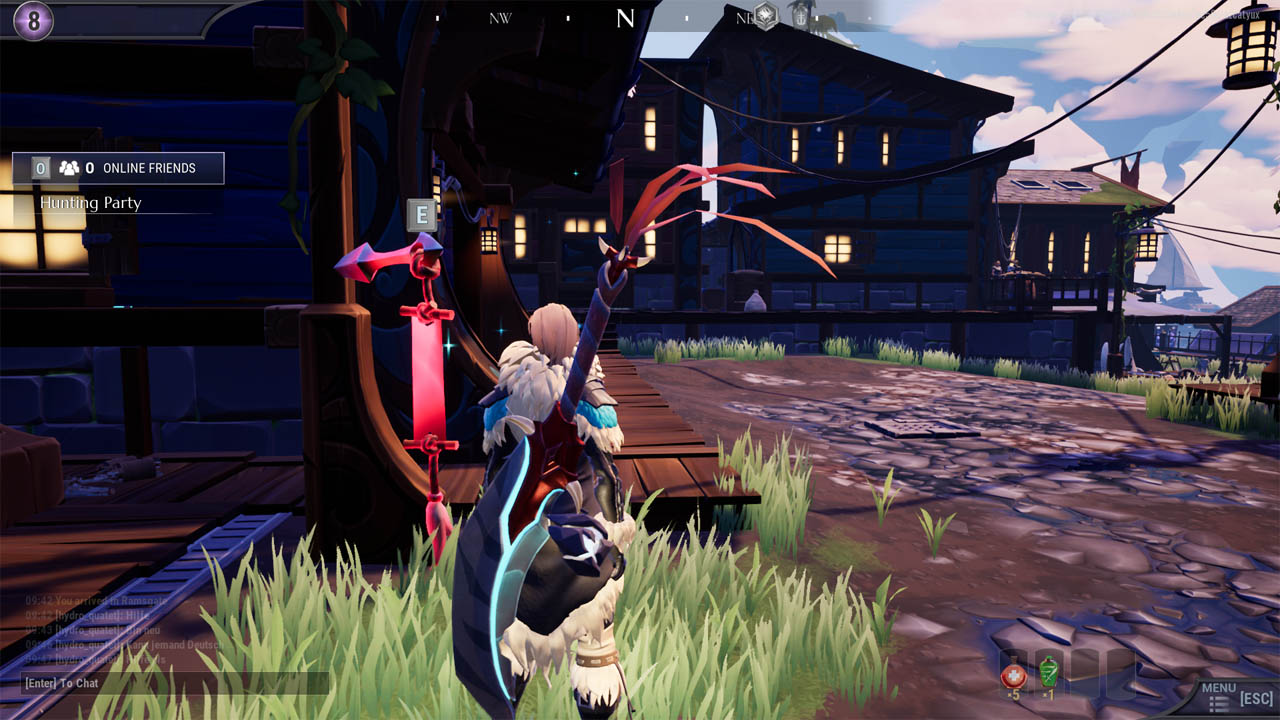
Deathmarks are collectable items that appear around the player base of Ramsgate. There are ten to find every day and they'll spawn in different locations so you may need to hunt around for them. They're pretty easy to spot though and are most commonly found on the sides of buildings or in alleyways—though occasionally you'll find one on a roof.
Each Deathmark you pick up will add to the progress of your Hunt Pass for the current season. Most of the Hunt Pass levels you obtain will reward you with items such as cosmetics, gear, consumables, or crafting materials. For the five minutes it will take you to run around and gather them, collecting Deathmarks is certainly worthwhile.

Sarah started as a freelance writer in 2018, writing for PCGamesN, TechRadar, GamingBible, Red Bull Gaming and more. In 2021, she was offered a full-time position on the PC Gamer team where she takes every possible opportunity to talk about World of Warcraft and Elden Ring. When not writing guides, most of her spare time is spent in Azeroth—though she's quite partial to JRPGs too. One of her fondest hopes is to one day play through the ending of Final Fantasy X without breaking down into a sobbing heap. She probably has more wolves in Valheim than you.
