This diary was originally serialised in PC Gamer magazine. For more quality articles about all things PC gaming, you can subscribe now in the UK and the US. You can read part one here.
1. Weapons chosen via a lotto spinner.
2. One weapon per target.
3. No reloads unless the game really, really annoys me.
We’re in Marrakech, the Big Haggle. Agent 47 is on the trail of rogue Swedish diplomat Claus Strandberg and wannabe military dictator Reza Zaydan. We’re killing targets with weapons chosen at random using a lotto spinner. Before we turn the bingo- wheel of fate, however, we need to talk about odds.
Last issue, I used a bespoke list of weapons for each level I played, assigning each weapon a number corresponding to a number in my spinner. However, I’ve noticed that simply listing all the weapons that appear in a Hitman mission skews the odds in favour of melee ones, simply because there are so many of them. Hence, for this entry, I’ve rewritten the list to be slightly more general, to best ensure each weapon class (gun, melee, explosive, environmental) has roughly the same number of entries on the list. You can see this updated lineup in the boxout overleaf.
This less stabby list seems to pay off immediately. The numbers for Zaydan and Sandberg respectively are four, which is an automatic weapon, and 16—lethal poison. One loud, one quiet, neither melee. Strandberg is holed up in the Swedish embassy south of the market, while Zaydan is preparing his coup at a former nursery school to the east.
Gunman, chronicles

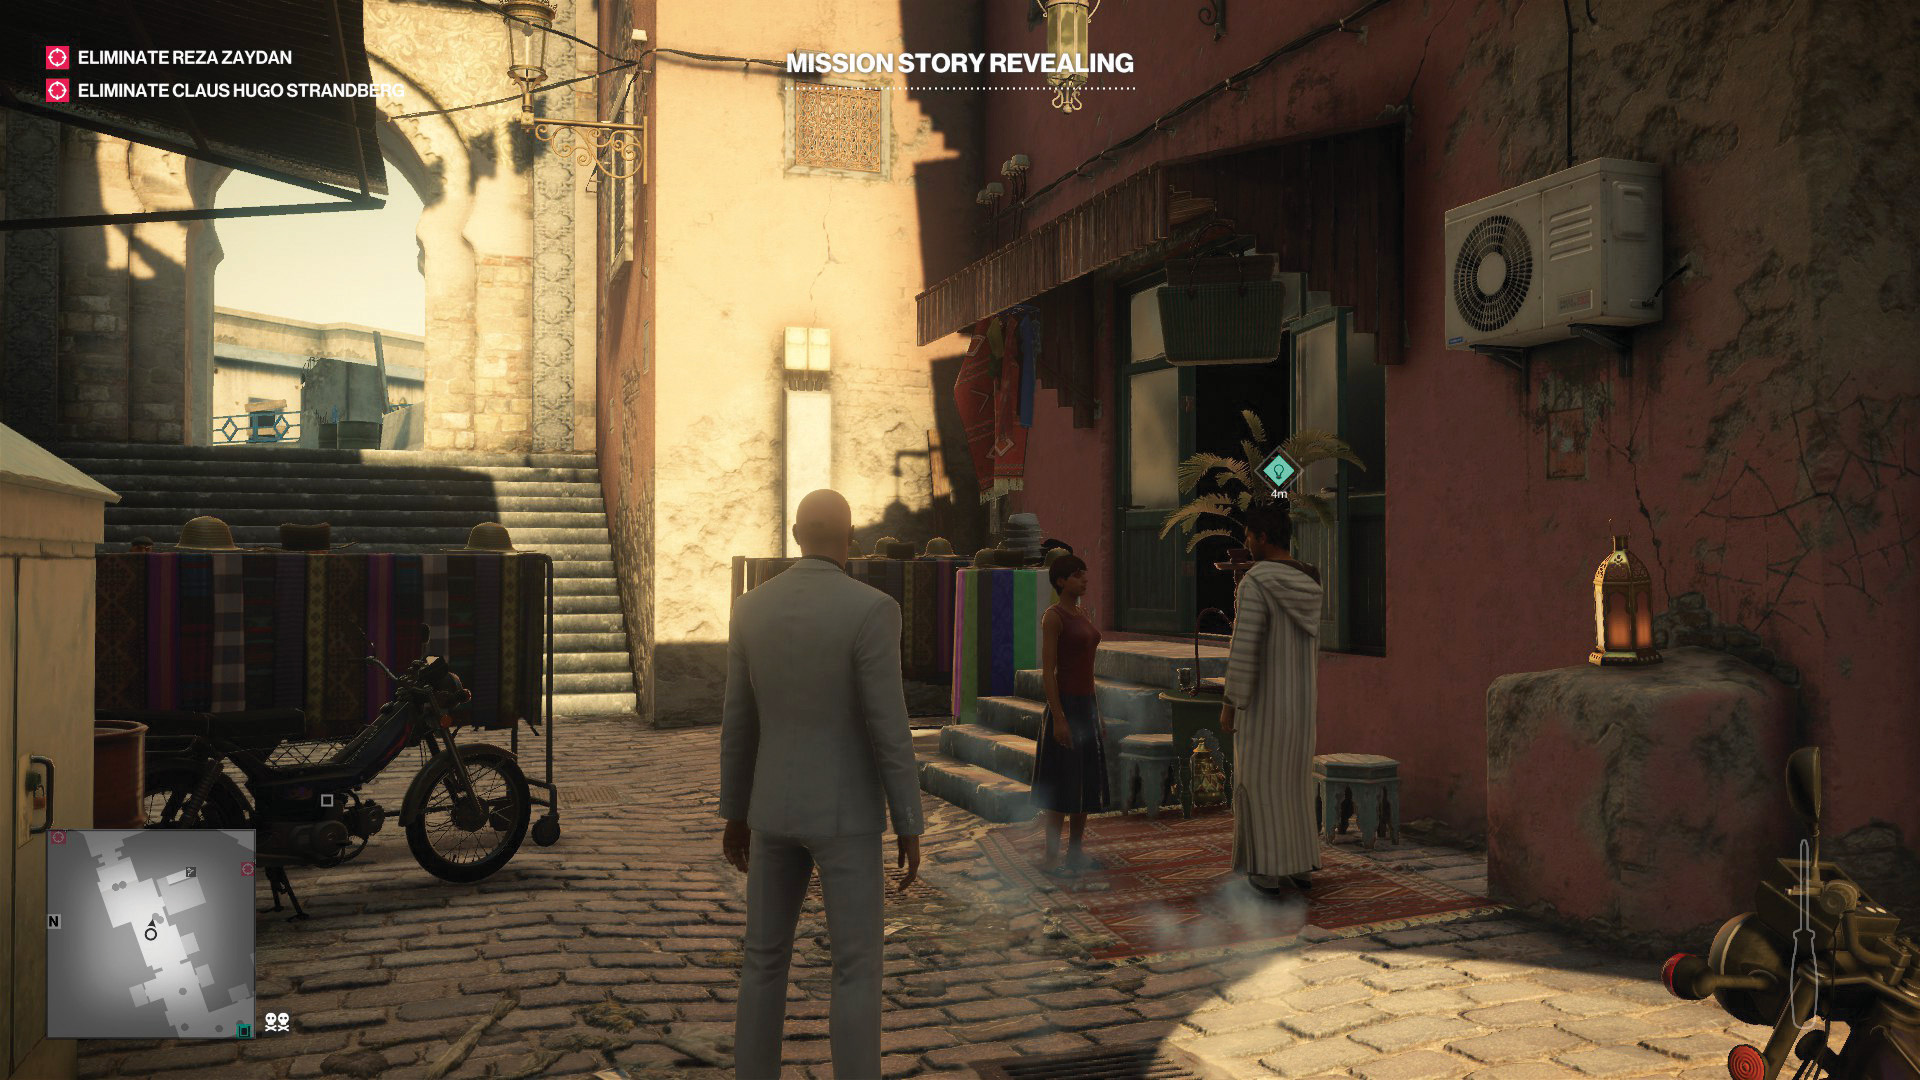
I decide to head for Zaydan first, the first of multiple mistakes I’m going to make on this mission. I start out by re-familiarising myself with the twists and turns of Marrakech market. As I do so, I overhear a conversation about the school’s former headmaster, who still has the school’s master key. I sneak up to the rooftop garden where the headmaster is, and quietly steal his keyring.
Now I need to get past the security checkpoints, so I start scouting for a military uniform to steal. The streets are way too busy, so again I look to the rooftops. Eventually I find a soldier whose patrol takes him to a quiet spot in a rooftop garden. I knock him out with a wrench, don his uniform, and hide the body. This turns out to be a complete waste of time, as the uniform I’ve nicked is for a rank too junior to get past the checkpoint.
Frustrated, I wander around some more, until I find a guarded entrance to a shop. Hopefully there’s a way through to the school. Sneaking past the guards here is easy. I slip through the shop to the rear exit, where there’s a small, walled-off courtyard.
Keep up to date with the most important stories and the best deals, as picked by the PC Gamer team.
As it happens, this route leads to a secret tunnel running under the market to the embassy’s car-park. I make a note of it for later. Right now, I’m more interested in the lone soldier wandering around wearing a more senior uniform. I knock him out, change clothes, and take his assault rifle, which is exactly what I need to kill Zaydan. Suitably disguised, I make my way to the school undisturbed, using the key to get inside. Reyza Zaydan is milling around both floors of the school. He doesn’t have any bodyguards, but with so many soldiers patrolling the school, he doesn’t need them. Killing him with a Very Loud Gun is going to be tricky.
I spend a good 20 minutes examining his circuit of the school. Eventually I notice that he stops by a window on the first-floor corridor, while behind him is an empty classroom with a clear line-of-sight. I stand inside and wait for him to come around again, before putting an end to his ambitions with a single shot to the head.

Not very subtle, but it was never going to be. I hope for a repeat of Paris, where I slipped out the window quickly enough that nobody clocked the creepy bald dude making a very quick exit. Sadly, trained soldiers are slightly more perceptive than fashionista bodyguards. The dreaded notification “Hunted” appears in the bottom-left corner of the screen. I hide until the heat dies down, but my disguise has been compromised, meaning I must sneak out of the school grounds.
I can’t walk through the checkpoint either, so I shimmy up a drainpipe and creep along a ledge, stumbling right back into the headmaster’s garden.
Goddamn it. After all that effort, I could’ve just slipped down the drainpipe straight into the school. I take out my frustration on the headmaster, knocking him out and nicking his clothes. Now I need to find some lethal poison, so I look up the locations on the Hitman Interactive Map. There are two lethal poison pickups. One is back at the school (sod that). The other is down in that secret entrance I noticed earlier. Retracing my steps, I slip past the guards again and descend. The tunnel reads as a hostile area, so I return upstairs and change into that basic soldier uniform I stole earlier. Ugh, still hostile. The only disguise that will work down here is the one I have already compromised. Smashing.
The only disguise that will work down here is the one I have already compromised
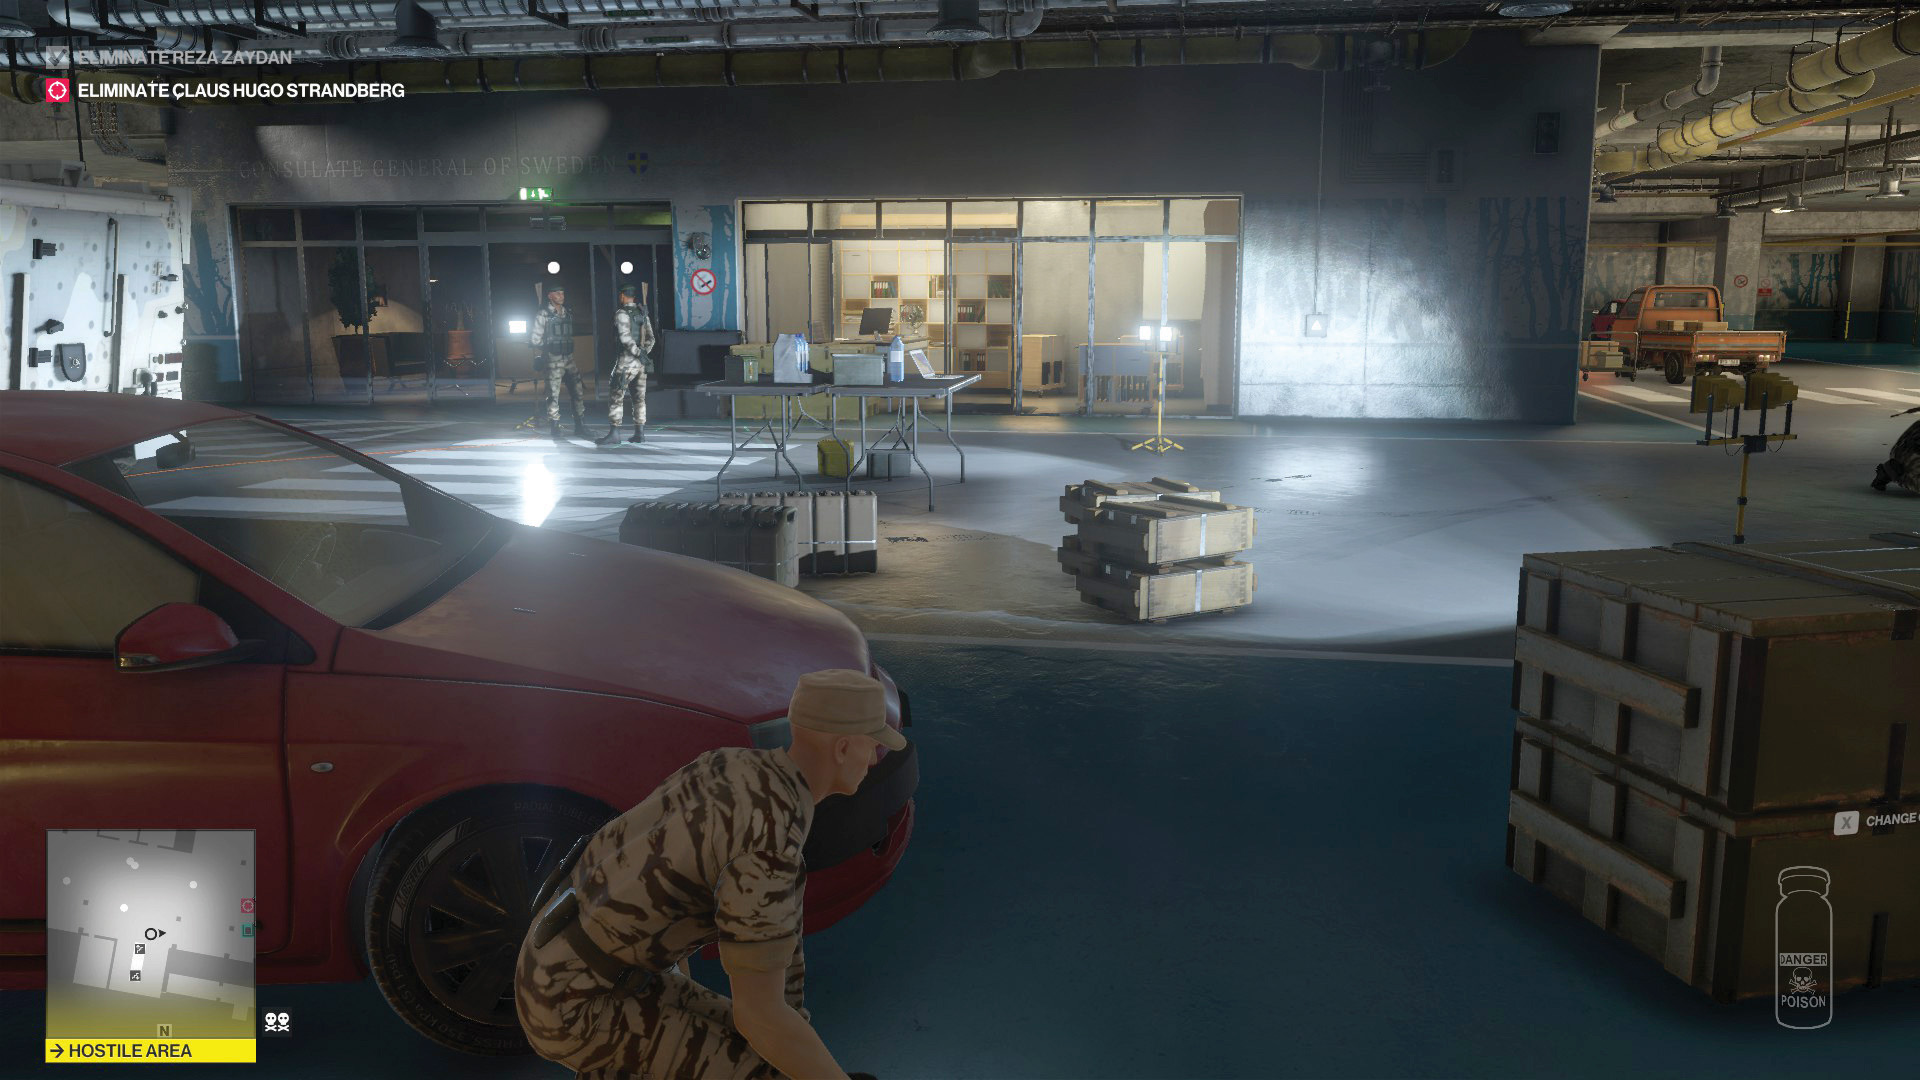
I’ve no choice but to press on. The underground corridor leads to a square chamber bristling with both guns and guards. It’s going to take some masterful stealth to get that poison unnoticed. Fortunately, I don’t need to worry about this for long, as I completely screw up knocking out the first guard, alerting the whole room to my presence and ending up in a massive gunfight.
I prevail, but I end up killing somewhere between five and ten non-targets, which in Hitman’s book is a disaster. Reluctantly, I step over the corpses to pick up the poison and carry on. The car park is crawling with more of Zaydan’s goons, but I manage to creep through without being spotted. I then sneak across the front of the embassy to a small guardpost where I pick up an embassy security guard uniform.
This mission has been a complete mess, but I at least end on a high, sneaking into Strandberg’s office and poisoning his wine unnoticed.
By the time he drinks the poison, I’m already outside the embassy. It’s a somewhat hollow victory, but at least I feel like I earned the single star I’m awarded for my otherwise dreadful performance.
Bangkok dangerous

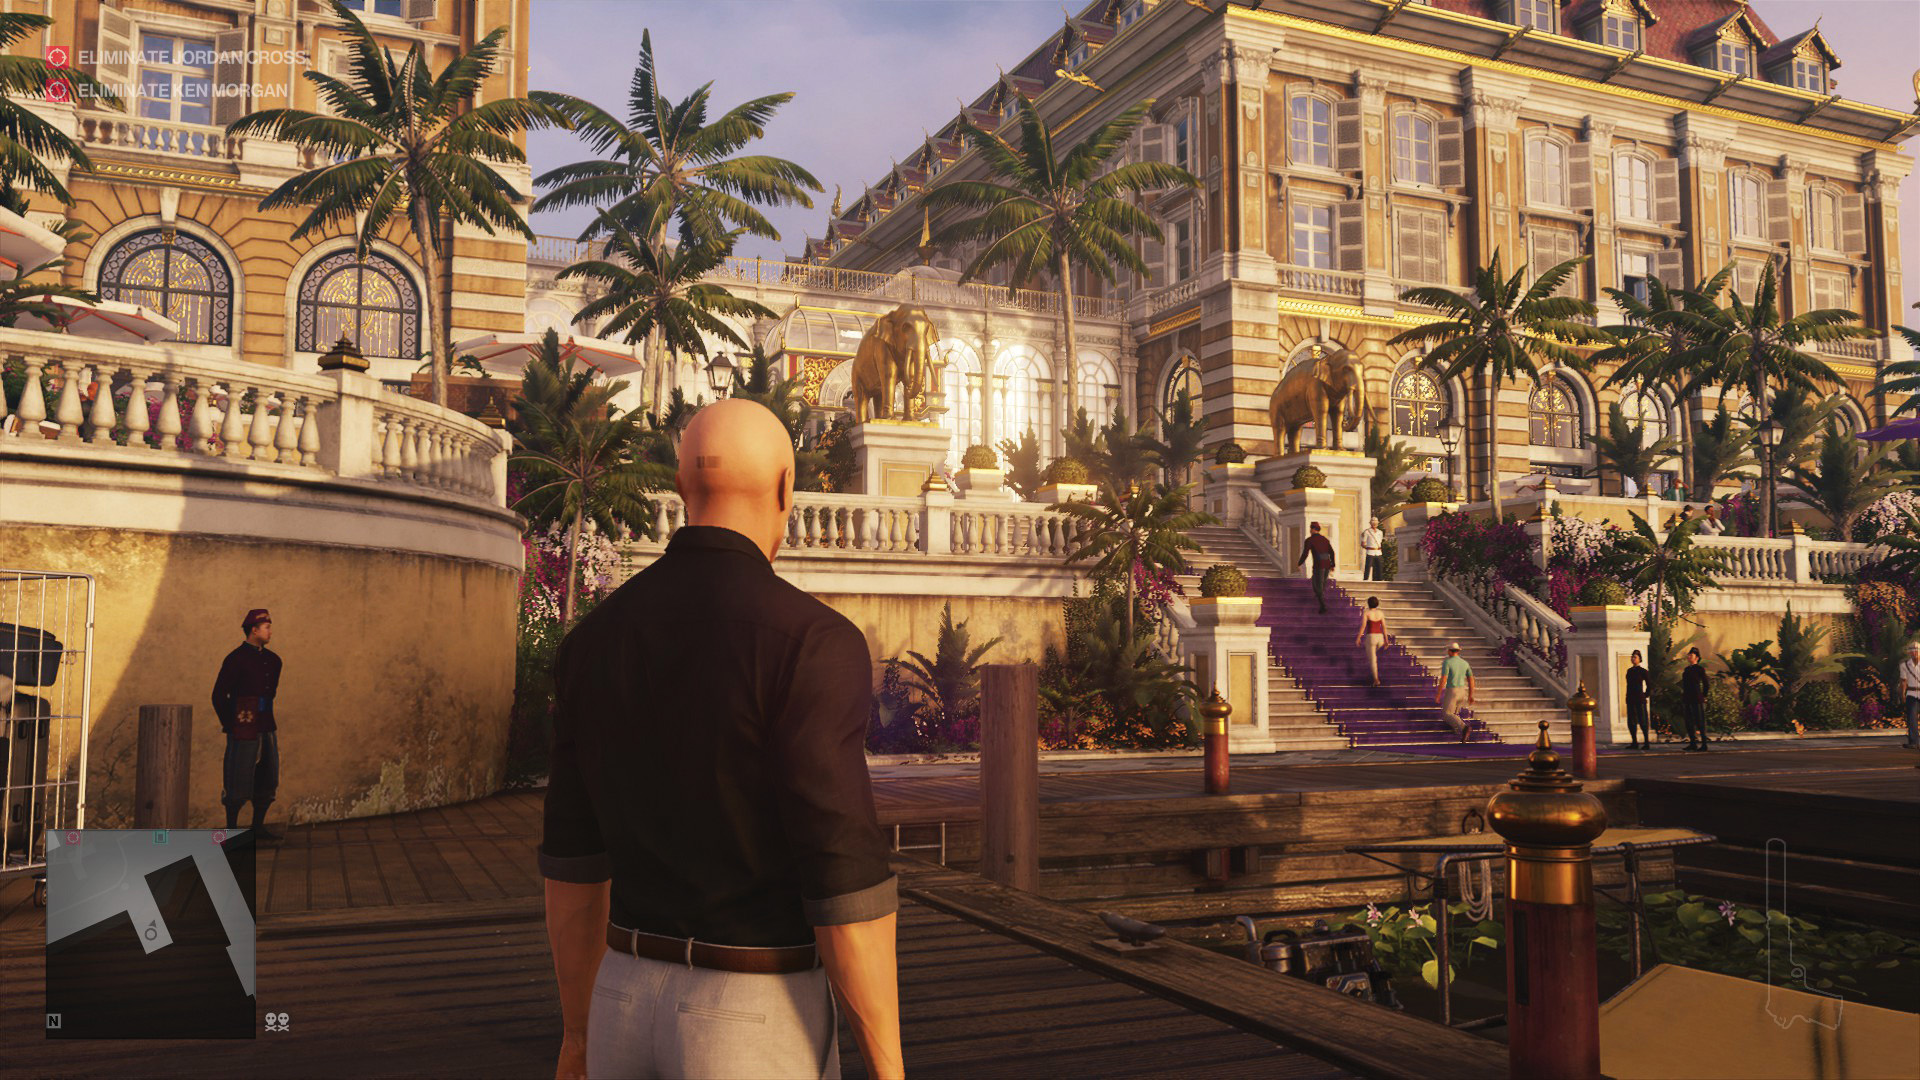
Somehow Hitman 2 doesn’t delete my save out of sheer embarrassment, and in a jiffy we’re off to Bangkok, specifically the exclusive Club 47 Hotel. My targets here are Jordan Cross, indie rock-band megastar and weapons-grade arsehole, and his equally nasty lawyer Ken Morgan.
The numbers that roll out of my lotto machine are next-door neighbours. Jordan Cross gets 16, which is death by falling, and Ken Morgan gets 17, which is drowning.
After the mess in Marrakech. I’m relieved by the clean and quiet approaches the machine has chosen. It almost seems a like a sign. Turns out it’s more of an omen.
Let’s quickly go over Cross. As far as I know, there’s only one way to kill Jordan Cross via a fall. That’s by playing through a mission story wherein Agent 47 infiltrates Cross’ recording session in the guise of a replacement drummer. This is the method I follow. There might be other ways to do it, but given what happens next, I’m glad I opted for the straightforward approach.
With Cross dead, my attention turns to Ken Morgan. I’m told in the mission briefing that Morgan hangs out in around the restaurant area, so my first thought is to spike the restaurant food with emetic rat poison, then drown Morgan in whichever toilet he subsequently chunders into. Unfortunately, when I try this, Morgan instead empties his stomach into a nearby bin. Unless it hasn’t been emptied for a long time, typically you can’t drown someone in a bin, so that’s the end of Plan A.
Fortunately, Club 47 is located at the side of a river, and Morgan’s circuit of the hotel takes him to a patio area on the riverside. My new plan is to knock him out, then haul him over the balustrade into the water below. But there’s a small issue with Plan B, namely all the witnesses in this very public area. Not only does Morgan have a bodyguard shadowing him, there are five hotel staff in close proximity, another guest who frequently walks through the area to talk on his phone, and a gardener trimming the verges nearby.

The locations of these individuals are burned into my mind, because I try countless times to enact this plan. I try poisoning the bodyguard to get Morgan alone. I try knocking out all the nearby witnesses. I try tossing coins to get Morgan into a position where he can’t be seen by anyone. I try completely losing my shit and murdering half the hotel. It all ends the same way, panic, chaos and death. Finally, after over an hour of this nonsense, I succeed in getting Morgan over the rail without anyone noticing. I celebrate for exactly one microsecond before I hear the loud crunch of Morgan’s body landing on the rocks beside the river. Ffffffffffuuuuuuuu-
At this point it’s clear that drowning might not be a viable tactic for Morgan. Certainly not for someone of my limited skill. So the only thing I can do is spin the wheel again. Out rolls number 11—fire extinguisher. Oh great, explosives, the perfect weapon for assassinating one specific person in an extremely public area.
I feel like giving up and going back to my virtual hotel room. Then I have an idea. The area where Morgan makes his phone call, although highly visible, is vacant of people most of the time.
What’s more, my hotel room balcony looks down on that same corner of the front patio. As I mentioned in the first diary, I always bring a sniper rifle as my smuggled item, which is located in my hotel room.
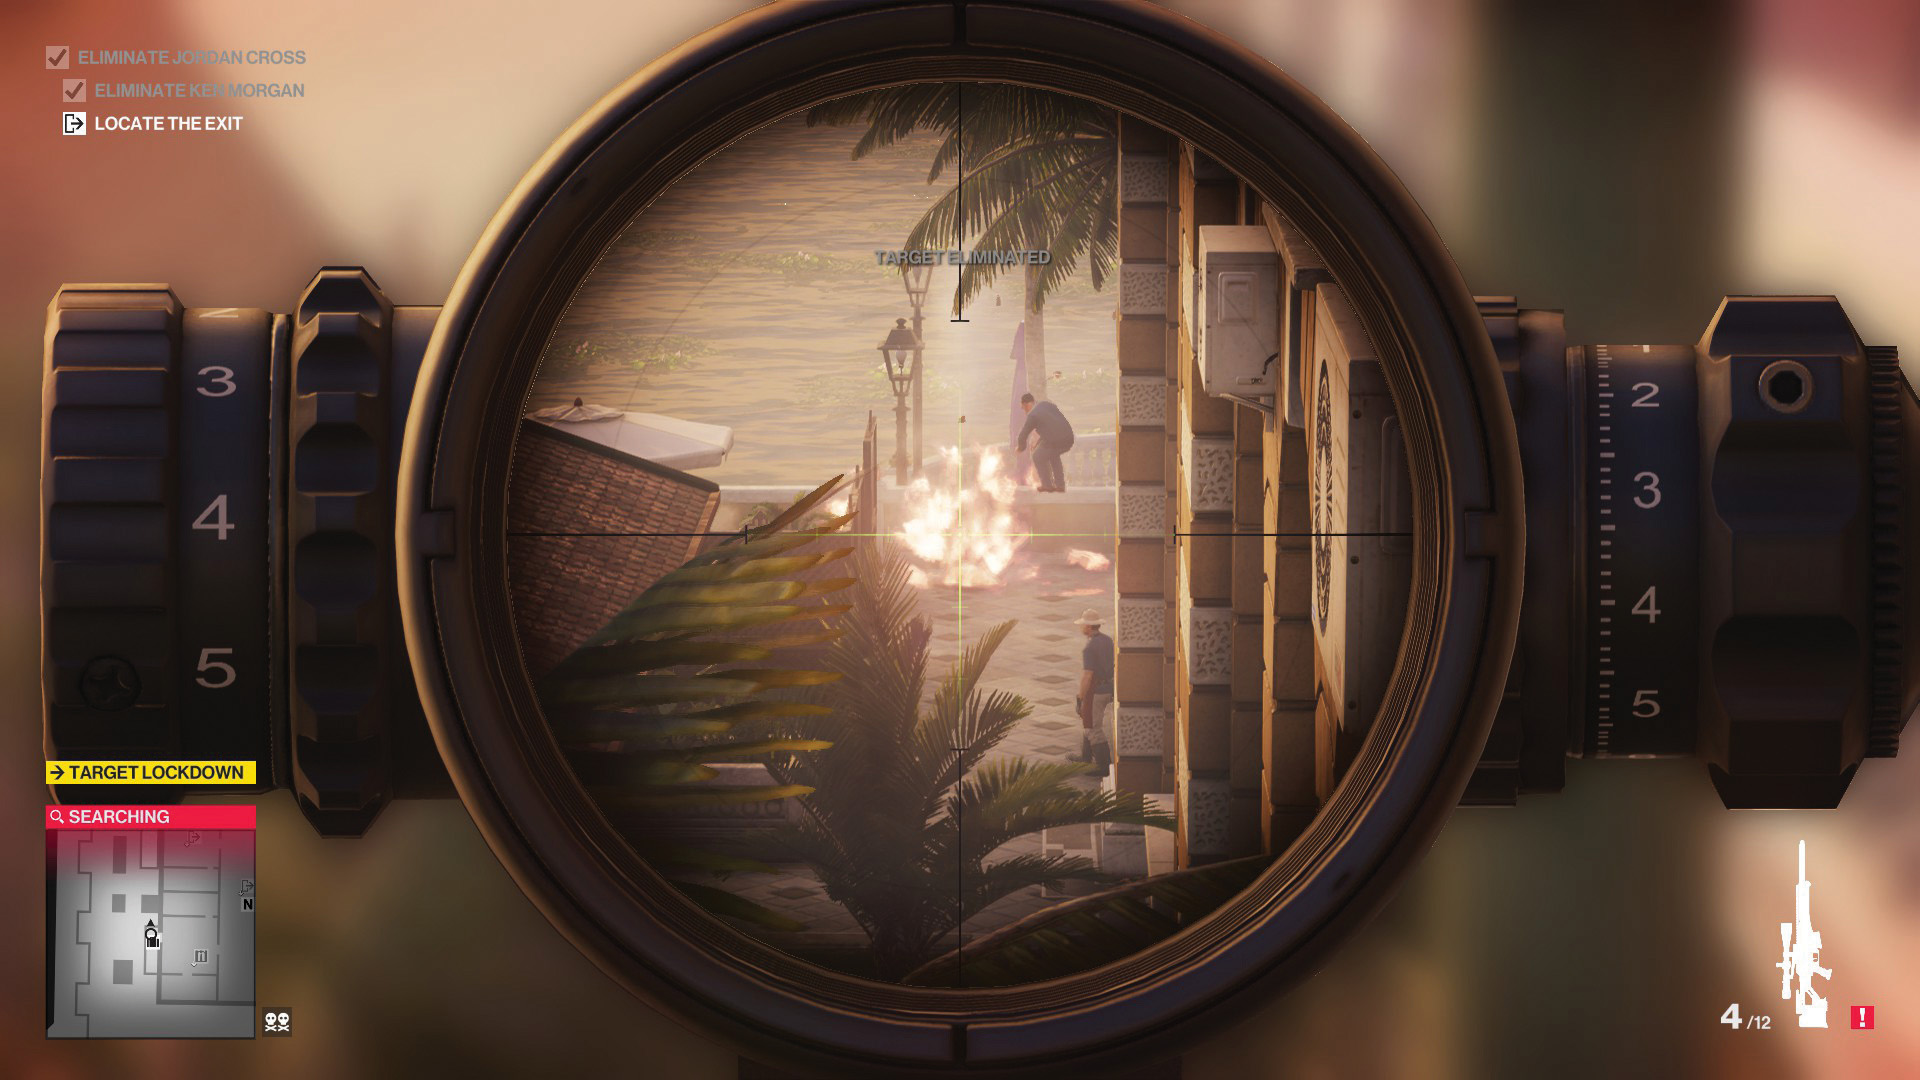
I rush upstairs, grab the sniper rifle, and check to see if the shot is viable. I can’t clearly see the actual area where Morgan makes his phone calls, as it’s obscured by folding screens. But there is narrow stretch that he walks through where I can get a clear shot. Plan C is officially a go. I head downstairs, grab a fire extinguisher off the wall, and drop it outside, much to the confusion of everyone around me. Then I head back up, get into position, wait for the moment, and take the shot.

Rather than detonating on impact, the shot kicks the fire extinguisher away. It explodes a second or so later. Morgan goes down, but isn’t killed. I have just enough time to spit a curse at my screen before security busts down the door of my room and riddles me with bullets.
On reload, I decide to try the same thing, but this time with three fire extinguishers. Again the explosion isn’t powerful enough to kill Morgan. At this point I’ve been playing this mission for over two hours, so I decide fuck it, no more half measures. I put every fire extinguisher I can find in a pile, then add a propane flask for good measure. If you want to get technical, I’m pretty sure the concussive blast of an exploding propane flask would extinguish any nearby fires. It would just cause a lot of other fires in the process.
After a heart-pounding wait, Morgan appears. I take the shot. The resulting explosion throws his body ten feet in the air, and the blessed words “Target Eliminated” appear on my screen. I quickly pack away the sniper rifle, exiting the room just as the guards burst in. (I’m dressed as a guard, by the way, and have been for almost the entire mission.)
All that for one target. But at least I put the ‘bang’ in Bangkok. Ho ho. Morgan’s death even registers as “Accidental”, which is fantastically stupid. The next stop is Colorado, where there are four targets I need to eliminate, all surrounded by gun-toting militia. I’ve got a feeling it’s going to be quite the show. Until next time!
Check back tomorrow for the final part.
Rick has been fascinated by PC gaming since he was seven years old, when he used to sneak into his dad's home office for covert sessions of Doom. He grew up on a diet of similarly unsuitable games, with favourites including Quake, Thief, Half-Life and Deus Ex. Between 2013 and 2022, Rick was games editor of Custom PC magazine and associated website bit-tech.net. But he's always kept one foot in freelance games journalism, writing for publications like Edge, Eurogamer, the Guardian and, naturally, PC Gamer. While he'll play anything that can be controlled with a keyboard and mouse, he has a particular passion for first-person shooters and immersive sims.

