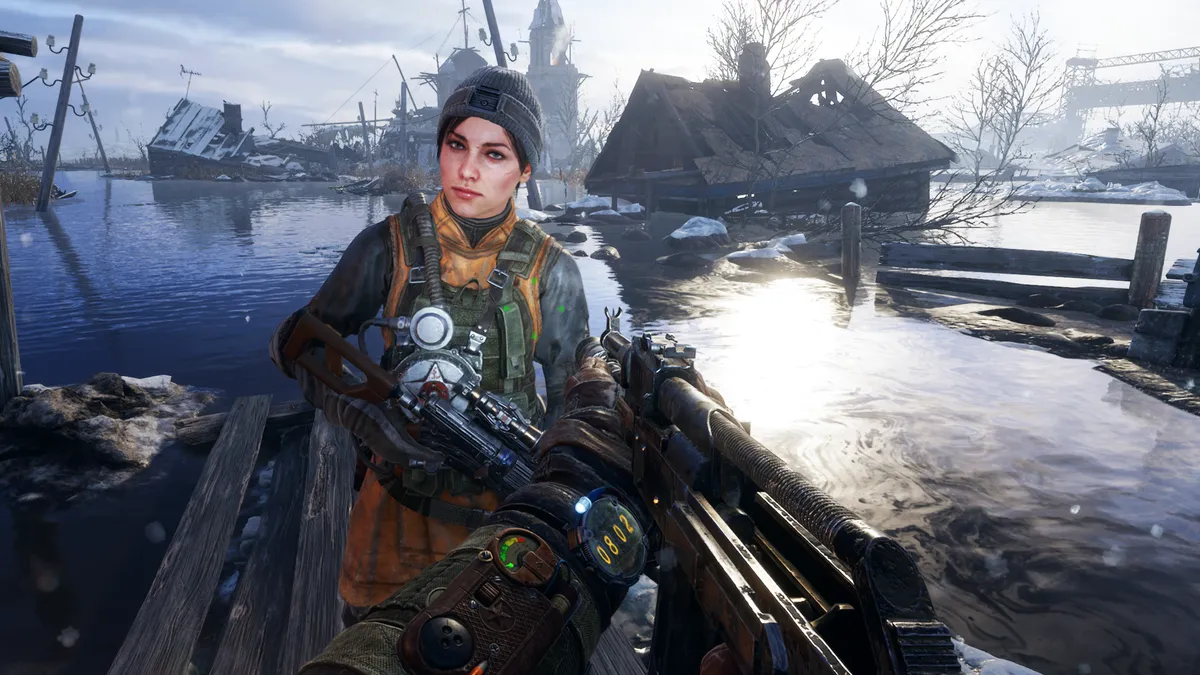
Metro Exodus wants you to be stealthy, but sometimes you need to put some lead down range. Thankfully, 4A Games gives you plenty of guns to play with, from six-shooter pistols to Gatling guns and sniper rifles—you’ll soon find your favourites.
But managing your weapons in Exodus is no simple task. You have to decide which weapon loadout works best for a given situation, and you often don’t know what lies ahead. You have to hunt down upgrades strewn about the world, searching off the main path for minor improvements in damage or accuracy. And you need to keep your weapons clean of water, sand and snow to make sure they’re performing at their peak.
It sounds overwhelming, but you’ll soon get used to it—and this guide is designed to help you do just that. Here’s everything you need to know about the weapons in Metro Exodus, from which guns are best to where you can find the most important upgrades.
Metro Exodus weapon types
Pistols and shotguns
Revolver: A reliable, powerful pistol that kicks heavily, so you have to wait between shots.
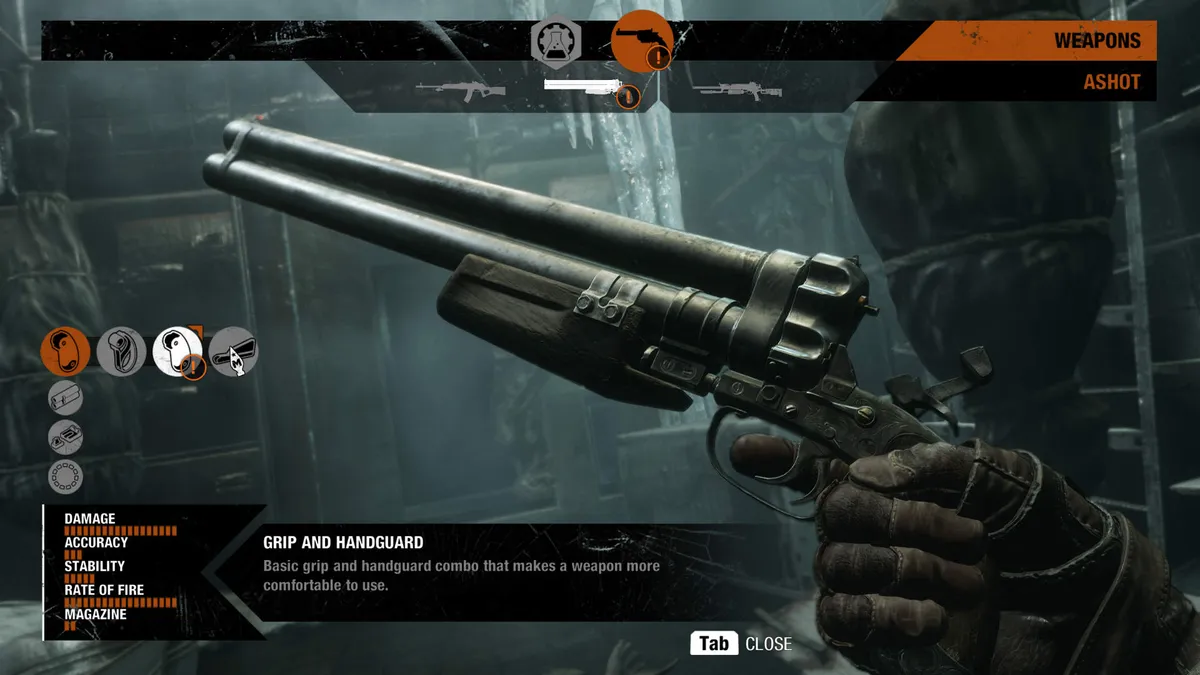
Ashot: Wildly inaccurate, but dishes out more damage than any other gun in the game.
Shambler: A revolving shotgun with high damage and low accuracy. Takes a long time to reload.
SMGs and rifles

Bastard: A rapid-fire SMG that stays accurate when you spray, but is prone to overheating and jamming.
Kalash: An all-rounder—it doesn’t deal much damage, but it’s decent at any range.
Bulldog: An AR that’s an upgrade on the Kalash in every way, except that it fires slightly slower and degrades faster.
Valve: A high-damage sniper rifle with a hell of a kick. Gatling gun: A rotating barrel machinegun that’s powerful and fun to use, but requires you to spin it up. Inaccurate at any sort of range.
Air-powered weapons
Tikhar: A makeshift air gun that you have to pump up regularly to keep firing. It doesn’t deal much damage, but it’s accurate and mostly silent. You pick up another air-powered weapon later in the game—but I don’t want to ruin the surprise.

How to choose your weapons
You always carry three weapons: two regular guns and one air-powered gun, which will be the Tikhar air rifle for most of the game. There’s no restriction on which regular guns you can carry, so you could roll with two revolvers kitted out differently, if you wanted to.
You have two ways to change which guns you’re carrying—either you can swap a weapon with one you find on the floor, usually on a downed enemy, or you can choose between all the weapons you’ve previously found when you’re back at your workbench on the Aurora, the train that acts as your home base throughout the story.
To swap weapons at your workbench, click on the gun icon at the top of the screen, then the two arrows in the menu on the left. You’ll see a comparison of your current weapon and the one you’re swapping in, so you’ll know whether you’re losing stopping power.

How to customise your weapons
Looking for the best upgrades? Check out our feature on the best Metro Exodus weapon upgrades and attachments, and where to find them.
Every weapon in the game is customisable. You can change the grip to improve stability, switch out the barrel to alter damage, pick new sights, fit a new magazine and attach a gadget, such as a laser pointer.
You have to find new attachments before you use them, usually by picking them off the weapons of downed enemies. When aiming at a weapon on the floor, you’ll see an outline of the gun, and any attachments you haven’t seen before will be shown in orange. You can hold E to swap the gun with your current weapon, or hold R to just grab the attachments.
When you take the new attachments, you’ll get a small orange icon on the right of your screen. Note that if you grab an attachment for a weapon you’re not currently carrying, the icon won’t show up. But don’t worry—the attachment will be available when you’re back at the Aurora, where you can flick through and customise all your guns at will.

To slap on your new attachments, open your backpack by holding the I key at any time. There, you can flick between all the available upgrades for each weapon, and the game will tell you how each one changes the gun’s accuracy, damage and stability.
Not every weapon can take every type of attachment, but some weapons share the same pool of attachments. It’s therefore worth grabbing the parts off every gun you find (by holding R as described above), just in case you can get a spare. And if you can’t find a specific weapon attachment that you’re sure you already picked up, check that it’s not on one of your other guns.
The whole upgrading process can be fiddly, especially when you’re picking up attachments from weapons on the ground. It’s often hard to tell what upgrades a weapon has before you pick it up—the best thing to do is to swap the gun with your current weapon and then immediately open your backpack to see what you just picked up.
Make sure you also find the eight-shot cylinder for your revolver, which you’ll find at the bandit camp at the location below.
The best weapons and weapon combos
Every player will have their own favourite weapon in Exodus, and I recommend you try them all out to get a feel for what fits your playstyle. But there are some that are just downright better than others—as well as some general rules to follow when figuring out which guns you should take on a mission.
The revolver is a beast at every stage of the game. Seriously, it doesn’t have a weakness. It can fill any role thanks to its long list of possible attachments: I’ve used it as both a silenced pistol in stealth missions and a loud sniper rifle with a 4x scope. It’s not quite as powerful as the Ashot or Shambler, but it still makes light work of most enemies.
Pistol plus shotgun is a very good combo, especially early on. The revolver’s accuracy makes it good at mid-range, and pairing it with a shotgun or the powerful Ashot pistol will cover all your bases early in the game, where there are very few long-range fights.
The Valve is the only sniper in the game, really. It’s streets ahead of every other gun at range, and you can slap a 6x scope on it for faraway enemies. Get it as soon as you get to the desert (it’s in a small tower to the left of the road between the Aurora and the main part of town).
The Kalash is fine, but use the Bulldog instead. You’ll find the Bulldog in the desert area—I got mine during the lighthouse assault when you’re meeting up with Guil. It’s better than the Kalash in every way. It’s amazing silenced, too, so don’t be afraid to screw the suppressor on.
Take an Ashot with you if there are monsters about. Shotgun ammo does extra damage to monsters, so if you know you’re facing beasts rather than humans, reach for your Ashot. It melts enemies at short range.

How to clean your weapons
Weapons deteriorate as they’re exposed to the elements, including sand, rain or blizzards. This affects their condition and damage output, so you’ll want to clean them as often as possible. You can do it at any workbench by selecting a weapon, clicking on the brush icon that pops up on the left of your screen and holding down F. Cleaning uses up your chemical resource pool, but it’s cheap, so don’t worry about exhausting your reserves.
And finally, some general weapon tips
Always aim for the heads of humanoid enemies. Even a battered, low-damage gun is a one-hit kill. Body shots deal little damage.
When facing monsters, look for their weak spots. Often, that’ll be their head, but sometimes it’ll be elsewhere on their body. Spiders are weak on their underside, where you can see an orange glow.
Reload during any combat downtime. Some weapons take a long time to reload, and it can cost you your life if you time it wrong.
If you’re caught in close quarters with a zoomed weapon, hip fire. It’s accurate, and much easier than trying to aim down your sights.
Against humans, wait for them to pop out of cover. Most enemies will turn out of cover, pause, then fire, which gives you a chance to land your headshot.
The Tikhar’s incendiary ammo, which you get automatically, is useful in a sticky spot. Use it to finish enemies that you’re having trouble hitting.
Sometimes, night-vision goggles are much better than the night-vision scope. Test out both to see what you prefer.