How to be a smarter soldier in Battlefield Bad Company 2
We know Battlefield, we PC gamers. The team-based war series was born on our gaming beasts. We're au fait with all the basic tips and tricks, the tactics tried and tested across almost a decade on the field of battle. Yes, we know you can stick C4 on a jeep and drive it into baddies while you cackle – we did that back in Battlefield 1942. What new stuff have you got for us, Bad Company 2?
Quite a bit, as it turns out. The latest game in the series really delivers in the field of sneaky, nefarious and downright evil tactics. The tightly focused squad setup – in which only four people can be in direct communication – means that finely honed tactics with a few buddies are more than possible. Since the game's launch, a good few of these have been practised, polished and perfected by the planet's best fake soldiers.
Some of these tactics are simple, but some are scarily innovative: a proportion of the internet's evil geniuses enjoy doing such things as affixing a tracer dart to a friendly UAV, flying it into an enemy base before letting rip with rockets targeted at their own machine. In the spirit of that kind of advanced bastardry, here are the 12 best tips and secrets for getting ahead in Battlefield: Bad Company 2's multiplayer modes.
1. Load bearing
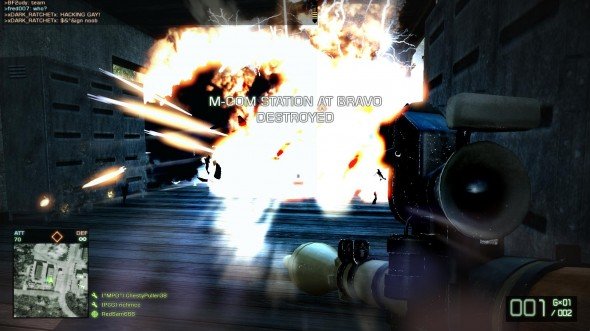
Objectives are often placed inside rooms; learning which structures can be collapsed is an easy way to avoid getting your hands dirty. Concrete houses can be felled; Portakabin-esque houses will stay up no matter the barrage, forcing you to get in close. Nelson Bay, for example, has stages with objective points in both kinds of building – hit the indestructible one first to split the enemy's defences, then bring down the other with continuous fire.
2. Objective lost
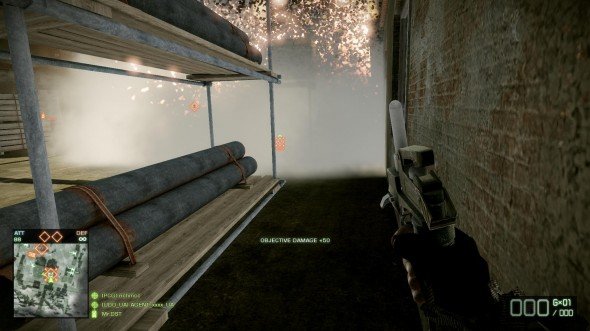
If your aim is the destruction of Rush mode's MCOM stations and nothing else, take C4 and the explosives leg pouch specialisation. Get near enough to the objective and start lobbing your plastic explosives – keep going until you're dry, then chuck a grenade against the station. If you're up to the flying, stick a friend's C4 to your UAV and pilot it against the station. Detonate it up close and the station will take heavy damage.
3. Hey, that's mine
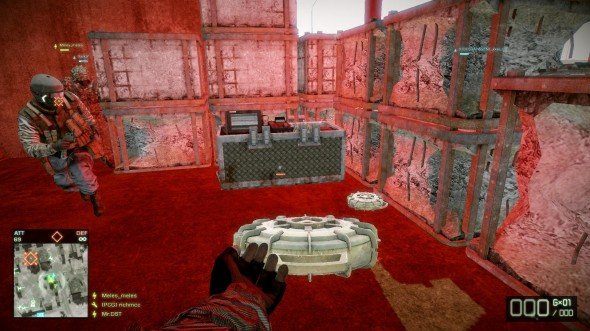
A sneaky one, this, but two well-stocked players can cut through objectives like soldier-butter when using this tactic. Take mines and the explosive leg pouches and sprint for MCOM stations. Crouch as soon as you reach them, yourself and a friend hurling mines at the floor. Retreat a safe distance (or don't, to go down in a blaze of miney glory) and pop the mines with a bullet. They'll eviscerate the station in one blast.
4. Assault
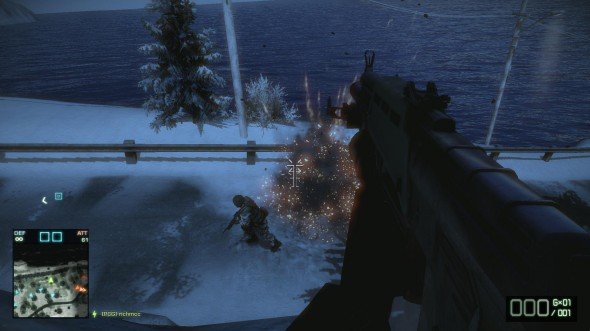
The Assault class is misnamed. Used properly, they're mobile gun-turrets, launching endless grenades from the rear in an assault. Take the grenade launcher attachment, find a safe spot – up on Laguna Presa's hills is a good bet – and drop an ammo box. From there, pop explosions all over the map, closing off choke points with repeat bombardments. If you're taking smoke grenades, they will kill with an accurate close-range shot.
Keep up to date with the most important stories and the best deals, as picked by the PC Gamer team.
5. Mismatch
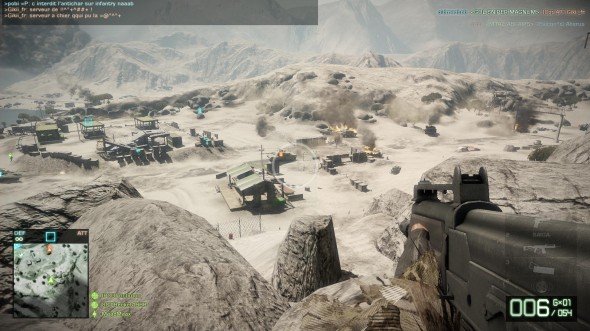
Another class bastardisation: the shotgun is great for sniping. Pick an auto-shotgun – the Saiga is ideal – and the 12 gauge slug specialisation. You've now got a rapid fire, long-range weapon that kills in two shots and doesn't have a lengthy sighting procedure. Use as an engineer to support the backline, sticking close to friendly armour and picking off enemies moving toward your forces. It's also invaluable for downing UAVs.
6. Eagle eye
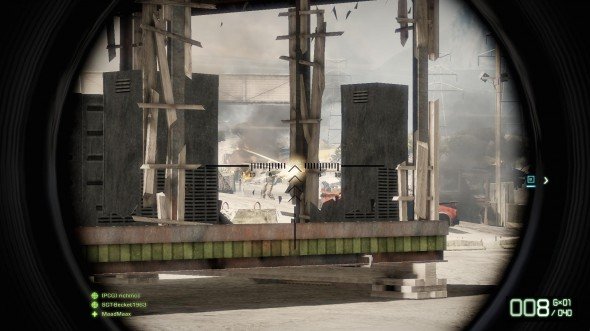
Taking the recon's auto-spotting scope is pointless – hammer Q instead and enemies will light up. If you're tracking a moving target, take the shot quickly – they might be dinged up from another fight and an easy kill. When dealing with a stationary enemy, take your time and aim high. It's better to miss with the first shot and pop the second in their head than to alert the foe and have them disappear.
7. What a drag
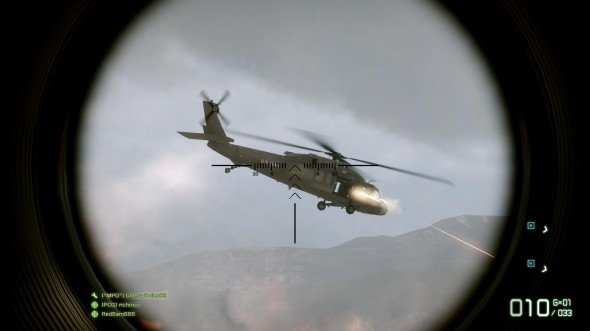
Essentially, this is your mind's auto-correction and, once learnt, makes sniping a breeze. Conventional wisdom says later rifles are better, but dragshooting needs a light, quickfiring gun – take the SV98 or the GOL and move fast around the map, taking potshots at fleeing enemies. If you're caught up close, take a shot and sprint away. Never spend longer than a few seconds in your scoped mode.
8. Tracer tong
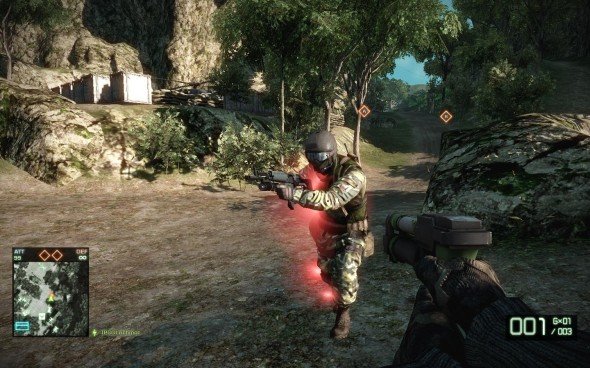
Tracer darts have been sped up since the game's launch, making tagging helicopters and vehicles an easier challenge. Engineer weapons are a little piddly, and wasting a sidearm slot on a non-killy gun isn't a fantastic idea, so instead it should be the Medic who takes the tracer dart gun. His machinegun rarely runs out of ammo, and he's got time to sight and shoot vehicles from his safe, cushy position in the middle of the squad.
9. Killer Carl
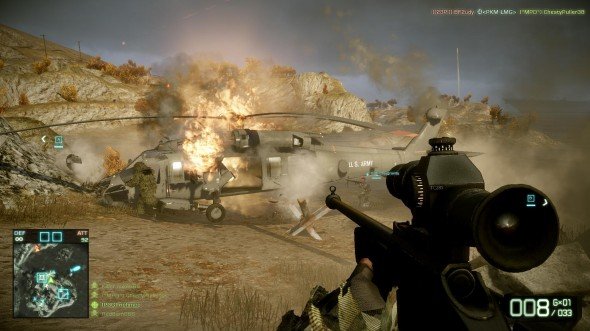
The Carl Gustav rocket launcher is the best of the bunch for the Engineer. While comparatively weaker against vehicles, it's so useful in a scrape that firing an extra rocket isn't that much of a hassle. The Carl Gustav will kill an enemy soldier with one shot, and is so quick to fire that it provides a viable close-range tactic. It also takes much less time to target than the other rockets, making non-tracer helicopter shots a possibility. Ker-splode!
10. Hel-o there
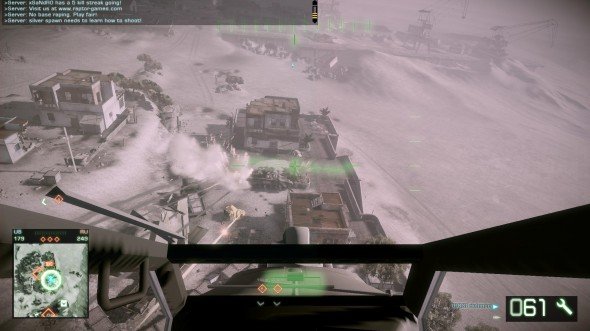
Helicopters – in classic Battlefield fashion – are tough to handle, but can be lethal in the right hands. If you're in an attack chopper – the Havoc or the Apache – use the pilot's missiles to attack armour from the rear while the bellygunner shoots human targets. Priority targets are anyone shooting back up at you – obviously – but know the level's anti-air guns. There's one at both ends and in the centre of Atacama desert, for example: pop these first.
11. Spawny git
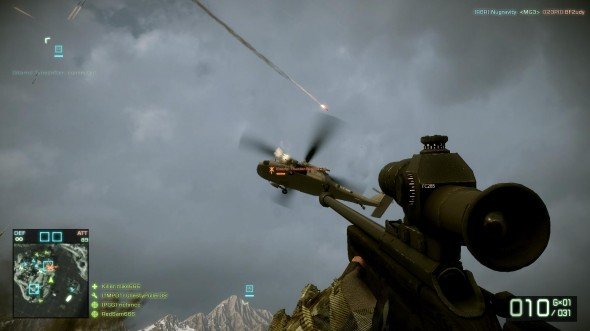
Transport helicopters are mobile spawn points first and attack vehicles second. If you're piloting a Blackhawk, move and hold in random patterns, letting your gunners know when you're stopping. If you hear a tracer's beep, get away fast and hole up before lugging your team back into combat. All you'll need is a pilot and a gunner to hold the foe's attention – make the other members of your squad parachute down as soon as they spawn.
12. Class act
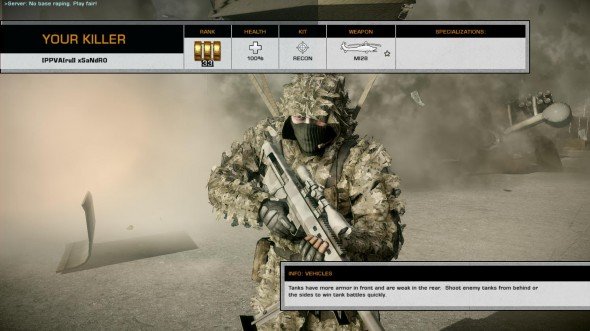
Utterly vital in all game modes – and the thing that separates the elite Battlefielders from the rest – is kit switching. If your squad's Medic goes down, don't let him respawn. Instead, pop over and grab his gun, switch to the paddles and revive him. He'll be dressed in your kit, but you'll have saved a ticket, and finding another downed kit to swap between is easy enough. Riding kits like this means you can go for entire maps without ever respawning.

 Join The Club


