Map tricks for Battlefield 1
Learn which points to prioritize and how horses can strike fear in the hearts of snipers.

Nine starting maps in Battlefield 1 maps may be a meager number, but once I realized sprinting across Monte Grappa takes a few minutes and that Ballroom Blitz’ massive mansion and attached courtyard basically function as their own infantry deathmatch arenas within a much larger conquest map, I started to see tactics on the back of my eyelids.
Each map is a mishmash of terrain, turrets, and strategic points that feel bigger and more important than ever thanks to the unreliable, chunky weaponry of the era.
As such, the maps can be pretty intimidating at first, but don’t worry. We’ve assembled a few key maneuvers to keep in mind while you get to know each combat sandbox. Before you know it, taking the tank down the streets of Amien will feel like cruising the strip in your hometown (if it was full of teens trying to end you). These tips won’t always apply directly across every game mode, but they’re worth keeping in mind anyway.
Sinai Desert
Destroy the stone arch to nerf your sniper problem
The stone arch in Sinai Desert (near point C on Conquest) can be blown to bits. This elegant natural stone provides a handy bridge for snipers looking to find a cozy perch on the mesa it’s attached to. In a map with so many wide open spaces and objectives crammed in the ravines between the mesas, scouts can reap quite a headshot bounty up there. If they’re being particularly annoying, grab a tank, maybe place some dynamite as assault, and get exploding. It doesn’t go down easy, but it’s worth the time if it helps your team push into new territory.
P.S. Try putting a tank up there
If your team takes ownership of the arch, trying getting a tank up there. It may not be a long term defensive plan, but it’s sure to give the other team a fright.
Ballroom Blitz
Owning the ramparts around the villa courtyard means owning the map
Planted in the center of Ballroom Blitz is a villa courtyard with some ladders squirreled away leading to the ramparts above. If stocked with a team of capable scouts, they offer cover on all sides and a view of the map in nearly every direction. The ramparts are well protected too, only accessible via the ladders, which are easily protected with tripwire bombs and an ammo supplying bodyguard or two.
St. Quentin Scar
Points F and B will set your scouts free
Point F is great for two reasons. First of all, it’s backed into a high corner of the map, making it hard to flank. It’s also located on a hill above a wide swath of open ground, which makes scouting and sniping down into the village and over to point C a cinch. B is great for similar reasons, but a bit harder to protect from the behind. With actively informative scouts and some friends to keep them alive, F and B are key points for spotting enemies, chipping away at their forces from afar, and mobilizing offensive pushes into the objectives in the village. Make them a priority.
Keep up to date with the most important stories and the best deals, as picked by the PC Gamer team.
Monte Grappa
Move between cover after the fortress gun shells hit, not immediately after it fires
If it’s not already obvious, taking control of the fortress guns on the mountainside is a huge advantage in Monte Grappa. Each control station has two reinforced lockable doors, which makes them desirable defensive tools. If you’re on the receiving end of fortress gun fire, don’t lose all hope. They’re super slow to reload and their shells have a long travel time, so time your assault to the cadence of shells landing as you leapfrog to a mountainside objective.
If you want to hit the church from the first fortress gun...
Your reticle should look like this (look directly up from the church and split the barrels on the horizon):
It’s a good way to harass the enemy spawn if you happen to grab that fortress objective, and memorizing where to aim to hit the church is a good calibration tool for hitting vehicles.
Argonne Forest
Flank like it’s all you know
As one of the smaller maps, Argonne Forest makes up for it with winding paths, thick vegetation, and tight corridors. It’s a perfect playground for sneaky flanking maneuvers, whether in conquest or rush. Don’t push at a busy chokepoint with everyone on your team—break a squad or two off and send them around. But keep in mind that Argonne is mazelike enough to force flanking, so be sure to anticipate your opponent's flanks with someone watching the squad’s back at all times.
Lock bunker doors in the center of the map to control where enemies can attack from
At the heart of Argonne Forest, underground bunkers crisscross and connect a few objectives at their west and east exits, but whoever maintains control of the bunkers can lock and unlock entrances at their leisure by holding E over each door. A coordinated effort on the controlling team’s part means that by locking certain doors, they can force the opponents into specific bunker entrances—a trap, effectively.
If scouts lay out traps and a few assault players fixate on players funneled through the door, it’s possible to trick the opposing team into pushing at an artificially difficult checkpoint, or away from the bunker entrances into an obvious flanking maneuver.
Empire’s Edge

Capture the island to capture the game
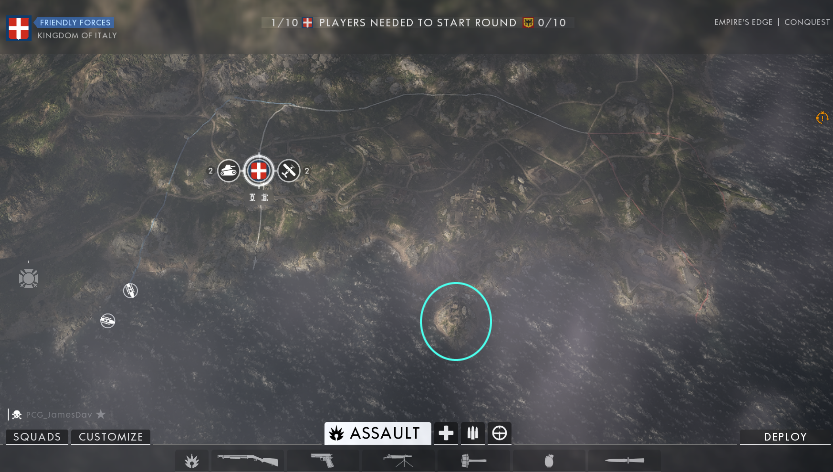
Off on its lonesome in the northeast corner of the map is an objective on a small island connected to the mainland by a narrow bridge. It’s annoying point to take since the bridge is the only direct access and using it leaves you completely exposed. Boats are the best way to take the island, but they aren’t available on a whim, so a concentrated assault is required to make sure they don’t go to waste. For support, make sure someone is in the fortress gun on the east coast. It can hit the island and level its lone tower where snipers like to hide. But once you have the island, it functions as an endless flanking infantry resupply (assuming you hold the point) with easy access to the ruined fortress at the map’s peak.
Fao Fortress
Clean up troublesome snipers with cavalry
Cover is a tough cookie in Fao Fortress. Most of the central objectives are exposed on all sides, open to sniper fire from across the river, in the fortress, or from boats on the coastline. Counter snipers and support suppression can certainly help keep enemy scouts pinned in place, but it’s too slow and unreliable of a method to get rid of them fast enough—leave it to the cavalry instead. Cavalry can sprint quickly enough to catch an entire squad of scouts by surprise at close range, where they’re relatively easy to take out with the sword or at least drive out from cover for teammates to pick off.
Amiens
The bridge objectives can be captured from below
Trains are the best teachers. In a losing conquest match on Amiens, our team was ‘awarded’ with an armored train, which we promptly choo-chooed over the far bridge objective (point C in conquest), one the two troublesome bridge objectives on Amiens. It’s in the open, surrounded by four buildings where snipers like to hang out, and as I discovered upon leaving the train, can be captured from beneath the bridge it’s on.
As annoying as it can be, make sure to use this tactic whether your team has an armored train or not. Keeping some sneaky infantry below the bridge while another force pushes up top is a good way to pick off unsuspecting soldiers while continually contesting and squad spawning on the point.
Spec your anti-tank crews with mines and charges
In the tight urban quarters of Amiens, vehicles are usually restricted to driving on the same few roads leading into an objective, and underneath the watchful guise of second story windows, they’re open to every sort of explosive measure out there. It’s a perfect map to test out dynamite and tank mines with the assault class and limpet charges with support. Don’t be shy, hug a tank today.
Suez
Level some buildings before using the trenches
As offense in Suez during a rush match, you’ll push across a series of dunes and into a small township, but that wide open expanse is a playground for scouts to your east and in buildings across the way. To accommodate, a series of trenches run up the west side of the map that’ll get you across the desert safely—almost. Before taking advantage of the trenches, use a tank to level some buildings, this one especially:
It’s a cozy nest for snipers and mid-range scoped support players that provides a convenient view into almost every nook of the trenches running all the way back to the offensive spawn point. Open up the south face of that building to keep it free of enemies, but preserve it for your own scouts if and when you push into the village.
Bonus tip: Mortars are great on Rush and Operations
Setting up a mortar on Conquest can get you killed. The battle's swirling all around you, and you're rooted to a gun that can only shoot up. But on BF1's attack/defend modes, there's a clearer frontline, and both sides are focused on one or two control points, not seven. The Support can equip three different mortars, but the air burst mortar is particularly great for scaring heavily entrenched defenders off of a capture point, or for repelling attackers who've made their way onto one.
They're also an excellent scouting mechanism. Before sprinting in, throw a mortar up and get a bird's eye view of the area ahead of you.
James is stuck in an endless loop, playing the Dark Souls games on repeat until Elden Ring and Silksong set him free. He's a truffle pig for indie horror and weird FPS games too, seeking out games that actively hurt to play. Otherwise he's wandering Austin, identifying mushrooms and doodling grackles.


