Become a more effective Reaper player in Overwatch
Give yourself an edge (lord).

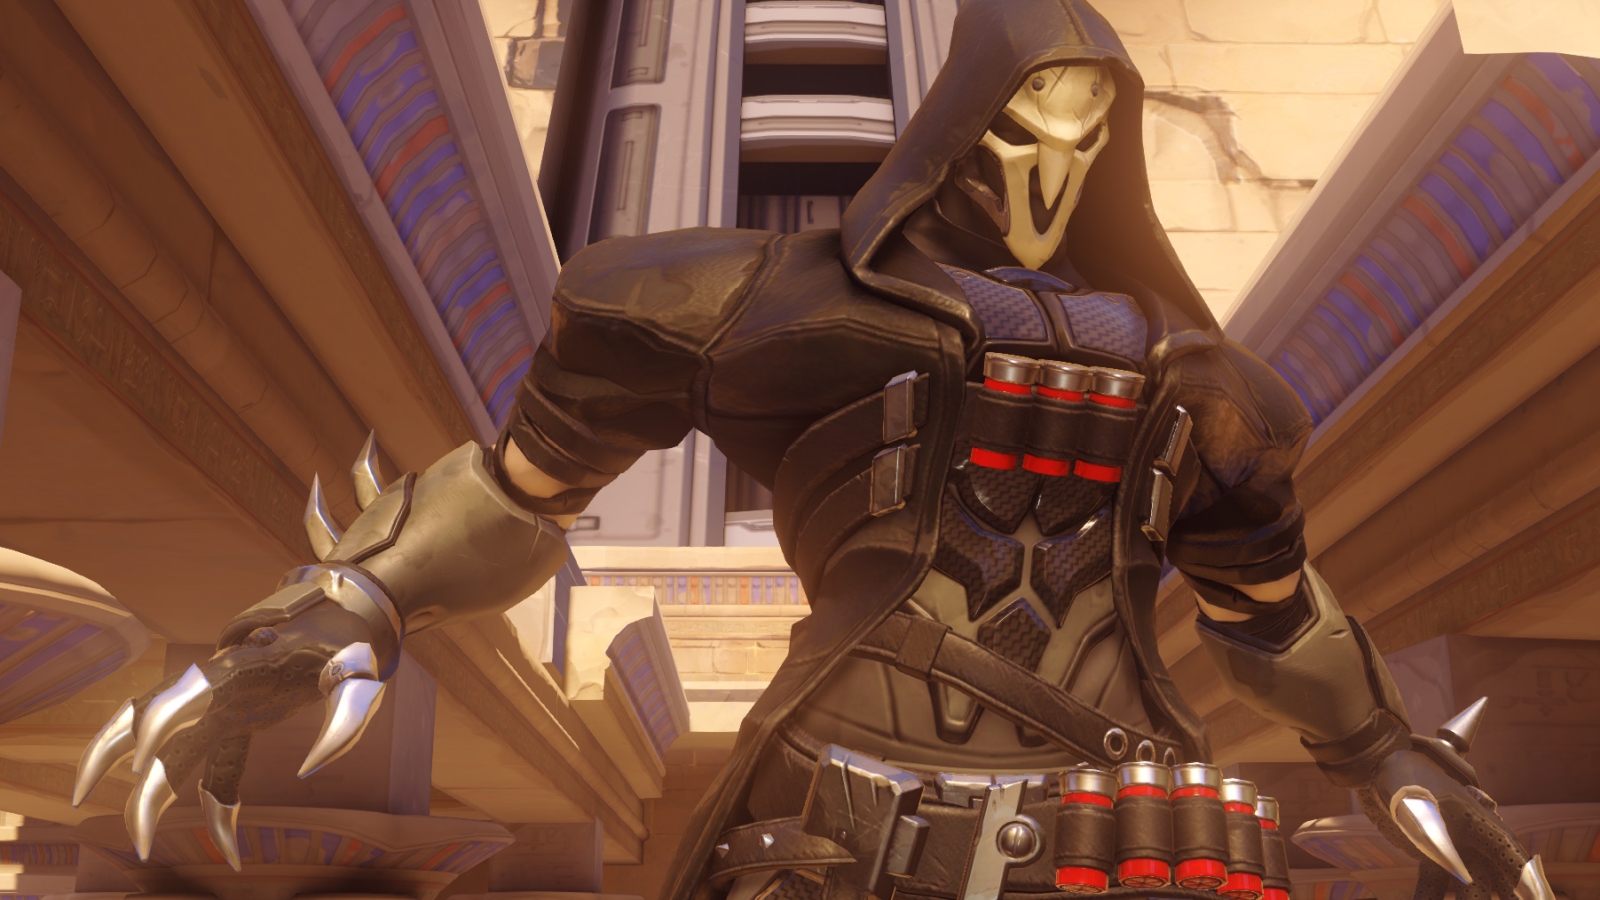
Reaper is an assassin in the purest sense of the word. He uses his kit to silently get behind the enemy team, pick up one or two kills, and move out of the fight. Reaper players tend to be most effective when they are away from their team, as this hero excels at surprise attacks and ambushes. The primary objective for every Reaper player is to pick off key targets before a teamfight to give your team a numbers advantage. While extremely potent at close quarters, Reaper is weak at long range and in open spaces. Highly mobile heroes can pose a threat to Reaper as well, as they are harder to keep at close range. Unlike other flankers his mobility abilities are not great in the middle of a fight. Instead they are best used for positioning yourself for a sneak attack or for getting out of sticky situations.
Left-click: Hellfire Shotguns
A simple rule of thumb when using the Hellfire Shotguns is that you always want to be as close as possible to your enemy, but the bigger the enemy the further away you can allow yourself to be, up to a maximum range of 11 meters. For larger targets—such as tanks—position yourself in the 0-11 meter range, for medium targets—such as McCree, Soldier, Hanzo, and Mei—position yourself in the 0-7 meters range, and for small targets—such as Tracer, and D.Va when out of her MEKA—position yourself in the 0-4 meter range.
Shift: Wraith Form
When using Wraith Form, Reaper temporarily increases his movement speed, cleanses any debuffs, and becomes invulnerable and immune to crowd control. However, Wraith Form cannot be used to cleanse stuns or roots. This ability lasts three seconds and has a cooldown of eight seconds.
Wraith Form has two uses: avoiding damage or repositioning. As the Wraith From grants temporary invulnerability, it is great for narrowly escaping death when you are dropping low on health or avoiding a threatening incoming damage source. Additionally, you can use it to cleanse debuffs—such as Ana’s Biotic Grenade, or Zenyatta’s Orb of Discord—or to escape unfavorable situations, like when you are caught in a Graviton Surge or Steel Trap.
Overall, Wraith Form is best held in reserve to prevent yourself from taking damage. However, Wraith Form also slightly boosts your movement speed allowing you to use it to reposition yourself closer to an enemy to secure more damage, or to chase an escaping enemy if the situation demands it.
E: Shadow Step
Shadow Step allows Reaper to stealthily teleport from one location to another at a range of 35 meters. This ability has a ten second cooldown, and a two second casting time—one second on the original location and one second on the location to which you teleported—during which Reaper is incapable of performing any actions.
Shadow Step is Reaper’s main method of flanking. It allows him to traverse a long distance and set up an ambush. Always aim to teleport to a safe spot, as Shadow Step leaves you vulnerable during casting. Keep in mind that Shadow Step produces both audio and visual queues. Therefore, you need to teleport far enough away from the enemy to ensure a successful ambush.While hard to execute properly, Shadow Step can be used to escape from enemies as well. If you find yourself losing a fight with no other means to escape you can try to turn a corner and Shadow Step to the far side of the map, but if you get caught you’re in trouble.
Q (Ultimate): Death Blossom
Even silent assassins like to make a flashy move everyone once in a while. This is where Death Blossom comes in. Death Blossom deals 510 damage in an eight meter spherical radius over a period of three seconds, while lowering Reaper’s movement speed to three meters per second. With a required charge of 1500 points, Death Blossom falls in the second-highest required point charge class of the offense heroes.
Keep up to date with the most important stories and the best deals, as picked by the PC Gamer team.
Death Blossom is one of the deadliest ultimates in the game if the enemy team is grouped together, which makes it a great ultimate to follow up with after a Blizzard, Graviton Surge or Earthshatter. Due to Death Blossom decreasing Reaper’s movement speed, it is vital to position yourself properly before launching the ultimate. You want to place yourself in the middle of the enemy team, but be wary shields that can block the damage—such as Reinhardt’s Barrier, D.Va’s Defense Matrix or Winston’s Barrier Projector—or crowd control that can interrupt your ultimate, such as a Roadhog’s Chain Hook or McCree’s Flashbang.
Reaper’s entire kit is geared towards ambushes and so is his ultimate. Look for opportunities to surprise the enemy with Death Blossom by waiting for your team to distract the enemy first. An easier way to confirm the damage is to surprise the enemy by jumping in on them from above.
Death Blossom deals damage in a spherical radius meaning you will deal damage to the enemy as you jump in, while also allowing you to easily position yourself in the middle of the enemy team. As with any offensive ultimate be wary of support ultimates, such as Lucio’s Sound Barrier and Zenyatta’s Transcendence, that can negate the damage you deal.
Passive: The Reaping
Every enemy hero that dies on the battlefield drops a Soul Globe that only Reaper can see and collect. Each one restores 50 hitpoints. Reaper automatically collects Soul Globes when he is in a five meter radius of them.
The Reaping is a way for Reaper to make up for his lack of mid-fight mobility by granting him a form of health regeneration. It is a strength that lower level players often forget about, but which can turn a Reaper that knows how to prioritize his targets into a real menace. Make sure to target low maximum health heroes first, so when you find yourself in a sustained fight you have some orbs to heal you up as the fight continues.
Strategy
Reaper is an offensive hero who thrives on maps that offer tight spaces, small corridors or choke points. He’s great against teams with low mobility heroes and against teams with tanks that he can quickly burst down. Maps where Reaper works well include Temple of Anubis, Volskaya Industries, Dorado point one and three, Route 66 point one and three, Watchpoint: Gibraltar point one and two, Hollywood point one and three, King’s Row, Numbani point three, and Eichenwalde point one and three.
Reaper is a great counter to targets with low mobility—such as Bastion, Mei, and Torbjörn—and tanks—such as Reinhardt, Zarya, and Roadhog—as he can easily burst those targets down. Reaper pairs well with heroes that can cluster up the enemy team, such as Zarya, and Reinhardt, and heroes who can protect him while he positions himself in close proximity of the enemy, such as Zarya, D.Va, and Zenyatta. However, he is weak against targets that excel at long range combat such as Widowmaker and Hanzo as his damage is most effective at a very short range. Heroes that have high mobility such as Tracer and Genji can easily get out of Reaper’s effective range and he can’t chase them, and he has no way to deal with flying heroes like Pharah and Mercy.
Reaper is the closest you will get to solo play in this team-based shooter. Prior to each fight you want to silently set yourself up behind enemy lines and look to take out the highest priority target. These priority targets could be a support player with their ultimate readily available, or a damage dealer who is the highest threat to the rest of your team. After you have set yourself up for an ambush, ensure that you are as close as you can get before you start dealing damage. You can walk all the way up to the enemy as long as no one has spotted you yet. A big mistake that inexperienced Reapers make is that they fire their Hellfire Shotguns from far away before they have been spotted.
Recognizing and prioritizing the correct target dictates around 50 percent of a successful gank as Reaper. You need to always keep in mind that you are there to create better fighting conditions for the rest of your team. Always be aware of where your team is positioning themselves, as you will have to reposition yourself towards your team’s frontline when you can no longer sustain the fight in the enemy backline. If you have your Death Blossom at the ready, try to position yourself above the enemy team and use your ultimate to start a fight. For a higher success rate, notify your team’s Zarya or D.Va that you are looking to ult so they can either Barrier or Defense Matrix you when you unleash your Death Blossom. At all times, stay in the shadows and look to treat your enemy to a shotgun blast to the back.

