Tips for playing LawBreakers
LawBreakers is a twitch FPS with a huge emphasis on skillful movement. Here's our fast tips, plus ability combos you haven't heard of.
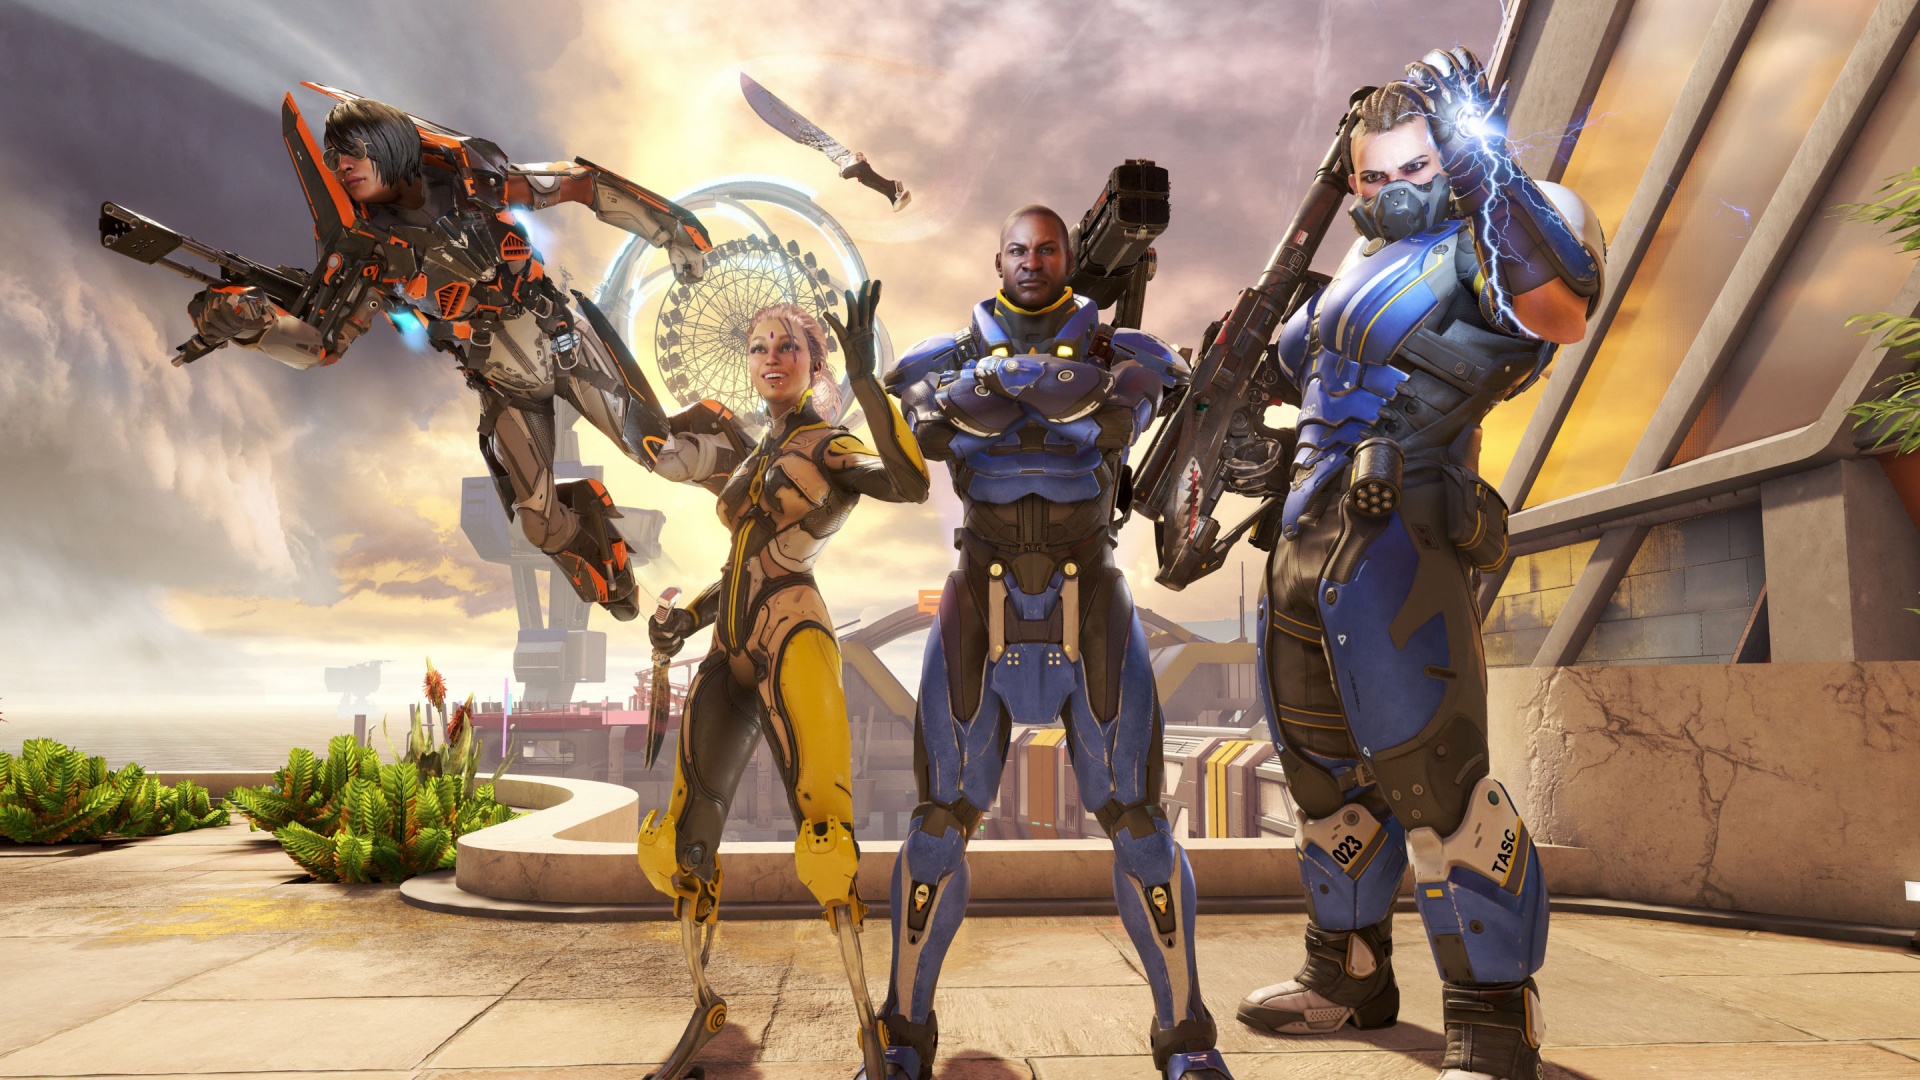
As a step between the ability chess tactics of Overwatch and the speed of Quake, LawBreakers clearly strives for specialization in the increasingly crowded class-based FPS herd with a steeper learning curve and a greater emphasis on movement and aiming mastery. Our review is coming soon, so use this guide in the meantime as a primer for understanding each role and how they fit into LawBreakers' frenetic pace.
Tips
- Keep moving. In LawBreakers' zero-g, omnidirectional arenas standing still is the worst thing you can do. Staying on the ground is probably the second worst. Mix up your angle, speed, and direction to present a harder target profile.
- Firing behind you in zero-g (Ctrl) increases speed depending on ammo type. Use your weapon for propulsion. The Titan’s rocket provides the biggest boost.
- Ability combos can greatly boost damage. The first shot from the Gunslinger’s Alpha or Omega pistol is buffed after a Warp blink. The Enforcer’s Distortion field ups his fire rate and reload speed. Each role has its own particular combo.
- Pay attention to your crosshair. It will reveal a lot of info beyond shrinking or expanding accuracy cones. A blinking red cross, for example, will mean your next melee attack will kill your target. A small pip indicates a hookable surface while playing as an Assassin.
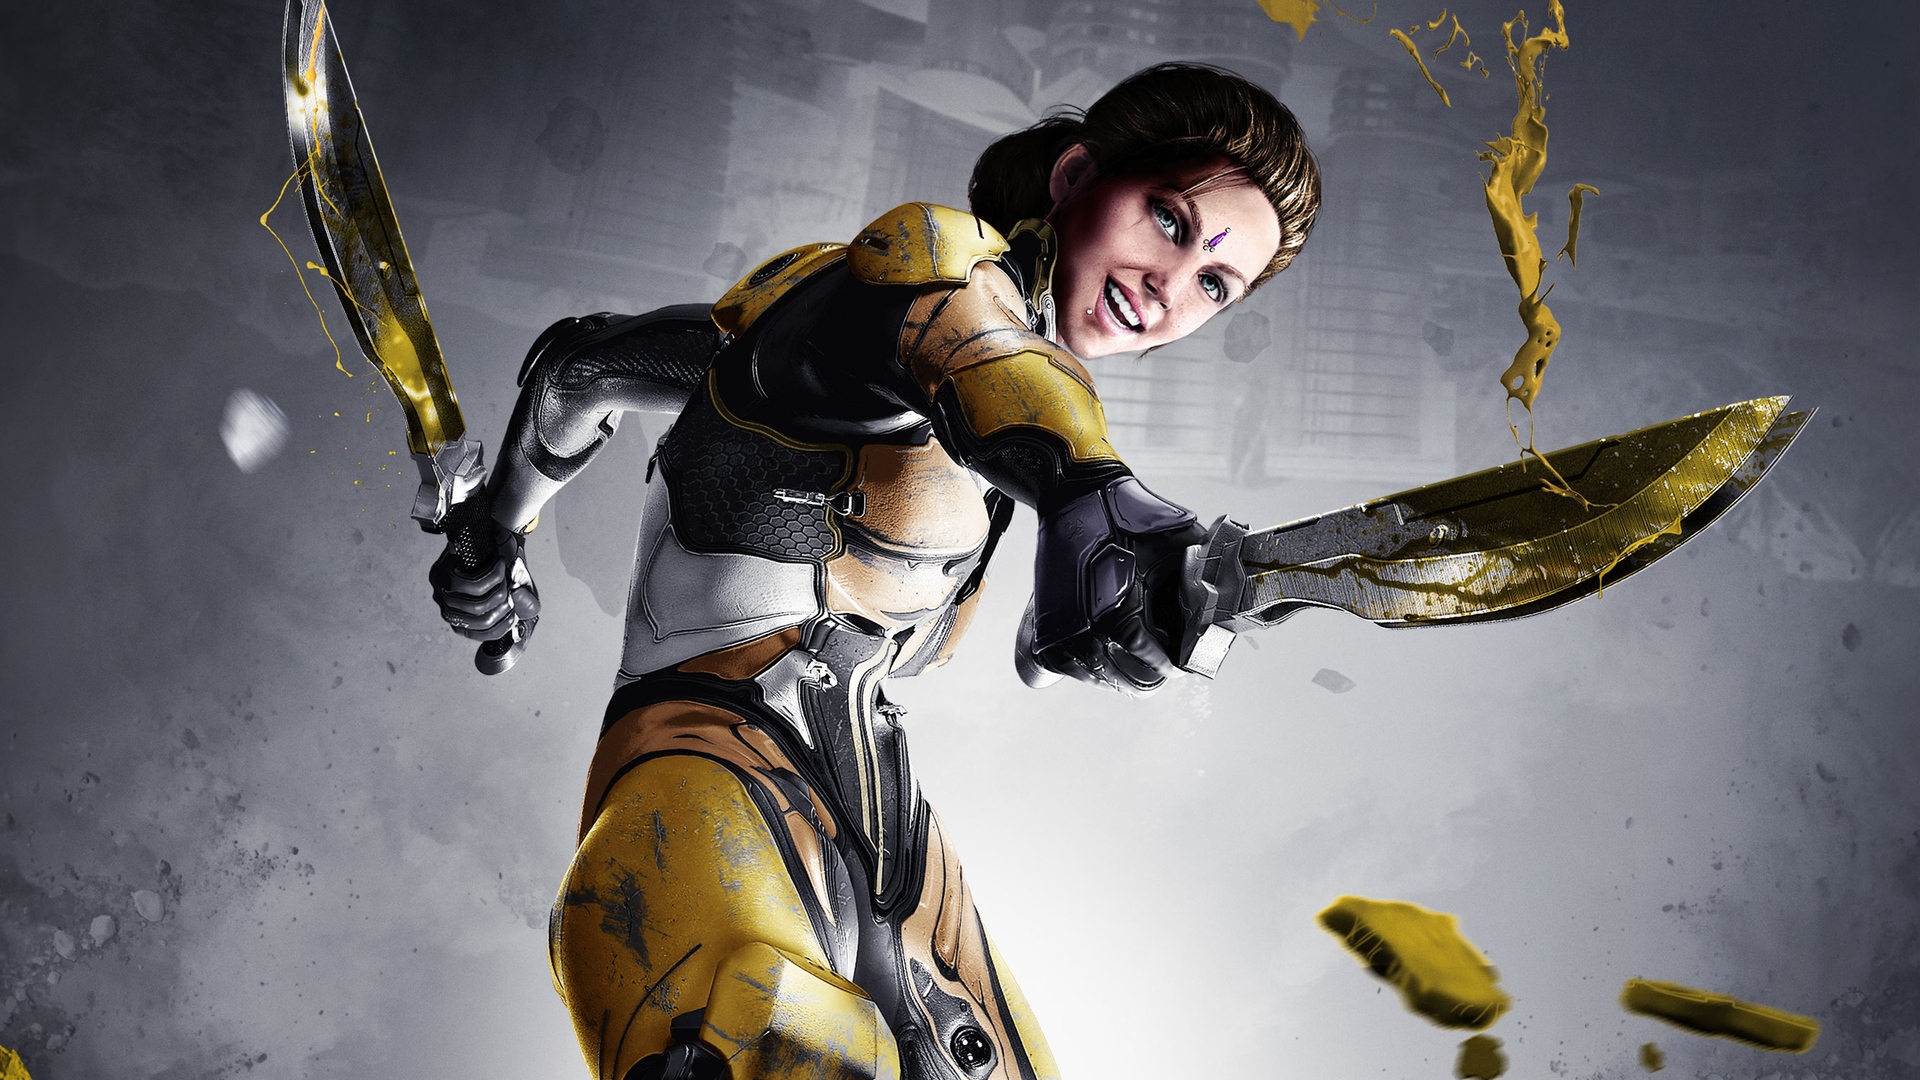
Assassin
Difficulty: Hard
Health: 300
Speed: High
Best modes: Uplink, Overcharge, Blitzball
Stow the Assassin’s Arc Blades as much as you can for her Romerus shotgun. While less flashy, it provides the safety of range and a reliable punch that can down most opponents in a couple shots.
- Assassins can use the Arc Blades’ grapple to swing out of map bounds and access the enemy base undetected.
- Your double jump is useful for abruptly changing direction while airborne, an important tool for survivability.
- The Arc Blades increase in damage for each hit of its three-hit combo. Try to land the final hit every time for a big damage burst.
- Your Flux Blast can deflect and change the trajectory of projectiles such as rockets and grenades.
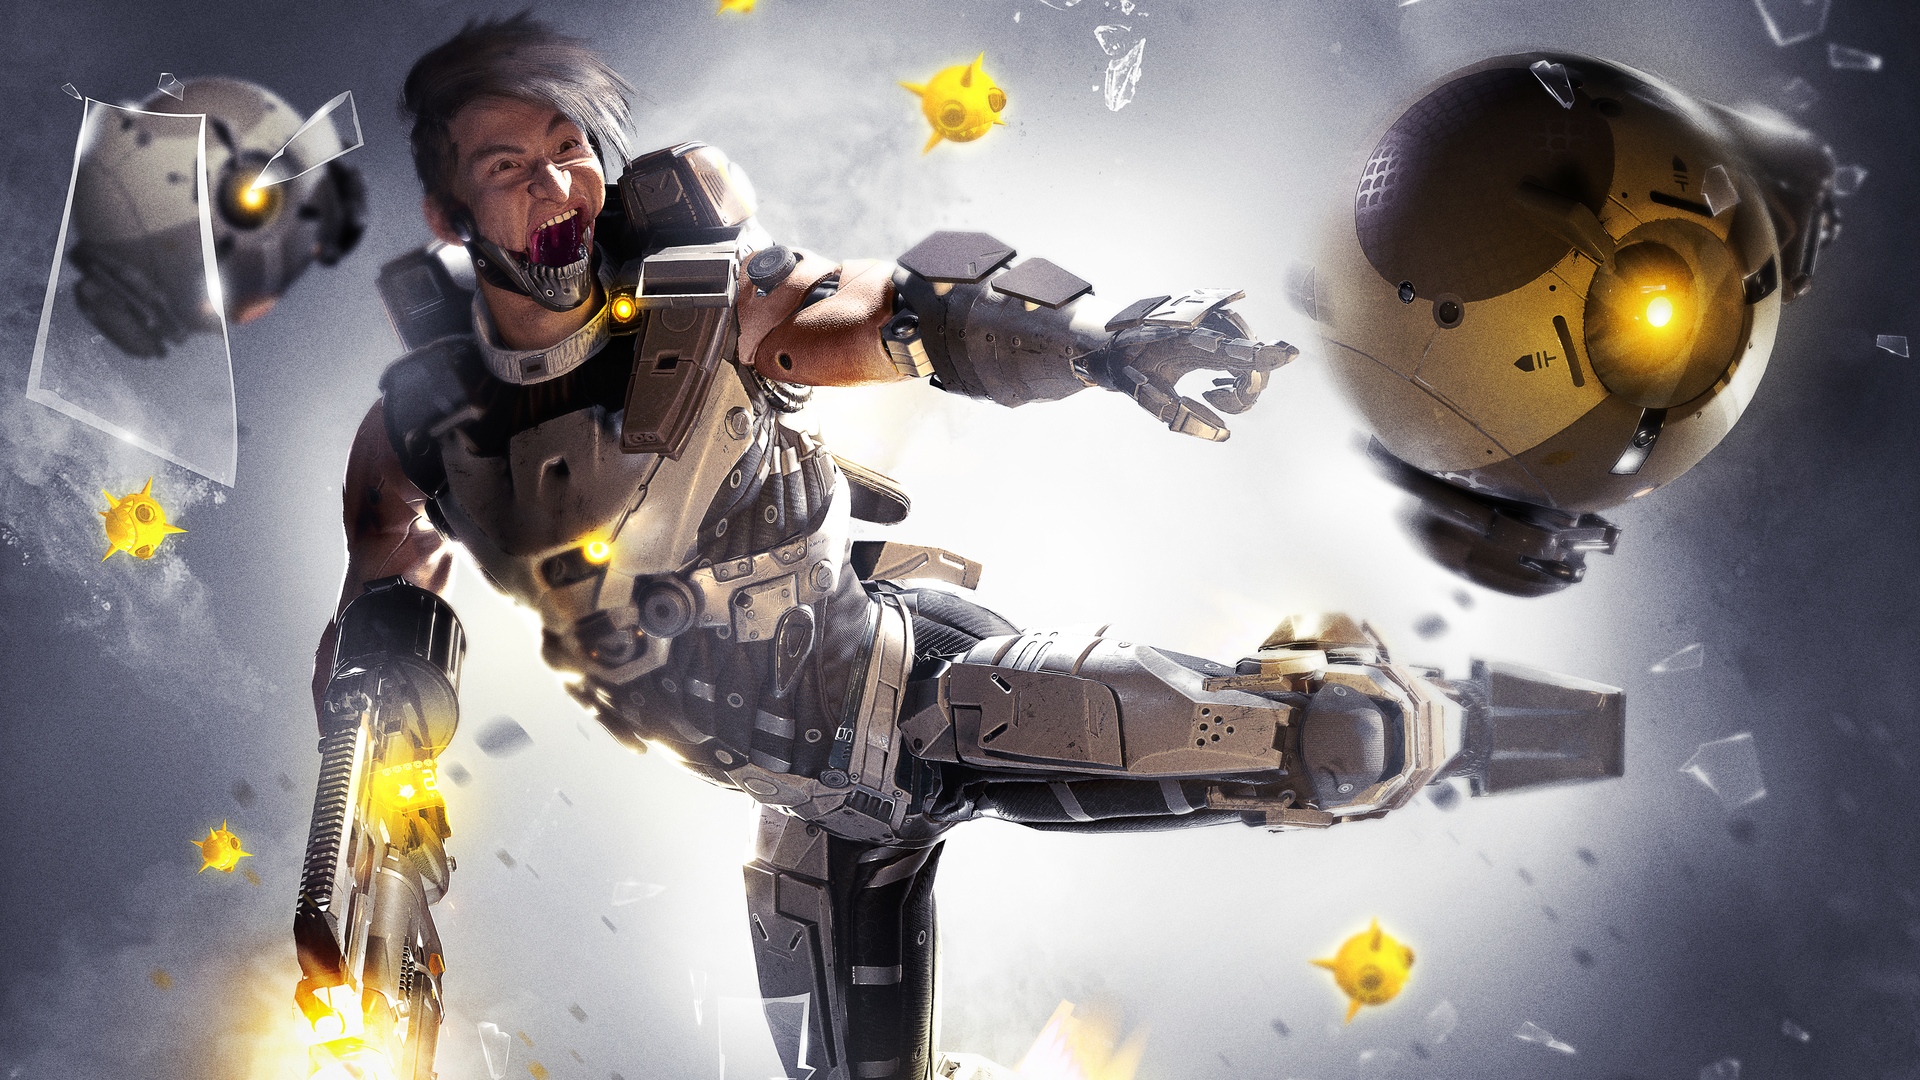
Battle Medic
Difficulty: Medium
Health: 350
Speed: Medium
Best modes: All
Though not as necessary as in other class-based shooters, the Battle Medic nevertheless affords sustain to her team with her healing drones.
- Horizontal movement using the Battle Medic’s jetpack sips fuel at a far cheaper cost than simply boosting straight upwards.
- Always send out your drones to attacking teammates even if they’re fully topped up. The drones’ overheal effect is instrumental for providing an easy upper hand going into a fight.
- Your Defense Grid ultimate is fantastic for shutting out enemies from an objective or drawing them close to the delight of Titans and Juggernauts.
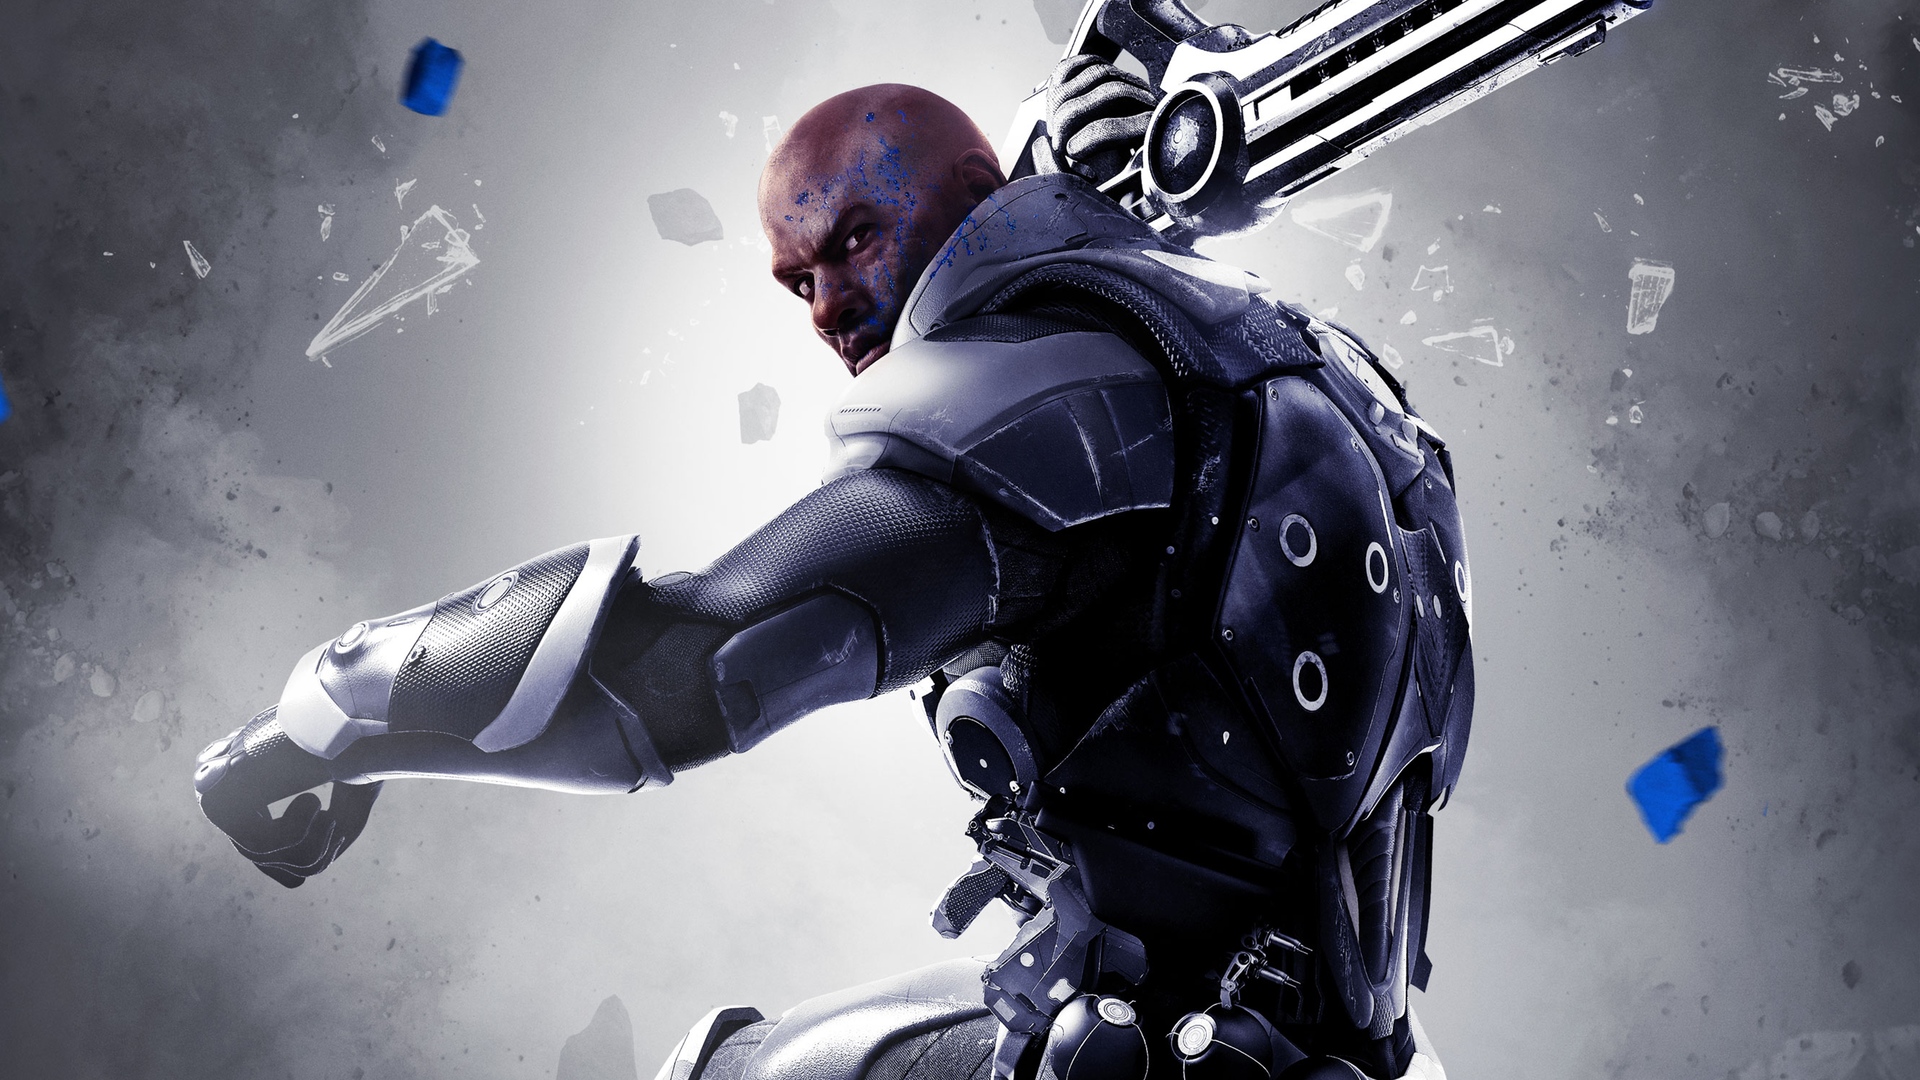
Enforcer
Difficulty: Easy
Health: 400
Speed: Medium
Best modes: All
With sturdy health and a straightforward kit, the Enforcer is a jack-of-all adaptable to most modes and team compositions.
Keep up to date with the most important stories and the best deals, as picked by the PC Gamer team.
- Hitting enemies while your Distortion is active restores some of its fuel. Keep your crosshair steady to sustain Distortion’s beneficial effects and chain together kills.
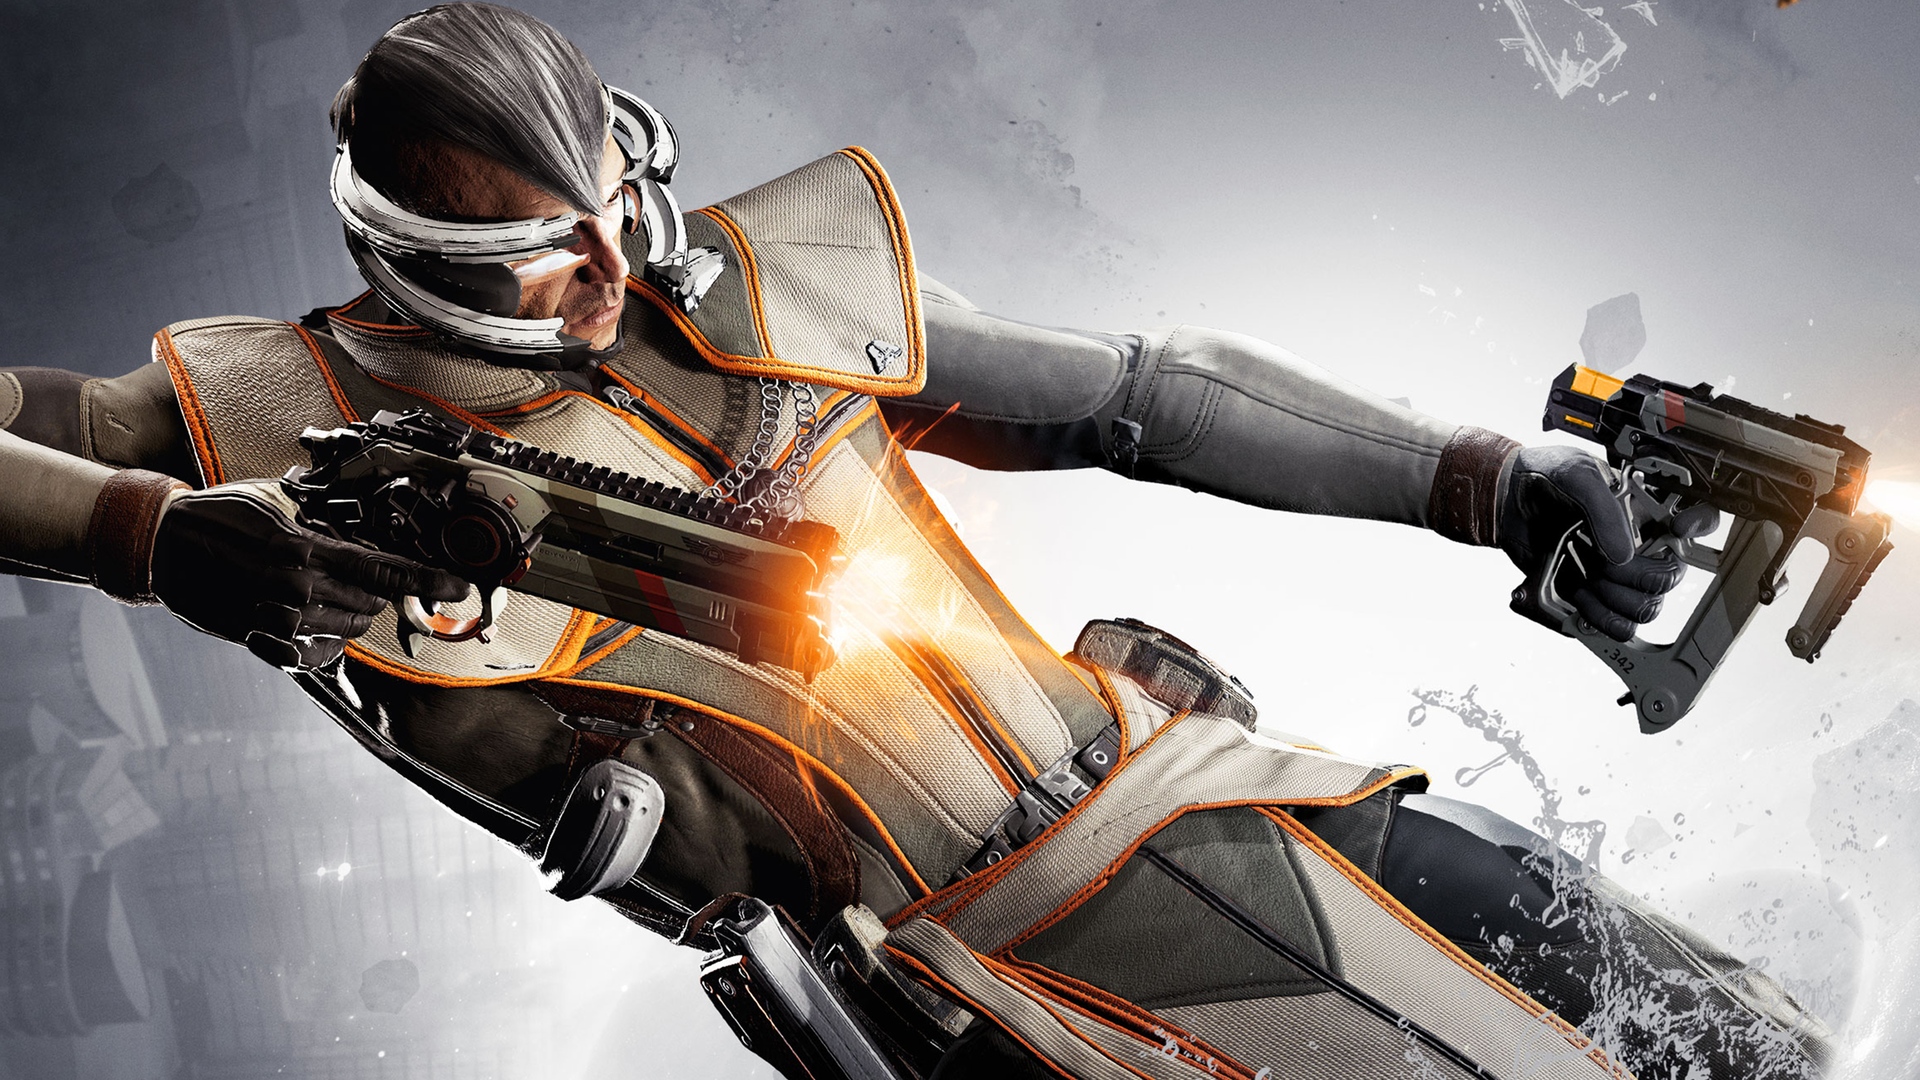
Gunslinger
Difficulty: Medium/hard
Health: 325
Speed: Medium
Best modes: Turf War, Occupy
If your aim carries the blessing of the FPS gods, the Gunslinger is your angel. His extreme damage output is mitigated by a lack of close-range defenses.
- Your pistols reload independently of each other. With good timing, you can send out a steady stream of shots and cut downtime to a scant few seconds. In zero-g, you can use Omega to fire behind yourself while firing Alpha forward. The Gunslinger is the only role with this capability.
- You can tap-fire the Omega pistol for a quick shot or hold down the trigger for a heavier, charged shot.
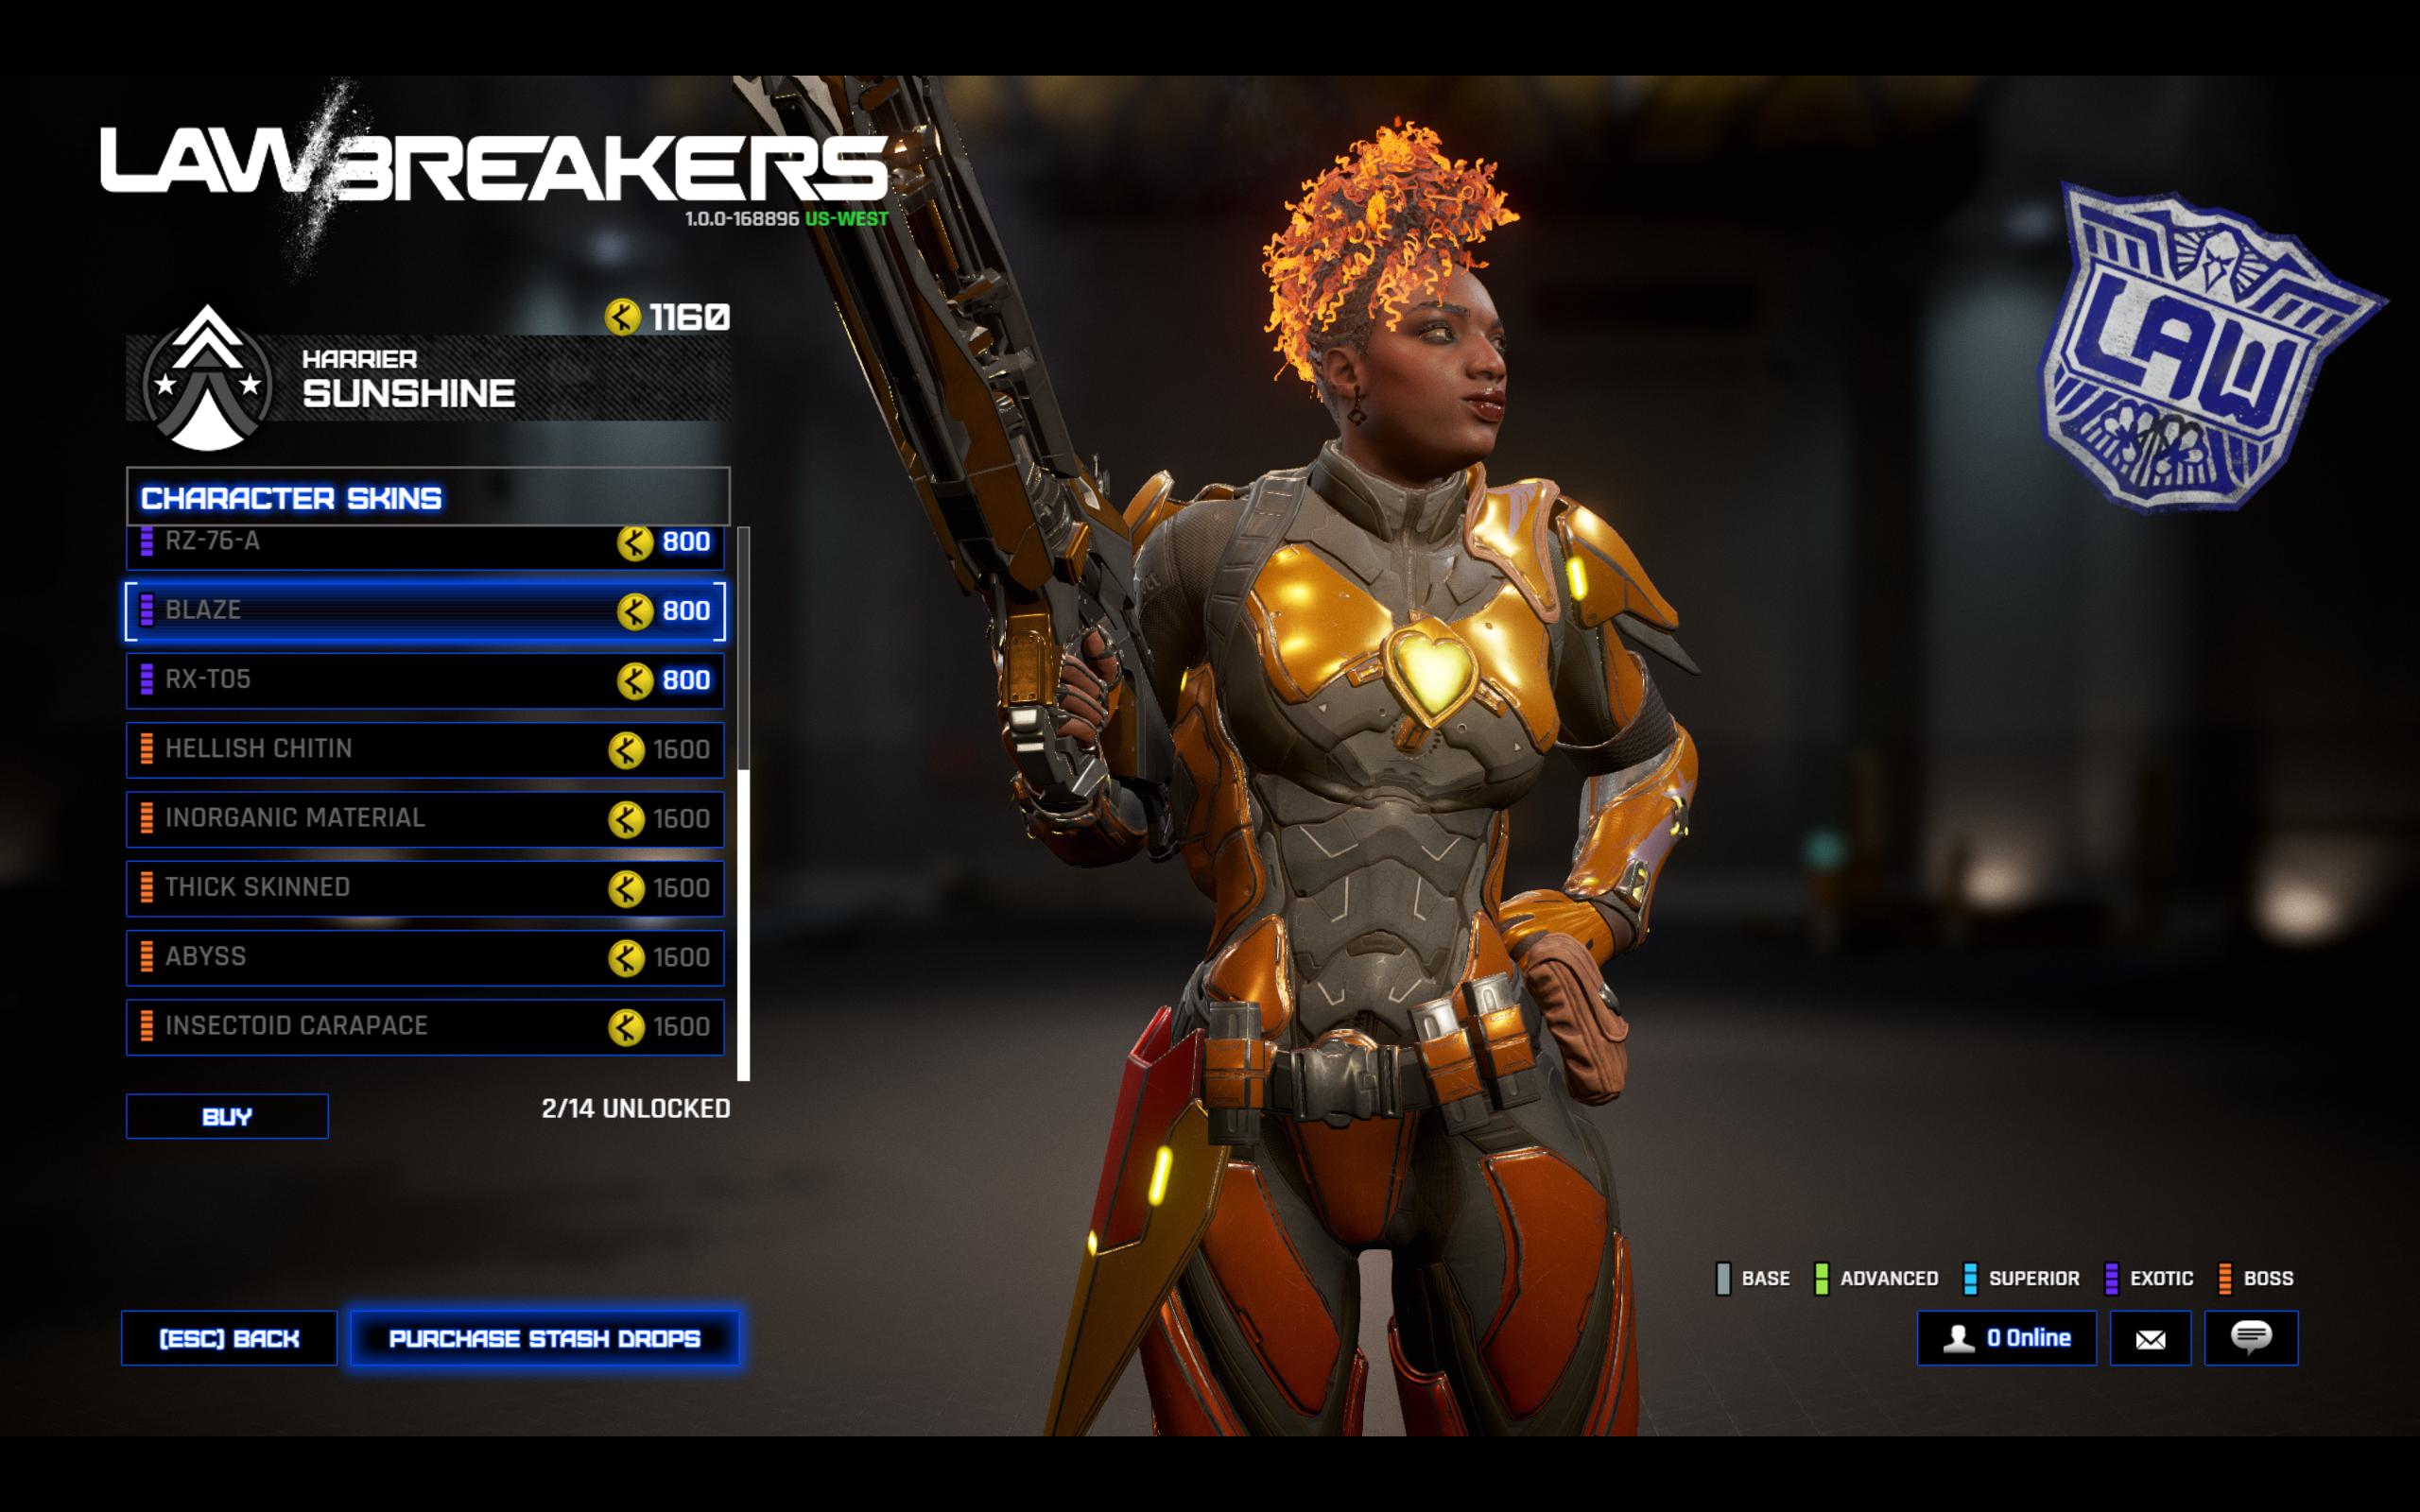
Harrier
Difficulty: Medium
Health: 350
Speed: Medium
Best modes: Turf War, Occupy, Blitzball
The Harrier is a pivotal choice for setting up major team plays with his damage-boosting support abilities and steady beam damage.
- The Harrier’s Raycaster boot jets will fire wherever your legs are physically pointing. Use them to fine-tune your aerial and zero-g movements.
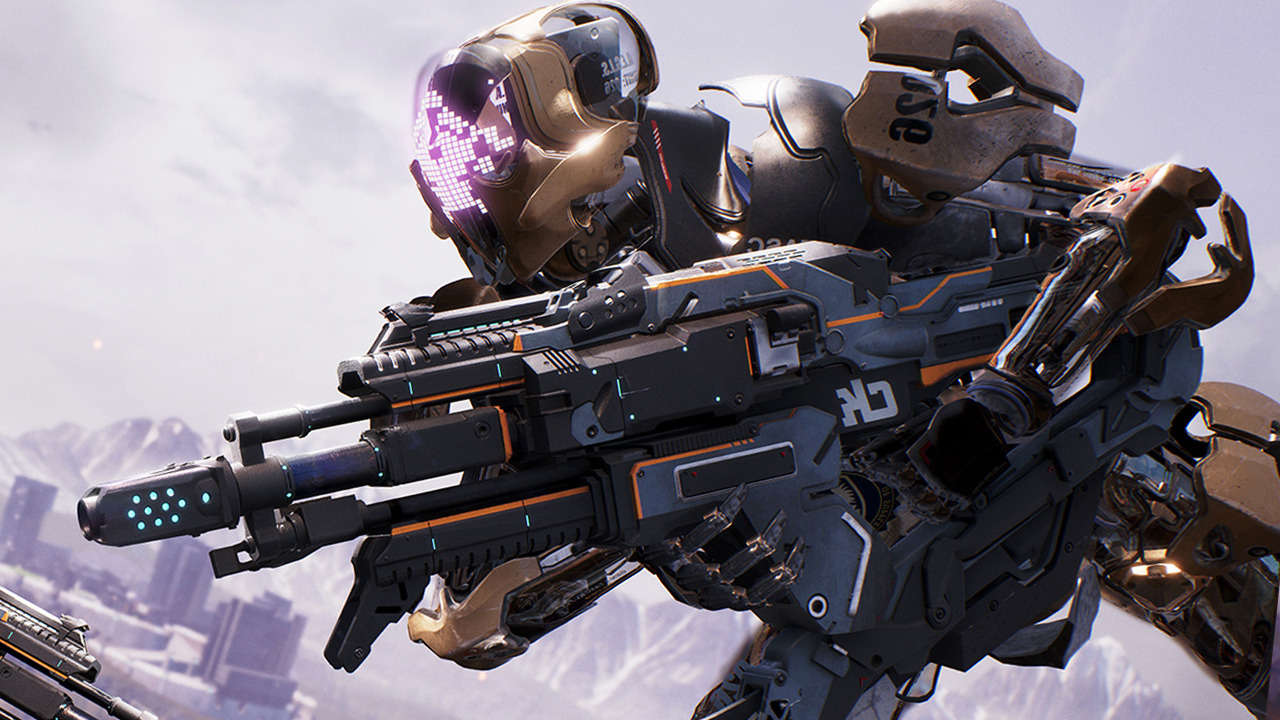
Juggernaut
Difficulty: Easy
Health: 600
Speed: Low
Best modes: Turf War, Occupy, Uplink
Your typical tank, Juggernaut is great at rallying his team onto an objective, but be mindful of his Instigator shotgun’s modest range and slow single-shell reload.
- The Juggernaut’s damage output works best in a steady rhythm capitalizing on his close-range power: shotgun blast, knife impale, and follow-up kick.
- Your Charge affects aerial movements. Jumping and then Charging performs a ground slam and knocks away enemies, useful for clearing out capture zones.
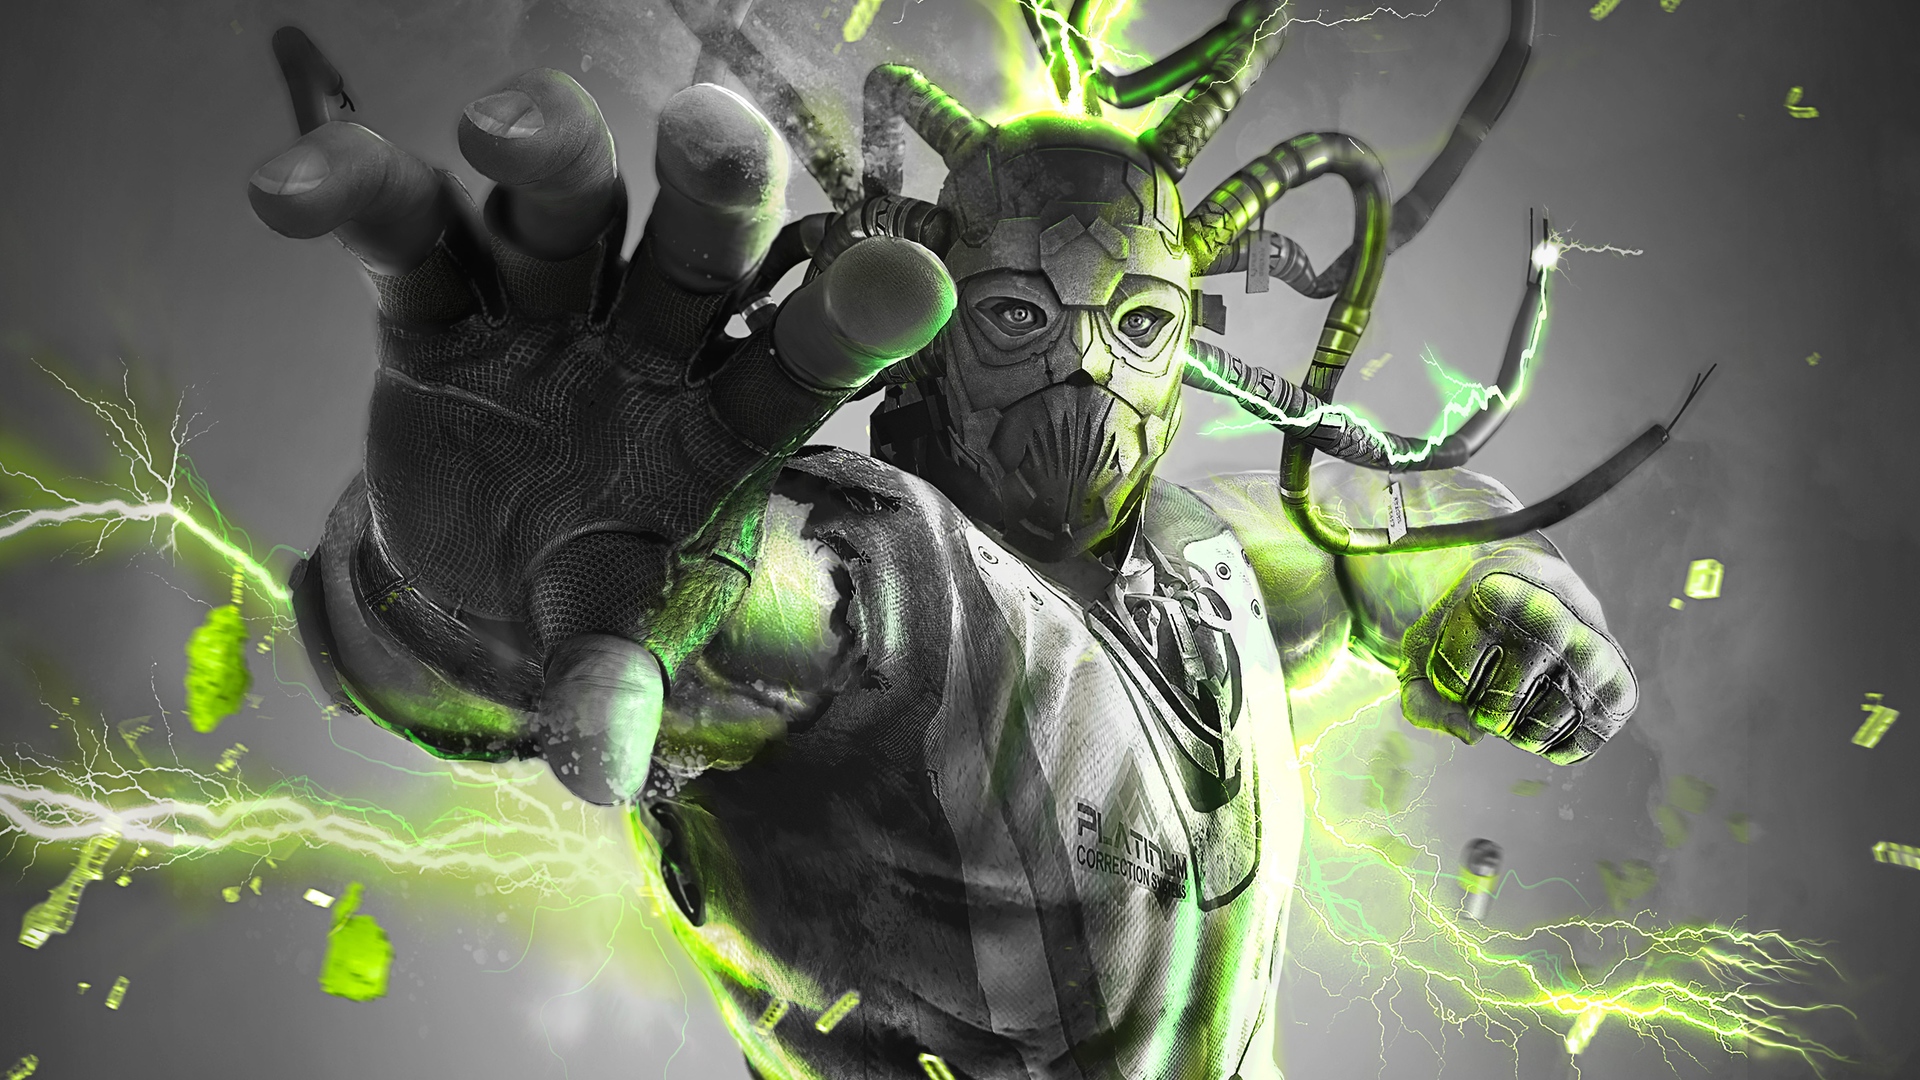
Titan
Difficulty: Medium
Health: 500
Speed: Low
Best modes: Overcharge, Uplink, Occupy
The Titan excels at area damage with his rockets. Use rocket jumps to shore up his sluggish speed.
- You can manually detonate a rocket with alt-fire. This comes in handy in zero-g where trying for direct impacts can be a difficult accomplishment. Trigger your rocket either above or behind your targets for maximum splash damage.
- Stick your Neutron Mine on a friendly teammate, and it’ll detonate once they get close to an enemy.
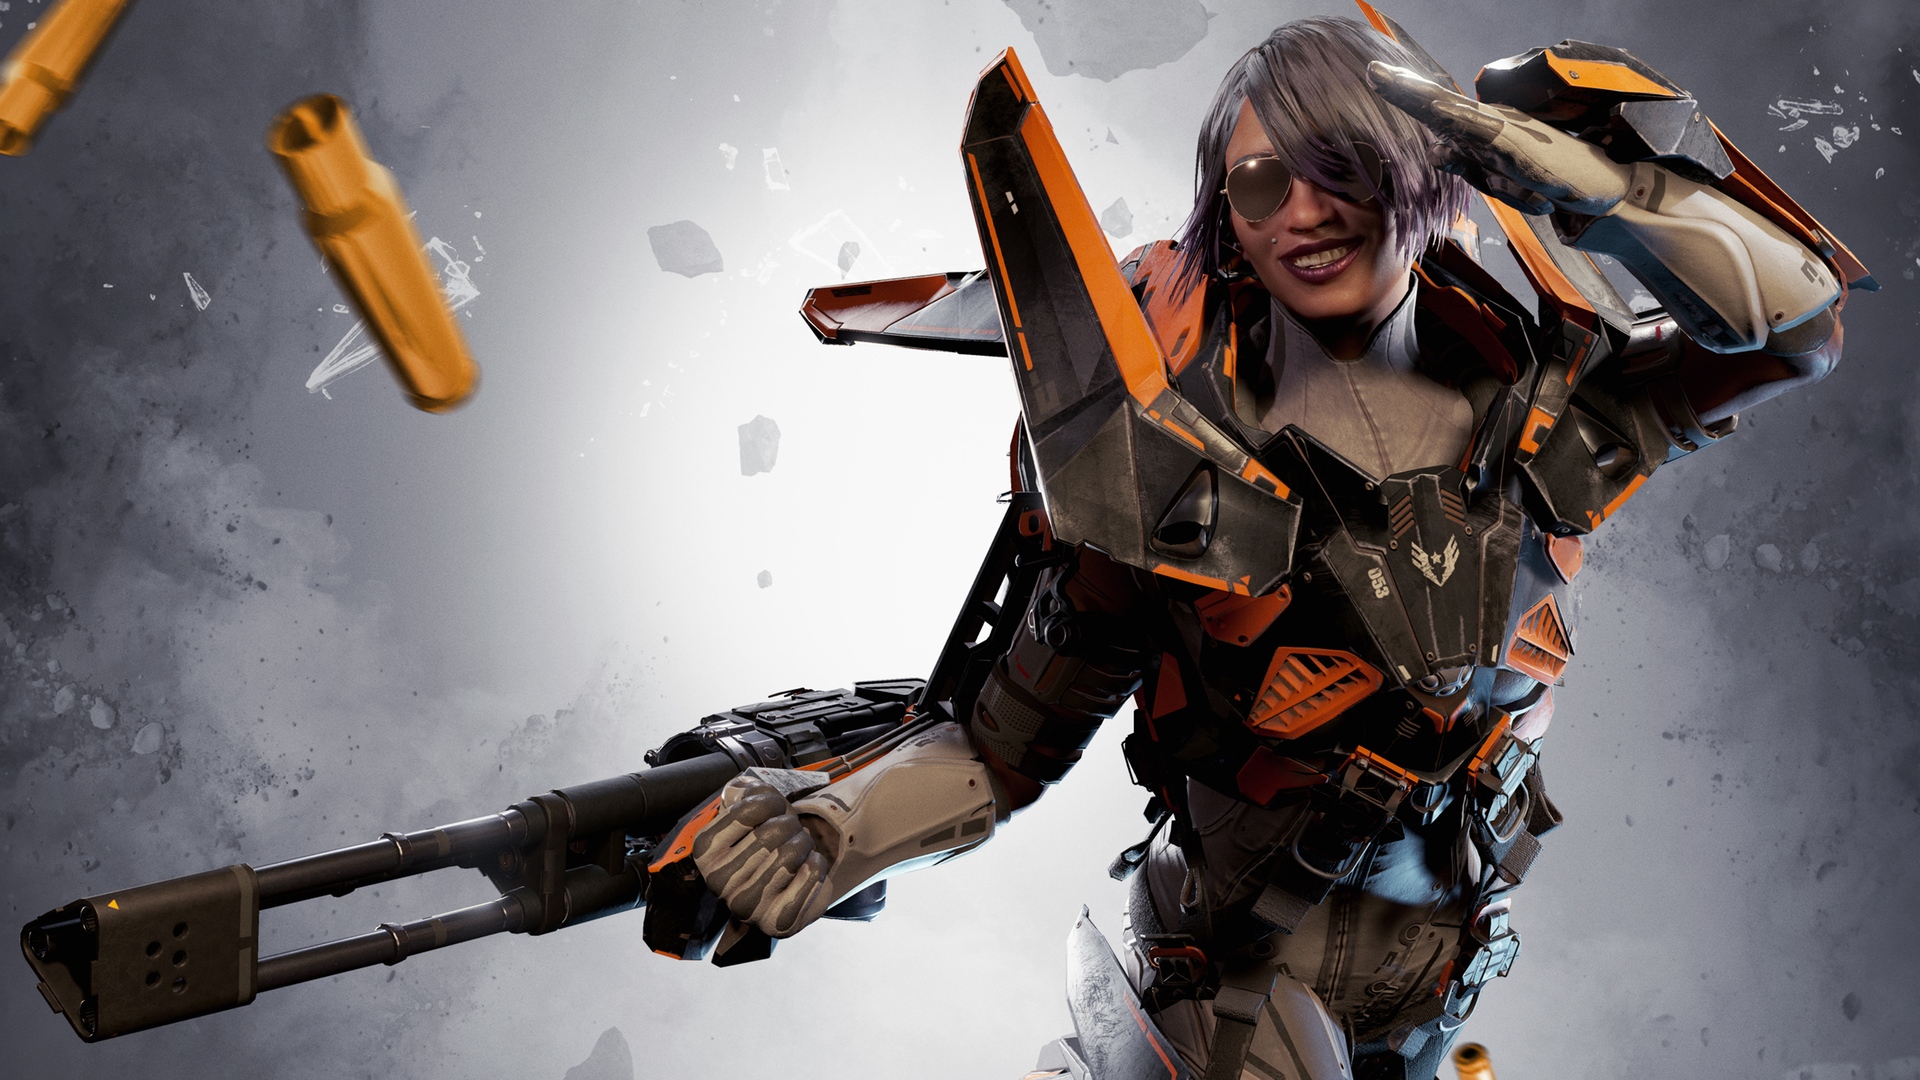
Vanguard
Difficulty: Easy
Health: 325
Speed: High
Best modes: Blitzball, Overcharge, Uplink
A popular choice for CTF-style modes such as Blitzball or Overcharge, the Vanguard boasts an exceptional speed boost and a roomy chaingun magazine. A good choice for beginners.
- Try chaining together a few quick jumps when landing after using your Afterburners. You’ll retain most of your momentum while your fuel recharges.
- The Vanguard’s Hydra chaingun will continuously spin faster while firing, increasing accuracy and fire rate. Try tapping fire to pre-spool the Hydra before engaging.
- Your Pulsar knockback can stop your forward momentum instantly, and it’s especially evident in zero-g pockets.
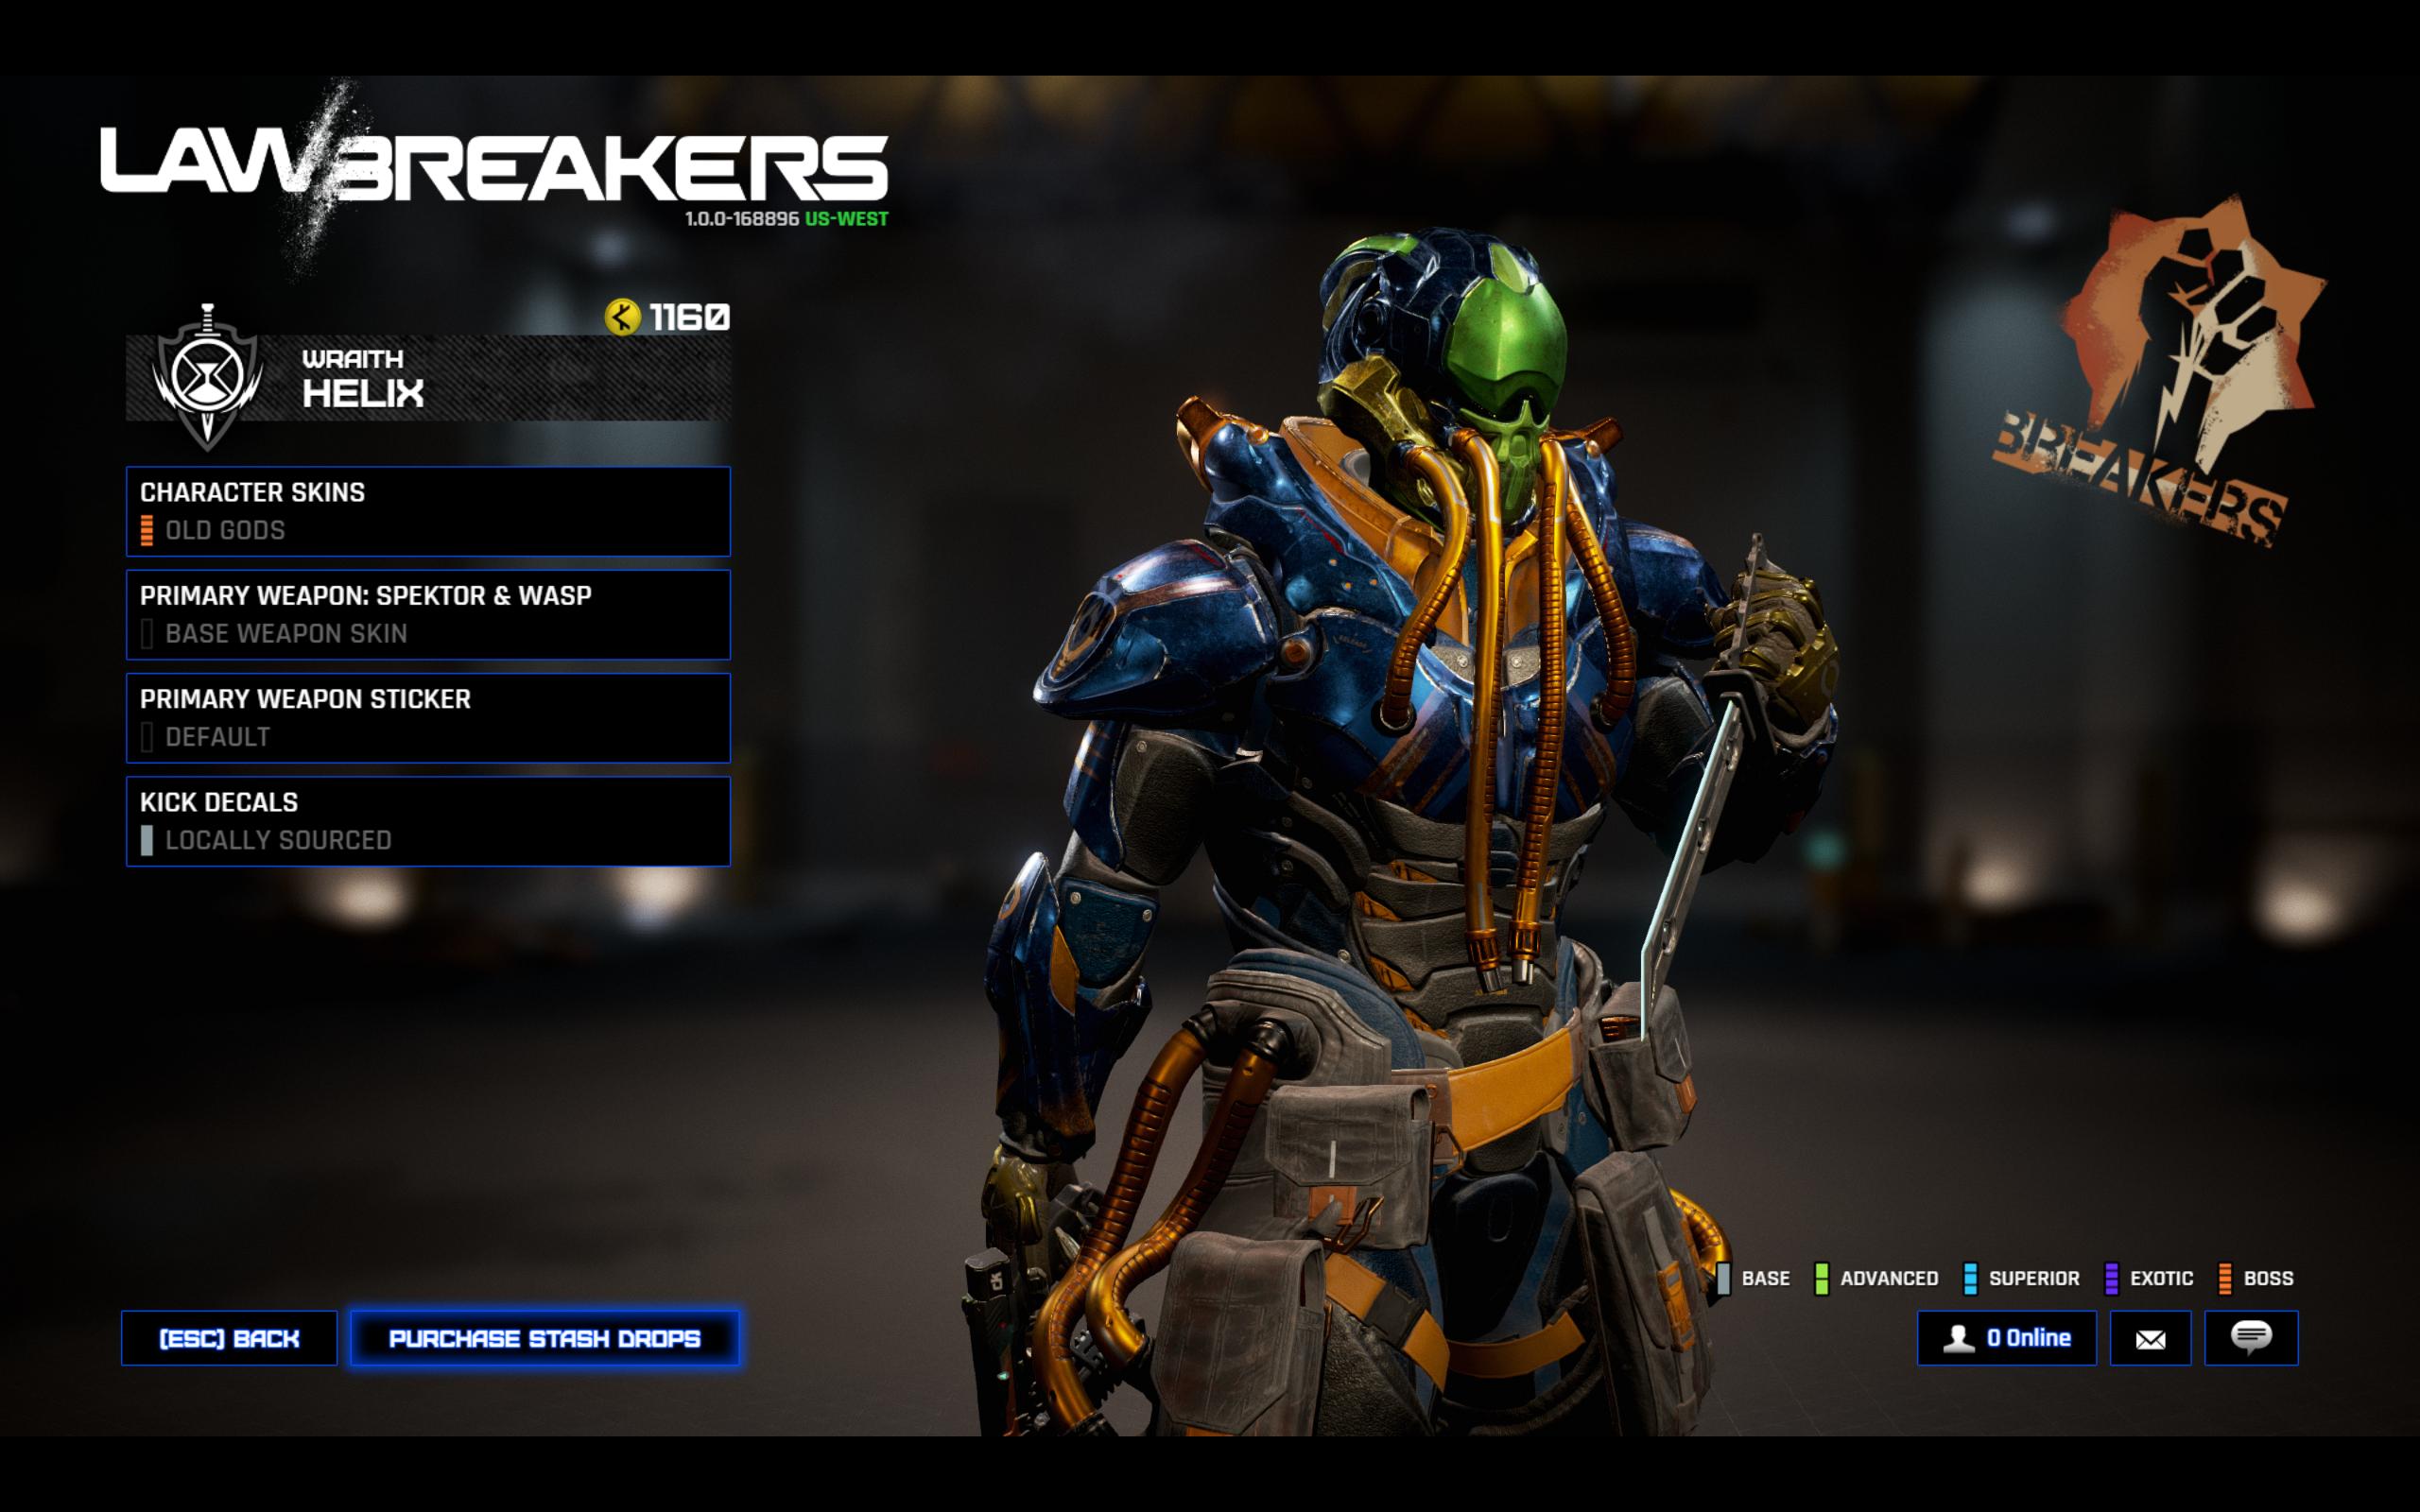
Wraith
Difficulty: Hard
Health: 325
Speed: High
Best modes: Uplink, Overcharge
The Wraith’s showy ninja-like skillset ensures his crowd-pleasing popularity, as he (along with the Assassin) best represents LawBreaker’s emphasis on smart movement.
- You perform a small speed boost when you knife the air as Wraith, retaining your momentum, keeping you airborne for longer, and smoothing your slide- and triple-jumps. Like the Assassin, you can completely change your direction while chaining jumps.
- Your triple jump refreshes once you touch the ground. However, you can chain wall jumps indefinitely while in the air.
- The Wraith is a stellar ambusher. Flank around, slide into a target while firing your Stinger pistol, then finish with a blade stab. It’s always good to start a fight with a Stinger explosion, but it’s more important to keep moving.
Omri Petitte is a former PC Gamer associate editor and long-time freelance writer covering news and reviews. If you spot his name, it probably means you're reading about some kind of first-person shooter. Why yes, he would like to talk to you about Battlefield. Do you have a few days?

