Control Heroes of the Storm's Tomb of the Spider Queen map
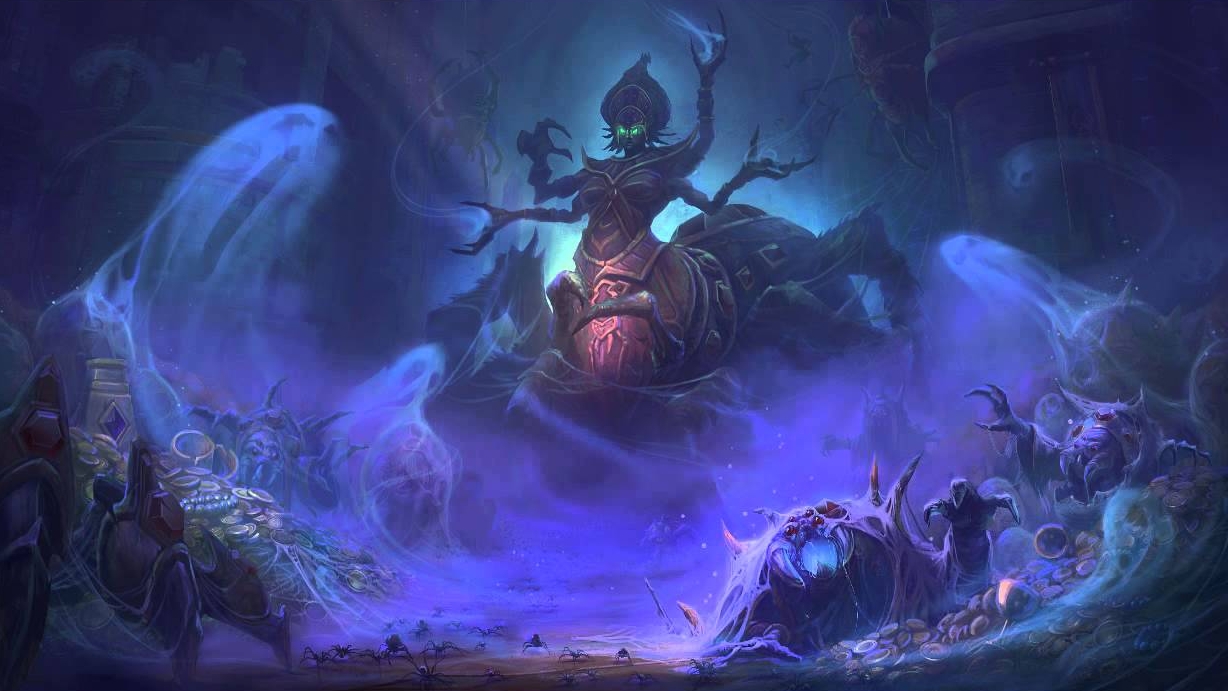
Taking place directly below Sky Temple— the subject of our last guide—in the strange geography of Luxoria, Tomb of the Spider Queen allows players to purchase the power of the Spider Queen Neithis, or more specifically, the power of her children. Teams push alongside the Webweavers, using their sieging power to claim victory.
Tomb of the Spider Queen is one of Heroes of the Storm’s smallest maps. The gaps between each of its three lanes are extremely thin, so roaming strategies and heroes are the most effective.

Teams must collect gems, which drop from the enemy’s ranged minions when they die. These can be paid to either of the two altars set in between the lanes. Carried gems are dropped when heroes are killed, with allies being able to recover some of them but not all. Upon completely paying in—which costs 50 gems initially, with the amount required going up by 5 every time you od it—three Webweavers will attack the opposing team’s structures, one in each lane. Being able to contest the areas around these altars, and make use of how close the lanes are, is the best way to claim an advantage.
Choosing your hero
The typical strategy for splitting the team is to have four heroes moving between the top and middle lanes, with one solo laner towards the bottom lane. Have one player pick a hero that can at least somewhat hold their own, such as Zagara, Xul, or Thrall.
Other than that solo laner, pick heroes with a range of strengths, as per usual. One thing to take into account is the strength of anyone that relies on large amounts of regeneration globes on this map: as the group of four will be soaking experience from both the top and middle lanes, they’ll get twice the regeneration globes as usual, making characters like Stitches (with the Hungry for More talent) or Kael’thas (with the Mana Addict talent) just that bit stronger.
If you’re looking for something fun to try, get a friend and play Azmodan with Leoric. With Azmodan’s Taste for Blood talent combined with Leoric’s Skeletal Swing, it’s easy to rack up damage for Azmodan’s Globe Of Annihilation.
Laning
This is perhaps the most important part of Tomb of the Spider Queen, and one that many players get wrong. The four players that stick towards the upper side of the map need to roam from middle, to top, and back to middle together, killing the minions as they go. As the middle lane is just slightly shorter, you’ll want to clear it out first, then the top lane, and by that point the next wave of minions will typically arrive in the middle lane. Gather up the gems, and move to the next lane. Make sure you get them quickly though, as they’ll disappear after a few seconds, a flash indicating they’re about to do so.
Keep up to date with the most important stories and the best deals, as picked by the PC Gamer team.

This tactic is effective because it keeps four team members safe at all times, and allows for someone to be supported as they collect the gems dropped by enemy minions. As it’s the ranged minions which drop them, they’re a little further away than melee minions, so having teammates support each other as they’re collected prevents the enemy from taking advantage of someone going so far down the lane.
The person in the bottom lane should focus on soaking experience and collecting gems rather than pushing—it’s very easy to get ambushed. Wait for your team to spawn their Webweavers, then look to destroying enemy structures.
Gems are a queen’s best friend
You’ll be able to count your team’s total gems in the bottom right of the screen, and, despite the temptation to hoard, try to pay them in as regularly as possible. Even if it’s just adding 5 to the pot, any safe chance you get should be used to pay in. It’s important to hit that 50 mark first, as it will typically lead to an experience advantage.

Typically, there won’t be any tussles until the teams are holding around 50 gems each, and this is the point where you’ll want to try and ambush opponents. It’s easy to flank an opponent who is trying to pay in gems, and so hiding in the smoke to get behind them is often a good way to either kill someone or get an opportunity to pay in first.
Weaving a web of death for your foes
Paying in enough gems will summon three Webweavers for your team—siege units that attack enemy structures and summon more minions to fight alongside them. They’re not too strong on their own, but are incredibly useful when coupled with a few allied heroes.
When attacking with Webweavers, it’s best for your team to group in a lane and help that Webweaver push down at least the towers and front gate. If the enemy isn’t responding to the push, try to take out the fort. If they are, go from lane to lane as a team, destroying a little something in each lane as you go. The Webweavers don’t last long, and the small map size means that you don’t need to worry about leaving someone to soak in each lane as the rest of the team roams around.
When defending, try to anticipate which lanes and structures the enemies will focus on and react accordingly. Focus on taking out the Webweavers rather than starting a scrap with enemy heroes directly. Even though the Webweavers will focus their attacks on structures rather than heroes, they have a channeled ability that does huge damage to everything in its path. The video below shows its animation when channeling this ability—avoid it wherever possible, as it will scupper your chances to defend effectively if it hits multiple allies.
After the Webweavers fall
If you’ve managed to get an advantage, keep pressure on the enemy—do your best to prevent them paying in their gems by using your experience lead to force advantageous fights. If you didn’t manage to gain a lead, or you were the team defending first, do your best to safely pay in gems when enemies retreat for health or mana and return to swapping between the lanes as a four-person group.
Since it’s so common for enemies to check the top altar between lane movements, your best option for sneaking a gem payment is generally at the bottom altar. Make sure you’re not putting yourself at risk there—the smoke makes it easy to ambush heroes with low mobility.
A lead in Tomb of the Spider Queen shouldn’t be used to push down forts or keeps, but to retain control of the altars. The map’s layout makes sieging troublesome without Webweavers, as there are few ways to reliably flank or surround forts and keeps.
Securing victory
In order to make the best use of Tomb of the Spider Queen, you’ll have to take advantage of the mercenaries available. There’s no one best tactic with them, though, as they can result in losing control of the altars, and your opponents spawning their Webweavers. Use the mercenaries as a little boost if your team is unable to pay in but the enemies can’t as well, either due to being dead or a lack of gems.
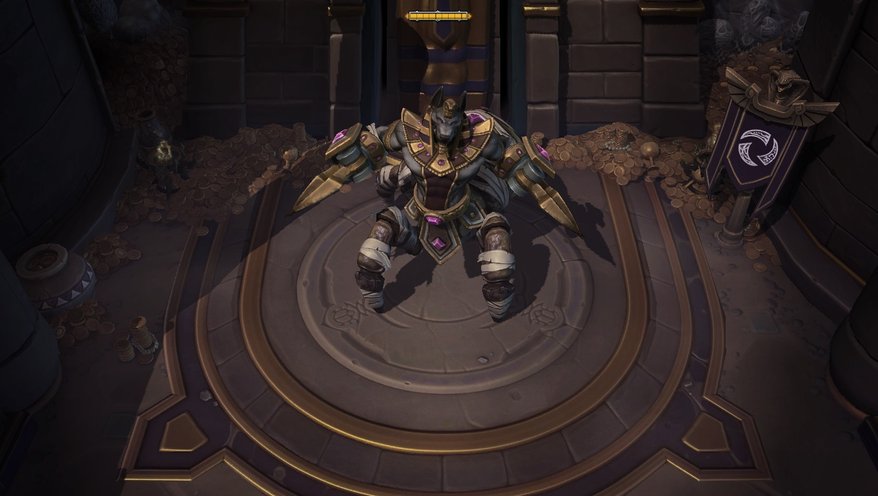
On top of that, remember that the boss at the top of the map is, as always, a good way to throw a game. Unless the enemy team is waiting to respawn, it’s a trap for overconfident players. Don’t get cocky!
Tomb of the Spider Queen relies on teams being able to move together and read each other’s movements, a challenging task when you’re playing Hero League alone. So perhaps the greatest tip is to communicate—use your pings to tell your allies where you’re going what you’re planning. Going between lanes on your own when the enemy is travelling as a group is almost always going to result in your death, so work together!
Find all of our other Heroes of the Storm map guides below:
Dragon Shire guide
Garden of Terror guide
Cursed Hollow guide
Blackheart’s Bay guide
Sky Temple guide
Battlefield of Eternity guide
Infernal Shrine guide
Towers of Doom guide

