
Download it here.
For fans of beautiful electronic music and brain-melting honking noises alike, there’s nothing quite like a modular analog synth. The concept behind them is reasonably simple. Start with a signal voltage, generated by an oscillator. Send that voltage through a bunch of modules, each of which subtracts or alters the original waveform, changing its sound. By the time your adulterated voltage reaches the speaker output, you’ll (theoretically) have made it into something unique, and the possibilities afforded by modular synthesis—the inputs, outputs, and expandable structure—mean there’s an endless variation of possible results.
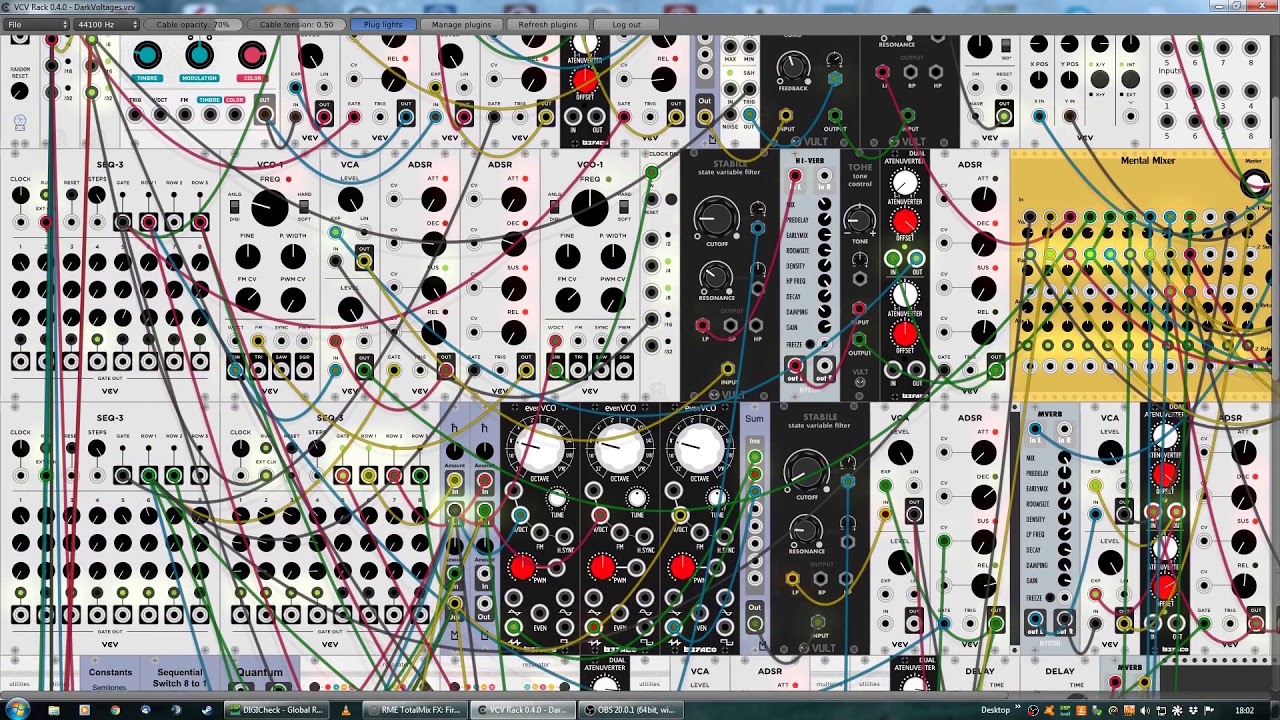
VCV Rack faithfully emulates proper analog synth equipment, to the extent that some manufacturers of real-world modules have created their own virtual equivalents, so close to the originals that patches—configurations of knobs and switches, which create a particular sound—can be faithfully recreated in Rack from the physical hardware. That said, nothing’s ever 100 percent accurate with analog synthesis, and nothing’s ever set in stone. You may never find the same sound twice, but the journey to get there is great fun. Just be careful of your speakers, because you never know what noise you’re going to make...
Make some noise
With Rack installed and running (you can do it, scout, it’s just a couple of clicks), you’ll see a slightly worrying empty rack. Let’s start filling it up: Right-click in some empty space, and select “Core > Audio Interface” to add an output module. Use the drop-down below “Audio Device” to select your soundcard, then right-click in empty space again to add “Fundamental > VCO-1.” This is a voltage-controlled oscillator, essentially a sound generator. Turn down your system volume, and click and drag from the VCO’s “SQR” port to one of the numbered outputs (see image below) on the audio interface. You’ll hear a tone from one of your speakers, indicating success; jiggle the “Freq” knob, and the pitch should change.

Adjust levels
Pull the wire out to stop the noise, then add some more modules. Begin with some basic quality of life stuff: Add VC Mixer (a simple mixer) and VCA (a voltage-controlled amplifier), both in the “Fundamentals” section. Wire a couple of your VCO outputs into separate channels on the mixer, plug its main, upper output channel to the input on the uppermost section of the VCA, then wire channels one and two of your audio interface to the output (see image below) of the VCA. Tweaking the knobs on the mixer now enables you to balance the two channels and control the overall volume of the signal.

See the sound
A scope (“Fundamentals > Scope”) is a useful way to get some visual feedback on the signal you’re generating. Just add one in, then patch its “X in” socket to the VCA output, tweaking the X scale until the waveform has some decent height. If you’re scoping out a square wave, or some combination including one, you’ll probably notice some rough edges; a filter, such as “Fundamentals > VCF,” can help smooth these. Add one in, place another VC Mixer next to it, patch the output of your original mixer into the VCF input, then patch the HPF and LPF outputs of the filter into the individual channels of the new mixer. These are the high and low pass filters— essentially smoothing the top and bottom ends of the sound. Wire your new mixer’s output to the input of your original VCA (image below), and tweak the knobs to try out your new sound.

Add dynamics
So far, we’ve been dealing with a flat tone, but there’s no reason to stick with a single tone generator. Let’s add another, and make it an LFO-1, or low frequency oscillator. An LFO is rarely used as an instrument in itself, because the majority of its range generates pulses too spaced out to register as sound. Instead, an LFO is used as a trigger for other things. In this case, wire its sine wave output (below image) to the drive input of the VCF. As the LFO pulses (and you can control its speed with its “Freq” knob), it adds a little periodic crunch to your tone. Try the same output in all the inputs of the VCF to see how it affects the sound, raising the level on the VCA if required.

Pulses on pulses
The LFO is giving character to your sound, but a sequencer turns your synth from a drone into a rhythmic machine. Add “Fundamentals > SEQ-3” to your rack, and try not to be too intimidated—it’s a fairly simple contraption. Each row output sends a signal, determined by each row of knobs, when the clock (represented by the flashing green light along the bottom) passes them. Wire the “Row 1” output to the “Exp” input of the VCA, then patch the square wave output of your LFO to the external clock input of the sequencer. Now, turn knobs 1, 3, 5, and 7 to full—you’ll hear your note pulsing on and off with every beat. Add another sequencer, patch the gate output of the original into the external clock input of the new one to sync them up, then fire its row 1 into the V/Oct input (below image) of the first VCO-1 instrument we added. You can now use the knobs to control the note played on each beat.

Making choices
Having multiple rows means we can use sequences longer than just eight beats. Add a Sequential Switch 2, and patch each of the row outputs from your second sequencer to a separate one of its inputs. Wire the final gate output of the sequencer to the switch’s clock input, and set the multi position “2:3:4” switch to 3—you should see the green light on it step between each of your three inputs. Now wire the output of the sequential switch to your VCO’s V/Oct input (see image below), and enjoy three rows of note selection.

MIDI instruments
If you have a MIDI keyboard, adding the MIDI to CV module is a must—it enables you to use the notes of keyboard keys (1V/Oct), their velocity, and (if your keyboard supports it) aftertouch, as well as the modulation and pitch wheels to control anything with an input. This could be as simple as wiring the keyboard’s 1V/Oct output to the V/Oct input of a VCO, or far more complex—modular synths are all about exploration and experimentation, so it’s up to you to find a sound you love.
If you don’t have a MIDI keyboard, you can still get a little more interactive with your instruments. Download and install Virtual MIDI Piano Keyboard from here, and MIDI OX and MIDI Yoke from here, and set VMKB’s output to MIDI Yoke. Add a MIDI to CV module to your synth, set its interface to the appropriate input, wire its 1V/Oct port to something interesting, and use the keys on your computer keyboard to play. Bear in mind that the other MIDI outputs are useless if playing this way, because your virtual keyboard is limited to straight on/off voltages.

This article was originally published in Maximum PC issue 150. For more quality articles about all things PC hardware, you can subscribe to Maximum PC now.

