While the immediate benefits of playing GTA V on PC over all the other versions are clear – it's hard to say no to things like the increased framerate, extra detail and screen resolutions up to 4K – perhaps the greatest addition of all is just how easy GTA V PC makes it for you to create your own high quality videos and share them online.
Simply recording in-game footage is a piece of cake, but what makes this functionality even better is the game's built-in Rockstar Editor, which makes it absurdly straightforward to assemble your various gameplay clips into great-looking videos. YouTube is already awash with people's own little Vinewood productions; take a look at some of these:
Article continues below 
Once you have all the video you want to work with, the editor's a joy to use. Simply start a new project and add a clip, then you can go into edit mode and really have some fun. Scrub through the timeline and you can watch what you've filmed (and also give it a trim if it goes on a bit too long), and then you can add markers throughout, which is where you can let your directing skills loose.

Once you've added a marker you can change the camera to any of a number of set options; the most versatile is the free camera, which will definitely be your new best friend. With this you can tell the camera what to point at and whether it should move, by cycling through available options. You can adjust the depth of field and add a bit of camera shake if you like, as well as speeding up or slowing down playback, and then you can fine-tune exactly where you want your camera to be, with full control over its position, orientation and level of zoom. The best way to get a feel for what it's capable of is to simply play with it; you might be surprised at just how versatile it is.


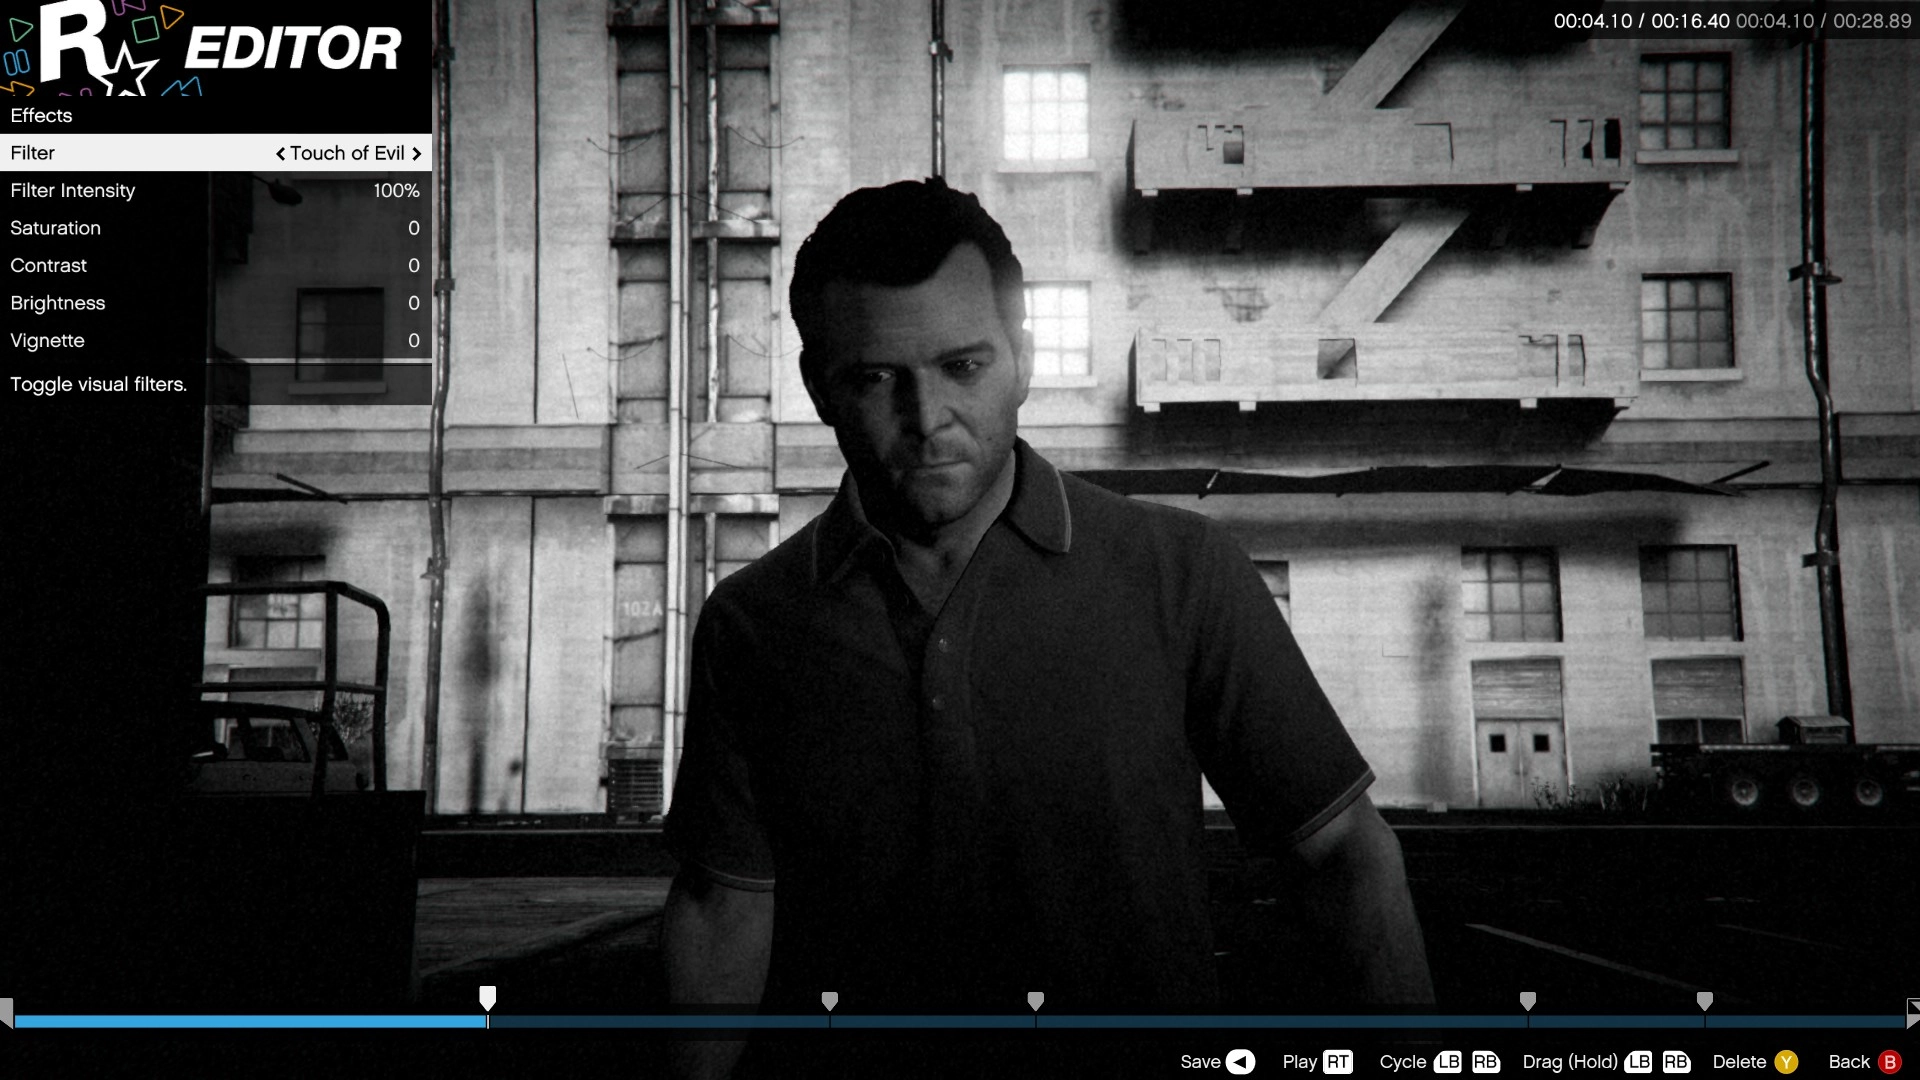
Having sorted your camera there are other settings that you can change for each marker: you can add a variety of filters and adjust their parameters to your personal taste, and there's an audio menu for changing the levels of sound effects, dialogue and music.

Happy? Great, now you can scrub through your clip and add more markers, changing the camera settings for each one to give your video a more movie-like quality. Switch between static and moving cameras, cut to quick close-ups of your protagonist, enhance impressive stunts by going into slow-motion... basically see what works best for you. It's all the fun of being a director without the hard work of setting up shots in advance; being able to change everything in post is a lot more enjoyable.
If you're done with your clip, you can go in and add another, and keep on going until you're done. Now you can preview your entire piece, and add a soundtrack as well if you like; either something from GTA V's many radio station or, if you prefer, a dynamic soundtrack that you can adjust to reflect the action in your video.
Finally, export your finished masterpiece. Choose 60pfs and a high bit rate and set it on its way, and here's the clever bit: even though your PC might not pack the NVIDIA GTX 980 you need to see the game at its best in real time, when it's rendering your video, GTA V will turn all the options up to that what you see is what you'd get on a totally tricked-out PC.

