Need a hand with the Cold War Mauer Der Toten Easter egg? In the new Zombies map, Mauer Der Toten, another supernatural enemy is trying to bring back a Nazi army through the corruption of the undead, and it’s up to you and your plucky crew of zombie-hunting squaddies to stop them. There's a lot to finding the new Easter egg, so I recommend you take a look through this whole guide before jumping in so you know what to expect.
There's always the option of leaving a single zombie alive at the end of the round, though, especially if you have a few steps to complete which you’d rather do without getting bogged down by loads of undead baddies. Anyway, without further ado, here’s a step-by-step walkthrough of how to unlock the Mauer Der Toten Wonder Weapon, Easter egg, and more in the new Zombies map.
Turn on the power
Cold War Mauer Der Toten Easter egg guide: Turn on the power
Begin the game as you would any other: by turning on the power. This is standard procedure, and all you need to do is follow the waypoints on your screen. Make sure your whole squad is opening doors and getting down to the basement as fast as possible, and don’t get hit by the train! It’ll zoom past and mash you into paste if you're not careful.
It does take a little while to get yourself down there, so get a mosey on, open the doors down to the power room, turn on the power, then collect the two fuses from the Tempest zombies. Install them, and crack on the power. Next, head up to the Pack-A-Punch machine and activate it, summoning a Disciple. Kill this guy quickly before he sucks the life out of you. This first one should go down fast, but they’ll show up pretty regularly from here.
Now you can Pack-A-Punch your guns and get started on the real easter egg hunt.
Resurrect Klaus
Resurrect Klaus
To resurrect Klaus you’ll need to carry out a few steps. They’ll all involve door-opening and keeping track of your location. In the top-left of your screen next to your minimap, you’ll be able to see where you are and refer back to this guide.
Here’s how to get the Cold War Mauer Der Toten Klaus hands:
Keep up to date with the most important stories and the best deals, as picked by the PC Gamer team.
- Use the Pack-A-Punch machine to put Brain Rot on one of your guns.
- Go to Room 305 in the hotel area of the map.
- Brain Rot a zombie next to the boarded-up wooden door and the zombie will break it down.
- Take the hands from the dead body on the bed.
Now, wait until a Krasny Soldat shows up—they’re the big terrifying enemies with the flamethrowers who’ll usually start roasting you at round 10. Kill one and pick up the battery from their corpse.
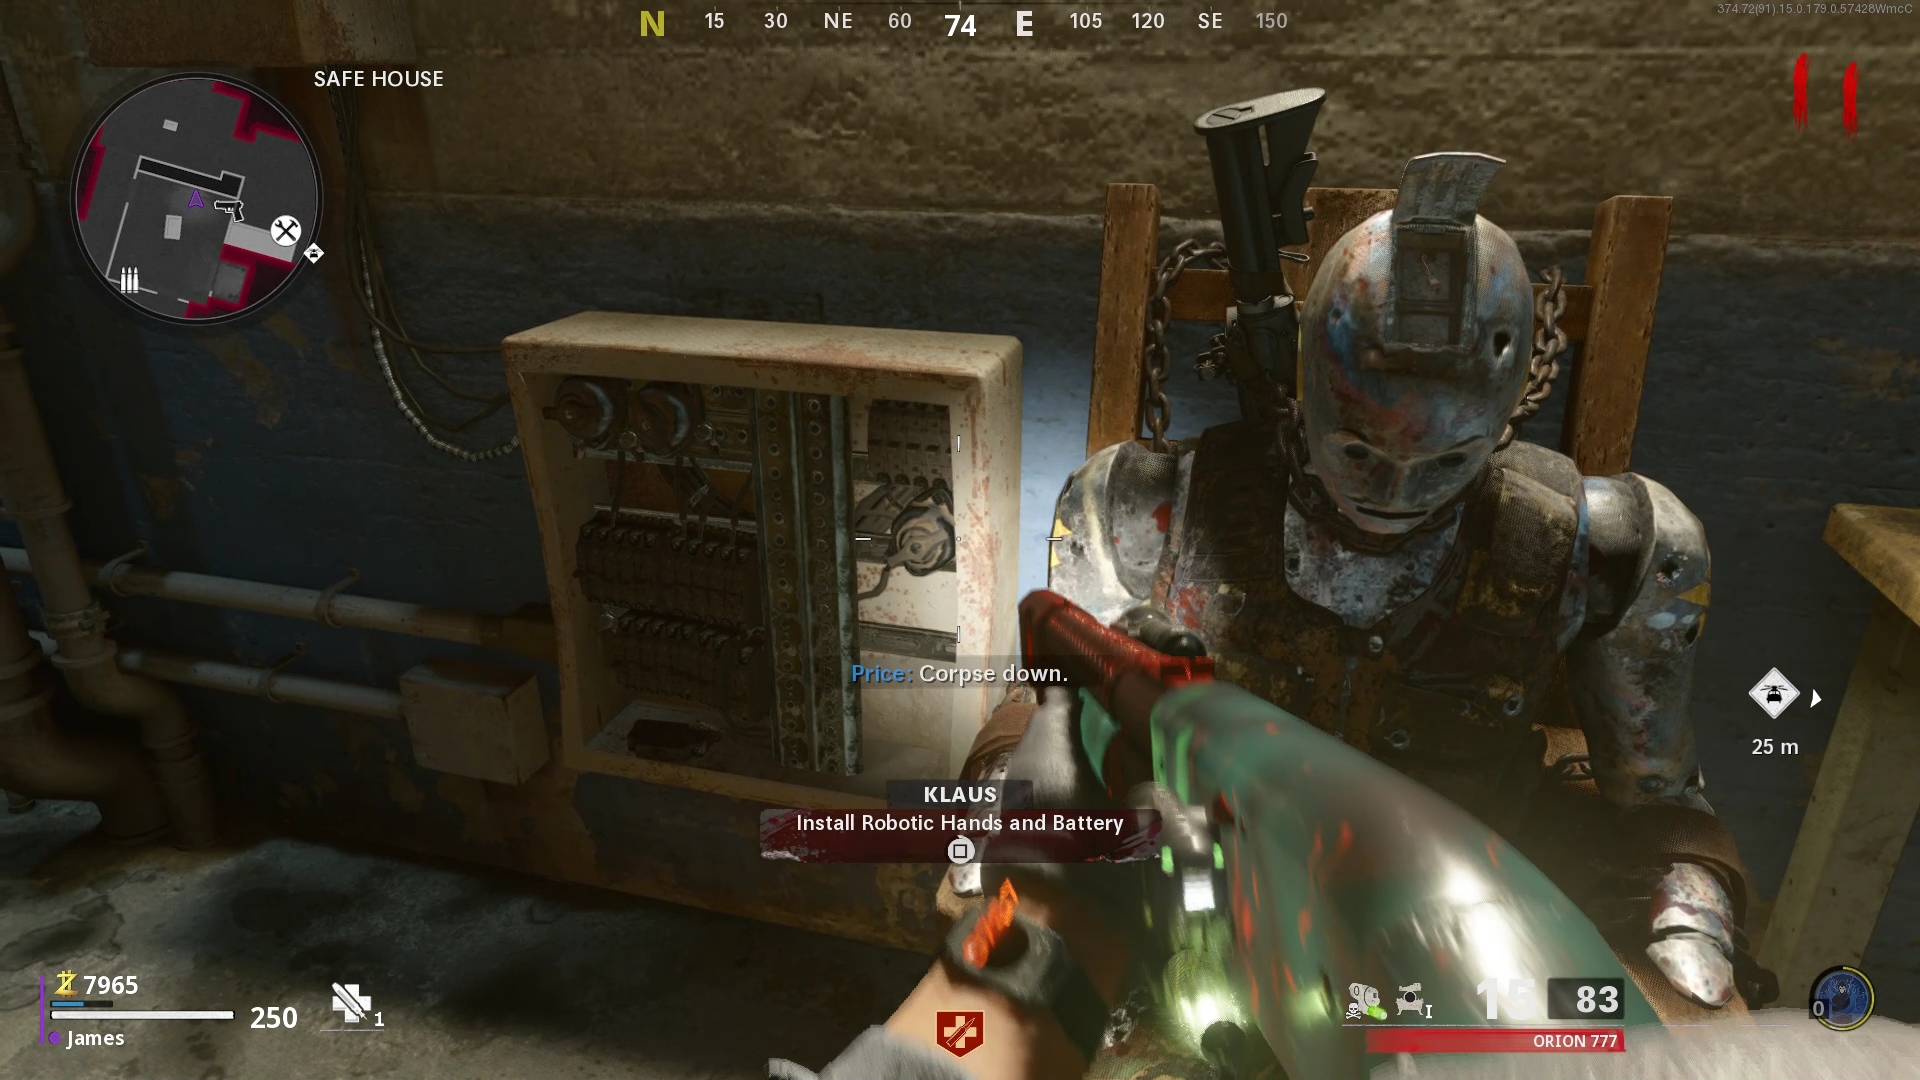
Go to the Safe House in the basement and give the components to Klaus, who can be found chained to a chair.
Once he’s under your control, go to the Switch Control Room and get him to stand in front of the tall, thin locker. He’ll break it open, allowing you to take the Blacklight from inside.
Get the Wonder Weapon
Get the Cold War Mauer Der Toten Wonder Weapon
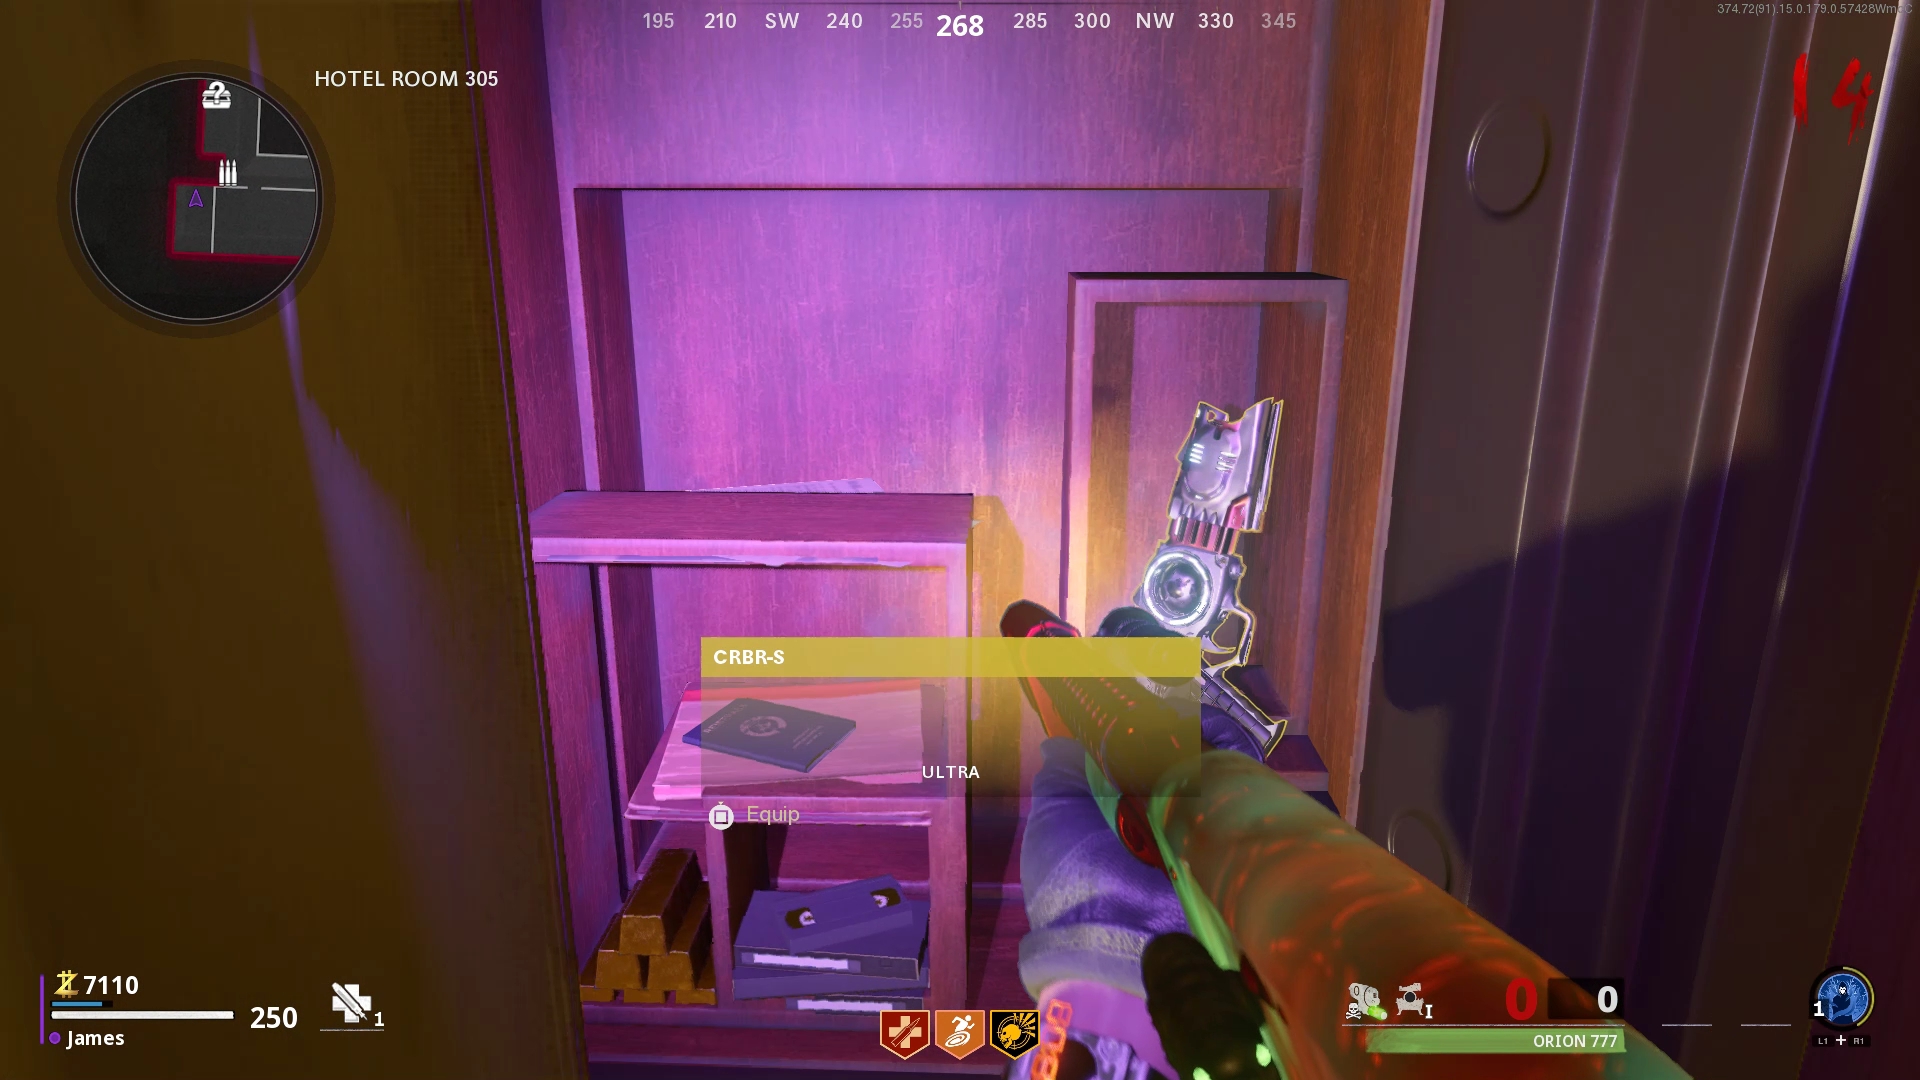
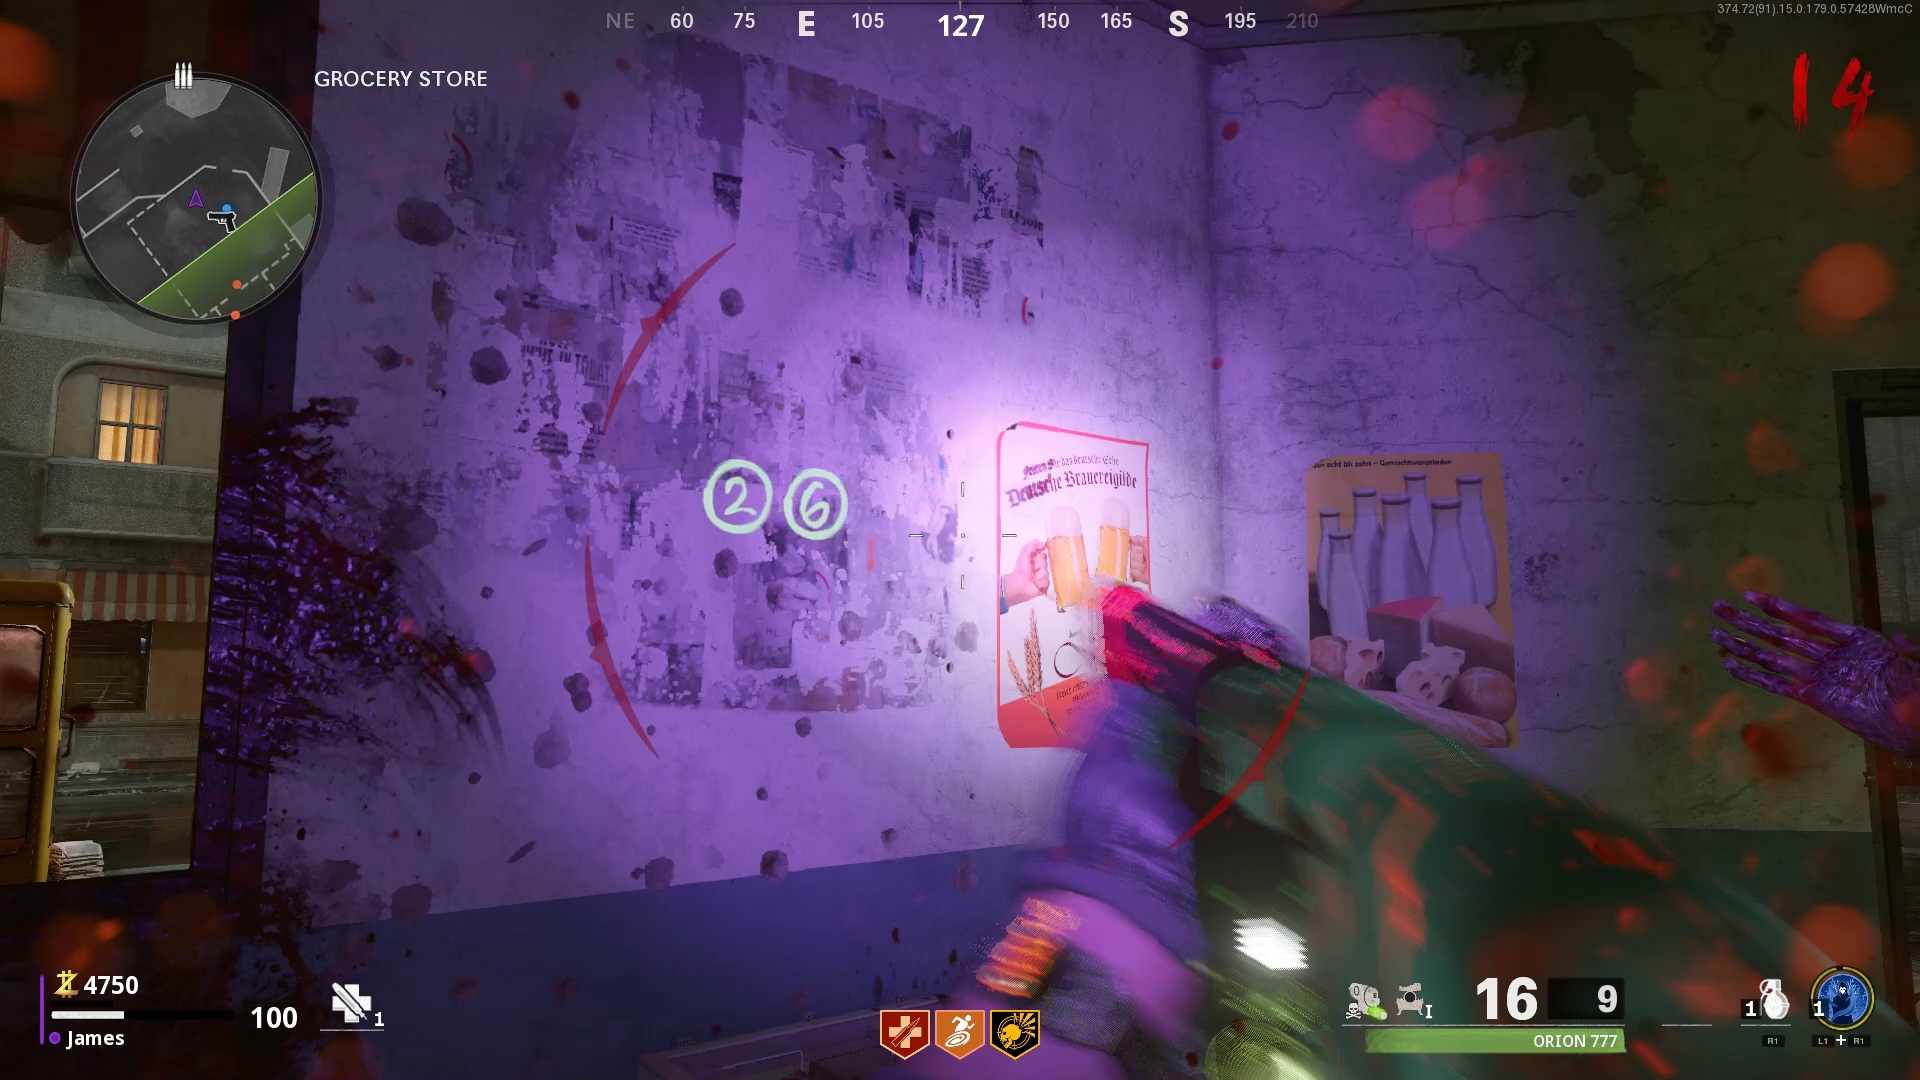
To get the CRBR-S Wonder Weapon, you’ll need to go to three places on the map and look around for some numbers that’ll show up under your Blacklight. Here’s where you’ll need to go, along with the three possible locations for the numbers in each spot. Make a note of them when you spot them: they’ll show up in green when you point at them, and the areas are labelled 1, 2, and 3.
1: Garment Factory
- Above the lower doorway.
- On the bottom of the small staircase leading up to the next room.
- On the clothing rack near the doorway.
2: Service Passage
- Below the middle of the large brown pipe on the wall.
- Top-left hand side of the long archway.
- Top-right of the smashed archway.
3: Bauers Laden Grocery Store
- To the left of the two posters by the main entrance.
- On the inner side of the first aisle.
- Top corner furthest from door.
Remember to write these numbers down then go back to the room where you got the hands for Klaus, in the hotel.
Input the numbers on the safe. The numbers you saw are just digits, so for example if you saw '2' and '1', input ‘21’ on the corresponding safe dial. In solos mode, zombies will give you a chance to input the code, but in squads your pals will need to have your back.
This should open the safe and the Mauer Der Toten CRBR-S Wonder Weapon will be inside. Only one of you can equip it, but teammates can get another from the mystery box or trials if you’re feeling lucky.
Craft headgear
Craft headgear
Go to the apartment rooftop, where you started the game, and shoot the metal pylon above you with the Wonder Weapon. It’ll drop an Antenna, which you need to pick up.
Go to the Ghost Station and shoot the box above the Weinmeisterstraße sign with the Wonder Weapon. Grab the Electronic Boards.
Head to the electronics store and shoot the radios scattered around with the Wonder Weapon. You’ll get the final headgear part, the Transistor. The correct radio is random each time, but it shouldn’t take long to find the right one.
Go back to Klaus’ chair and craft the headgear on him.
Use the secret lab
Use the secret lab
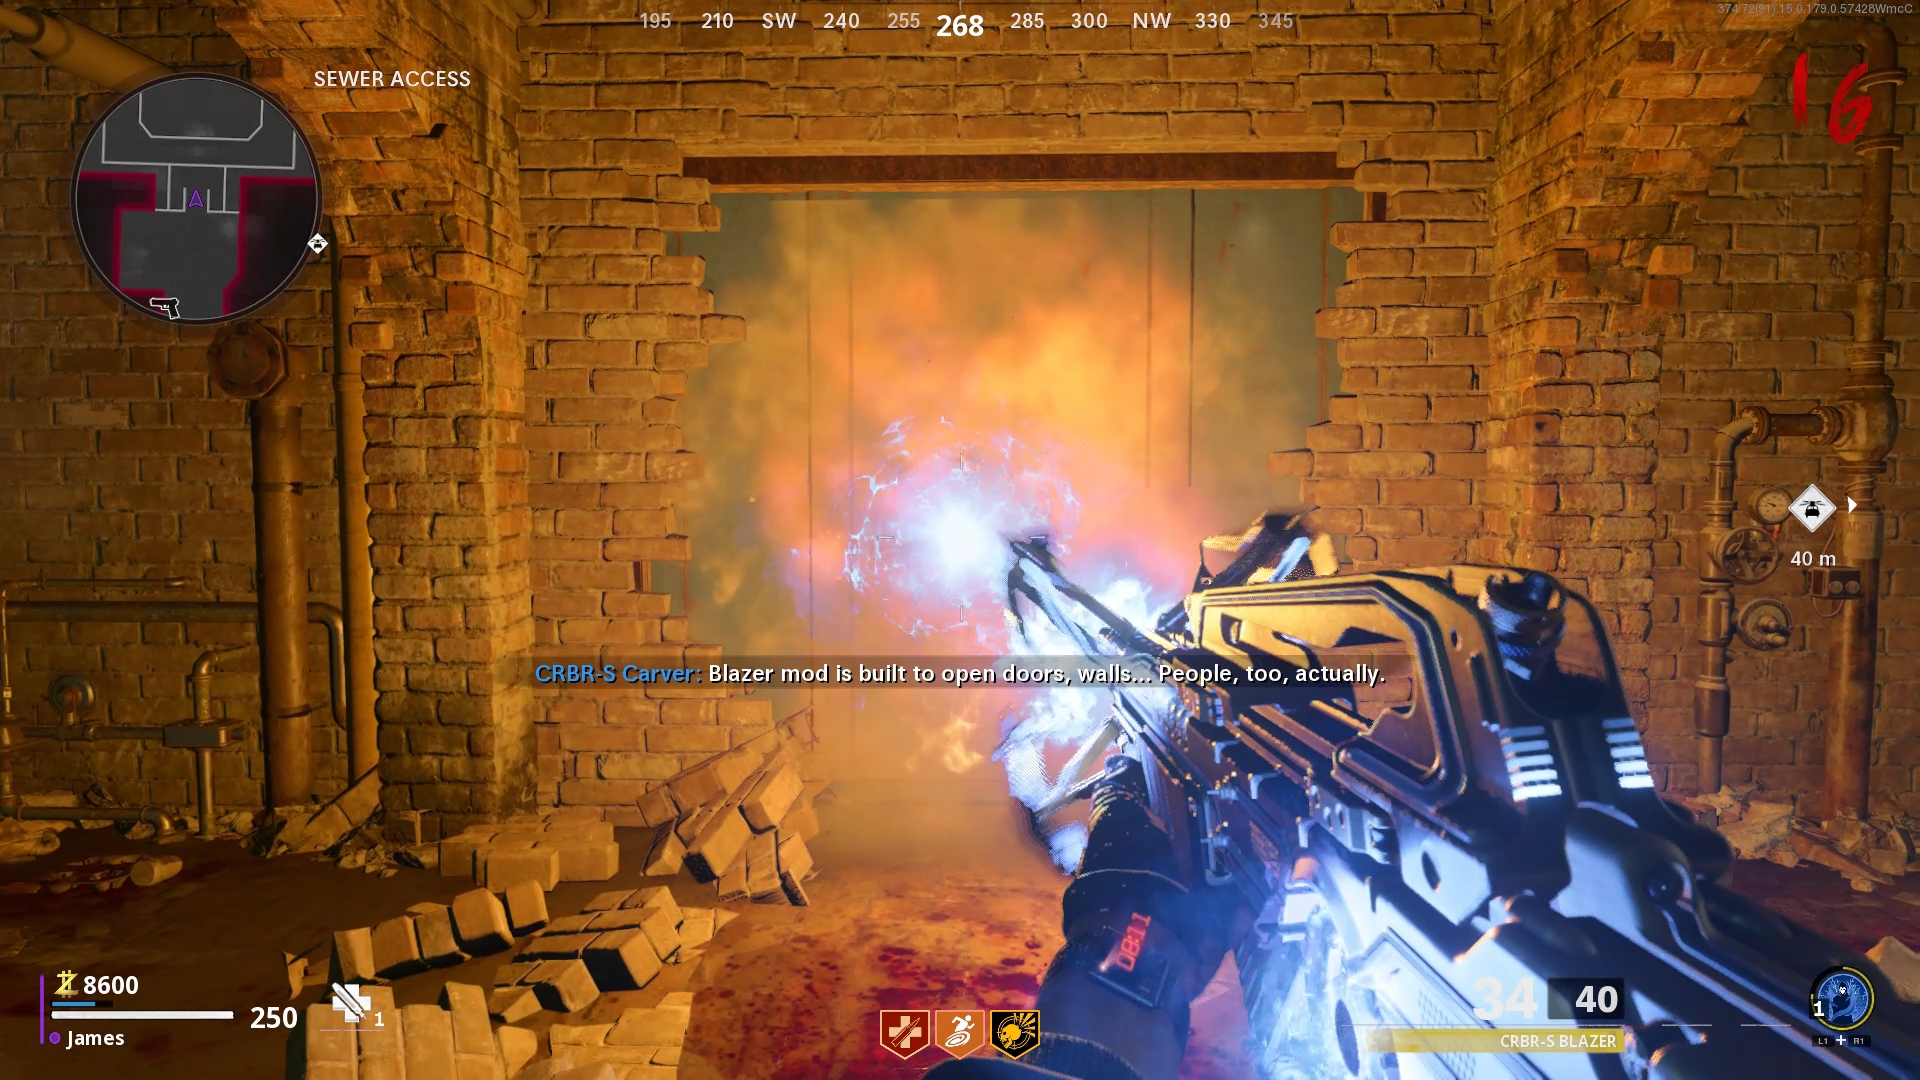
Next, resurrect Klaus again. This’ll cost you 2000 points. Bring him to the Sewer Access area and command him to stand in front of the large blank wall at the top of some steps. He’ll smash through it. This is possible to do when you first get Klaus, but I find it easier to remember the order this way.
Next, get the BRBR-S BLAZER variant. This spawns randomly once you’ve killed enough zombies, and can be picked up as normal. Grab it and fire at the broken wall for a few seconds to melt through it. Welcome to the secret lab.
Wait for the force field to dissipate around the room’s interactable objects, and then pick up the three canisters in the centre under the entrance. Then take them to three separate green boxes at randomised locations around the map. I’ve listed them below—you can spot them prior to this point in the game so you may already have an idea of their spawns.
- Ghost Station ticket office
- Alley, next to the dumpster
- Living room of Destroyed Penthouse
- East Berlin Streets outside electronics shop
- To the side of Sewer Access, go forwards and look on the right from where you’re facing as you leave the lab
- By the debris at Checkpoint Charlie
- By the brick middle section of Korber Rooftop
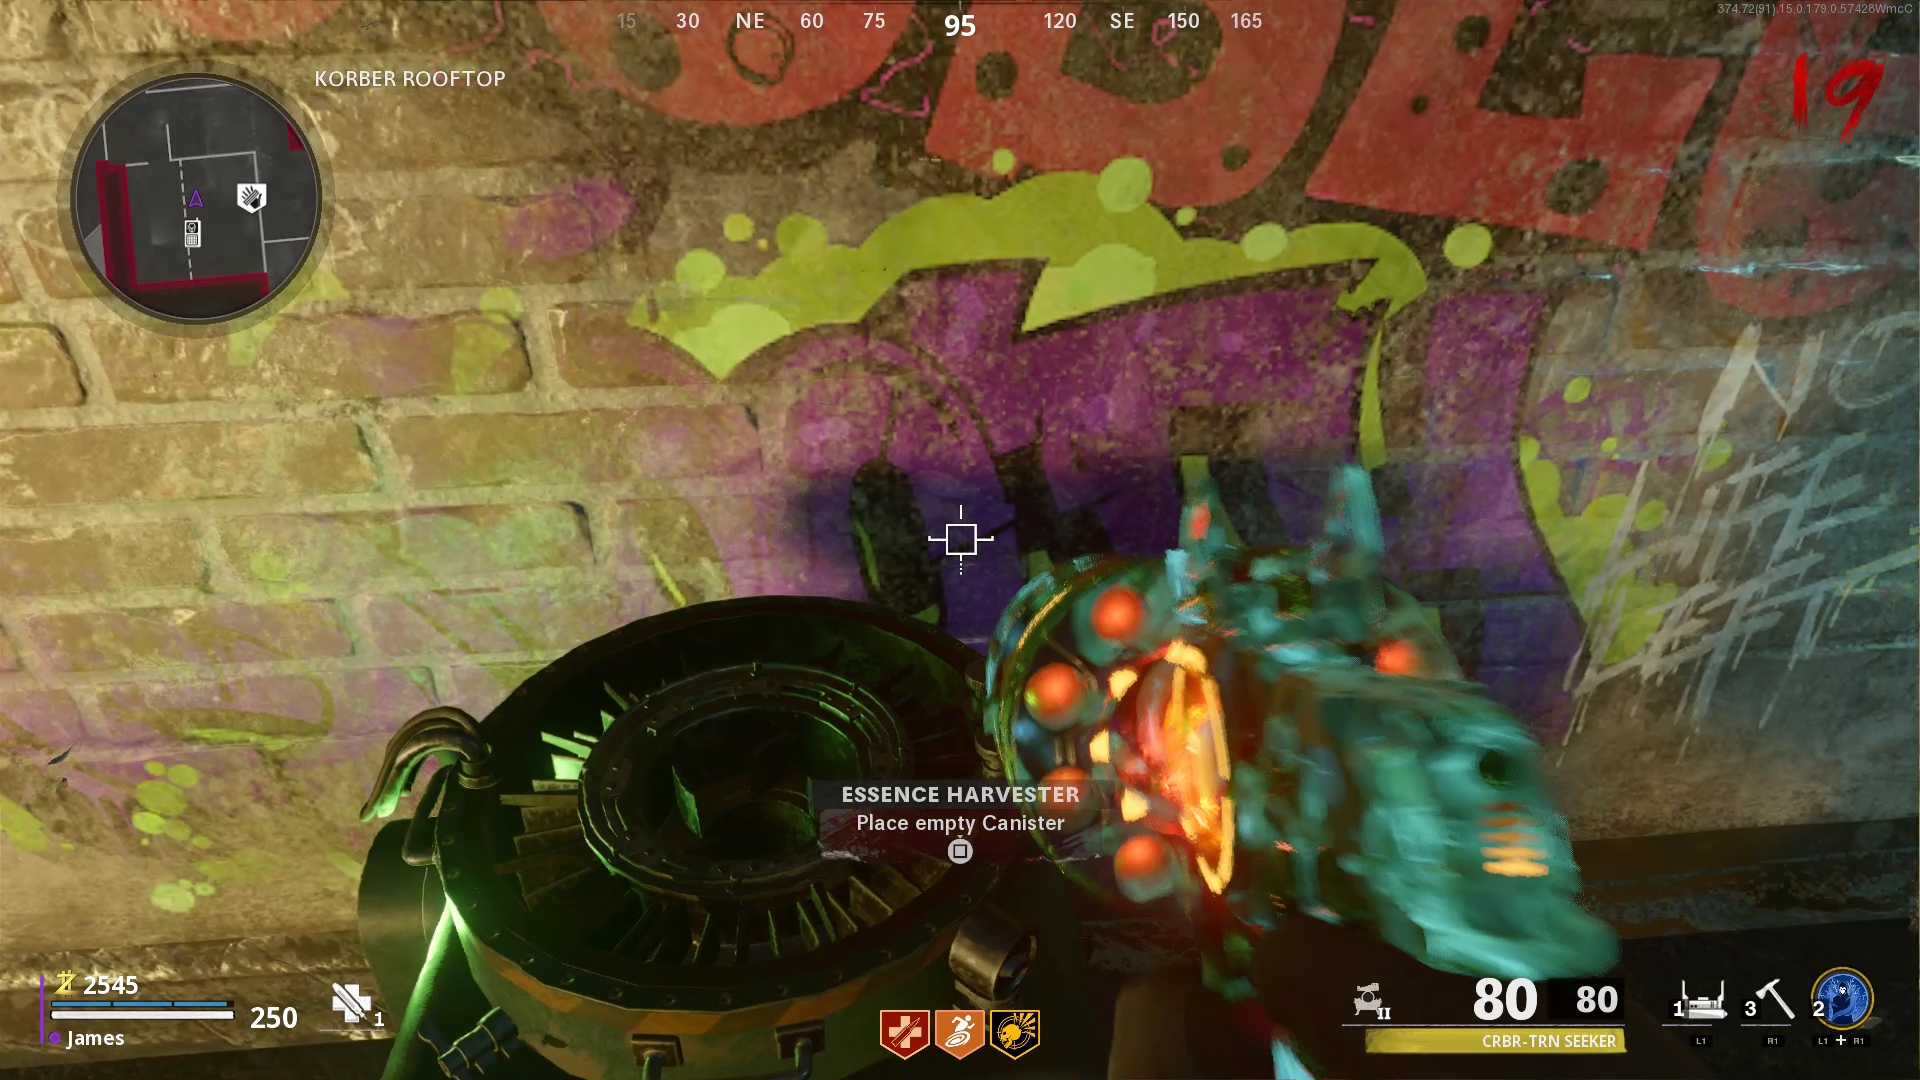
Once you’ve planted your canisters at their locations, head back to the lab and shoot the machine with all the lights and numbers on it. Then, all players should pick up an Endstation Lure.
Head back to the canisters and use your tactical grenade slot to place the lures down next to the canisters. This will spawn three Tempests. Kill them, and they’ll be sucked into the canisters. You may have to put down multiple lures, but once you’ve done enough, the canisters will glow purple.
Make sure you remember to actually put the canister in the box. Far too many times I’ve killed off a bunch of Tempests over and over only to realise I never plugged the darn thing in.
Take it back to where you got it in the lab, but remember, you can’t sprint or mantle while holding it, so make sure your teammates are watching your back.
You can do this in a different order if you want: If you grab the lures and canisters at the same time, you can harvest the Tempests one at a time as soon as you install the canister. I prefer this method, as you’ll have to head back to the lab regardless to get your new lures.
Repeat this step for all three of the canister spots.
Upgrade Klaus
Upgrade Klaus
Now we need to beef up our robo friend Klaus. To do this, go to the fields with the guard towers next to the Pack-A-Punch machine and start digging in the dirt mounds. Eventually, you’ll find a satellite dish, which you need to pick up. Again, start digging at the start of a match if you fancy.
Head towards the Garment Factory and spawn in Klaus using the summoning point on the Korber Rooftop.
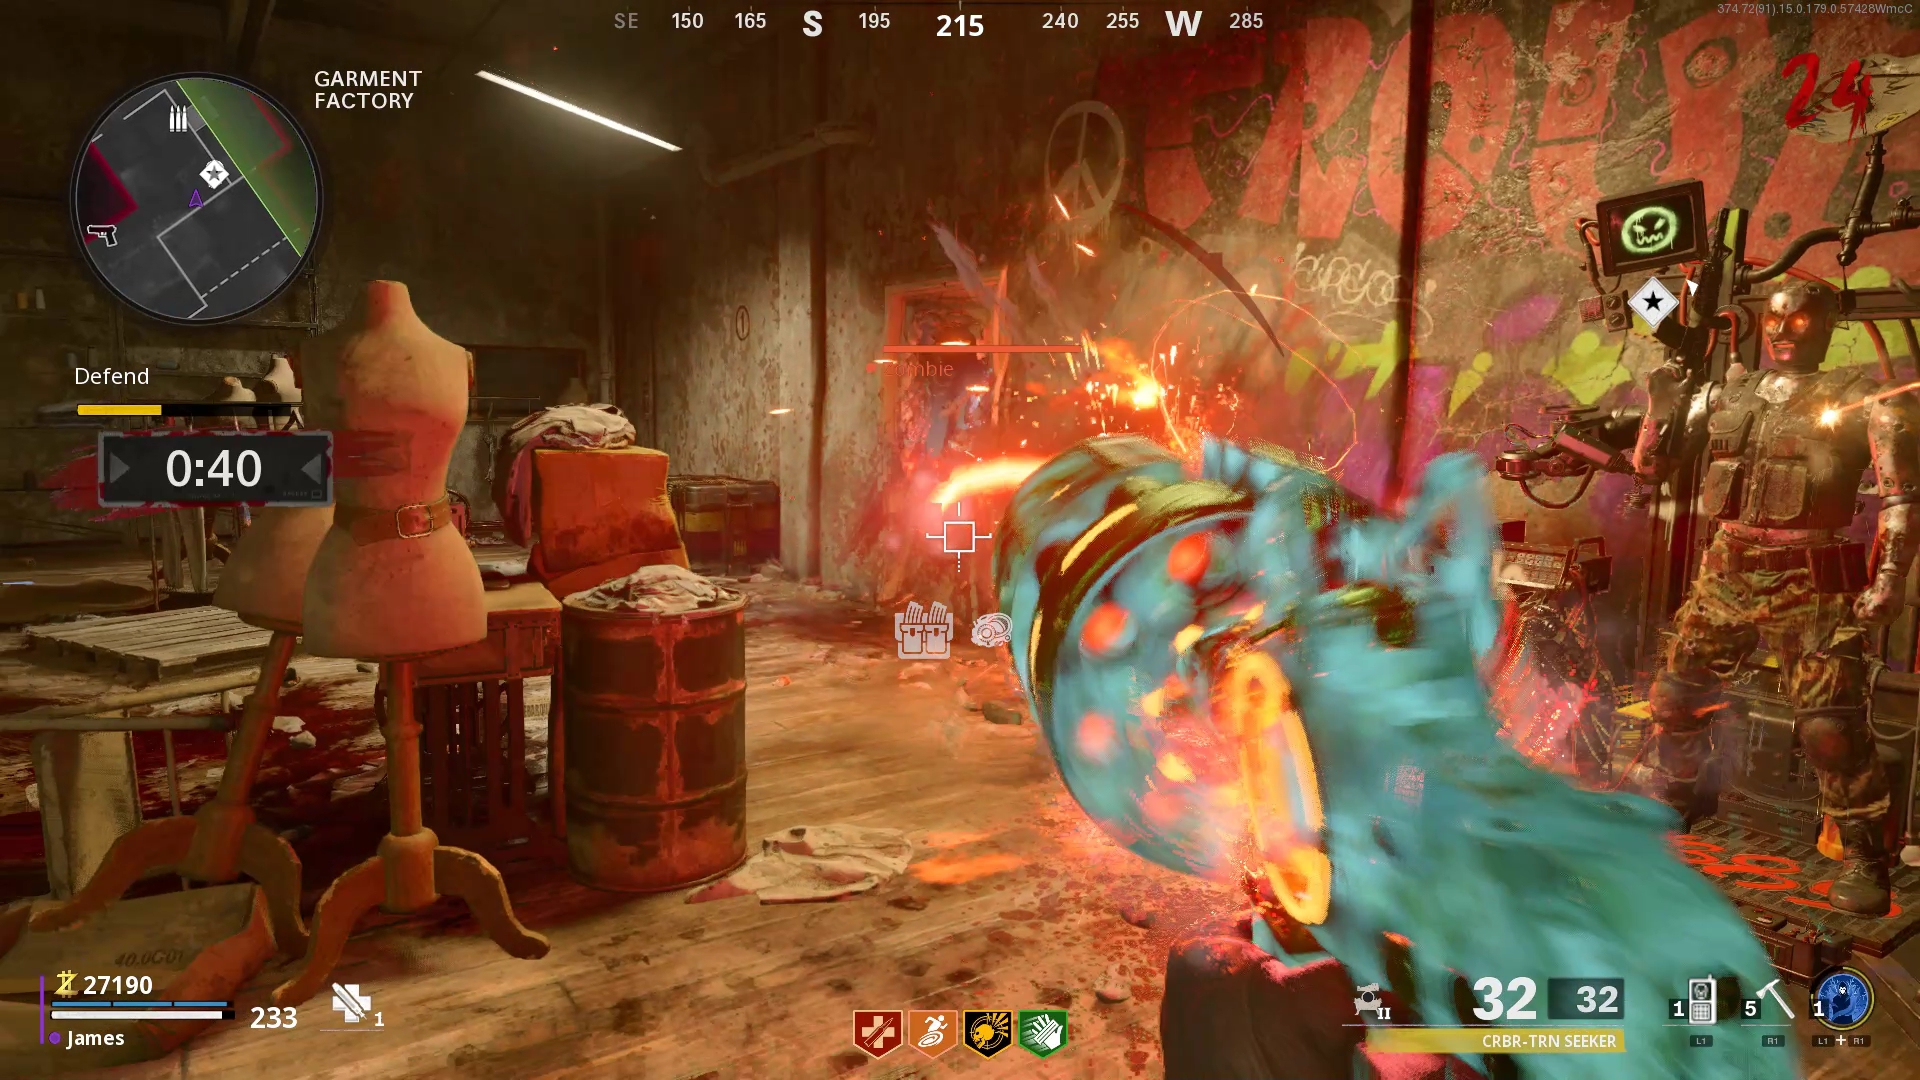
Go into the Garment Factory and pop the dish on the Klaus Upgrade Terminal.
If the light above it goes green, put Klaus in front of it and he’ll enter. If not, he just needs to get some more kills. Keep an eye out for it to go green and then get the upgrade going.
Once he’s in there, you’ll need to defend Klaus for a minute from zombies. This can get out of hand, so make sure your whole squad is present.
Stop the train
Stop the train
Now Klaus has been strengthened, we need to take him to the train station. Head to the Switch Control Room and pull the switch on the large console.
Then, run to the train tracks and command Klaus to stand on the tracks on the far side from the Mule Kick perk machine, next to the ticket office booth. Klaus should now stop the train.
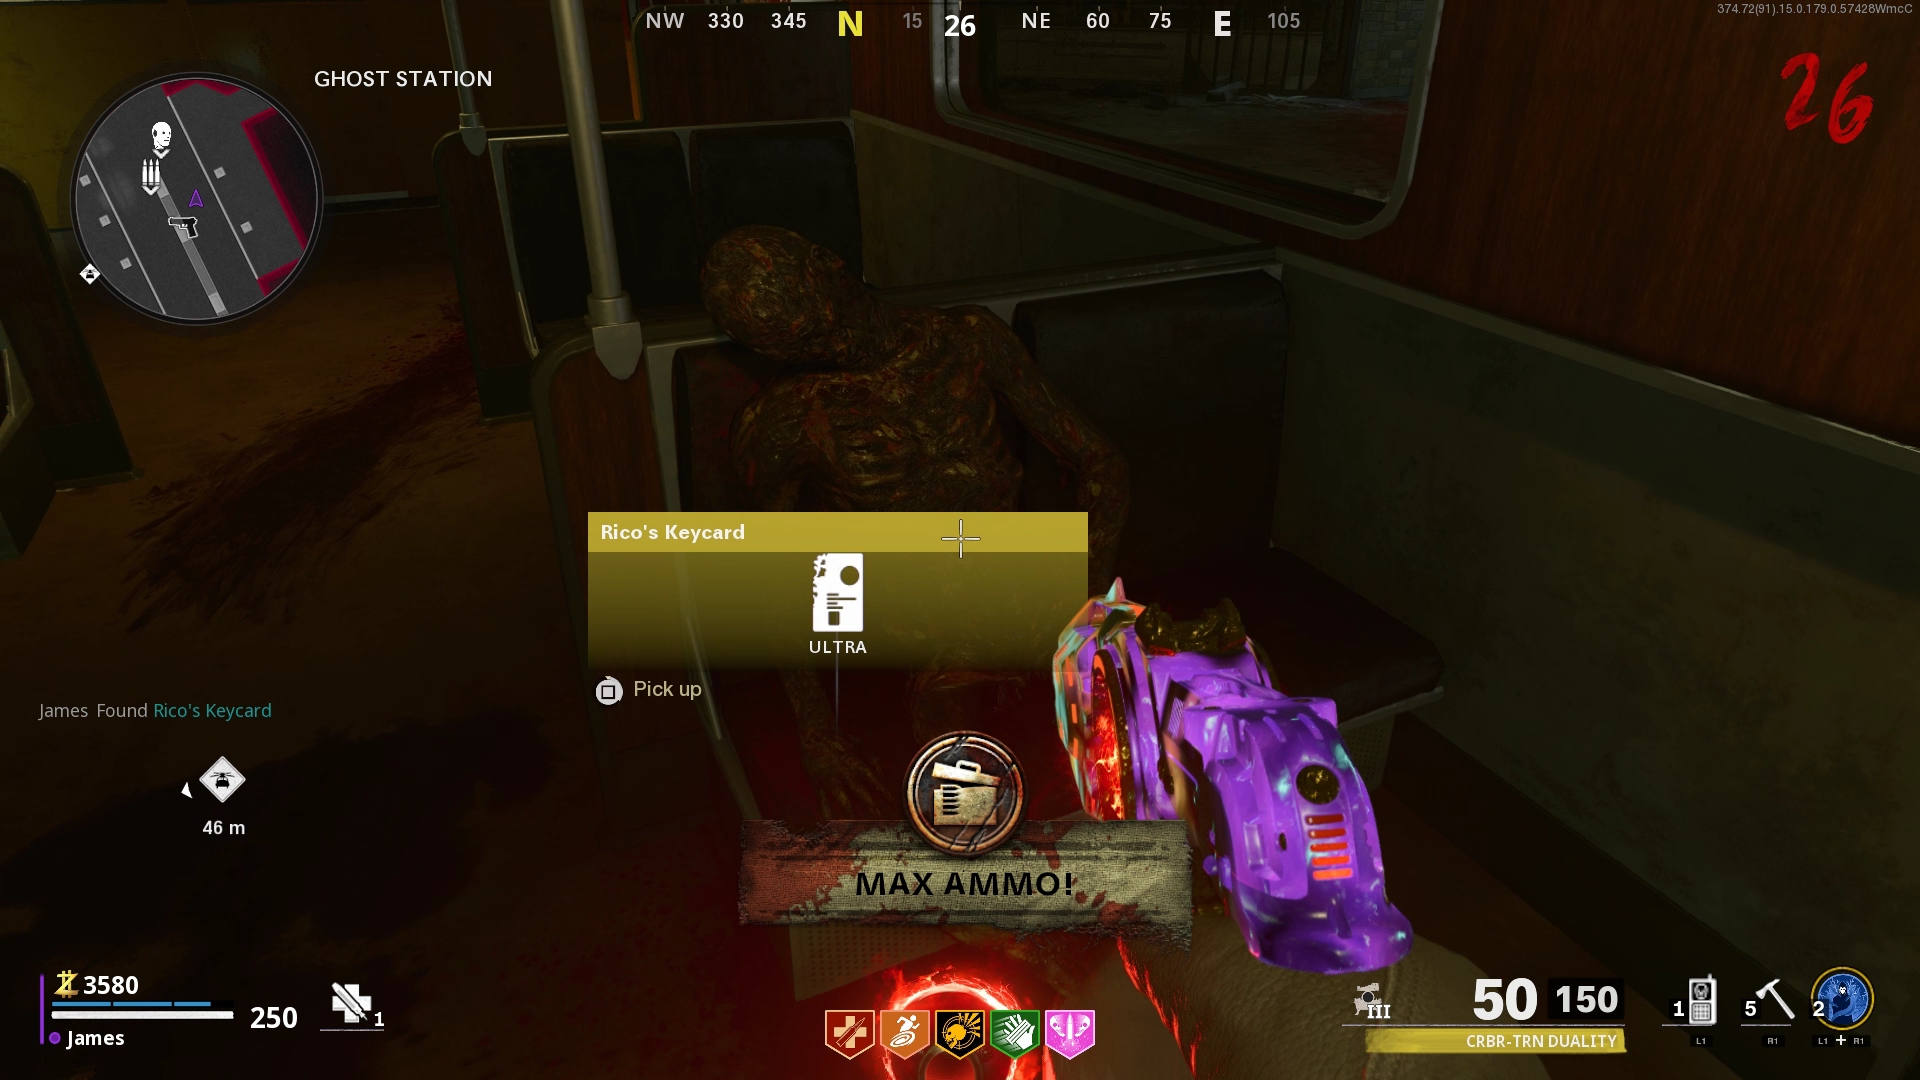
Get on the train, then quickly grab the Bomb and Rico’s Keycard.
Head back to the lab and place the item on the glowing purple device.
Collect uranium
Collect uranium
This next step is under a timer, so it’s good to know what you’re doing first. Read on and take the step when you’re ready.
Interact with the computer on the table in the middle of Klaus' Safe Room a few times. Press ‘Browse Files’ until the next option reads 'Activate the Disruptor Satellite'. Don’t click it again after this.
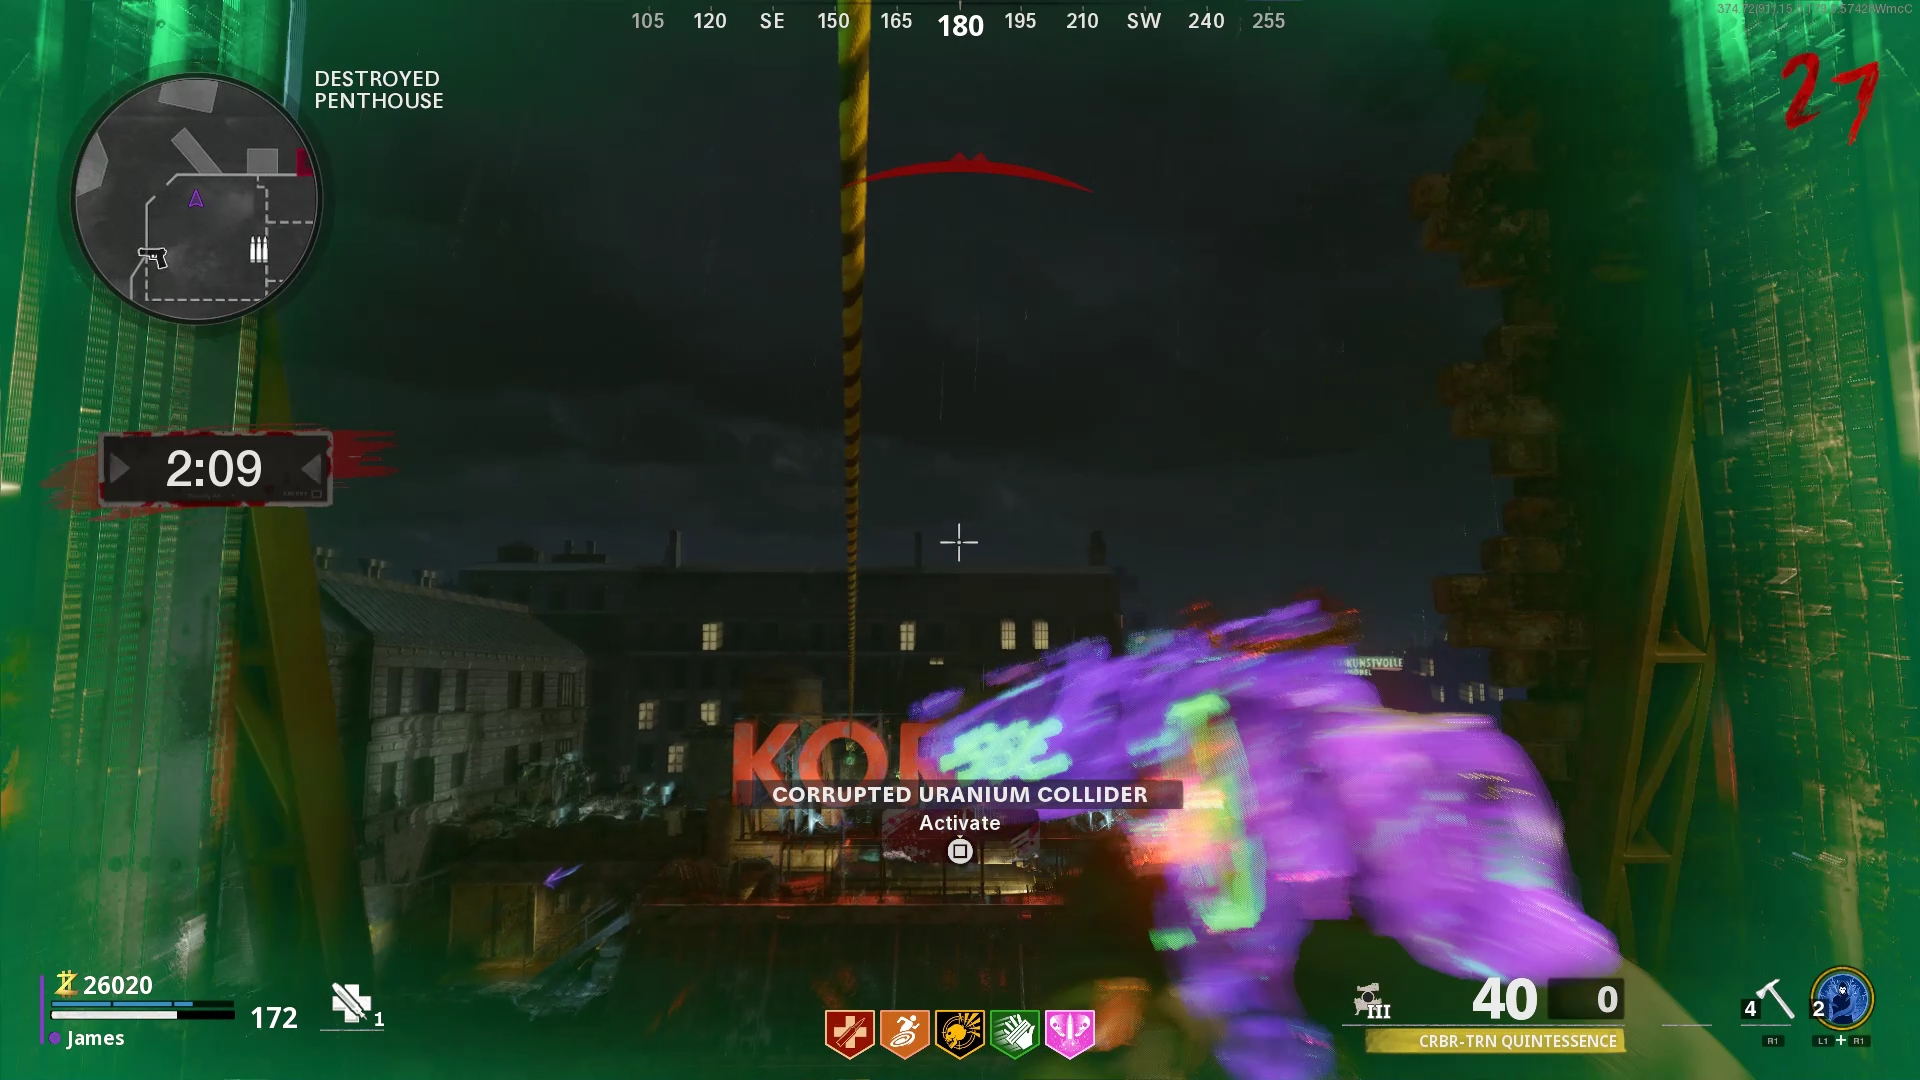
Head up the zipline to West Berlin Street near the trials machine, and you’ll see a computer screen on a desk. Activate it and kill all the zombies that spawn including the Megatons. Grab uranium from the two halves of the Megatons (if you’re playing solo you’ll need to do this one at a time), and head to the crafting bench to the left of the computer you activated. Use it to make a Uranium Device. Don’t forget the crafting bench! It’s so devastating to have to go all the way back to the table because you forgot, and in solos every second counts.
Now, head to the Destroyed Penthouse rooftop and send a teammate down to the Korber Rooftop. Plant the device on the zipline between the two buildings and activate it, and a Cleansed Rock will drop on the street.
Bring this back to the lab, and repeat this step. Remember, after this step you need to be ready for the boss fight. Make sure you have all your perks, your weapon Pack-A-Punched, and your Self Revives and support streaks on deck.
Defeat Valentina
Defeat Valentina
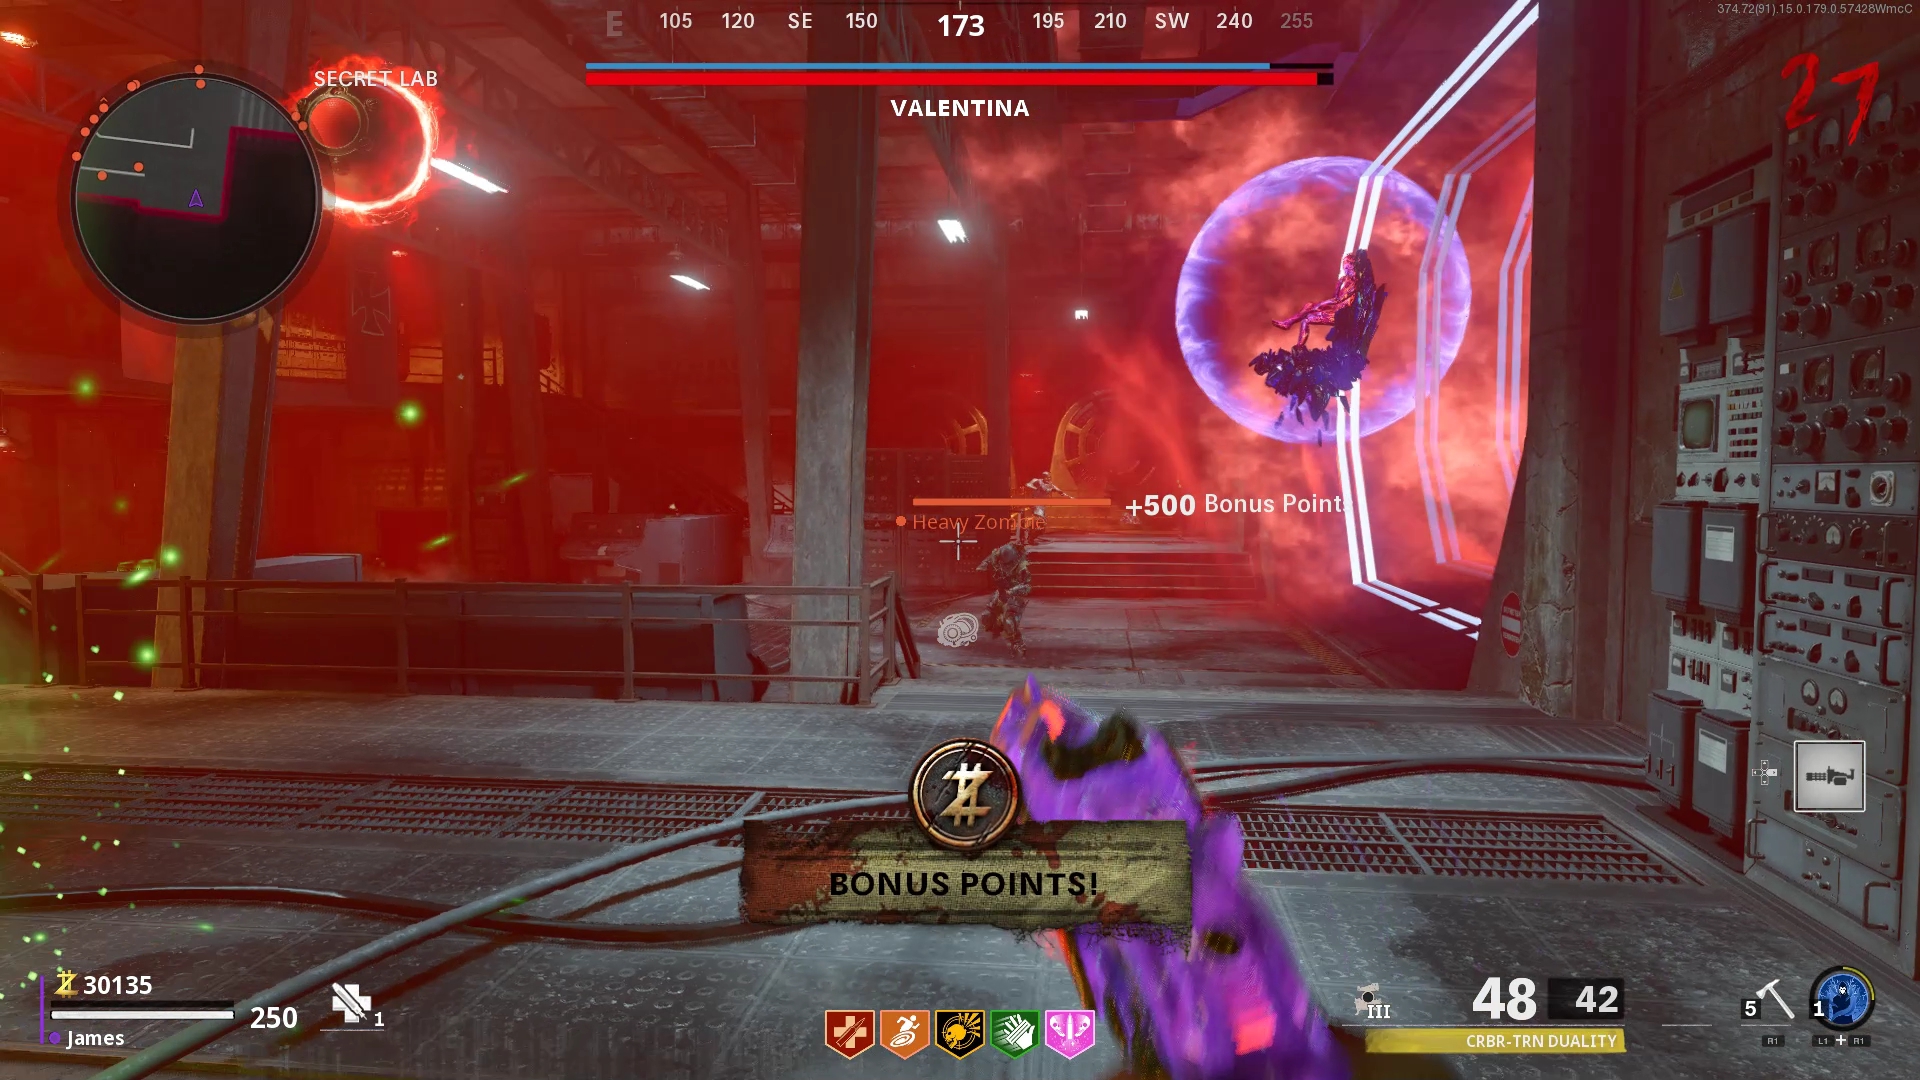
Valentina will spawn and start terrorising you, along with a posse of minions. She’s pretty tough, so watch out for her moves.
The most irritating one is when she summons a bunch of floating zombies who heal her. Since it takes so long to get her health down, immediately kill the zombies levitating around her or your hard work will be undone.
She has a few other moves to watch out for too. When the screen goes all blue and wavy, hide so she can’t hit you. Most of all, just keep moving, especially when you see a bunch of orange orbs above her head and shards flying at you. Her direct attacks absolutely shred your armour, so you’ll really need to stay mobile and using cover.
Make sure you’re getting health damage in when you destroy Valentina’s shield. It’ll take a long time but stay alive and she’ll slowly but surely start hurting. As you deal damage, she’ll move you to other areas of the map, and you’re stuck in those areas during the fight so it’s hard to reliably restock outside of zombie kill drops.
Just keep chipping away until you get to the final phase, which will be back in the lab.
Deal the final blow, and keep Klaus alive for a bit longer to finish the Easter egg.
