Risk of Rain 2 Mithrix guide: How to take on the final boss
How to beat Mithrix and unlock the Captain.

Keep up to date with the most important stories and the best deals, as picked by the PC Gamer team.
You are now subscribed
Your newsletter sign-up was successful
Want to add more newsletters?
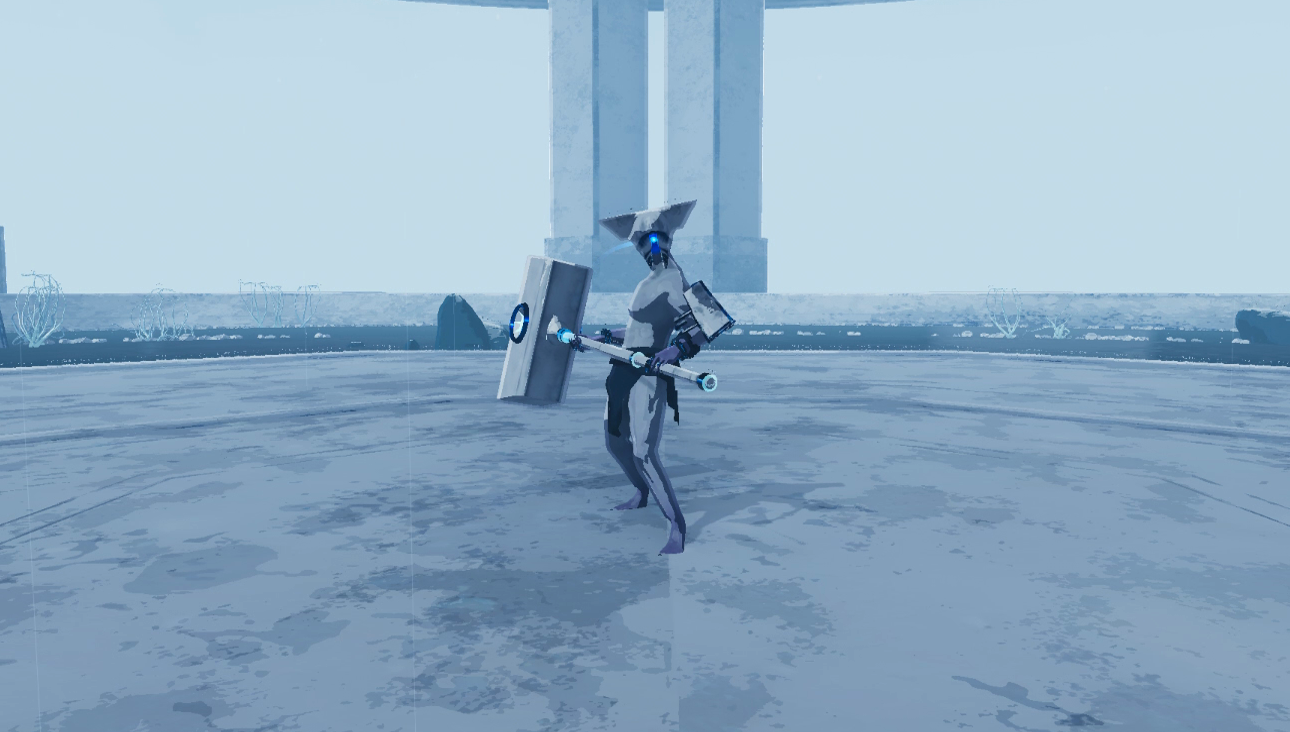
With its 1.0 release, Risk of Rain 2 has a final stage and a final boss: Mithrix. You'll take him on in a suitably epic arena, and the short version of how to win the fight is this: Don't let Mithrix hit you with his giant hammer. But there are also shockwaves to dodge, add-on enemies to take down, and a few special attacks to watch out for.
Here's how to take down Mithrix and unlock the Captain, one of Risk of Rain 2's many characters. This win will award you with the Washed Away achievement alongside the Captain, no matter which difficulty you play on.
How to reach Mithrix with the Primordial Teleporter
Before we get to the fight itself, here's one quick step if you're having trouble reaching Risk of Rain 2's final level. Mithrix's stage is the Moon, and to reach it, you'll need to use a special teleporter on the fifth stage, Sky Meadow. On Sky Meadow, instead of a normal teleporter you should encounter the Primordial Teleporter, which has a different shape—it sort of looks like the bottom half of Darth Vader's pod in Empire Strikes Back. Just activate this teleporter as usual to head to the Moon.
Article continues belowOnce on the Moon, it's a straightforward path to the fight with Mithrix, with only a few enemies along the way. Enjoy the music.
How to beat Mithrix: Phase 1
The battle against Mithrix is straightforward, especially in this first phase. It's just you vs him and his big hammer. This fight is safer if you play a range-focused character, because if you're relying on melee attacks to deal most of your damage, you'll have to get within hammer range.
As a ranged character, keep your distance from Mithrix and just fire away. As a melee character, watch his attack patterns for when it's safe to get in a hit. Depending on what difficulty you're playing on and how long it took you to get to this fight, a hammer swing can take out a big chunk of your health.
Here are the different attacks Mithrix will use:
Keep up to date with the most important stories and the best deals, as picked by the PC Gamer team.
Lasers
Mithrix will blast these low-damage bullets at you, but you can probably just shrug them off unless you're at dangerously low health.
Sweep attack
This basic hammer swing hits a wide area in front of Mithrix, but isn't super powerful.
Short range dash
Watch out for Mithrix closing the gap between you quickly, then following up with a hammer smash.
Hammer smash
As seen in the dash clip above, Mithrix does a powerful overhead smash with the hammer. The blue energy that ripples off this hit shows you how big the hitbox is. Be ready to dodge! This one really hurts.
Teleport to center, shockwave smash
Periodically, Mithrix will warp up into the sky in the center of the arena and come smashing down with his hammer, sending a shockwave rippling throughout the arena. It doesn't reach the edges, though, so your safest move here is to run to the outside of the room as soon as he teleports. You can also jump over the shockwave, which isn't particularly tall.
That's what to watch out for in this part of the fight. It's pretty simple. If you avoid that overhead smash and don't stand in the center of the map when Matrix comes crashing down from the sky, you should survive easily.
How to beat Mithrix: Phase 2
This is basically an intermission from the real fight. Pillars appear throughout the room, and Mithrix will summon the Lunar Chimera boss, which is just a collection of the robots you had to fight on the way to his boss chamber. They have a lot of health but aren't particularly threatening.
I target the flying enemies first, and use the pillars for cover to limit how many enemies can shoot me at once. Divide and conquer.
How to beat Mithrix: Phase 3
Mithrix is back, but he's not fighting fair anymore. In this phase he'll summon in more of the robot enemies to back him up as he attacks with the same moves he used the first round. But this time he packs a real punch.
There are two things to watch out for in this phase. The first is the added shockwave damage to his original attacks, which extends the range of these hits to hurt you even if the hammer doesn't connect. When Mithrix does his overhead smash, he'll leave pillars of crackling, damaging blue energy in the hammer's wake. Don't walk into those.
The real killer to avoid in this phase is a massive, rotating energy wall Mithrix will emit multiple times in a row. The pattern is like a spoked wheel with him at its center. It rotates for about two seconds before triggering, giving you time to find a safe space between the spokes.
This wall stretches high into the arena, so don't try to jump over it—just dodge sideways a few times until the attack ends.
Watch for the shockwaves from the hammer blows, dodge the wall of death, and keep whittling down Mithrix's health. Optionally, if you have enough jump height, you can climb to the top of one of the pillars in the arena and fire down on Mithrix, who can't reach you up there. It can be hard to hit him this way, and won't work for every character, but it can be a slower, safer way to win. After this phase, you're nearly there.
How to beat Mithrix: Final phase
You thought all those items you collected throughout your run were going to help you? Ha! Think again. 'Cause Mithrix is going to steal them.
This final phase of the fight is more about delivering a cool, dramatic moment than challenging combat. Just keep pummeling Mithrix with attacks and avoid the energy orbs and bullets he emits. As you fire, you'll get your items back, and soon you'll return the King of Nothing to Moon dust.
Some players have noted that this stage of the fight is particularly difficult on Monsoon difficulty, where some characters simply can't deal enough damage to Mithrix to overcome the advantages he gets from the stolen items. Here's what the developers had to say about this phase, which may be tweaked in the future: "Our intent was not for players to avoid good items, destroy their own build, or to feel bad for picking up powerful items. If that seems to be the best strategy, we will be changing the last phase appropriately. It is not intended to be the most challenging phase of the fight."
After defeating Mithrix, you'll have a few minutes to run back to the start of the level as the Moon begins to explode. Dodge the bursts of energy exploding from the ground as you go. Make it to your evacuation in time and you'll unlock the Captain for your efforts.

Wes has been covering games and hardware for more than 10 years, first at tech sites like The Wirecutter and Tested before joining the PC Gamer team in 2014. Wes plays a little bit of everything, but he'll always jump at the chance to cover emulation and Japanese games.
When he's not obsessively optimizing and re-optimizing a tangle of conveyor belts in Satisfactory (it's really becoming a problem), he's probably playing a 20-year-old Final Fantasy or some opaque ASCII roguelike. With a focus on writing and editing features, he seeks out personal stories and in-depth histories from the corners of PC gaming and its niche communities. 50% pizza by volume (deep dish, to be specific).

