Our Verdict
Thermaltake has taken the concept of a fish tank PC case and turned it on its side. It's a smart solution offering more direct airflow from the front and lots of options for cooling otherwise. Plus, it looks smart, though it could look and feel a little more premium with some fine-tuning.
For
- More natural light
- Direct airflow
- Lots of cooling options
- Stylish
- Integrated GPU support
Against
- Rearwards 'front' I/O
- Cable management could be better
- Big air cooler compatibility
PC Gamer's got your back Our experienced team dedicates many hours to every review, to really get to the heart of what matters most to you. Find out more about how we evaluate games and hardware.
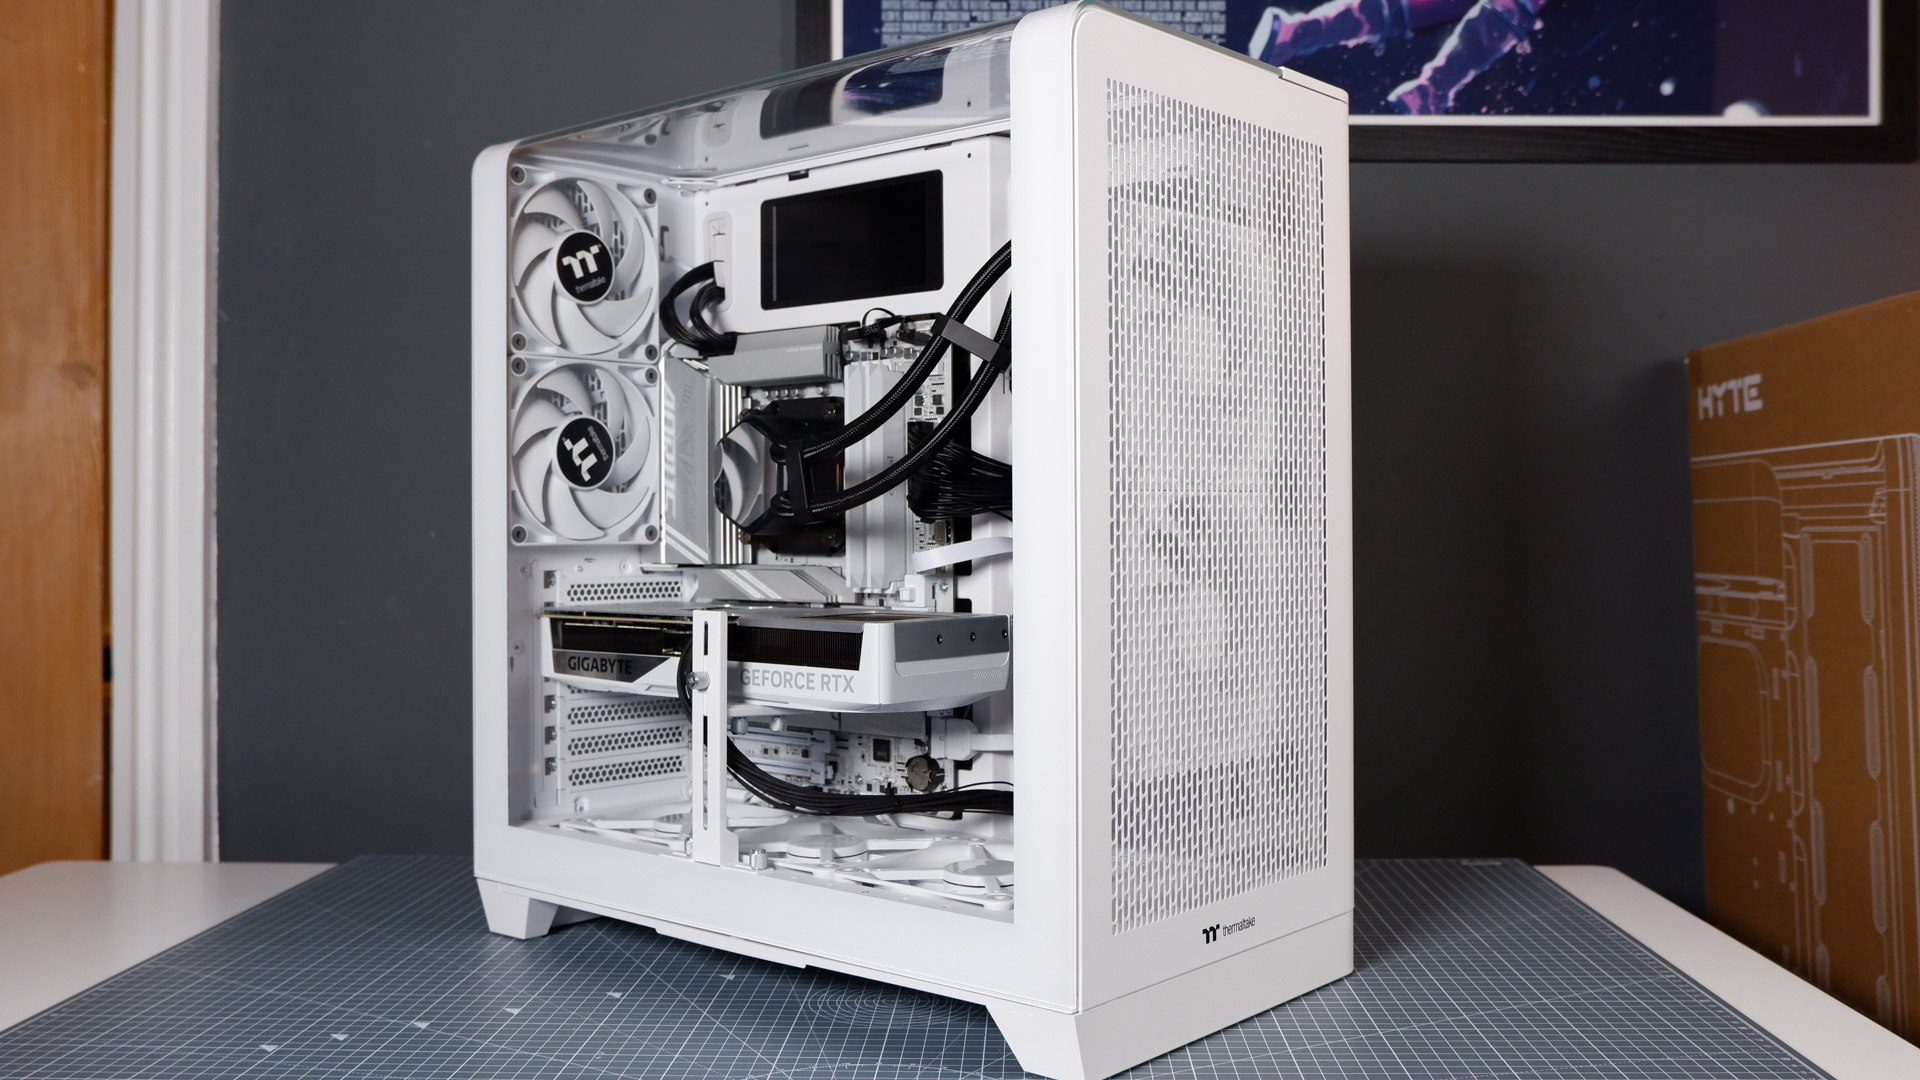
Airflow and aesthetics don't often mix in the world of PC cases. Thermaltake, however, has done a pretty good job of it here. The Thermaltake View 390 Air swaps a top panel for tempered glass to excellent effect, leaving plenty of options for direct airflow over your components.
I received the View 390 Air in its white variant for review. This being called 'Snow' and offering a suitably frosty finish across most parts of the case. Though there are a few colourways to choose from, including a delectable-sounding Butter Caramel (yellow) and, my personal favourite, Future Dusk (purple). Or just plain black if you're a bit boring.
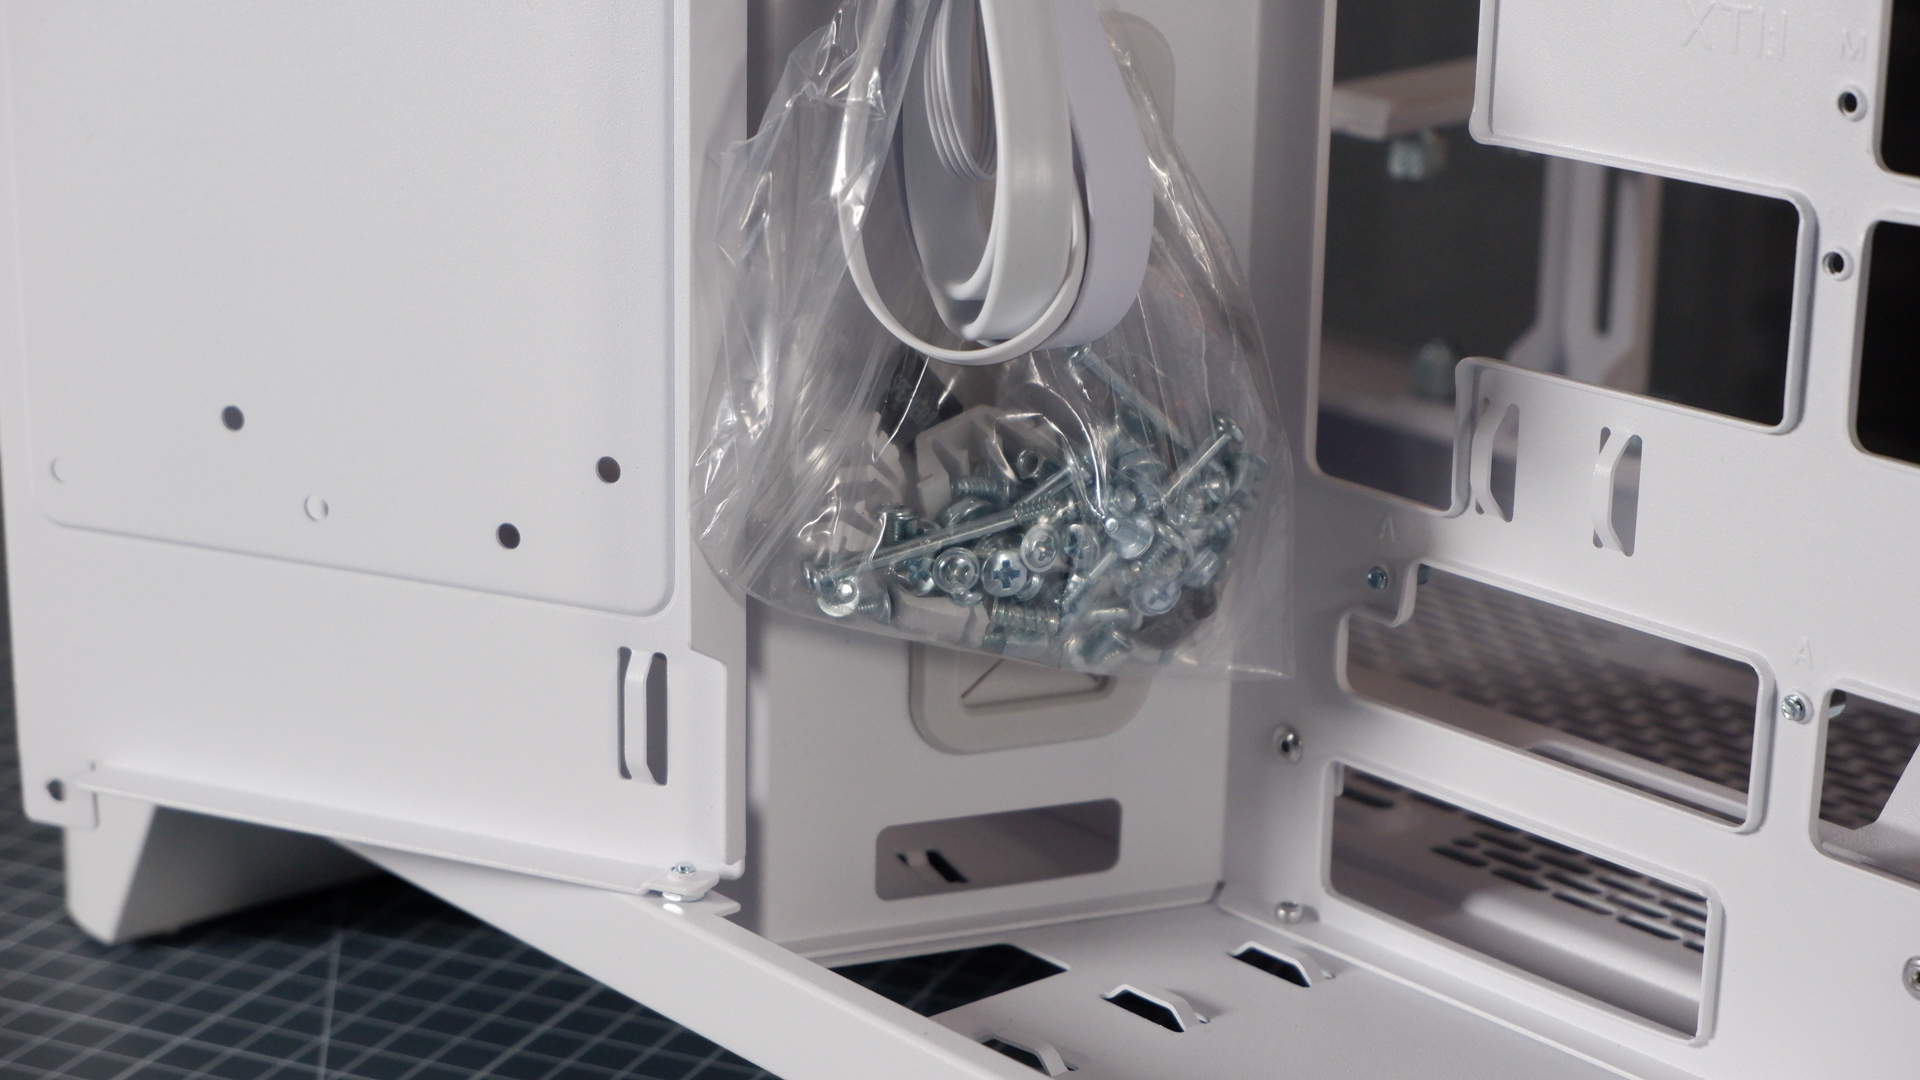
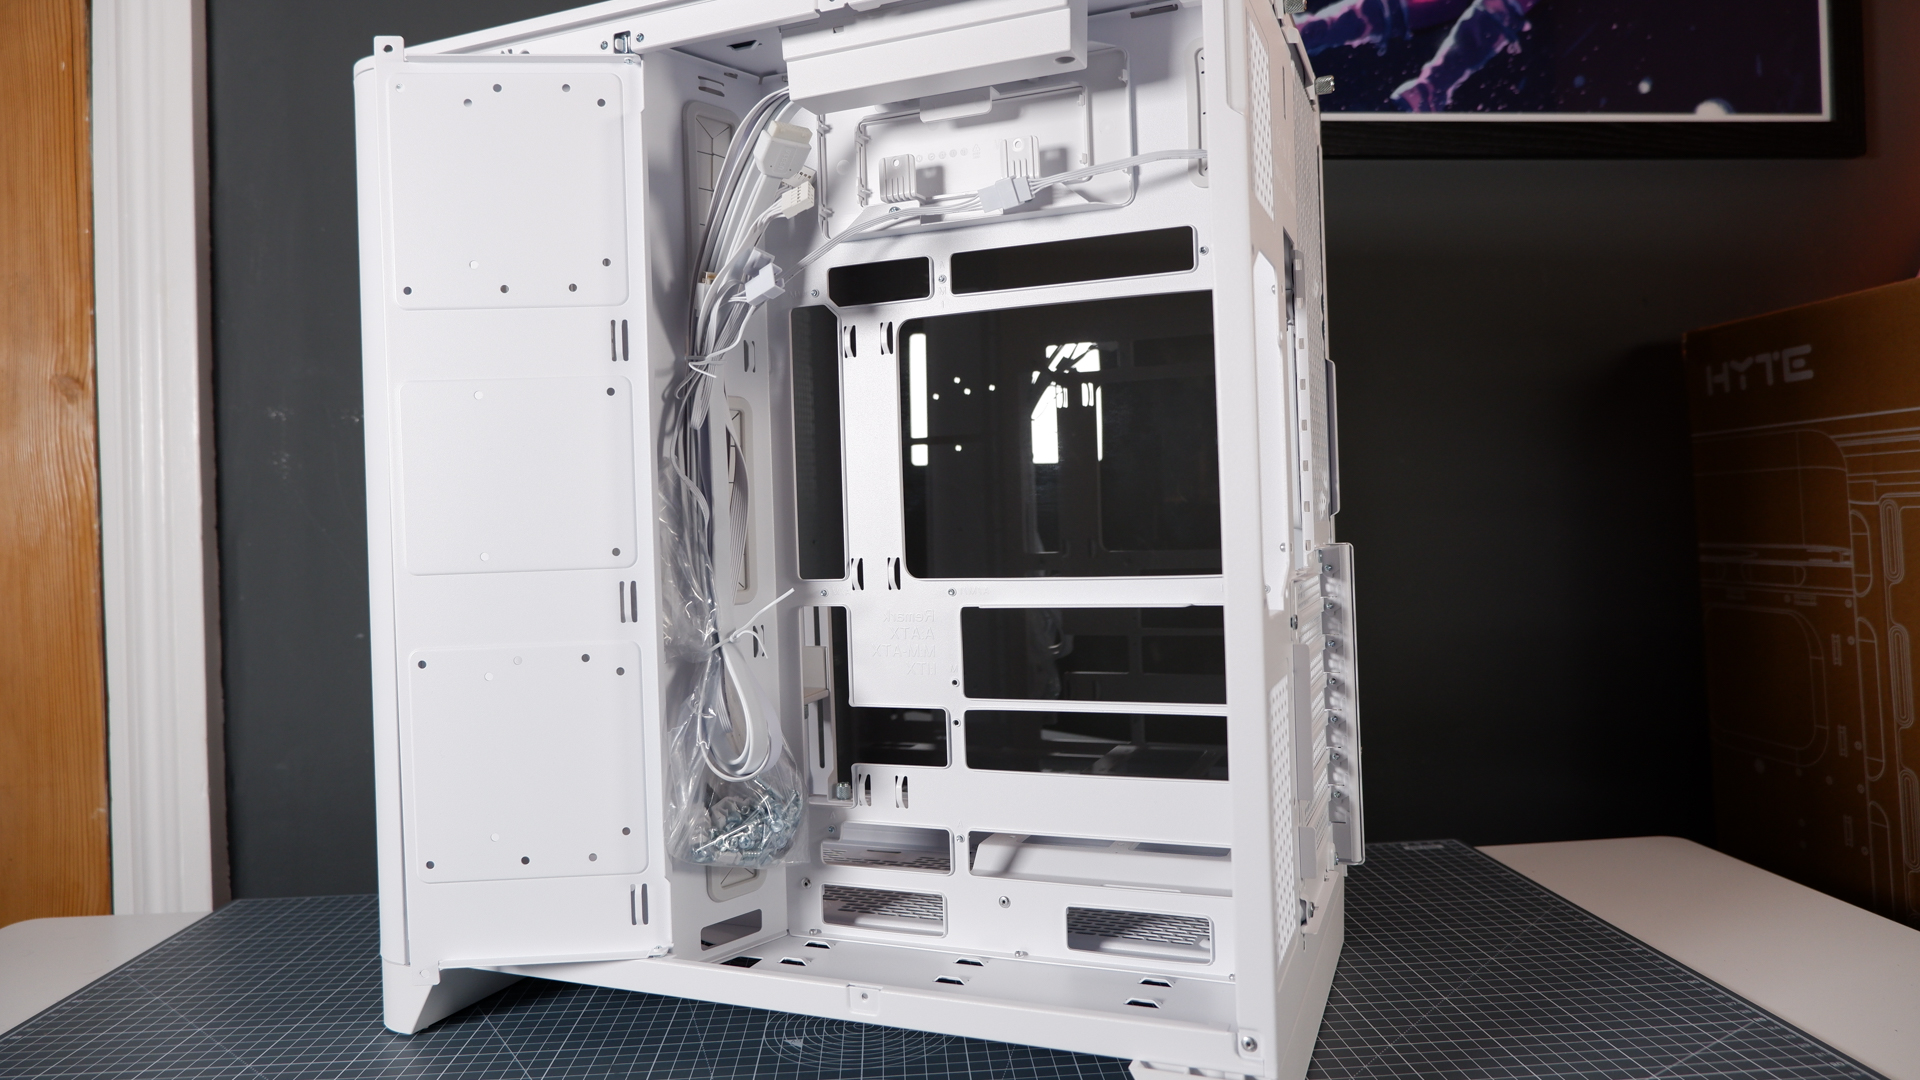
Upon opening the box, I had a feeling I might end up a little disappointed with the View 390 Air. The case doesn't make a good first impression, in large part thanks to the bag of loose screws hanging in the rear. This, I dare say, is the messiest bag of bolts ever called 'accessories' I've experienced with a PC case—a jangling selection of screws, zip-ties, and a roll of Velcro, looking like the world's worst party favour.

Size: Mid-tower
Fan support: 3 x 120/2x 140/2x 200 mm (front) | 3x 120 mm (right) | 2x 120 mm (rear) | 3x 120 mm (bottom)
AIO support: Up to 360 mm (front) | Up to 360 mm (side)
Front I/O: USB 3.2 (Gen 2) Type-C x 1, USB 3.0 x 2, HD Audio x 1
Drive bays: 2x 3.5-inch, 1x 2.5-inch, OR 3x 2.5-inch
Price: $150/£125
I'm glad to say this impression didn't last for long. Upon taking a step back and planning out my test build, I started to nod my head in agreement with Thermaltake's design team here. This is kinda cool, I do get what they were going for here. There are lots of ways to lay it out.
Yes… yes… it's starting to come together.
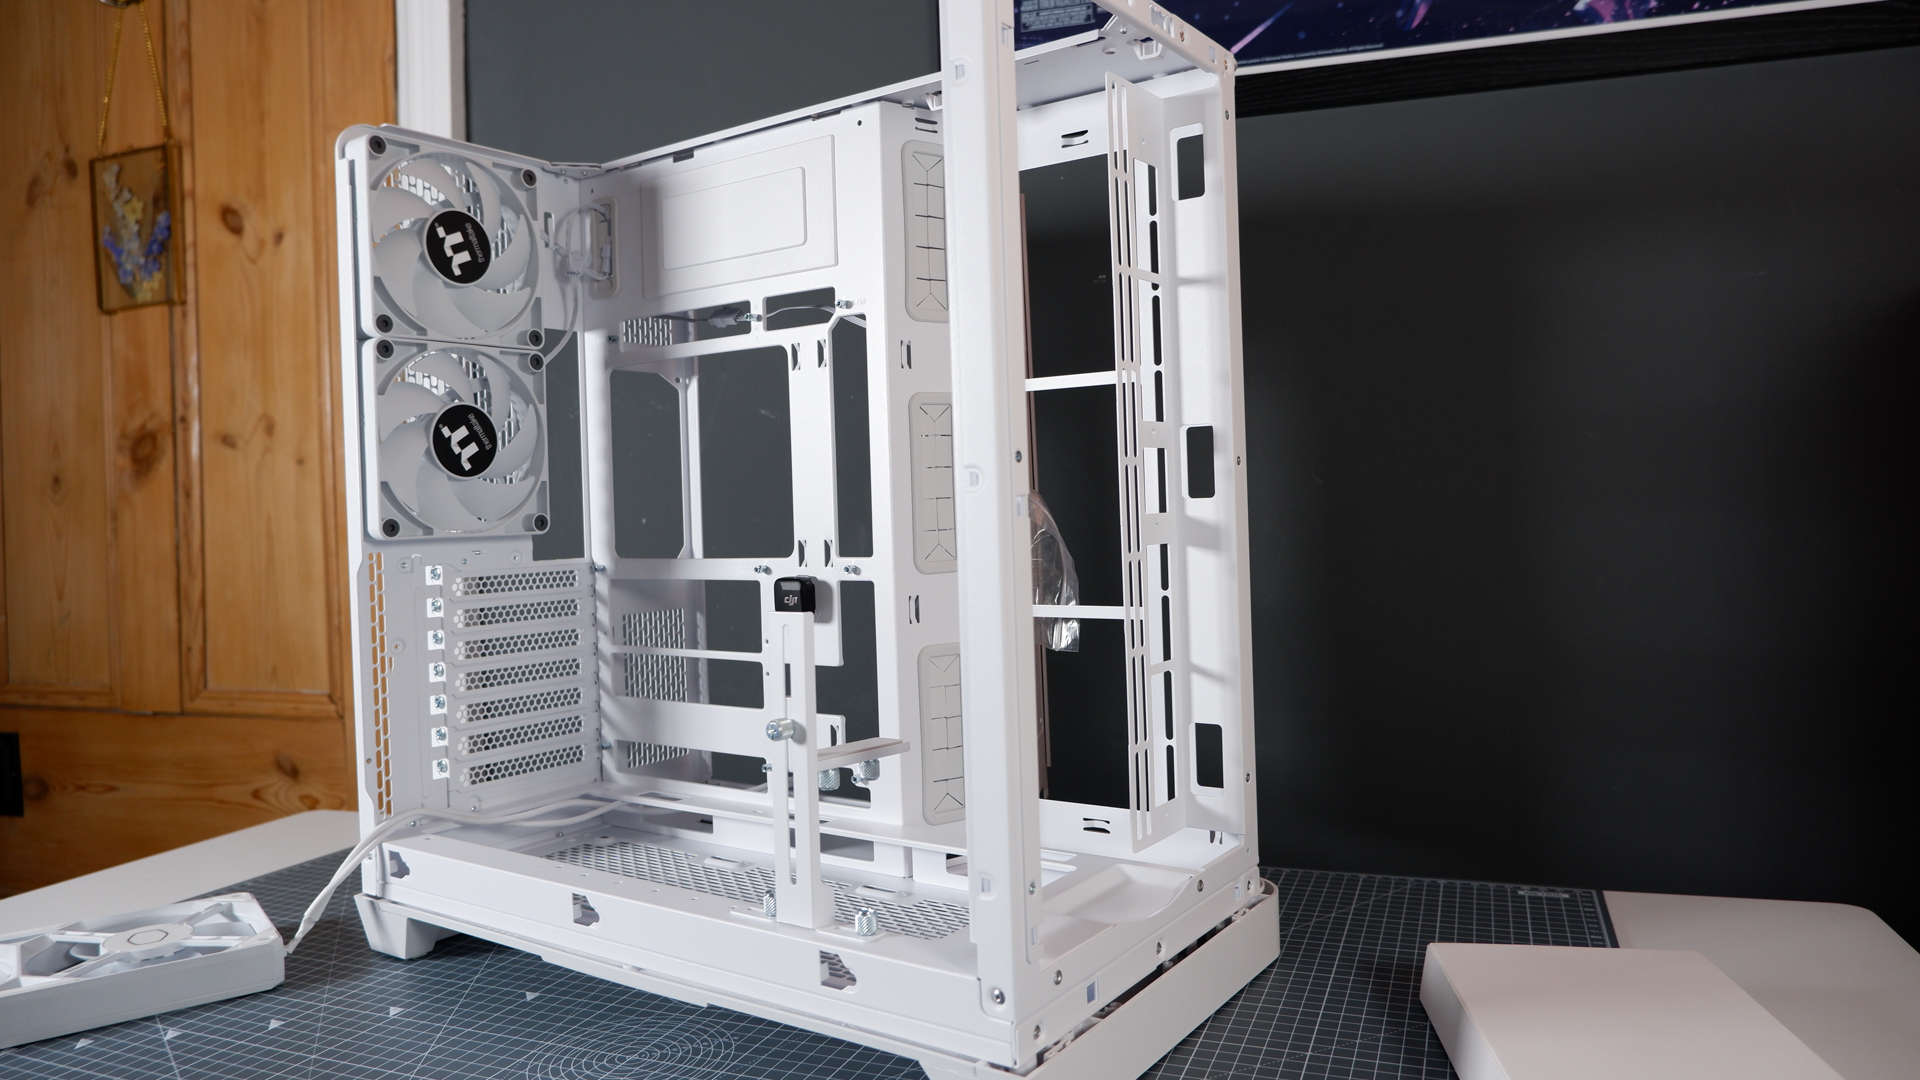
The tempered glass side panel sweeps across the top of the case. Firstly, it looks cool, and we can't discount the impact looking cool has on a prospective PC builder. Secondly, it allows more light in. At risk of sounding like I'm a listing for a loft conversion-turned-rental property, it creates an airy and open feel that's really rather appealing. It helps to show off your components without the need for the nuclear option: RGB lighting. I'll take that opportunity whenever it's presented to me. Thirdly, it allows for much more direct airflow from forward-mounted fans, as opposed to the right-angled airflow offered by many a fish tank case.
I do have a few small qualms with the design. The biggest is the I/O. A selection of two USB Type-A ports, a Type-C port, and a headphone jack, it's all set weirdly far back from the front of the case. It's not really front I/O so much as rear I/O. I have the case to the side of my desk and I have to stand up to reach the on switch. I'm lazy, I don't like standing up when I don't have to, but I also struggle to think when this I/O position would be better than something further forward.
Then there's the use of silver screws. Personally, I'd prefer black thumbscrews and screws throughout. Contrary to what you might assume, black blends in a little better with white components that often still have a large amount of black bits on them. But, generally, I think the View 390 Air gets away with it. Just.
Lastly, this is not a tool-free design. Screws are require to remove various parts. This isn't the worst thing in the world and only really requires a screwdriver for the actual build process—accessing the case requires a few thumbscrews only—but as more case manufacturers move to increasingly tool-free designs, the Thermaltake does feel just a little old fashioned.
With my bag o' bits in hand, I set about putting together my test build. This includes: AMD Ryzen 7 9700X, Gigabyte X870 Aorus Elite Wifi7 Ice, Gigabyte RTX 5070 Ti Eagle OC Ice, and 64 GB of Crucial Pro DDR5-6000, Cooler Master MasterLiquid Core II, and Biwin X570 Pro 2 TB.


All picked for their white colourway, where possible, to match the View 390 Air. For one obvious omission: the liquid cooler. Though my partner assures me that the black on this component "looks fine, good even". So there's that.
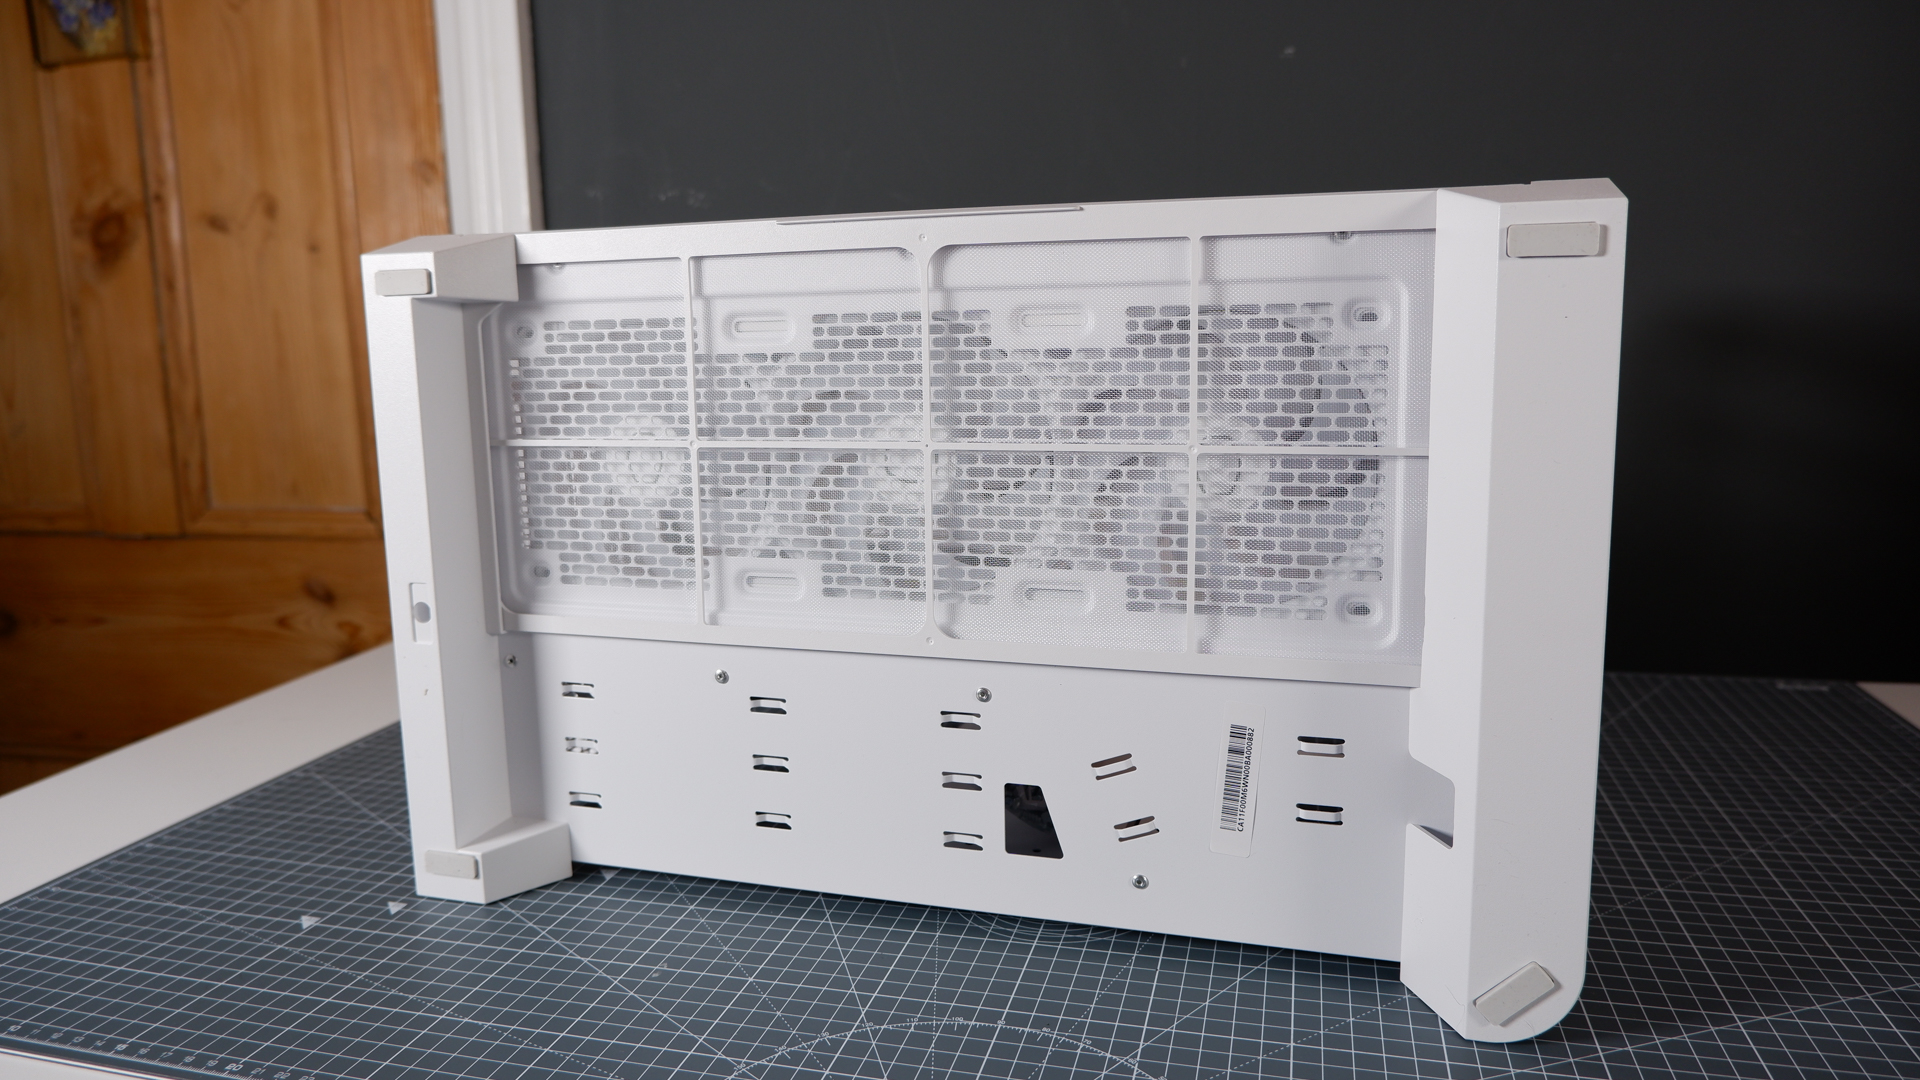
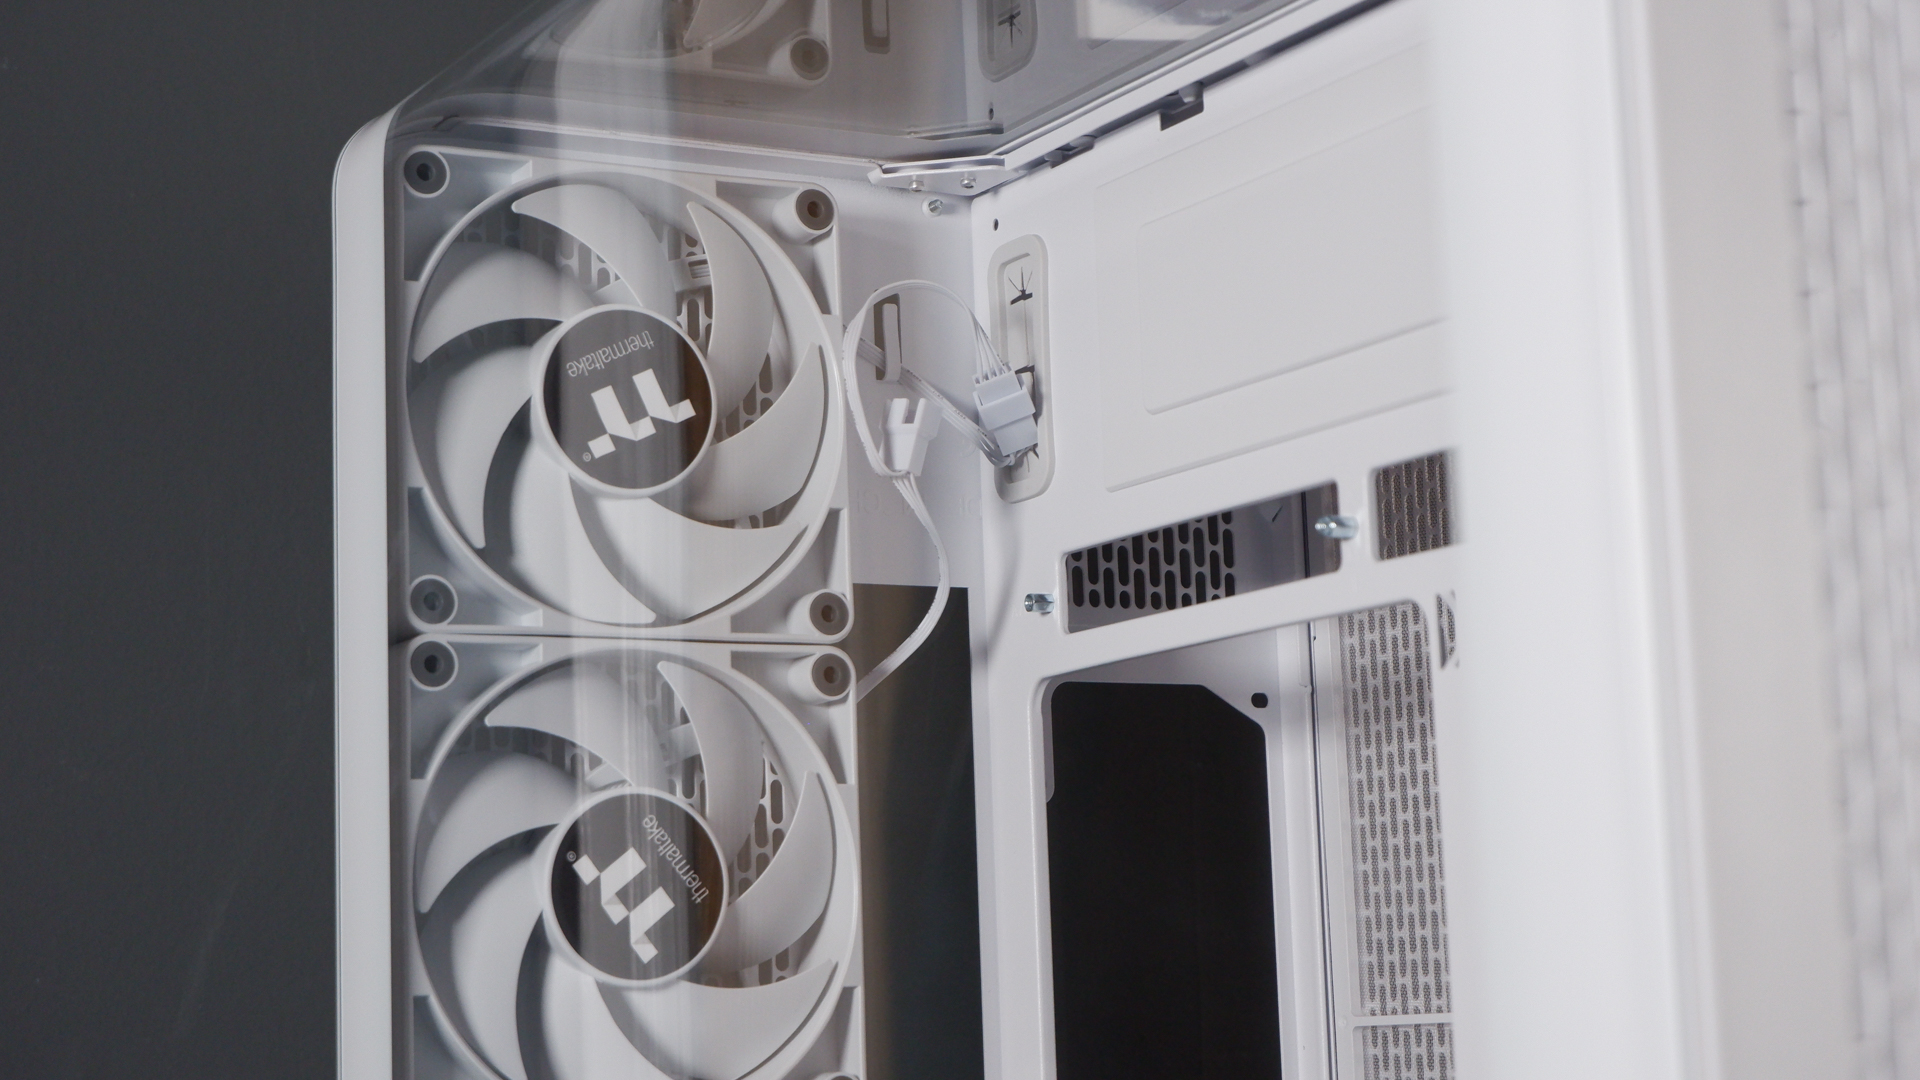
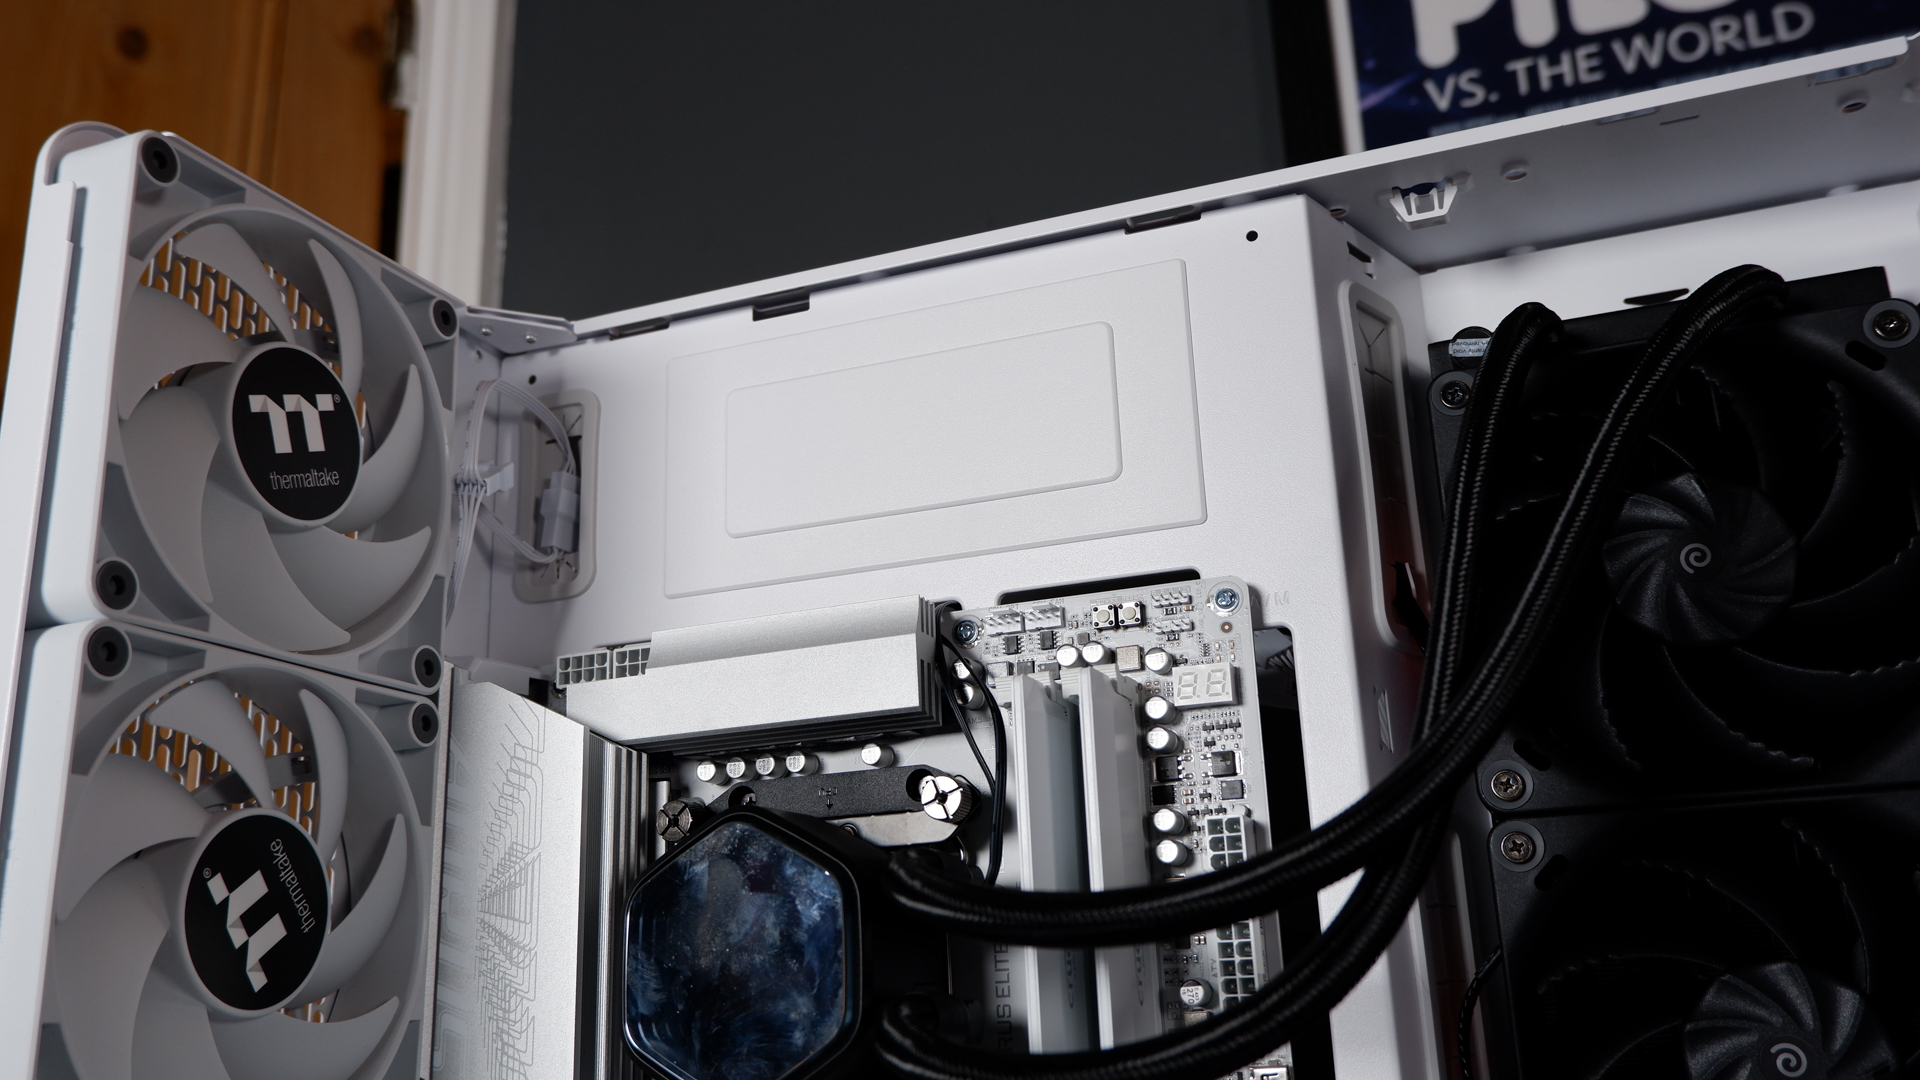
Cooling is pretty simple here. The View 390 Air can take up to two 200 mm fans in the front, three 120 mm fans in the bottom, three 120 mm fans down the side, and two 120 mm fans in the rear (with two CT120 fans coming preinstalled). It's not short of options, and more importantly, you can opt for a pretty straightforward intake in the front, exhaust out the back approach—albeit with your radiator mounted down the side.
I'd recommend using reversed fans with the View 390 Air—fans with push/pull orientation switched—as this would allow for more aesthetically pleasing intake fans mounted in the bottom or side locations. I don't have any reversed fans in white, so I had to go with the not-so-optimal approach.
I've opted for two Havn H14 fans up front, three Havn H12 fans in the bottom, and kept the two included CT120 fans in the rear. I also replaced the RGB fans on the liquid cooler with Havn H12 fans in black, mostly because I don't have more white ones, and also I'm at a time in my life where I'm absolutely fed up with RGB lighting. It's a bit of a shame that there's no room for wider fans in the side or bottom mounting locations in the View 390 Air, though generally I've been impressed with it in terms of cooling compatibility.
What's important is that temperatures are great, with three runs of Metro Exodus Enhanced Edition seeing the GPU/CPU hit 59°C and 60°C, respectively.
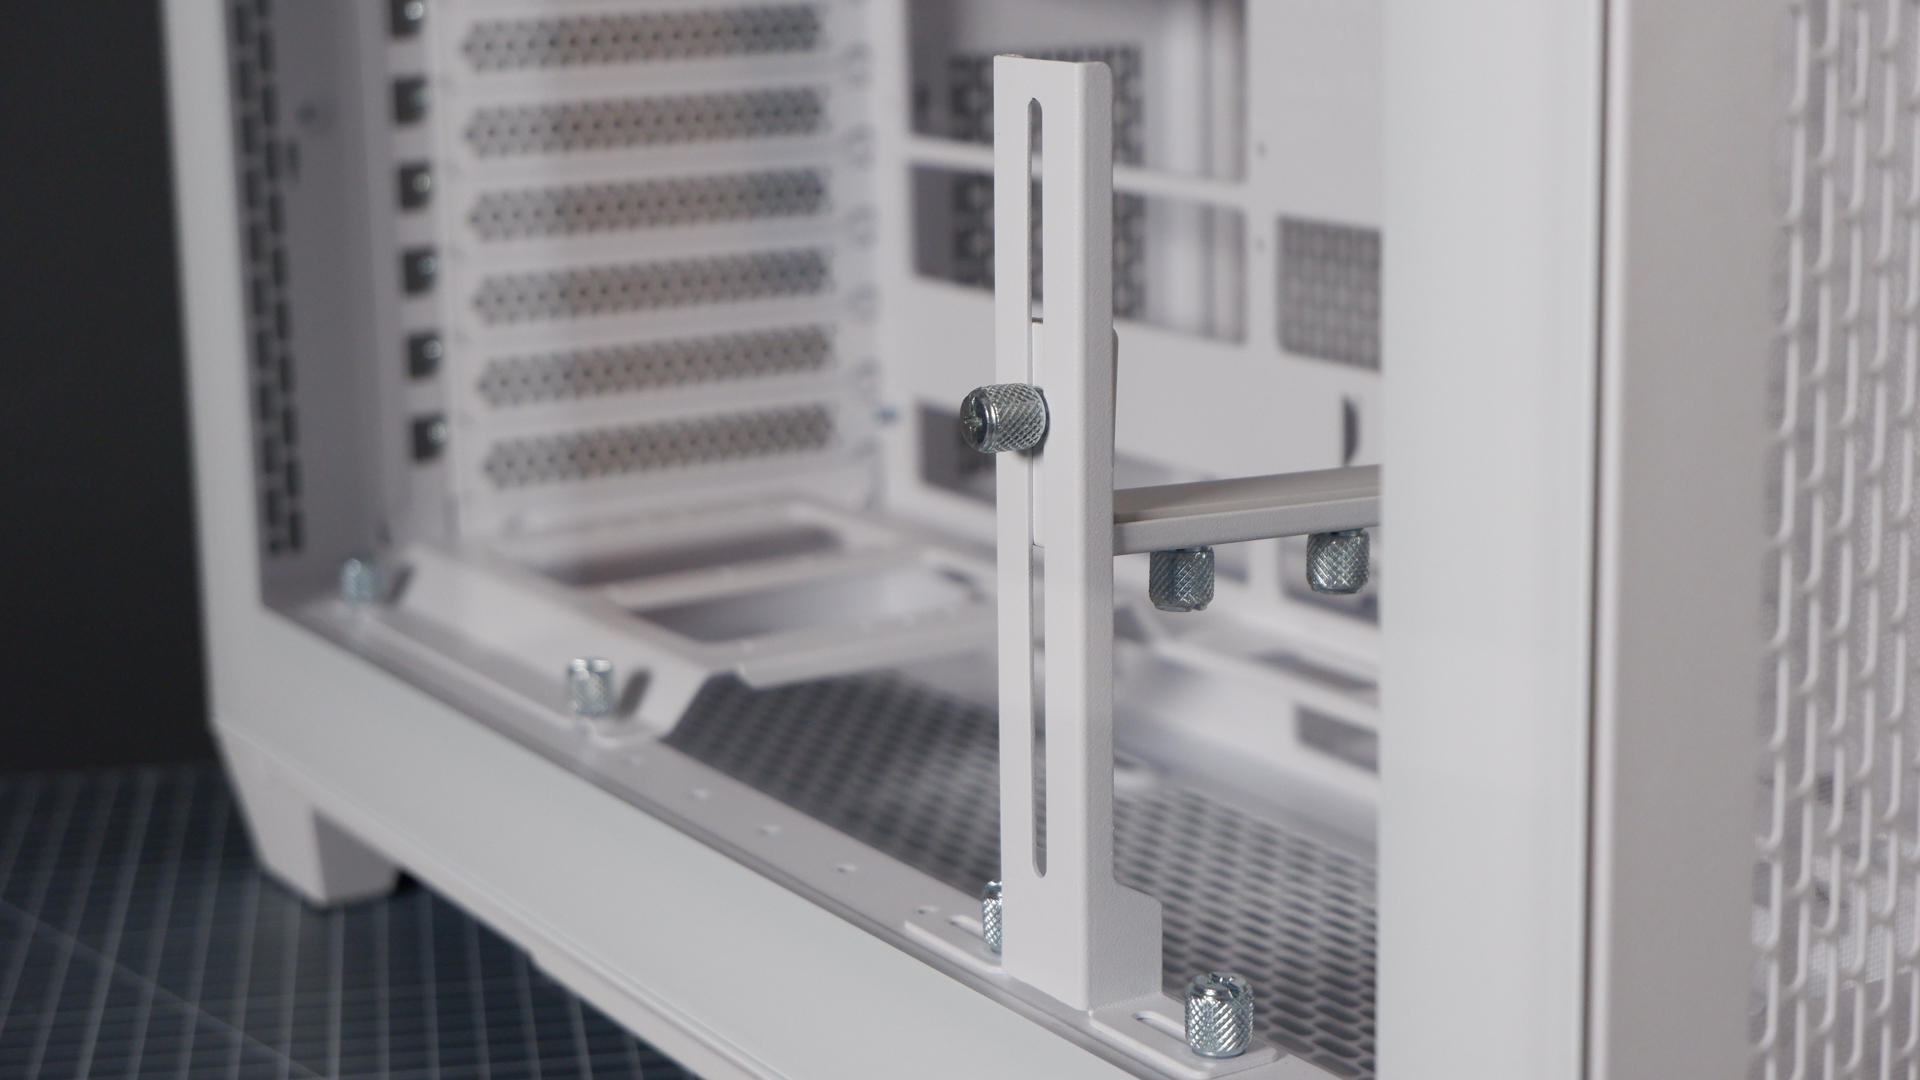
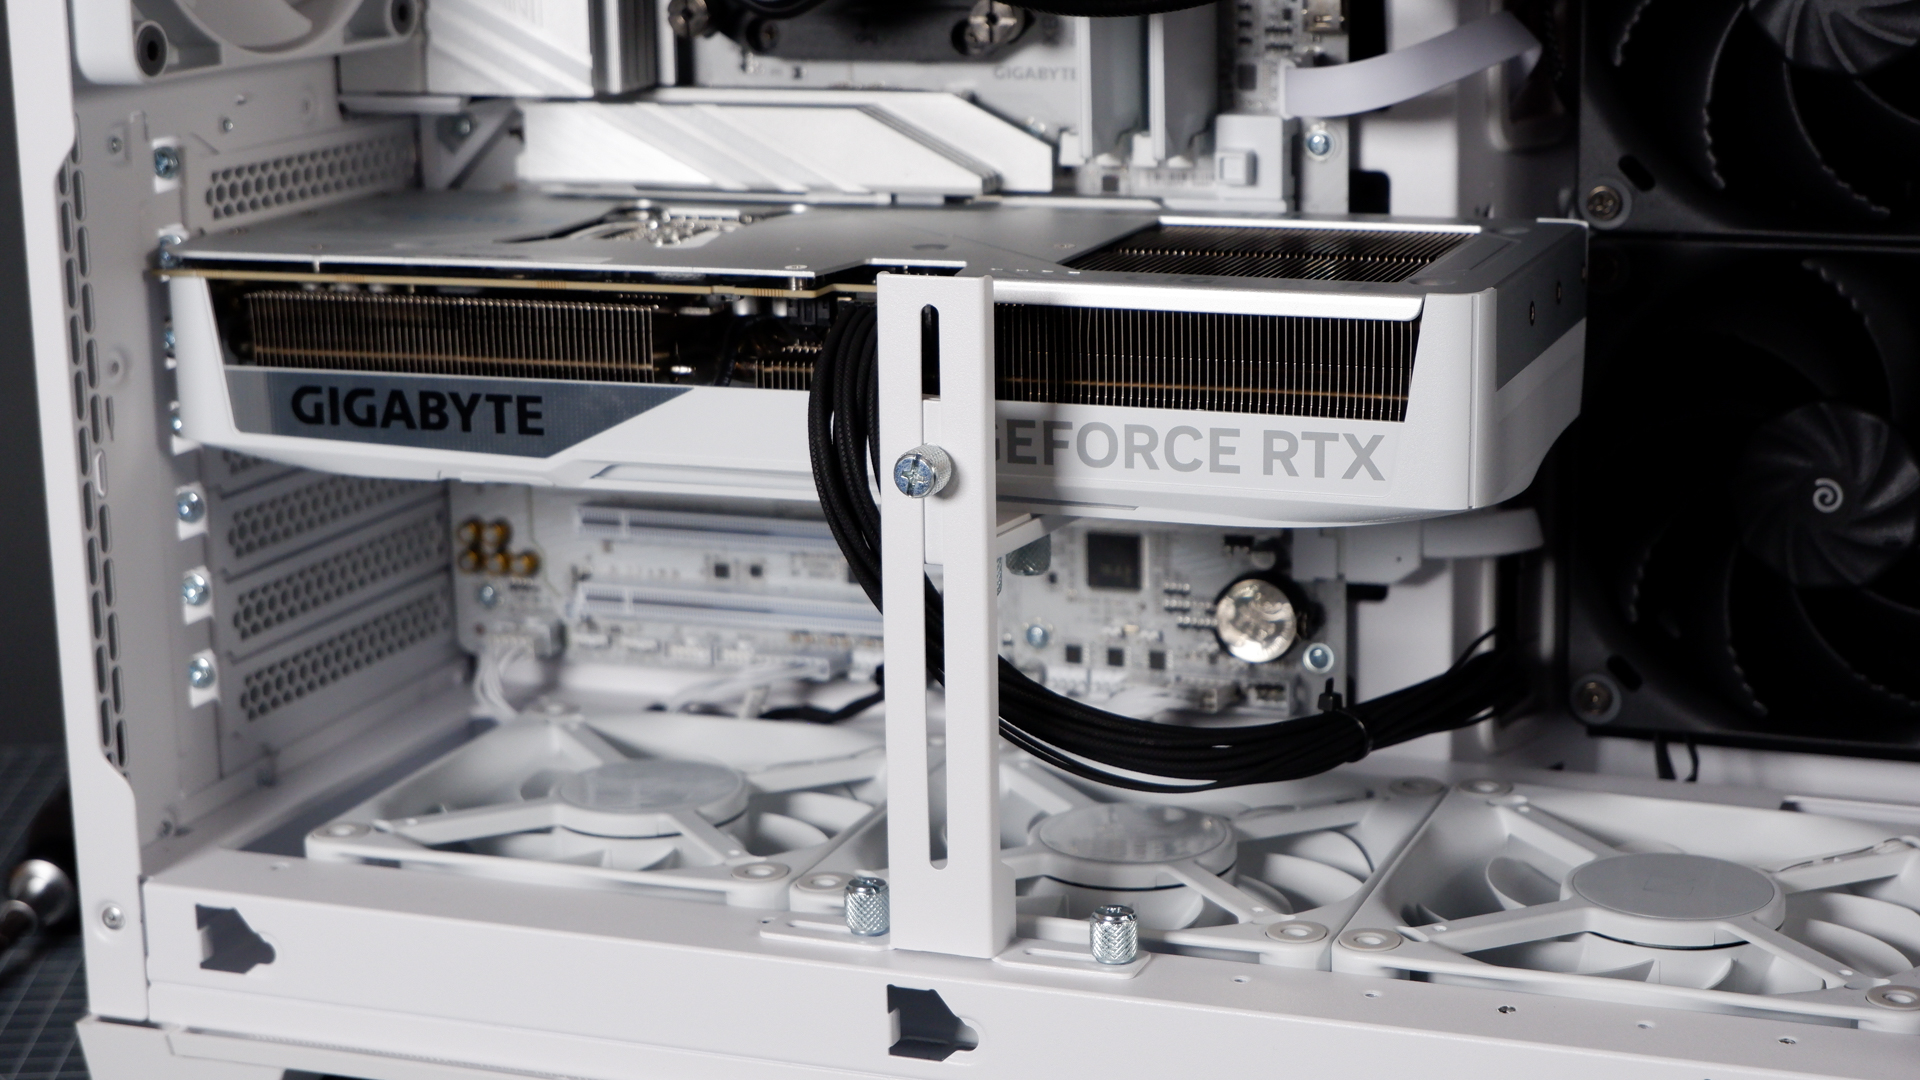
There's a good amount of room for a graphics card in the View 390 Air: 390 mm or 420 mm if you don't have anything else in the front. Even the largest graphics cards today won't exceed that. There's also an included GPU support with a good range of adjustment for various sized cards. I just wish the silver thumbscrews—of which there are many—weren't so obvious.
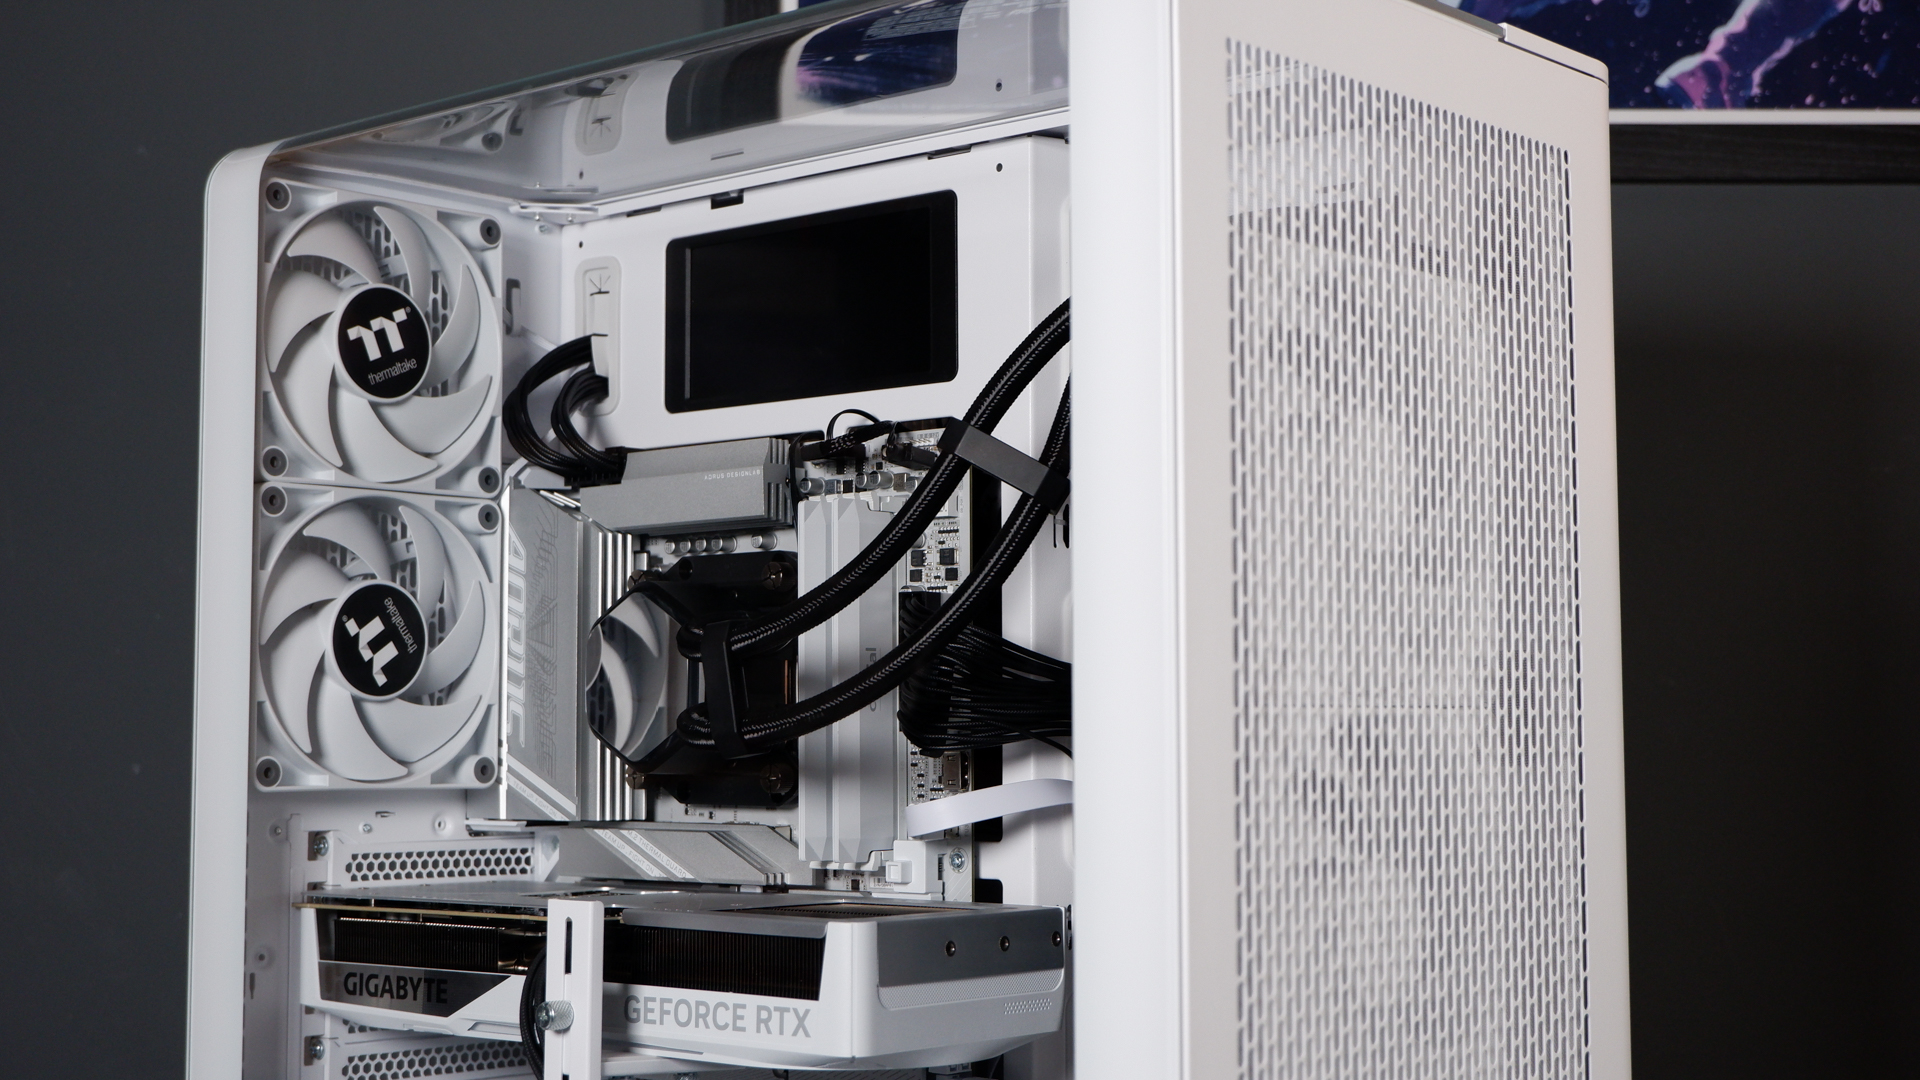
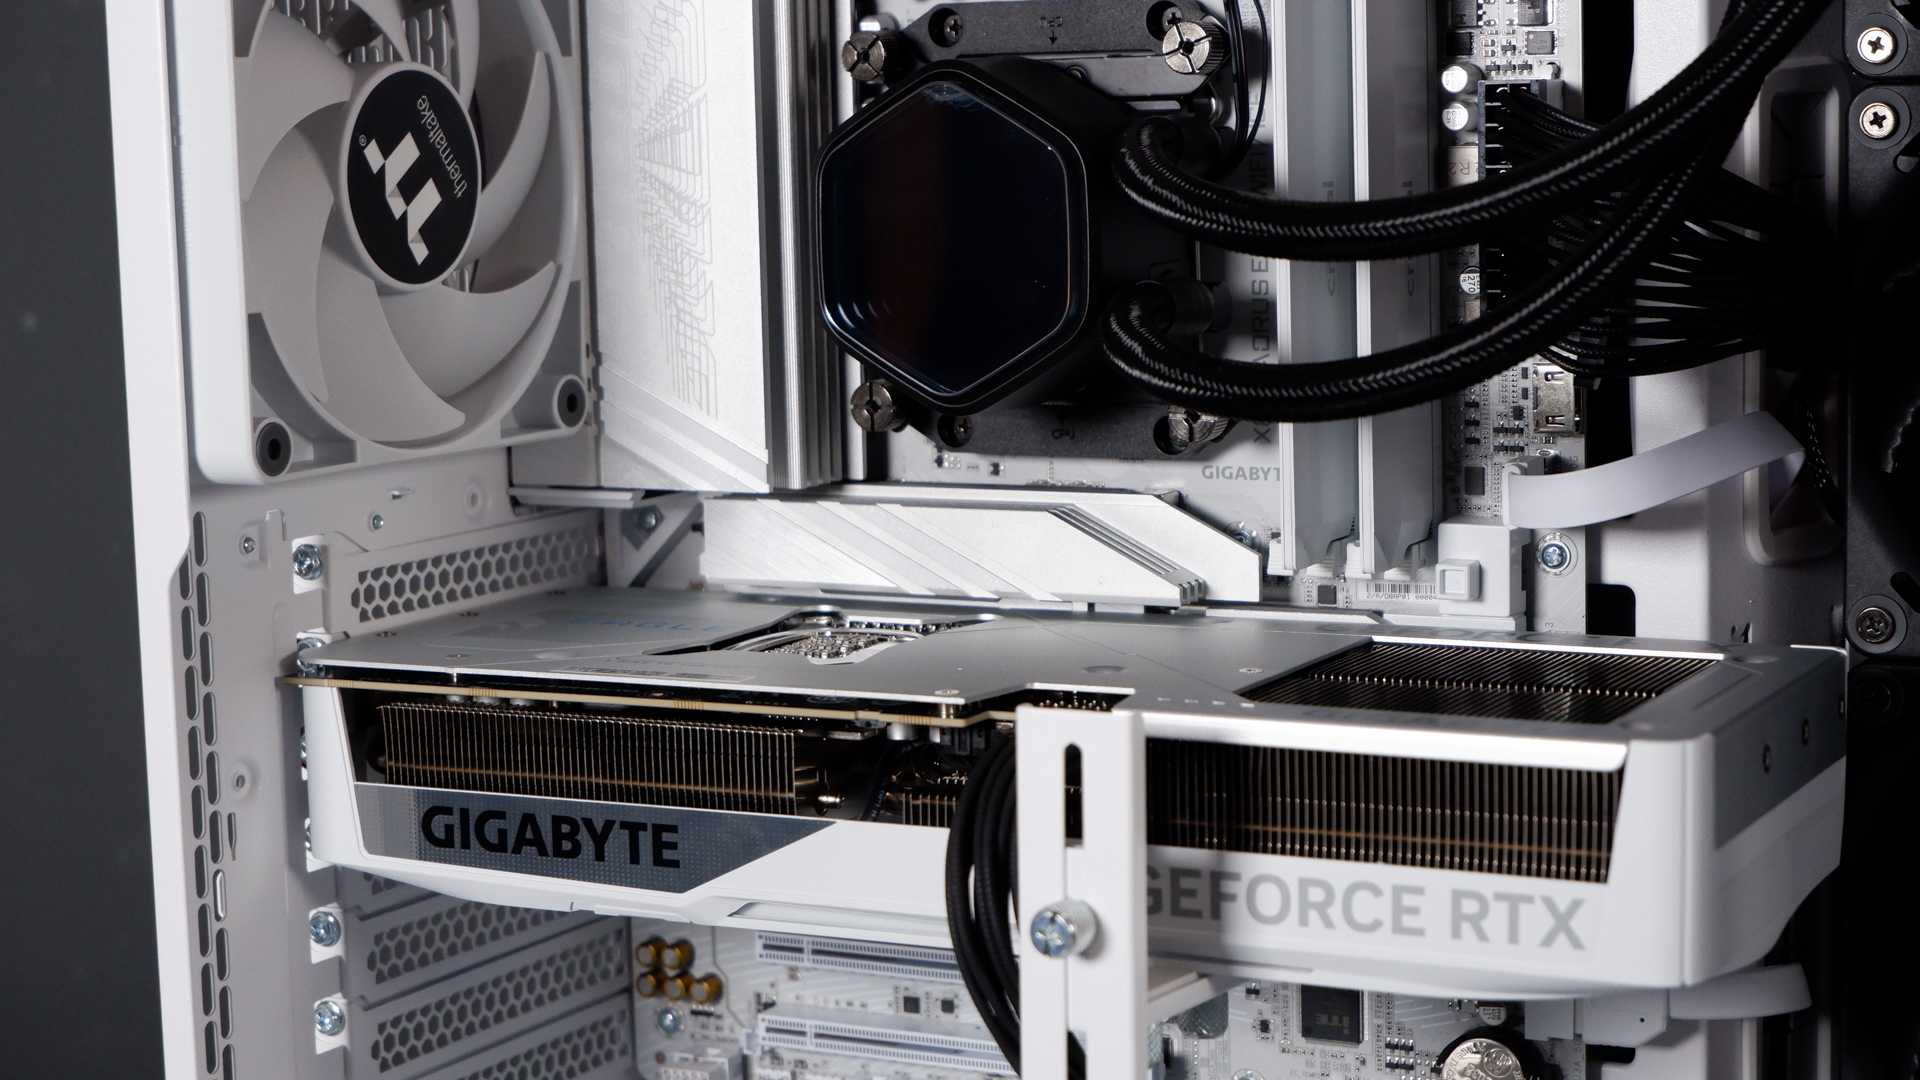
Though it is a little limited in terms of height from the motherboard to the tempered glass side panel. It's a little unfair, but I tested whether the Noctua NH-D15 G2 would fit, the largest air cooler I had to hand, and it was just a touch too big. The heatsink touches the glass—the thought alone makes me shudder. Though any more sensibly sized cooler will be just fine.
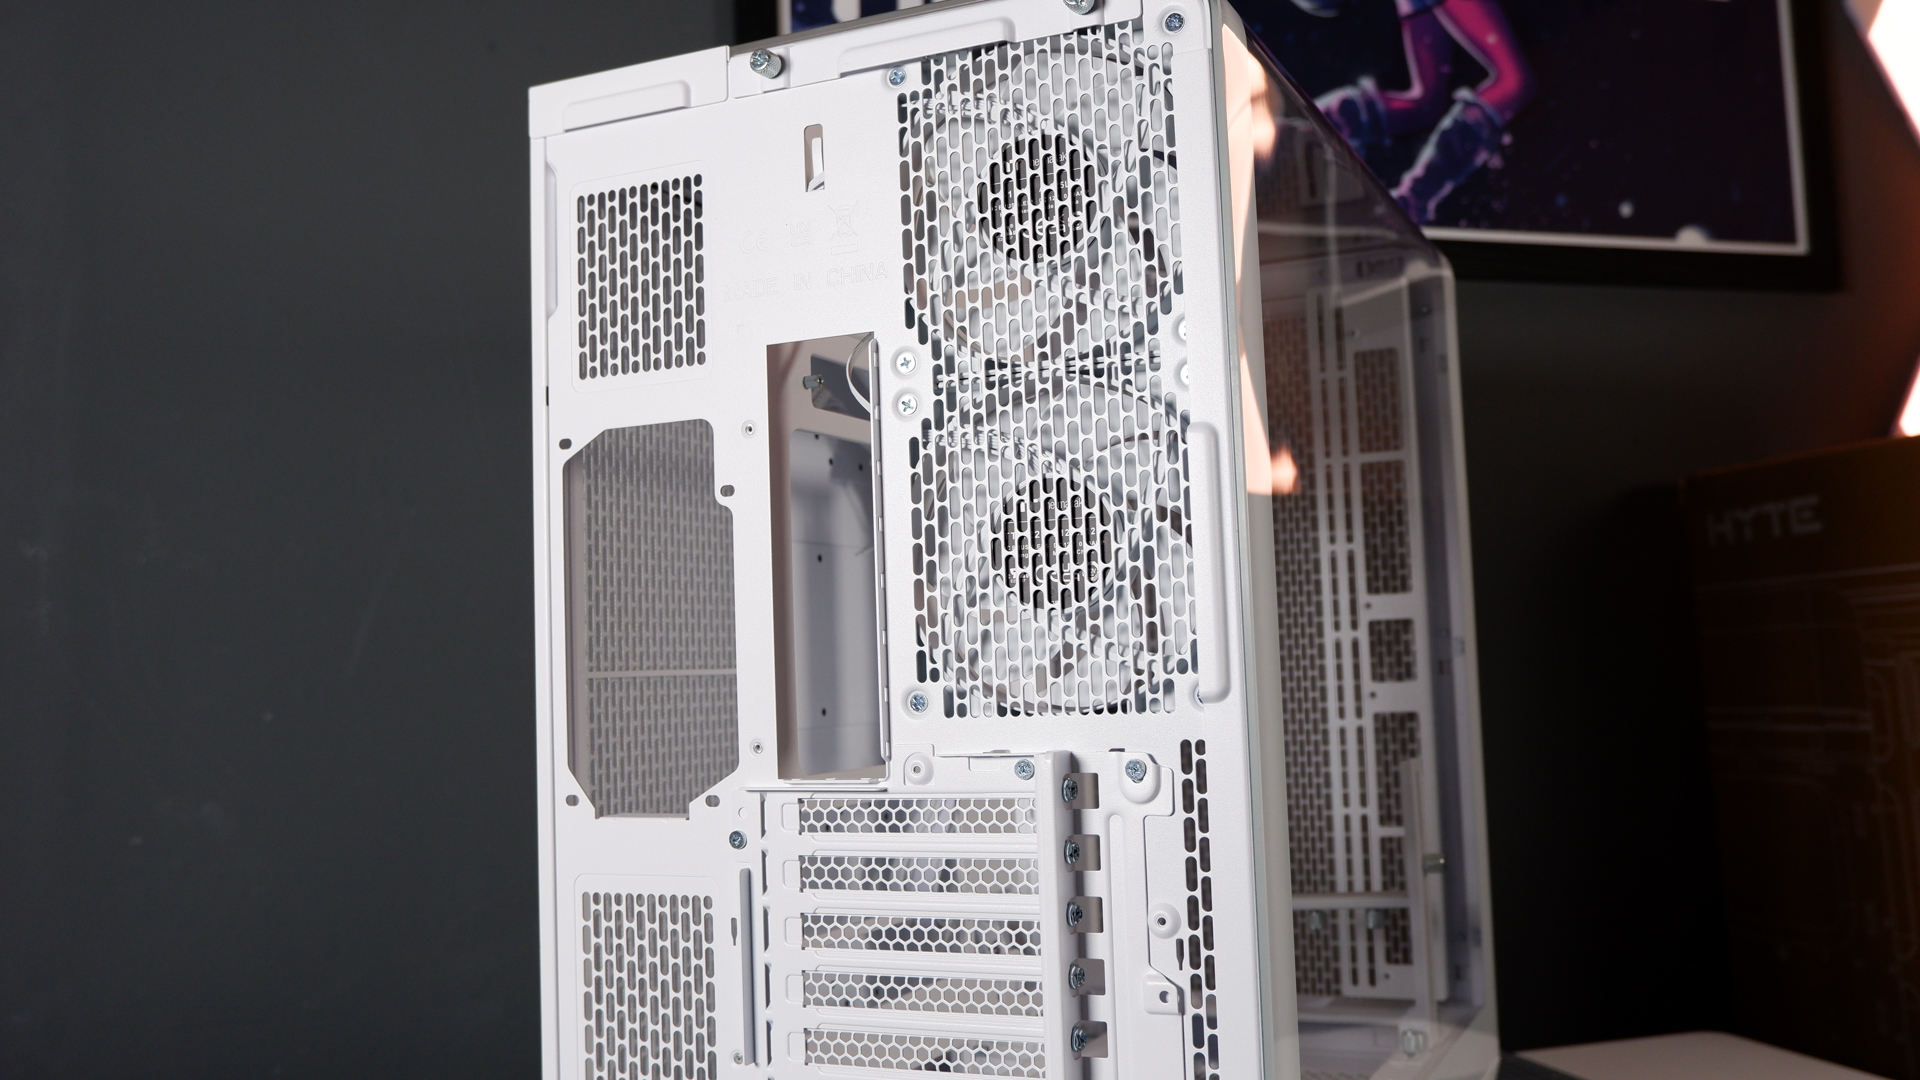
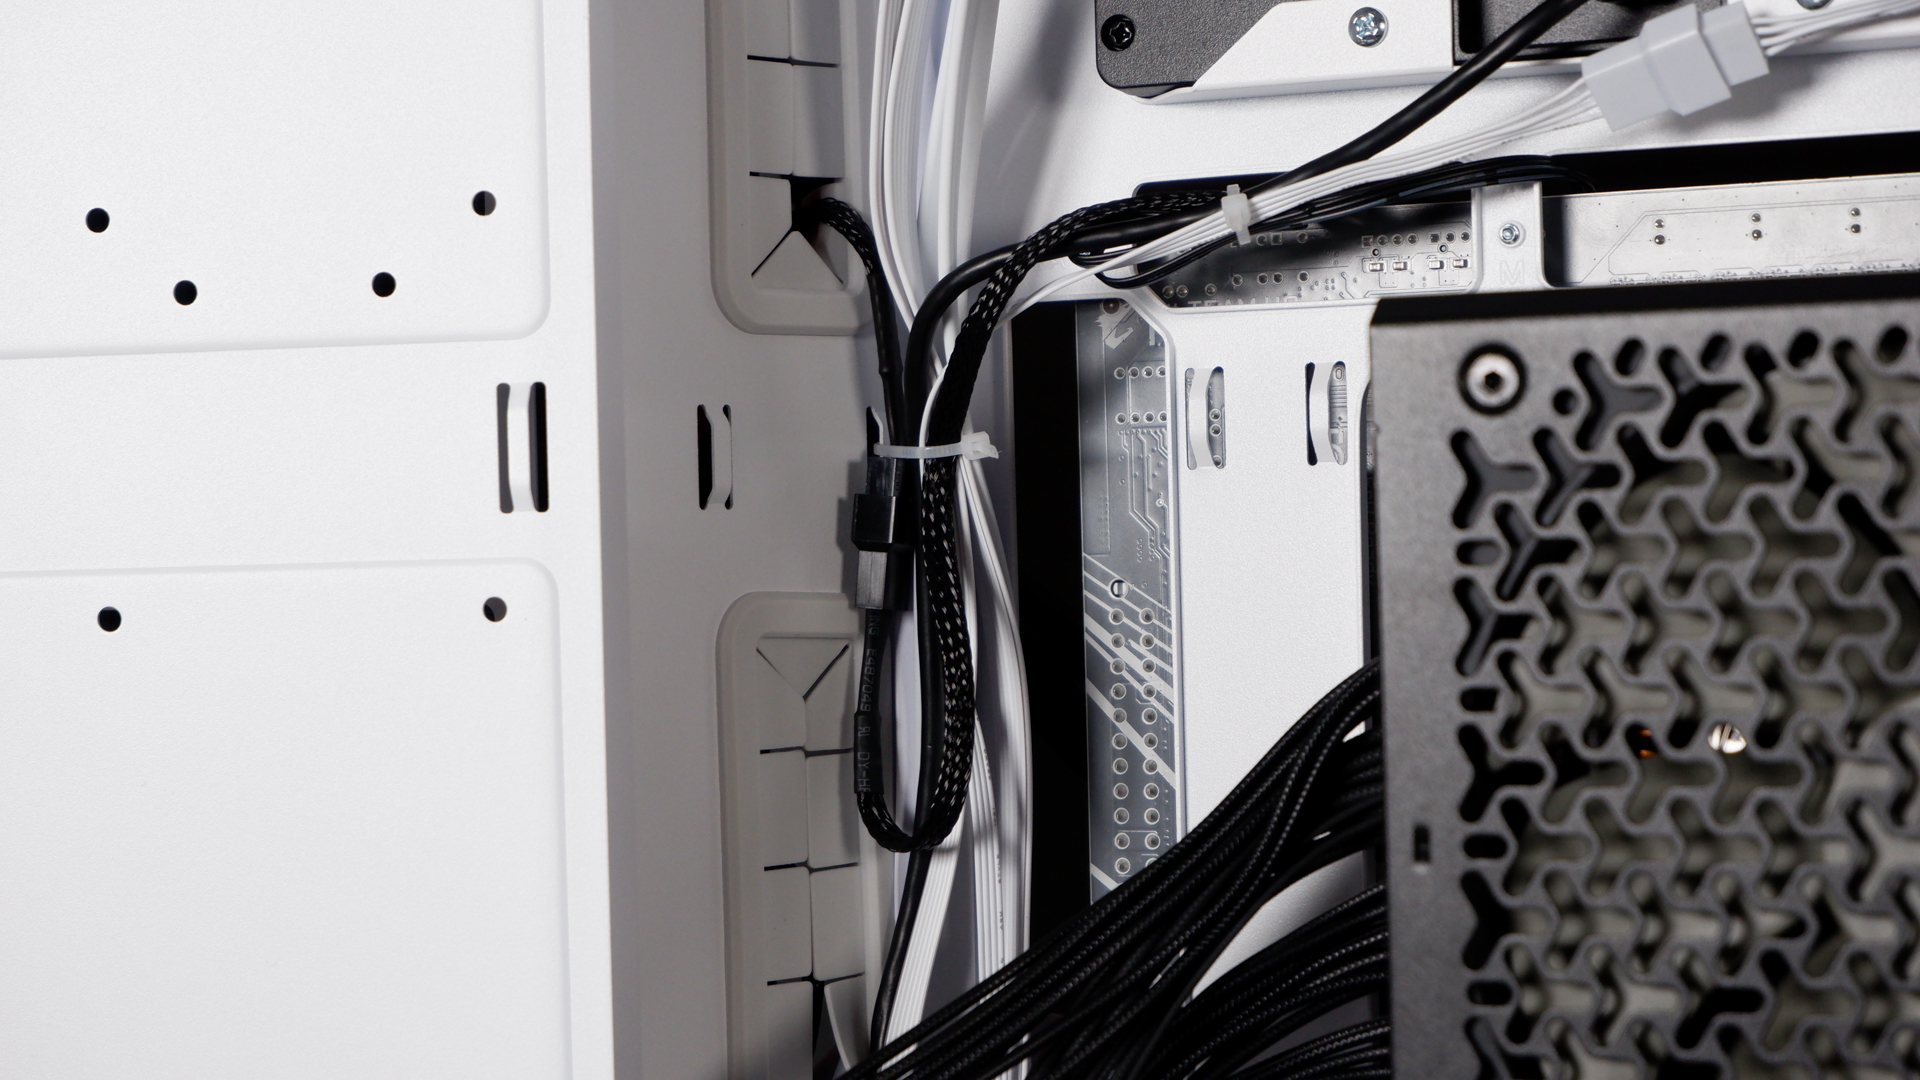
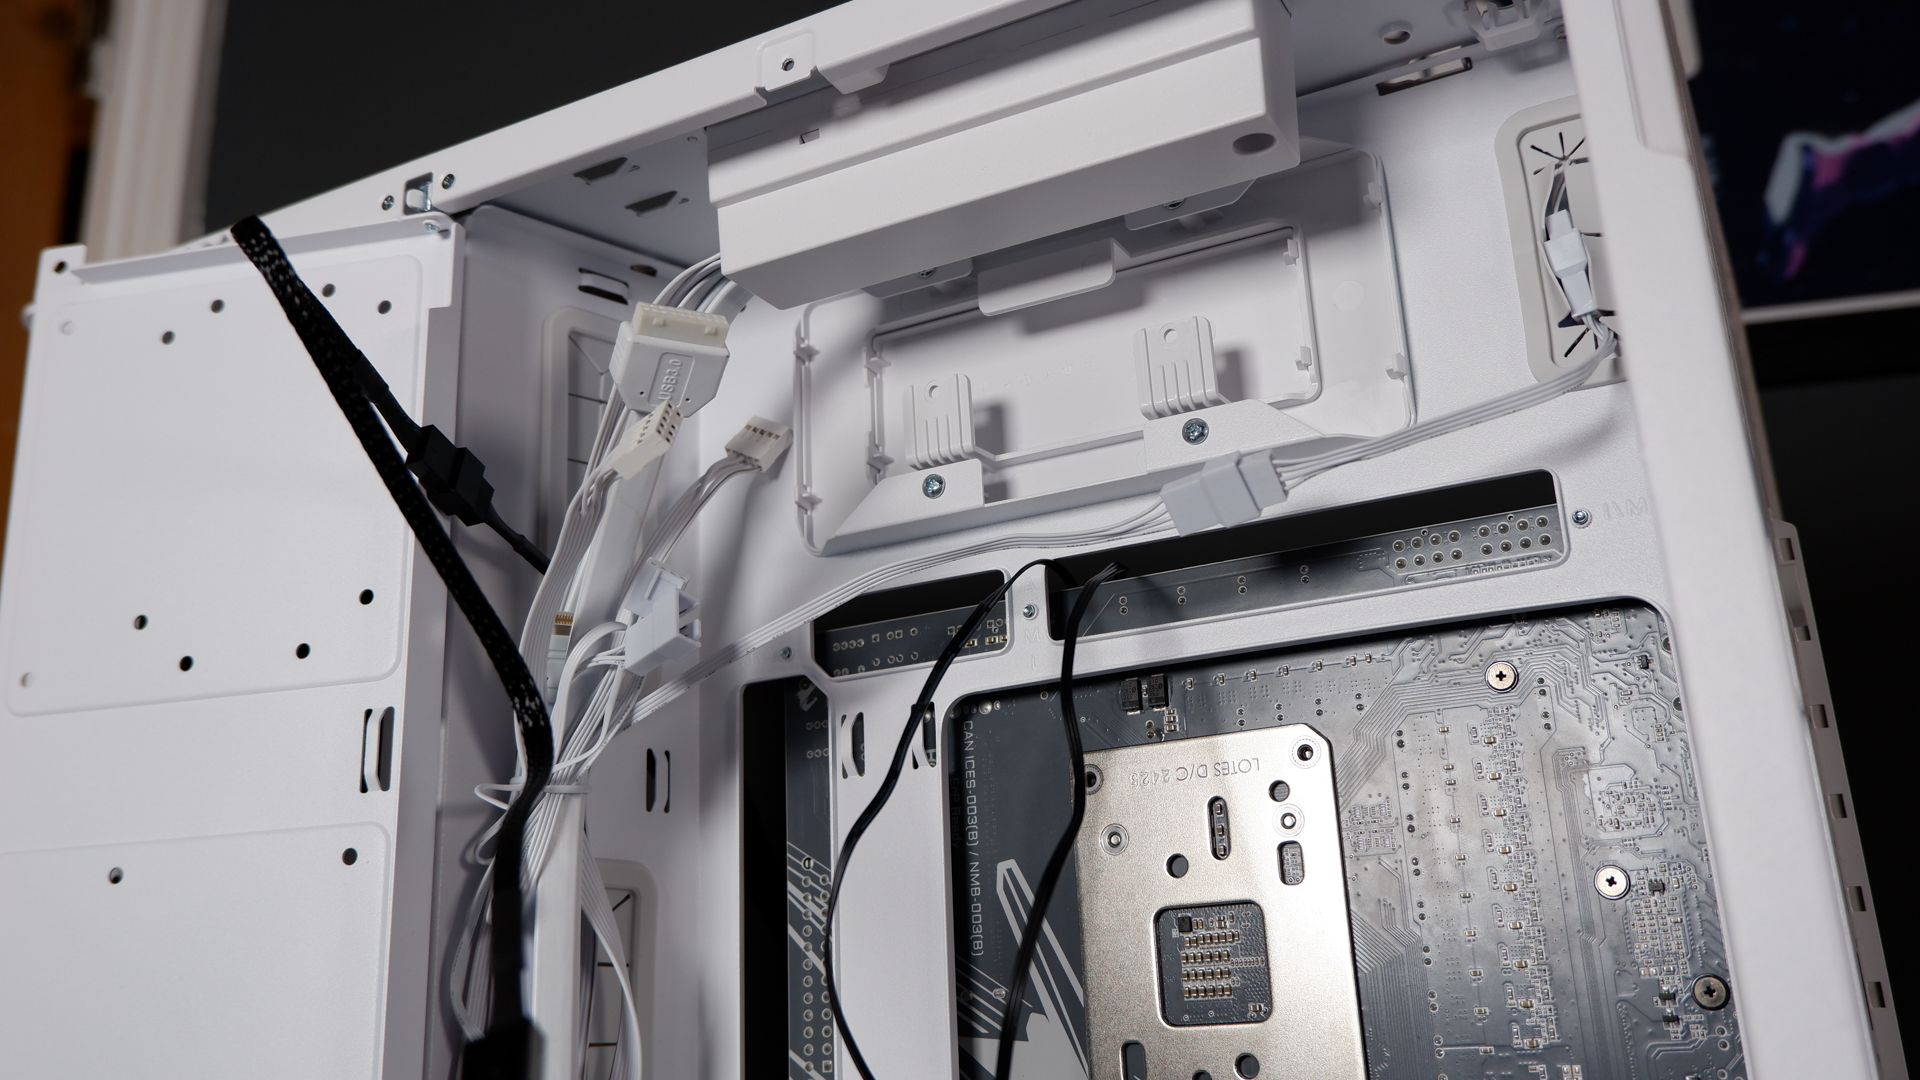
The rear of the case offers a pretty smart design for cable management. There's not much of it—a notable lack of straps or channels—but wait, there is a door that covers everything up. So you don't need to be quite as neat to get it squared away and looking good. The door covers everything up. The door makes the pain go away.

✅ You want to ditch RGB lighting: This is the perfect case for a zero RGB build, if we're calling PCs that eschew RGB LEDs that these days. The glass side panel that wraps around the side is great for letting natural light hit your components.
❌ You want the easiest build experience: One might struggle, as a first-time builder perhaps, with the 'chuck em all in a bag' approach to screws and fittings here. Similarly, cable management options are more or less zip-ties and stuff everything behind the big door, though it does have plenty of room in the rear.
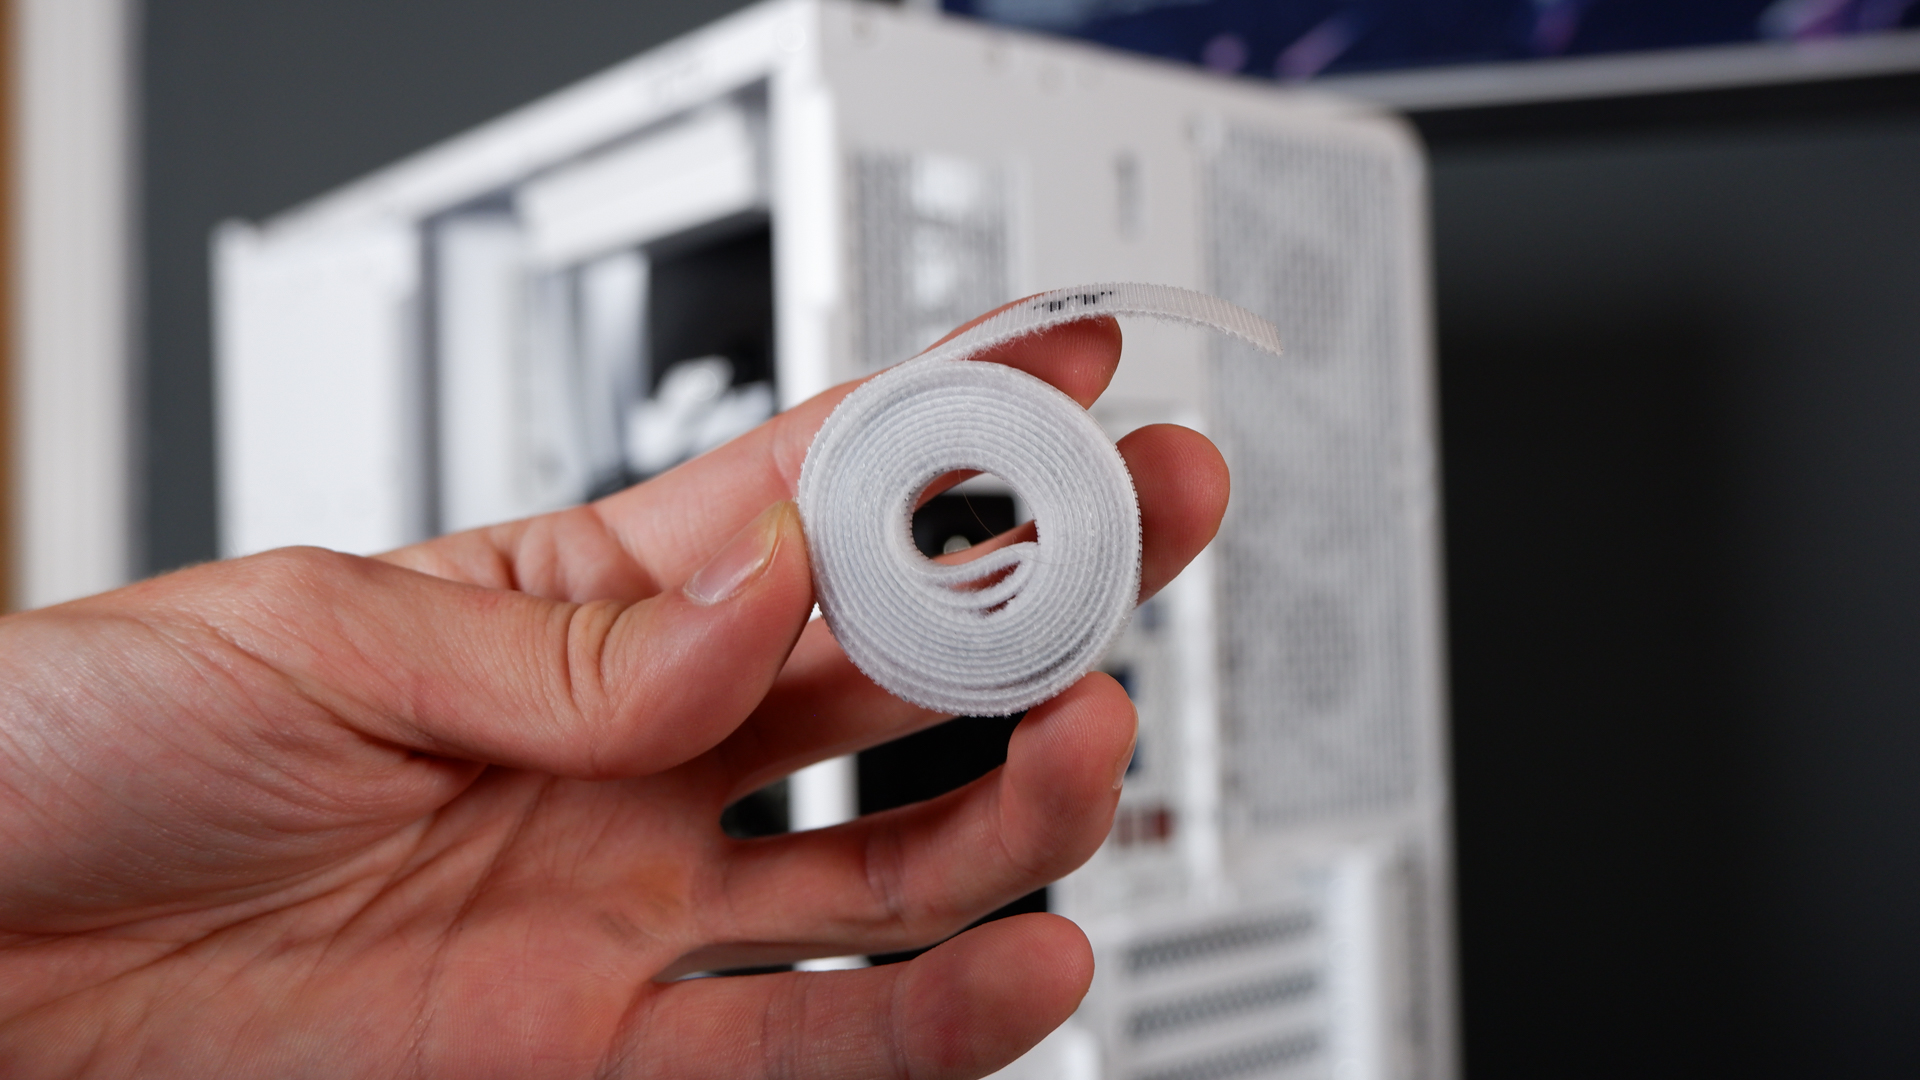
Sure, I'd like to see some more integrated cable management options here, outside of the usual inclusion of zip-ties. Especially as you have to cut your own Velcro straps from a small roll provided in the box. It's all a bit hands-on and, any changes, you'll need to start from scratch after you've cut it all free.
One thing I have for this build, but I probably wouldn't recommend, is Thermaltake's own 6-inch screen. There's a convenient cut-out at the top of the case for the screen to sit in, and it fits together very easily, with only a single cable run required for a USB 2.0 connection. The screen itself is controlled via Thermaltake's TT RGB Plus app. But the app is laggy and confusing, and the screen is extremely expensive for what it is. I've struggled to find an official price but I think it's somewhere in the region of $100/£100.
The Thermaltake View 390 Air, however, costs $150/£125. Perhaps even less if it's on sale, which it is as I write this, for $120. That makes the screen seem even more over the decadent than it is, at near the same price as the entire case. Ignoring the screen, however, I do have generally good feelings for the Thermaltake View 390 Air.
When I stand back and gaze upon my creation, I realise just how much I like that expansive window wrapping around the top of the case. It's really nice. No, better than that, it's lovely. It opens the case up to a lot more light and that helps show off the build more than any RGB lighting ever could. While Thermaltake could tighten up a few things here and there to make the holistic build experience better, the finished product is something worthy of showing off.

The best PC gaming gear 2025
All our current recommendations


Thermaltake has taken the concept of a fish tank PC case and turned it on its side. It's a smart solution offering more direct airflow from the front and lots of options for cooling otherwise. Plus, it looks smart, though it could look and feel a little more premium with some fine-tuning.

You must confirm your public display name before commenting
Please logout and then login again, you will then be prompted to enter your display name.