The best Heavy builds in The Finals Season 2
Pick your poison: shotgun or LMG?
Where both the Light and Medium classes have mobility options, the best Heavy builds in The Finals Season 2 are a little lacking in that department. For that reason, you'd be forgiven for thinking the Heavy is a touch restrictive given how important being able to zip around the map is in this ultra fast-paced FPS game. What it lacks in mobility, it makes up for in defensive abilities and sheer firepower though, with two guns standing head and shoulders above the rest. Here are the two best Heavy builds in The Finals Season 2, one with an LMG and the other with a shotgun.
If you'd prefer to move a little faster, and also provide some much needed support, check our the best Medium builds from The Finals. And if you want to really zoom around the map, the best Light builds have you covered.
Defensive LMG

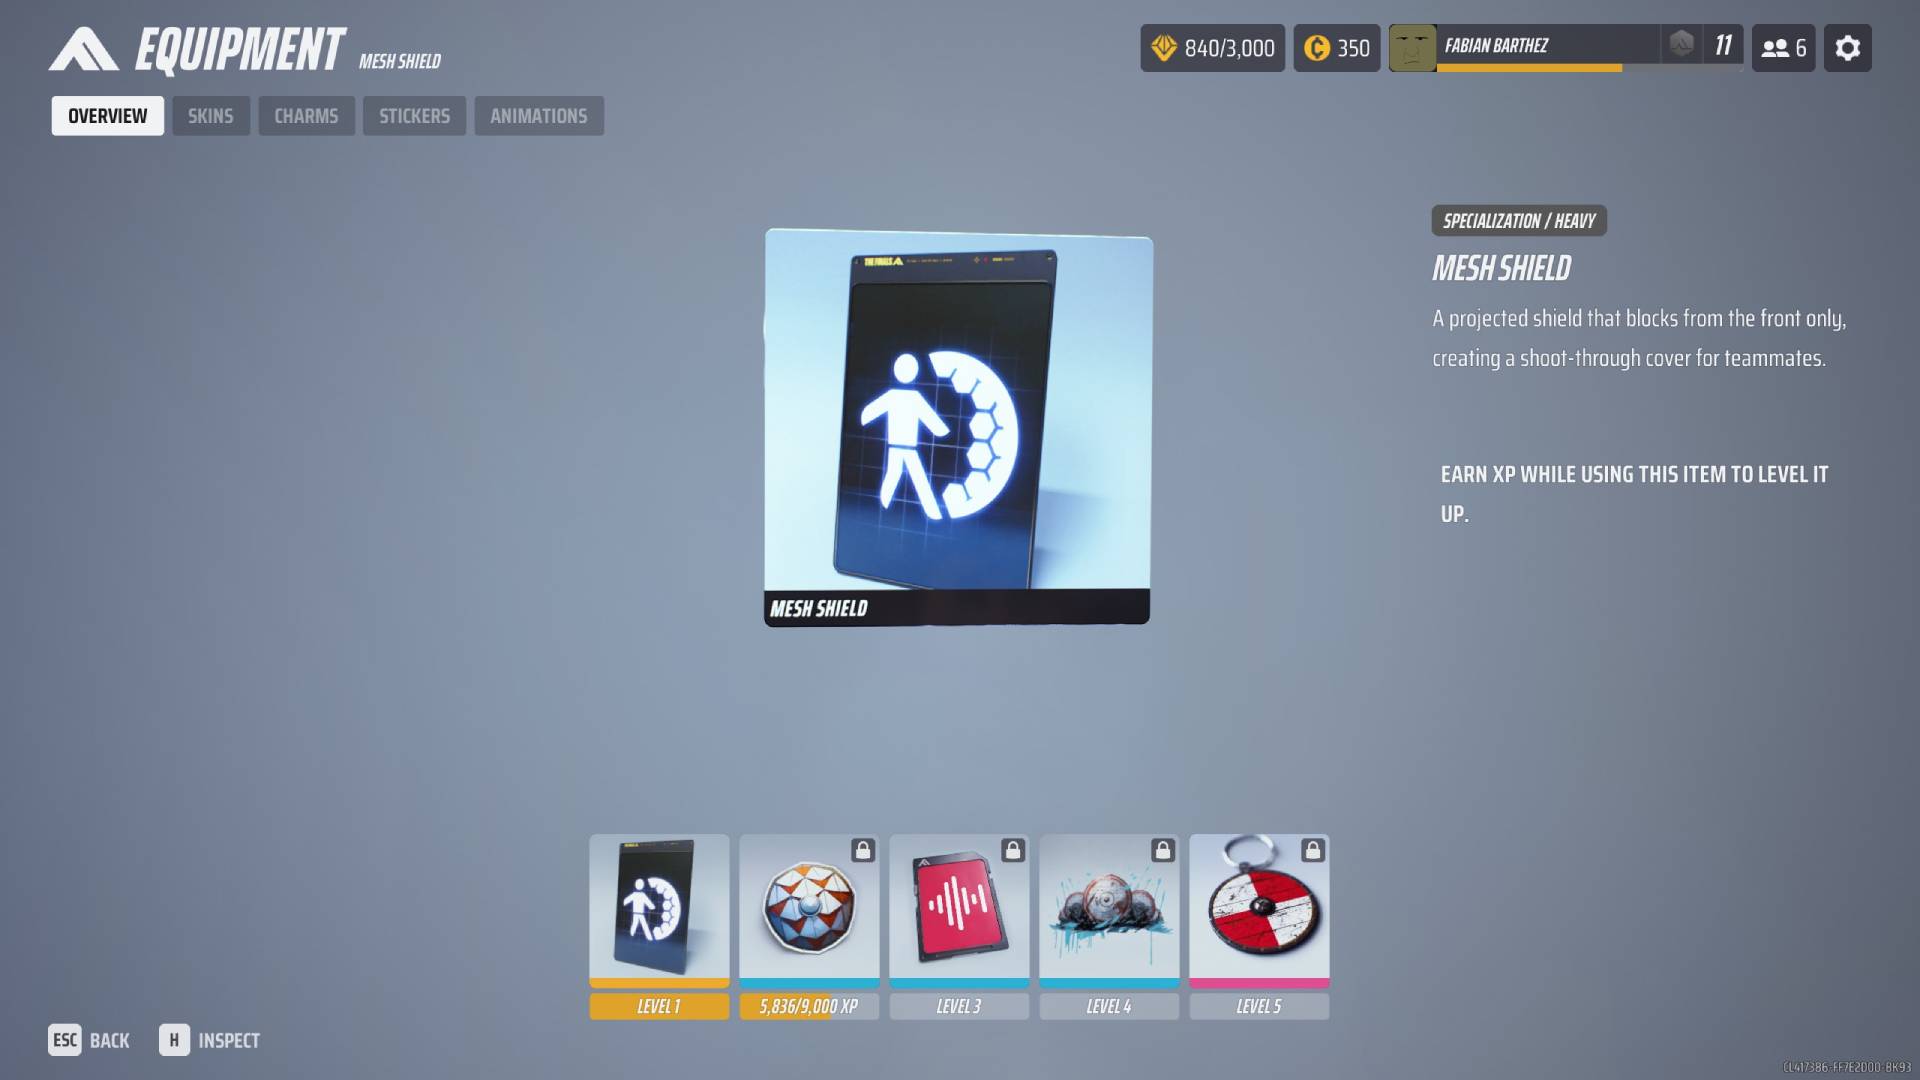
- Specialization: Mesh Shield
- Weapon: Lewis Gun
- Gadgets: Dome Shield, Barricade, Goo Grenade
The first Heavy build is suited to players who want to support their team and protect the objective, taking full advantage of all the defensive options available to the class. Focusing on the weapon of choice first, the Lewis Gun has long been a fan favorite for the Heavy, and is still one of the top performing guns for the class despite it receiving a nerf not too long ago. It's a fully automatic LMG that has a reasonable fire rate, which means the recoil isn't too bad, and you can take down enemies from quite a distance. The M60 is a viable option if you don't get along with the Lewis Gun, but is better suited to shorter distances, which this build aims to limit the quantity of.
This is because we have the Mesh Shield here, along with the Dome Shield and Barricade for protecting yourself, teammates, and the objective. Starting with the Mesh Shield specialization, the best way to use this isn't to leave it up permanently whenever you're in a fight, but instead be trigger-happy with it. This means you'll put the shield up whenever your foe is shooting directly at you, but take it down and fire back the instant your opponent tries to flee, run away, or find a way to flank you. It's very similar to Reinhardt's shield in Overwatch in that it protects you entirely from the front - though it does have 900 health, which can be whittled down if you're facing an onslaught from multiple enemies - but you're left exposed at the back. It's a shield best used with teammates to support you nearby.
The Dome Shield is similar, but arguably better because it covers you from all angles, and you can shoot through the shield while you're standing inside it, much like how your teammates can shoot through your Mesh Shield. The downside is that it's locked in place, so it's much better suited to be used on an objective like a vault in one of the cash-based modes, or the payload in Power Shift. Barricades are a little less useful as they are smaller barriers, and made of metal so you can't shoot through them, but they're ideal to plonk down to block an entrance or shoot over the top of.
Finally, we have the Goo Grenade, which can be used in a similar manner. Chuck it at a doorway to block it, use it as a ledge or a bridge, just throw it at enemies to cause chaos in a gunfight, the choice is yours.
Shotgun Aggro

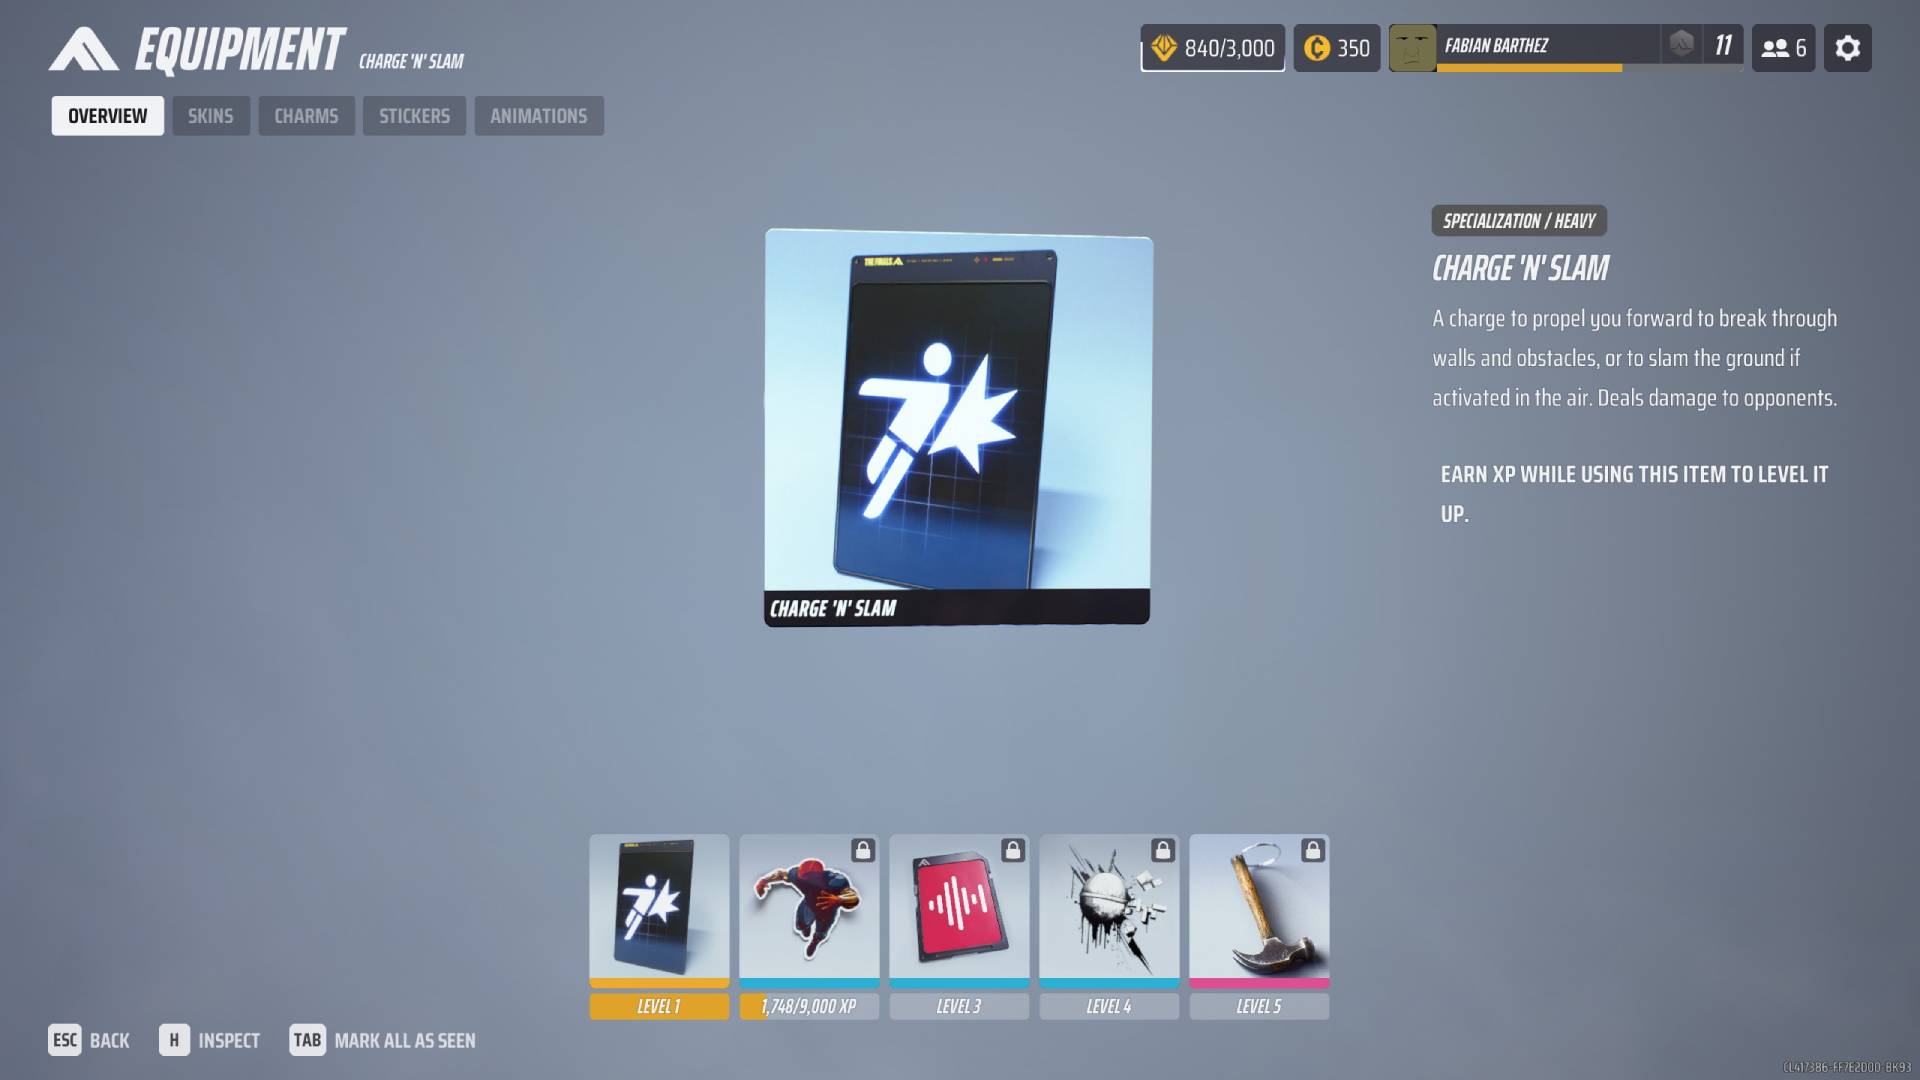
- Specialization: Charge 'N' Slam
- Weapon: SA1216
- Gadgets: Pyro Grenade, Flashbang, RPG-7
If you want to keep up the aggression with the Heavy class, you'll want to get your hands on the SA1216 shotgun. This is a quad-chambered automatic shotgun, which means you'll fire four pellets in quick succession, followed by a quick break before the next four. You can shoot 16 shots in total before you need to reload, so it's the perfect weapon to get up close and personal with. It has been on the receiving end of a nerf very recently, but in the right hands it's still a force to be reckoned with. If you give it a go and feel the nerf has made it too weak to warrant inclusion, give the brand new KS-23 a go instead. This is a pump-action that requires much more precision, but can kill from further away.
On paper, the Charge 'N' Slam specialization is a little underwhelming because it doesn't give you anything new to play with, but it's perfect for supporting the chaotic playstyle this build enables. The Heavy essentially enters Hulk mode, charging around with the ability to destroy walls and entire buildings. Run into an enemy and you'll deal considerable damage, or you can enable it while in mid-air to come crashing down and slam the ground with some AoE damage.
When it comes to gadgets, we're going all-out offensive. The Pyro Grenade is fantastic at preventing the enemy from accessing an objective or for throwing at a big group of foes, because it sets the environment around it alight. Meanwhile the Flashbang is helpful for breaching rooms and assisting your teammates when you're all fighting together in an open space, as it can hit multiple enemies at once. Then we have the RPG, which is equally useful as a destruction tool for buildings, AoE damage at a group of enemies, or single-target focused if you need to reload mid-fight and want to switch to a backup weapon. The Heavy may be slow, but it packs a lot of firepower, and is the ideal class for engaging with enemies first and playing the role of a tank.
Keep up to date with the most important stories and the best deals, as picked by the PC Gamer team.

